
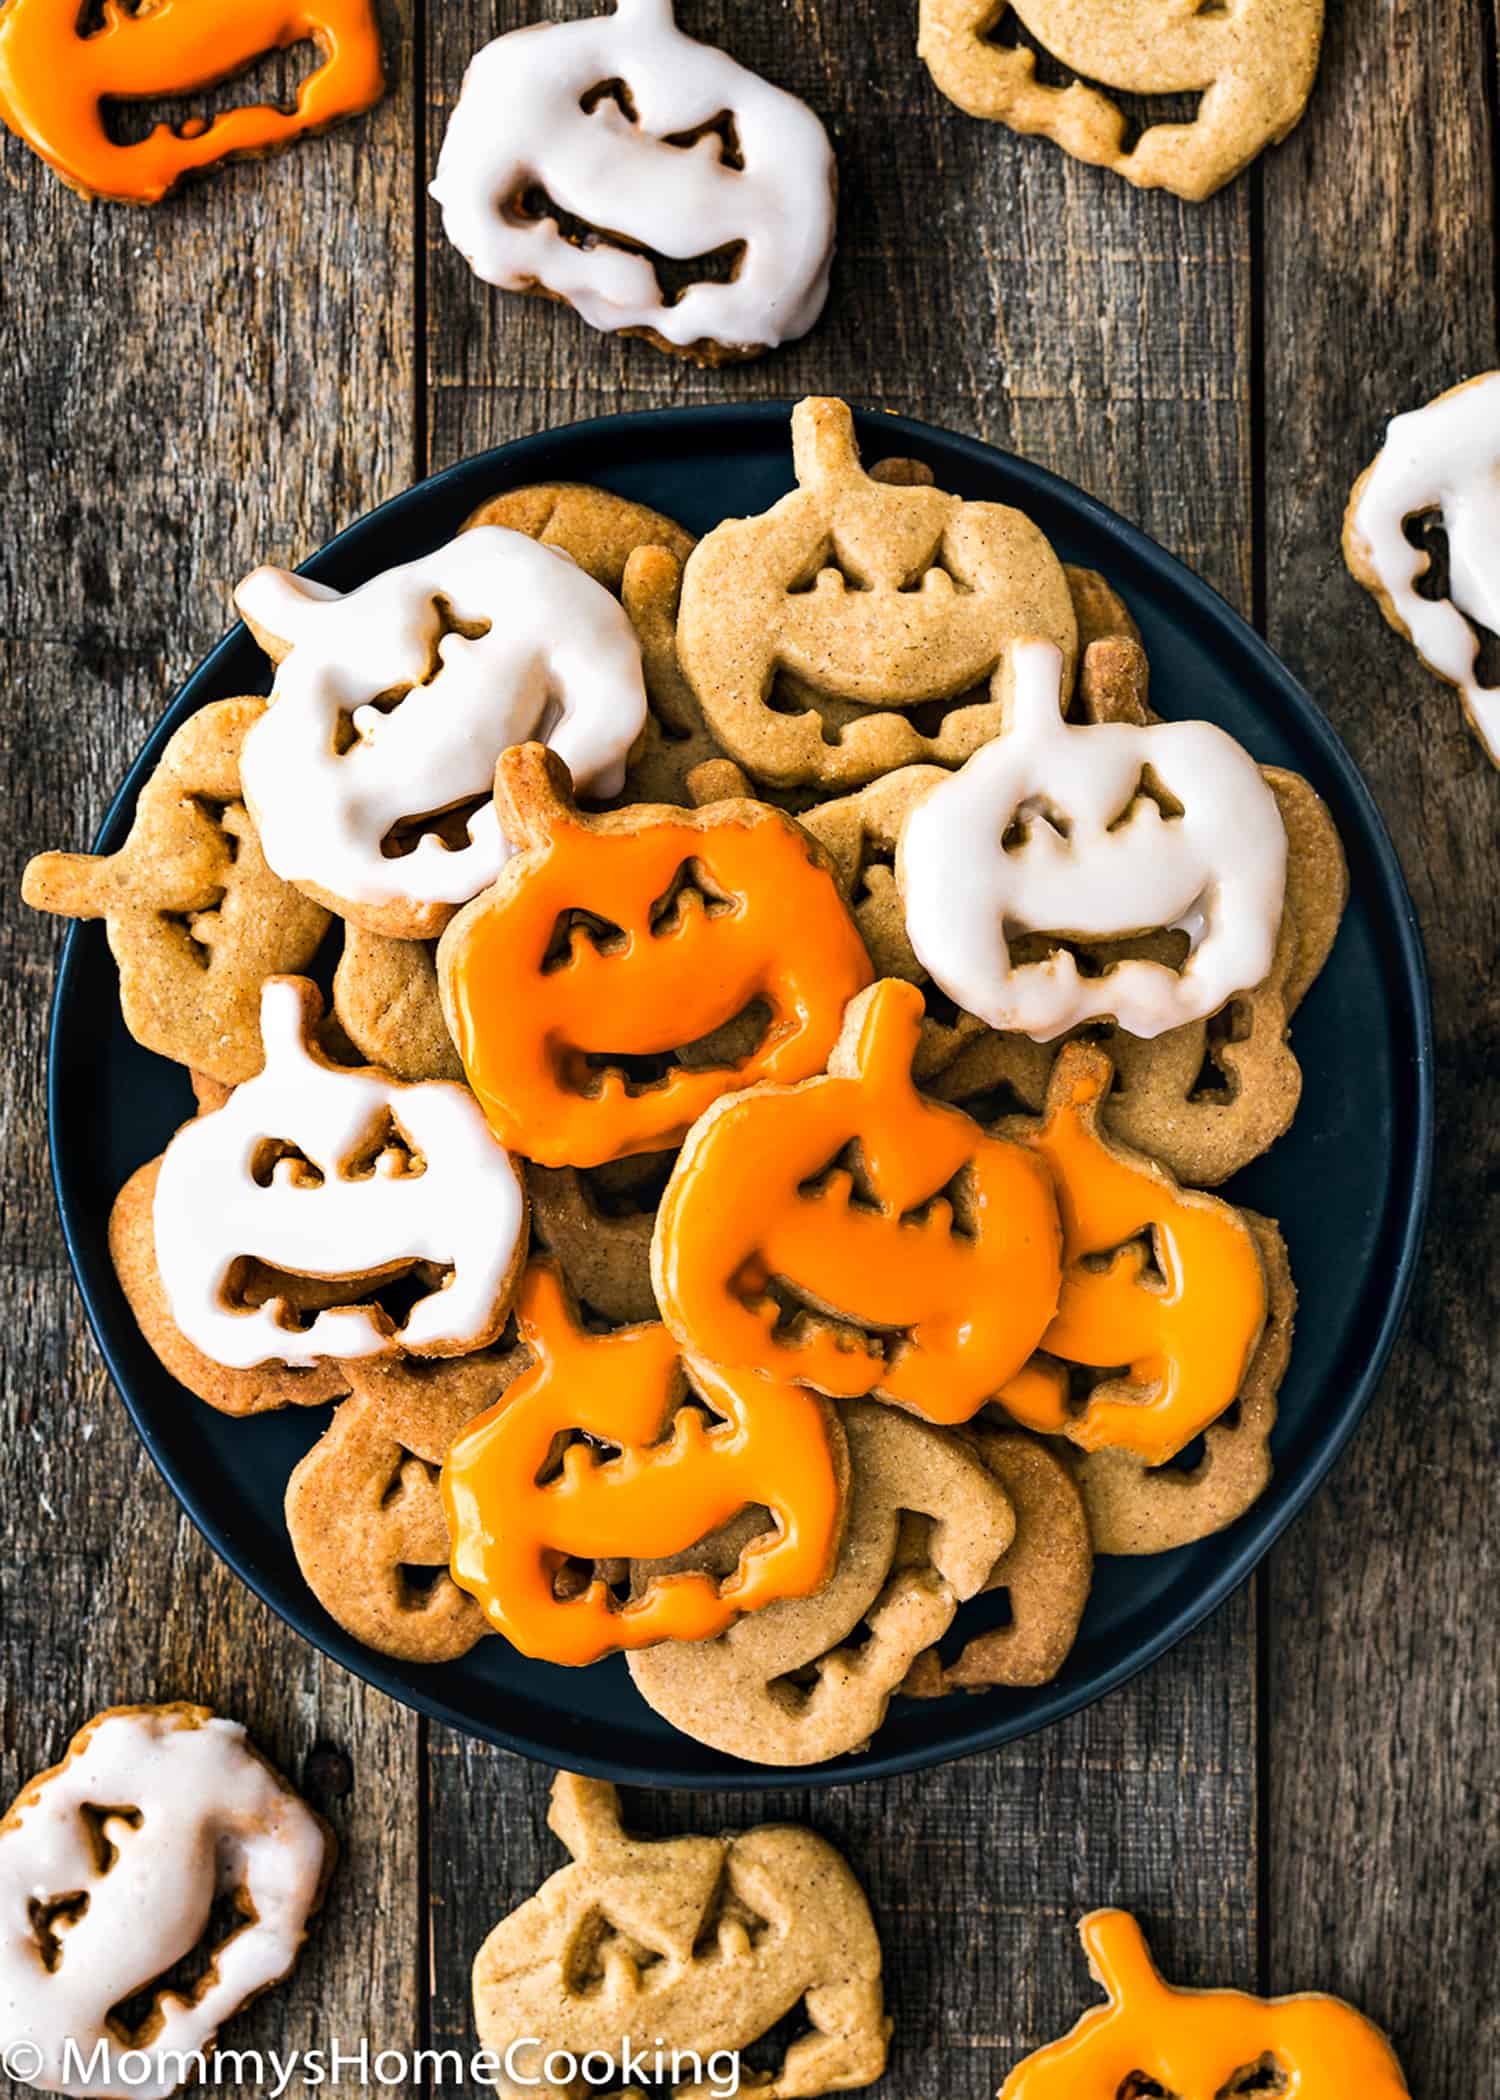
These Easy Eggless Halloween Cookies are super easy to make and delicious! With crispy edges and irresistible butter taste, these cookie recipe requires only 4 basic ingredients. The recipe includes step-by-step photos and lots of tips.
These Easy Eggless Halloween Cookies are my kids’ favorite cookies to celebrate with friends! It’s almost a tradition that I make them for the school’s Halloween celebration, and everybody loves them.
The recipe is based on my egg-free vanilla cookies. For some wholesome flavor, I added pumpkin spice to the cookie dough.
I love them because they only require 4 basic ingredients like butter, brown sugar, flour, and vanilla. They’re super easy to make; no chilling time is needed. And can be decorated with a simple sugar glaze.
These cookies with crispier edges and irresistible butter taste will be a BIG hit in your Halloween celebration!
Ingredients You’ll Need, Substitutions & Notes
This is the best part of this recipe! You just need 4 ingredients:
- Flour: Standard all-purpose flour works best here; skip the cake flour, bread flour, and wheat flour. All-purpose flour provides the bulk of the structure in this recipe. Make sure to measure accurately; a kitchen scale is the best way to measure your ingredients, in my opinion.
- Salt: I prefer kosher or sea salt. If you only have table salt handy, I recommend reducing the amount to half.
- Butter: I prefer to use unsalted butter, but if you only have salted butter handy, you can use it. In this case, skip the salt called in the recipe.
- Brown sugar: I use and recommend light brown sugar.
- Vanilla Extract: For optimal flavor, reach for pure vanilla instead of imitation. Even better, try homemade vanilla extract!
- Pumpkin pie spice or cinnamon (optional): For extra flavor!
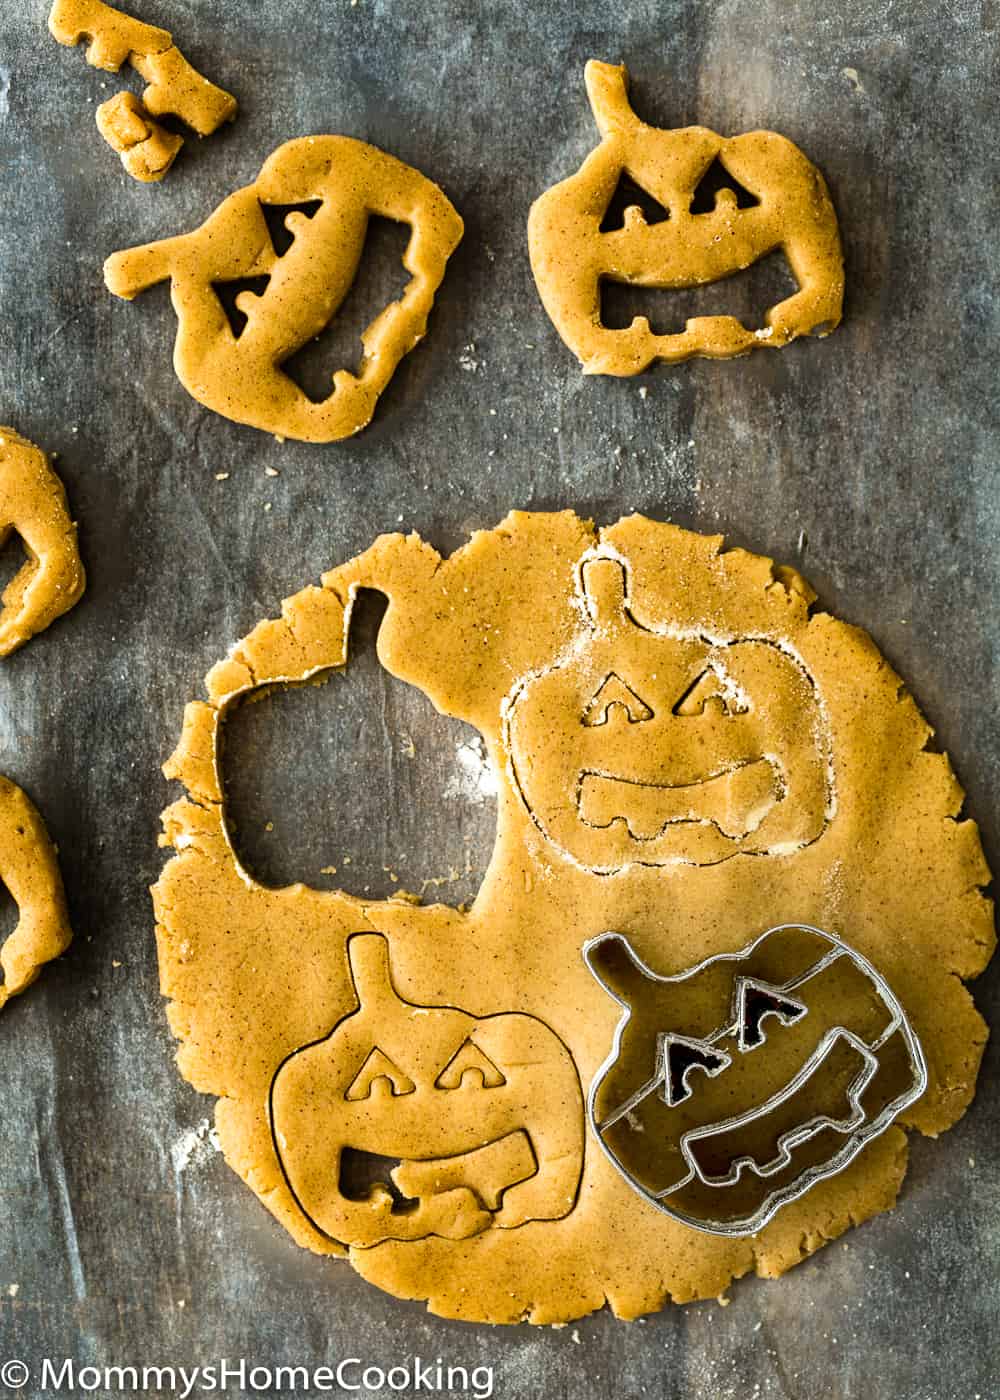
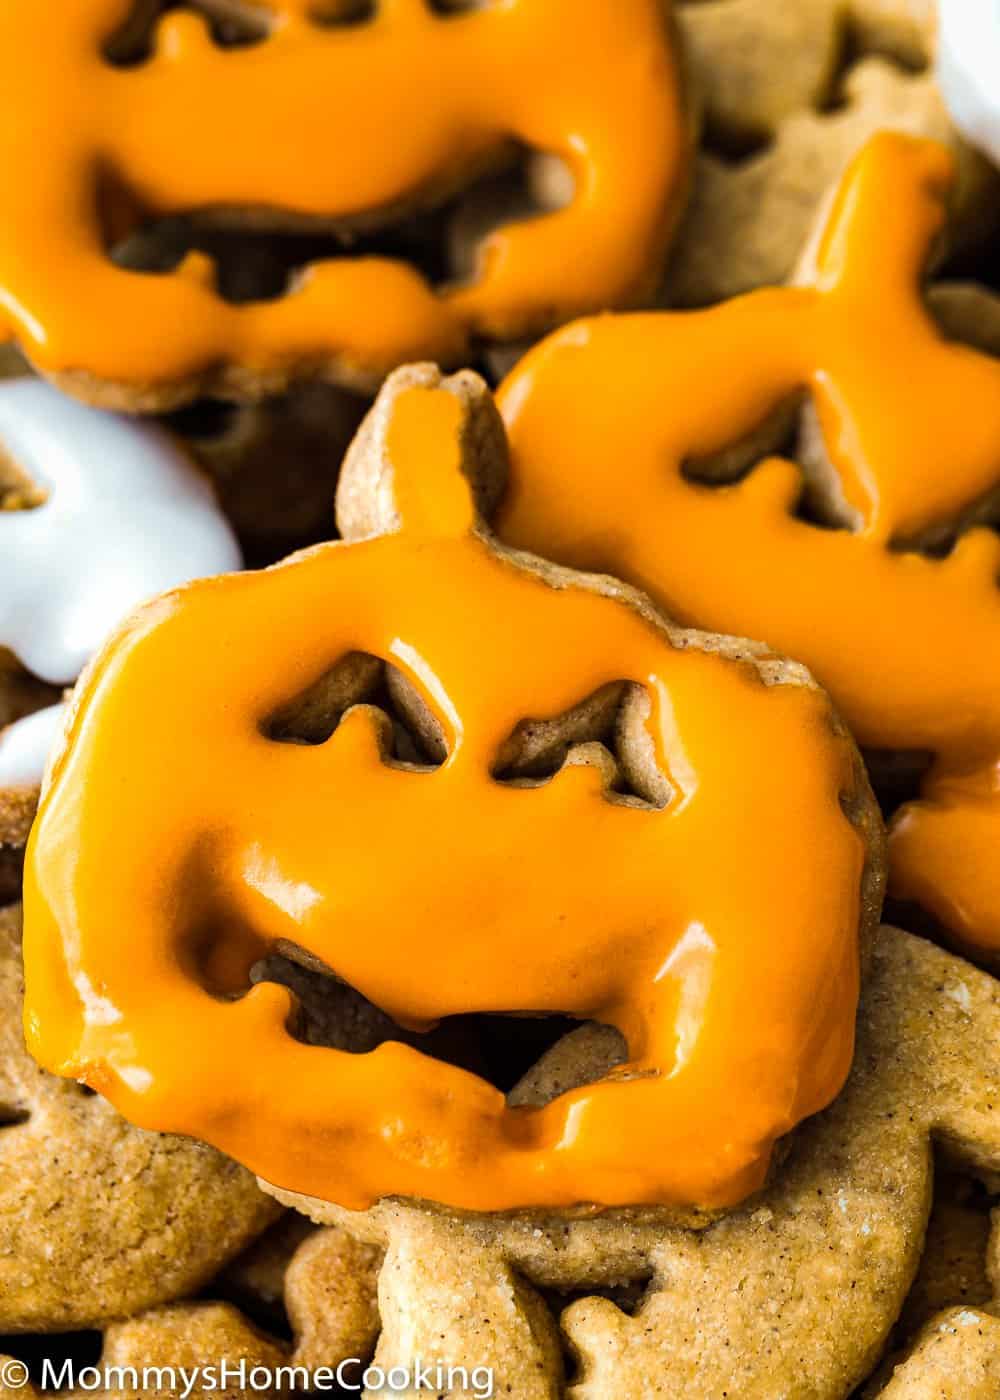
You will also need a Halloween-themed cookie cutter.
This is the one I used for these photos: Jack-o’-lantern cookie-cutter with Interior Cut-Outs. To be honest, it was kind of tricky and time-consuming to transfer the cookies to the baking sheet without breaking them.
So, then I bought these much simpler Halloween cookie cutters and loved them. They are easy to use, and you can get creative using different glaze colors and sprinkle.
Step By Step Recipe Photo Tutorial
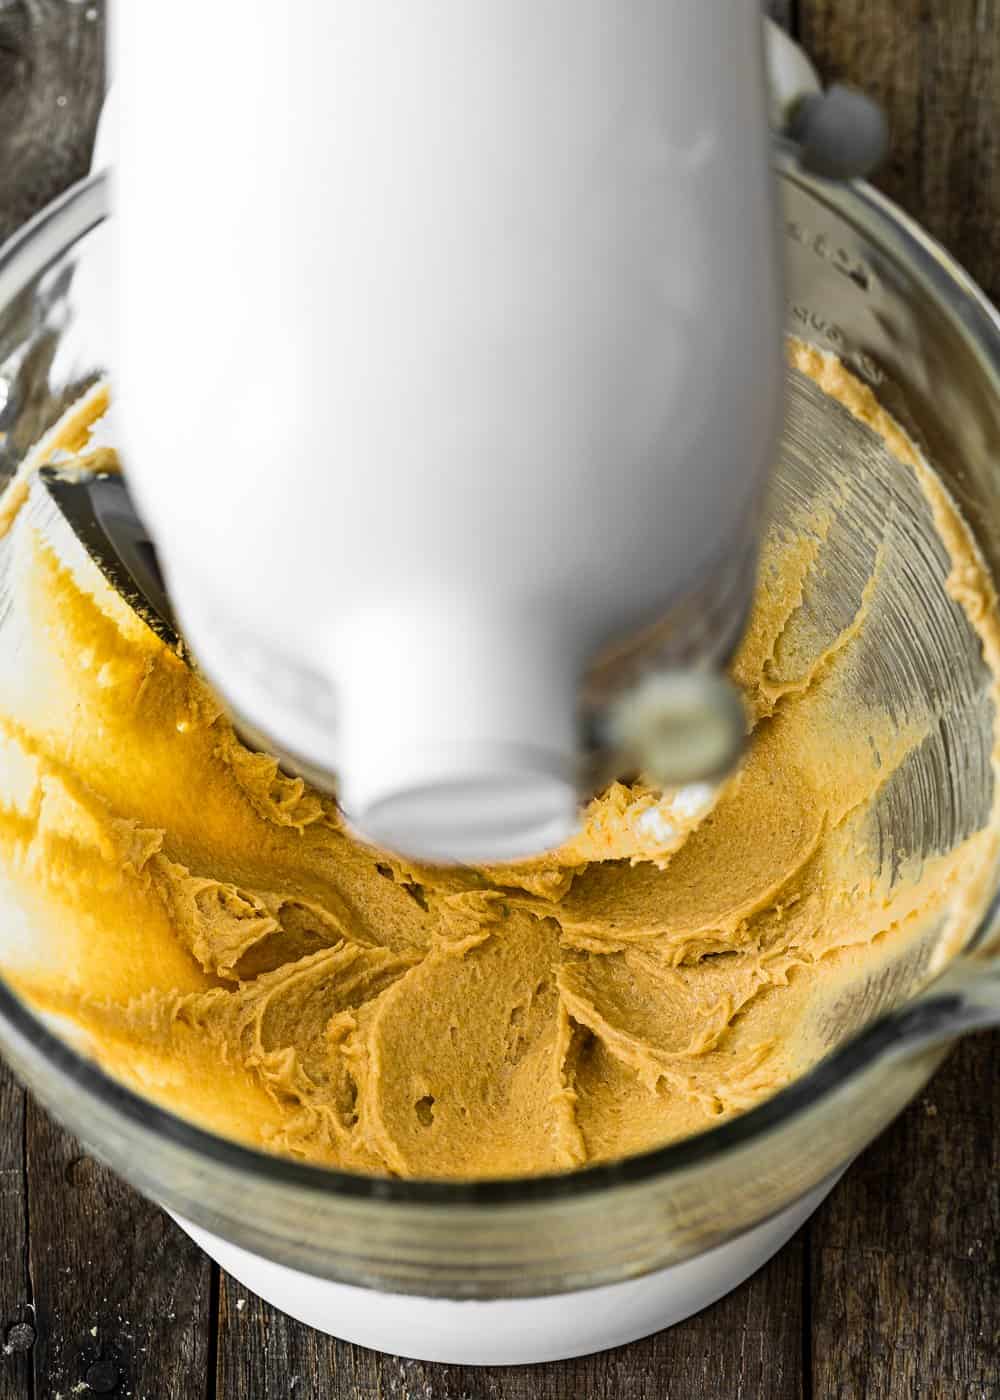
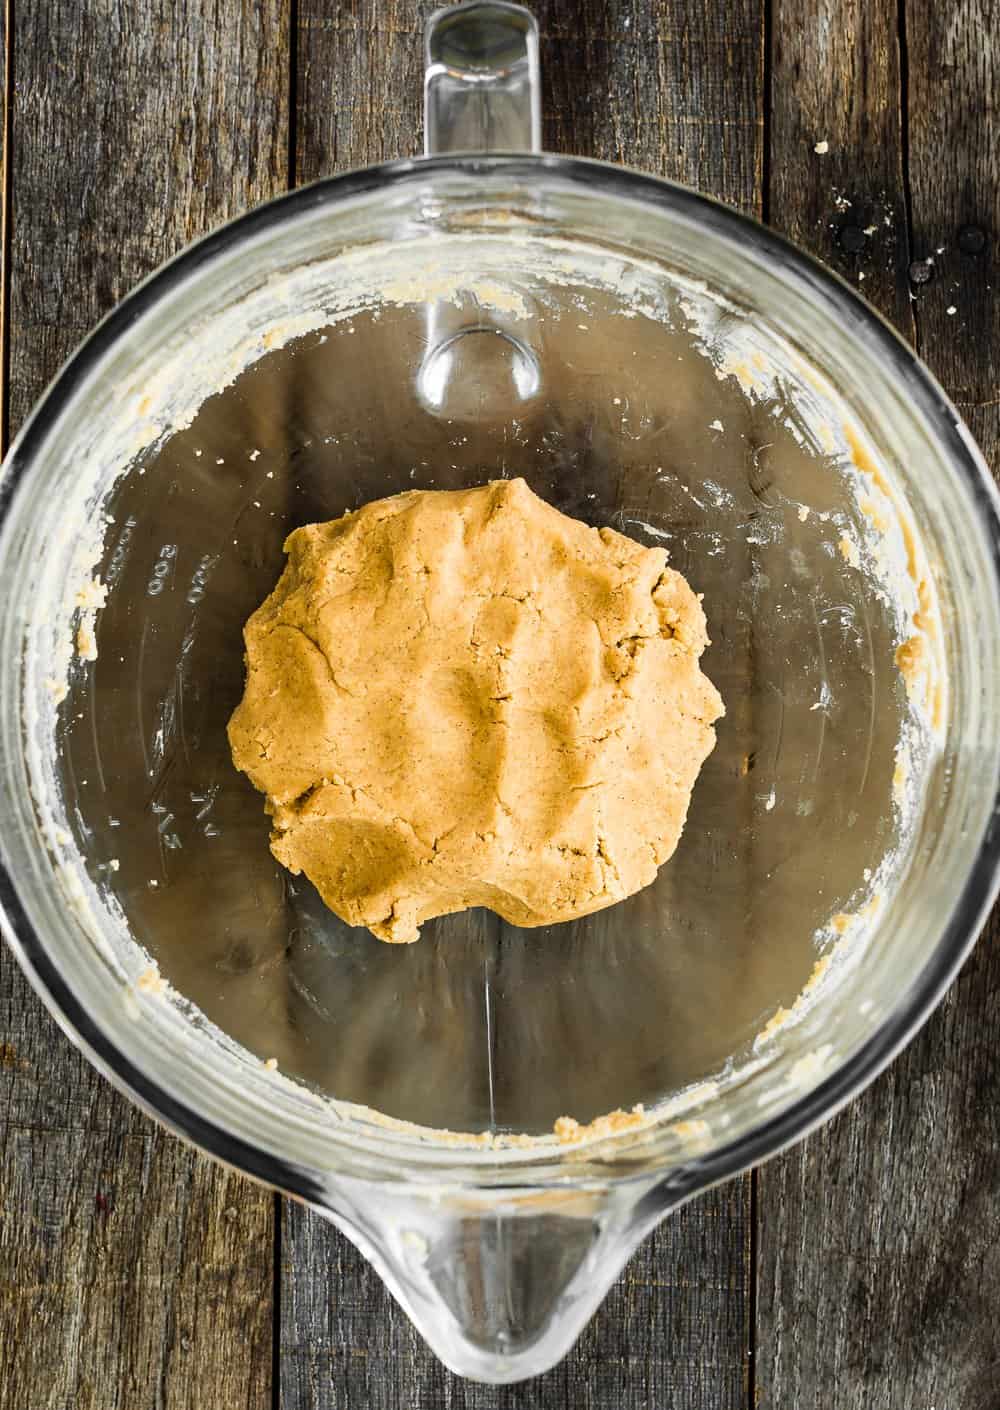
Step 1 – Cream butter and brown sugar.
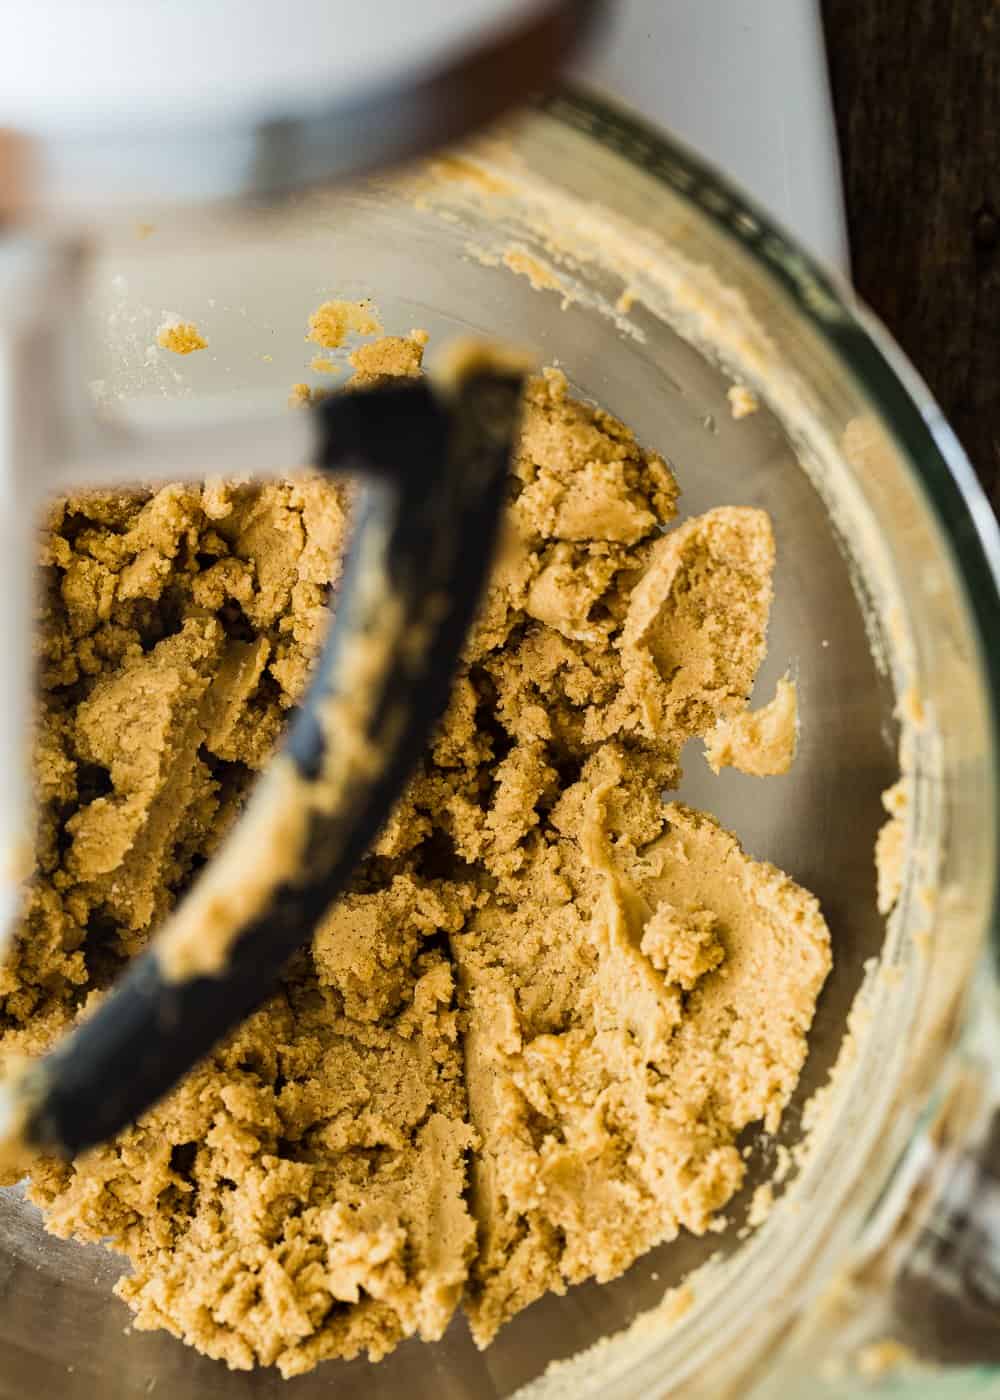
Step 2 – Add flour and spices.
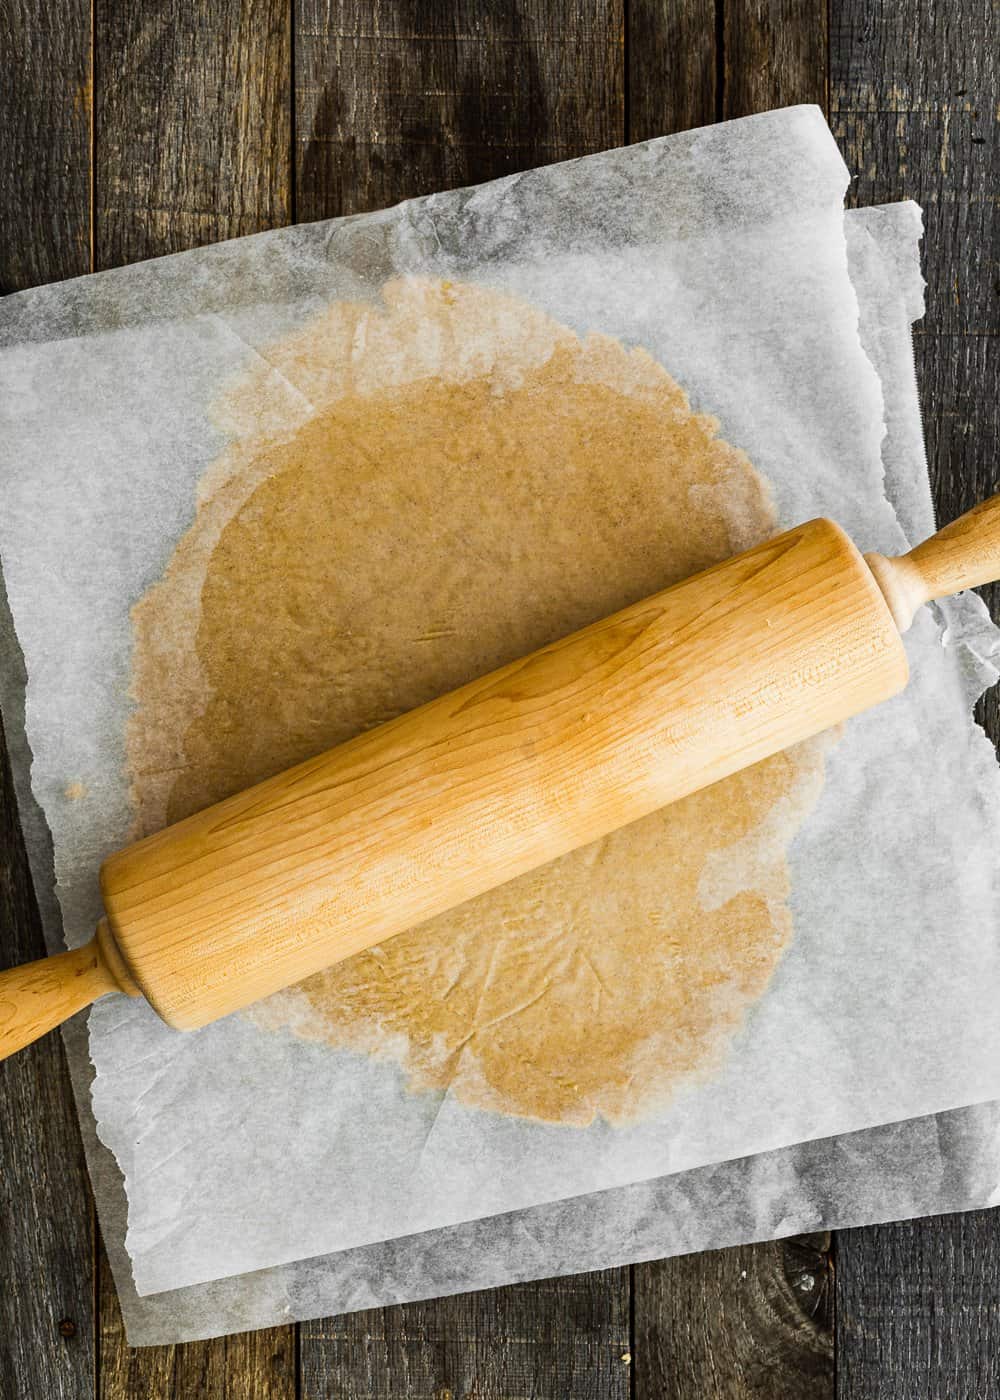
Step 3 – Roll the dough out between two sheets of parchment paper.
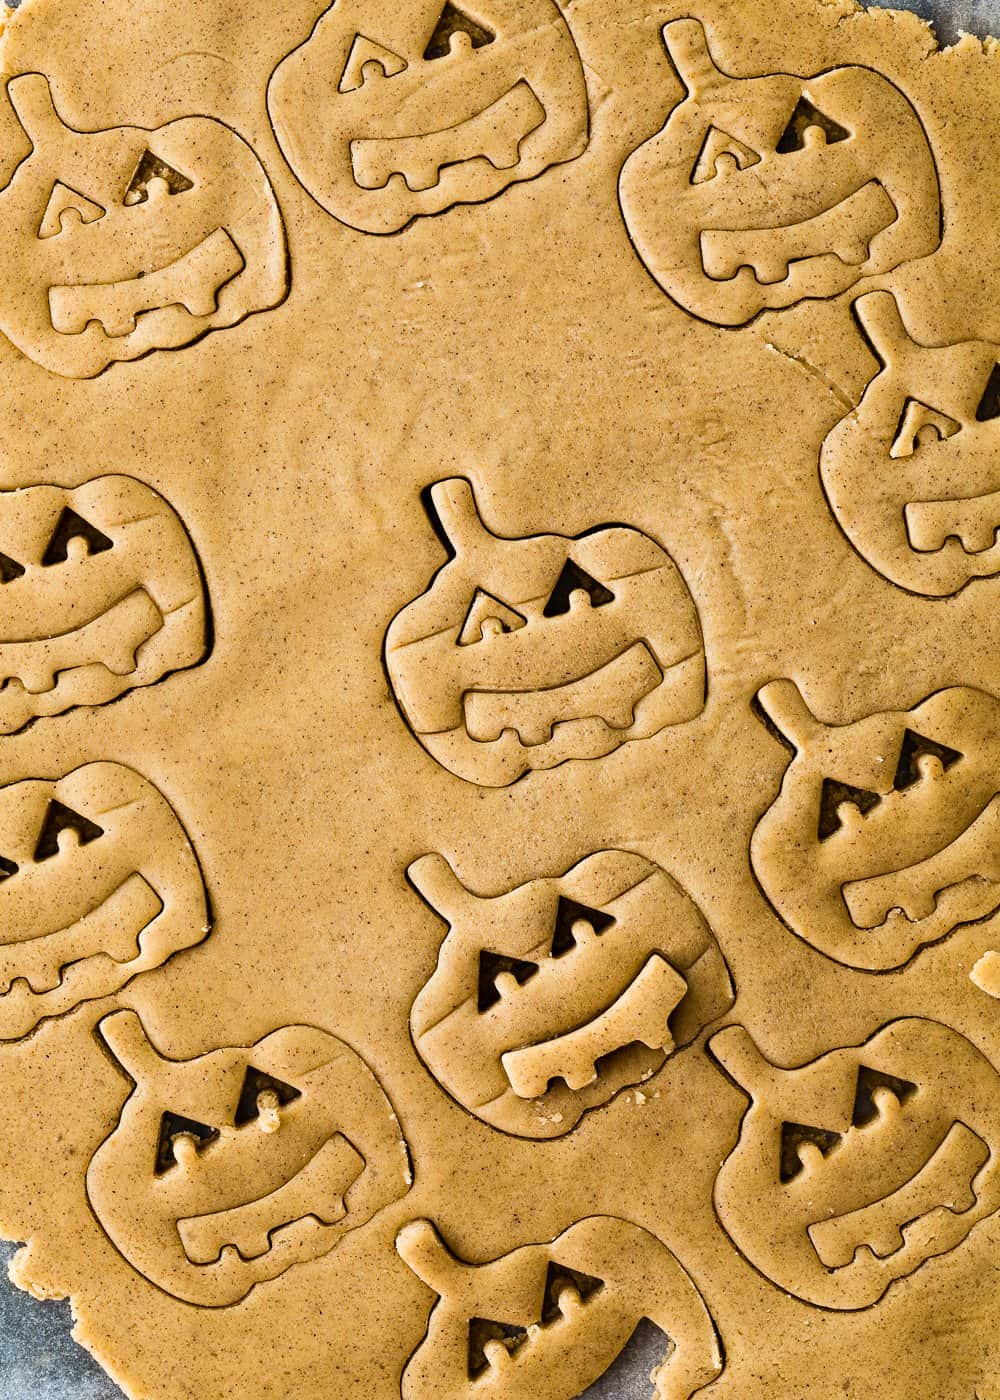
Step 4 – Use a cookie cutter to cut the dough into your desired shapes.
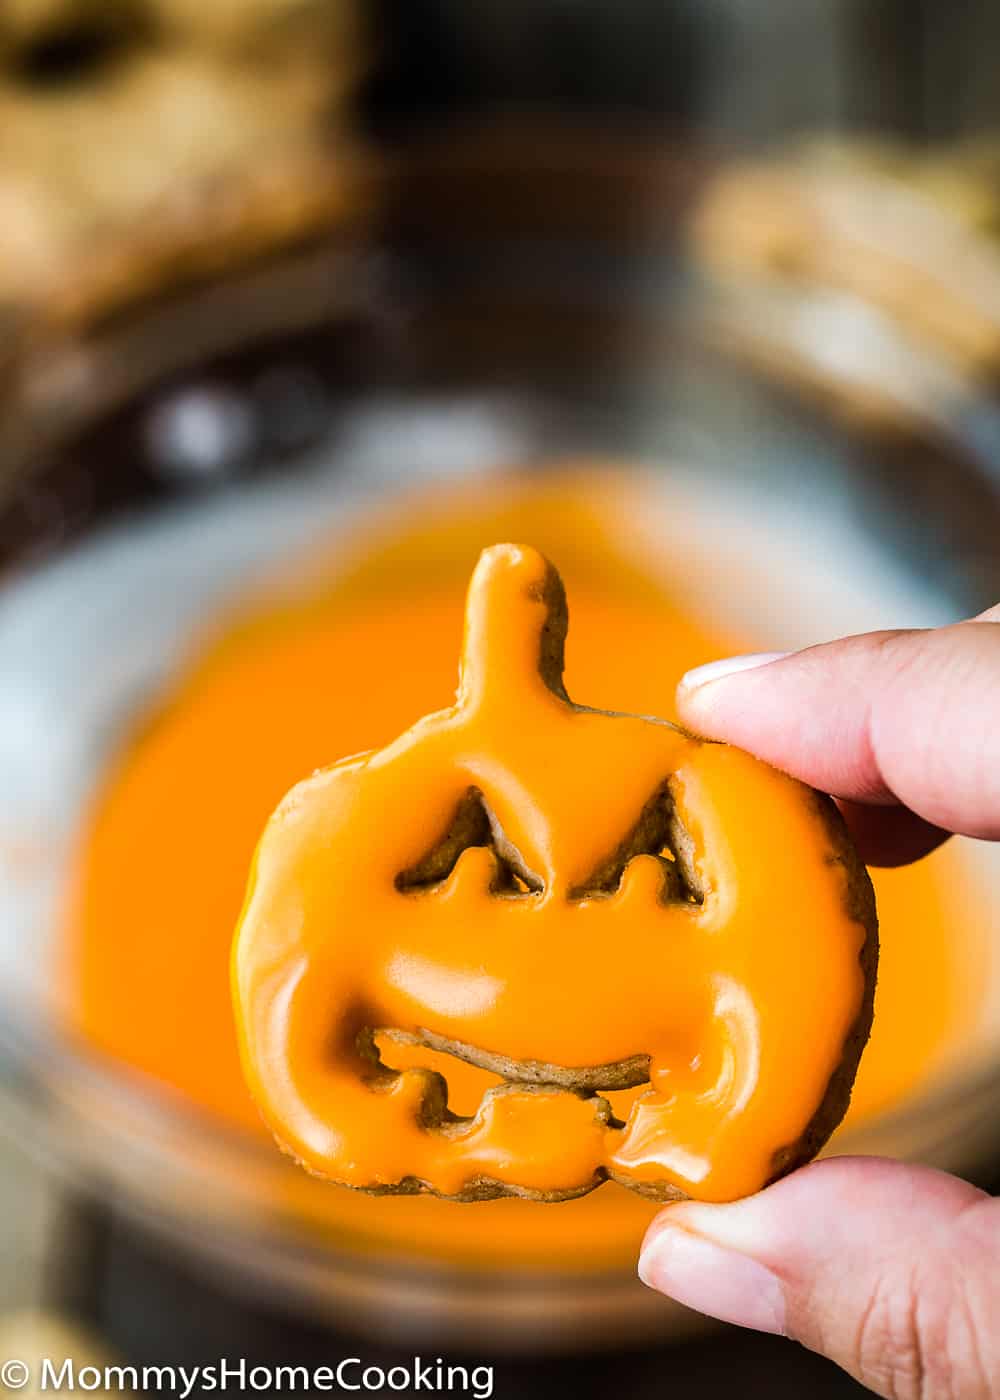
Step 5 – Bake and decorate as desired.

Measure the ingredients correctly! A kitchen scale is always the best option, in my opinion, but if you don’t have a kitchen scale, be sure to use a measuring cup made for dry ingredients (NOT a liquid measuring cup) and a liquid measuring cup for liquid ingredients. Also, do NOT dip a measuring cup directly into the flour bin, or you can compact it and get up to 25% more flour; instead, use a spoon to scoop the flour into the measuring cup, and then use a knife (straight-edged) to level the flour across the measuring cup.
Don’t overmix your cookie dough, or you will end up with dense cookies.
For evenly sized cookies (better for baking), use a small spring-loaded ice cream scoop to spoon out the dough.
Bake the cookies until they are JUST golden around the outside. The cookies might still look a little raw in the center, but once they cool, they will be perfect. Let the cookies cool on the baking sheets for just a few minutes, around 2. If you leave the cookies on the baking sheets for too long, they will continue cooking, and they will be hard.
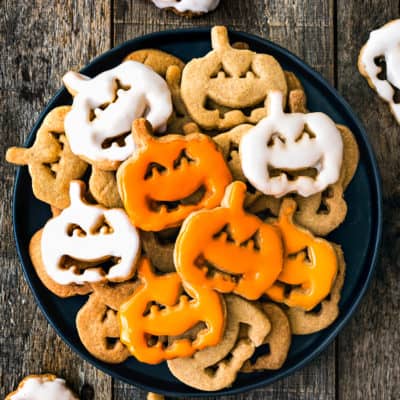
This is a very simple glaze! You’ll need just confectioners’ sugar, milk, and a pinch of salt. It will harden a little if you place the cookies in the refrigerator. However, if you want the glaze to really set hard, add 1 teaspoon of light corn syrup. If you like, you can use sprinkles too!!

Storing & Freezing Instructions
FREEZE: To keep longer, store cookies in an airtight container or freezer bag, and pop them in the freezer! They will last for up to 2 months.
- Eggless Sugar Cookies
- Easy Eggless Halloween Soft Sugar Cookies
- The Best Eggless Chocolate Chip Cookies
- Eggless Chocolate Crinkle Cookies
- Eggless Gingerbread Cookies
- 3-Ingredient Eggless Peanut Butter Halloween Cookies
- Easy Eggless Vanilla Cookies
- more eggless cookies…
❤️ Love what you see? JOIN my Private Baking Club. Also, SUBSCRIBE to Mommy’s Home Cooking, so you’ll never miss a recipe! And FOLLOW along on Instagram, Pinterest, and Facebook for more fun!
Recipe Card 📖
Easy Eggless Halloween Cookies
Ingredients
- 1 ½ cup (210g) all-purpose flour
- ½ teaspoon salt
- 1 teaspoon pumpkin spice (optional)
- 9 tablespoons (125 g) unsalted butter, softened
- ½ cup (100 g) brown sugar
- 1 teaspoon pure vanilla extract
Glaze:
- 1 cup (120 g) confectioners’ sugar
- 2 tablespoons milk
- pinch salt
- Orange gel food coloring
Instructions
- Position a rack in the middle of the oven. Preheat the oven to 350º F (180º C). Line a cookie sheet with parchment paper or silicone baking mat.
- In a medium bowl, combine the flour, salt, and pumpkin spice, if using. Set aside.
- In the bowl of an electric mixer beat together on medium speed the butter and brown sugar until fluffy, about 5 minutes. Beat in vanilla; mix to incorporate.
- Reduce mixer’s speed to low. Add the flour mixture, mixing until just incorporated. If the dough looks grainy, don't worry, turn off the mixer and bring it together with your hands until uniform and smooth (like clay).
- Roll the dough out, between two sheets of parchment paper, to 1/4-inch thickness. Use a cookie cutter to cut the dough into your desired shapes. Then transfer them to the prepared cookie sheet, spacing cookies about 1-inch apart.
- Bake for 10-12 minutes or until the bottom is lightly browned. Cool on the pan for 2-3 minutes, before transferring to a wire rack to cool completely.
- Decorate to your liking.
Glaze:
- Whisk the confectioners’ sugar, milk, and salt in a medium bowl. It should be quite thick. If it is too thick, add 1/2 tablespoon more of milk. If it is too thin, add 1-2 tablespoons of confectioners’ sugar. Add gel food coloring. You can pour some icing into different bowls if using multiple colors if desired.
Nutrition
Eggless Baking Frequently Asked Questions
You’ve asked, and I’ve answered! Read on for a handful of answers to the most frequently asked questions about eggless baking.
Leave a Reply