
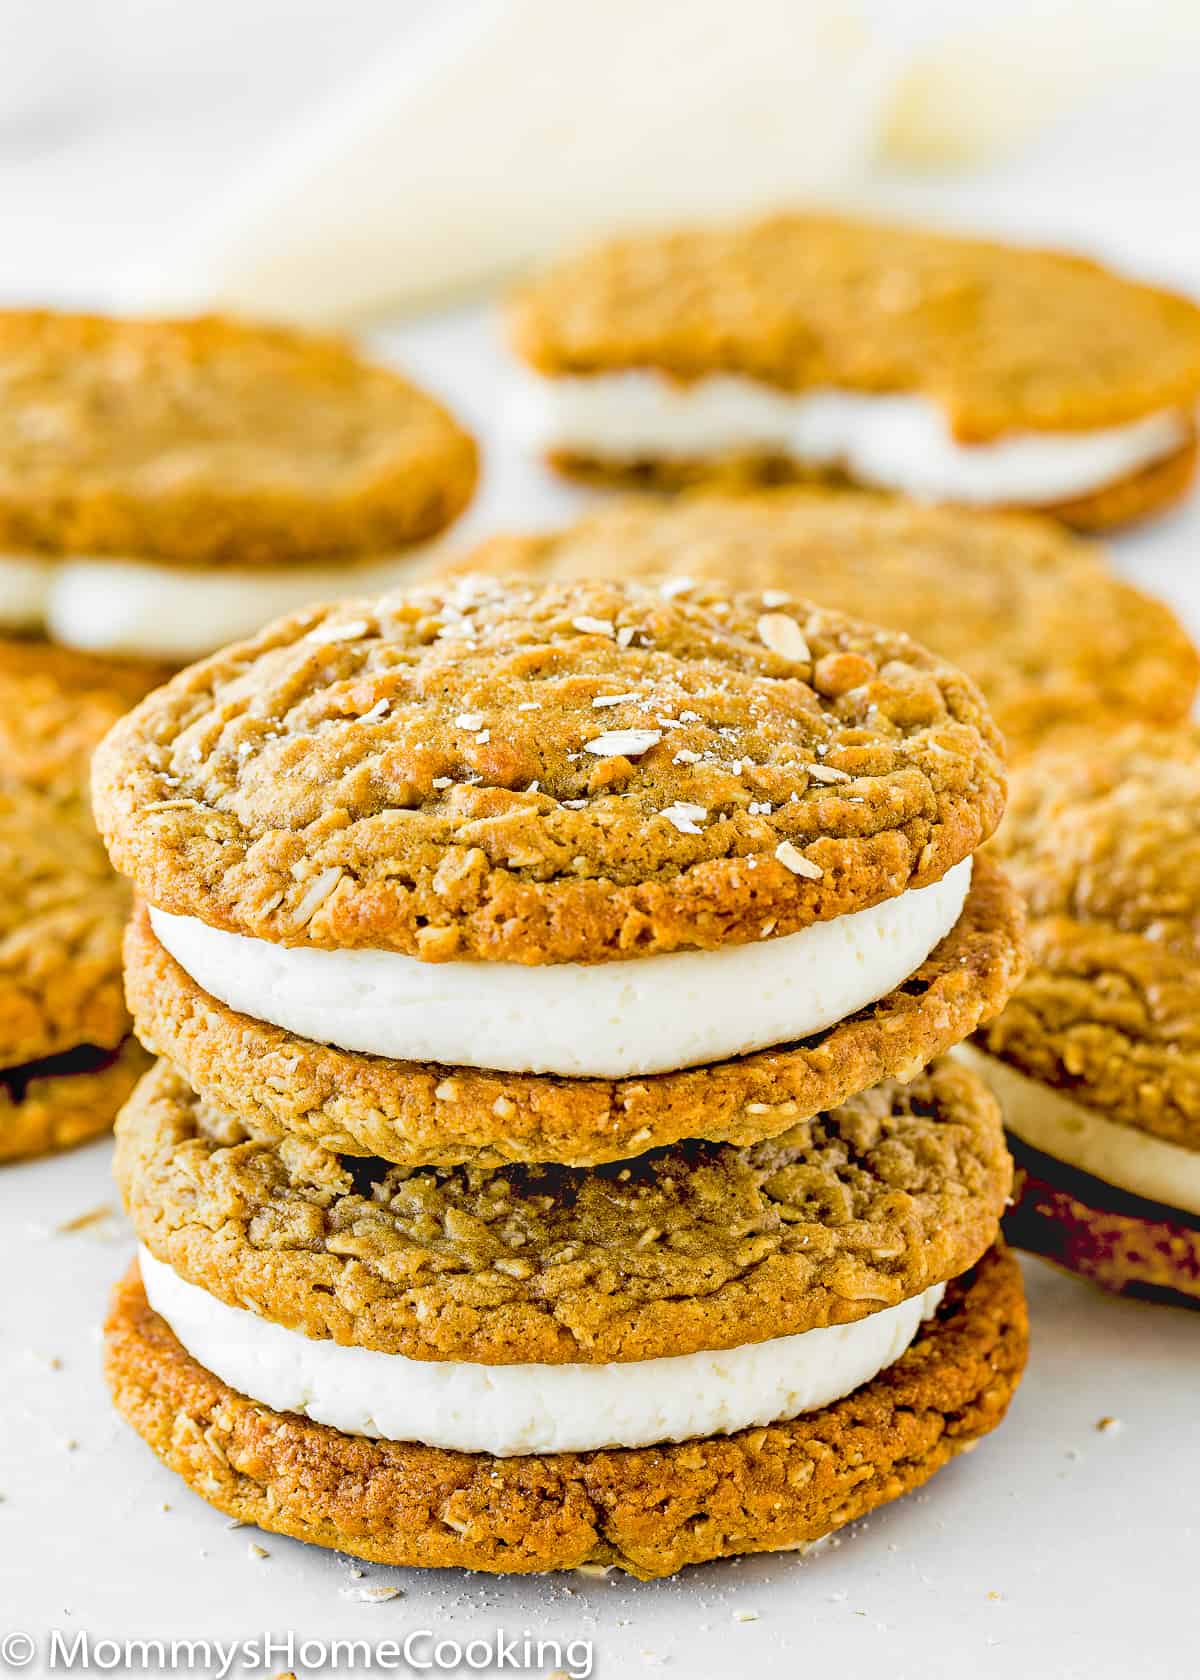
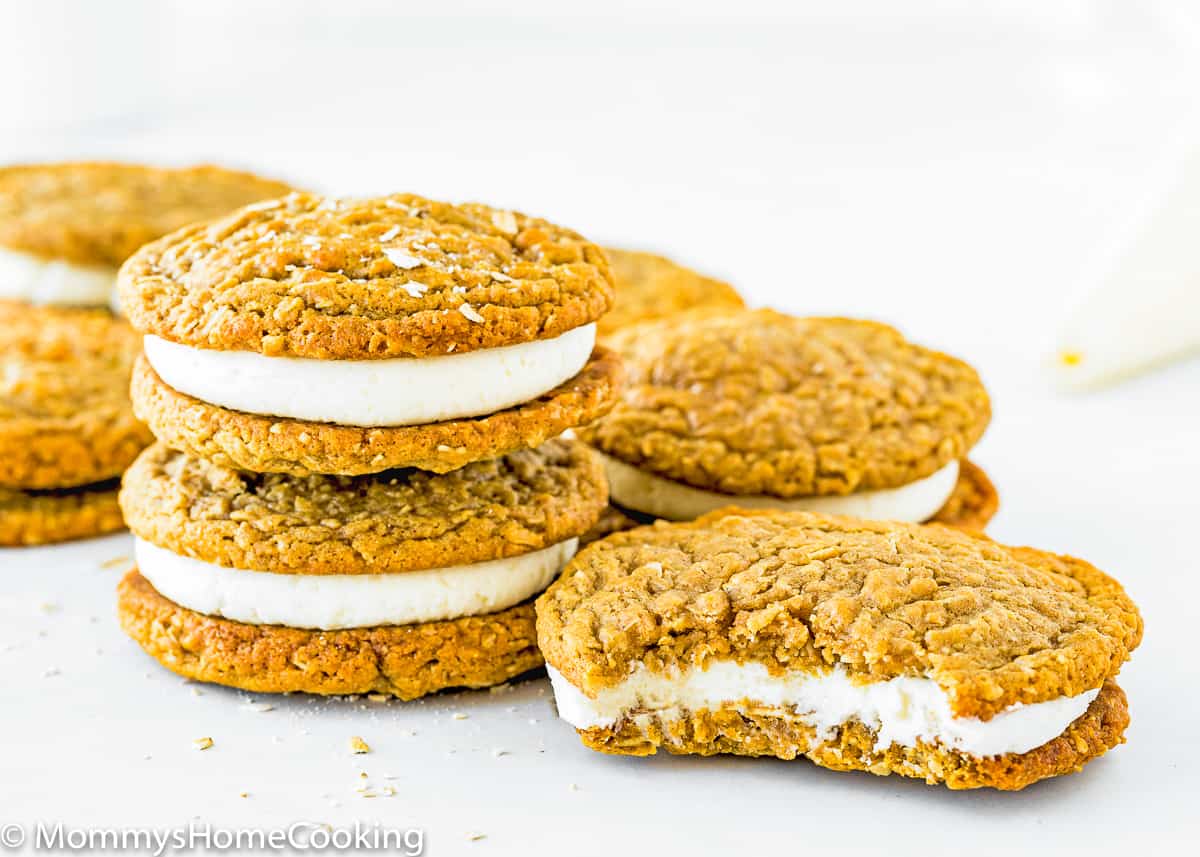
These Eggless Oatmeal Cream Pies are soft, chewy, and delicious! Easy to make with pantry staples. You’re going to love this homemade egg-free version! Step-by-step recipe photo tutorial and a lot of tips included.
Why I Love This Recipe
If you grew up eating Little Debbie’s oatmeal cream pies, you’re going to love this homemade egg-free version!
Homemade Egg-Free Oatmeal Cream Pies Highlights:
- Easy to make at home, you don’t even need a mixer to make the cookie dough.
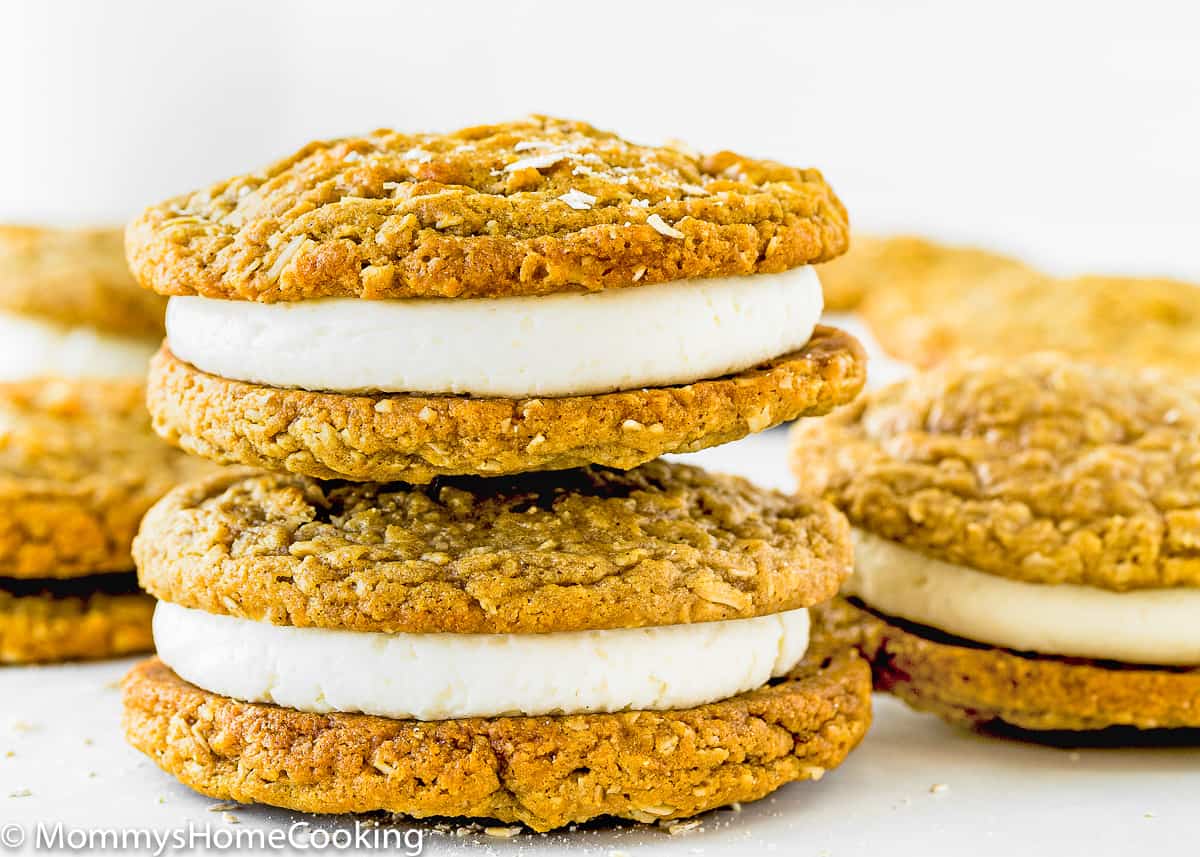
- They’re soft, chewy, large, and melt in your mouth.
- Richly flavored.
- Homemade oatmeal cream pies have none of the preservatives or artificial colors/flavors that their store-bought counterparts have, and no eggs…YAY!
- The homemade eggless marshmallow cream filling is to die-for.
This fun and nostalgic dessert is sure to be loved by both adults and kids alike. So let’s get started!
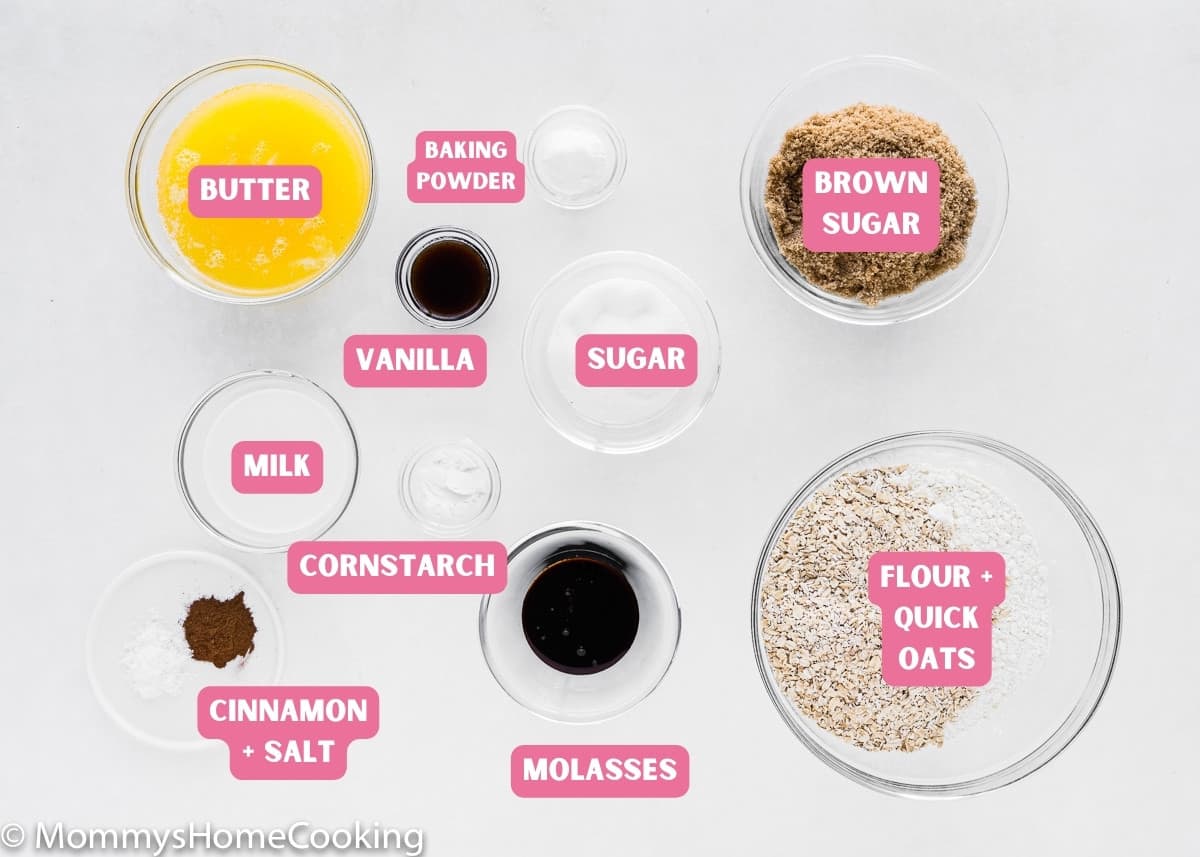
Ingredients Notes & Substitutions
Please check the recipe card at the bottom of the post for exact quantities and detailed instructions (scroll down).
For the Cookies:
- Flour – Standard all-purpose flour works best here, skip the cake flour, bread flour and wheat flour.
- Quick oats – Use quick oats for the best taste and texture with this recipe. If you dont have quick oats, use a food processor to process the oatmeal into smaller pieces.
- Cornstarch – You can also use potato starch.
- Baking soda – Make sure it’s not expired.
- Ground cinnamon
- Salt – I prefer kosher or sea salt. If you only have table salt handy, I recommend reducing the amount to half.
- Unsalted butter – You can also use salted butter if that is what you have handy. In that case, skip the salt called in the recipe.
- Sugars: You will need brown sugar and regular white sugar, also known as caster sugar.
- Molasses – I use unsulphured molasses.
- Milk – For baking, I like to use whole milk. However, you can use any milk you have handy.
- Pure vanilla extract – For optimal flavor, reach for pure vanilla instead of imitation. Even better, try homemade vanilla extract.
For the Eggless Marshmallow Cream Filling:
- Unsalted butter – You can substotite butter for vegetable shortening.
- Confectioners’ sugar – Also known as powered sugar.
- Pure vanilla extract – For flavor.
- Eggless marshmallow fluff – Unfonatelly, the store-bought marshmallow fluff has eggs in it, so if yoy want to keep this recipe eggless you’ll need to make your own. You can also use regular vanilla buttercream instead.
Step By Step Recipe Photo Tutorial
Please check the recipe card at the bottom of the post for exact quantities and detailed instructions (scroll down).
1 – Make the Cookies
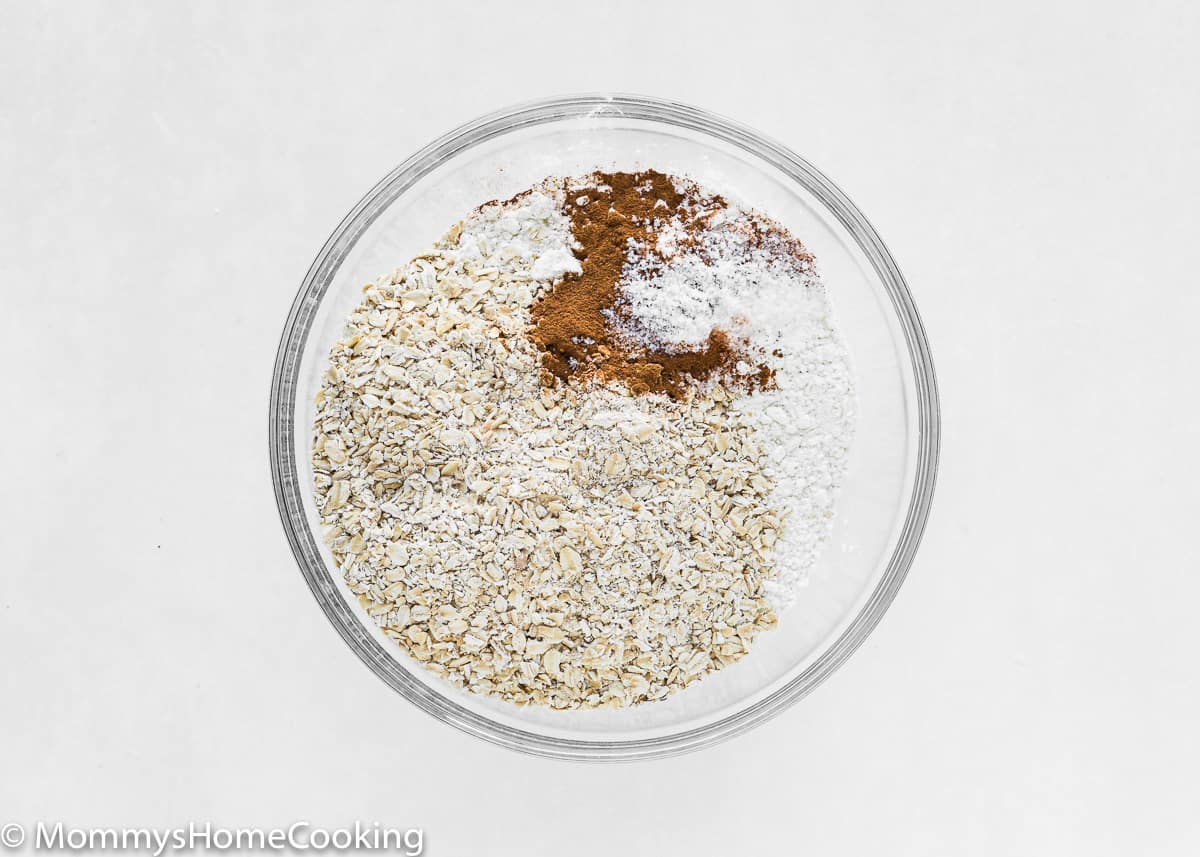
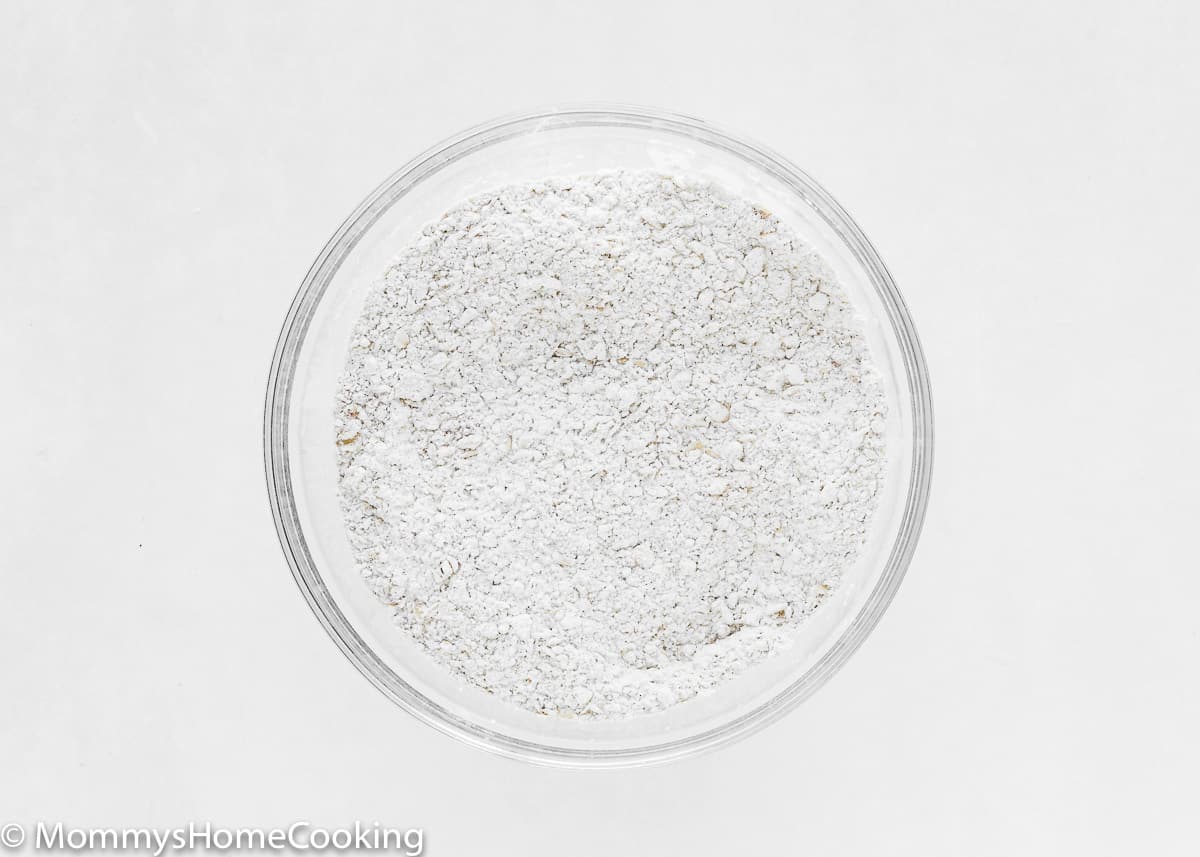
Mix Dry Ingredients.
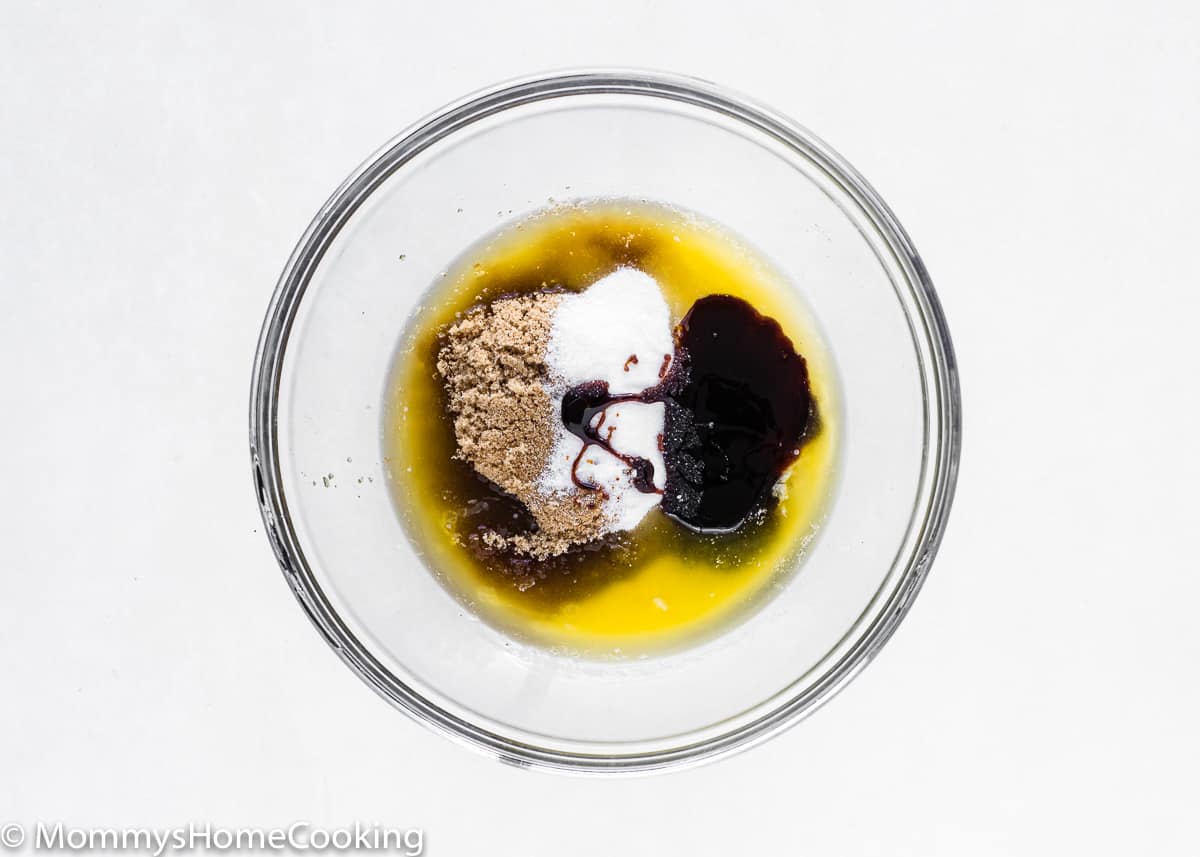
Mix Wet Ingredients.

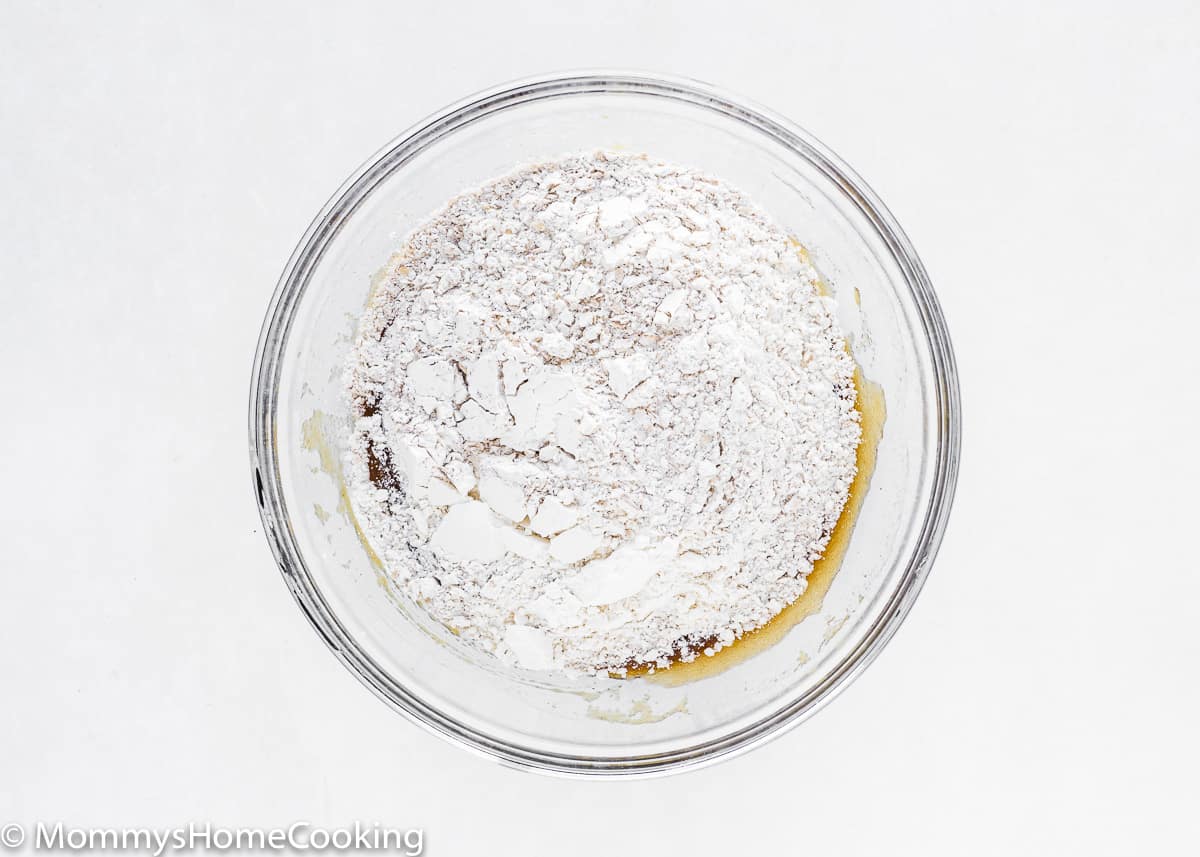
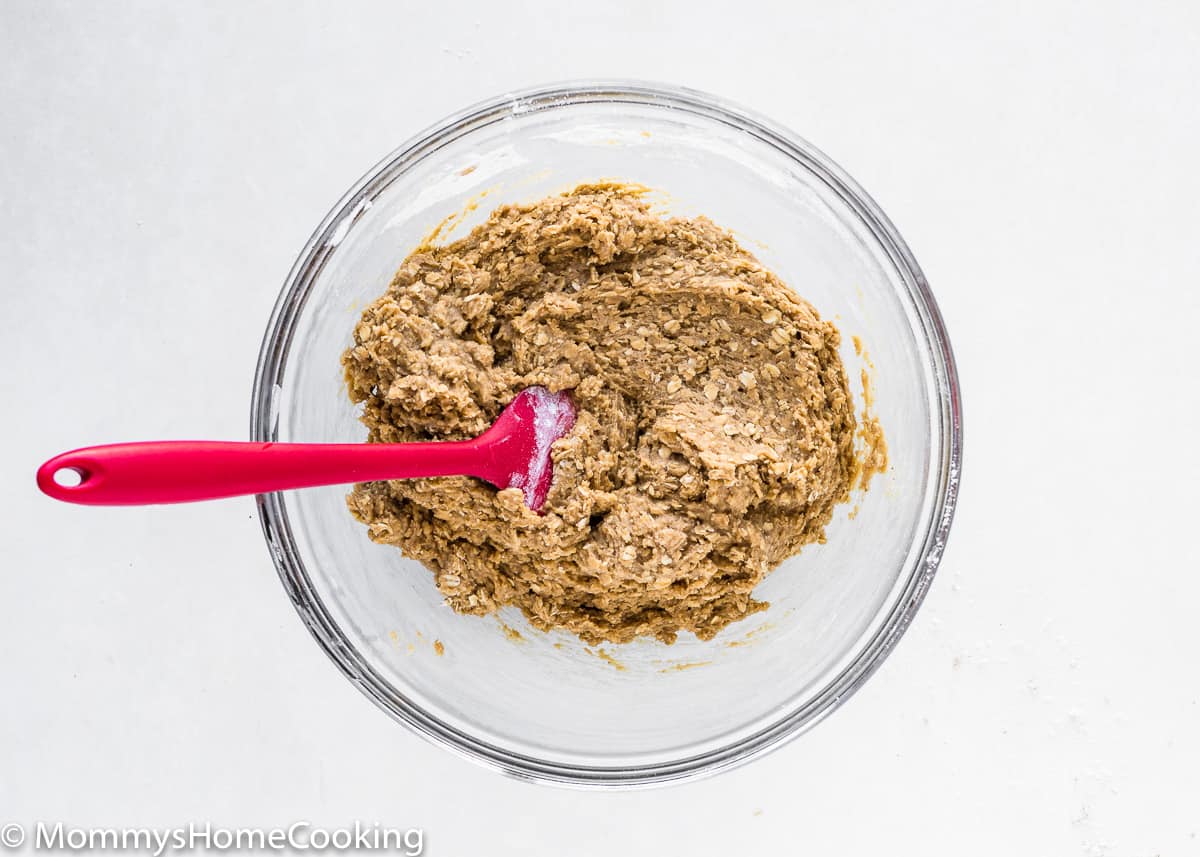
Mix Dry and Wet Ingredients.
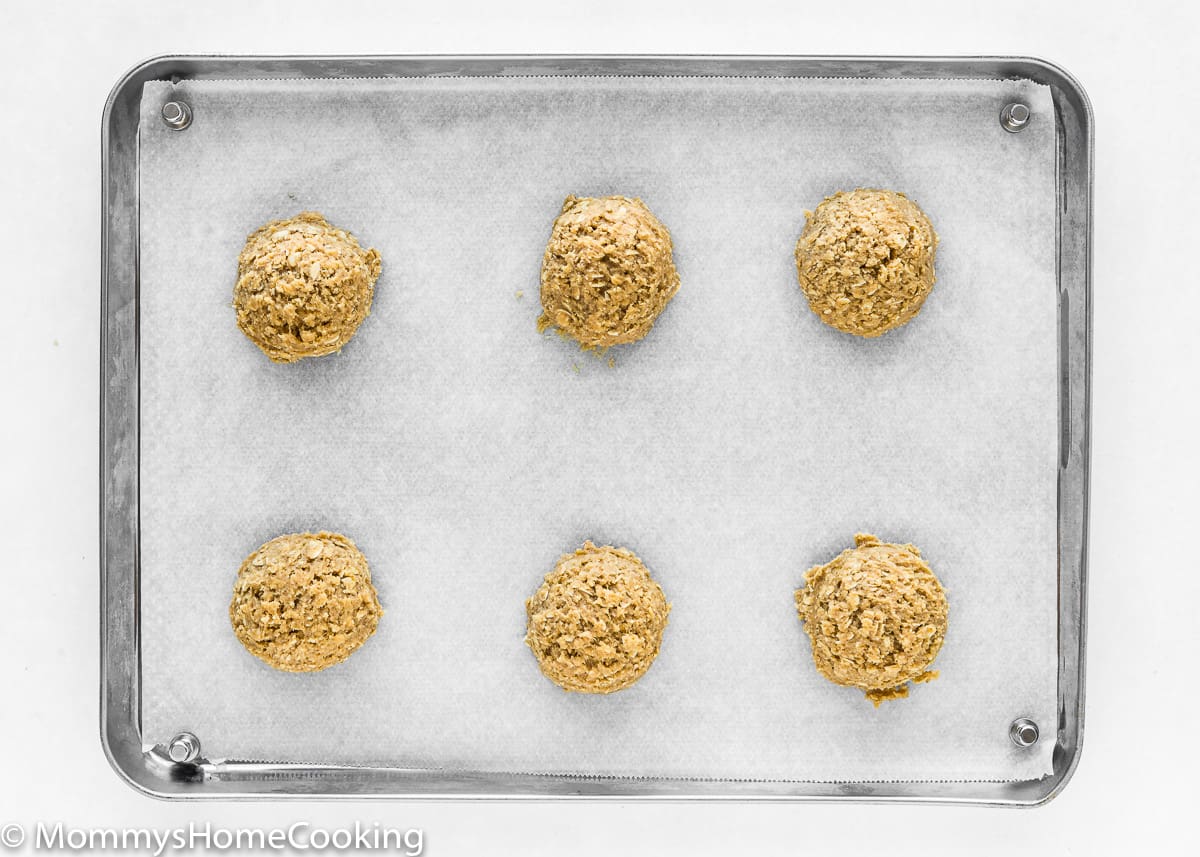
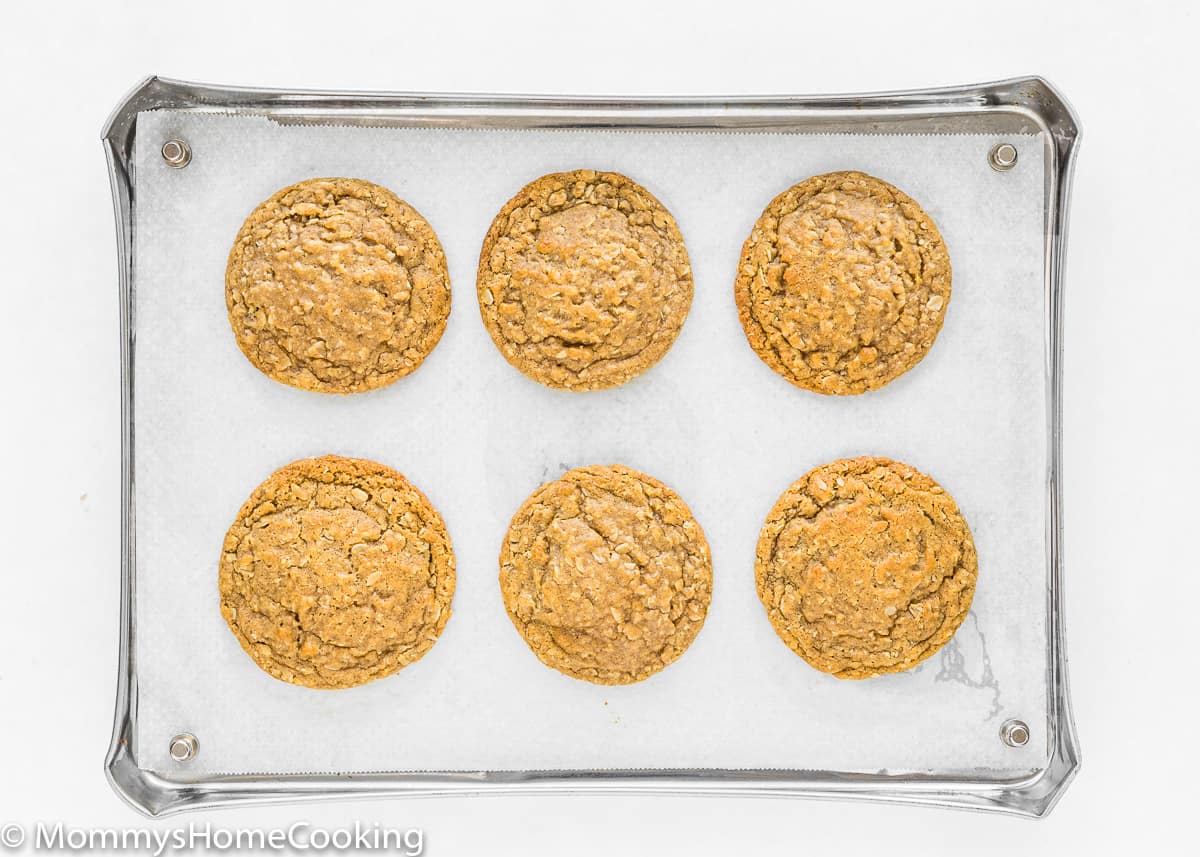
Form Cookies and Bake.
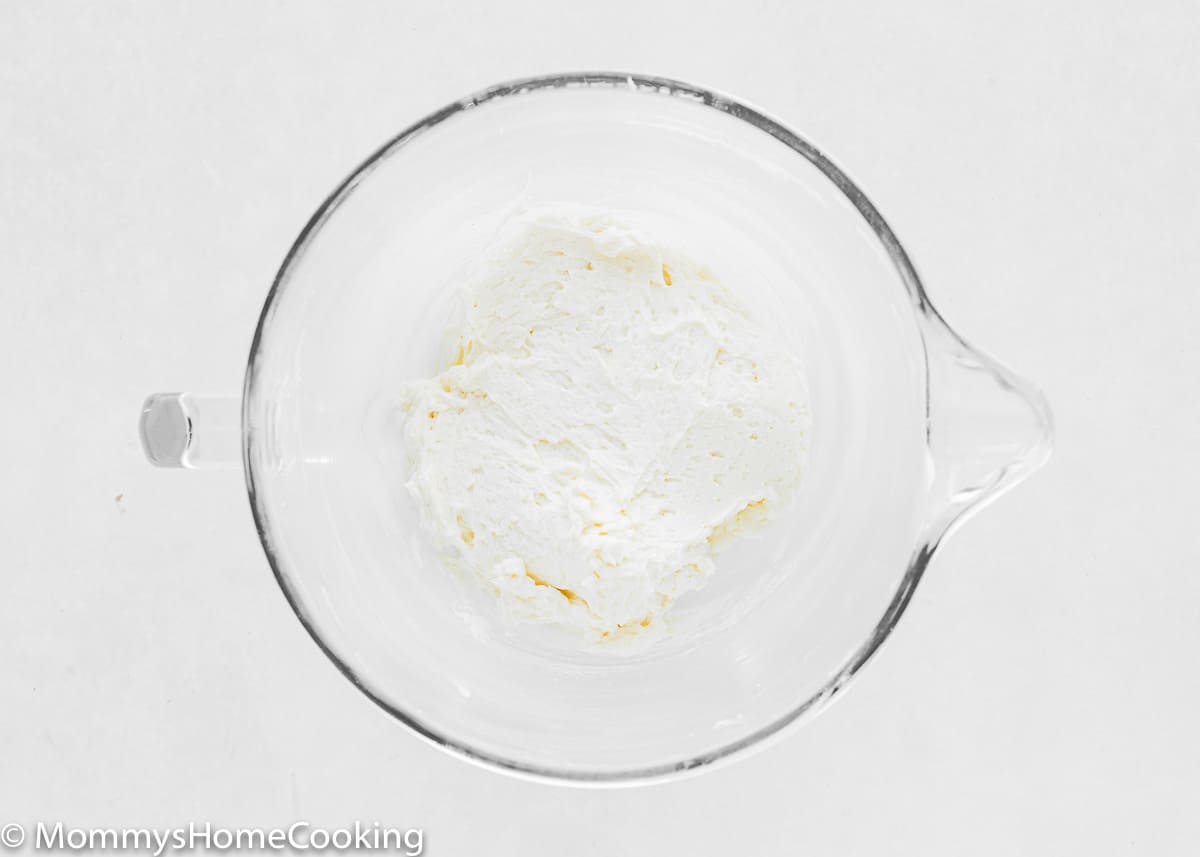
2 – Make the Filling
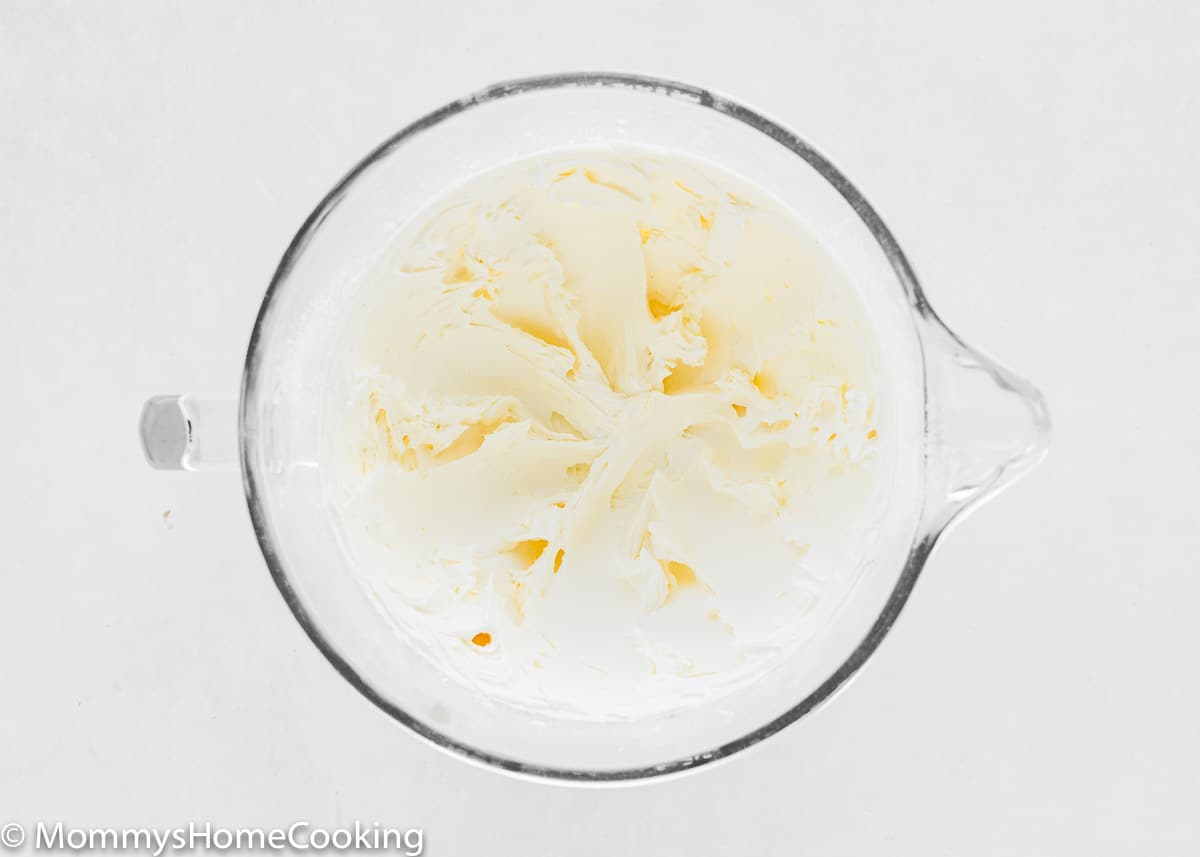
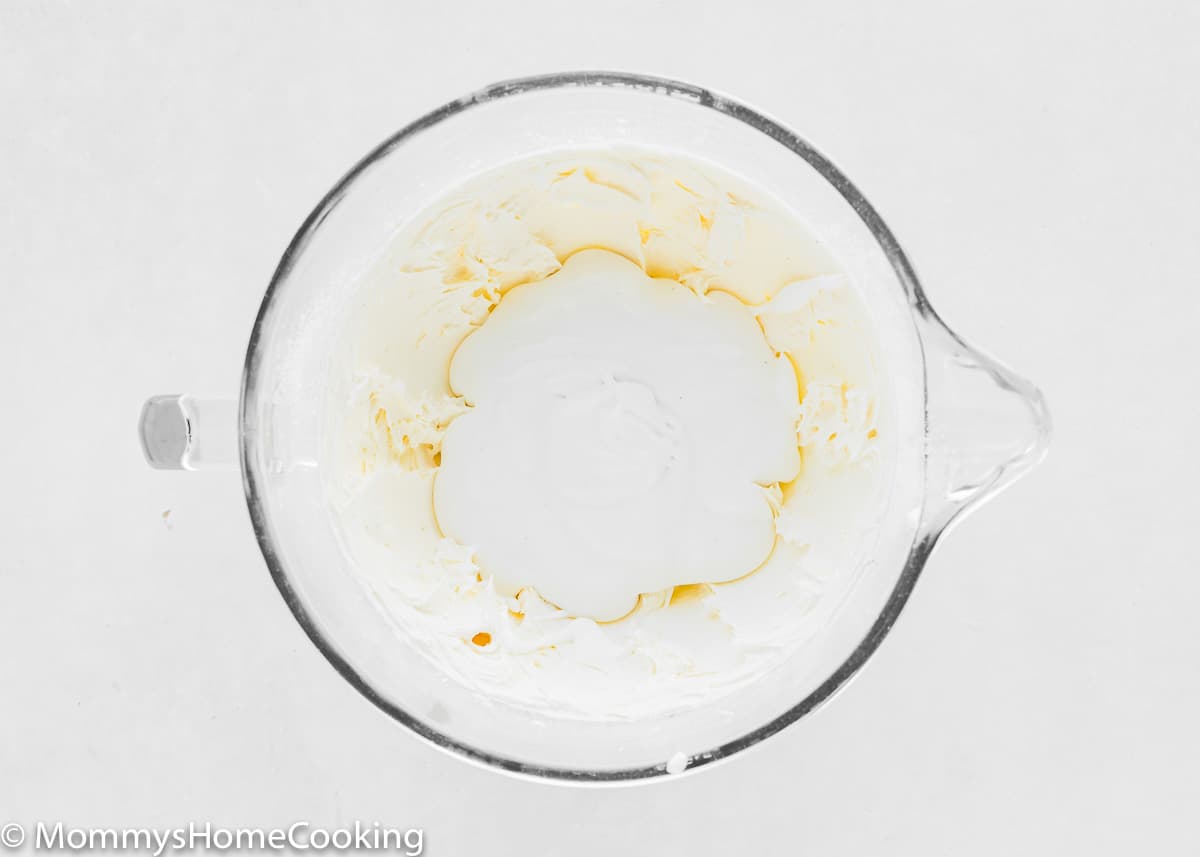
Cream the butter, powdered sugar, and vanilla together until smooth. Mix in the marshmallow fluff.
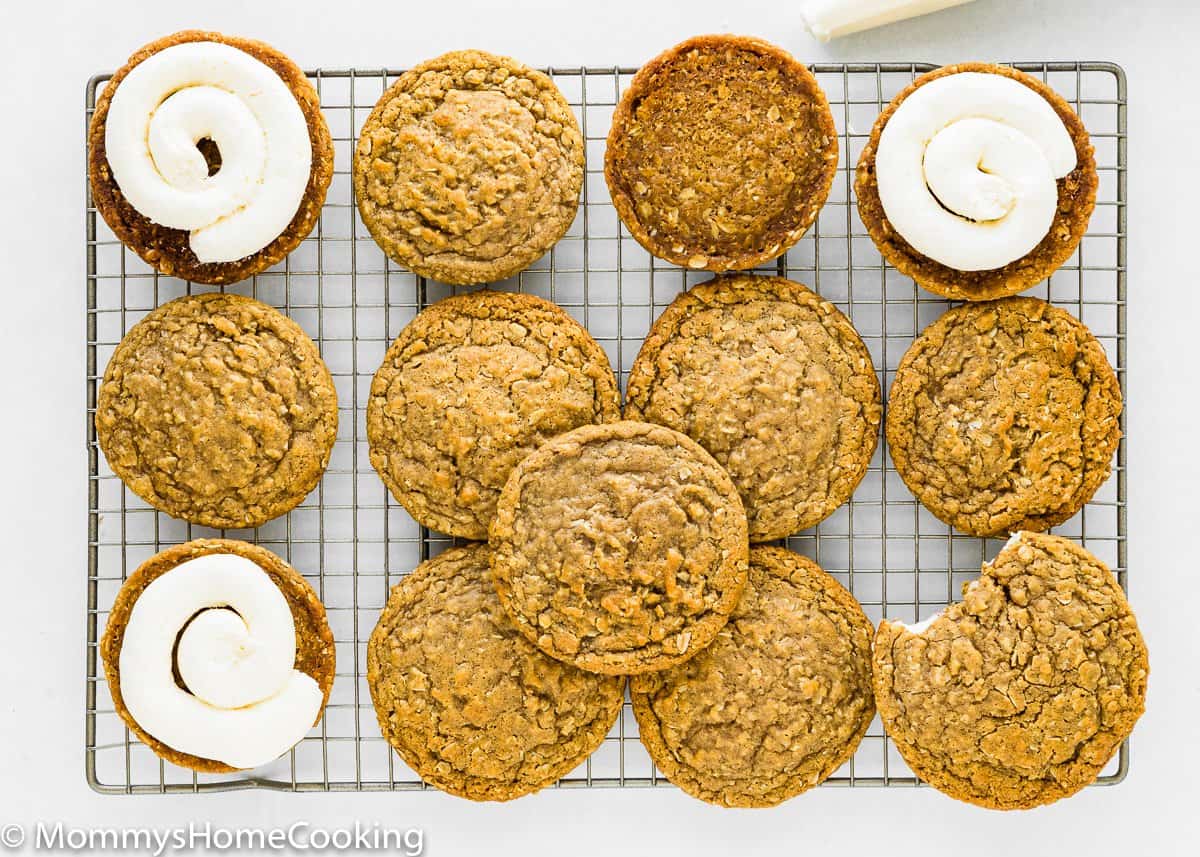
3 – Assemble
Once cookies have cooled, scoop a generous portion of marshmallow cream filling onto the bottom of one cookie. Top with another cookie to make a sandwich/marshmallow cream pie.
Quick Baking Tips
Use quick oats for the best taste and texture with this recipe. If you don’t have quick oats handy, use a food processor to process the oatmeal into smaller pieces (NO fine crumbs). I usually give it a few pulses.
Make sure your butter has cooled enough before adding the sugars! If it’s too warm, it can melt the sugars and leave you with a sticky, greasy dough that will spread too much.
Allow the oatmeal cookies to cool completely before adding the cream filling. If they aren’t completely cooled, the cream pie filling will melt.
Use a piping bag or ice cream scoop to add the cream filling to the cookies evenly. Add as much or little filling as you want.
Frequently Asked Questions
Probably, your butter was too warm when you combined it with the sugars. You need to make sure your butter is not warm to the touch when you combine everything; otherwise, you’ll end up with very flat cookies that spread too much. Next time, let it cool completely!
You can, but that’ll change the texture of your cookies.
No dough chilling required!
Storing & Freezing Instructions
To Freeze, wrap them individually in plastic, then store them in an airtight container in the freezer for up to 2 months. Defrost in the refrigerator overnight, then let come to room temperature before serving. You can also scoop the cookie dough into balls and freeze those to bake later.
More Recipes You’ll Love!
- Eggless Baked Apple Oatmeal Muffins
- Eggless Oatmeal Cookies
- Eggless Oatmeal Breakfast Cookies
- Eggless Red Velvet Whoopie Pies
- Eggless Carrot Cake Cookies
❤️ Love what you see? JOIN my Private Baking Club. Also, SUBSCRIBE to Mommy’s Home Cooking, so you’ll never miss a recipe! And FOLLOW along on Instagram, Pinterest, and Facebook for more fun!
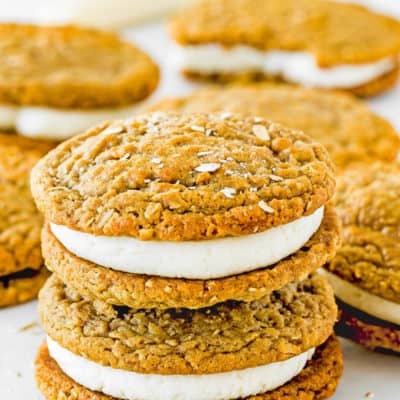
Eggless Oatmeal Cream Pies
Ingredients
For the Cookies:
- 2 cups (280 g) all-purpose flour
- 2 cups (180 g) quick oats
- 2 teaspoons cornstarch
- 1 teaspoon baking soda
- 3/4 teaspoon ground cinnamon
- 3/4 teaspoon salt
- 1 cup (230 g) unsalted butter, melted
- 1 cup (200 g) brown sugar
- 1/2 cup (100 g) granulated sugar
- 2 tablespoons (50 g) molasses
- 1/4 cup (60 ml) milk
- 2 teaspoons (10 ml) pure vanilla extract
For the Eggless Marshmallow Cream Filling:
- 1 cup (230 g) unsalted butter
- 1 cup (120 g) confectioners’ sugar
- 2 teaspoons pure vanilla extract
- 7.5 oz (213 g) eggless marshmallow fluff
Instructions
Make the Cookies:
- Preheat oven to 350º F (180º C). Line a large baking sheet with parchment paper or a silicone baking mat.
- Combine flour, quick oats, cornstarch, baking soda, cinnamon, and salt in a bowl. Set aside.
- In a separate bowl, combine the butter, sugars, and molasses. Add milk and vanilla and stir well until combined.
- Then mix wet ingredients and dry ingredients; mix until everything is combined.
- Drop dough with a large cookie scoop (1.5 to 2 tbs). Cookies will spread in the oven, so drop each ball of dough 3 inches apart.
- Bake for 8 – 10 minutes, until barely golden brown around the edges, but still soft in the middle. Note: When you remove the cookies from the oven, they will still look doughy, and that is okay; they will continue to set as they cool.
- Cool on baking sheets for 5 – 7 minutes; then remove to wire racks to cool completely.
Make the Filling:
- Cream with an electric mixer on medium-high speed the butter, powdered sugar, and vanilla together until smooth. Mix in the marshmallow fluff; beat until fluffy, and smooth, about 3 minutes.
Assembly:
- Once cookies have cooled, scoop a generous portion (I use about 2 tablespoons) of eggless marshmallow cream filling onto the bottom of one cookie. Top with another cookie to make a sandwich/marshmallow cream pie.
- Use quick oats for the best taste and texture with this recipe. If you don’t have quick oats handy, use a food processor to process the oatmeal into smaller pieces (NO fine crumbs). I usually give it a few pulses.
- Make sure your butter has cooled enough before adding the sugars! If it’s too warm, it can melt the sugars and leave you with a sticky, greasy dough that will spread too much.
- Allow the oatmeal cookies to cool completely before adding the cream filling. If they aren’t completely cooled, the cream pie filling will melt.
- Use a piping bag or ice cream scoop to add the cream filling to the cookies evenly. Add as much or little filling as you want.
Nutrition
Eggless Baking Frequently Asked Questions
You’ve asked, and I’ve answered! Read on for a handful of answers to the most frequently asked questions about eggless baking.
Leave a Reply