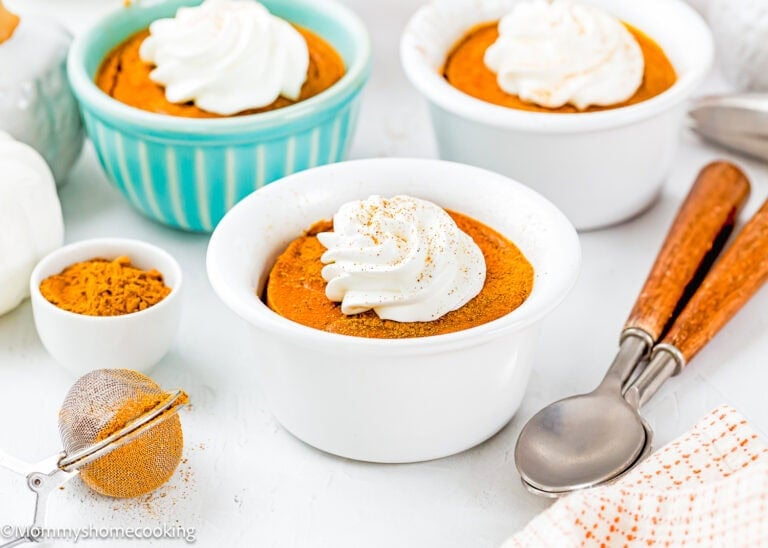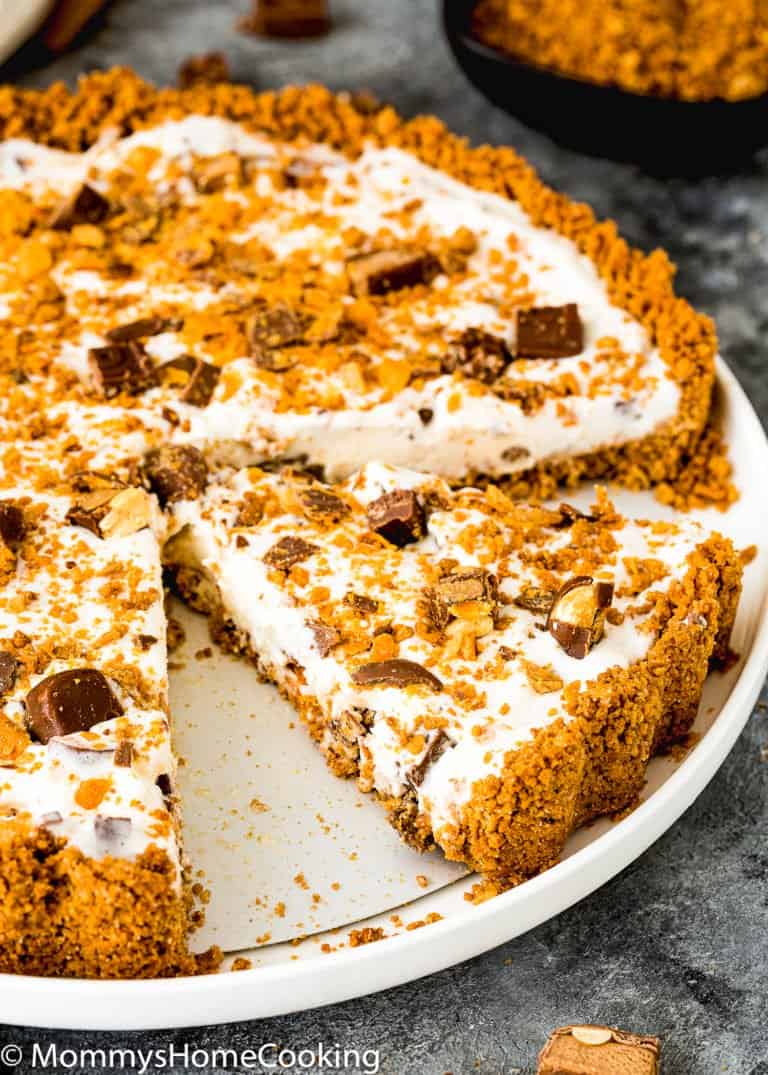

This Eggless Biscoff Pumpkin Cheesecake Pie is creamy, warmly spiced, and sliceable, on a buttery Biscoff cookie crust. It bakes in a regular pie dish with no eggs, no springform pan, and no water bath. It’s the Thanksgiving dessert that feels like pie and cheesecake at the same time, and everyone at the table gets a slice.
Prefer the classic version? Check out my Eggless Pumpkin Cheesecake recipe!

Oriana’s Thoughts On The Recipe
Cheesecake is always my family’s first choice for dessert, so this eggless Biscoff pumpkin cheesecake pie was a natural for our fall table. I already have an eggless pumpkin cheesecake on the blog, but I wanted an easier version with no water bath. I also wanted it smaller, since your fall table will most likely have more than one dessert on it. This pumpkin cheesecake pie really blew my mind, and in my opinion, the secret is the little bit of lemon juice in the filling. Super delicious!
Pumpkin cheesecake pie gives you the best of both holiday desserts: the silky, tangy filling of a cheesecake with the easy slice-and-serve feel of a pie. This one sets beautifully without eggs. Make it a day or two before Thanksgiving, add the whipped cream right before serving, and let it be the dessert everyone talks about.
⭐ Bottom line: This eggless Biscoff pumpkin cheesecake pie is a creamy pumpkin cheesecake filling baked in a buttery Biscoff cookie crust in a regular 9-inch pie dish. It sets with cornstarch and sweetened condensed milk instead of eggs, needs no water bath, and can be made up to 2 days ahead.
Why You’ll Want to Try My Recipe
- Cheesecake flavor, pie-dish easy. No springform pan and no water bath, just a regular 9-inch pie dish you already own.
- Egg-free by design. No egg replacers and no flax eggs. Cornstarch and sweetened condensed milk do the setting.
- That Biscoff crust. Warm, caramel-spiced cookie crumbs pressed into the dish, and all it takes is cookies and butter.
- A make-ahead holiday dessert. It chills in the fridge for up to 2 days, so Thanksgiving Day stays calm.
- Tested by a real allergy mom in a real family kitchen. Every step was tested until it worked, so you can bake it with confidence.

Can You Make Pumpkin Cheesecake Pie Without Eggs?
Yes. This pie is egg-free by design, not adapted from a recipe that needs eggs. Cornstarch and sweetened condensed milk thicken the filling as it bakes, and a full chill in the fridge sets it firm enough to slice cleanly.
Why It Sets Without Eggs
In most pumpkin cheesecake pies, eggs are what firm up the filling. This one doesn’t need them, because three things share that job:
- Cornstarch thickens the filling as it heats, the same way it thickens a pudding. Mixing it with the brown sugar first keeps it from clumping.
- Sweetened condensed milk makes the filling thick, rich, and creamy before it ever goes into the oven, so there’s less for the oven to do.
- The chill is the final step. Cream cheese firms up as it gets cold, and that’s what turns a soft, wobbly pie into clean, sliceable wedges. That’s why the 4-hour chill isn’t optional.
- Blotting the pumpkin helps too. Less water in the filling means a creamier, firmer slice.
Does Pumpkin Cheesecake Pie Need A Water Bath?
No. A pie is much shallower than a tall cheesecake, so it bakes gently at 325°F (160°C), then finishes setting in the turned-off oven with the door closed. No foil-wrapped pan, no leaks, no water bath.
Ingredients You’ll Need, Substitutions & Notes

Scroll down to the recipe card for all the details, including measurements and instructions.
Most of these are pantry staples you already have — a few are worth a quick note.
- Biscoff cookies are spiced speculoos-style cookies with a caramel flavor, and they’re made without eggs. You’ll need 32 cookies (250 g). Ingredients can vary by country, so check the package, especially for soy.
- Full-fat block cream cheese is a must. Soft tub-style cream cheese has more water and won’t set as firmly. Let it soften on the counter for about an hour so the filling beats up smooth.
- Canned pumpkin puree means plain 100% pumpkin, not pumpkin pie filling. Pie filling is already sweetened and spiced and would throw the recipe off. I blot the puree with paper towels before adding it, which takes out extra moisture.
- Sweetened condensed milk is not the same as evaporated milk. The condensed milk is part of what sets this pie, so don’t swap it.
- Lemon juice is only 1/2 teaspoon, but please don’t skip it. That little bit of brightness gives the pie an amazing flavor contrast against the sweet filling and warm spices.
- Kosher salt is what I use. If you only have table salt, use a little less, since table salt is saltier by the spoonful.
Food Allergy Notes & Swaps
This recipe does not contain eggs, tree nuts, peanuts, sesame, fish, or shellfish as ingredients. Manufacturing lines change — read every label every single time, even brands you have used before. That habit has never steered me wrong.
Need Dairy-Free or Gluten-Free?
If you are navigating additional dietary needs alongside the egg-free requirement, I have detailed guides for both: How I Replace Dairy in My Egg-Free Recipes – Baking Without Eggs and Gluten
Ingredient Swap Suggestions
- Dairy-Free: To make this recipe dairy-free, you can easily swap out the dairy ingredients for non-dairy alternatives.
- Butter: Substitute butter with dairy-free butter substitutes. Miyoko’s Creamery Organic Vegan Butter and Earth Balance Vegan Buttery Sticks are my favorite butter substitutes for baking.
- Cream Cheese: To substitute the cream cheese, I like to use Violife Just Like Cream Cheese Original.
- Sour Cream: Use your favorite dairy-free sour cream. I use and recommend Tofutti Better than Sour Cream.
- Heavy Cream: You can use a non-dairy cream, such as Silk, Country Crock Plant Cream, or Califia Farms.
- Sweetened condensed milk: My favorite dairy-free substitute is NATURES CHARM Sweetened Condensed Oatmilk.
- Gluten-Free Crackers: Use your favorite wheat-free Biscoff or graham-style cracker. I like Pamela’s gluten-free Graham Crackers, but they contain milk. Kinnikinnick S’moreables, Graham Style Cracker is another milk – and wheat-free alternative, but the label warns that it may contain eggs. ChocZero Speculoos Cookies are egg and gluten-free, but they contain almonds and milk. Homefree Mini Ginger Snap Cookies are free of the 14 most common food allergens. So, if you are dealing with several allergies, make sure you find a safe alternative.
- Soy-Free: Biscoff cookies may contain soy depending on where you buy them. Manufacturing lines change — read every label every single time, even brands you have used before. That habit has never steered me wrong.

Process Overview: Step-by-Step Photos
Please check the recipe card at the bottom of the post for exact quantities and detailed instructions (scroll down).
- Make the Biscoff Crust
- Blot the Pumpkin
- Make the Filling
- Fill and Bake the Pie
- Bake, Cool, and Chill
- Make the Whipped Cream and Decorate



Tips & Troubleshooting
- Soften the cream cheese completely. Cold cream cheese is the number one cause of a lumpy filling, and lumps don’t bake out. Leave the blocks on the counter for about an hour before you start.
- Keep the mixer on low. Beating on high whips air into the filling, and air bubbles turn into cracks. Tap the dish on the counter after filling to bring any bubbles to the surface.
- Trust the wobble. Pull the pie when the edges look set and slightly puffed and the very center still jiggles like soft jelly. It finishes setting during the oven rest and the chill. Overbaking makes it grainy and cracked.
- My crust crumbled when I sliced it. Press the crumbs with medium pressure, not rock-hard, and round the inside corner where the bottom meets the sides with a spoon. That corner is where crusts usually break. The 10-minute pre-bake also helps it hold together.
- My pie is still soft in the middle. It needs at least 4 hours in the fridge, and overnight is even better. Skipping the pumpkin blot can also leave the filling wetter than it should be.
- The top or edges are browning too fast. Loosely tent the pie with foil for the rest of the bake.
- I got a small crack on top. Don’t stress. The whipped cream topping covers it completely, and it tastes exactly the same.
- For clean slices, use a sharp knife and wipe it clean between every cut.

What I Learned Testing This Recipe
- My first test made more filling than my pie dish could comfortably hold. So I scaled the filling down to 2/3 and kept the Biscoff crust exactly the same. That way it fits a 9-inch pie dish, with no extra filling left in the bowl.
- The lemon juice was the surprise. Adding just a little gave the whole pie an extraordinary flavor contrast. It cuts through the sweetness of the condensed milk and makes the pumpkin and spices taste brighter. After more than a decade of egg-free baking, I’ve learned that the smallest ingredient is sometimes the one that makes a recipe, and this is one of those times.
- I also started blotting the pumpkin puree with paper towels before adding it. Canned pumpkin holds a lot of water, and pressing some of it out helps the filling set creamy and firm without eggs.
- And for the oven rest, I turn the oven off and keep the door closed for 30 minutes. That gentle leftover heat finishes setting the center.
Make It Ahead for Thanksgiving
This pie is made for planning ahead. Here’s the easy timeline:
- Up to 2 days before: Bake the pie, cool it, and chill it well covered in the fridge. Leftovers keep up to 5 days.
- The morning of, or a couple of hours before serving: Whip the cream and top the pie.
- Right before serving: Sprinkle with a little pumpkin pie spice and slice with a clean, sharp knife.
Your oven stays free on Thanksgiving Day for the turkey and sides, and dessert is already done.

Variations & Additions To Try
- Graham cracker crust. For a more classic pie, swap the Biscoff crust for my easy graham cracker crust.
- Homemade spice. Mix up my homemade pumpkin pie spice blend and use it in the filling and on top.
- Extra Biscoff on top. Sprinkle a few crushed Biscoff cookies over the whipped cream for crunch and a hint of what’s underneath.
Frequently Asked Questions

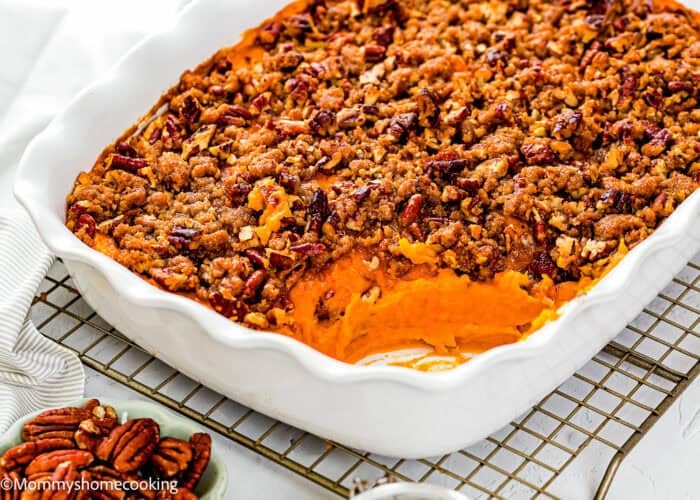
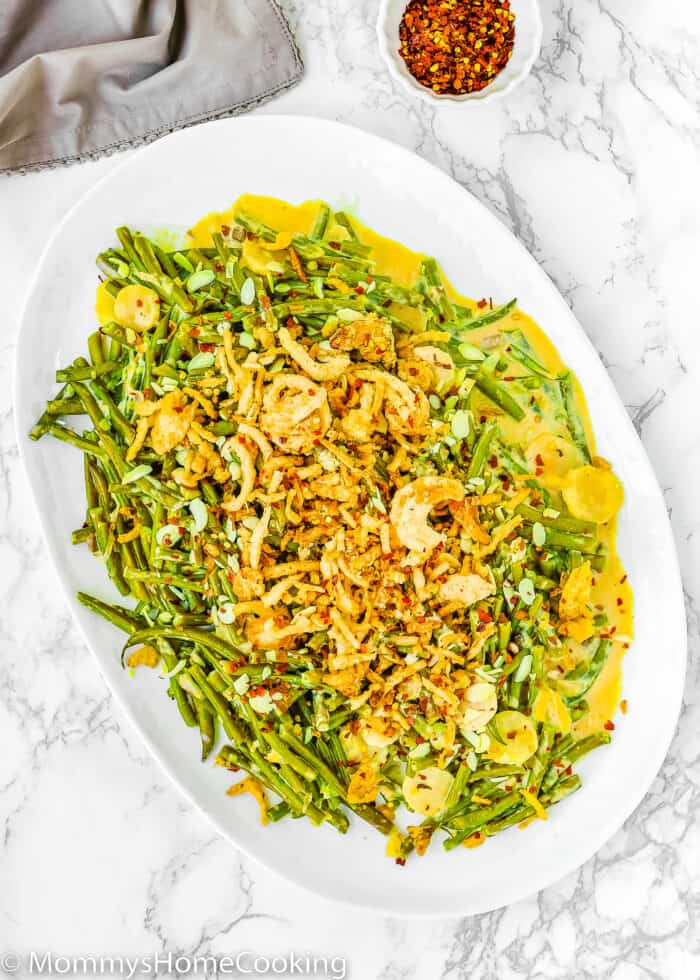
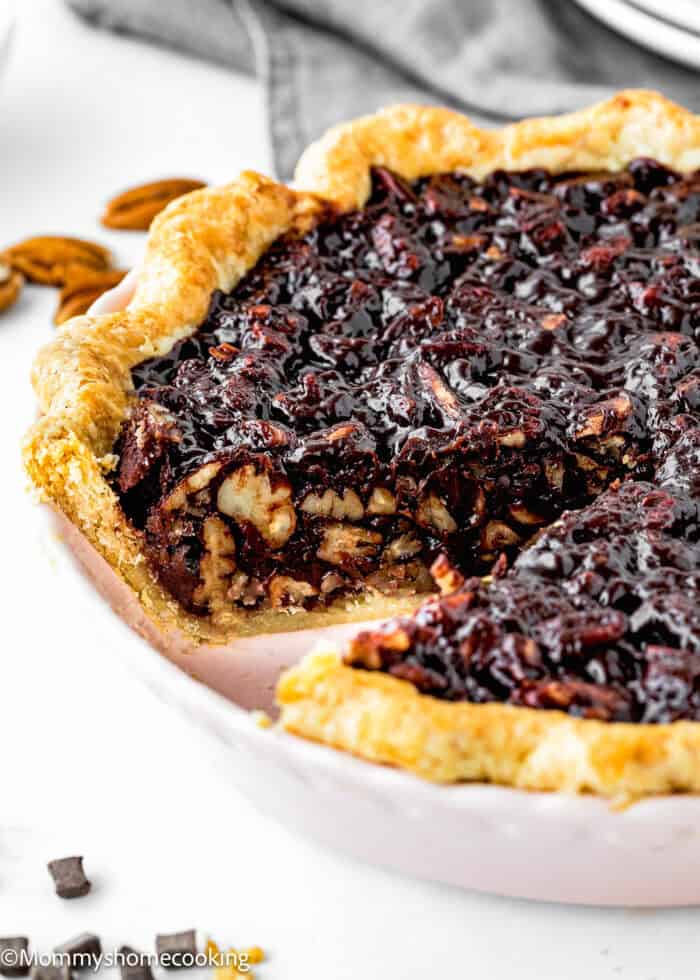
Round Out Your Egg-Free Thanksgiving Table!

Recipe Card

Eggless Biscoff Pumpkin Cheesecake Pie (No Water Bath!)


Video
Important
• For best results, I highly recommend using a kitchen scale to measure the ingredients.
Ingredients
For the Biscoff Crust:
- 32 (250 g) Biscoff cookies
- 5 tablespoons (71 g) unsalted butter, melted
For the Filling:
- 2 tablespoons (20 g) cornstarch
- 1/3 cup (67 g) light brown sugar
- 16 ounces (454 g) full-fat cream cheese, softened (two 8-ounce blocks)
- 1/4 cup (60 g) sour cream, room temperature
- 2/3 cup (160 g) canned pumpkin puree, blotted (see instructions)
- 3/4 cup (240 g) sweetened condensed milk (about 2/3 of a 14-ounce can)
- 2 teaspoons pumpkin pie spice
- 1/2 teaspoon lemon juice don’t skip it
- 3/4 teaspoon (4 ml) pure vanilla extract
- 1/4 teaspoon kosher salt
For the Whipped Cream Topping:
- 1 cup (240 ml) cold heavy whipping cream
- 1/3 cup (40 g) powdered sugar
- 1/2 teaspoon pure vanilla extract
- Pumpkin pie spice for sprinkling (optional)
Instructions
- Preheat the oven: Preheat your oven to 350°F (180°C). Have a 9-inch pie dish ready. There's no need to grease it.Pie dish note: Use a 9-inch pie dish that's at least 1½ inches (4 cm) deep. A shallower dish won't hold all the filling.
- Make the crumbs: Grind the Biscoff cookies into fine crumbs in a food processor or blender. No food processor? Seal them in a zip-top bag and crush them with a rolling pin until no big pieces are left. The crumbs should look like fine, sandy brown sugar.

- Mix the crust: In a medium bowl, stir the crumbs and melted butter together until every crumb is moistened. The mixture will look like damp sand and hold together when you pinch it. Break up any big clumps with a spoon.
- Press the crust into the dish: Tip the crumbs into the pie dish and press them over the bottom and up the sides with your fingers, using medium pressure. You want a crust that holds together, not one packed rock-hard. A flat-bottomed measuring cup helps smooth the bottom. Run a spoon around the inside corner where the bottom meets the sides to round it out. That corner is where crusts usually crack and crumble.
- Bake the crust: Bake for 10 minutes, until it smells toasty and looks slightly darker at the edges. Take it out and lower the oven to 325°F (160°C). Make the filling while the crust is still warm.
- Blot the pumpkin: Measure the pumpkin puree and spread it over a double layer of paper towels. Press another paper towel on top to soak up the extra moisture, then scrape the pumpkin off with a spatula.
- Mix the cornstarch and sugar: In a small bowl, stir the cornstarch and brown sugar together until there are no white streaks of cornstarch. Mixing them first keeps the cornstarch from clumping in the filling.
- Beat the cream cheese: In a large bowl with an electric mixer on low speed, beat the cream cheese and sour cream for 2 to 3 minutes, until completely smooth with no lumps. Scrape the bowl once or twice. Any lumps left now will stay lumps in the finished pie.
- Add the pumpkin and sugar mixture: Add the cornstarch and sugar mixture and the blotted pumpkin puree. Beat on low just until smooth and evenly orange.
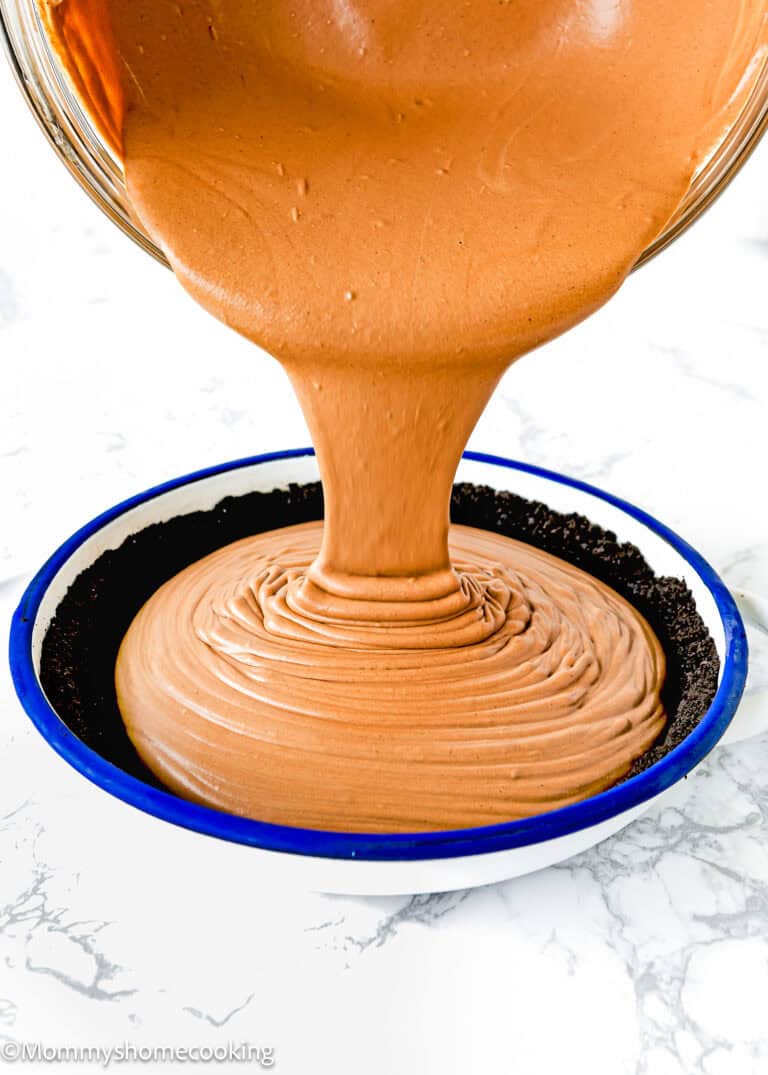
- Add the condensed milk: Pour in the sweetened condensed milk gradually and beat on low for 1 to 2 minutes, until the filling looks thick, glossy, and creamy. Keep the mixer on low. Beating on high whips in air, and air bubbles turn into cracks.
- Add the flavorings: Add the pumpkin pie spice, lemon juice, vanilla, and kosher salt. Beat on low just until combined. The filling should smell warm and spiced.
- Fill the pie: Pour the filling into the warm crust and smooth the top. Gently tap the dish on the counter a few times to bring any air bubbles to the surface.
- Bake the pie: Bake at 325°F (160°C) for 30 to 35 minutes, until the edges look set and slightly puffed and the very center still wobbles like soft jelly when you give the dish a gentle nudge. If the top or crust edges are browning too fast, loosely tent the pie with foil.Note: Every oven is different, so start checking for the center wobble at 28 minutes.
- Rest it in the oven: Turn the oven off and leave the pie inside with the door closed for 30 more minutes. The gentle leftover heat finishes setting the center and helps prevent cracks.
- Cool and chill: Move the pie to a wire rack and let it cool at room temperature for 1 hour. Then refrigerate it for at least 4 hours, or up to 2 days. It needs the full chill to set firm enough to slice. It will look soft when it goes into the fridge, and that's normal.
- Make the whipped cream: In a chilled bowl, beat the cold heavy whipping cream, powdered sugar and vanilla on medium-high speed until stiff peaks form, about 2 to 4 minutes. Stop as soon as it holds its shape, because overbeaten cream turns grainy.
- Top and serve: Spoon the whipped cream into a piping bag fitted with a large open star tip. Pipe a mix of big and small rosettes over the chilled pie, leaving a ring of pumpkin filling showing around the edge. Mixing the sizes gives the top a pretty, natural movement. Dust lightly with pumpkin pie spice using a small tea strainer. For neat slices, use a sharp knife and wipe it clean between cuts.


- Don’t skip the lemon juice: that little bit of brightness gives the pie an amazing flavor contrast against the sweet condensed milk and warm spices.
- Blot the pumpkin: canned pumpkin holds a lot of water. A quick press between paper towels helps the filling set creamy and sliceable. Full troubleshooting guide in the post above.
- Soften the cream cheese completely and keep the mixer on low: that’s how you get a smooth, crack-free filling.
- Trust the wobble and chill it fully: pull the pie while the center still jiggles, then give it at least 4 hours in the fridge, overnight if you can.
Nutrition
Nutrition information provided is an estimate and will vary based on cooking methods and brands of ingredients used.