
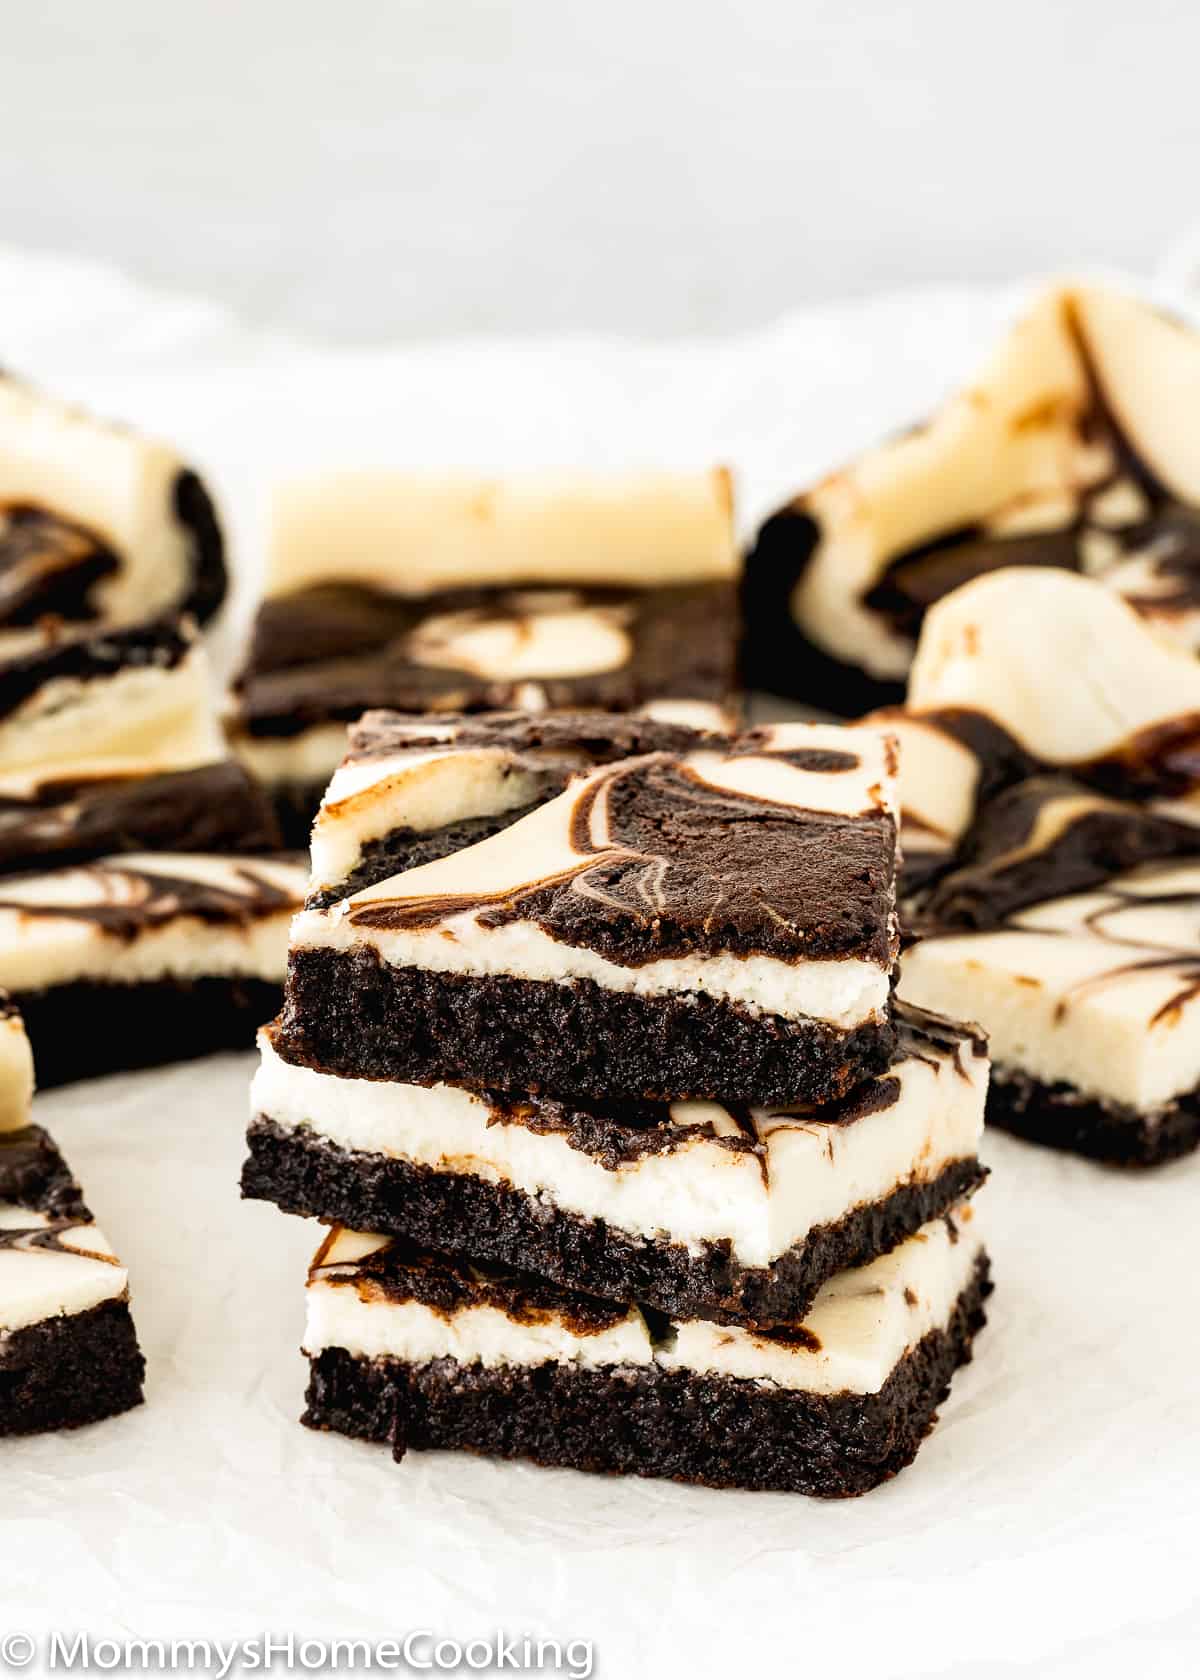
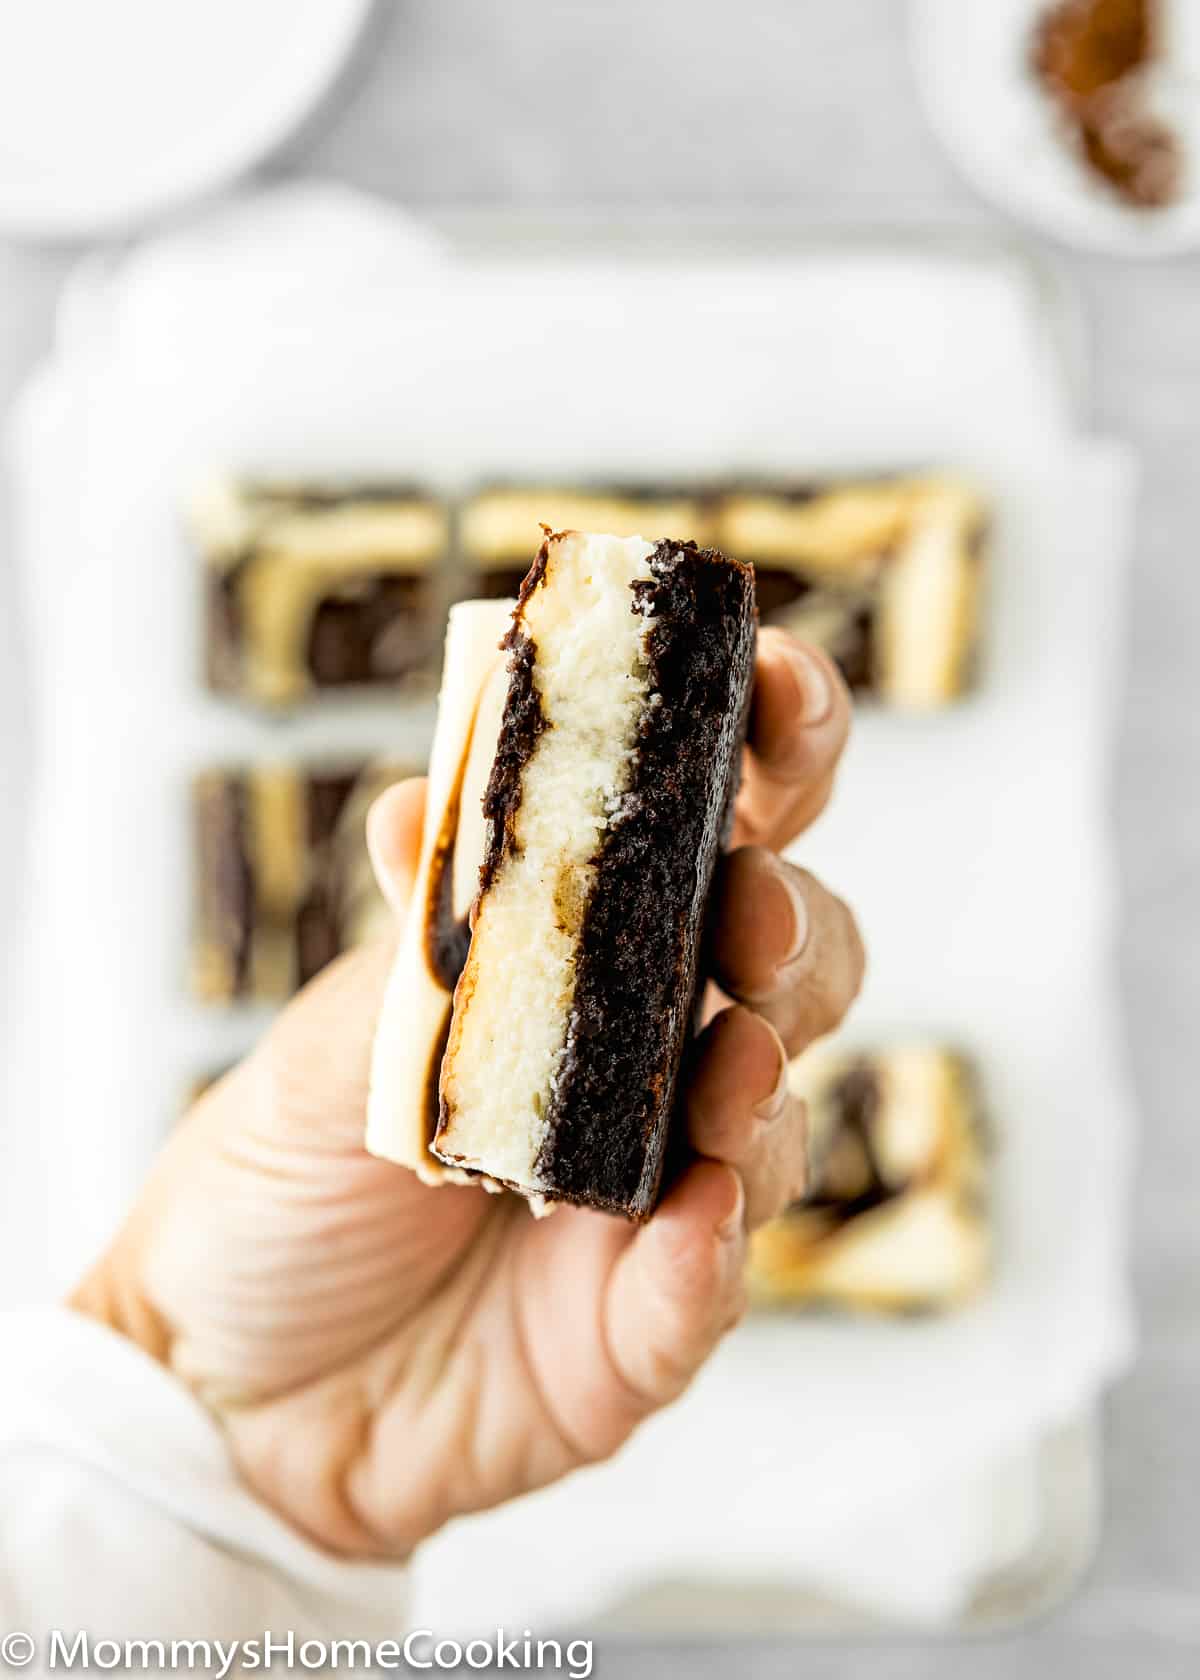
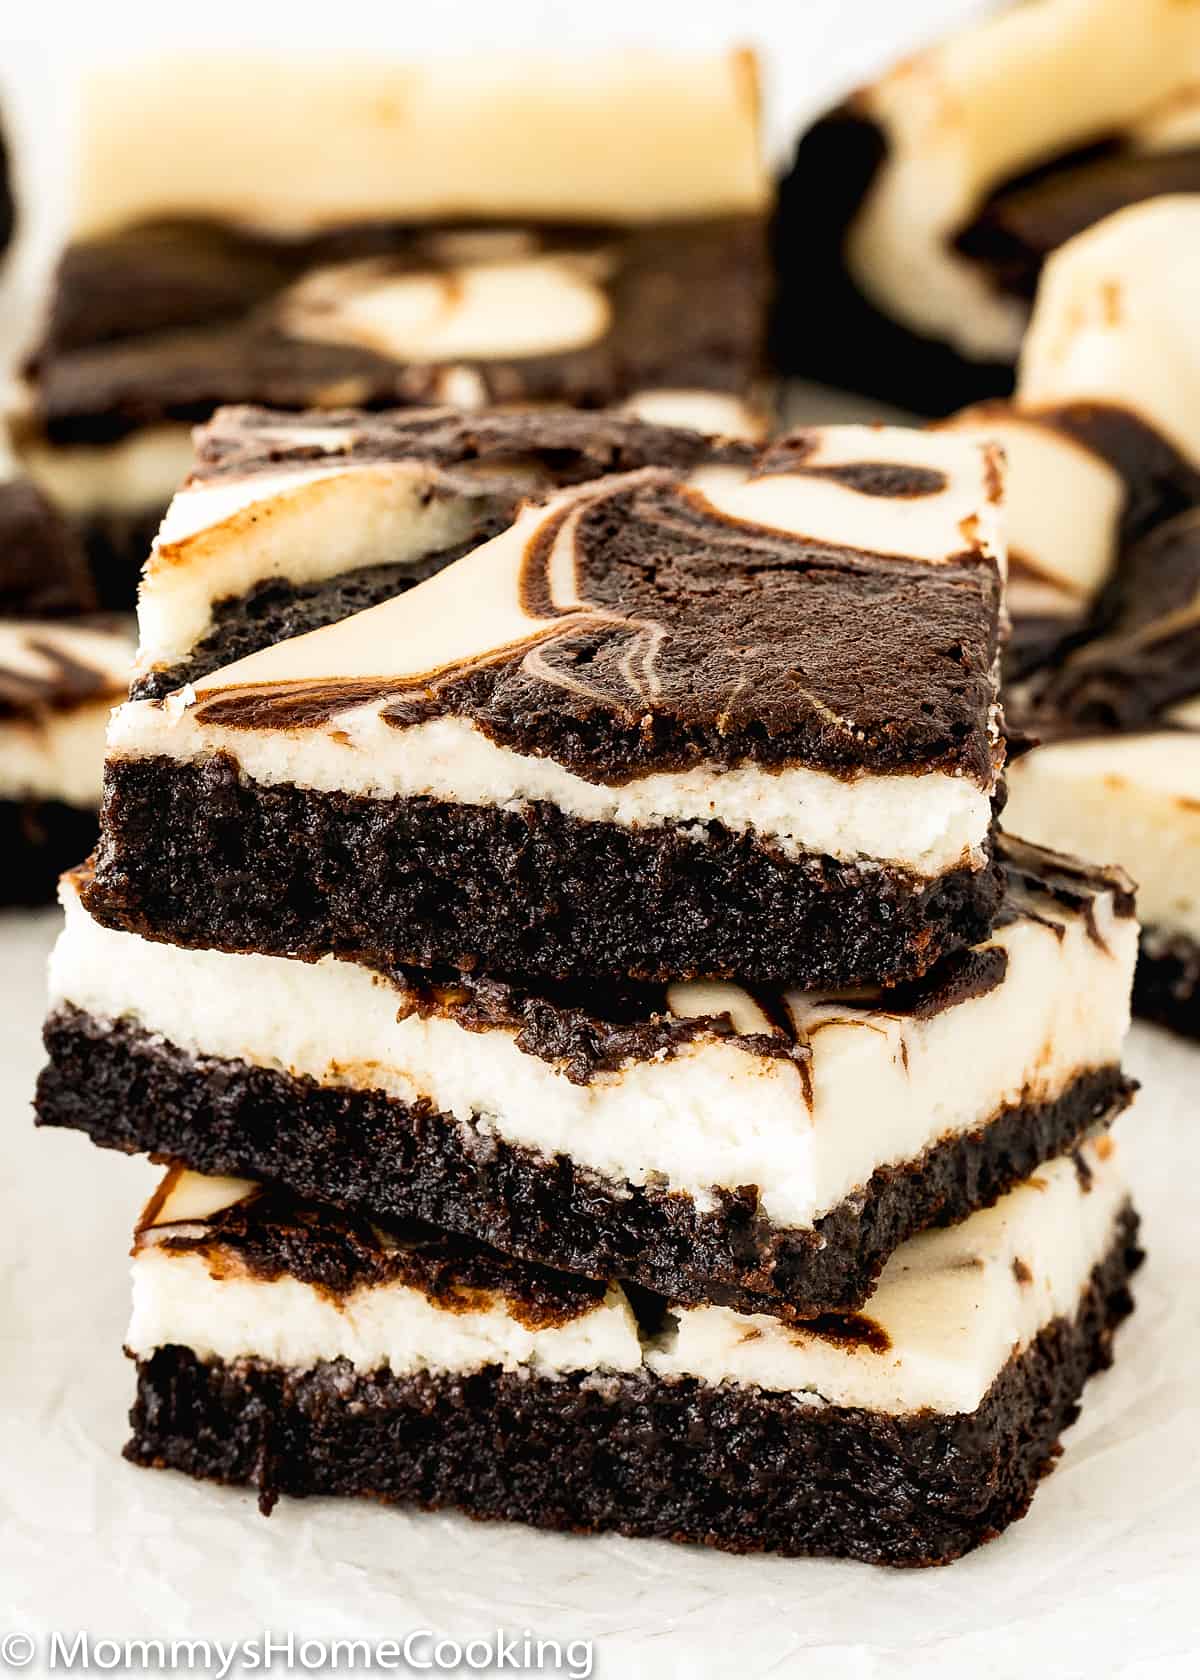
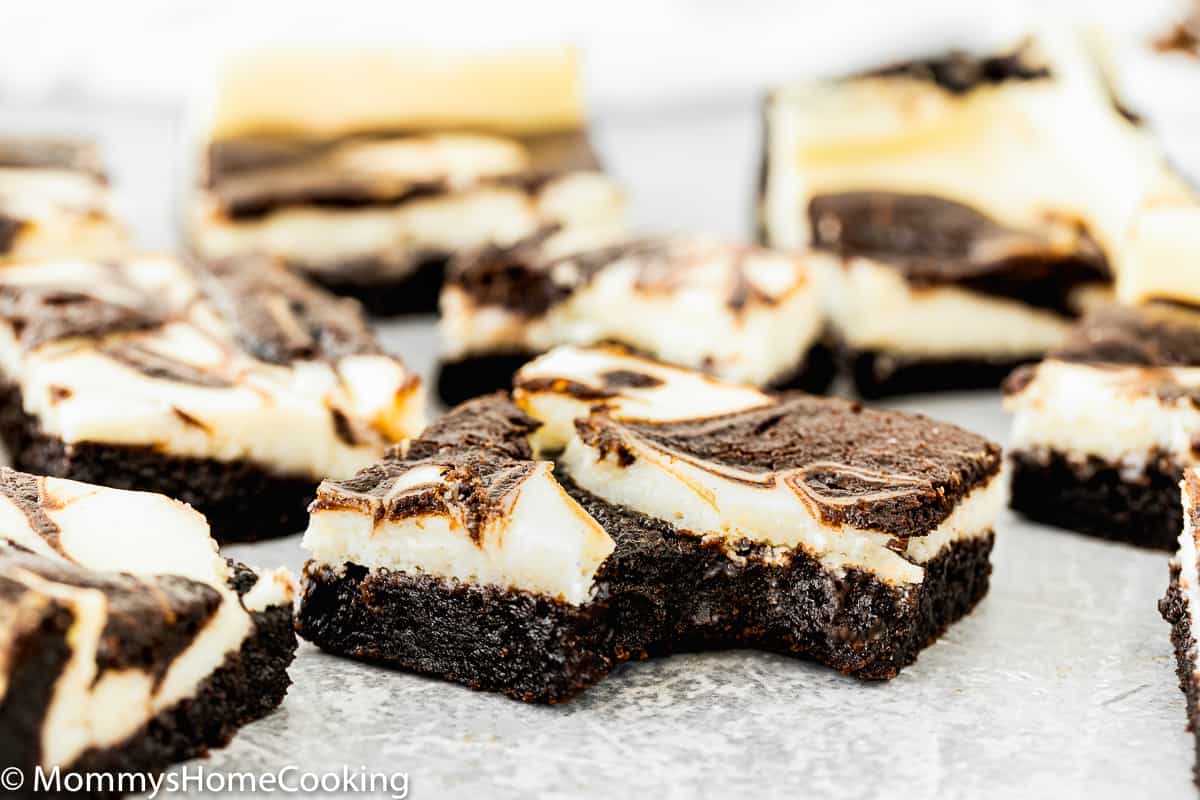
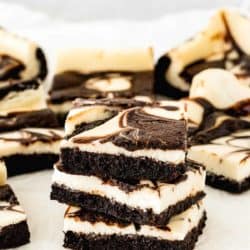
These Eggless Cheesecake Brownies are incredibly fudgy, rich, decadent, and super easy to make! With a thick layer of delicious cheesecake and plenty of chocolatey goodness, these will become your new favorite. The recipe includes step-by-step photos and lots of tips.
Egg-Free Cheesecake Brownies Recipe Highlights
When you can’t decide which dessert to make, make both! Eggless Cheesecake Brownies allow you to enjoy the best of both worlds in one delectable bite.
We love homemade brownies. We love cheesecake. Combine the two together, and we are in heaven. Eggless Cheesecake Brownies make my family extremely happy, and I’m sure they will do the same for yours!
Eggless Cheesecake Brownies are incredibly fudgy and rich with a thick layer of delicious cheesecake and plenty of chocolatey goodness. The slight tanginess of the cheesecake layer truly compliments that yummy chocolate flavor and makes for an über decadent but balanced bite.
The brownie part of this recipe is adapted from my favorite eggless brownie recipe, which all of you love. They are rich and delicious!
If you’re looking for a new dessert to try, these fabulous Eggless Cheesecake Brownies are worthy of any special occasion!

Ingredients You’ll Need
Here’s what you’ll need for Eggless Cheesecake Brownies. For the full recipe, scroll down!
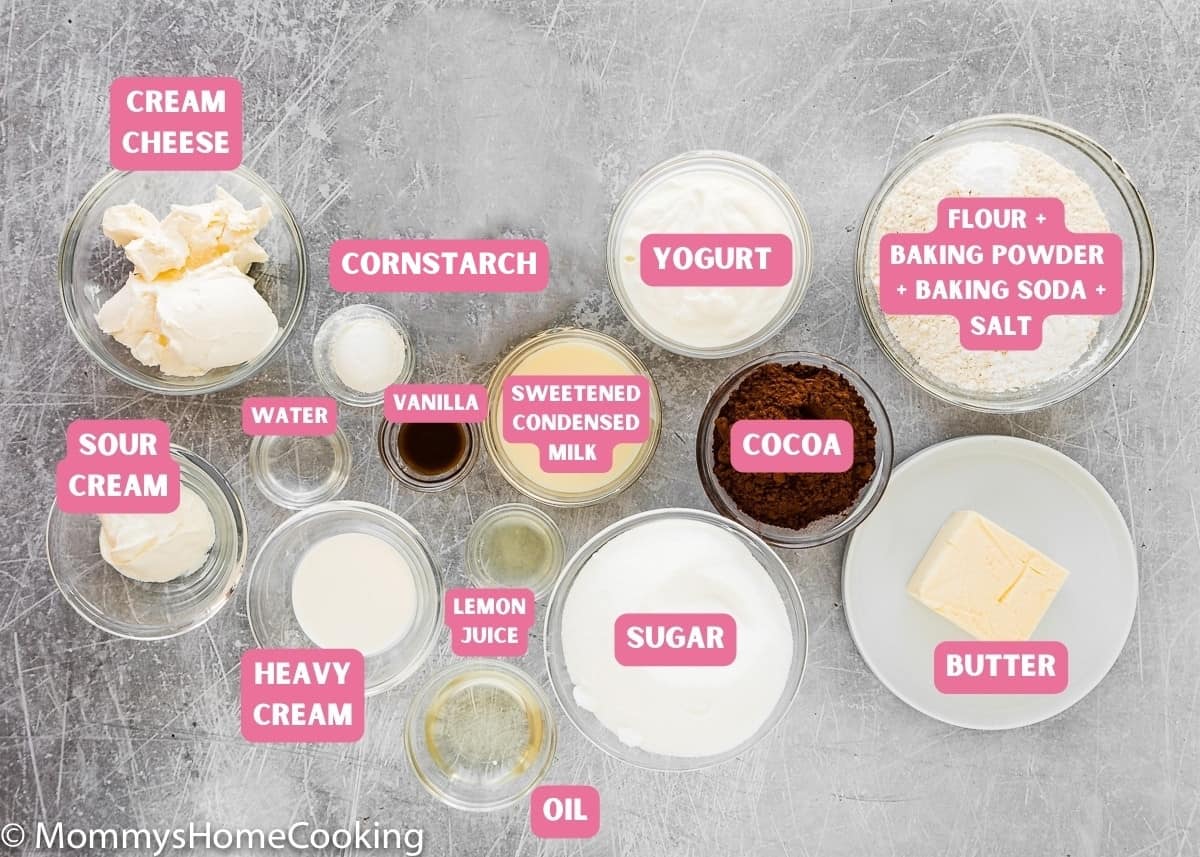
Ingredients Notes & Substitutions
For the Brownie Layer:
- Butter: I prefer to use unsalted butter, but if you only have salted butter handy, you can use it. In this case, skip the salt called in the recipe.
- Sugar: Regular white granulated sugar o caster sugar.
- Oil: Vegetable or canola oil – Or any light-tasting oil of your preference.
- Yogurt: I recommend using the full-fat versions.
- Vanilla Extract: For optimal flavor, reach for pure vanilla instead of imitation. Even better, try homemade vanilla extract!
- Flour: Standard all-purpose flour works best here; skip the cake flour, bread flour, and wheat flour.
- Unsweetened Natural Cocoa Powder: I like to use unsweetened natural cocoa powder instead of Dutch-processed, because it’s more acidic and reacts with baking soda, allowing your baked goods to rise.
- Baking Powder & Baking Soda: Make sure they’re not expired or too old.
- Salt: I prefer kosher or sea salt. If you only have table salt handy, I recommend reducing the amount to half.
For the Cheesecake Layer:
- Cornstarch: You can substitute for potato starch 1:1.
- Cream Cheese: Make sure you use the full-fat version that comes in blocks.
- Sugar: Regular white granulated sugar o caster sugar.
- Sour Cream: You can substitute sour cream for plain regular yogurt. I recommend using the full-fat versions.
- Sweetened Condensed Milk: I recommend using the full-fat versions.
- Lemon Juice: Freshly squeezed is best!
- Vanilla Extract: For optimal flavor, reach for pure vanilla instead of imitation. Even better, try homemade vanilla extract!
- Heavy Cream: make sure it has at least 35% of fat content.
Step By Step Recipe Photo Tutorial
For the detailed recipe instructions, scroll down to the recipe card!
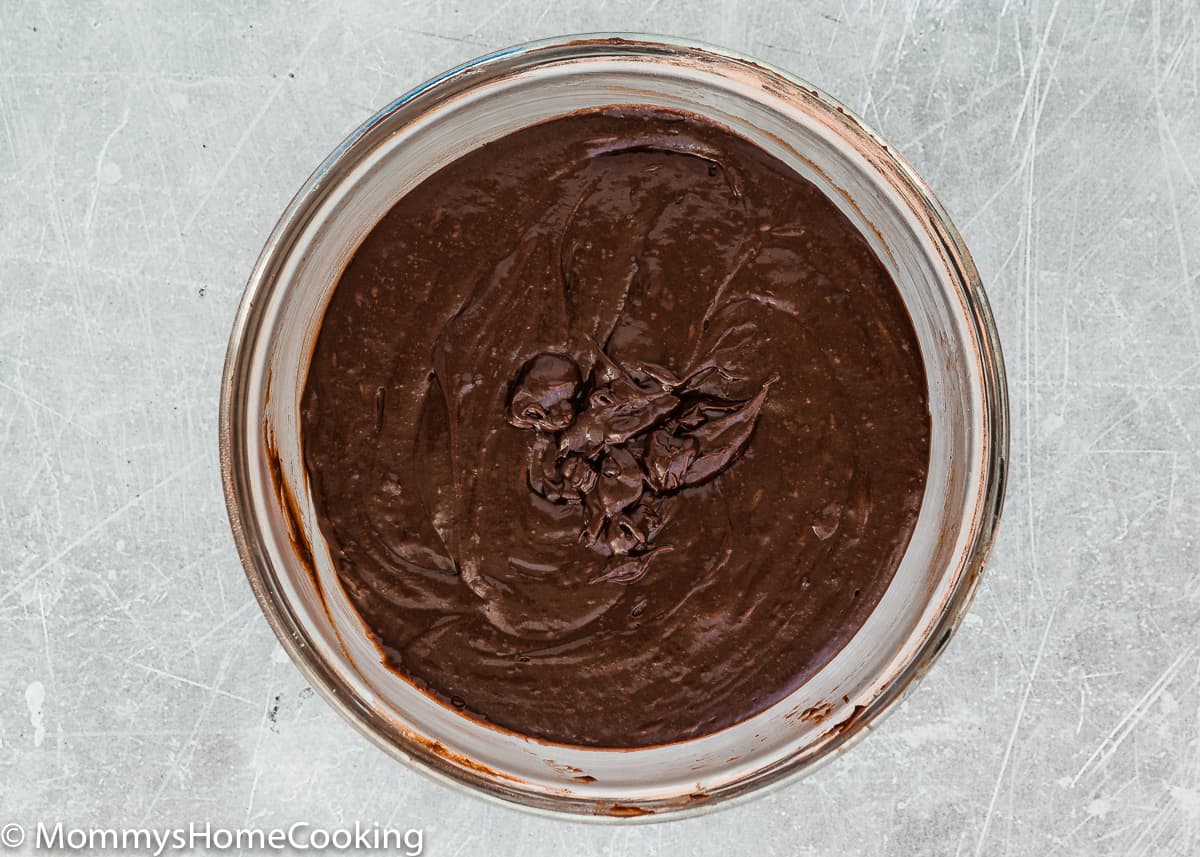
1- Make the Brownie Layer:
- First, you’ll microwave the butter, sugar, and oil in 30-second increments, whisking in between, until the mixture looks glossy and the butter is completely melted.
- Next, mix in the yogurt and vanilla extract.
- Add in the dry ingredients and mix them just until incorporated—Reserve 1/4 cup of the batter at this point. You’ll need it to swirl into the cheesecake layer.
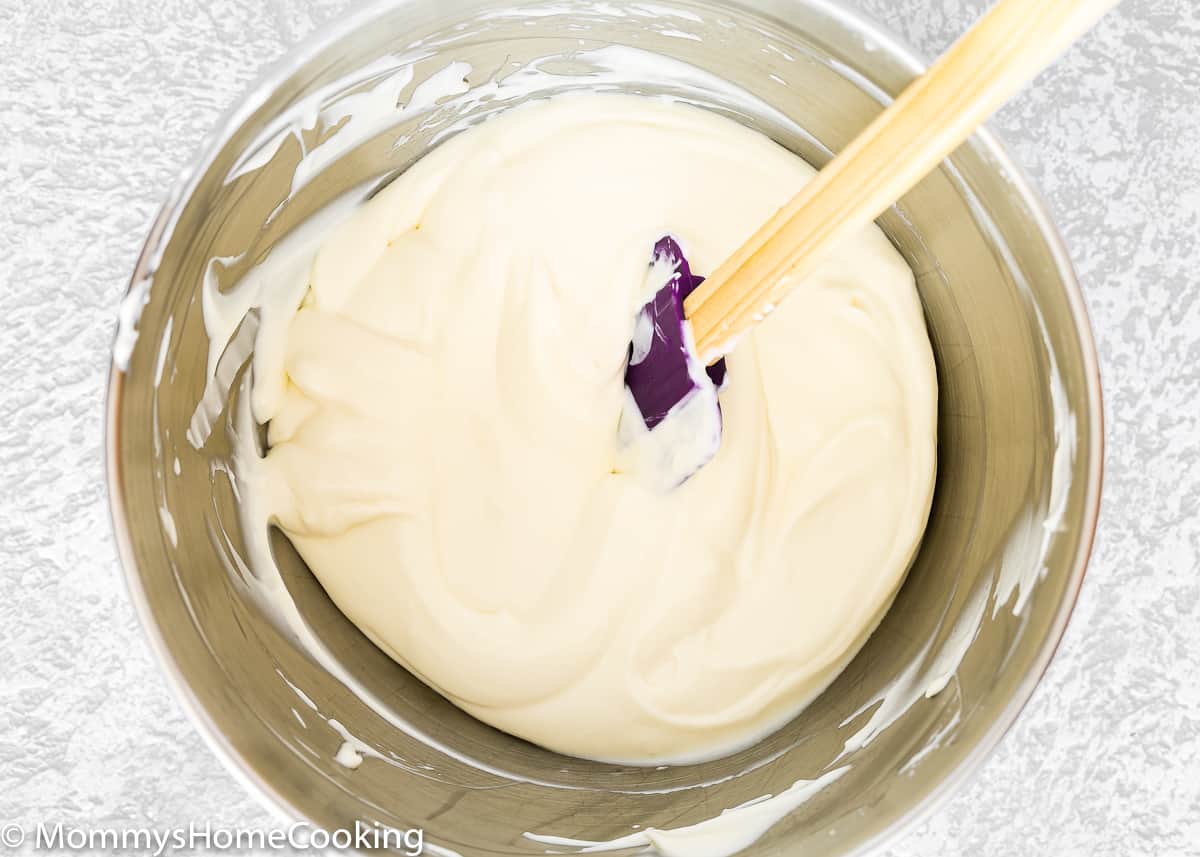
2- Make the Cheesecake Layer:
- Combine the water and cornstarch and stir them until they are combined. Make sure to scrape the bottom. Cornstarch likes to gather and lump in the bottom of a bowl of liquid.
- In a separate bowl, beat your room temperature cream cheese with the mixer until it’s no longer lumpy. Add in the sugar and sour cream and continue mixing.
- Gradually add the sweetened condensed milk and continue to beat the mixture until the batter is nice and creamy. Last, add in the rest of the ingredients, including the cornstarch mixture, and beat it all on high for a few minutes.
3- Assemble the Eggless Cheesecake Brownies:
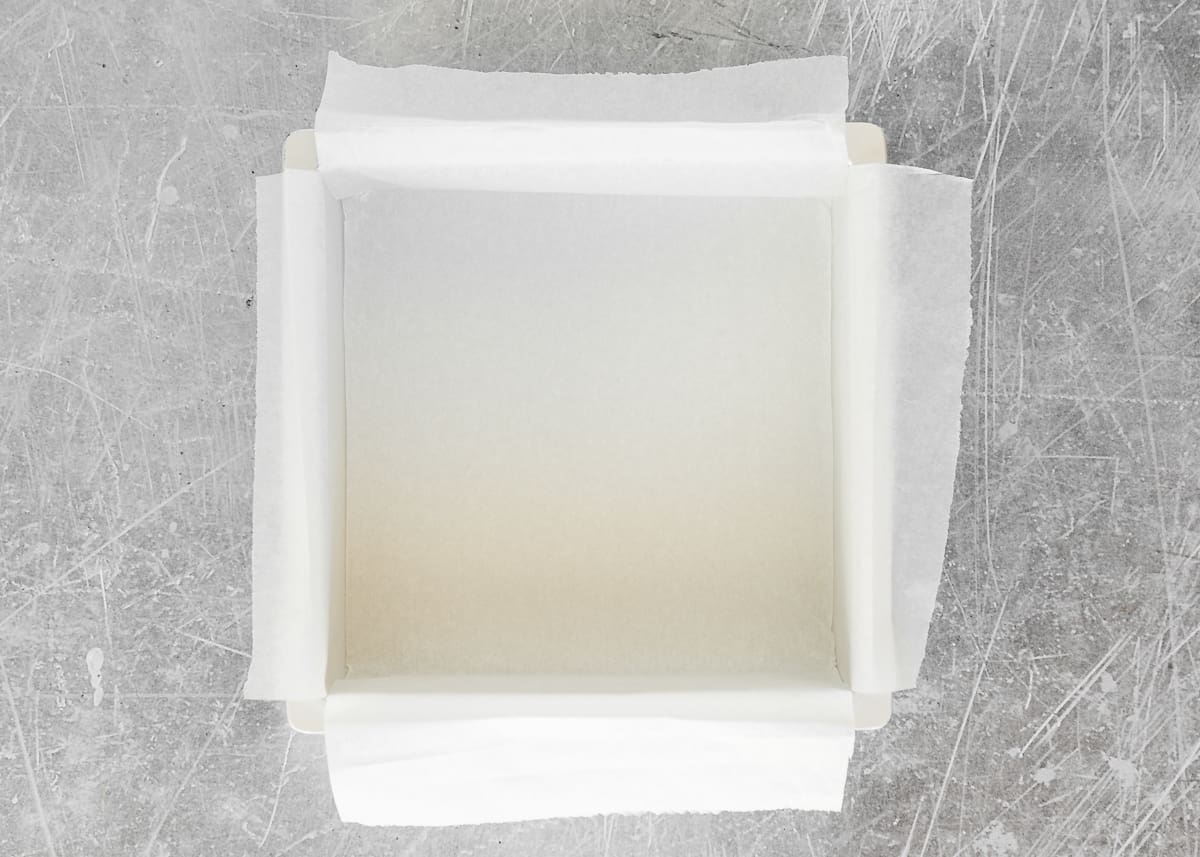
Preheat the oven to 350º F (180º C). Line a square baking pan (8 x 8 inches | 20 x 20 cm) with parchment paper and lightly spray with baking spray. The parchment paper should extend above the walls of the baking pan to allow easy removal at the end. Set aside.
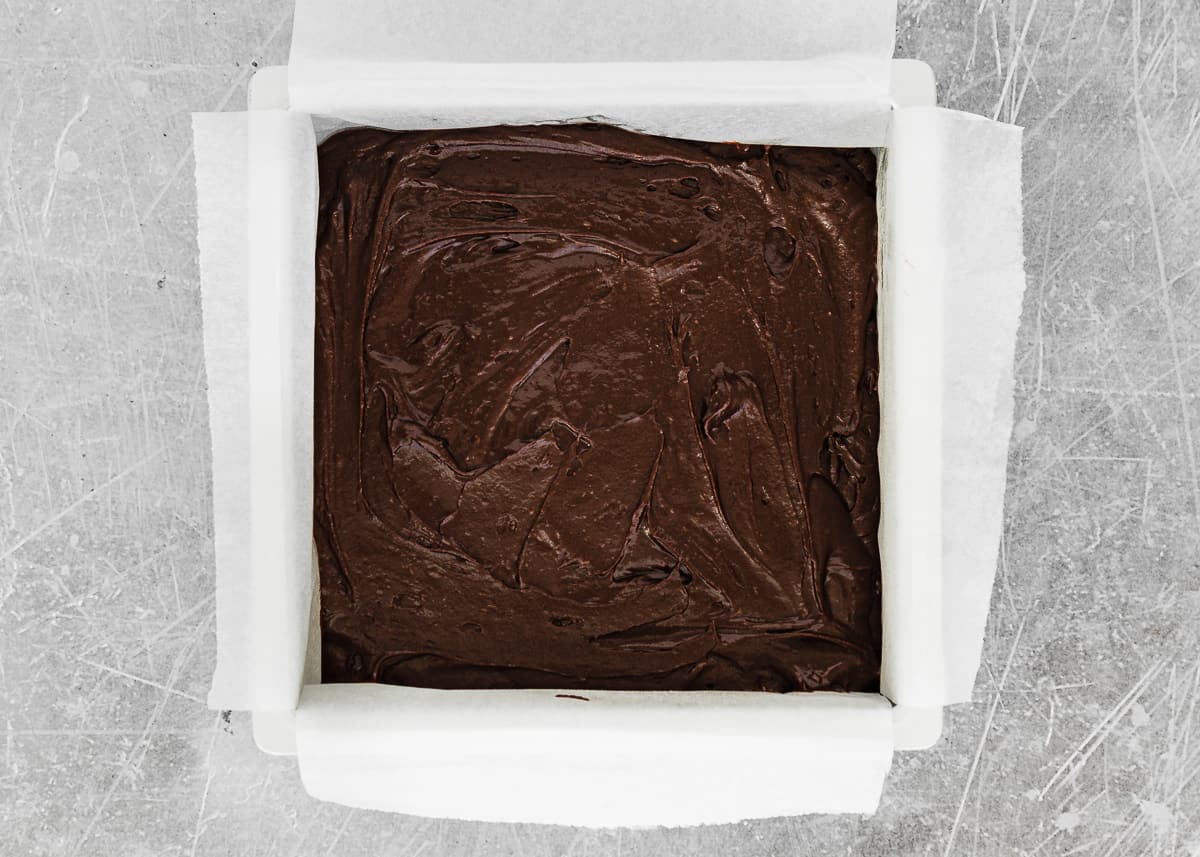
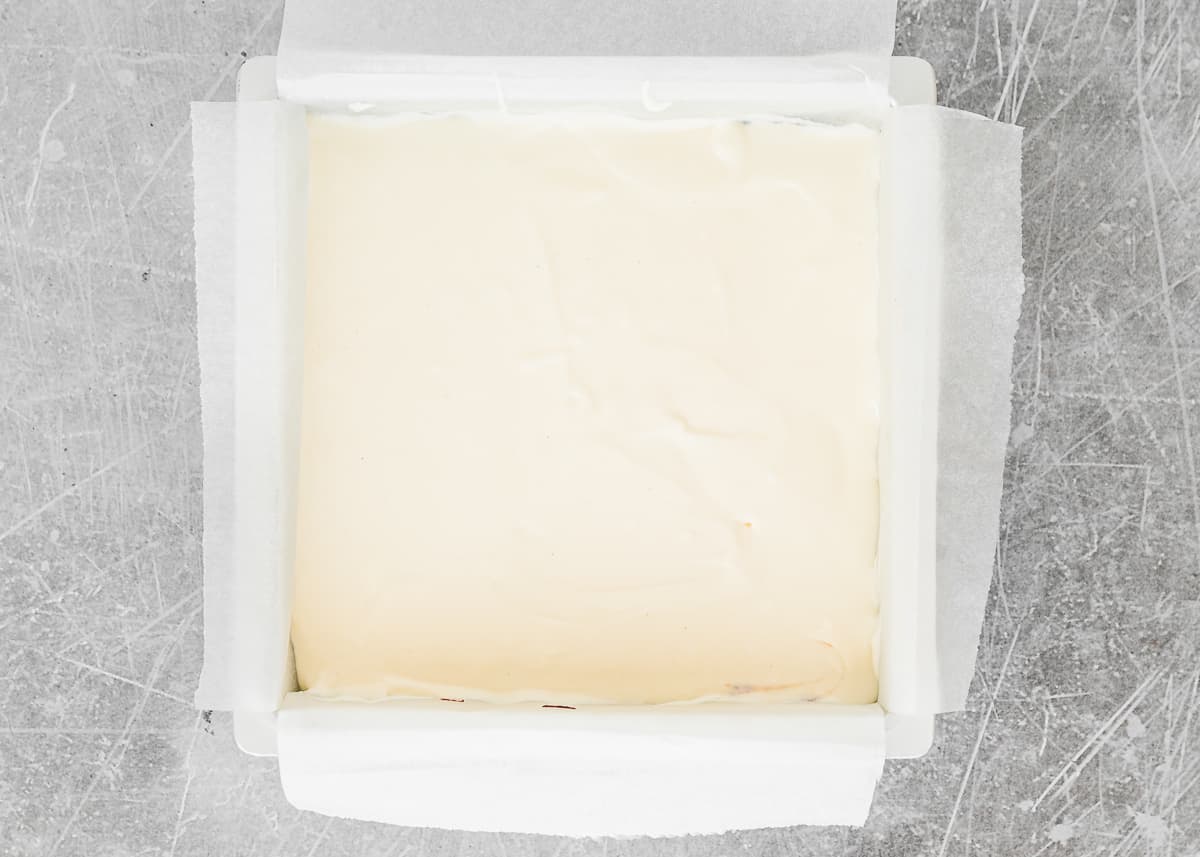
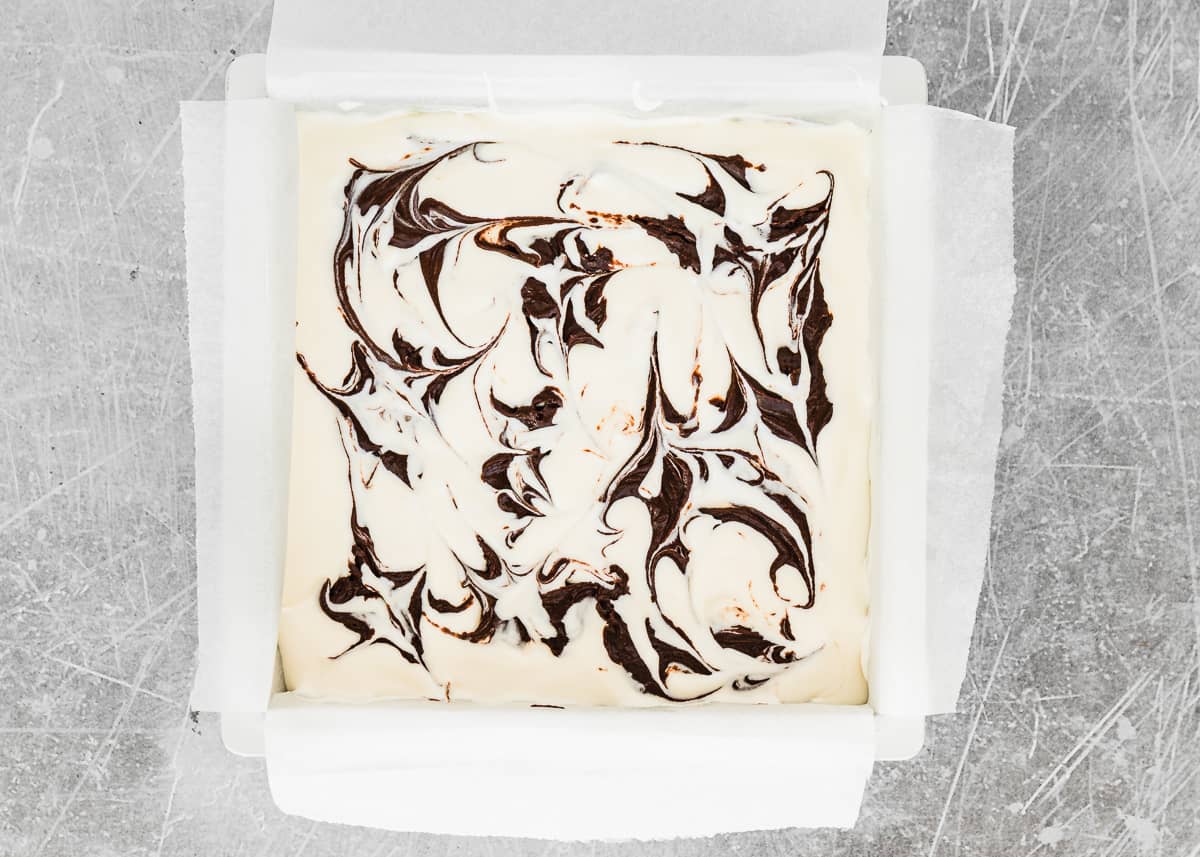
Spread the brownie batter in the prepared baking pan. Then pour the cheesecake layer on top.
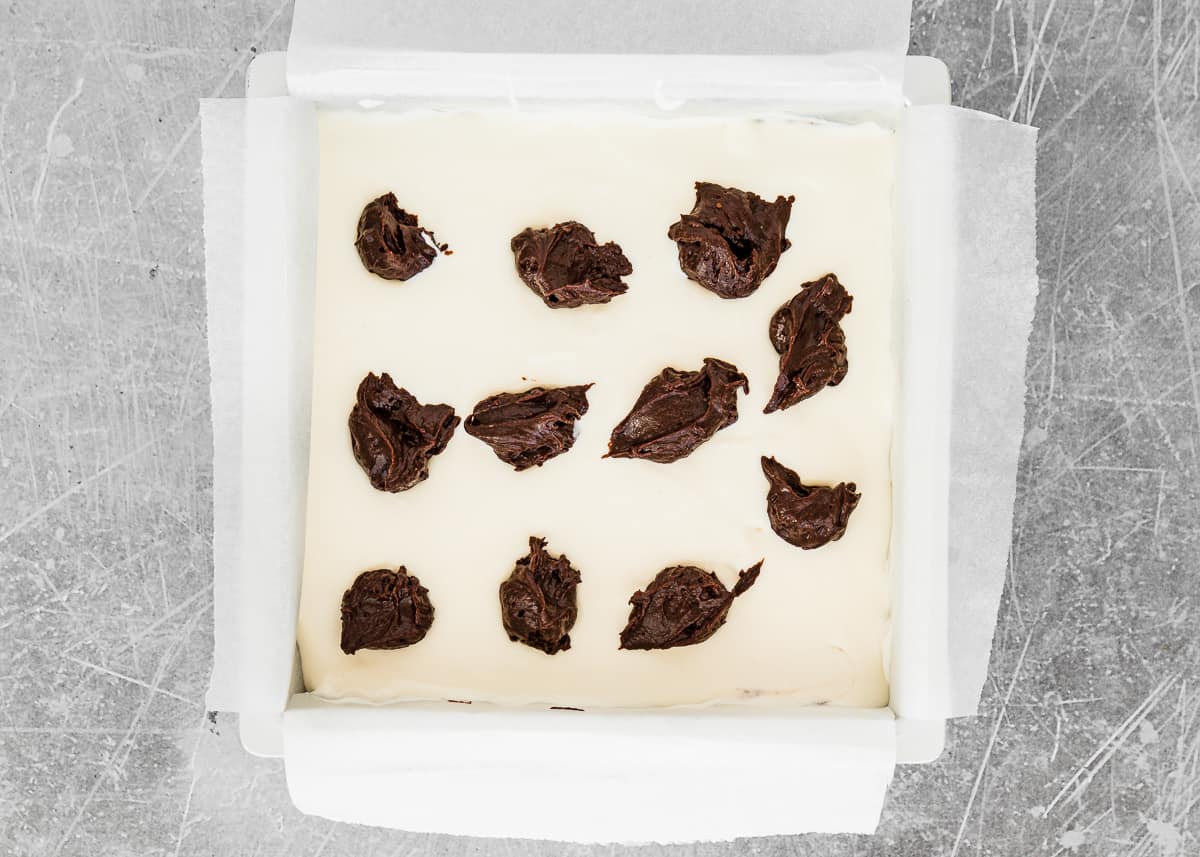
Take the brownie batter you set aside and drop small dollops over the cheesecake layer then use a skewer or knife and swirl the dollops into the cream cheese layer.
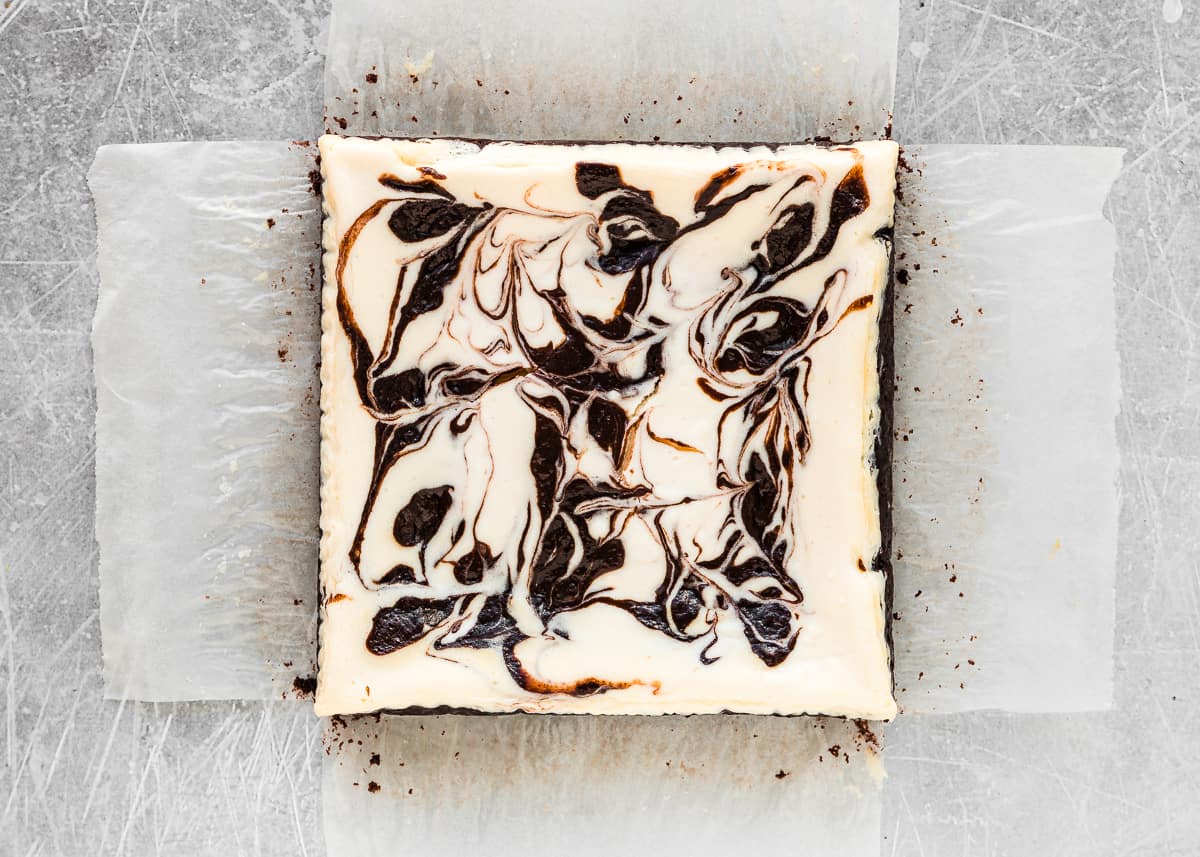
Bake for 35 – 40 minutes, or until the brownies begin to pull away from the edges of the pan. Allow to cool COMPLETELY before cutting and serving; the cheesecake layer must be cold before cutting into squares.

Recipe Tips
Here are a few of my tried-and-true tips for making the perfect Eggless Cheesecake Brownies:
Measure the ingredients correctly. I highly recommend using a kitchen scale.
Preheat the oven at least 15 minutes before getting started to give it plenty of time to reach the ideal recipe temperature.
Don’t overmix either of the batters. Mix them just until you’ve evenly distributed the ingredients throughout the batter.
Ovens are all different, so baking times are always approximate. Oven thermostats are sometimes inaccurate, and that will all affect baking time, so keep an eye on things.
Allow the brownies to cool completely before attempting to cut. For a very clean cut, refrigerate the brownies for several hours, use a warm knife (the best way to warm a knife is to run it under hot water and then dry it off just before cutting), and wipe the knife clean between cuts.
When lining the baking pan, the parchment paper should extend above the walls of the baking pan to allow easy removal at the end.
Frequently Asked Questions
Absolutely! I recommend making them at least one day ahead, so the cheesecake layers have plenty of time to chill.
I recommend not leaving them sitting out at room temperature for more than an hour or two. Since the top layer is real cheesecake, it should be kept refrigerated.
This is something I have never tried myself, but I don’t see why not. However, the baking time will change, so you may need to do some experimenting on your own.
Storing & Freezing Instructions
- For Storing: These brownies can be stored in the refrigerator for up to seven days.
- For Freezing: Wrap the cut bars individually with plastic wrap, then place them in a freezer-safe zip-top bag in the freezer for up to two months. Thaw your brownies at room temperature when you’re ready to eat them.
More Recipes You’ll Love!
- Best Eggless Brownies
- Ultimate Fudgy Brownies without Eggs
- Best Eggless Cheesecake [Video]
- Eggless Red Velvet Brownies
- Eggless Easy Fudgy Zucchini Brownies
- Eggless Mini Cheesecakes
❤️ Love what you see? JOIN my Private Baking Club. Also, SUBSCRIBE to Mommy’s Home Cooking, so you’ll never miss a recipe! And FOLLOW along on Instagram, Pinterest, and Facebook for more fun!
Eggless Cheesecake Brownies
Equipment
Ingredients
Brownie Layer:
- 6 tablespoons (85 g) unsalted butter
- 1 1/4 cup (250 g) granulated sugar
- 1 tablespoon (15 ml) vegetable or canola oil
- 1/2 cup (120 g) plain regular yogurt
- 1 teaspoon (5 ml) pure vanilla extract
- 1 cup (140 g) all-purpose flour
- 1/2 cup (50 g) unsweetened natural cocoa powder
- 1 1/2 teaspoon baking powder
- 1/4 teaspoon baking soda
- 1/4 teaspoon salt
Cheesecake Layer:
- 1 tablespoon (10 g) cornstarch
- 1 tablespoon (15 ml) water
- 8 oz (226 g) full-fat cream cheese, softened to room temperature
- 3 tablespoons (36 g) granulated sugar
- 1/4 cup (60 g) sour cream
- 1/2 cup + 1 tablespoon (135 g) sweetened condensed milk
- 1 teaspoon (5 ml) fresh lemon juice
- 1 teaspoon (5 ml) pure vanilla extract
- 3 tablespoons (45 ml) heavy cream
Instructions
- Preheat oven to 350º F (180º C). Line a square baking pan (8 x 8 inches | 20 x 20 cm) with parchment paper and lightly spray with baking spray. Set aside.
Make the Brownie Layer:
- Place butter, sugar, and oil in a large microwave-safe bowl. Microwave for 30 seconds, then remove and stir with a whisk. Repeat process 2-3 more times until the mixture looks glossy and the butter is completely melted.
- Add yogurt and vanilla extract; mix until well incorporated.
- Add in flour, cocoa powder, baking powder, baking soda, and salt; continue to mix until just combined. Please DO NOT overmix the batter.
- Reserve 1/4 cup of the brownie batter in a separate bowl. Set aside.
- Spread the batter in the prepared baking pan. Set aside.
Make the Cheesecake Layer:
- Mix cornstarch and water in a small bowl until smooth. Set aside.
- Place the cream cheese in the bowl of an electric mixer, beat on low speed for 2-3 minutes until smooth and free of any lumps. Add sugar and sour cream and continue mixing until incorporated. Gradually add sweetened condensed milk and beat, scraping down the bowl as necessary, until creamy, for 2 minutes.
- Add lemon juice, vanilla extract, heavy cream, and cornstarch mixture; beat on high speed until well incorporated, about 2 minutes.
Assemble:
- Pour cheesecake over prepared brownie batter.
- Take your reserved 1/4 cup brownie and dollop the batter over the cheesecake batter. NOTE: if it has become too stiff, just stir in 1 teaspoon of milk and mix it with a spoon. Use a skewer or knife to swirl the two batters together.
- Bake for 35 – 40 minutes, or until the brownies begin to pull away from the edges of the pan. IMPORTANT: Unlike other recipes, these will not have a springy center, and a skewer inserted into the center will NOT come out clean. Your brownies are done when the center looks set, with a little wiggle, and you see the edges puff up, and it just begins to brown and crack.
- Allow the brownies to cool in the pan set on a wire rack for 1-2 hours. Then cover and refrigerate for at least 2 hours and up to 1 day. Allow to cool COMPLETELY before cutting and serving; the cheesecake layer must be cold before cutting into squares.
- Use the parchment overhang to lift the brownies out of the pan. Cut into squares, then serve. NOTE: For neat squares, I use a very sharp knife and wipe it clean with a paper towel after each cut.
- Measure the ingredients correctly. I highly recommend using a kitchen scale.
- Preheat the oven at least 15 minutes before getting started to give it plenty of time to reach the ideal recipe temperature.
- Don’t overmix either of the batters. Mix them just until you’ve evenly distributed the ingredients throughout the batter.
- Ovens are all different, so baking times are always approximate. Oven thermostats are sometimes inaccurate, and that will all affect baking time, so keep an eye on things.
- When lining the baking pan, the parchment paper should extend above the walls of the baking pan to allow easy removal at the end.
- Allow the brownies to cool completely before attempting to cut. For a very clean cut, refrigerate the brownies for several hours, use a warm knife (the best way to warm a knife is to run it under hot water and then dry it off just before cutting), and wipe the knife clean between cuts.
Nutrition
Eggless Baking Frequently Asked Questions
You’ve asked, and I’ve answered! Read on for a handful of answers to the most frequently asked questions about eggless baking.
Originally posted in April 2021, the post content was edited to add more helpful information, with no change to the recipe in July 2022.
