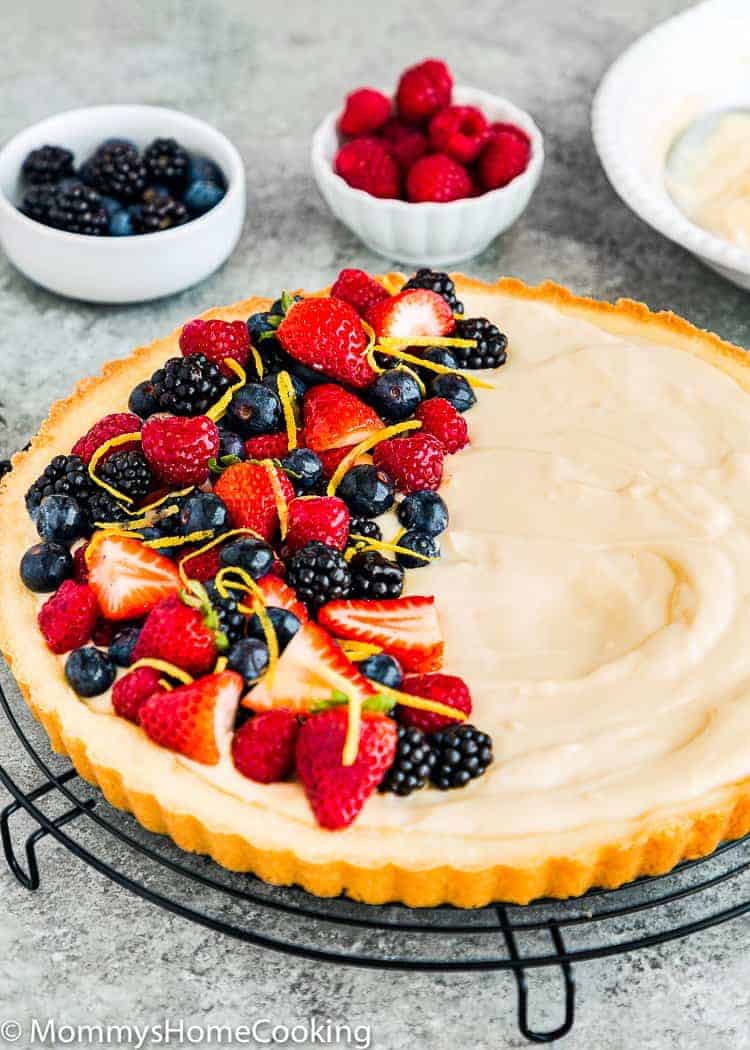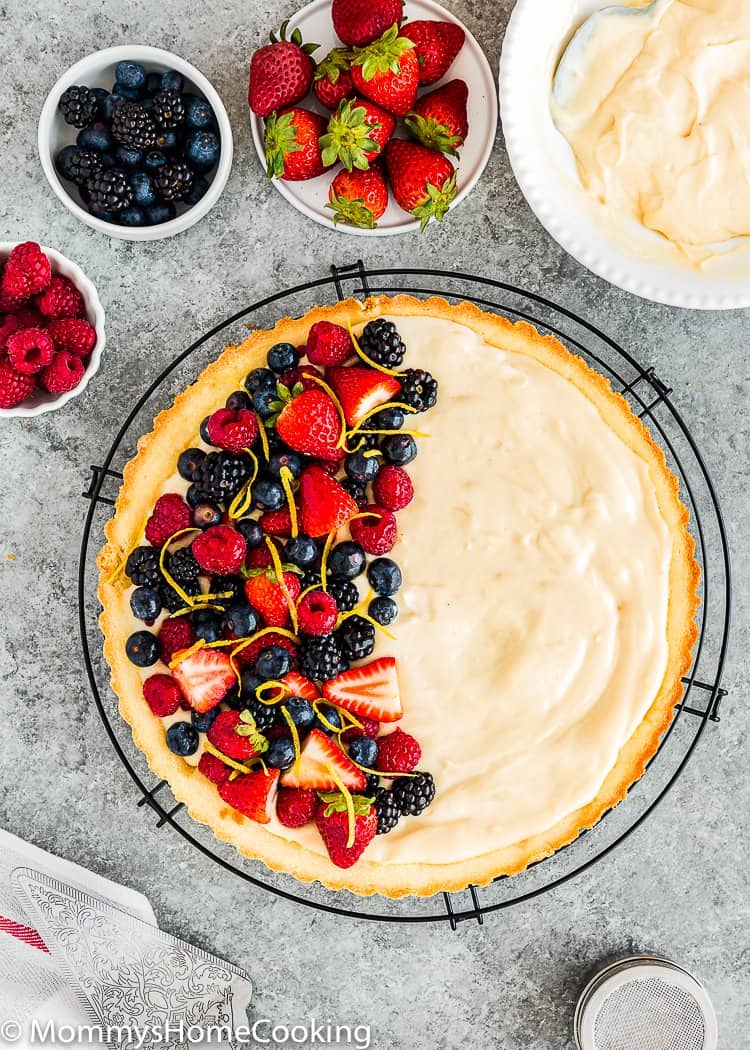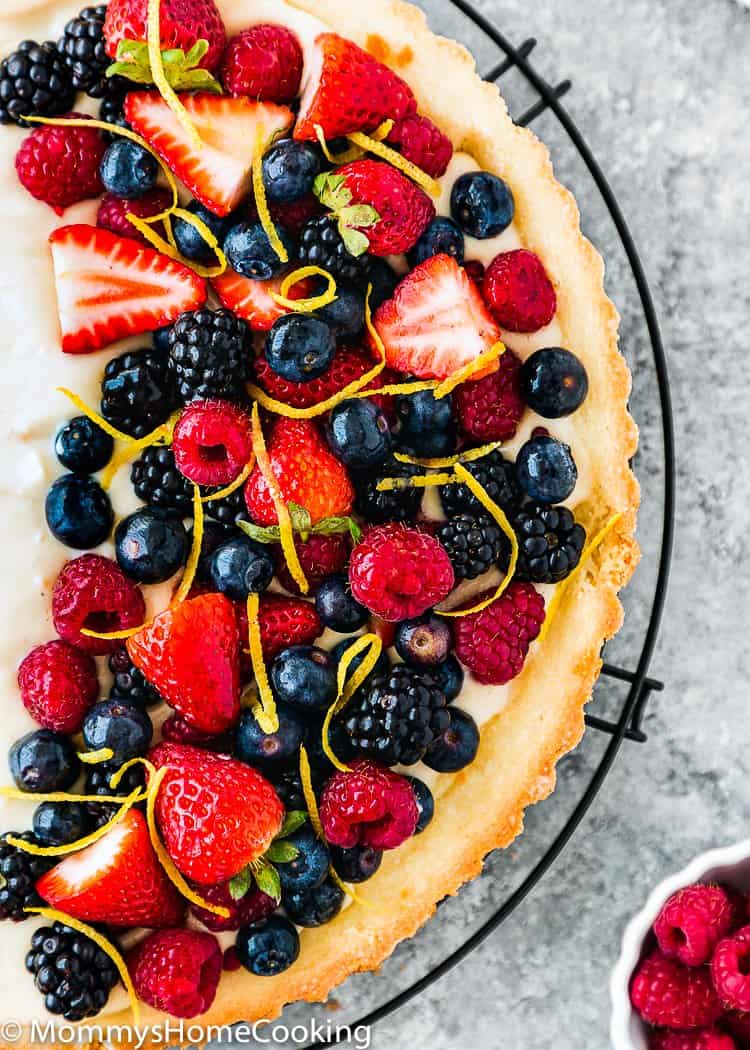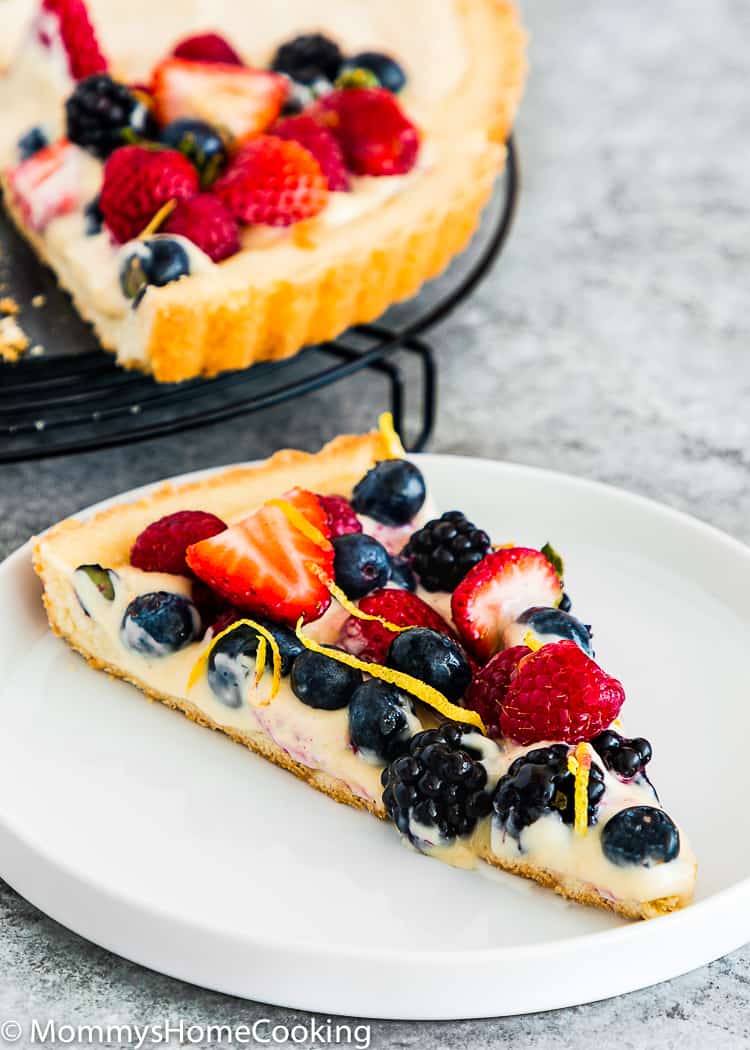


If you’ve been looking for an Eggless Fruit Tart that looks like it came from a French pastry case — a crisp buttery crust, a silky vanilla pastry cream, and a jewel-box of fresh fruit on top — this is the one. Both the crust and the pastry cream are completely egg-free by design (no yolks, no substitutes, nothing missing), which almost no fruit tart out there can say. After more than 13 years of egg-free baking, this is the dessert I pull out when I want to impress people without telling them there’s not a single egg in it. It comes together from three simple make-ahead pieces, so it’s far less intimidating than it looks. Whether you’re baking around an egg allergy or you just want the prettiest dessert on the table, this fruit tart delivers every time — and nobody will ever guess it’s egg-free.

Oriana’s Thoughts On The Recipe

A fruit tart used to feel like the one “fancy” dessert I couldn’t have, because traditional pastry cream is basically egg yolks, and traditional tart crust usually has egg too. So once I nailed an eggless pastry cream that sets up silky and holds its shape, this became my favorite thing to make when I want something that looks impressive but is honestly simple. The little secret in my pastry cream is a pinch of black salt (kala namak), which gives it that subtle, familiar richness you’d normally get from eggs — without any eggs at all. It’s egg-free, it’s beautiful, and it makes everyone at the table feel included.
Make it once, and I think it’ll become your go-to “wow” dessert too. If you make it, please come back and leave a star rating — it helps other egg-free families find it.
Why You’ll Want to Try My Recipe

What Is a Fruit Tart?
A fruit tart is a classic French dessert (tarte aux fruits) built from three parts: a sweet, crisp pastry crust (pâte sucrée), a smooth vanilla custard filling called pastry cream (crème pâtissière), and an arrangement of fresh fruit on top, usually finished with a light glaze for shine. It’s served cold, sliced into wedges, and is as much about the look as the taste.
The catch for egg-free families: both of those traditional components normally rely on eggs — the crust often uses an egg to bind, and classic pastry cream is thickened with egg yolks. This version rebuilds both without them, so the whole tart is egg-free from the crust up.
Is Fruit Tart Egg-Free? (Does Pastry Cream Have Eggs?)
No, a traditional fruit tart is not egg-free, and that’s exactly why I developed this one. Classic pastry cream (the vanilla filling) is thickened with egg yolks, and many tart crusts use a whole egg to bind the dough. So a standard bakery fruit tart usually contains eggs in two places.
This recipe replaces both. The eggless pastry cream is thickened with cornstarch and enriched with evaporated milk and butter instead of yolks, so it still sets up silky and sliceable — and a pinch of black salt (kala namak) adds that subtle savory-rich note yolks usually bring. The eggless tart crust binds without egg, too. The result tastes and slices exactly like the real thing, with no eggs and no gimmicky substitutes. If you’re baking for an egg allergy, always read the label on every component you buy (like your preserves for the glaze), since manufacturing lines can change.
Ingredients You’ll Need, Substitutions & Notes

Please check the recipe card at the bottom of the post for exact quantities and instructions (scroll down).
You’ll need:
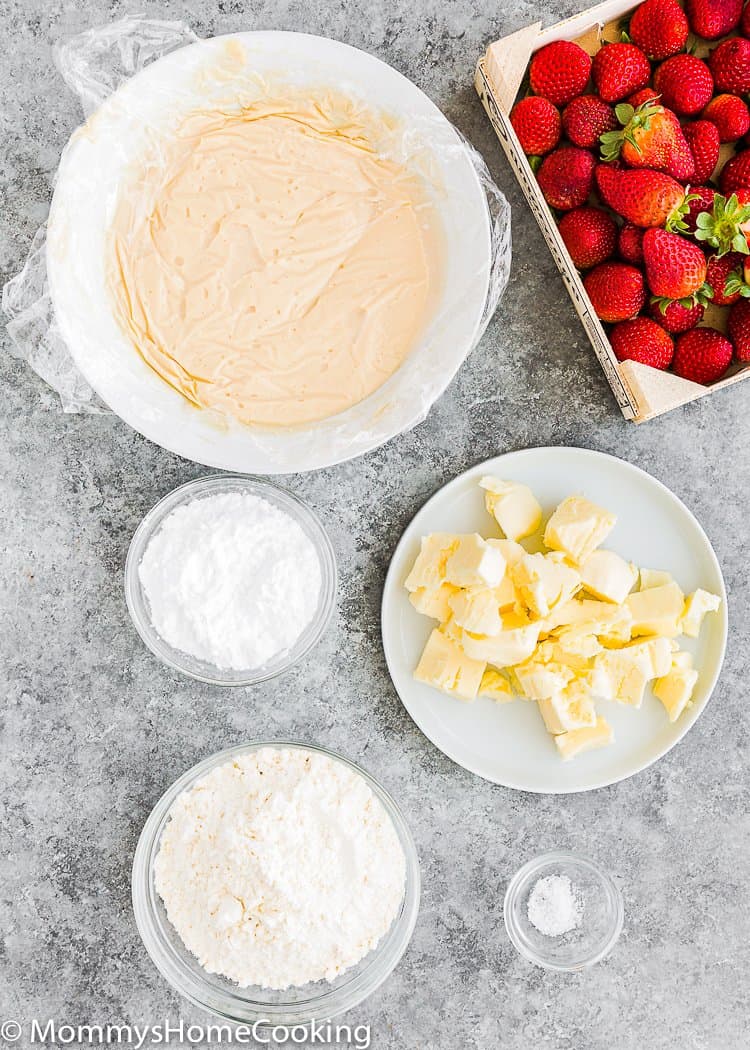
- Eggless Tart Crust: all-purpose flour, confectioners’ sugar, kosher salt, cold butter, evaporated milk, heavy cream, and vanilla — everything binds without egg, so it bakes up crisp and tender.
- Eggless Pastry Cream: granulated sugar, cornstarch, black salt, evaporated milk, butter, and vanilla. Cornstarch is what sets it silky and sliceable in place of egg yolks, and a pinch of black salt (kala namak) adds that subtle egg-like richness.
- Fresh Fruit: any fresh fruit you love — berries, stone fruit, or tropical. Pat it dry before it goes on top.
- Glaze (optional): orange or apricot preserves thinned with a little water, to keep the fruit glossy and hydrated.
Food Allergy Swaps
This recipe is naturally egg, nut, peanut, and sesame-free, making it suitable for most dietary needs. However, always check labels for hidden allergens.
- Dairy-Free: To make this recipe dairy-free, you can easily swap out the dairy ingredients for non-dairy alternatives.
- Butter: Substitute butter with dairy-free butter substitutes. Miyoko’s Creamery Organic Vegan Butter and Earth Balance Vegan Buttery Sticks are my favorite butter substitutes for baking.
- Evaporated Milk: Use evaporated coconut milk or evaporated oat milk, or make your own dairy-free evaporated milk with your favorite plant-based milk. Evaporated milk is just milk that has been reduced to eliminate the water content, so it’s super easy to make at home with any milk of your choice. Check out my How to Make Evaporated Milk post. If evaporated milk is not an option, you can use any dairy-free milk, but keep in mind that the texture might change slightly.
- Heavy Cream: Aim for a dairy-free cream with at least 31% fat content if possible. I love Flora Plant Cream, but I know it’s difficult to find in the USA. You can use a non-dairy cream, such as Silk, Country Crock Plant Cream, Califia Farms, or full-fat coconut cream.
- Gluten-Free: Use a gluten-free, all-purpose flour blend. Look for a gluten-free flour blend specifically formulated for baking, as it will have the right combination of flours and starches to mimic the texture of wheat flour. My favorite is Better Batter Original Blend. I also like Doves Farm Freee Gluten-Free All-Purpose Flour, but this blend does not contain xanthan gum, so you need to add 1/4 teaspoon of xanthan gum per cup (140 g) of gluten-free flour blend.
How To Make an Eggless Fruit Tart From Scratch
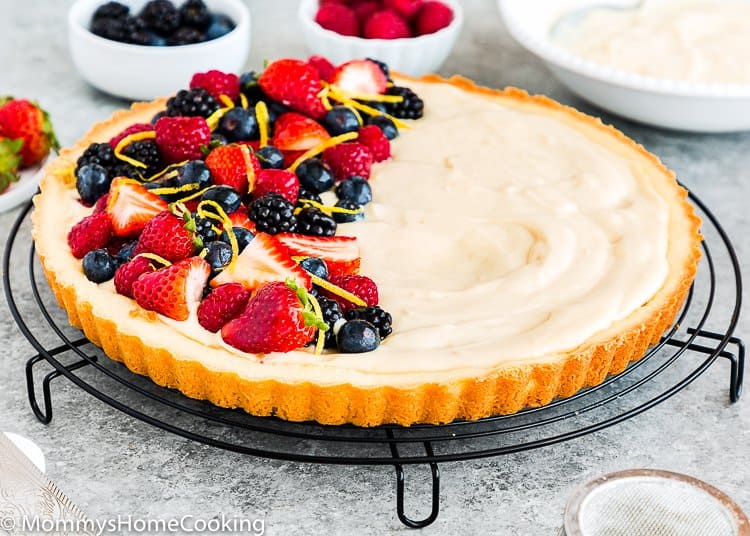
There are 4 components to this recipe:
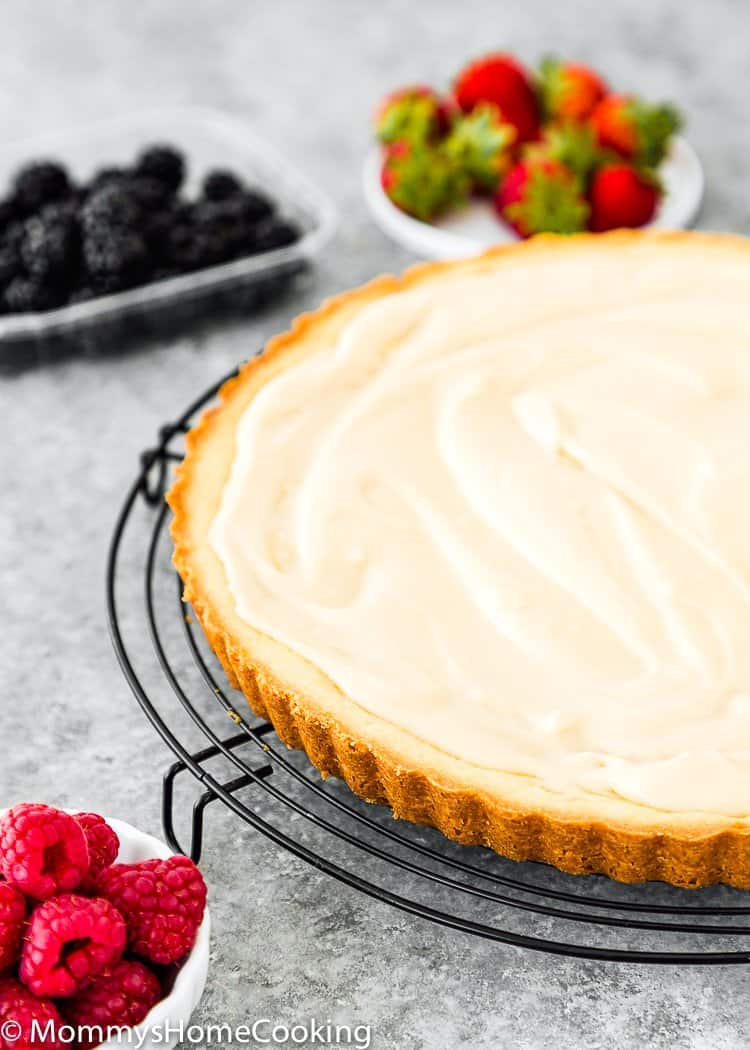
- Crust: This classic dessert starts with a sweetened pastry crust. It’s sort of like pie dough, sort of like a shortbread cookie. It has a perfect sweet crunch. It can be made ahead and refrigerated or stuck in the freezer for later use.
- Pastry Cream Filling: Eggless pastry cream is rich, creamy, beyond delicious, and super easy to make.
- Fresh Fruit: Think about your fruit tart as a blank canvas; use different flavors, textures, shapes, and colors.
- Glaze: The glaze is made with fruit preserve mixed with a little bit of water. It’s not mandatory, but it’s highly recommended. The glaze will keep the fruits bright and hydrated.
Step 1 – Make Tart Crust
To make the eggless tart crust, follow the steps in my Perfect Eggless Tart Crust recipe.

Step 2 – Make the Eggless Pastry Cream Filling
Pastry cream is the iconic custard that is used to fill tarts, profiteroles, eclairs, and cakes. It’s rich, creamy, and beyond delicious.
To read how to make pastry cream, visit my Eggless Pastry Cream recipe.

Step 3 – Decorate with Fresh Fruit and Glaze
Add whatever fresh fruit your heart desires. I love to add fresh berries. Glazing the fruit is not mandatory, but it’s highly recommended.

How to Keep Your Fruit Tart Crust From Getting Soggy
The number-one thing that ruins a fruit tart is a soggy crust — and it’s completely avoidable. Here’s exactly how I keep mine crisp:
- Fully cool every component before assembling. Warm crust + warm cream = steam, and steam is what softens the crust. The crust and pastry cream should both be completely cool before they meet.
- Pat your fruit bone-dry. Washed berries and sliced fruit hold surface water that leaks straight into the cream. Lay everything on paper towels and gently pat the tops dry before arranging.
- Glaze the fruit — it’s a moisture seal, not just shine. Brushing warmed preserves over the fruit locks in the fruit’s own juices and keeps them from weeping down into the cream.
- Assemble close to serving. The crust stays crispest if you add the pastry cream and fruit within a few hours of serving rather than the night before. (See make-ahead below for how to prep each part in advance and still assemble fresh.)
Tips for the Prettiest Fruit Tart
- Chill the pastry cream fully so it’s thick and pipeable/spreadable — a loose cream slides.
- Start from the outside edge and work in when arranging fruit; overlapping rings hide gaps and look intentional even when you’re just piling it on.
- Odd numbers and color contrast (red / blue / green / gold) read as “designed” — mix berries with kiwi or mango for pop.
- Slice fruit thin and even so it lies flat and glazes cleanly.
- Use a removable-bottom tart pan for a clean release — set it on a can and let the ring drop away.
- Glaze last, right before it goes back in the fridge, so the shine is fresh when you serve.

Make-Ahead, Storage & Freezing
This tart is a make-ahead dream — the trick is prepping the parts, not the whole.
Make-ahead by component:
- Crust: bake ahead and store airtight at room temperature for a couple of days.
- Pastry cream: make up to 3 days ahead, press plastic wrap directly onto the surface, and refrigerate.
- Assemble (cream + fruit + glaze) the day you’re serving, ideally within a few hours, for the crispest crust.
Storage: This tart is best the day it’s made. Leftovers keep, covered, in the refrigerator up to 3 days — the crust softens over time, but it’s still delicious.
Freezing: An assembled fruit tart doesn’t freeze well — the fresh fruit weeps and the cream separates on thaw. Freeze the unfilled crust instead (well wrapped, up to 1 month), then thaw, fill, and top fresh.
Frequently Asked Questions
Berries are my family’s favorite, but a fruit tart is a blank canvas. Great options: berries (strawberries, blueberries, blackberries, raspberries), stone fruit (peaches, nectarines, plums, cherries), and tropical (kiwi, mango, pineapple). Mix colors and shapes for the prettiest top.
It’s optional but highly recommended. A thin brush of warmed orange or apricot preserves keeps the fruit bright and hydrated and helps protect the crust from moisture.
Traditionally, yes — the pastry cream is thickened with egg yolks and many crusts use egg to bind. This recipe is egg-free in both the crust and the cream, so the whole tart is safe for egg allergies (always check the labels on any store-bought components like your preserves).
Cool every component fully before assembling, pat the fruit completely dry, glaze the fruit to seal in juices, and assemble within a few hours of serving. For extra insurance, brush the cooled crust with a thin layer of melted chocolate before filling.
Make the crust and pastry cream up to a few days ahead and store them separately, then assemble the day you serve. A fully assembled tart is best within a few hours but holds in the fridge up to 3 days.
Yes — swap the butter for a stick-style vegan butter and use dairy-free evaporated milk in the pastry cream. Check out my Easy Vegan Pastry Cream recipe.
Not once it’s assembled — the fresh fruit and cream don’t thaw well. Freeze the unfilled crust up to 1 month instead, then fill and top fresh.
It usually needs more cook time or more chill time. Cornstarch-thickened eggless pastry cream must come to a full boil for about a minute to activate the starch, then chill completely until set before it goes in the crust. Full method in my Eggless Pastry Cream post.

Setting an Eggless Summer Table? Add These Too!
Recipe Card

Eggless Fruit Tart
Equipment
Important
• For best results, I highly recommend using a kitchen scale to measure the ingredients.
Ingredients
For the Eggless Tart Crust:
- 1¼ cups (175 g) all-purpose flour
- ⅓ cup (40 g) confectioners' sugar
- ¼ teaspoon kosher salt
- ½ cup (115 g) unsalted butter, cold and diced
- 1 tablespoon (15 ml) evaporated milk
- 2 teaspoons (10 ml) heavy cream
- 1 teaspoon (5 ml) pure vanilla extract
For the Eggless Pastry Cream:
- ⅓ cup (67 g) granulated sugar
- ⅓ cup + 1 tablespoon (60 g) cornstarch
- ¼ teaspoon black salt (see notes)
- 2 cups (480 ml) evaporated milk (see notes)
- 4 tablespoons (56 g) unsalted butter
- 2 teaspoons (10 ml) pure vanilla extract
For Decoration:
- Assorted fresh fruit of your choice, sliced and/or whole (about 3–4 cups)
For the Glaze (optional):
- 2 tablespoons orange or apricot preserves
- 1 tablespoon water
Instructions
- Make the crust dough: Place the flour, confectioners' sugar, and salt in the bowl of a food processor (or stand mixer, or a medium bowl); pulse to combine. Add the cold diced butter and process in short bursts until the mixture resembles coarse meal or fine breadcrumbs. With the motor running, add the evaporated milk, heavy cream, and vanilla, and process just until the dough comes together into a ball and pulls cleanly from the sides of the bowl. Tip: No food processor? Make it by hand: cut the butter into the dry ingredients with a pastry cutter or two knives until it looks like coarse cornmeal, then add the wet ingredients and mix with a fork just until it comes together.

- Chill the dough: Turn the dough onto a lightly floured surface, bring it together, and flatten into a disk. Wrap in plastic wrap and refrigerate for 1 hour.

- Roll it out: On a lightly floured surface, roll the dough into roughly a 12-inch circle. If it gets too soft, return it to the refrigerator. Flour the rolling pin, roll the dough loosely around it, and unroll it over a 9- or 10-inch tart pan (removable base preferred).

- Fit the pan: Gently pat the dough into the bottom and sides of the pan, pressing it in evenly rather than stretching it. Seal any cracks. Trim the excess by rolling the pin across the top of the pan.

- Freeze: Prick the base several times with a fork. Cover with plastic wrap and freeze until firm, about 30 minutes.

- Bake the crust: Preheat the oven to 400°F (200°C). Line the chilled crust with a double layer of parchment or foil and fill with pie weights (or dried beans/rice), spread evenly. Bake for 15–18 minutes, until the edges are set and the paper no longer sticks to the dough. Carefully remove the weights and paper, then bake 10–12 minutes more, until golden and crisp. Cool completely on a wire rack before filling — this keeps the crust crisp.

- Make the eggless pastry cream: Whisk the sugar, cornstarch, and black salt together in a medium saucepan. Add the evaporated milk and whisk to combine. Bring to a boil over medium-low heat, whisking vigorously, until it starts to thicken, about 1–2 minutes. Reduce the heat to low and boil for 1 minute, still whisking, then remove from the heat and stir in the butter and vanilla.

- Strain and chill the cream: Strain the pastry cream through a fine-mesh sieve into a bowl. Press plastic wrap directly onto the surface to prevent skin from forming. Cool to room temperature, then refrigerate until chilled, at least 2 hours and up to 3 days. Whisk until smooth just before using.

- Assemble: Spread the cooled pastry cream into the cooled crust. Refrigerate until ready to decorate, or decorate right away with your favorite fresh fruit.

- Glaze and chill: Whisk the optional glaze ingredients together, warm about 15 seconds in the microwave, and brush over the fruit. Refrigerate 1 hour before serving.

- Blind-bake the crust all the way. Bake it with pie weights until the edges set, then again without them until it’s golden and crisp. An underbaked crust is the #1 cause of a soggy tart.
- Let the pastry cream set. Bring it to a full boil for one minute so the cornstarch activates, then chill it for at least 2 hours until firm before it goes in the crust. If it’s runny, it needs more cooking or chilling time — not more cornstarch.
- Cool everything before you assemble. Both the crust and the cream must be completely cool before they meet. Warm components create steam, and steam is exactly what softens your crust.
- Pat the fruit bone-dry. Washed berries and sliced fruit hold surface water that leaks straight into the cream. Dry everything well on paper towels before it goes on top.
- Glaze to seal, not just to shine. A thin brush of warmed preserves locks in the fruit’s juices and protects the crust — it’s doing real work, not just making it pretty.
- Assemble close to serving. Prep the crust and cream ahead, but add the cream and fruit within a few hours of serving for the crispest result.
Nutrition
Nutrition information provided is an estimate and will vary based on cooking methods and brands of ingredients used.


Can lemon flavoring be added?
Hello Jan! Absolutely =)
Hi Oriana, I don’t have a food processor. Will this work if I do it by combining butter and flour by hand? Also, will this work with vegan butter? I believe it does not set like normal butter in the fridge. But if it needs to have like a frozen butter, I might have to add it in the freezer.
Hello Kristine! Yes, it will work. I recommend using a pastry cutter (or two forks) to cut in the butter until the mixture resembles coarse meal with some roughly pea-size butter lumps. I don’t know what kind of vegan butter you are using, but I have successfully made this crust with Miyoko’s Creamery Organic Vegan Butter and Earth Balance Vegan Buttery Sticks. Thanks for your interest in my recipe. Please come back and let me know how you like it =)
Thank you so much! Will definitely try and will come back 🙂
Hi! What size tart pan is this recipe for?
Sorry, I see it down below. Thank you!
Hello Sukhleen! I use a 9-inch Fluted Non-Stick Tart Pan with Removable Bottom. Thanks for your interest in my recipe. Please come back and let me know how you like it =)
Thank you so so much for this recipe! I can’t wait to try it !!!
Hello Ramya! Thanks for your interest in my recipe. Please come back and let me know how you like it =)
Hi Oriana!
I tried this today and I think I’ve messed it up.I didn’t notice that the butter has to be cold. I softened the butter. Is that why I have a buttery goop instead of a dough? Do we really need to use same volume of butter as flour? You have mentioned one and half cups butter for same measure flour. Is there something I can do to rectify this?
Hello Ramya! Oh … that is a shame. Yes, you need cold butter to make the tart dough. I would recommend to start over. Thanks for your interest in my recipe. Please come back and let me know how you like it =)
I salvaged the dough by adding another equal volume of flour. It came out well. Topped it with your eggless pastry cream and some fresh fruits. Delicious! Thank you!
Ohh great, Ramya! enjoy =)