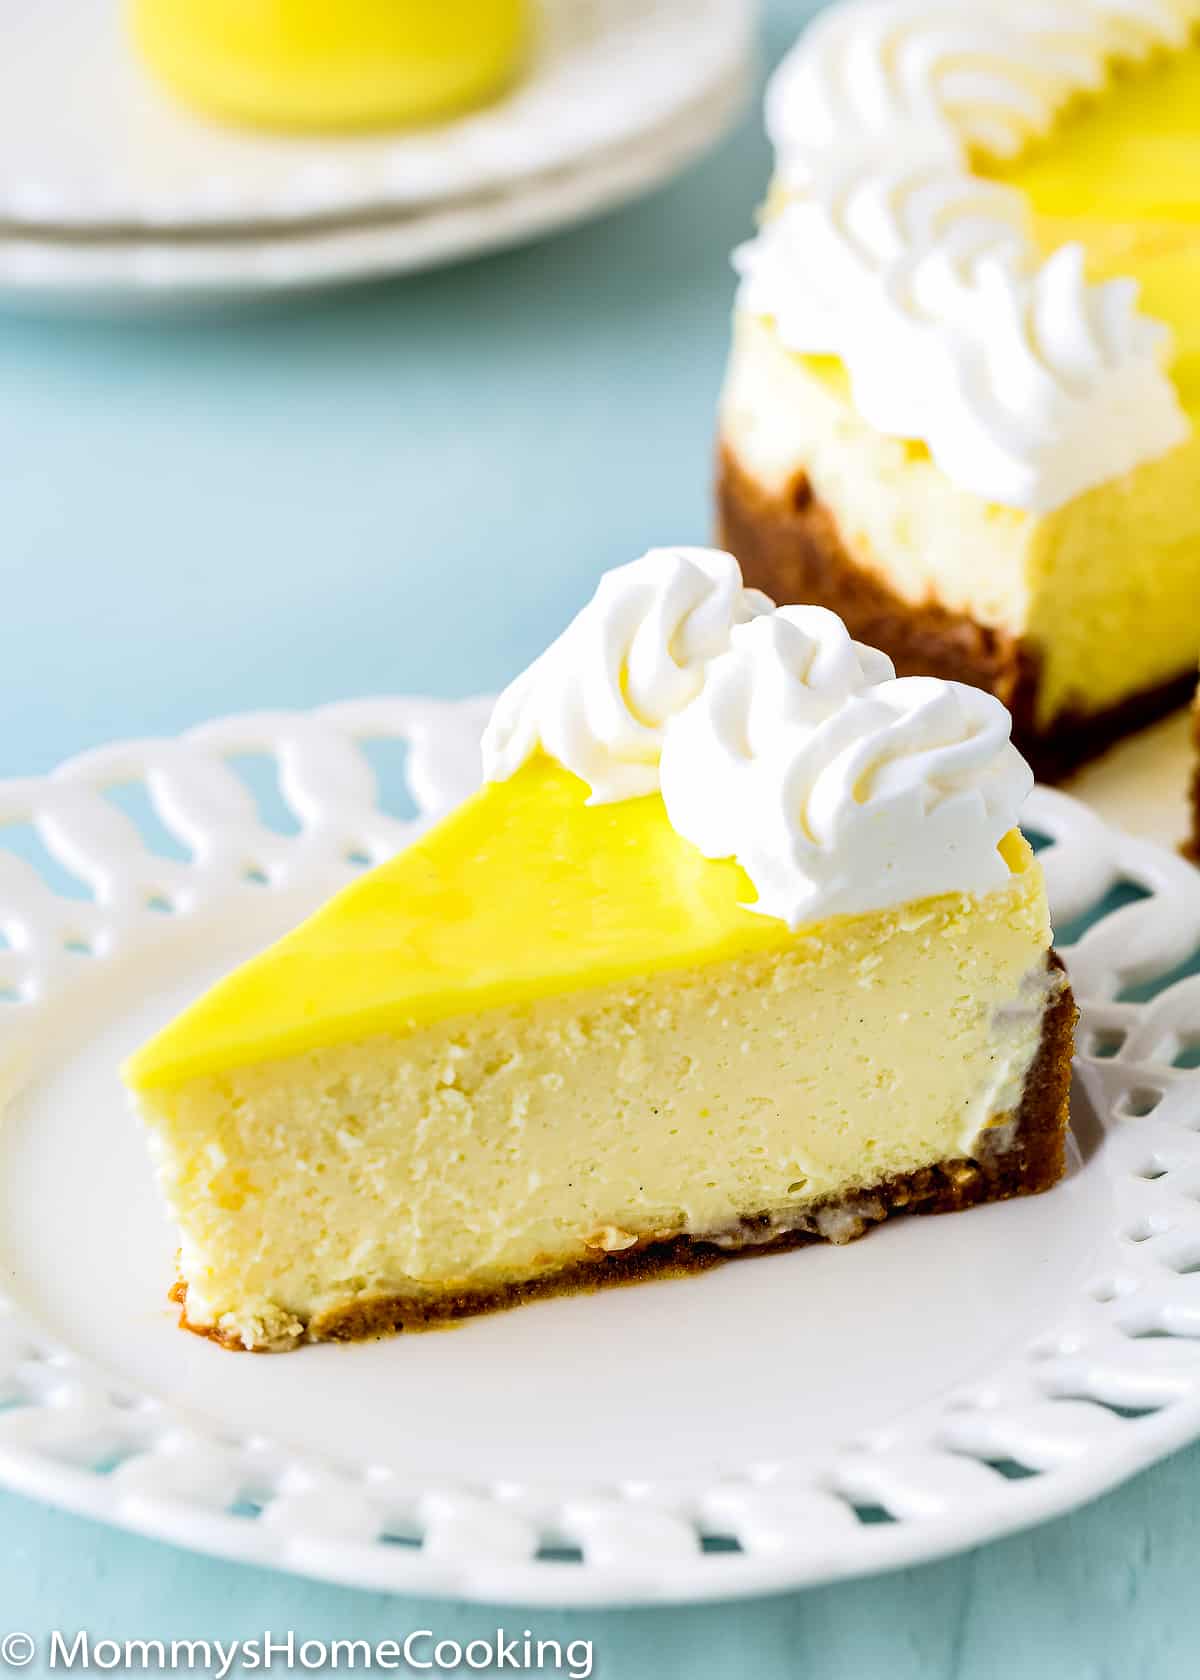
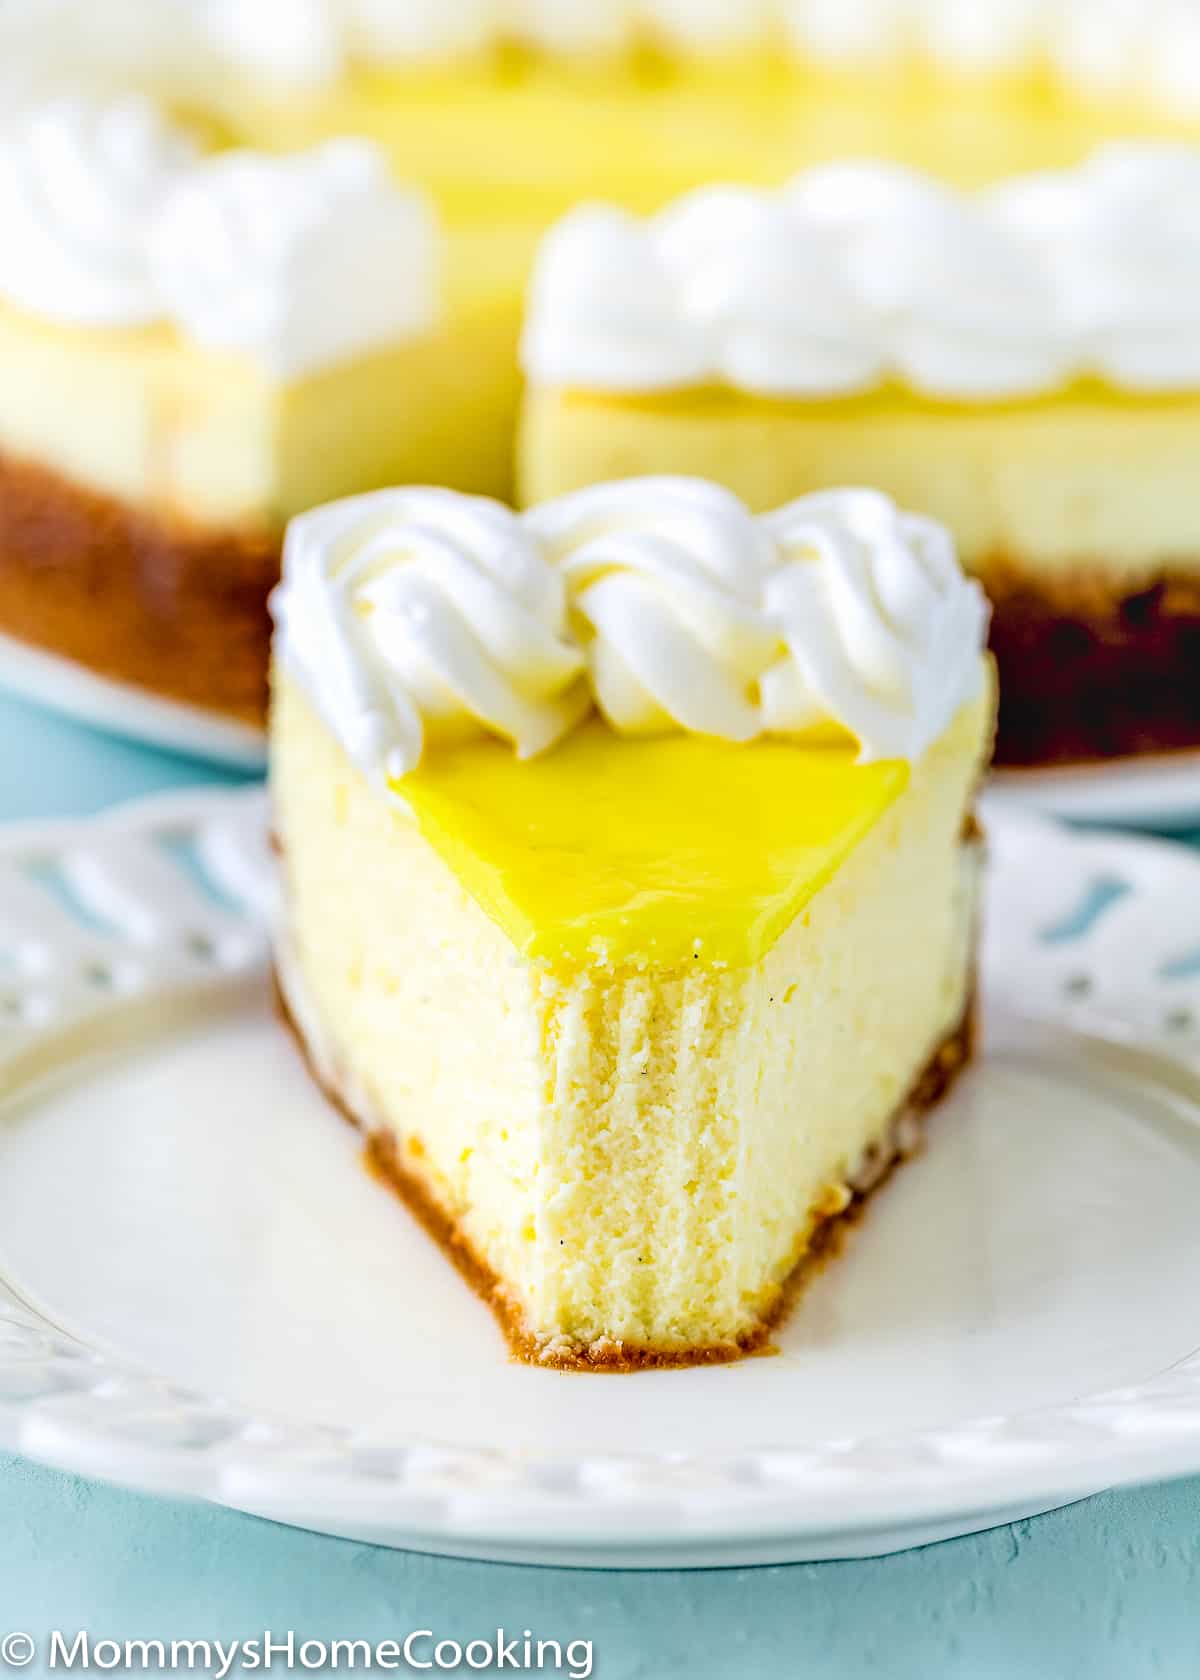
This Eggless Lemon Cheesecake is smooth, creamy, and melt-in-your-mouth lemony! Nestled inside a traditional graham cracker, this delicious eggless dessert won’t disappoint. The recipe includes step-by-step photos and lots of tips.
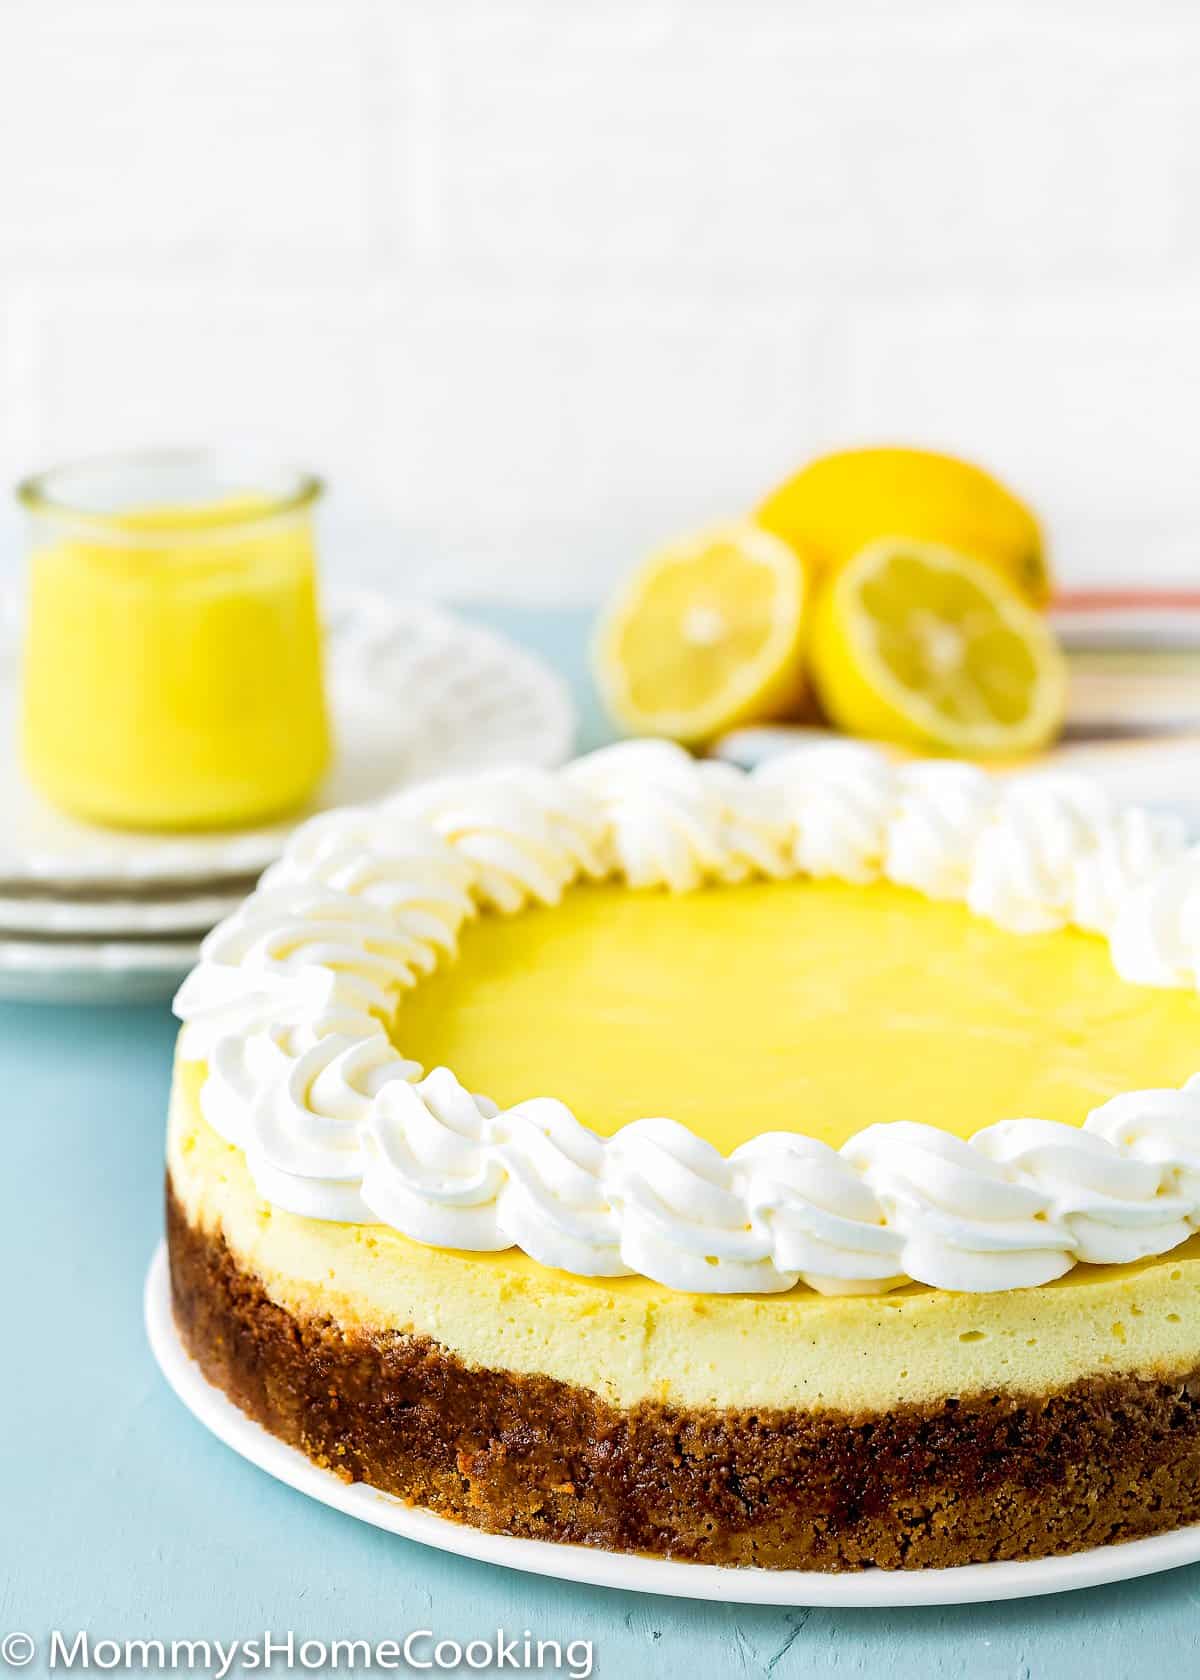
Eggless Lemon Cheesecake Highlights
Calling all lemon fans! If lemon desserts are your jam, file this recipe under “make this right away.” My Eggless Lemon Cheesecake is the perfect combination of sweet and tart that both satisfies your sweet tooth and keeps you coming back for more.
Cheesecake can be a fickle beast. The wrong recipe can give you a sub-par cheesecake that just wasn’t worth the effort. This Eggless Lemon Cheesecake will give you a smooth, thick, and creamy result every time.
You’ll love the tangy, bright tones that are bold and delectable in my Eggless Lemon Cheesecake. If you are a lemon fan, Eggless Lemon Cheesecake is the one for you.
The perfect pairing for a warm spring day, a hot summer night, a breezy fall afternoon, or a snowy winter weekend, Eggless Lemon Cheesecake is perfect year-round.
I hope you love this cheesecake as much as we do. My kids went crazy about this one.
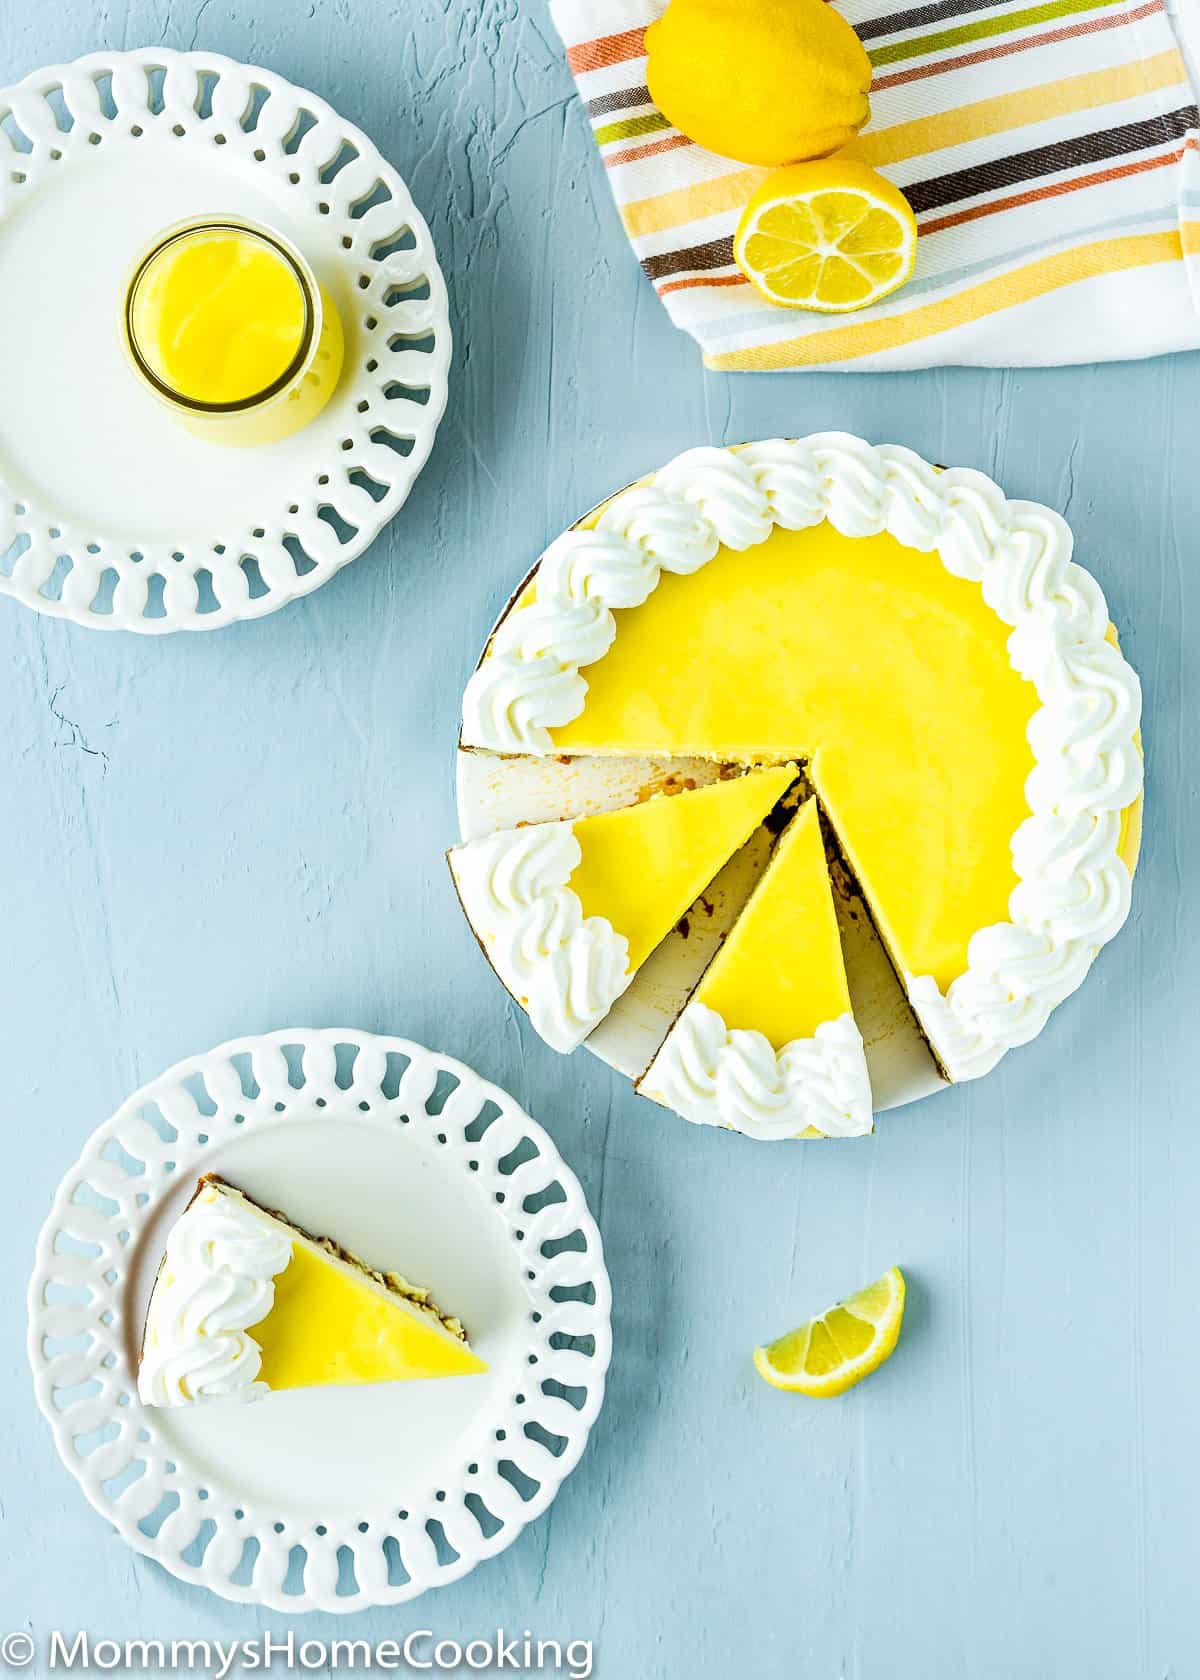
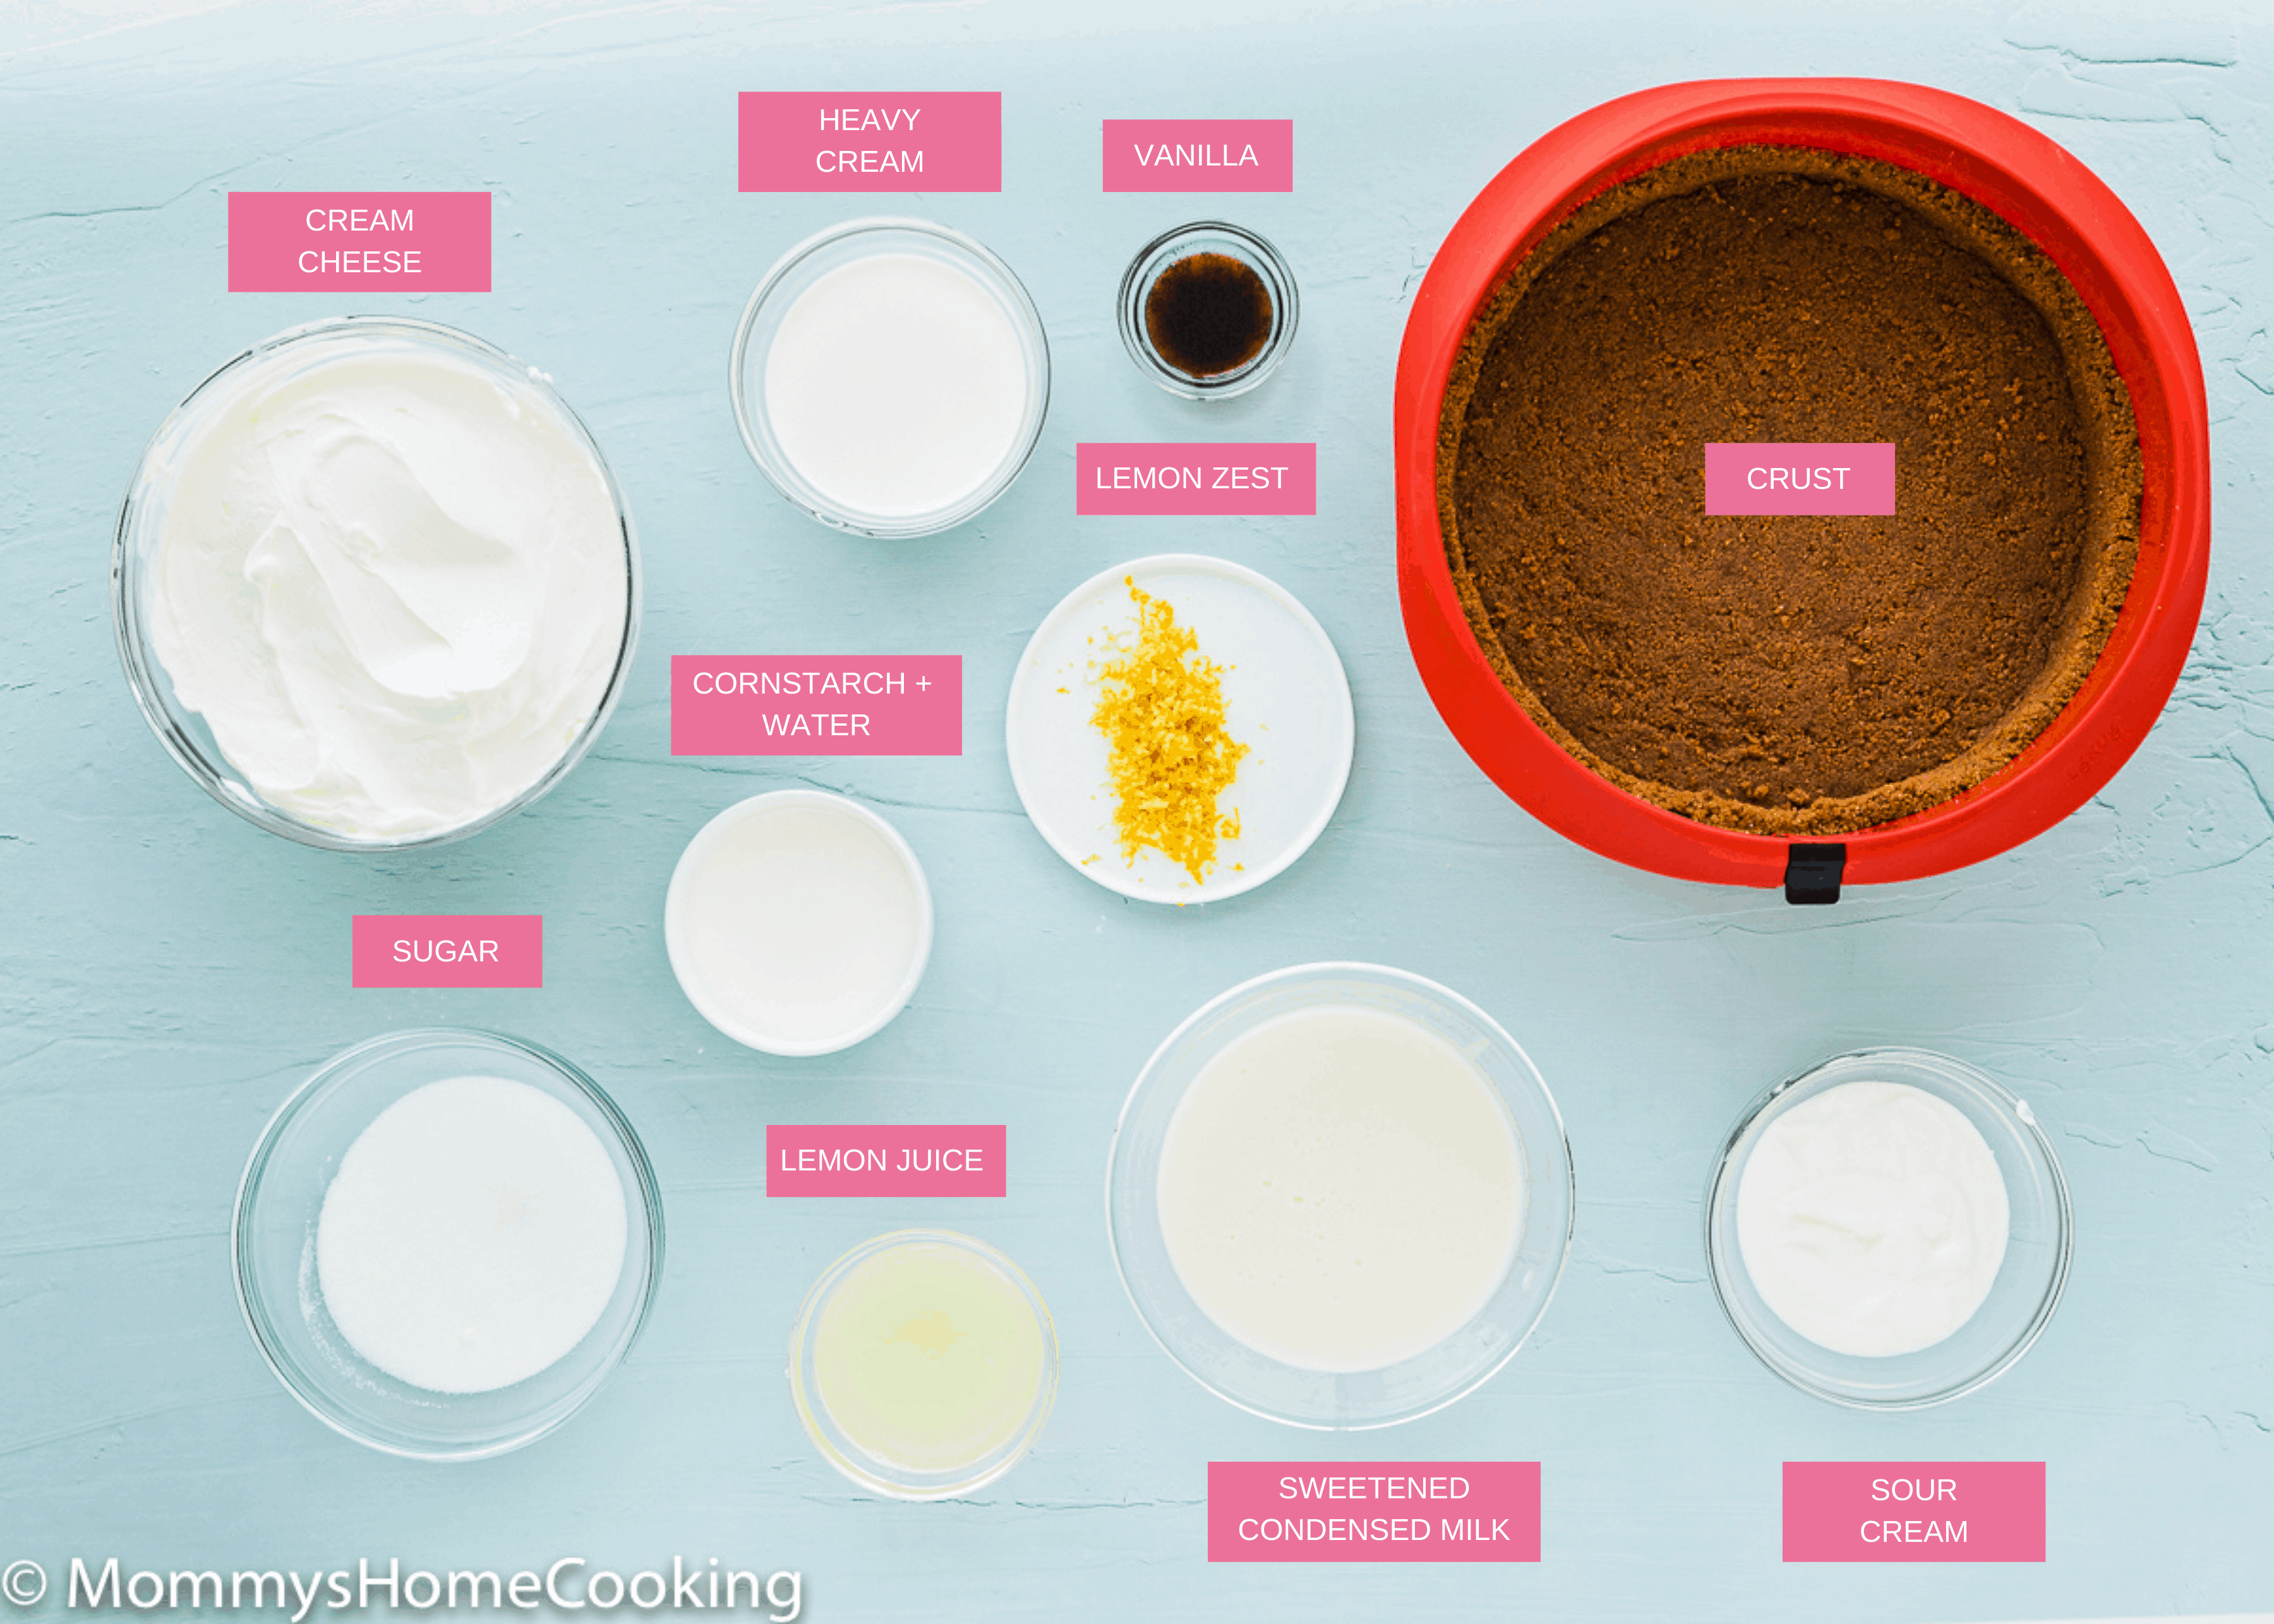
Ingredients Notes & Substitutions
With a simple, three-ingredient crust, most of your ingredients are for the creamy lemon filling. Here’s a quick rundown of what you’ll need to make Eggless Lemon Cheesecake (be sure to scroll down for the full recipe!):
- Graham Cracker Crust: You can use store-bought or homemade. If time allows it, I higly reccomend making your own crust. Check out my How to Make Easy Graham Cracker Crust recipe.
- Sugar: Regular white sugar, also known as caster sugar in other countries.
- Lemons: You will need the zest and lemon.
- Cornstarch + Water: This will helps the egg-free cheesecake to set and be creamy and smooth.
- Cream Cheese: Use the full-fat versions that comes in blocks.
- Sour Cream: You can substitute sour cream for plain regular yogurt. I recommend using the full-fat versions.
- Sweetened Condensed Milk: Use the full-fat version.
- Pure Vanilla Extract: For optimal flavor, reach for pure vanilla instead of imitation. Even better, try homemade vanilla extract!
- Lemon Extract (optional): For extra flavoring.
- Yellow Food Coloring (optional)
- Heavy Cream: Make sure it has at least 35% of fat content.
Decoration:
- Eggless Lemon Curd
- Whipped Cream
Step By Step Recipe Photo Tutorial
(be sure to scroll down for the full detailed recipe instructions!):
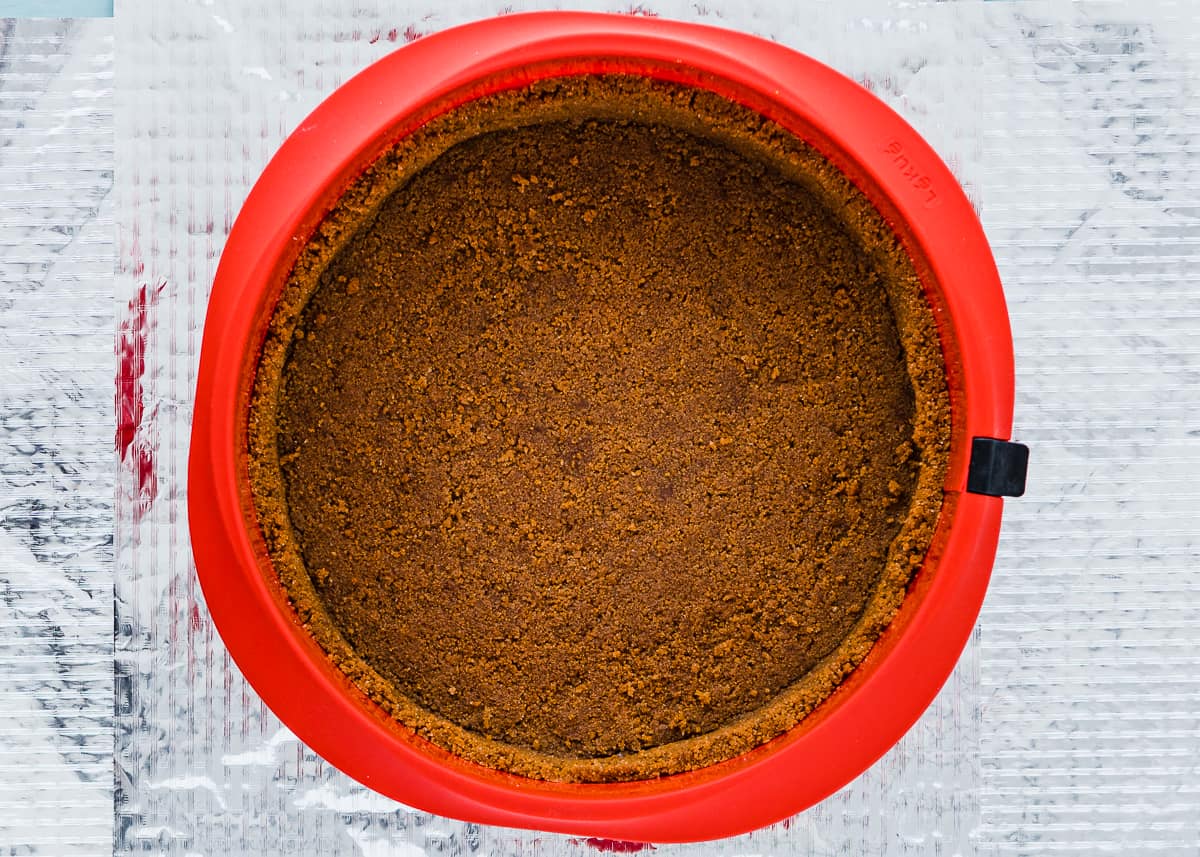
1 – Make the Crust
Combine the crust ingredients in a bowl and mix them with a fork until they are combined. Then you’ll press the crust mixture into your prepared springform pan, covering the bottom and sides with an even layer. Bake crust until set and fragrant, about 8 to 10 minutes. Remove to a wire rack to cool for at least 30 minutes before filling.
2 – Make the Filling
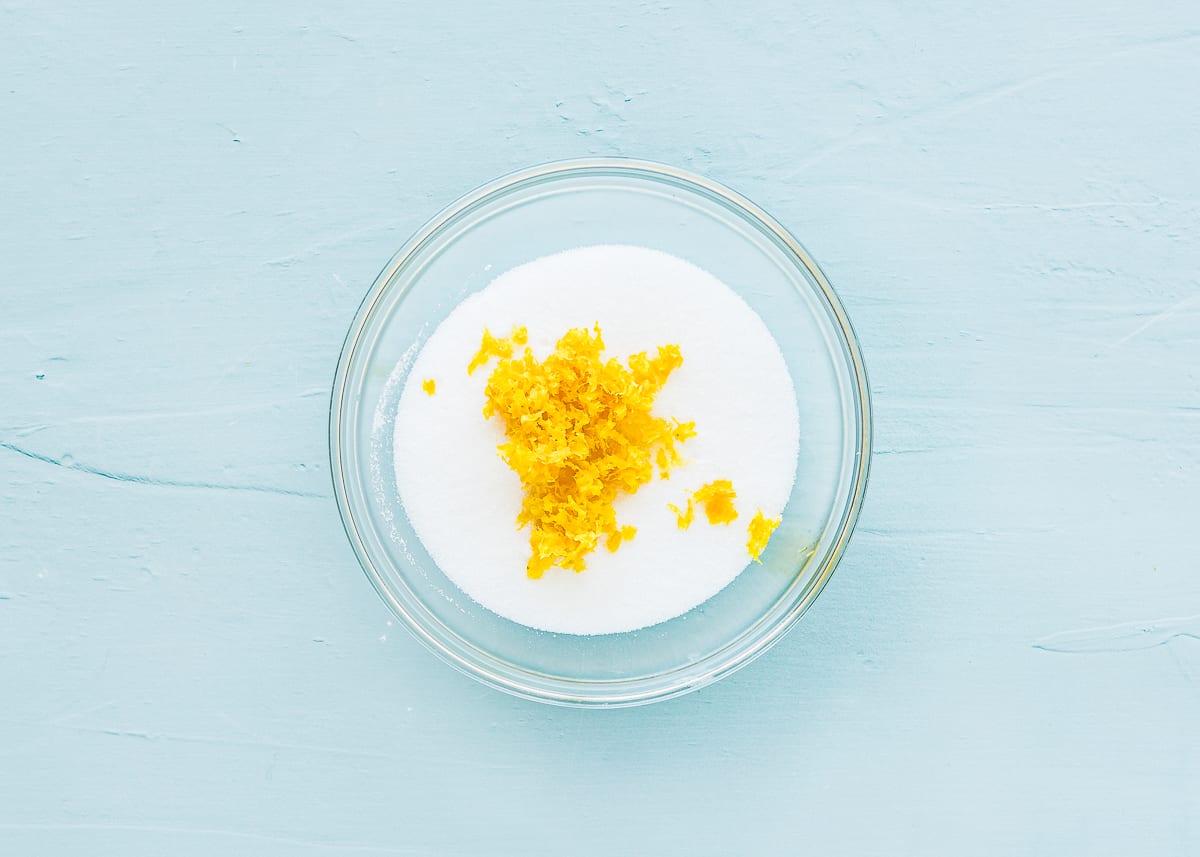
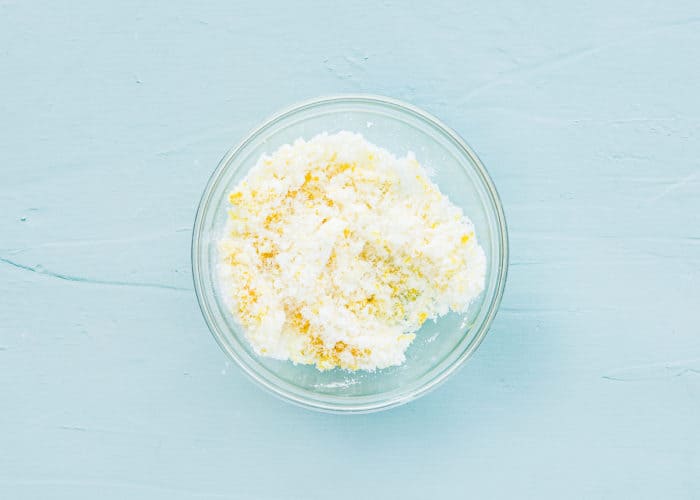
- Using just your fingers, combine the sugar and lemon zest.
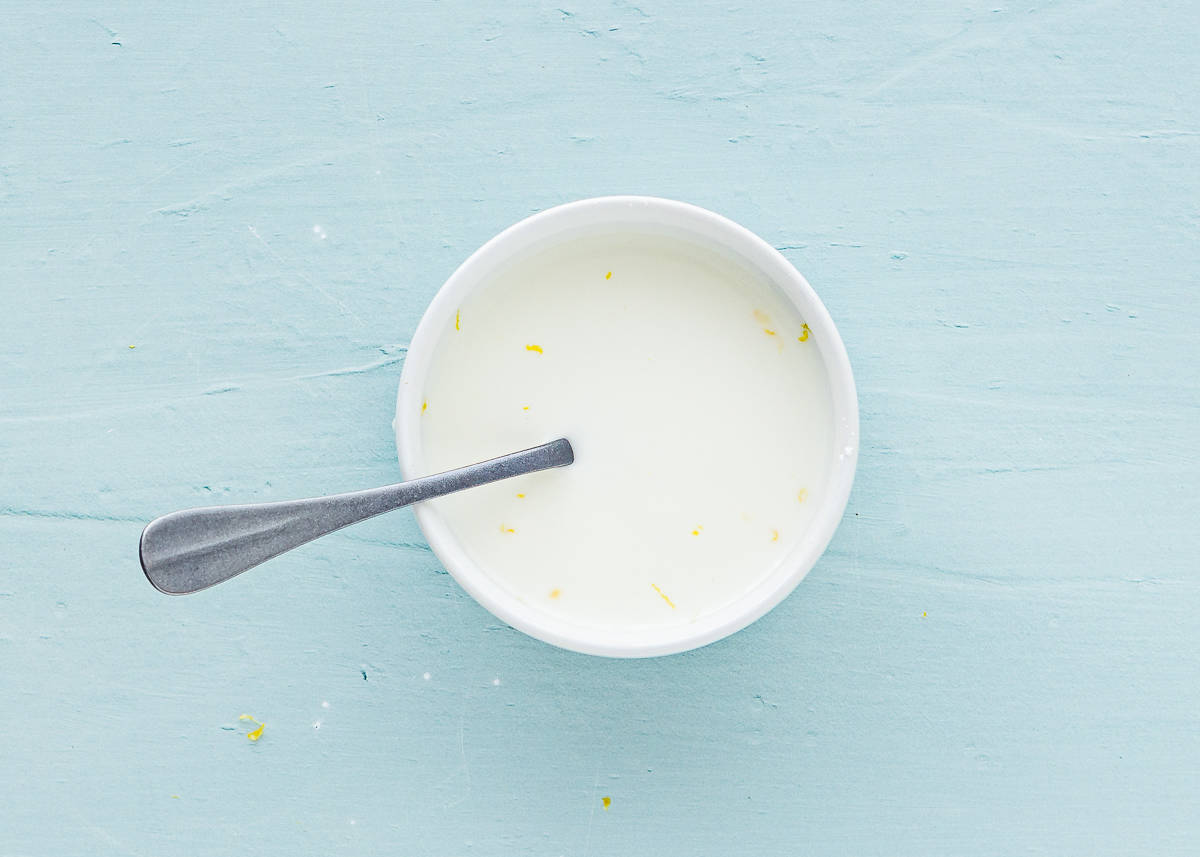
- In a separate bowl, mix the cornstarch and water until smooth.
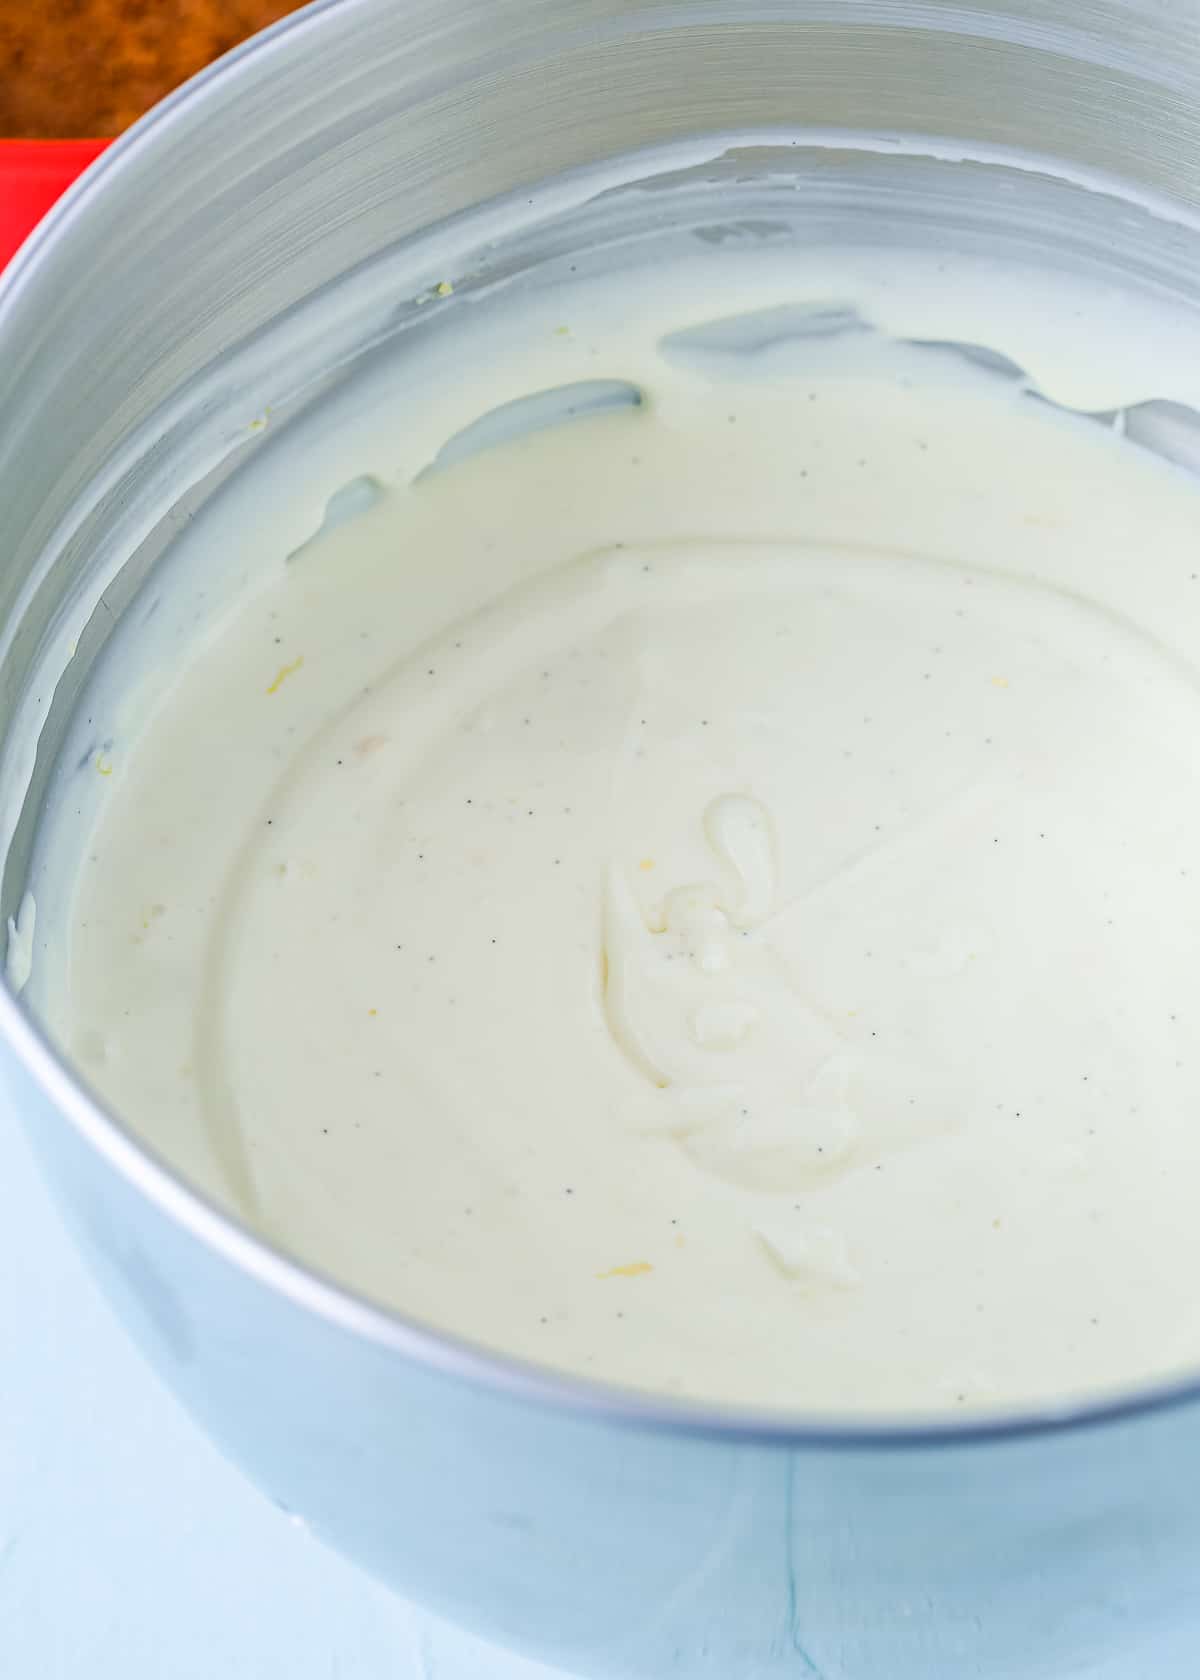
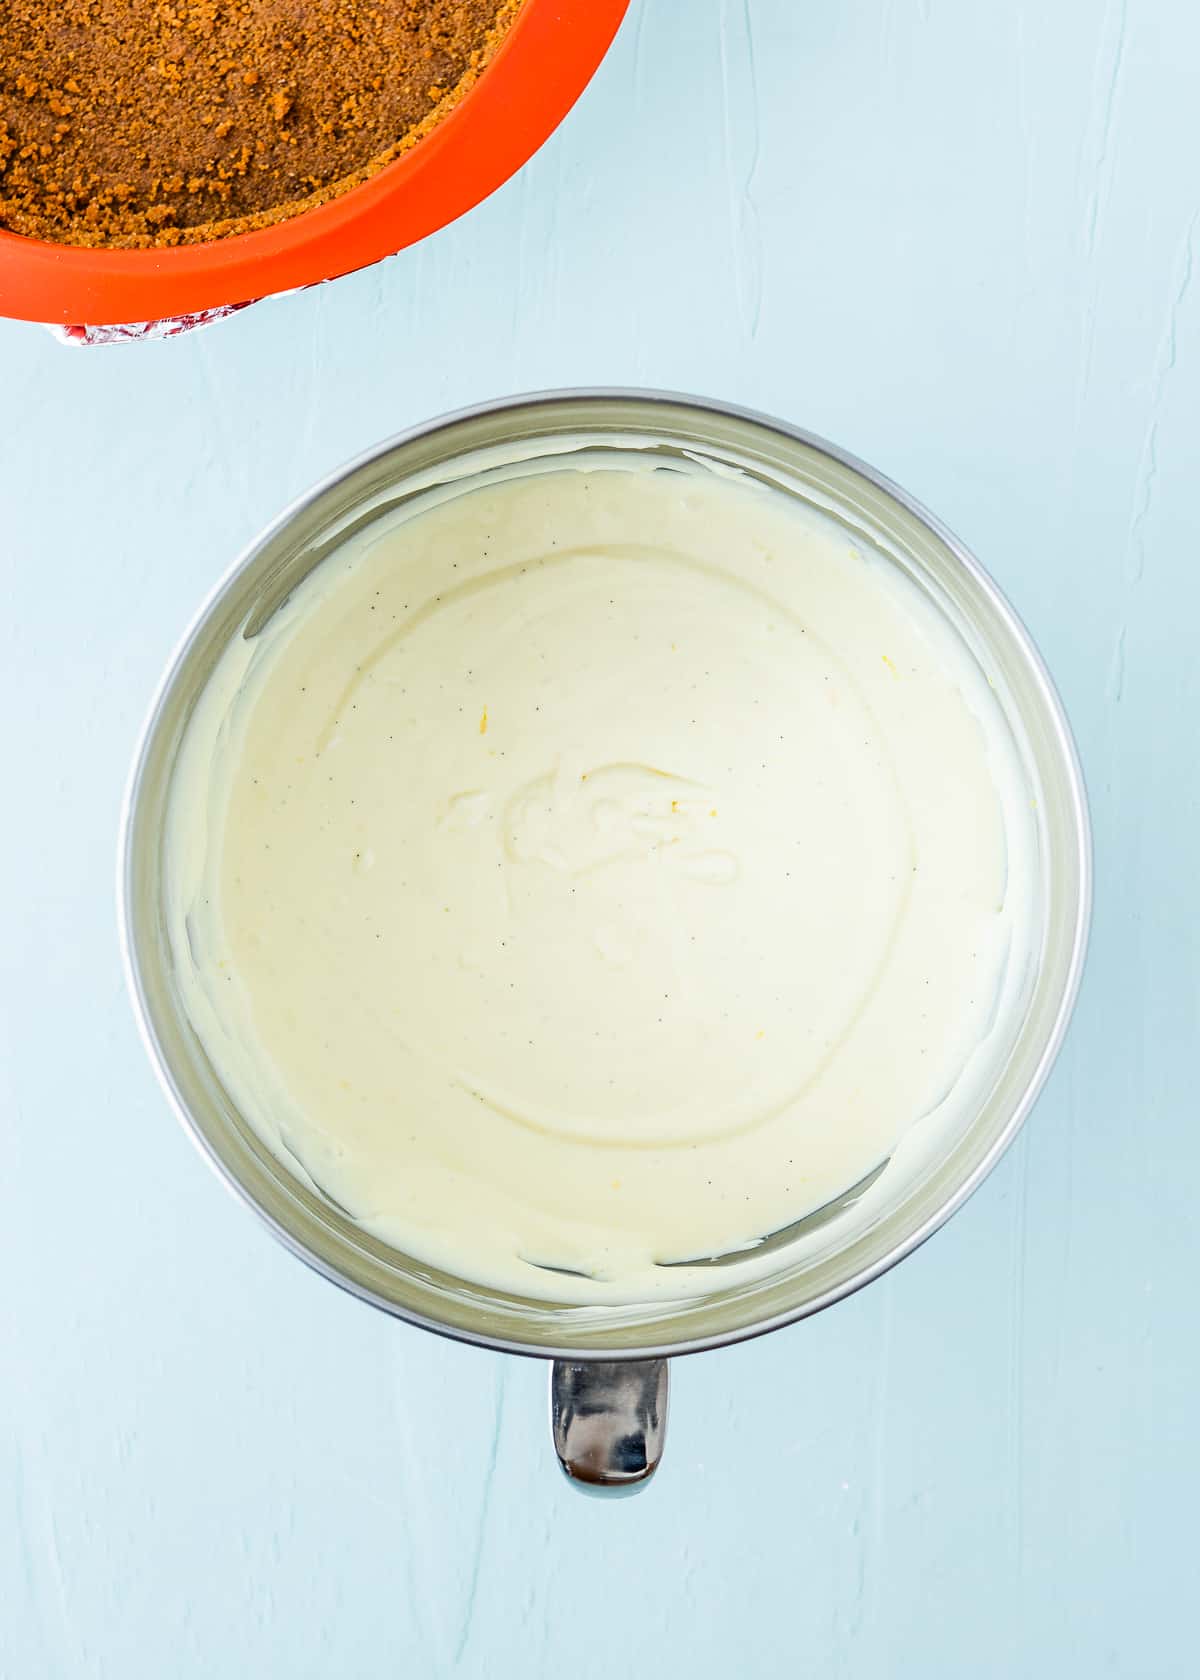
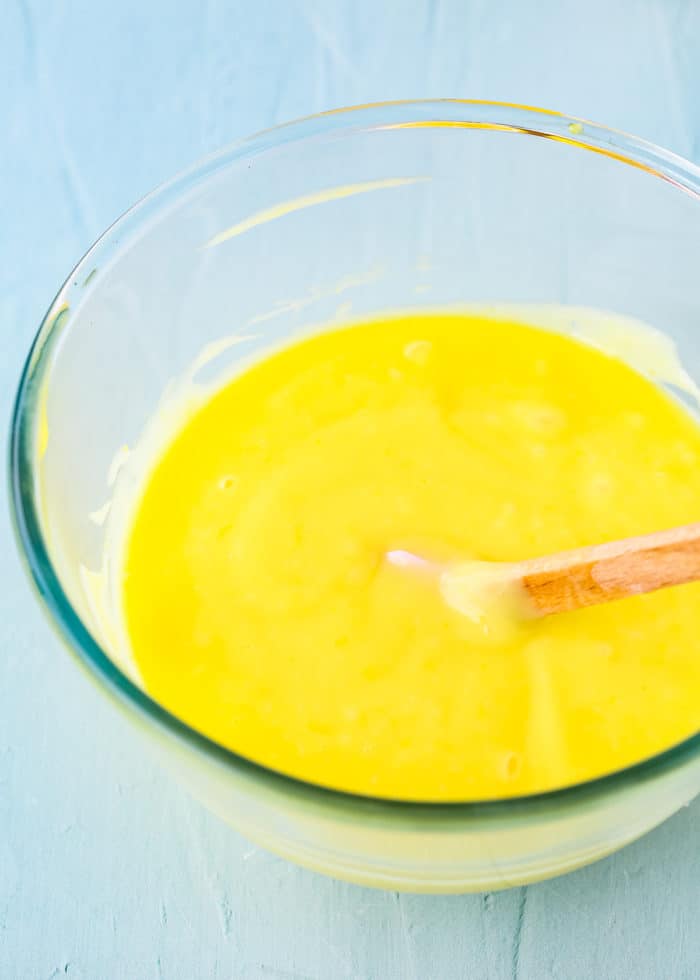
- Beat the cream cheese in another bowl until it’s smooth, then add the sugar-lemon mixture and sour cream and continue mixing. Slowly add the sweetened condensed milk and beat some more. Then add the lemon juice, vanilla, lemon extract, yellow food coloring, and cornstarch mixture and beat again. Finally, add the whipped heavy cream and mix some more.
3 – Prepare the Pan
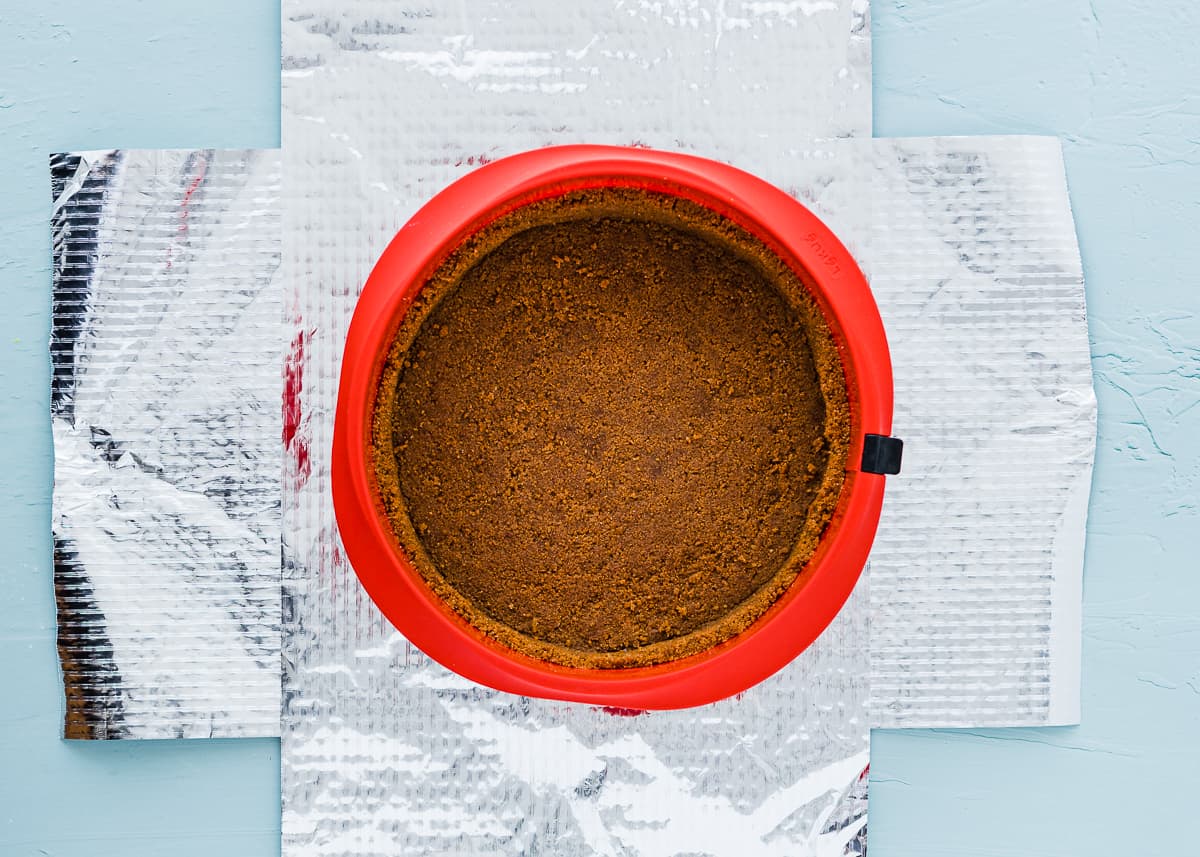
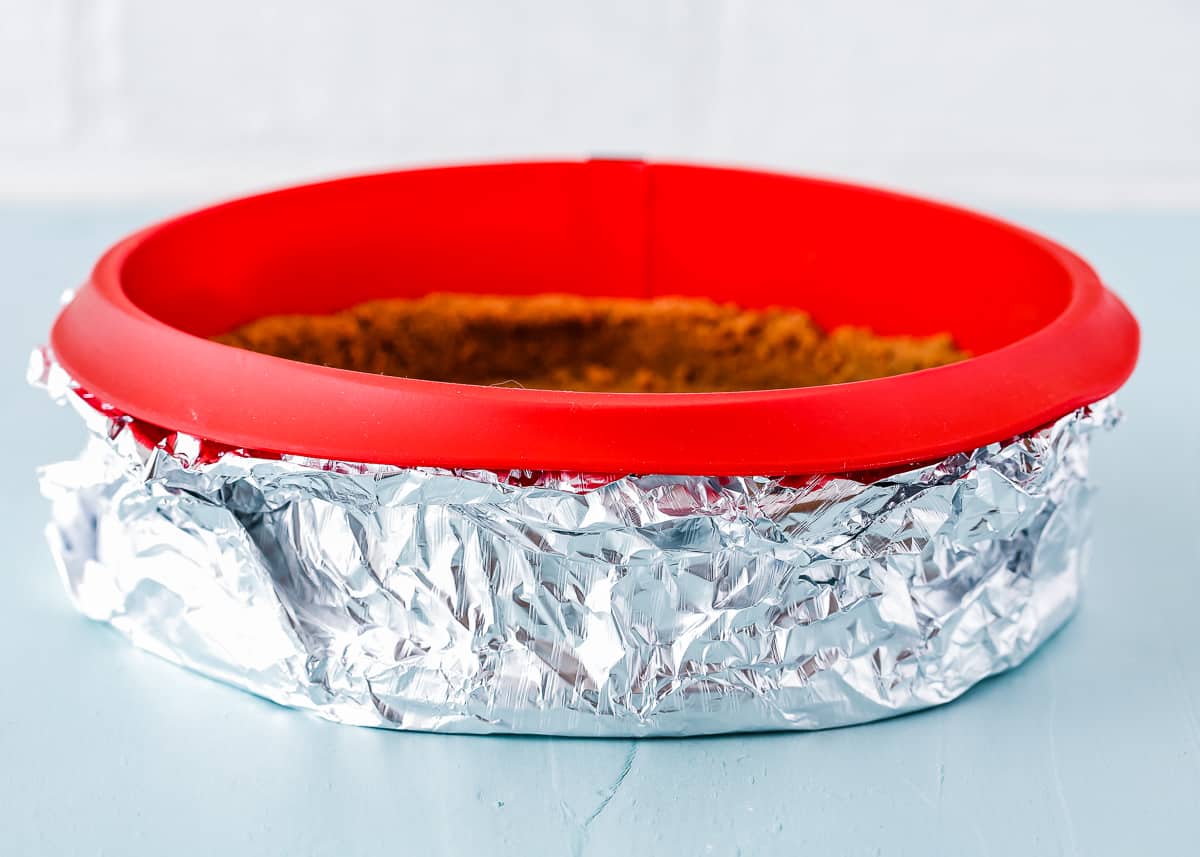
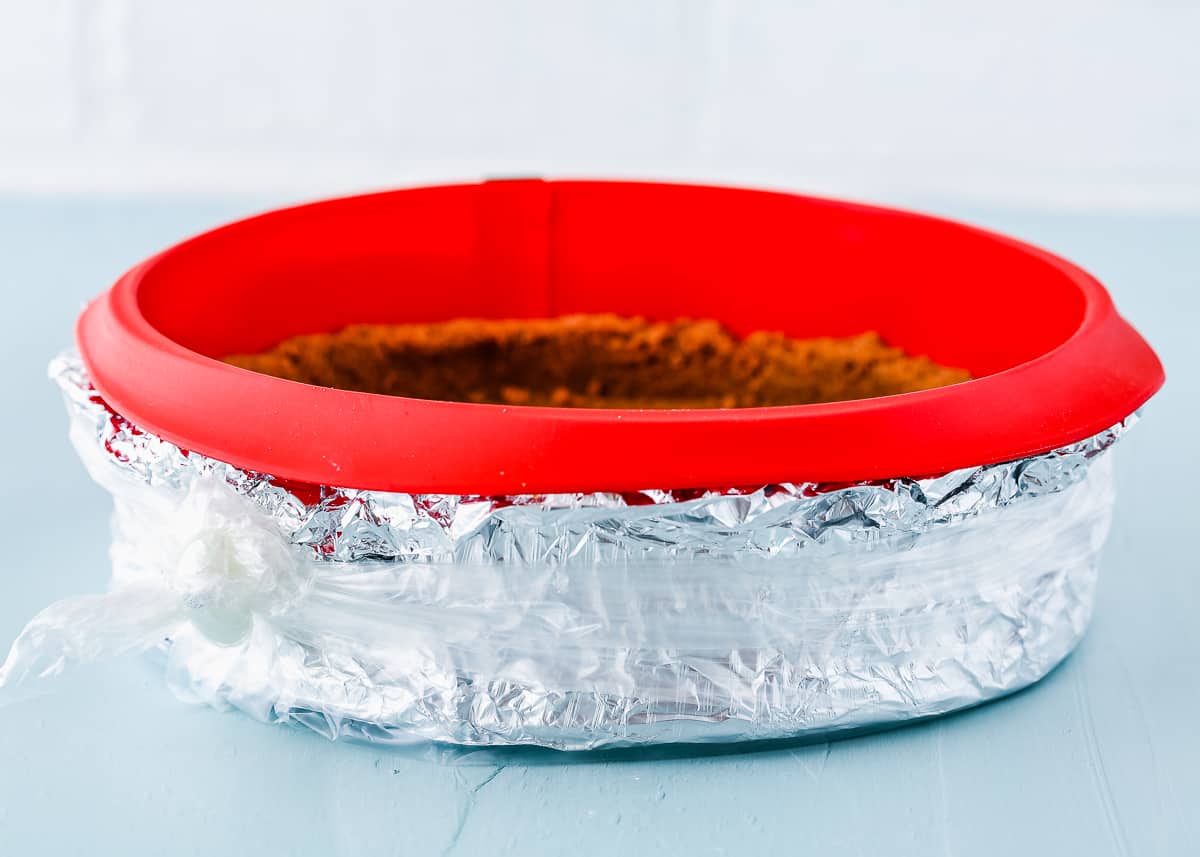
Grab a large piece of foil, place your springform pan on top, and fold the sides around it to keep water from seeping in. OPTIONAL: I like to wrap the springform pan with a slow cooker liner. I place the springform pan in the middle of the slow cooker liner, grab all that excess baggage, wind it up, and tie the end with a knot.
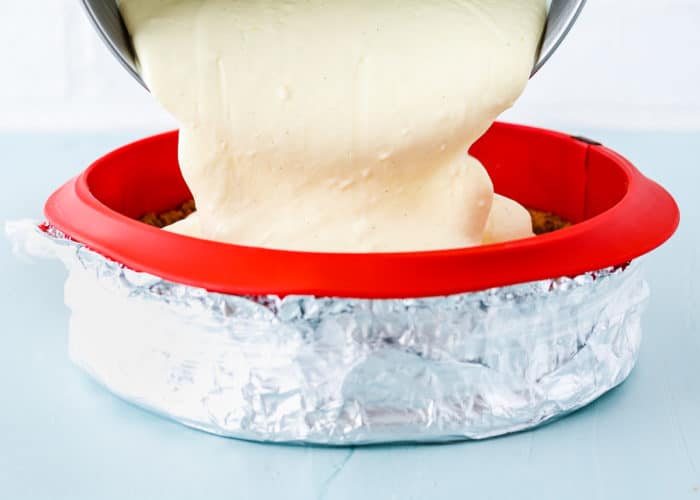
4 – Pour The Cheesecake Filing on To The Crust
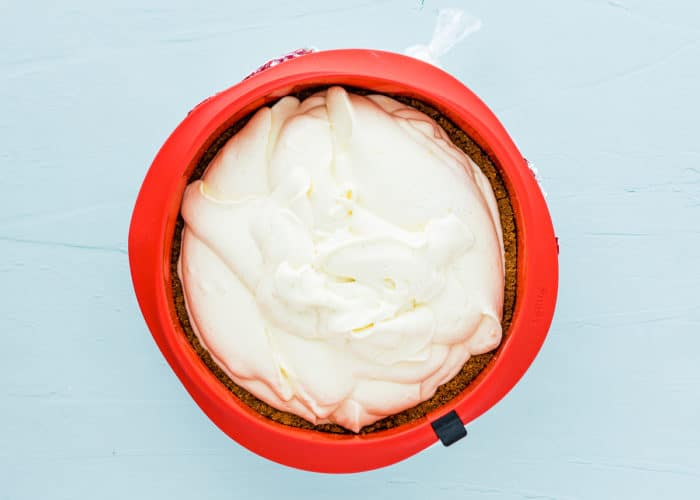
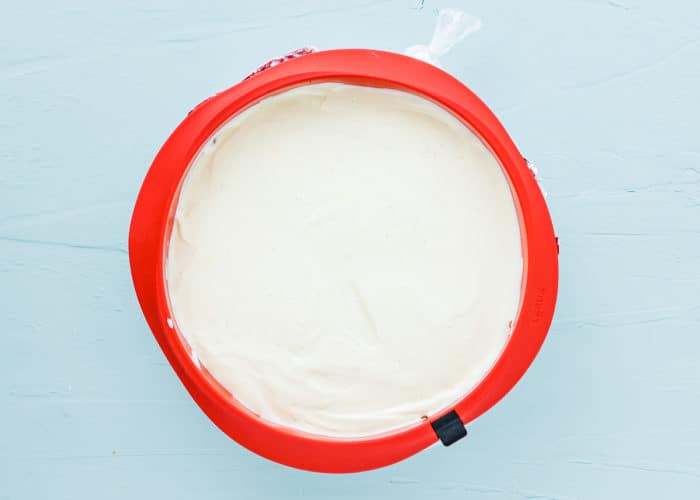
Smooth the top with a spatula or knife. Be sure to gently tap the bottom of the pan to remove any potential air bubbles.
5 – Prepare The Water Bath
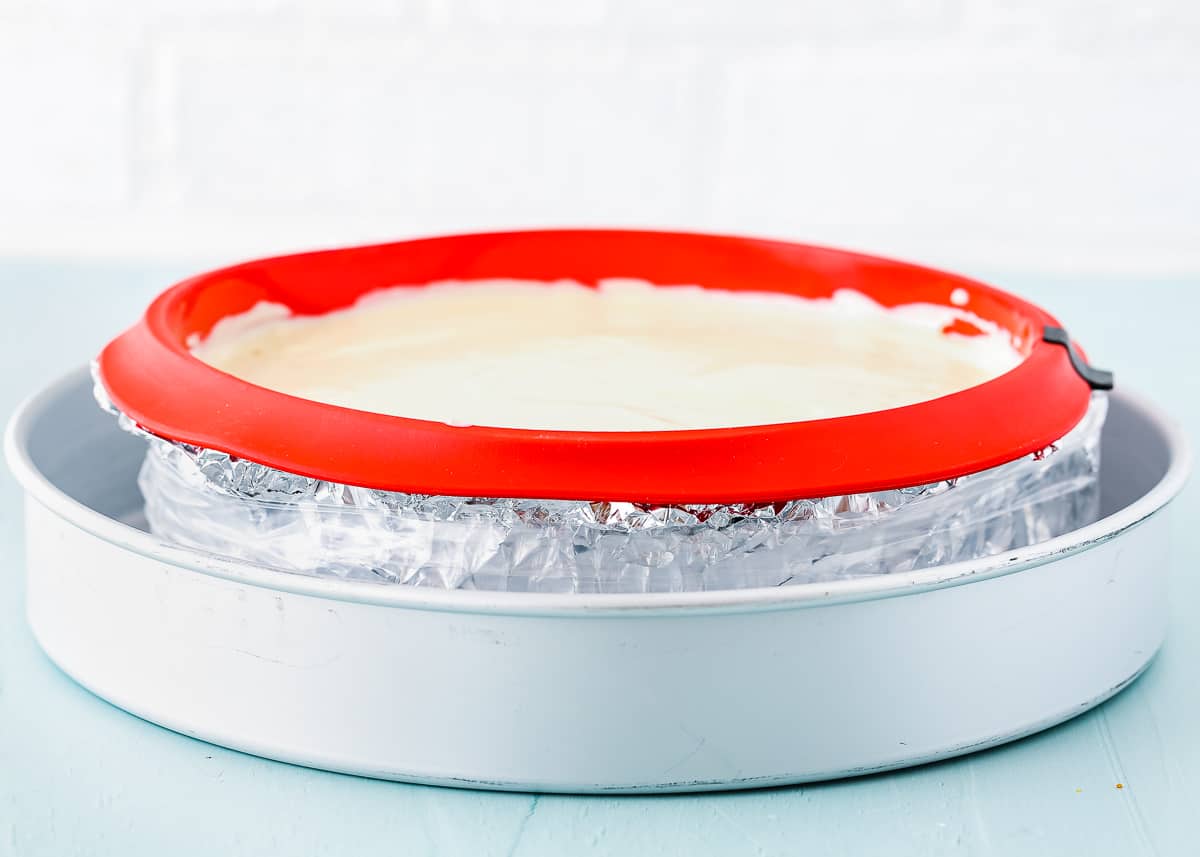
Put the cheesecake in a large roasting pan and pour hot water in (avoiding the cheesecake, of course) until it’s about halfway up the sides of the cheesecake pan.
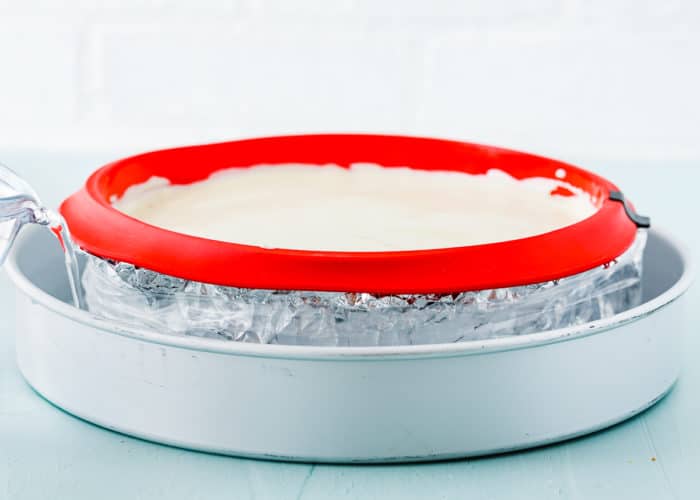
6 – Bake
Bake it until you notice the edges are slightly puffy, but the center is still pale. It’ll be about 40 minutes but keep an eye on it toward the end to be sure not to overbake it, or it will crack. Then you’ll turn off the oven, leaving the cheesecake inside, for another 40 minutes.
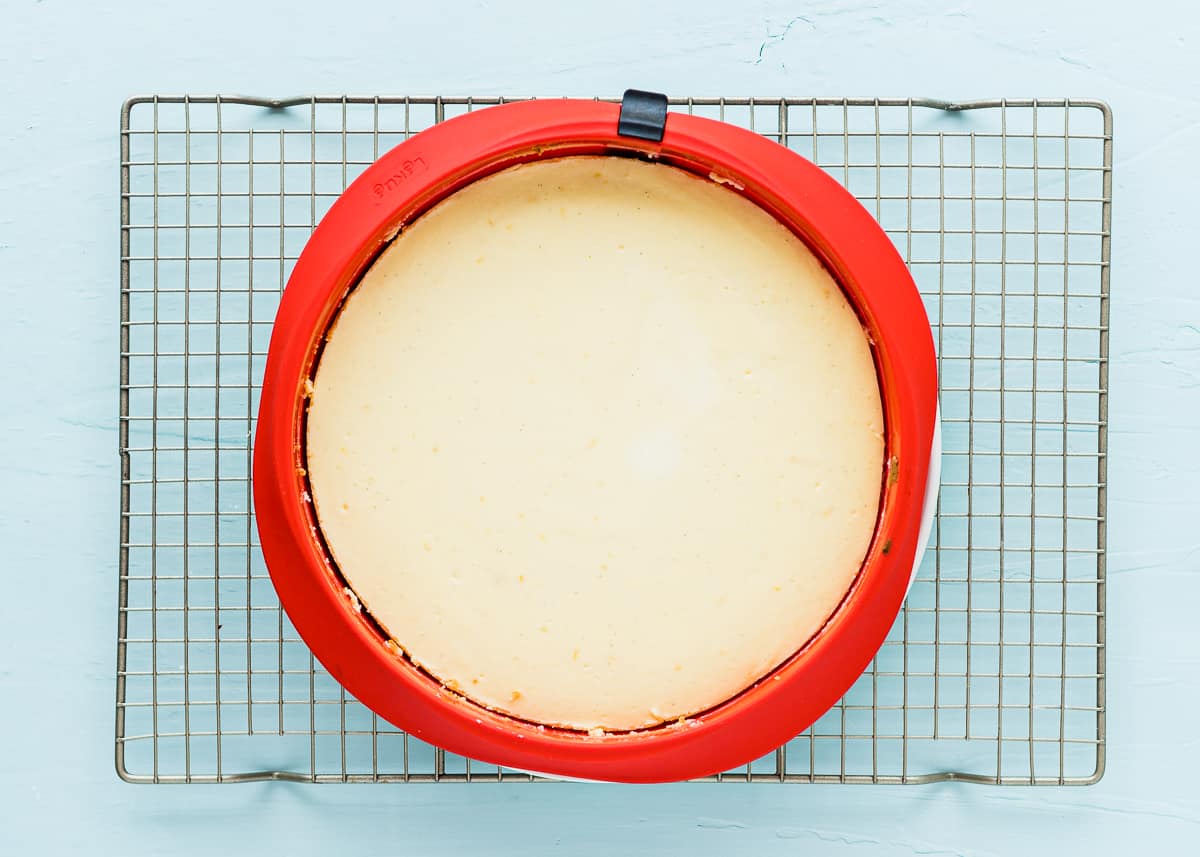
7 – Chill
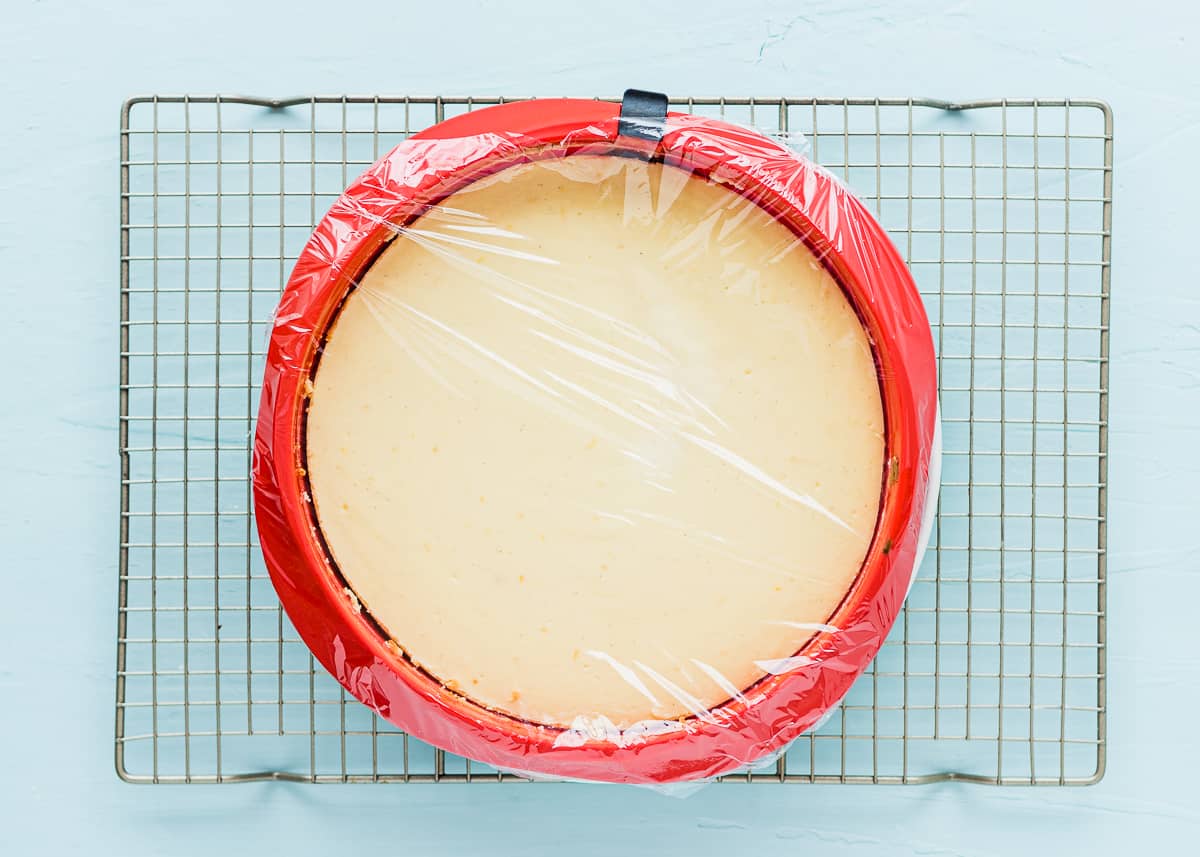
Remove the cheesecake from the oven after the second 40 minutes, remove it from the water bath and foil wrapping, and let it cool at room temperature. After it is cooled, cover and refrigerate it for a minimum of six hours, but letting it chill overnight is better.
7 – Decorate
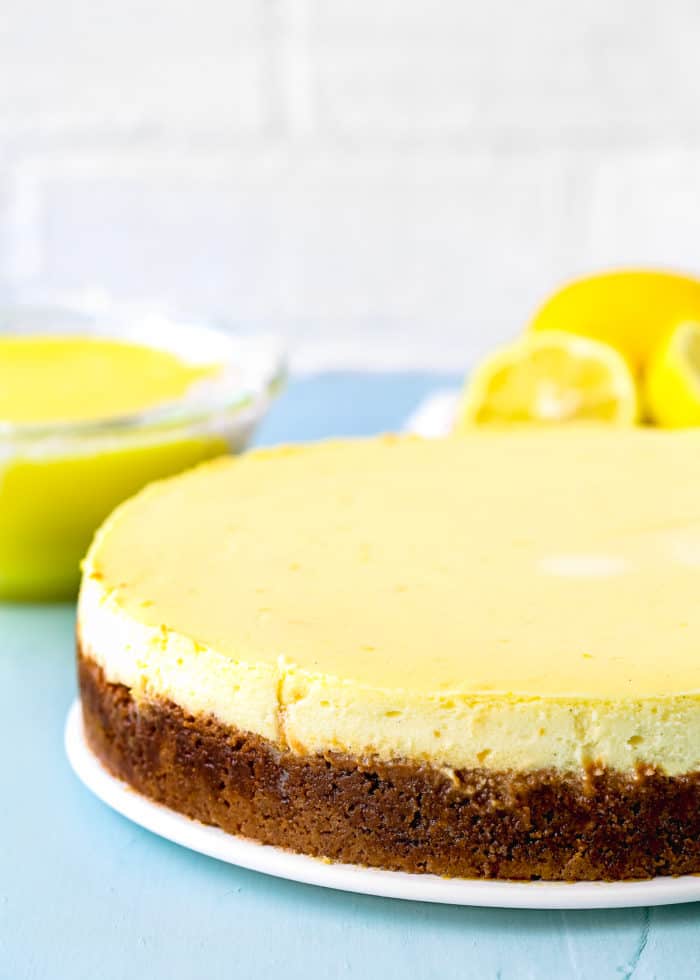
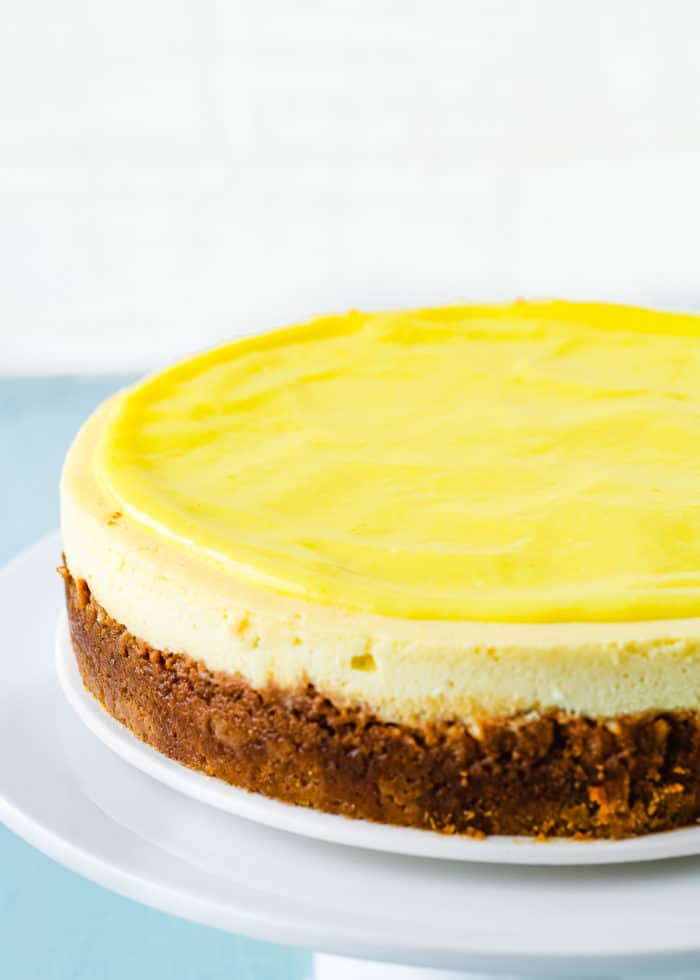
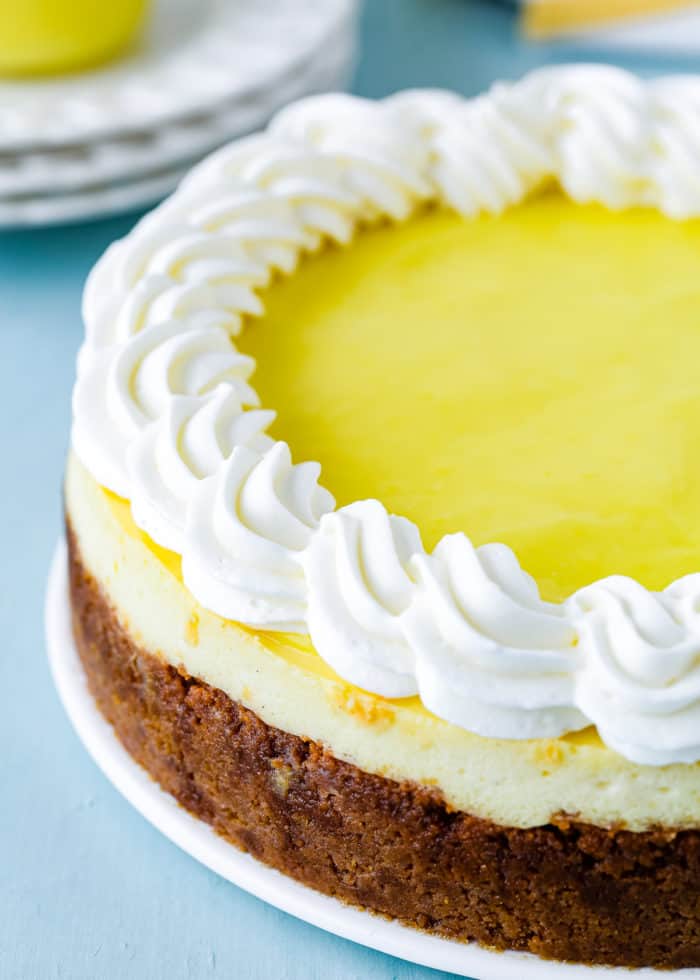
When you’re ready to serve your cheesecake, remove it from the sides of the pan by running a thin, metal spatula around the inside rim. Once it has popped free, transfer it to a cake plate. Just before serving, top your Eggless Lemon Cheesecake with eggless lemon curd and whipped cream, if desired.
QUICK BAKING TIPS
Plan ahead! Cheesecake is one of those desserts you have to plan in advance. It takes a long time to chill and set.
Measure the ingredients correctly. I highly recommend using a kitchen scale.
Preheat the oven at least 15 minutes before getting started to give it plenty of time to reach the ideal recipe temperature.
Leaky baking pans are a cheesecake’s arch-nemesis. After many years of cheesecake making, I have concluded that most springform pans leak, so to avoid water leaks, I like to wrap the springform pan with a double layer of heavy-duty foil and then a slow cooker liner. To do so, I place the springform pan in the middle of the slow cooker liner, grab all that excess baggage, wind it up, and tie the end with a knot, covering the underside and coming all the way to the top.
Ovens are all different, so baking times are always approximate. Oven thermostats are sometimes inaccurate, and that will all affect baking time, so keep an eye on things.
Avoid overcooking the cheesecake, or it will crack. The center of your cheesecake should still wobble when you remove it from the oven; it will continue to cook as it cools on the counter.
To prevent cracks during cooling, it’s important to loosen the cheesecake from the sides of the pan after baking. First, cool the cheesecake on a wire rack for 15 minutes. Then carefully run a knife between the cheesecake and the inside of the pan. Don’t remove the sides of the pan yet.
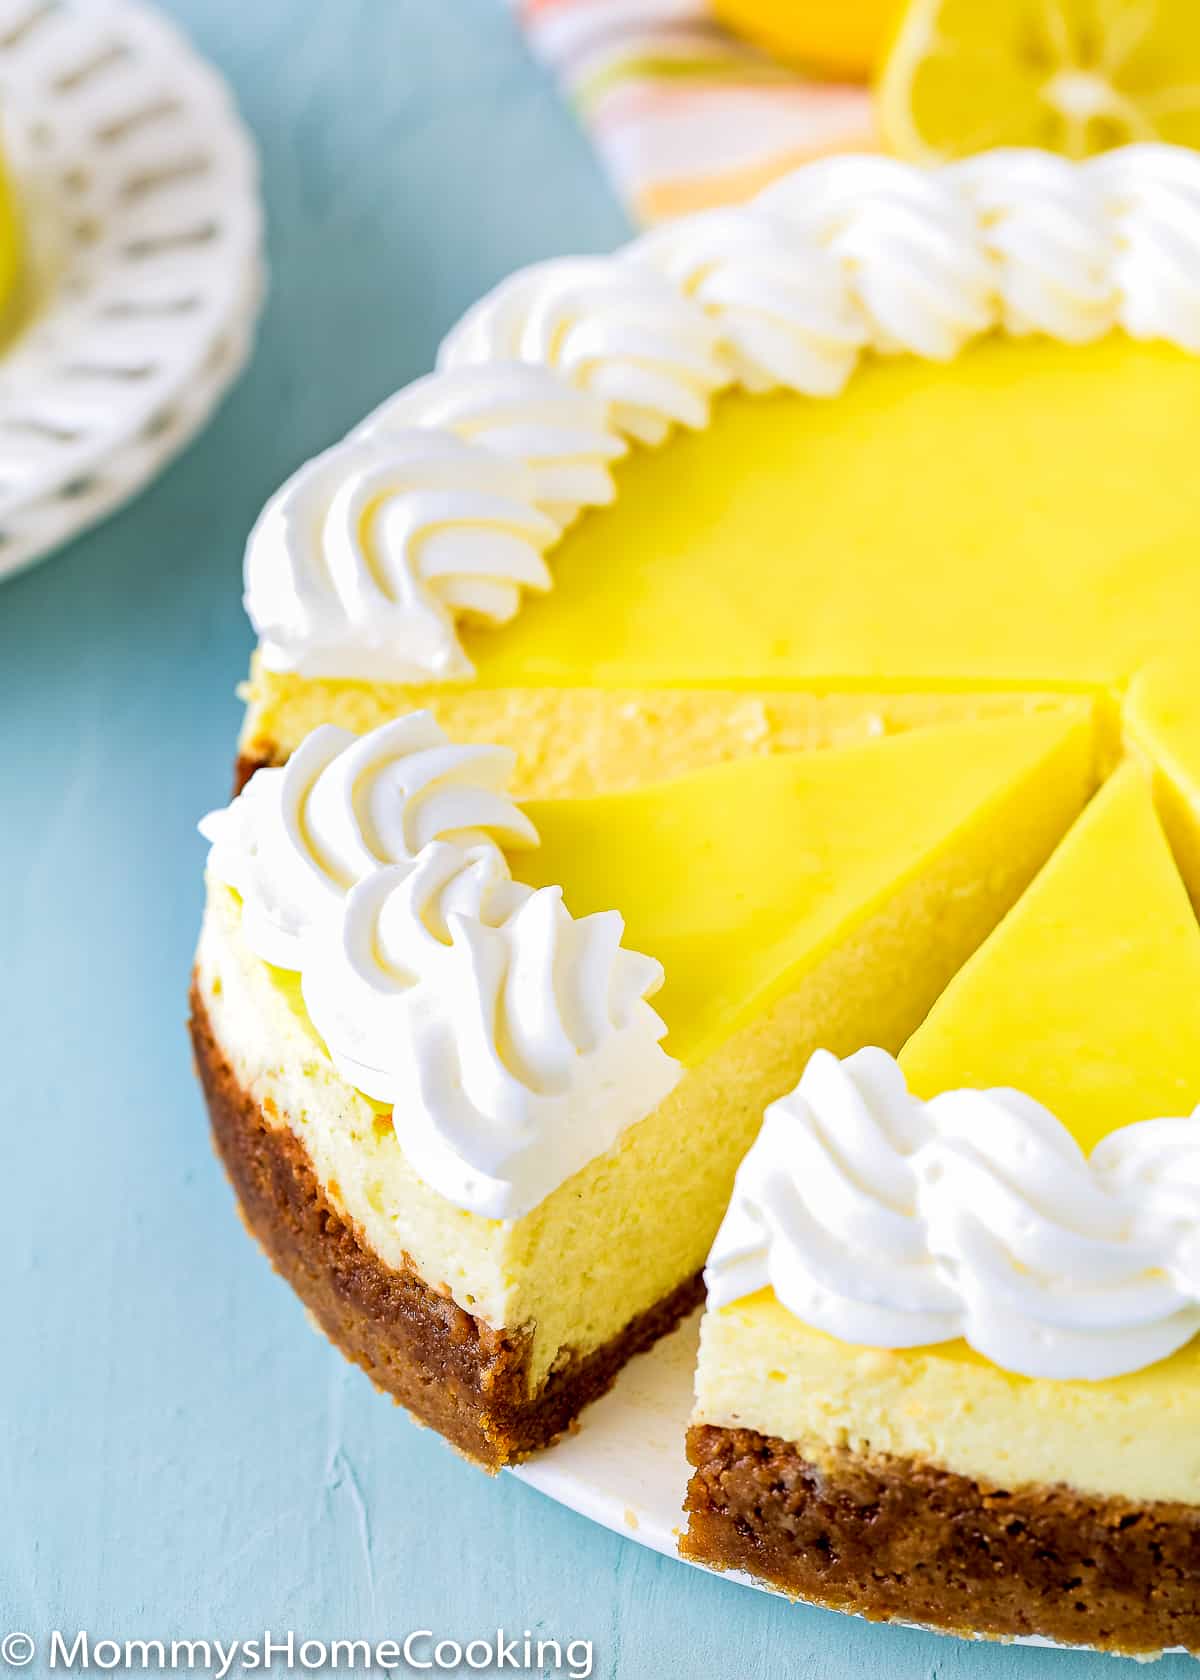
Allow the cheesecake to chill for at least 6 hours in the refrigerator before attempting to cut. For a very clean-cut, use a warm knife (the best way to warm a knife is to run it under hot water and then dry it off just before cutting), and wipe the knife clean between cuts.
Storing & Freezing Instructions
Store
You can store your Eggless Lemon Cheesecake covered and in the refrigerator for up to five days.
Freeze
Eggless Lemon Cheesecake can be frozen for up to three months.
- First, cool the cheesecake on the counter before freezing—you can skip cooling it in the refrigerator.
- Next, remove the outer rim of the springform pan (leave the base).
- Then wrap the cheesecake and the bottom of the pan with a few plastic wrap layers, then a final layer of aluminum foil. Don’t freeze your cheesecake with any toppings!
When you’re ready to eat your cheesecake, thaw it overnight in the refrigerator. Add your toppings before serving a delicious Eggless Lemon Cheesecake.
Frequently Asked Questions
You could, but if possible, I highly recommend using fresh lemons. The zest adds an incredible lemon flavor to this cheesecake.
You can absolutely make a cheesecake without a traditional water bath. Keep in mind if you skip the water bath you take the risk of overbaking the cheesecake and having a less silky texture. Also, the edges will brown. If possible, I recommend doing the water bath.
You will notice that the edges are just barely puffed, but the filling is pale—you’re not looking for golden brown. Meaning, that the top of the cheesecake should no longer look glossy and wet, but overall have a more matte appearance on top. Also, the outer part of the cheesecake has to look set and the center of the cheesecake has to still be a little jiggly, but not look too liquidy. Pro Tip: If you slightly shake the pan, it should be moved as a whole.
More Eggless Cheesecake Recipes You’ll Love!
- Best Eggless Cheesecake [Video]
- Best No-Bake Strawberry Cheesecake
- Eggless Chocolate Cheesecake
- Eggless Red Velvet Cheesecake
- Browse more recipes…
❤️ Love what you see? JOIN my Private Baking Club. Also, SUBSCRIBE to Mommy’s Home Cooking, so you’ll never miss a recipe! And FOLLOW along on Instagram, Pinterest, and Facebook for more fun!
Eggless Lemon Cheesecake
Equipment
Ingredients
Crust:
- 2 cups (200 g) graham cracker crumbs (about 15-17 full sheet graham crackers)
- 7 tablespoons (98 g) unsalted butter, melted
- 1/3 cup (67 g) granulated sugar
Filling:
- 1/2 cup (100 gr) granulated sugar
- 1 tablespoon lemon zest
- 3 tablespoons (30 g) cornstarch
- 3 tablespoons (45 ml) water
- 24 oz (678 g) cream cheese, softened (3 pkg 8oz. each)
- 1/2 cup (120 g) sour cream
- 14 onces (397 g – one can) sweetened condensed milk
- ¼ cup (60 ml) freshly squeezed lemon juice
- 2 teaspoons pure vanilla extract
- 1 teaspoon lemon extract (optional)
- 2- 3 drops yellow food coloring (optional)
- 1/3 cup (80 ml) heavy cream
To Decorate:
- Eggless Lemon Curd ( I added about 3/4 cup)
- Whipped Cream
Instructions
Make the Crust:
- Preheat oven 350º F (180º C).
- In a medium mixing bowl, combine graham crumbs, butter, and sugar with a fork until evenly moistened.
- Pour the crumbs mixture into the pan and press the crumbs down into the base and up the sides. Tip: Use the bottom of a measuring cup or glass to press down the crumbs evenly.
- Bake crust until set and fragrant, about 8 to 10 minutes. Remove to a wire rack to cool for at least 30 minutes before filling.
Make the Filling:
- In a medium bowl, use your fingertips to combine the sugar and lemon zest until the sugar is fragrant.
- Mix cornstarch and water in a small bowl until smooth. Set aside.
- Place the cream cheese in the bowl of an electric mixer, beat on low speed for 2-3 minutes until smooth and free of any lumps. Add sugar-lemon mixture and sour cream and continue mixing until incorporated. Gradually add sweetened condensed milk and beat until creamy, for 1-2 minutes. Add lemon juice, vanilla, lemon extract (if using), yellow food coloring (if using), and cornstarch mixture; beat until well incorporated.
- Add whipped heavy cream and mix on high speed or 2 – 3 minutes.
Prepare the Pan:
- Grab a large piece of foil, place your springform pan on top, and fold the sides around it to keep water from seeping in. OPTIONAL: I like to wrap the springform pan with a slow cooker liner. I place the springform pan in the middle of the slow cooker liner, grab all that excess baggage, wind it up, and tie the end with a knot.
- Pour the Cheesecake Filing on to the Crust
- Smooth the top with a spatula or knife. Be sure to gently tap the bottom of the pan to remove any potential air bubbles.
Prepare the Pan and Water Bath
- Put the cheesecake in a large roasting pan and pour hot water in (avoiding the cheesecake, of course) until it’s about halfway up the sides of the cheesecake pan.
Bake
- Bake at 350º F (180º C) for 40 minutes or until the edges are just barely puffed, but the filling is pale—you're not looking for golden brown.
- Turn off the oven and leave the door closed for 40 more minutes – leave the cheesecake inside of the oven. The cheesecake will continue to cook but slowly begin to cool as well.
- After 40 minutes, remove the cheesecake from the oven. The cheesecake center should still wobble when you remove it; it will continue to cook as it cools on the counter. Remove the cheesecake from the water bath and wrapping. Let it cool at room temperature. Then refrigerate for at least 6 hours or overnight.
- Loosen the cheesecake from the sides of the pan by running a thin metal spatula around the inside rim. Unmold and transfer to a cake plate.
- Just before serving, top the cheesecake with lemon curd and whipped cream.
- First, cool the cheesecake on the counter before freezing—you can skip cooling it in the refrigerator.
- Next, remove the outer rim of the springform pan (leave the base).
- Then wrap the cheesecake and the bottom of the pan with a few plastic wrap layers, then a final layer of aluminum foil. Don’t freeze your cheesecake with any toppings!
- Plan ahead! Cheesecake is one of those desserts you have to plan in advance. It takes a long time to chill and set.
- Measure the ingredients correctly. I highly recommend using a kitchen scale.
- Preheat the oven at least 15 minutes before getting started to give it plenty of time to reach the ideal recipe temperature.
- Leaky baking pans are a cheesecake’s arch-nemesis. After many years of cheesecake making, I have concluded that most springform pans leak, so to avoid water leaks, I like to wrap the springform pan with a double layer of heavy-duty foil and then a slow cooker liner. To do so, I place the springform pan in the middle of the slow cooker liner, grab all that excess baggage, wind it up, and tie the end with a knot, covering the underside and coming all the way to the top.
- Ovens are all different, so baking times are always approximate. Oven thermostats are sometimes inaccurate, and that will all affect baking time, so keep an eye on things.
- Avoid overcooking the cheesecake, or it will crack. The center of your cheesecake should still wobble when you remove it from the oven; it will continue to cook as it cools on the counter.
- To prevent cracks during cooling, it’s important to loosen the cheesecake from the sides of the pan after baking. First, cool the cheesecake on a wire rack for 15 minutes. Then carefully run a knife between the cheesecake and the inside of the pan. Don’t remove the sides of the pan yet.
- Allow the cheesecake to chill for at least 6 hours in the refrigerator before attempting to cut. For a very clean-cut, use a warm knife (the best way to warm a knife is to run it under hot water and then dry it off just before cutting), and wipe the knife clean between cuts.
- If you don’t have graham crackers, you can use vanilla wafer crumbs instead.
Nutrition
Eggless Baking Frequently Asked Questions
You’ve asked, and I’ve answered! Read on for a handful of answers to the most frequently asked questions about eggless baking.
Originally posted in April 2021, the post content was edited to add more helpful information, with no change to the recipe in April 2022.
