
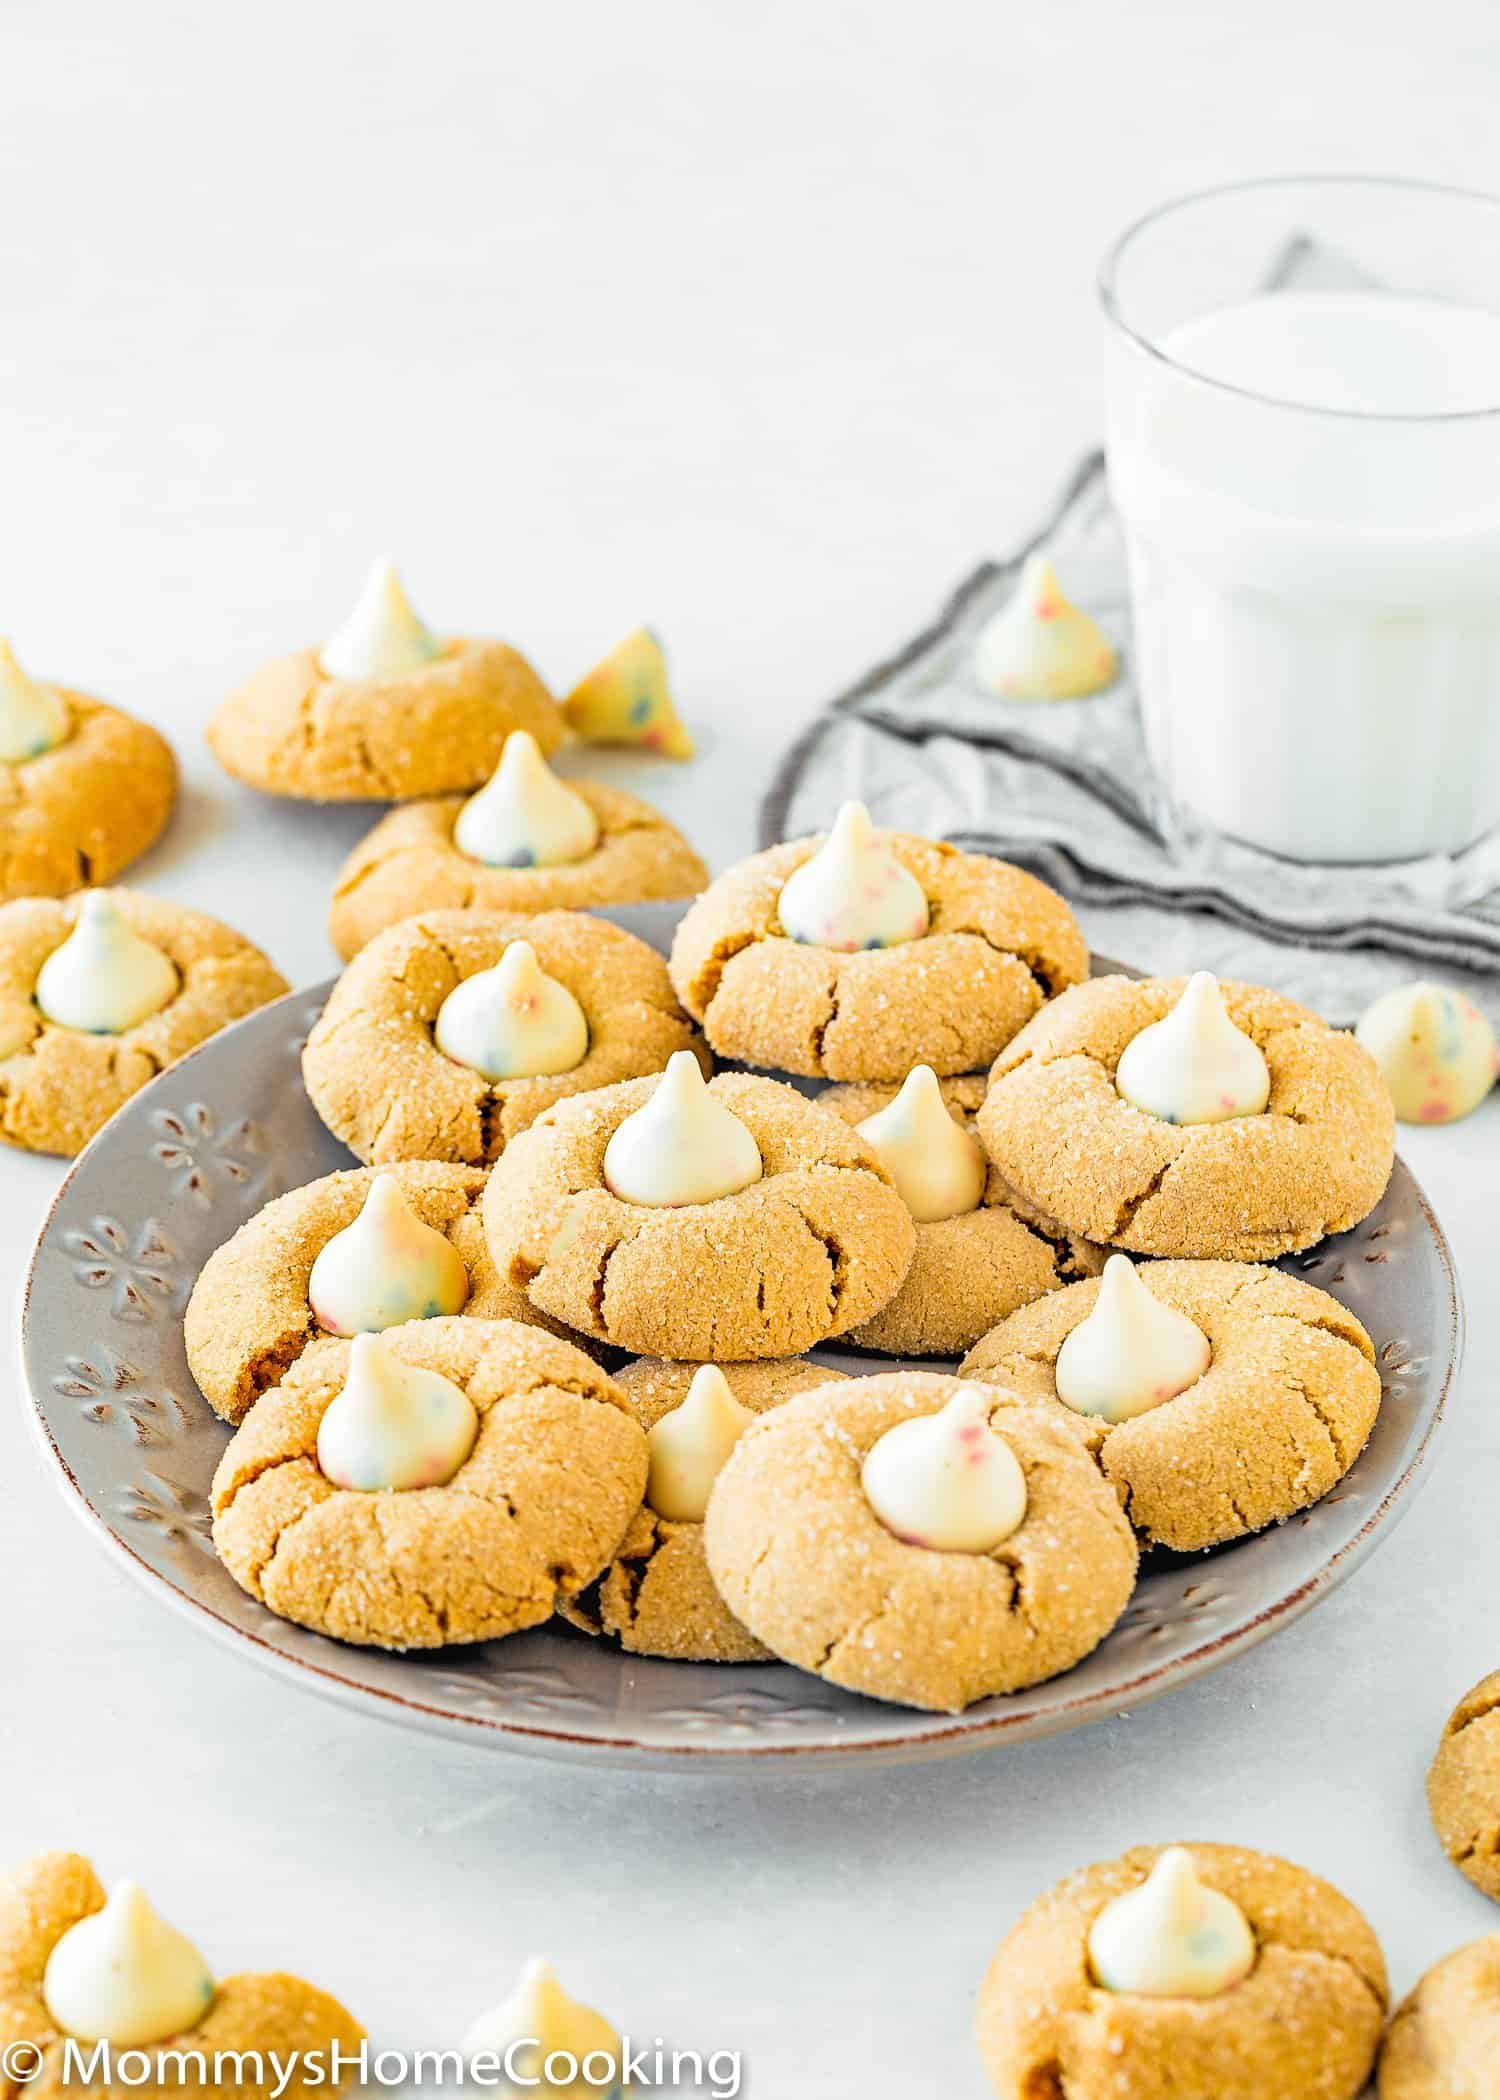
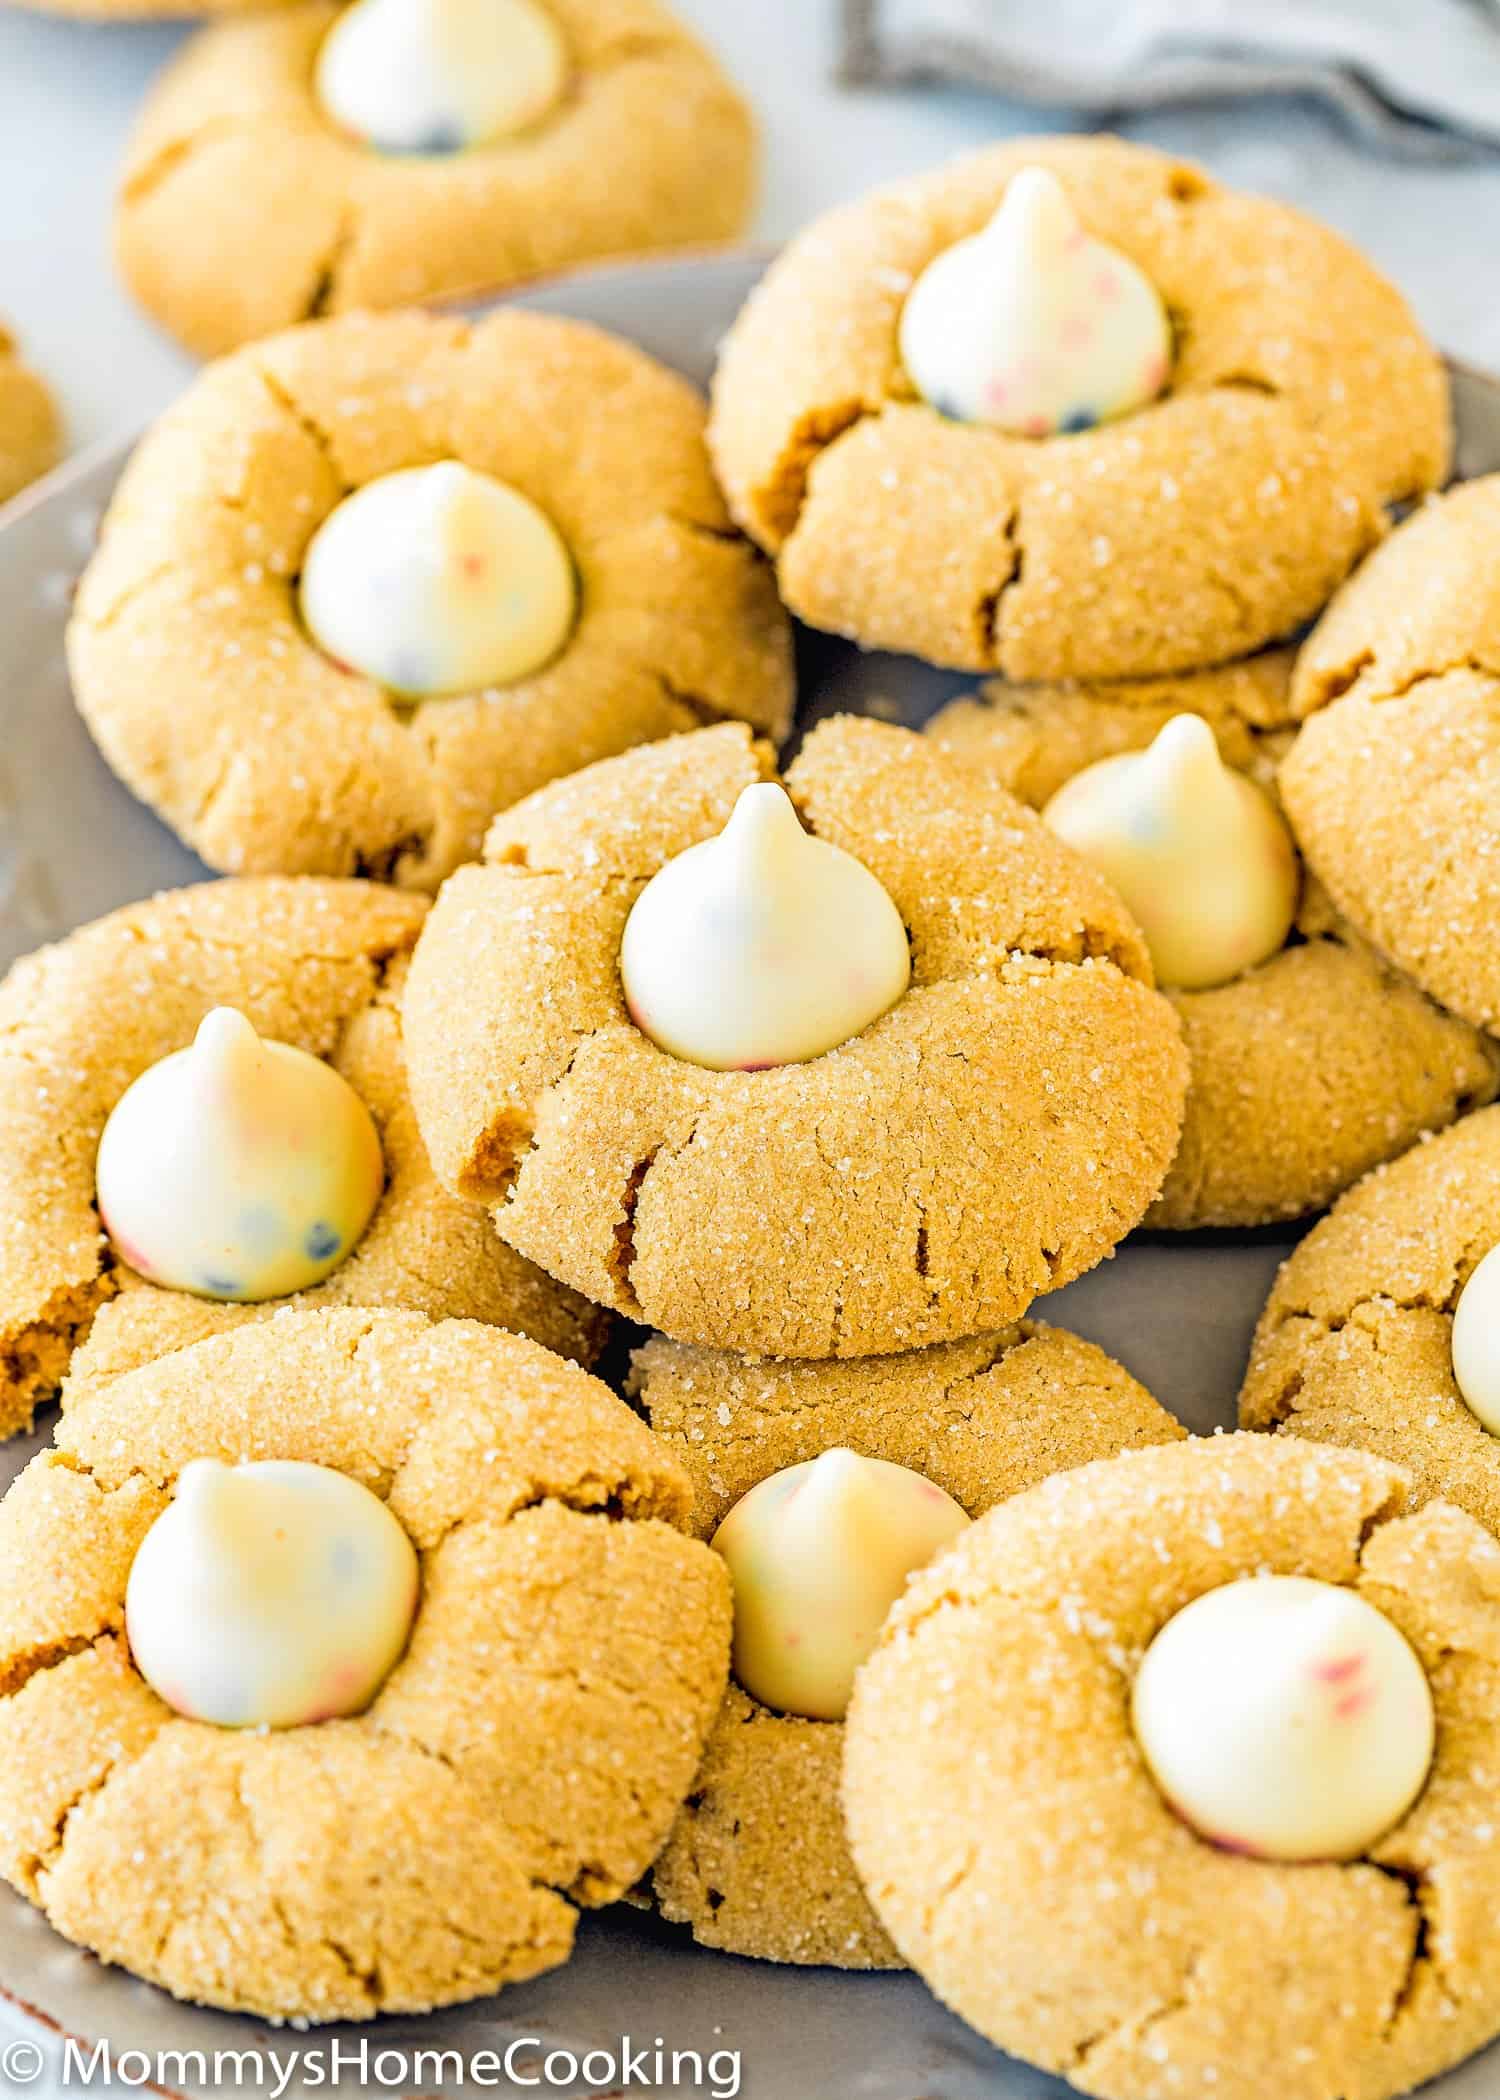
These Eggless Peanut Butter Blossom Cookies are a classic cookie that is perfect for any occasion! They’re rich, decadent, and full of peanut butter flavor. Egg & Peanut Free. The recipe includes step-by-step photos and lots of tips.

These rich and decadent Eggless Peanut Butter Blossom Cookies are easy to make and oh-so-delicious! They are full of peanut butter flavor even though I didn’t use real peanut butter.
As you know, my daughter is also allergic to peanuts, but these peanut butter cookies were always on her wishing list. So, of course, I had to create a safe version for her. I am telling you, she was on cloud nine when she came from school and saw these over the counter.
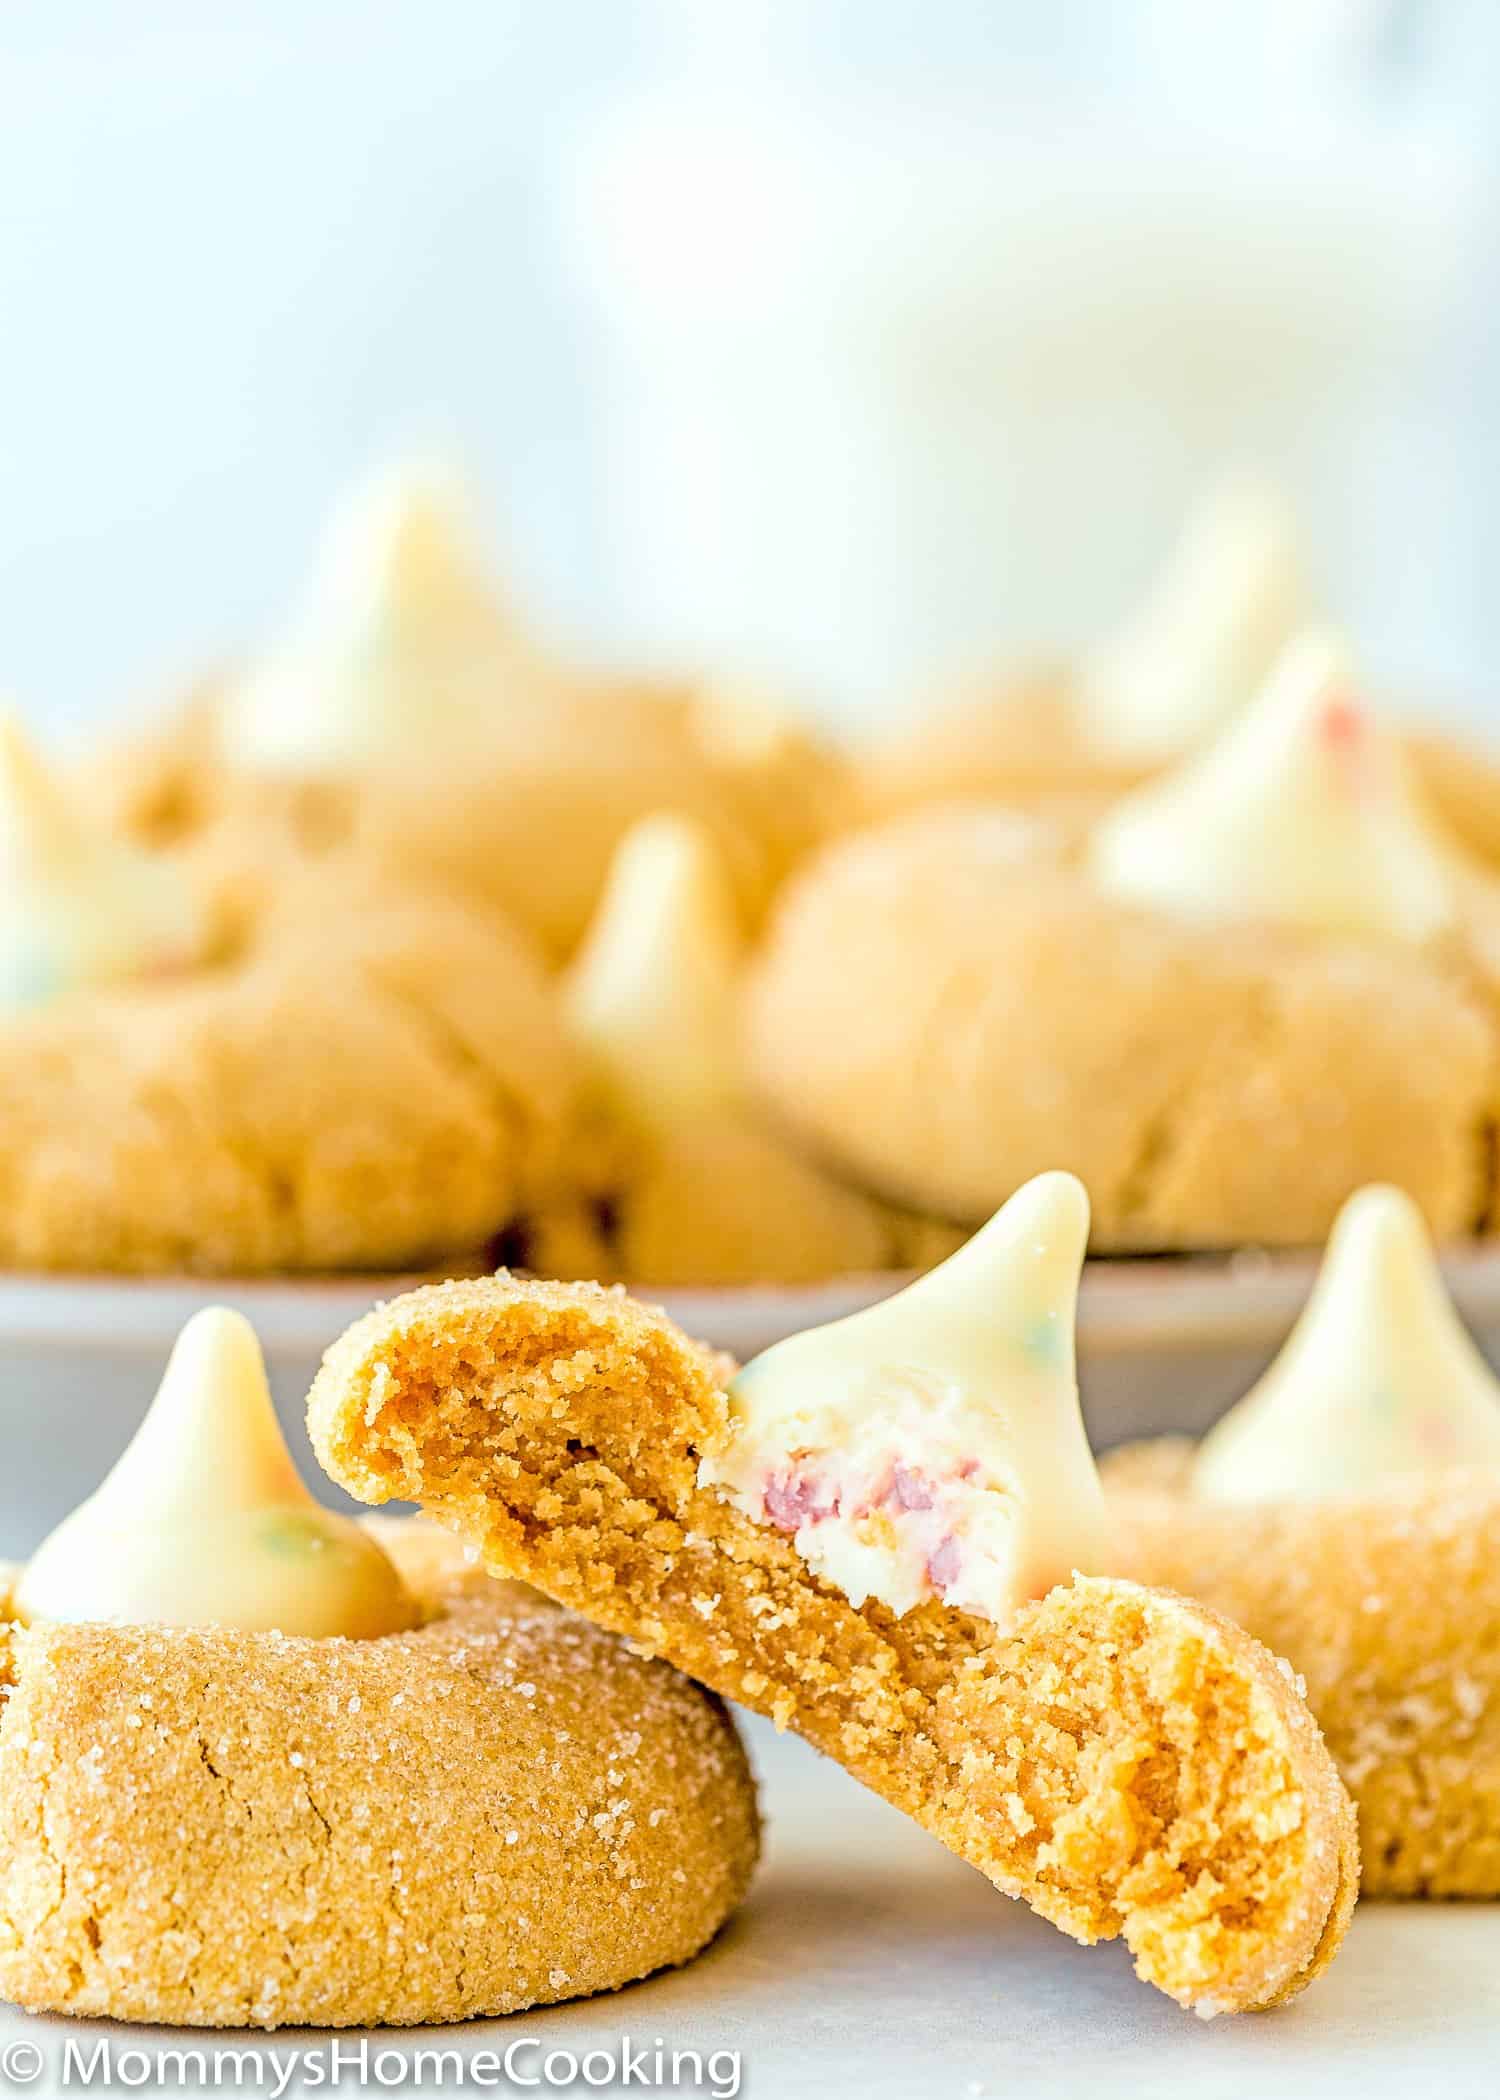
They’re rich and decadent. Easy to make with simple ingredients. With a slightly crispy outer texture, soft, chewy centers, and an irresistible balance of sweet and salty, they make the PERFECT holiday cookie!
So let’s get baking!
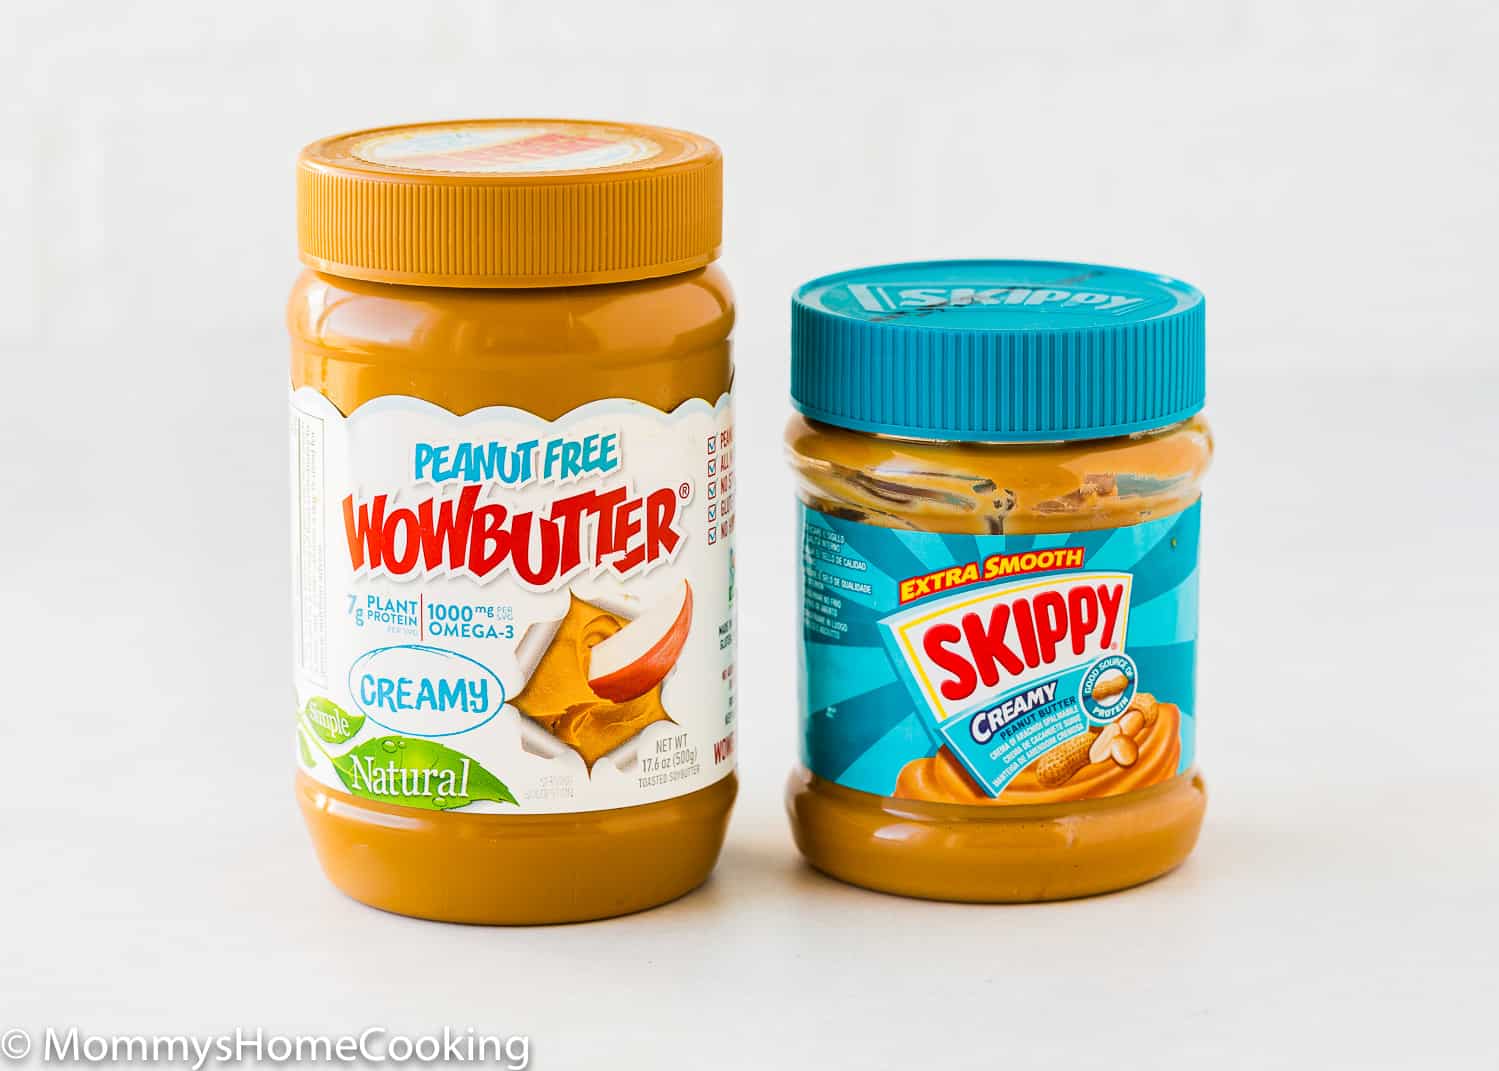
To make peanut-free peanut butter cookies, all you need to do is use a peanut-free peanut butter spread. My favorite to make cookies is WOWBUTTER; it is the closest taste and texture to real PB. I do not suggest using natural style or oily spreads.
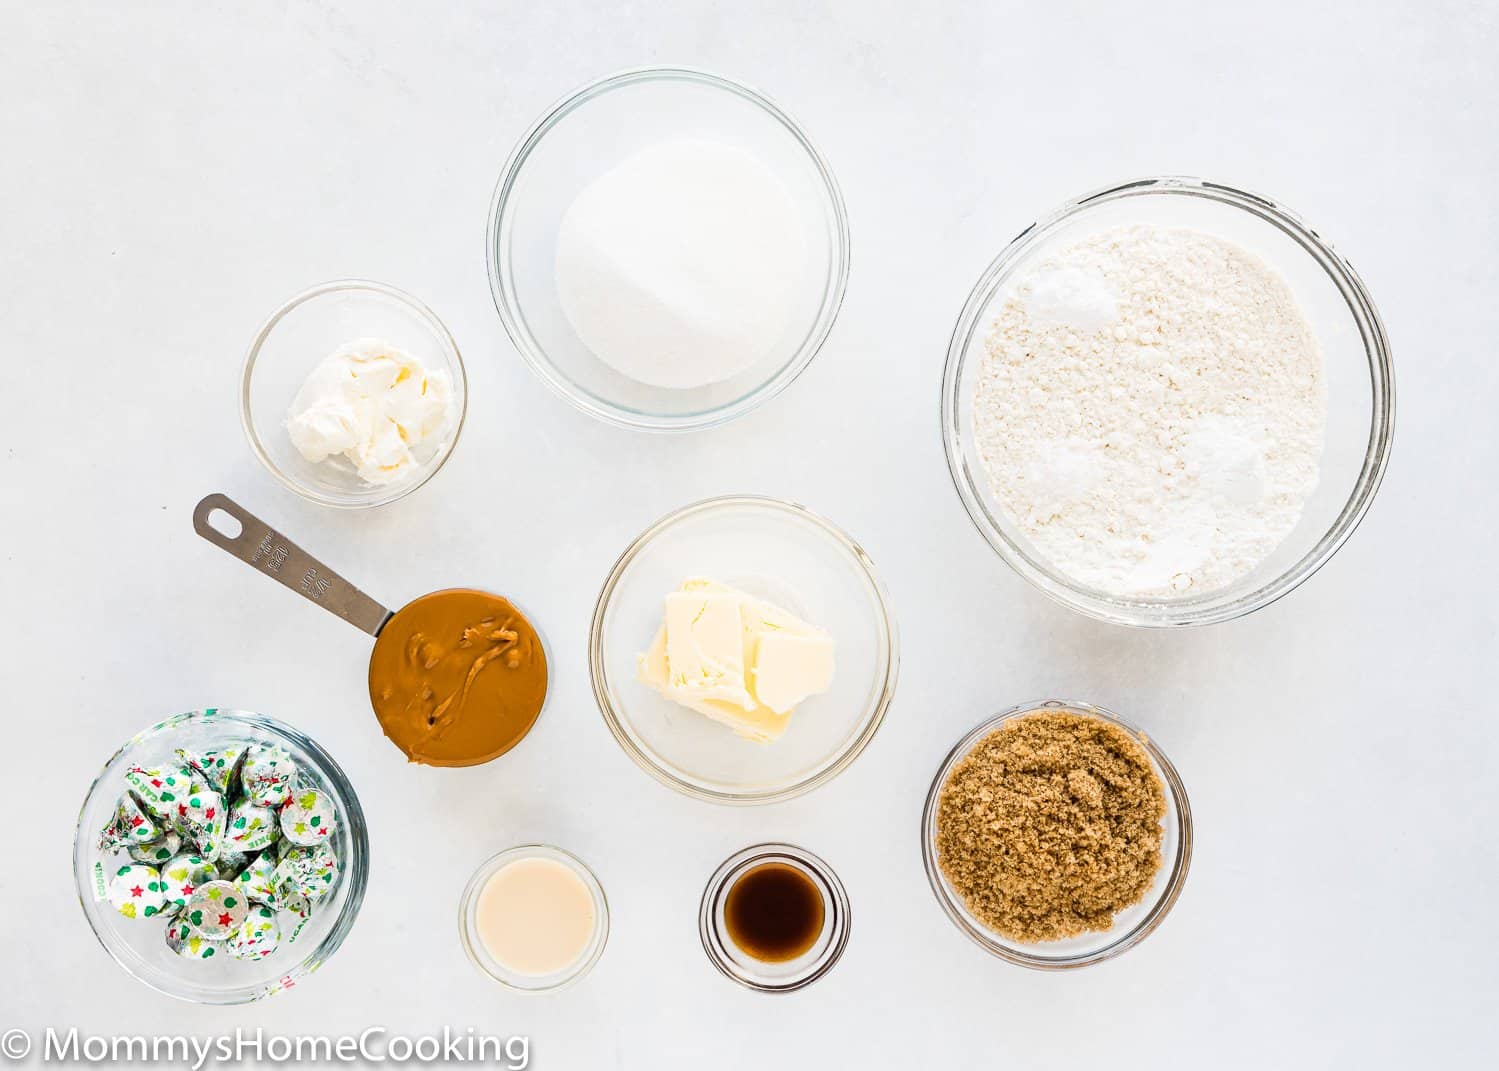
Ingredients You’ll Need, Substitutions & Notes
Please check the recipe card at the bottom of the post for exact quantities and detailed instructions (scroll down).
- Flour: Standard all-purpose flour works best here; skip the cake flour, bread flour, and wheat flour. Make sure to measure accurately; a kitchen scale is the best way to measure your ingredients, in my opinion.
- Baking powder & Baking soda: Make sure they’re not expired or too old. To avoid a chemical aftertaste, use baking powder that is labeled aluminum free. I usually use the Clabber Girl brand, and though the ingredients state aluminum, I’ve never noticed an aluminum aftertaste.
- Salt: I prefer kosher or sea salt. If you only have table salt handy, I recommend reducing the amount to half.
- Butter: I prefer to use unsalted butter, but if you only have salted butter handy, you can use it. In this case, skip the salt called in the recipe.
- Creamy peanut butter: You can use peanut-free peanut butter or regular.
- Sugars: For this recipe, you will need regular white granulated sugar o caster sugar, and brown sugar. Combining both sugars will help the cookies have the perfect texture with a deeper caramelized flavor.
- Cream cheese: Use the full-fat version that comes in blocks.
- Vanilla extract: For optimal flavor, reach for pure vanilla instead of imitation. Even better, try homemade vanilla extract! If you are looking for non-alcoholic vanilla flavoring, I recommend Simply Organic Vanilla Flavoring.
- Milk: For baking, I like to use whole milk. However, you can use any milk you have handy.
- Hershey’s kisses: Use any variety you prefer.
Please check the recipe card at the bottom of the post for exact quantities and detailed instructions (scroll down).
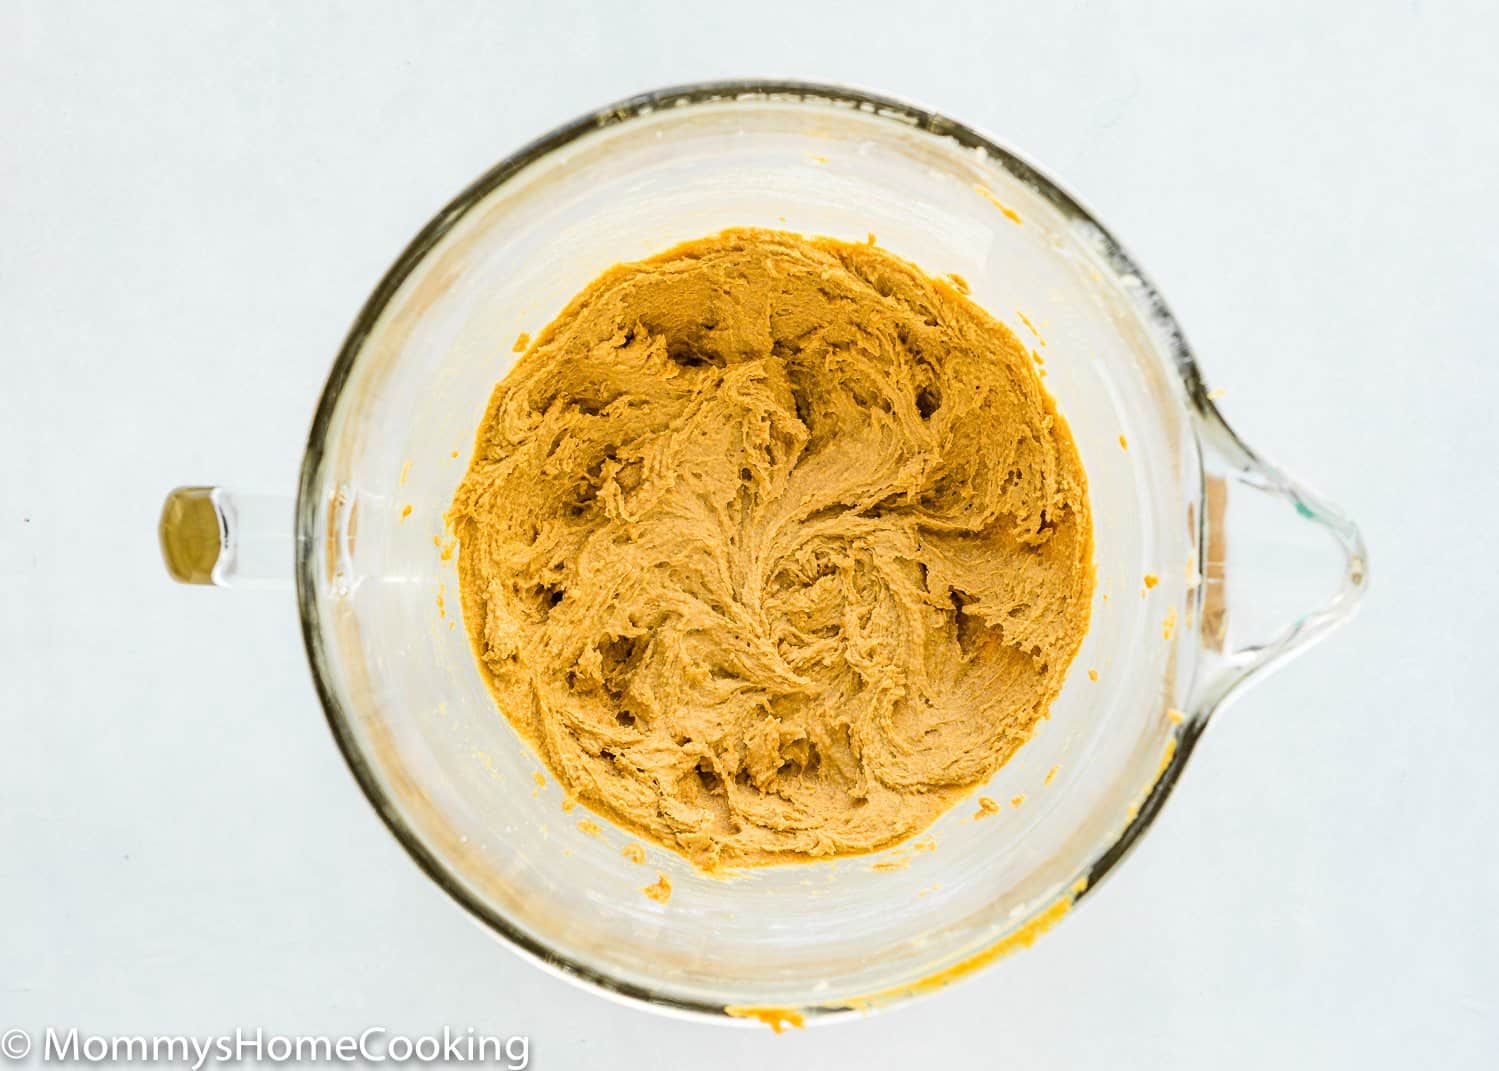
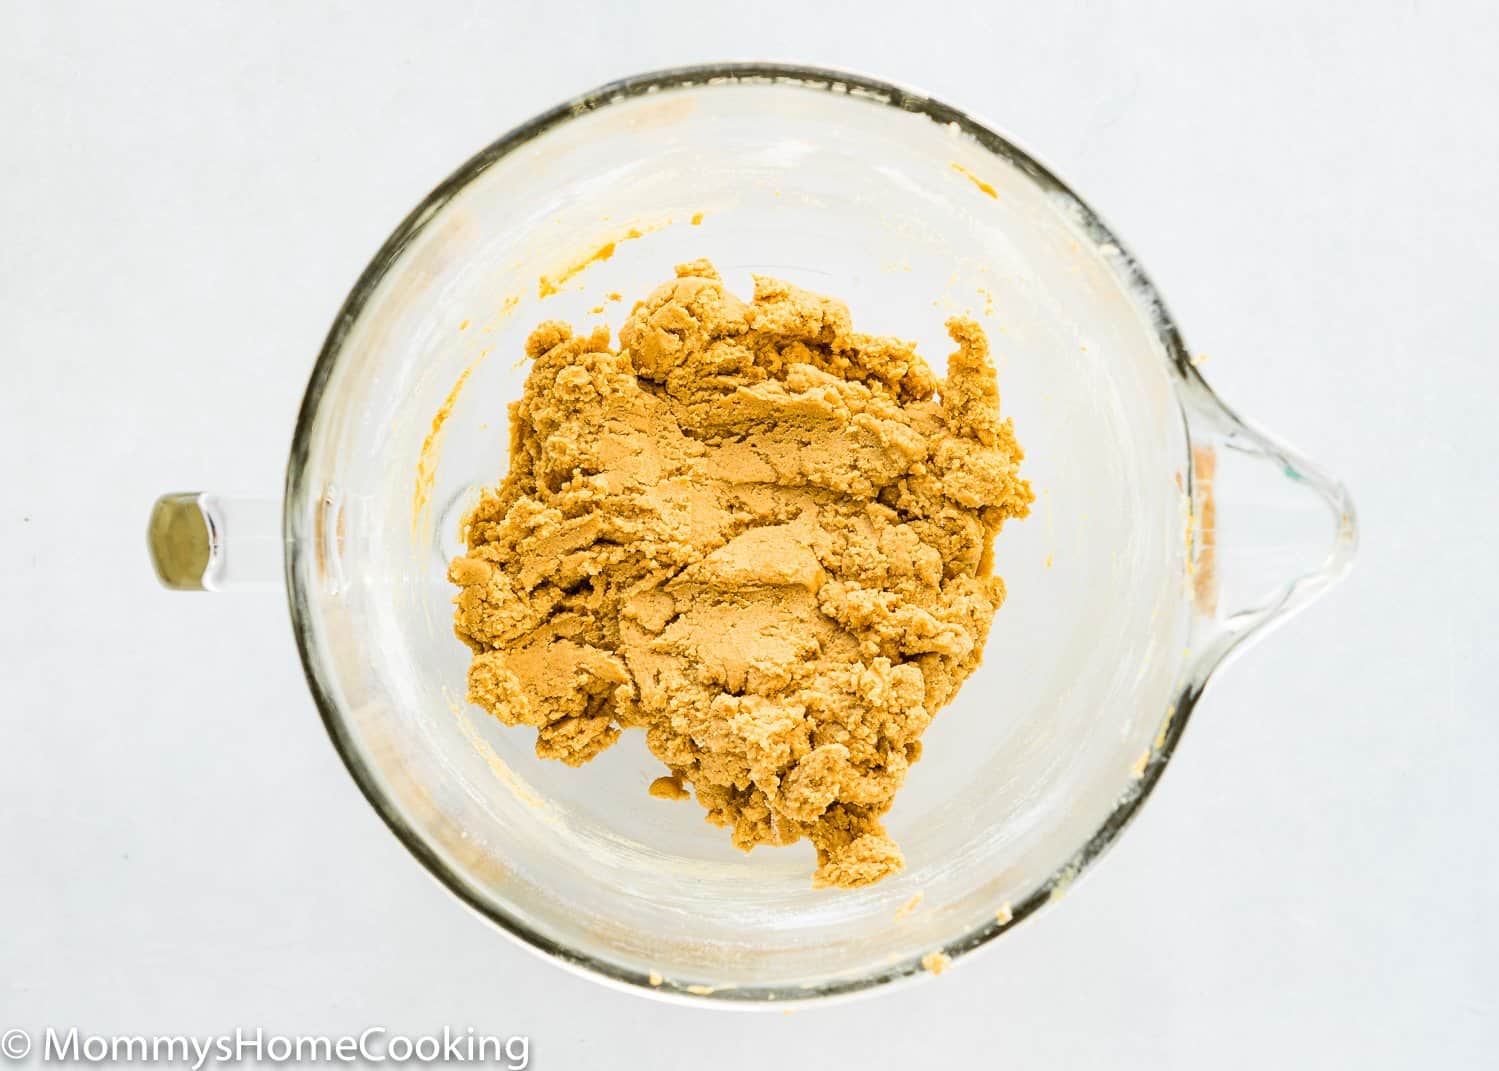
- Make The Cookie Dough
Cream together butter, peanut butter, sugars, cream cheese, and vanilla. Then mix in the flour, baking soda, and salt. Add milk and mix until combined. If the dough is too sticky, chill for 10-20 minutes.
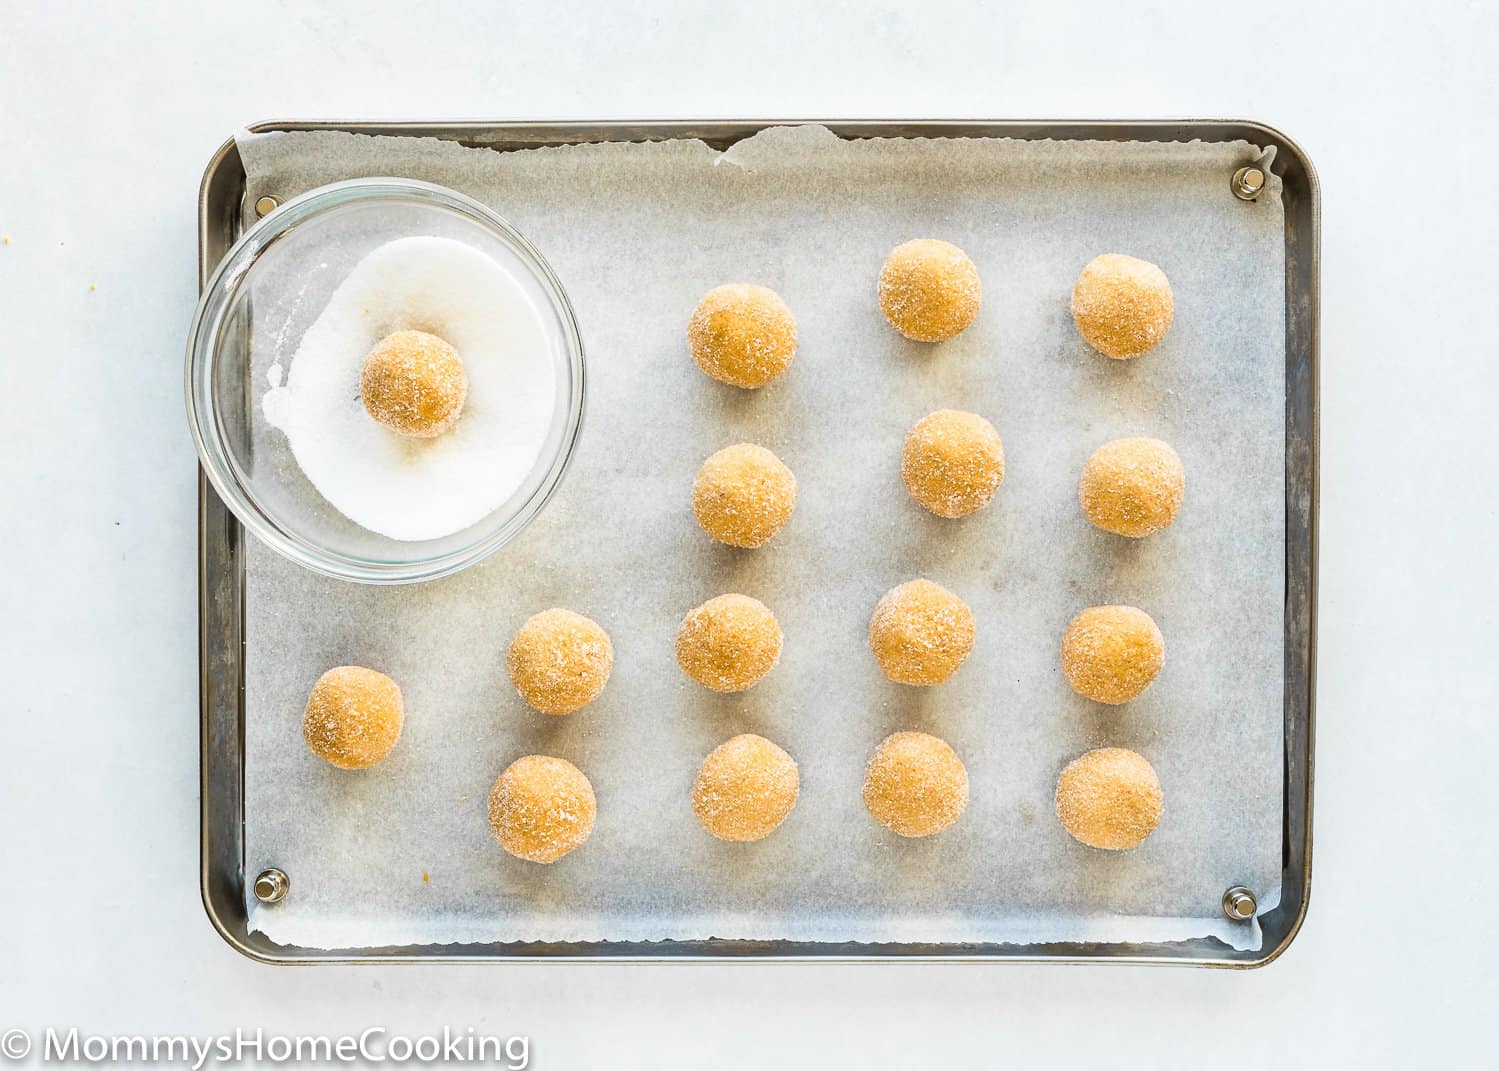
- Roll
Shape dough into 1″ balls (I used a small cookie scoop) and then roll in sugar until fully coated. Place on a lined baking sheet.
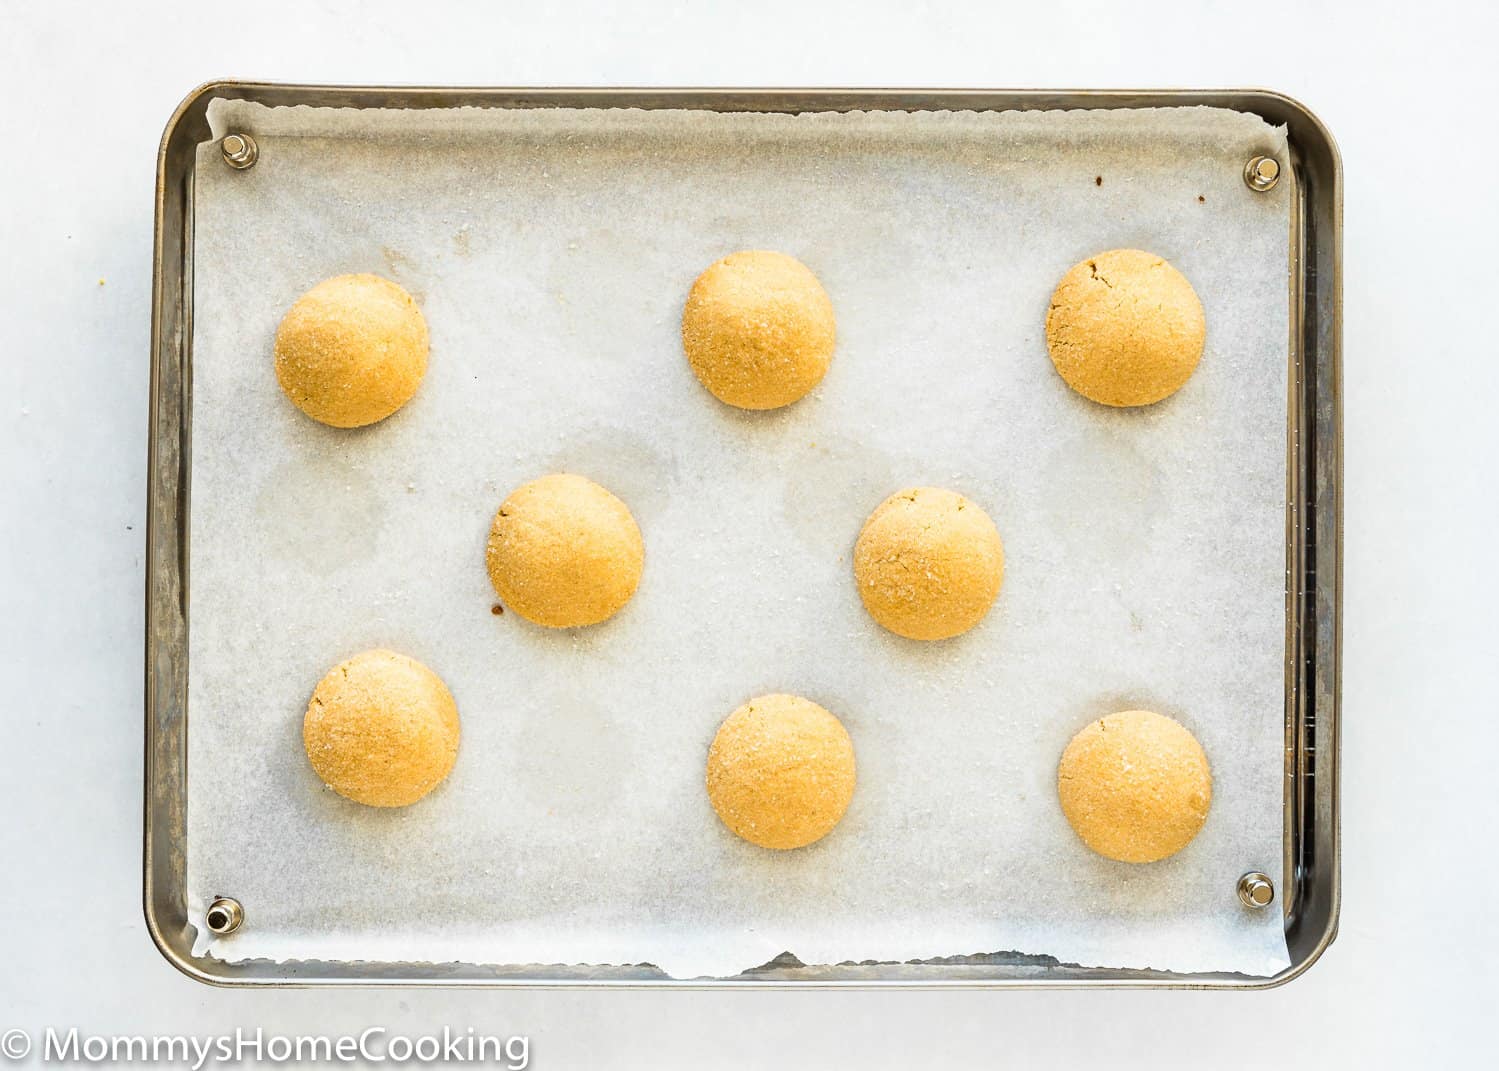
- Bake
Bake at 350º F (180º C) until very lightly browned on the bottoms, about 8 to 10 minutes.
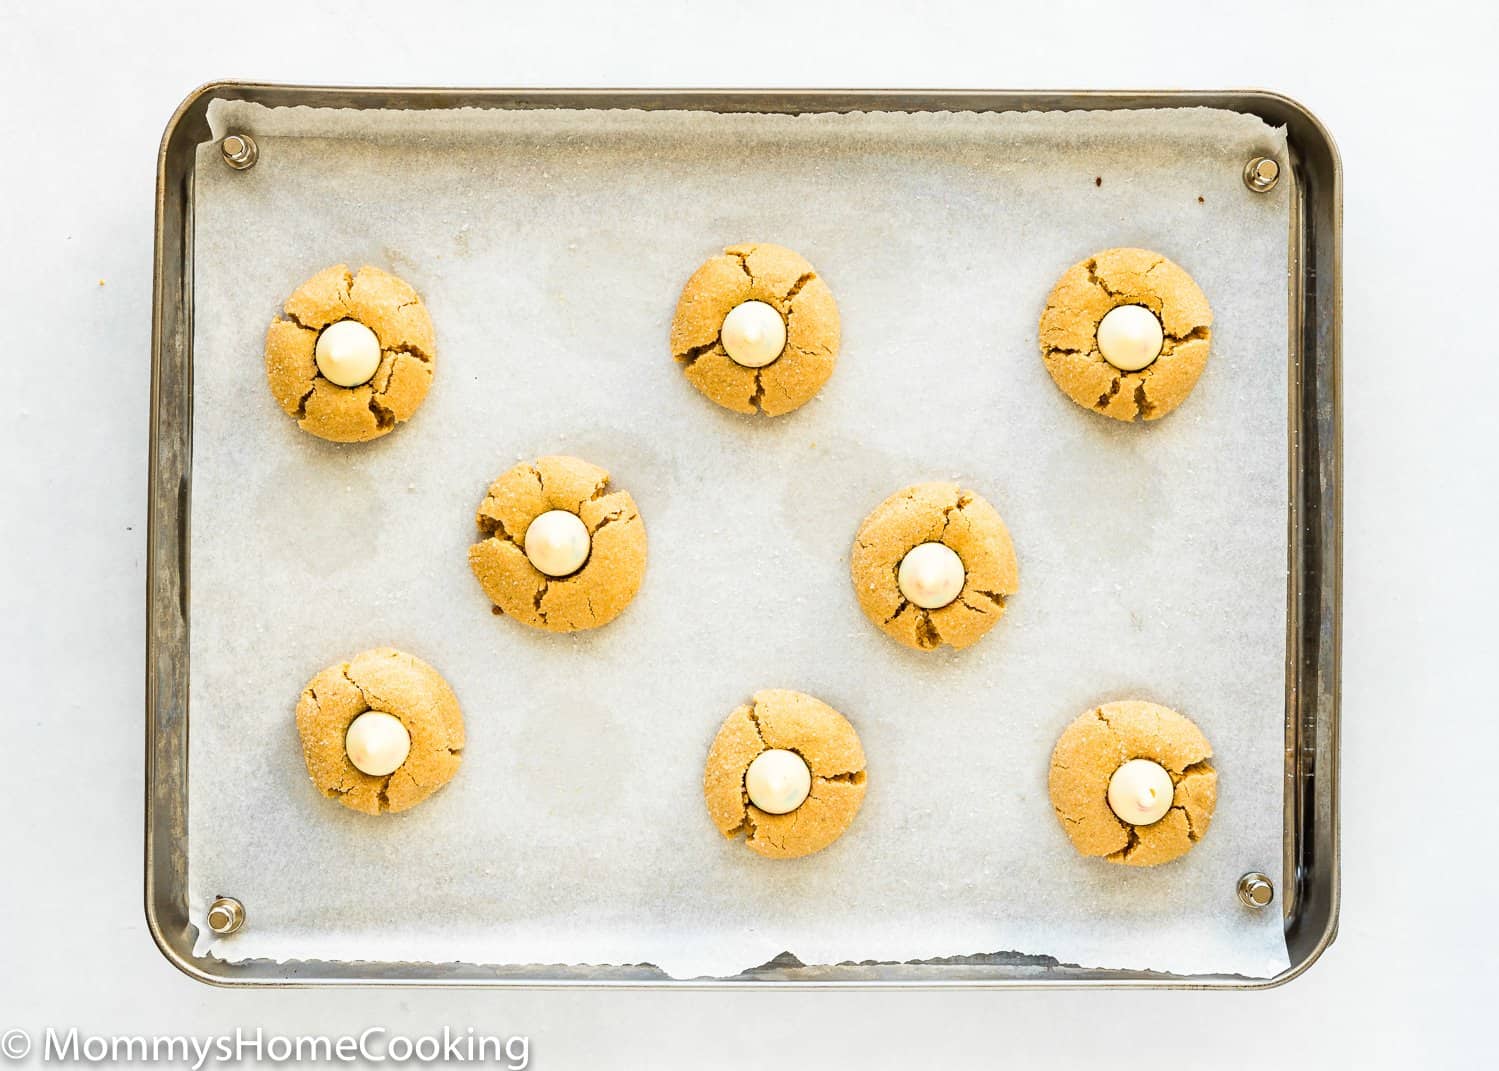
- Press Hershey’s kiss
Immediately after the cookies come out of the oven, press Hershey’s kiss into the center.
Recipe Tips
Peanut butter is the most important ingredient for peanut butter cookies. For best results, it’s best to use processed peanut butter like Skippy or Jif. I do not suggest using natural style or oily peanut butter.
If time allows, chill the dough. I recommend chilling the dough so that it’s not as sticky and easier to roll. It also helps make the cookies extra thick.
The cookies should still be warm when you press the chocolate kiss on top.
Substitutions & Additions
- I used a white chocolate kiss, but you can totally use the milk chocolate kiss for a more traditional version.
- Add Reese’s cups on top instead of chocolate kisses.
- You can use sanding sugar to coat the cookies instead of regular granulated sugar. Use colorful sanding sugars for a festive touch.
Storing & Freezing Instructions
STORE: Store these Eggless Peanut Butter Blossom Cookies in an airtight container at room temperature for up to a week.
FREEZE: Baked cookies freeze well for up to 3 months. Unbaked cookie dough balls freeze well for up to 3 months. Bake frozen cookie dough balls for an extra minute, no need to thaw them.
MAKE-AHEAD: You can make the cookie dough and chill it in the refrigerator for up to 1 day.
Frequently Asked Questions
For a nut-free version of peanut butter blossom cookie, swap the peanut butter for nut-free peanut butter, such as Wowbutter, sunflower seed butter, or Biscoff spread.
For cookies like these that are rolled in sugar, it is best to freeze them without the sugar topping. When you are ready to bake, remove the balls from the freezer, let them sit for 30 minutes, pre-heat the oven, then roll them into the sugar.
Absolutely. Simply double all the ingredients.
- 25 Easy and Delicious Eggless Christmas Cookies
- Eggless Soft Molasses Cookies
- Eggless Thumbprint Cookies
- Easy Eggless Soft Sugar Cookies
- Eggless Sugar Cookies
- Eggless Gingerbread Cookies
- Browse more eggless cookie recipes…
❤️ Love what you see? JOIN my Private Baking Club. Also, SUBSCRIBE to Mommy’s Home Cooking, so you’ll never miss a recipe! And FOLLOW along on Instagram, Pinterest, and Facebook for more fun!
Recipe Card 📖
Eggless Peanut Butter Blossom Cookies
Equipment
Ingredients
- 1 1/2 cup (210 g) all-purpose flour
- 3/4 teaspoon baking powder
- 1/2 teaspoon baking soda
- 1/4 teaspoon salt
- 1/2 cup (115 g) unsalted butter, softened
- 1/2 cup (115 g) creamy peanut butter (nut-free peanut butter such Wowbutter, see note for more substitutes ideas)
- 1/2 cup (100 g) granulated sugar + more for coating (about 1/2 cup more)
- 1/2 cup (100 g) brown sugar
- 2 tablespoons (50 g) full-fat cream cheese
- 1 tablespoon (15 ml) milk
- 1 teaspoon pure vanilla extract
- 24 chocolate kisses
Instructions
- Preheat the oven to 350ºF (180ºC). Line two baking sheets with parchment paper or silicone baking mats.
- Whisk the flour, baking powder, baking soda, and salt together in a medium bowl. Set aside.
- Using an electric hand mixer or a stand mixer, cream the butter, peanut butter, sugars, cream cheese, and vanilla on medium speed until light and fluffy, about 5 minutes. Scrape down the sides and bottom of the bowl as needed.
- Reduce the speed to low and gradually beat in the flour mixture; mix until combined. Add milk and continue mixing for 1 minute or until the dough come together. Please do not overmix.
- Shape dough into 1-inch balls. Roll in granulated sugar; place them 2 inches apart on the prepared baking sheets. NOTE: I recommend baking one baking sheet at a time. Place the second baking sheet in the fridge while the first one bakes.
- Bake for 8 to 10 minutes or until lightly browned. Immediately you take the cookies out of the oven, press a chocolate kiss into the center of each cookie; the cookie will crack a bit around the edges, but that's okay. Cool on the baking sheets for 5 minutes, then transfer to a cooling rack to cool completely.
- Peanut butter is the most important ingredient for peanut butter cookies. For best results, it’s best to use processed peanut butter like Jif or Skippy. I do not suggest using natural style or oily peanut butter.
- Chill the dough. I recommend chilling the dough so that it’s not as sticky and easier to roll. It also helps make the cookies extra thick.
- The cookies should still be warm when you press the chocolate kiss on top.
- I used a white chocolate kiss, but you can totally use the milk chocolate kiss for a more traditional version.
- Add Reese’s cups on top instead of chocolate kisses.
- You can use sanding sugar to coat the cookies instead of regular granulated sugar. Use colorful sanding sugars for a festive touch.
Nutrition
Eggless Baking Frequently Asked Questions
You’ve asked, and I’ve answered! Read on for a handful of answers to the most frequently asked questions about eggless baking.
This recipe was originally published in November 2021. The recipe remains the same, but more notes, tips, photos, and information have been added to the post in December 2022 to make it as helpful as possible!
