
Why I Love This Recipe
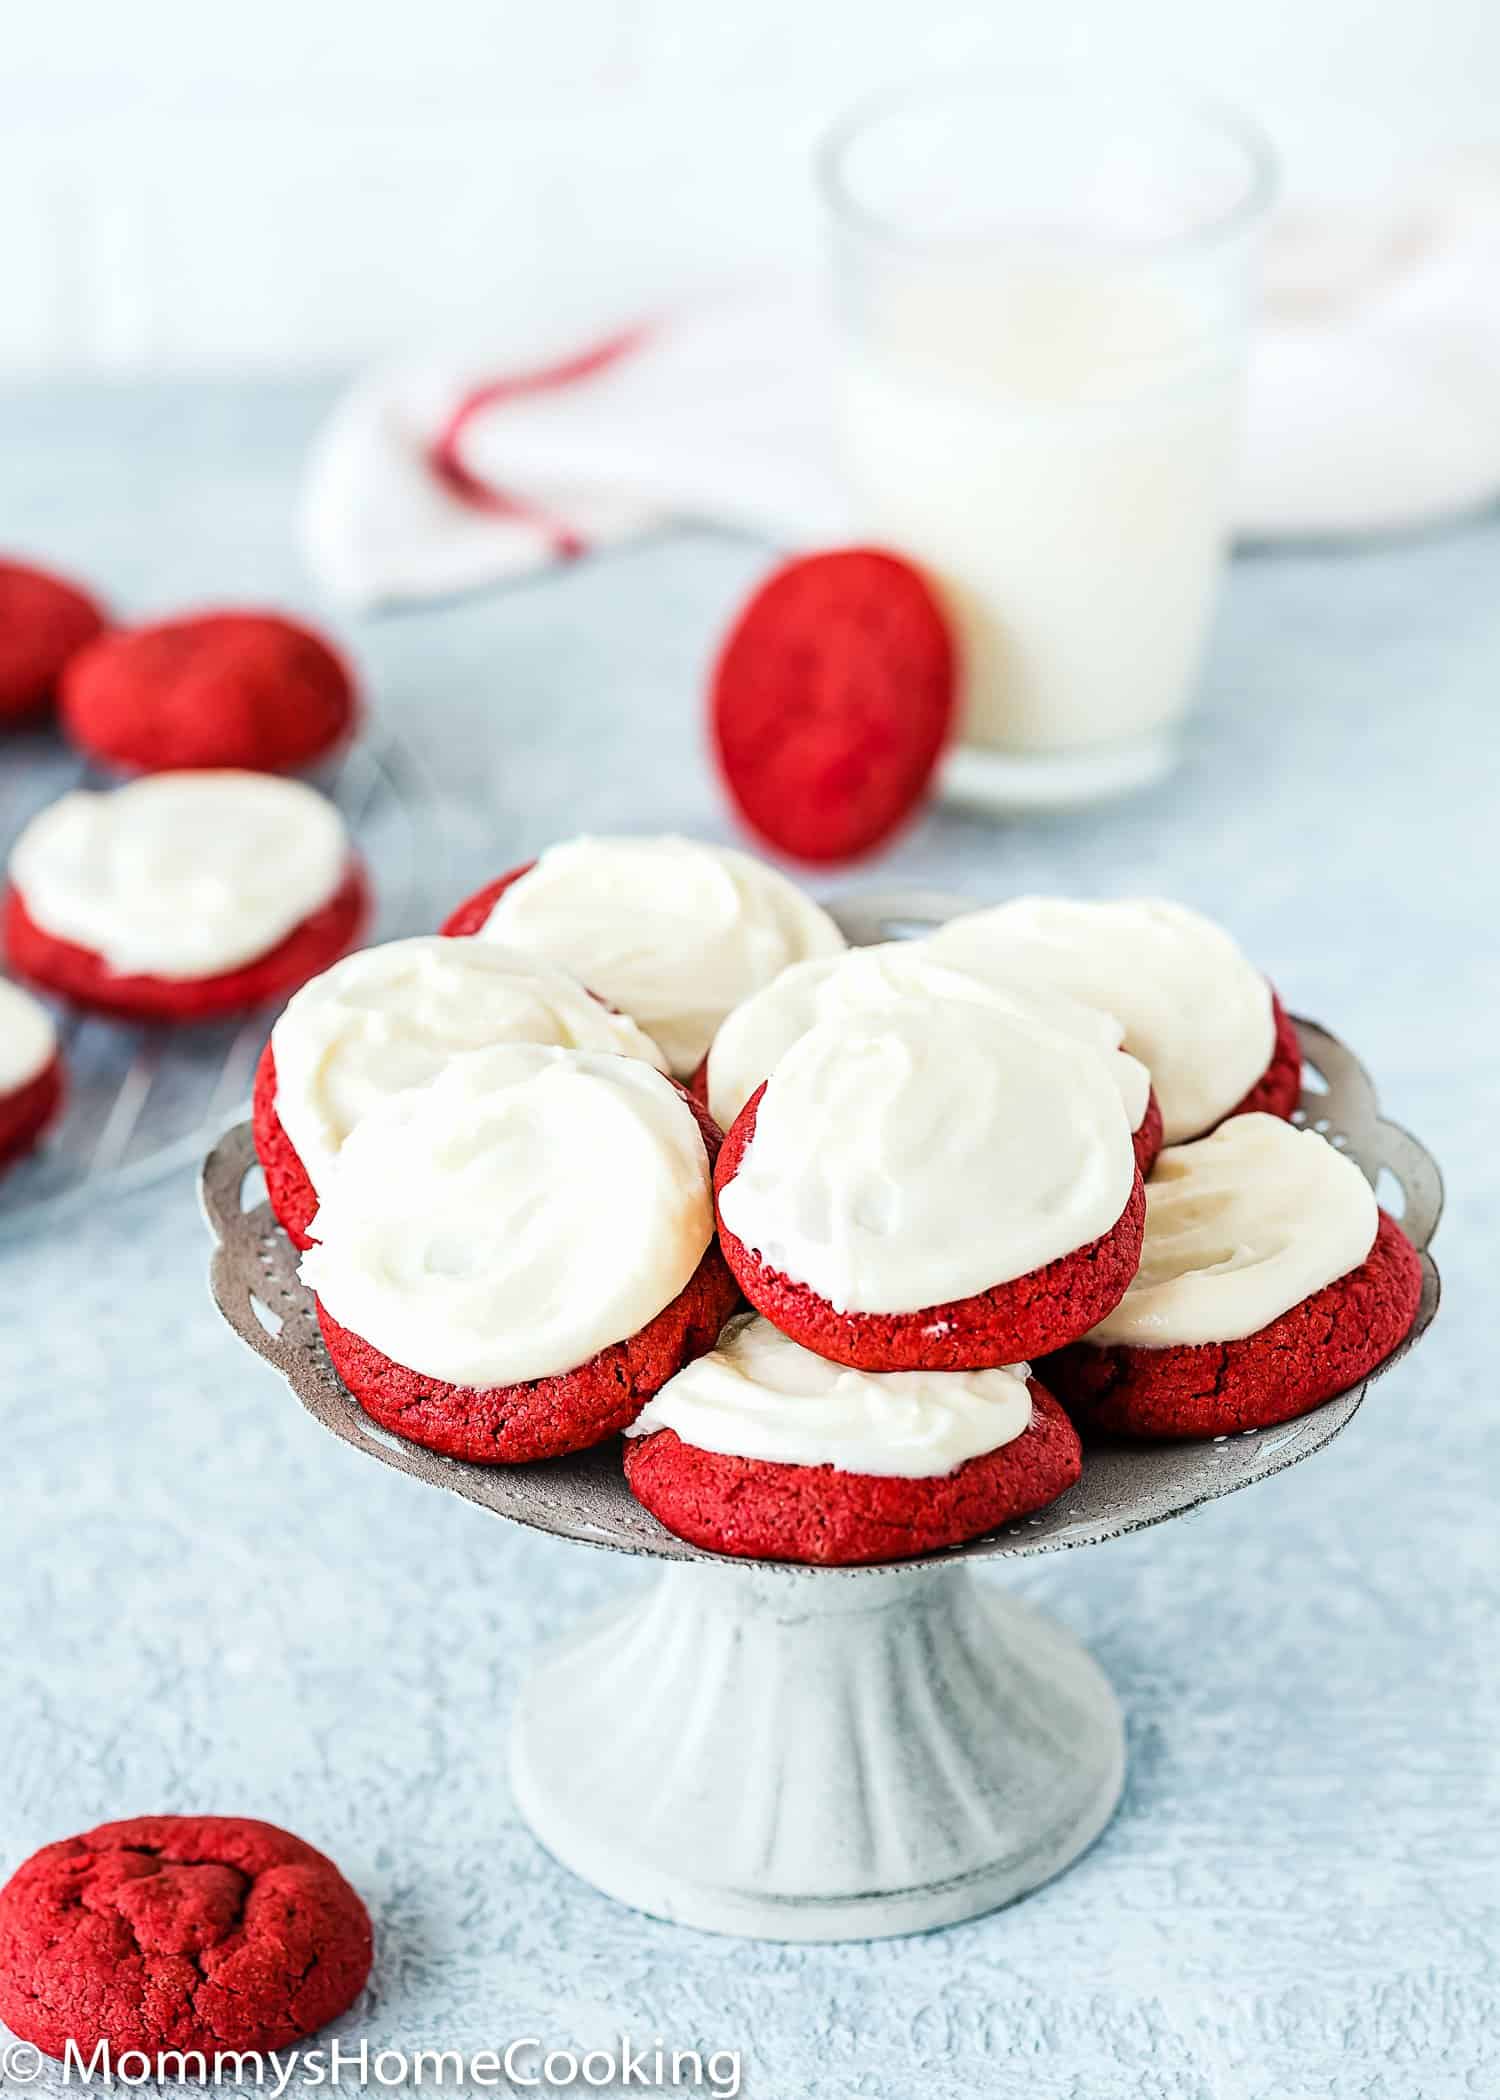
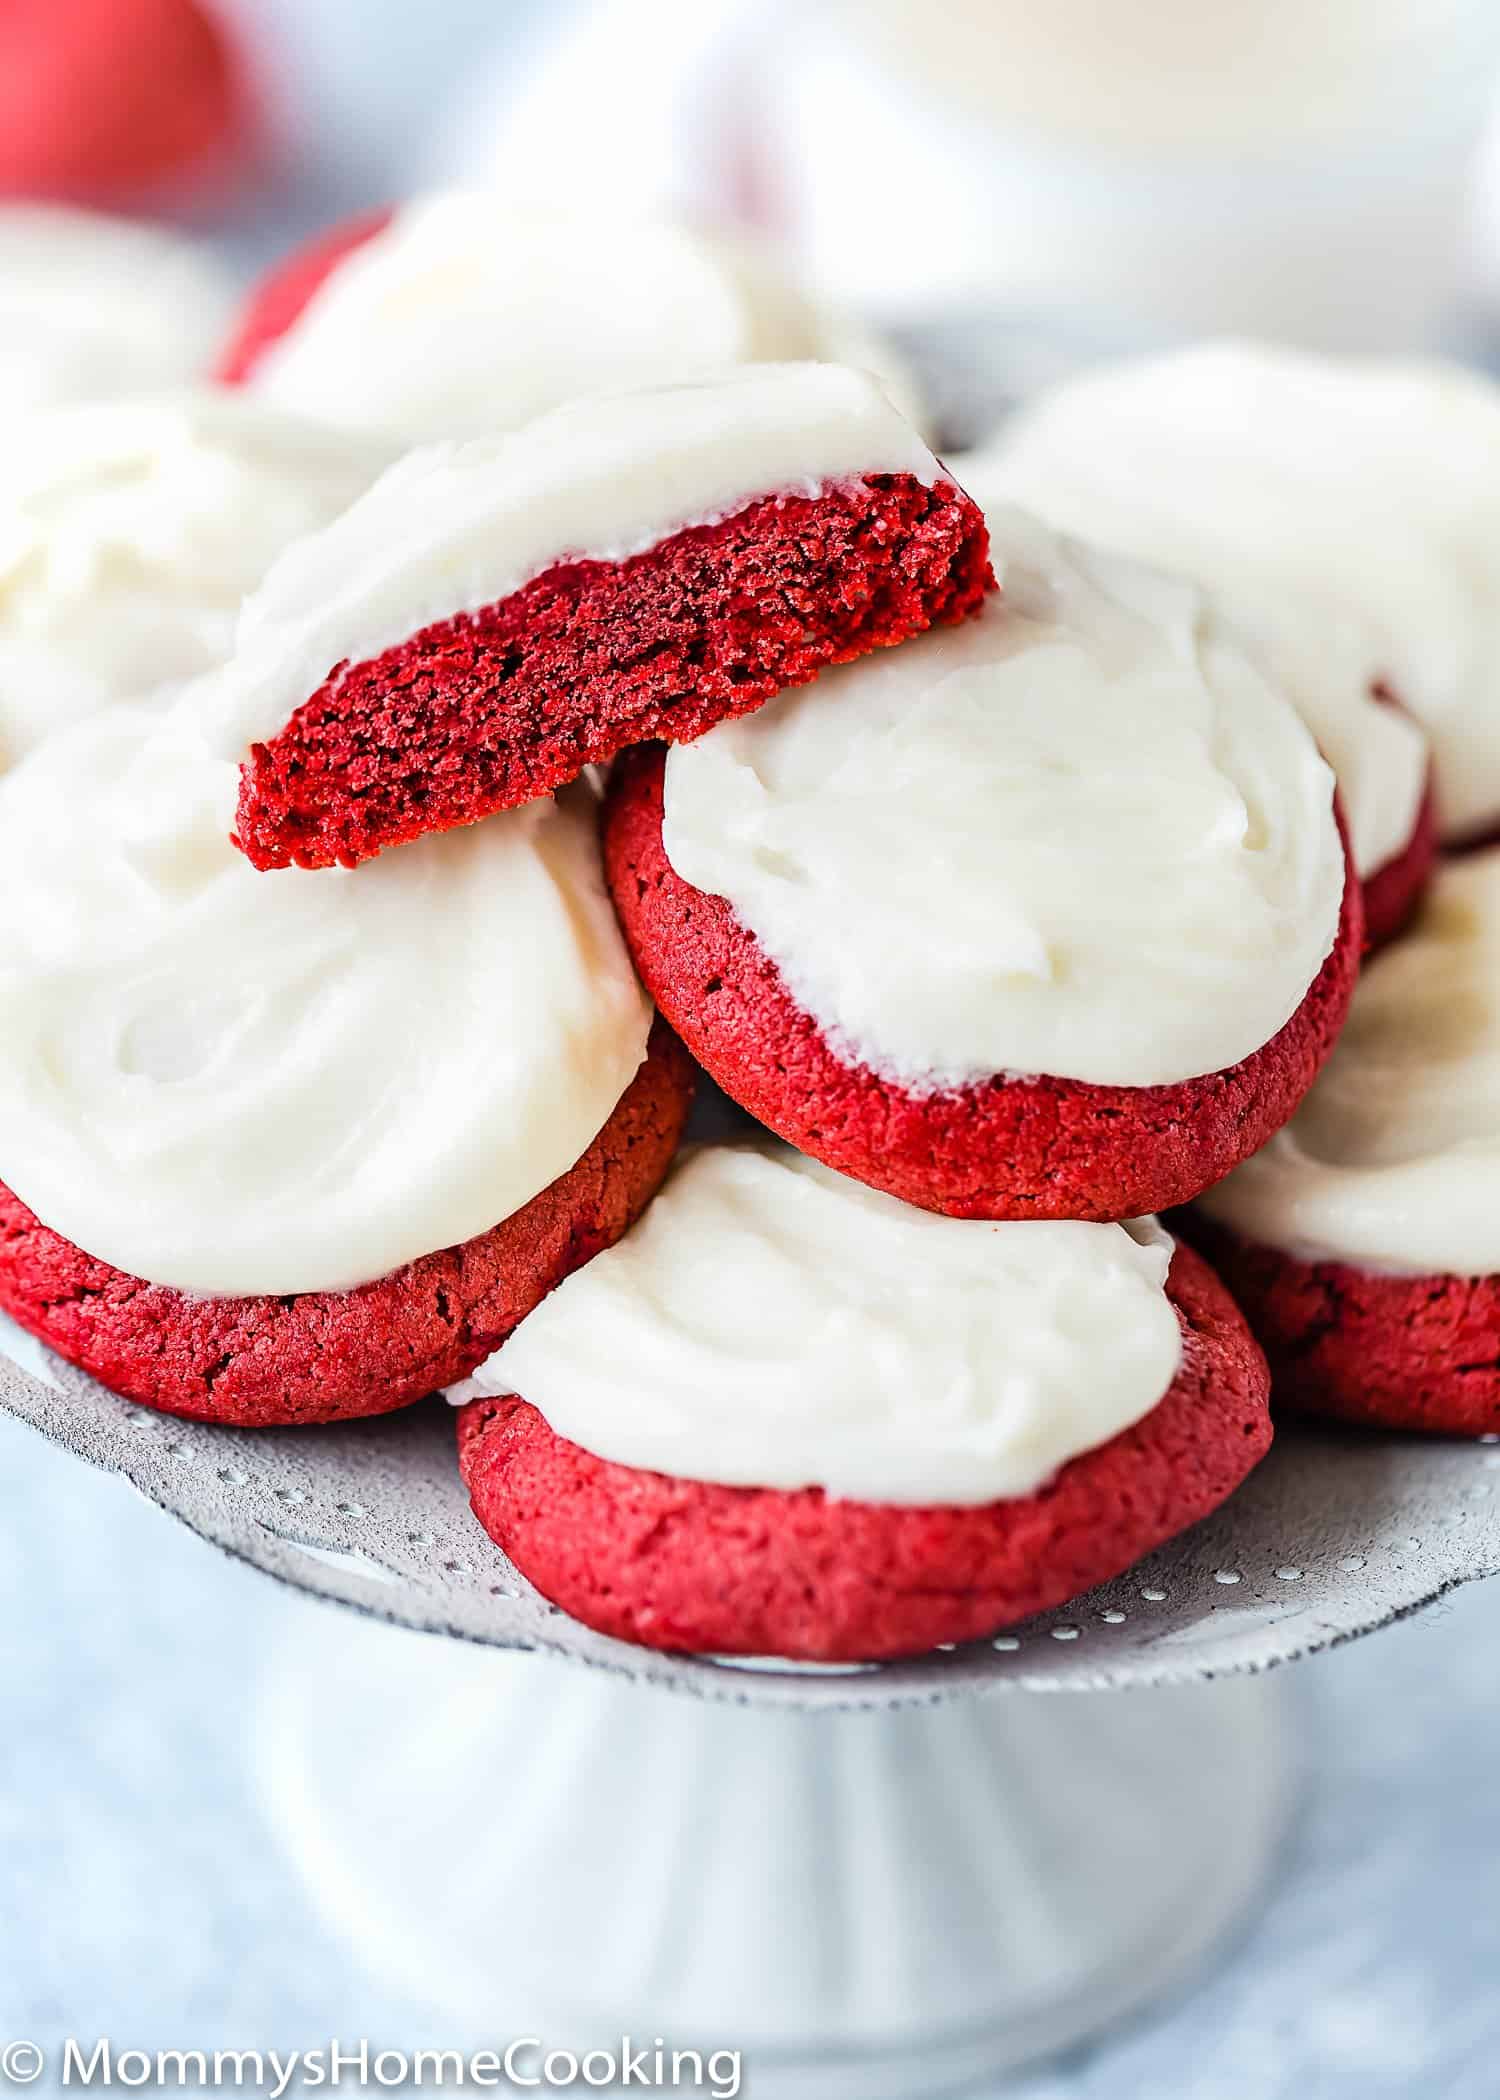
As you might, or might not, know I love red velvet desserts! So, today’s recipe is Eggless Red Velvet Cookies, which comes to complete my red velvet collection. If you are a red velvet lover like me check out my red velvet cake, cupcakes, brownies, or whoopie pies.
This recipe is pretty easy and quick to make since it does not require chilling time.
The best part is that you have complete control over this recipe. I can add less or more food coloring. You can also add chocolate chips (dark or white), M&M, sprinkles, etc, and adjust baking time if you want a chewier cookie.
These Eggless Red Velvet Cookies are perfect for Valentine’s Day or Christmas, but to be honest red velvet desserts don’t need a special occasion to enjoy, in my opinion!
Let’s get baking!
Ingredients You’ll Need
Please check the recipe card at the bottom of the post for quantities and instructions (scroll down).
You only need a few basic staple ingredients.
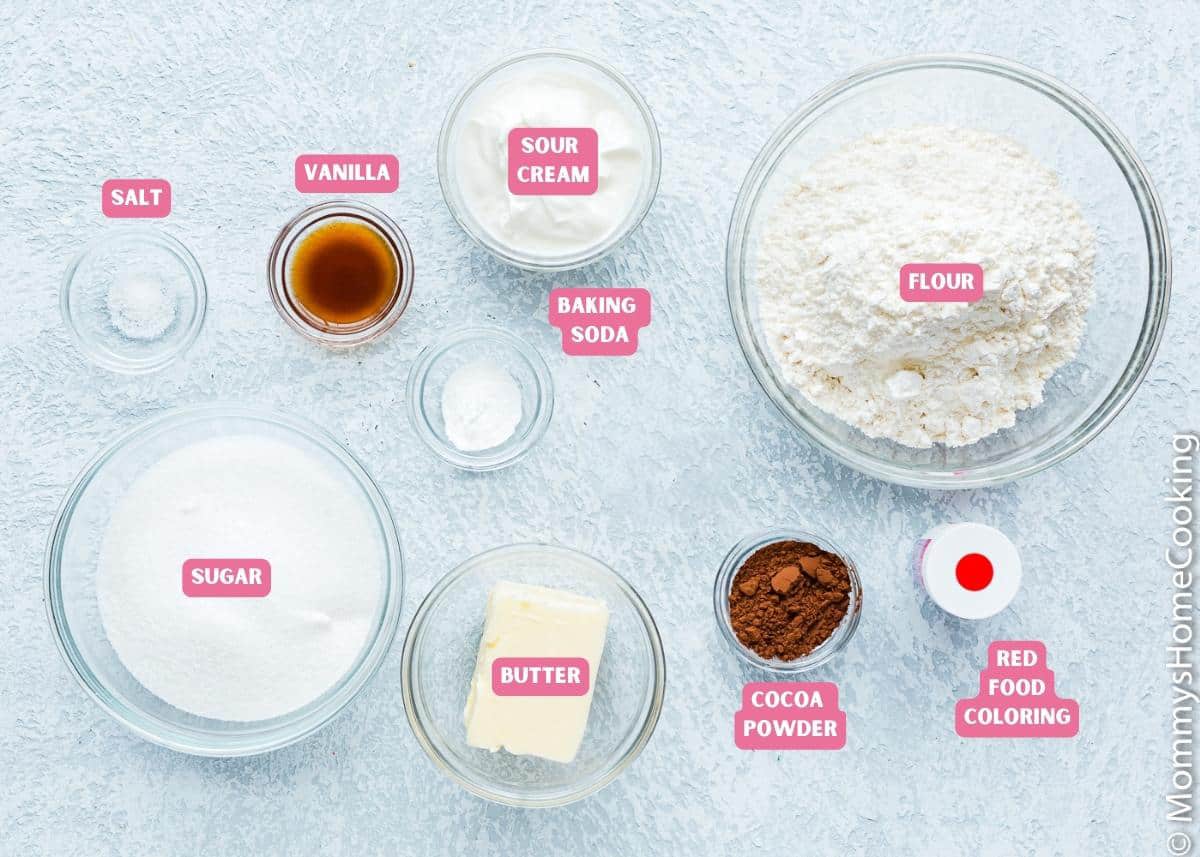
Ingredients Notes & Substitutions
- Butter: When making cookies, I like to use unsalted European-style butter, such as Kerrygold, President, or Land O Lakes® Extra Creamy Unsalted Butter (European style) for extra buttery flavor and fluffiness, but any butter will work fine.
- Salt: I recommend using kosher or sea salt for the best flavor. However, if you only have table salt handy, reduce the quantity to half.
- Unsweetened natural cocoa powder – I like to use unsweetened natural cocoa powder instead of Dutch-processed, because it’s more acidic and reacts with baking soda, allowing your baked goods to rise.
- Red food coloring: the amount of food coloring will depend on the concentration of the food coloring you are using. I recommend using gel or paste food colors since they are highly concentrated, and you’ll end up using less.
Step By Step Recipe Photo Tutorial
Please check the recipe card at the bottom of the post for quantities and detailed instructions (scroll down).
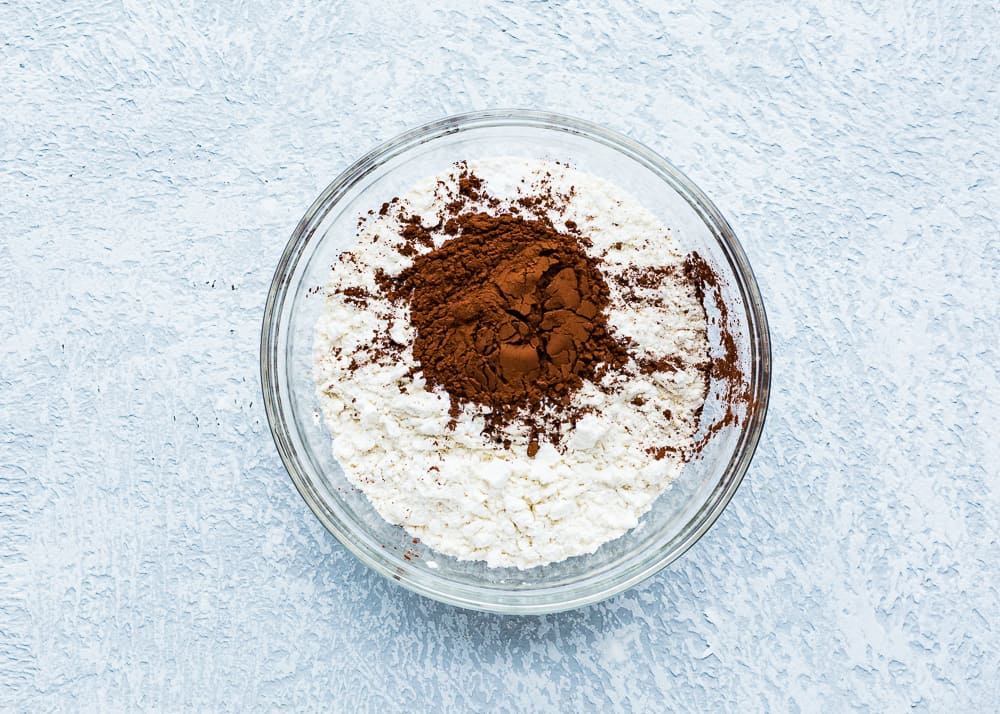
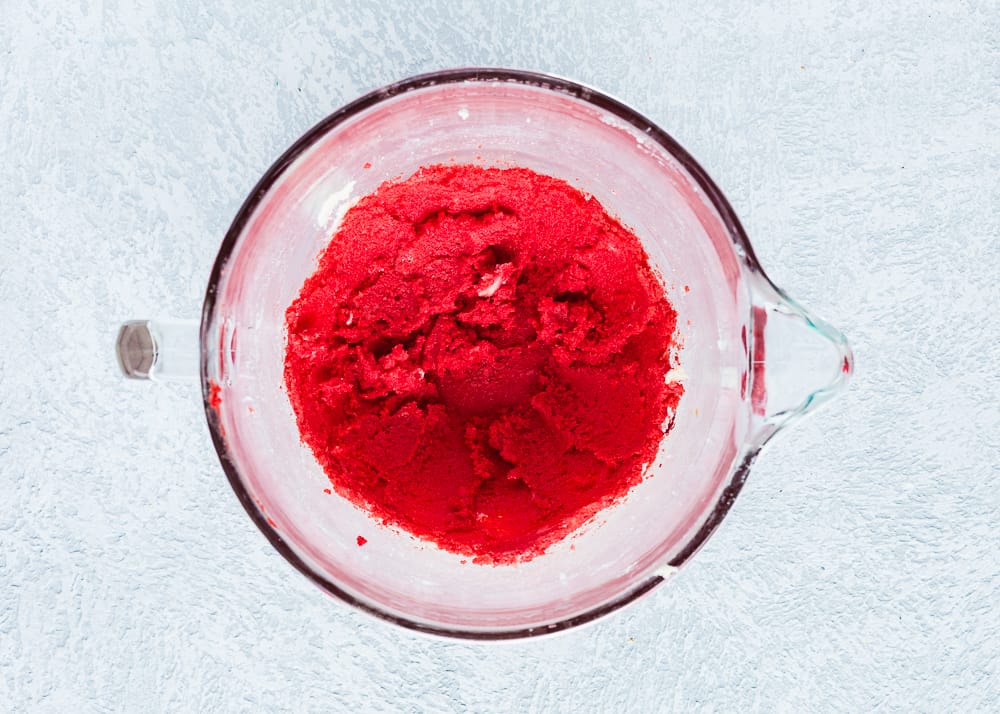
1 – Mix Dry Ingredients
You’re going to start mixing the dry ingredients in a bowl.
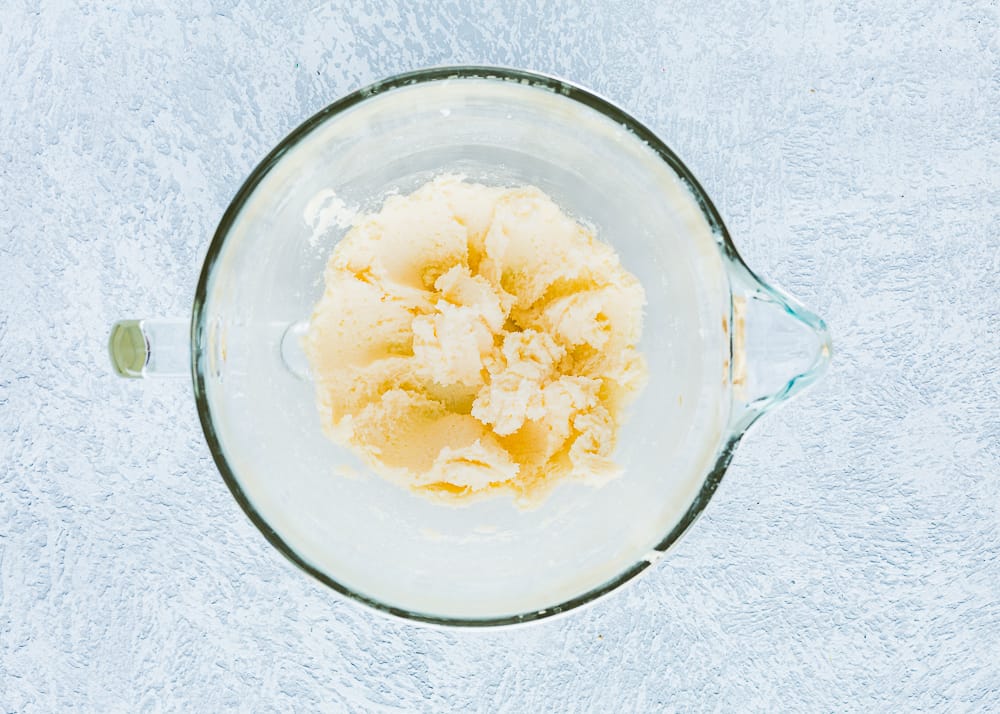
2 – Cream Butter and Sugar
Then, cream the butter and sugar until pale in color. Make sure the butter is softened. That’s the key to making your cookies fluffy. Add red food coloring and vanilla and mix until well combined.
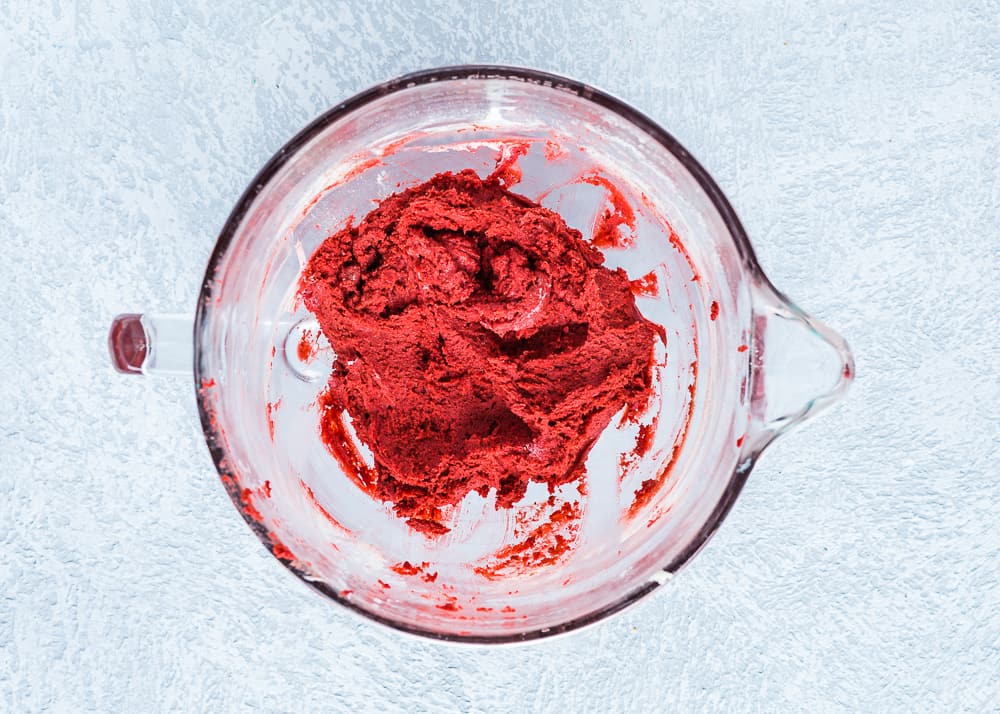
3 – Add the Dry Ingredients
Add half of the flour mixture and mix until the dough comes together. Then add sour cream and keep mixing until incorporated. Finally, add the rest of the flour mixture and mix until combined. Do not over mix.
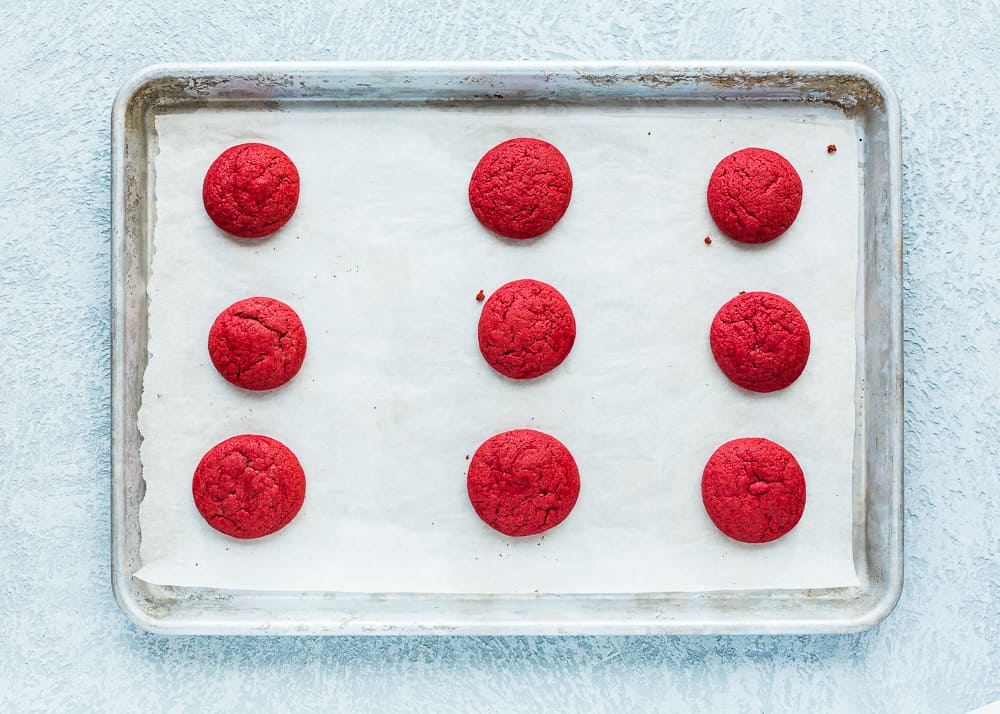
4 – Form the Cookies
Roll the cookie dough into 1 tablespoon balls. Place the dough balls about 2 inches apart on the prepared cookie sheet.

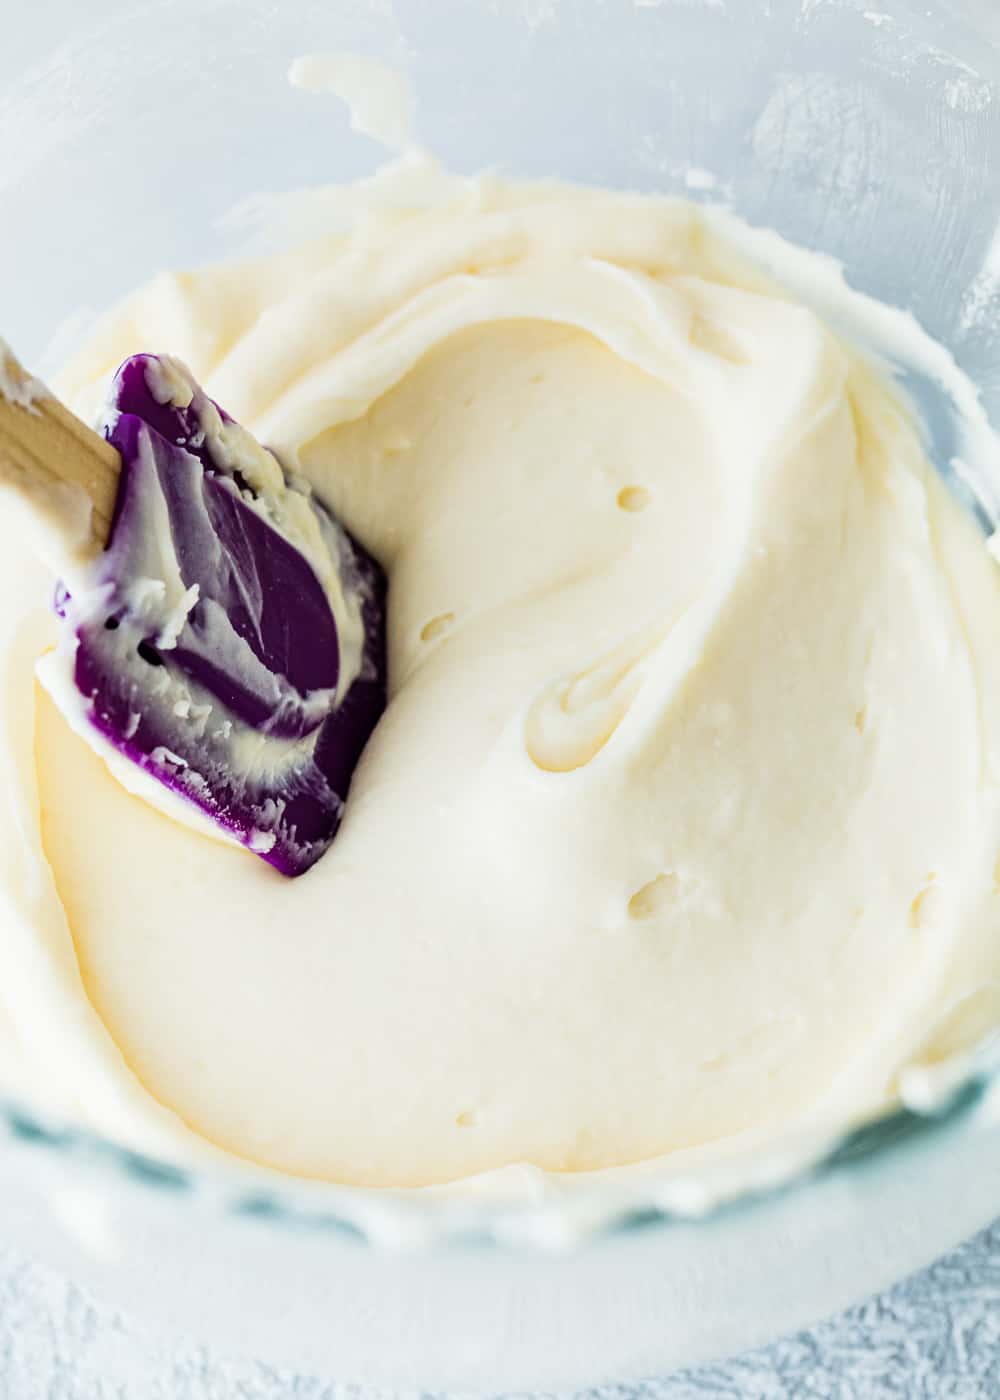
5 – Make The Cream Cheese Frosting.
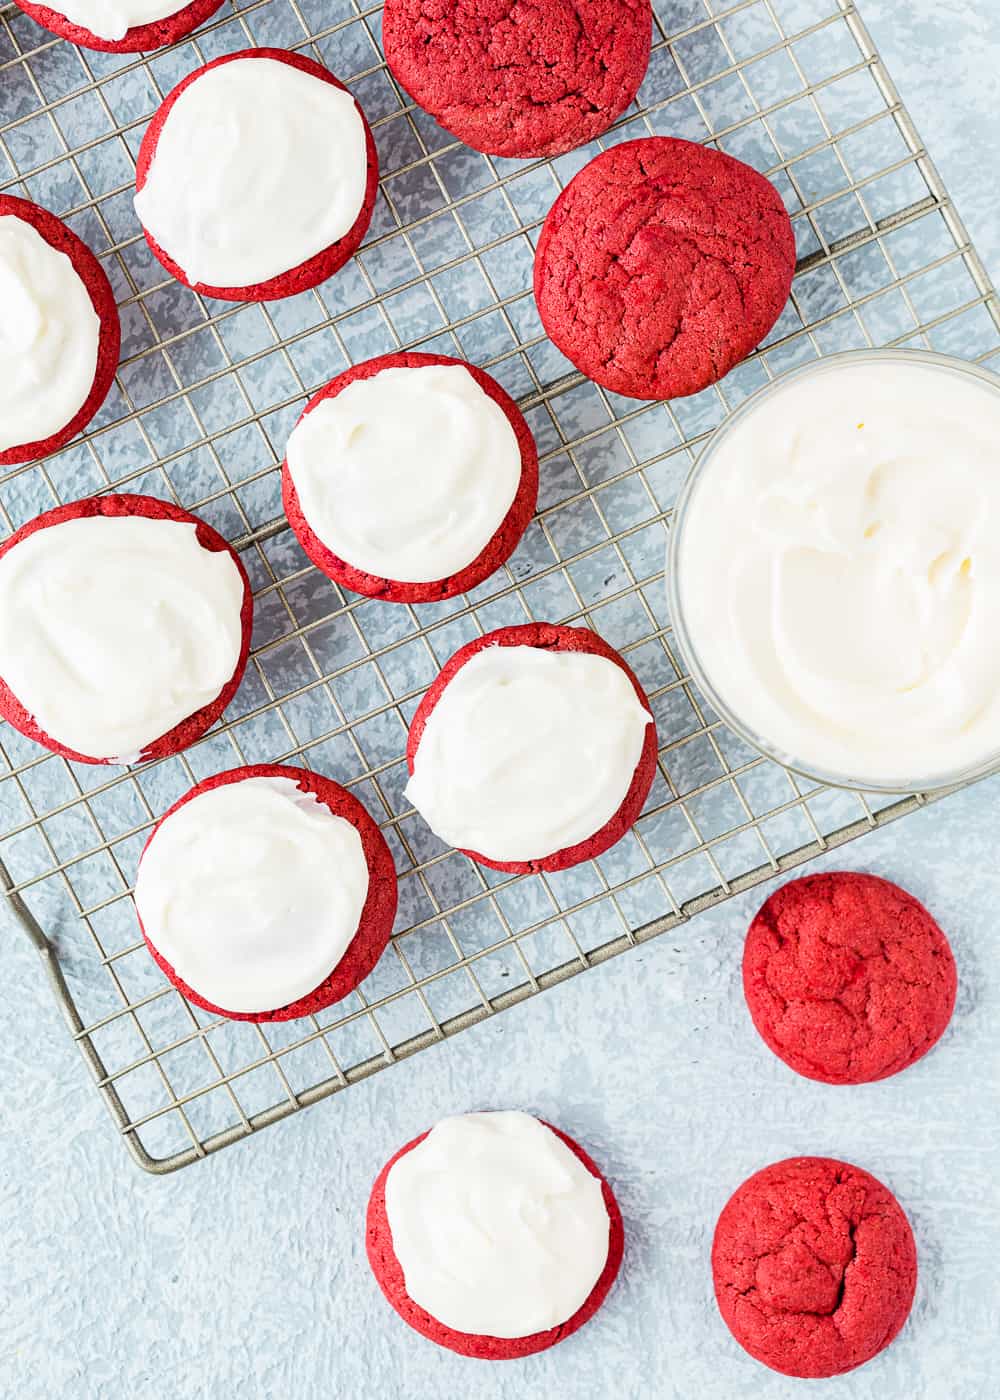
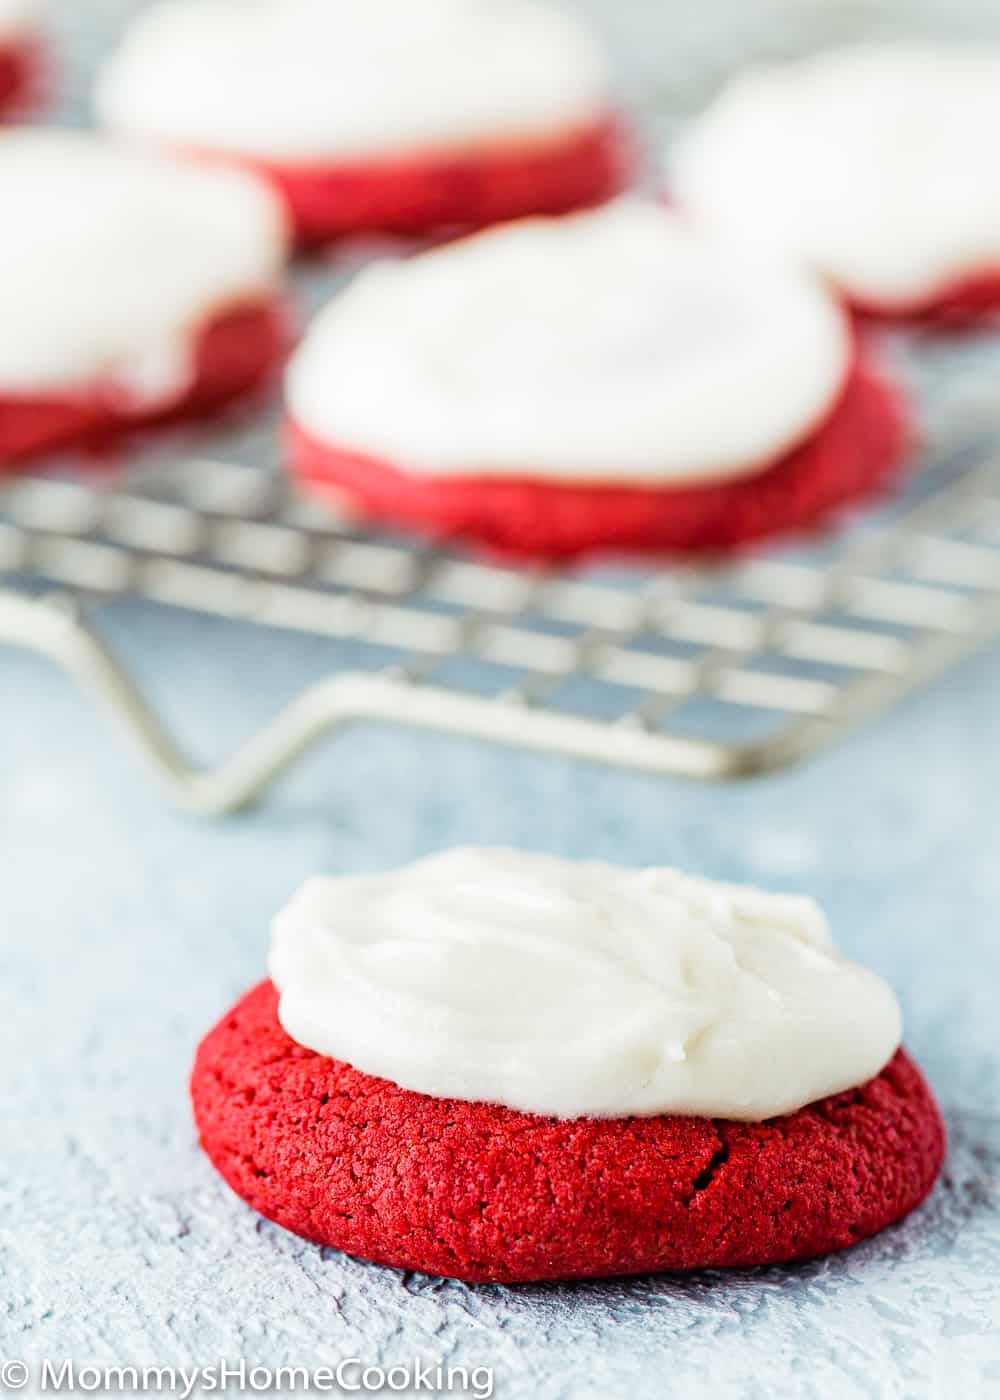
6 – Decorate The Cookies To Your Liking And Enjoy!
Measure the ingredients correctly! A kitchen scale is always the best option, in my opinion, but if you don’t have a kitchen scale, be sure to use a measuring cup made for dry ingredients (NOT a liquid measuring cup) and a liquid measuring cup for liquid ingredients. Also, do NOT dip a measuring cup directly into the flour bin, or you can compact it and get up to 25% more flour; instead, use a spoon to scoop the flour into the measuring cup, and then use a knife (straight-edged) to level the flour across the measuring cup.
Don’t overmix your cookie dough, or you will end up with dense cookies.
For evenly sized cookies (better for baking), use a small spring-loaded ice cream scoop to spoon out the dough.
Bake the cookies until they are JUST golden around the outside. The cookies might still look a little raw in the center, but once they cool, they will be perfect. Let the cookies cool on the baking sheets for just a few minutes, around 2. If you leave the cookies on the baking sheets for too long, they will continue cooking, and they will be hard.
Storing & Freezing Instructions
Store: store cookies in an airtight container for up to 5 days at room temperature.
Freeze Cookie Dough: you can freeze this cookie dough before rolling for up to 3 months. When ready to use, allow to thaw overnight in the refrigerator, then bring to room temperature for about 1 hour. Then roll and continue with the recipe as directed.
Freeze Cookies: unfrosted or frosted cookies freeze well for up to 2 months. After baking, allow the cookies to cool completely. Place them in a single layer on a parchment-lined baking sheet to freeze them, then transfer them to a freezer-safe plastic storage bag. When ready to eat, thaw overnight in the refrigerator.
Frequently Asked Questions
Yes, you can! Use the same quantity.
You can substitute sour cream for plain regular yogurt. I recommend using the full-fat versions.
I suggest baking the cookies for 8 – 10 mins.
More Recipes You’ll Love
- Eggless Sugar Cookies
- Quick & Easy Cake Mix Valentine Cookies (No Eggs)
- The Best Eggless Chocolate Chip Cookies
- Eggless Chocolate Crinkle Cookies
- Easy Eggless Vanilla Cookies
- Easy Eggless Soft Sugar Cookies
- Eggless Thumbprint Cookies
- Eggless Snickerdoodle Cookies
❤️ Love what you see? JOIN my Private Baking Club. Also, SUBSCRIBE to Mommy’s Home Cooking, so you’ll never miss a recipe! And FOLLOW along on Instagram, Pinterest, and Facebook for more fun!

Equipment
Ingredients
- 2 ½ cups (350 g) all-purpose flour
- 1 tablespoon cocoa powder
- ¼ teaspoon baking soda
- ¼ teaspoon kosher salt
- ¾ cup (180 g) unsalted butter, softened
- 1 cup (200 g) granulated sugar
- ½ teaspoon red gel food coloring
- 1 teaspoon pure vanilla extract
- 1/3 cup (80 g) sour cream
Cream Cheese Frosting:
- 4 ounces (110 g) cream cheese, softened
- 1/4 cup (60 g) unsalted butter, softened
- 2 cups (240 g) confectioners’ sugar
- 1 teaspoon pure vanilla extract
- 1/8 teaspoon salt
Instructions
- Preheat your oven to 350°F (180°C). Line a cookie sheet with parchment paper, or a silicone mat, and set it aside. The number of batches will depend on how large/small you want your cookies.
- Whisk the flour, cocoa powder, baking soda, and salt together in a large bowl. Set aside.
- Cream the butter and sugar together in a large bowl with an electric mixer on medium speed until light in color and fluffy. Add red food coloring and vanilla and mix until well combined.
- Add half of the flour mixture and mix until the dough comes together. Then add sour cream and keep mixing until incorporated. Finally, add the rest of the flour mixture and mix until combined. Do not over mix.
- Roll the cookie dough into 1 tablespoon balls. Place the dough balls about 2 inches apart on the prepared cookie sheet.
- Bake for 10-12 minutes, until very lightly colored on top and around the edges. Allow to cool on baking sheet for 5 minutes, then transfer to a wire rack to cool completely before icing.
Make the Icing:
- Beat the cream cheese and butter together on medium-high speed until creamy and no lumps remain, about 4 minutes. Add the confectioners’ sugar, vanilla extract and salt. Beat on low speed for 30 seconds then increase to high speed until everything is completely combined and the frosting is creamy.
- Add 1 cup of chocolate chips, white chocolate chips, or M&Ms to the dough before rolling for a fun twist.
Nutrition
Eggless Baking Frequently Asked Questions
You’ve asked, and I’ve answered! Read on for a handful of answers to the most frequently asked questions about eggless baking.
Originally posted December 2019, post content edited to add more helpful information, no change to the recipe in February 2022.
