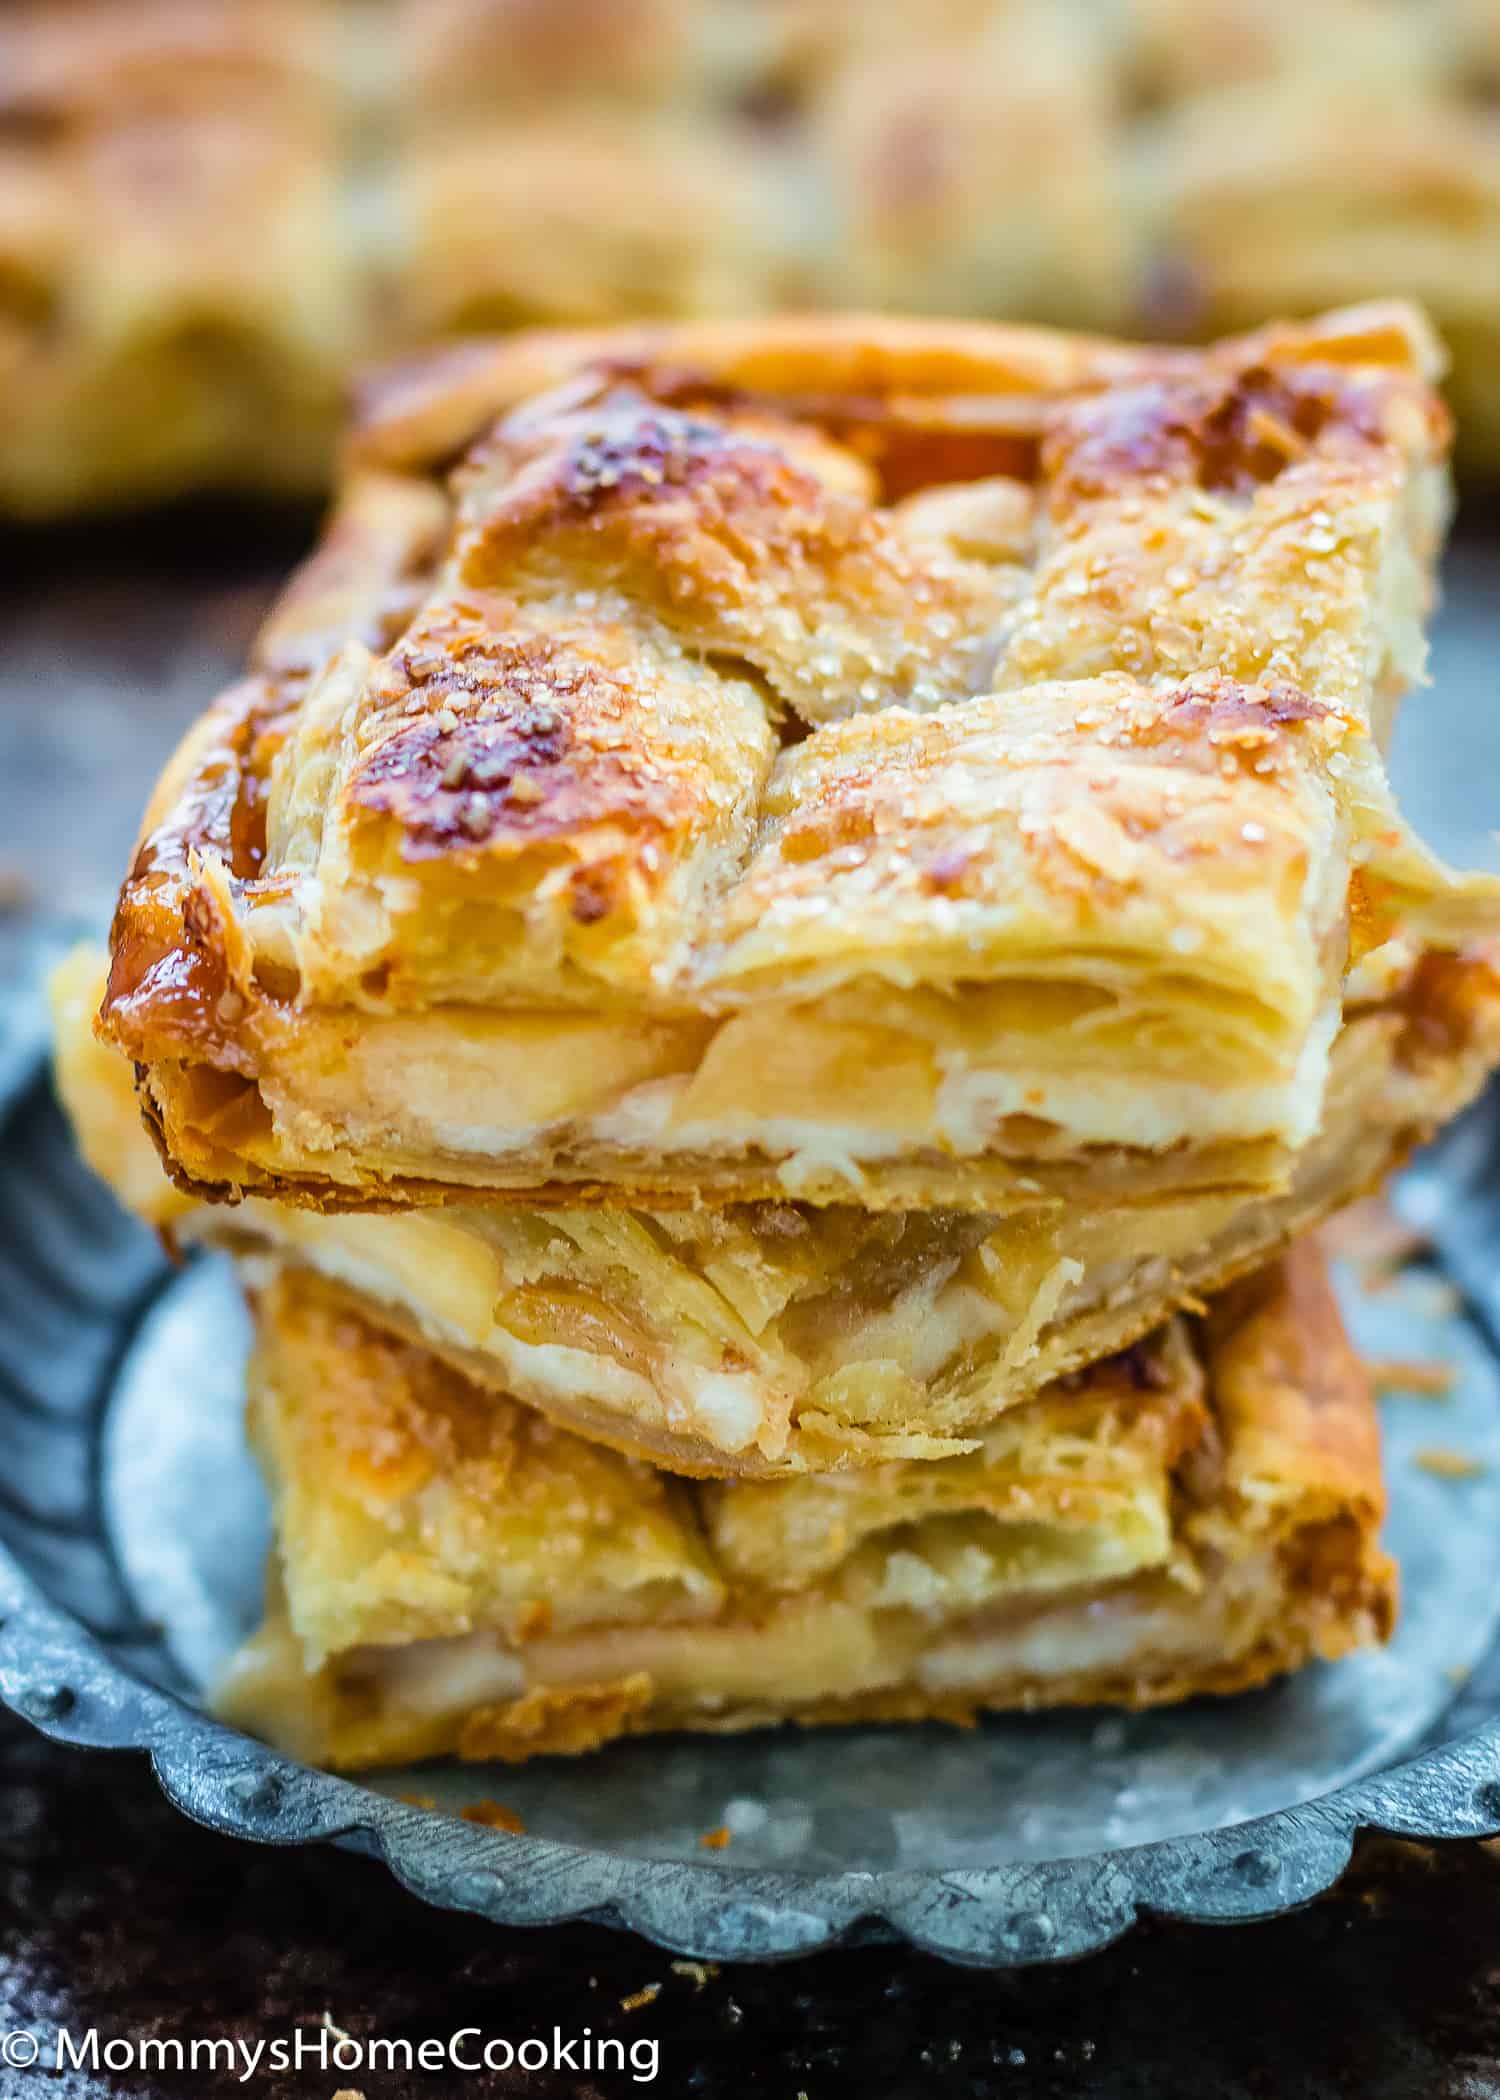
This Eggless Salted Caramel Apple Cheese Danish is the perfect way to enjoy one of the best gifts of the fall season: Apples!!! Made with store-bought puff pastry, this easy dessert is super delish and makes a nice change from the usual apple pie.
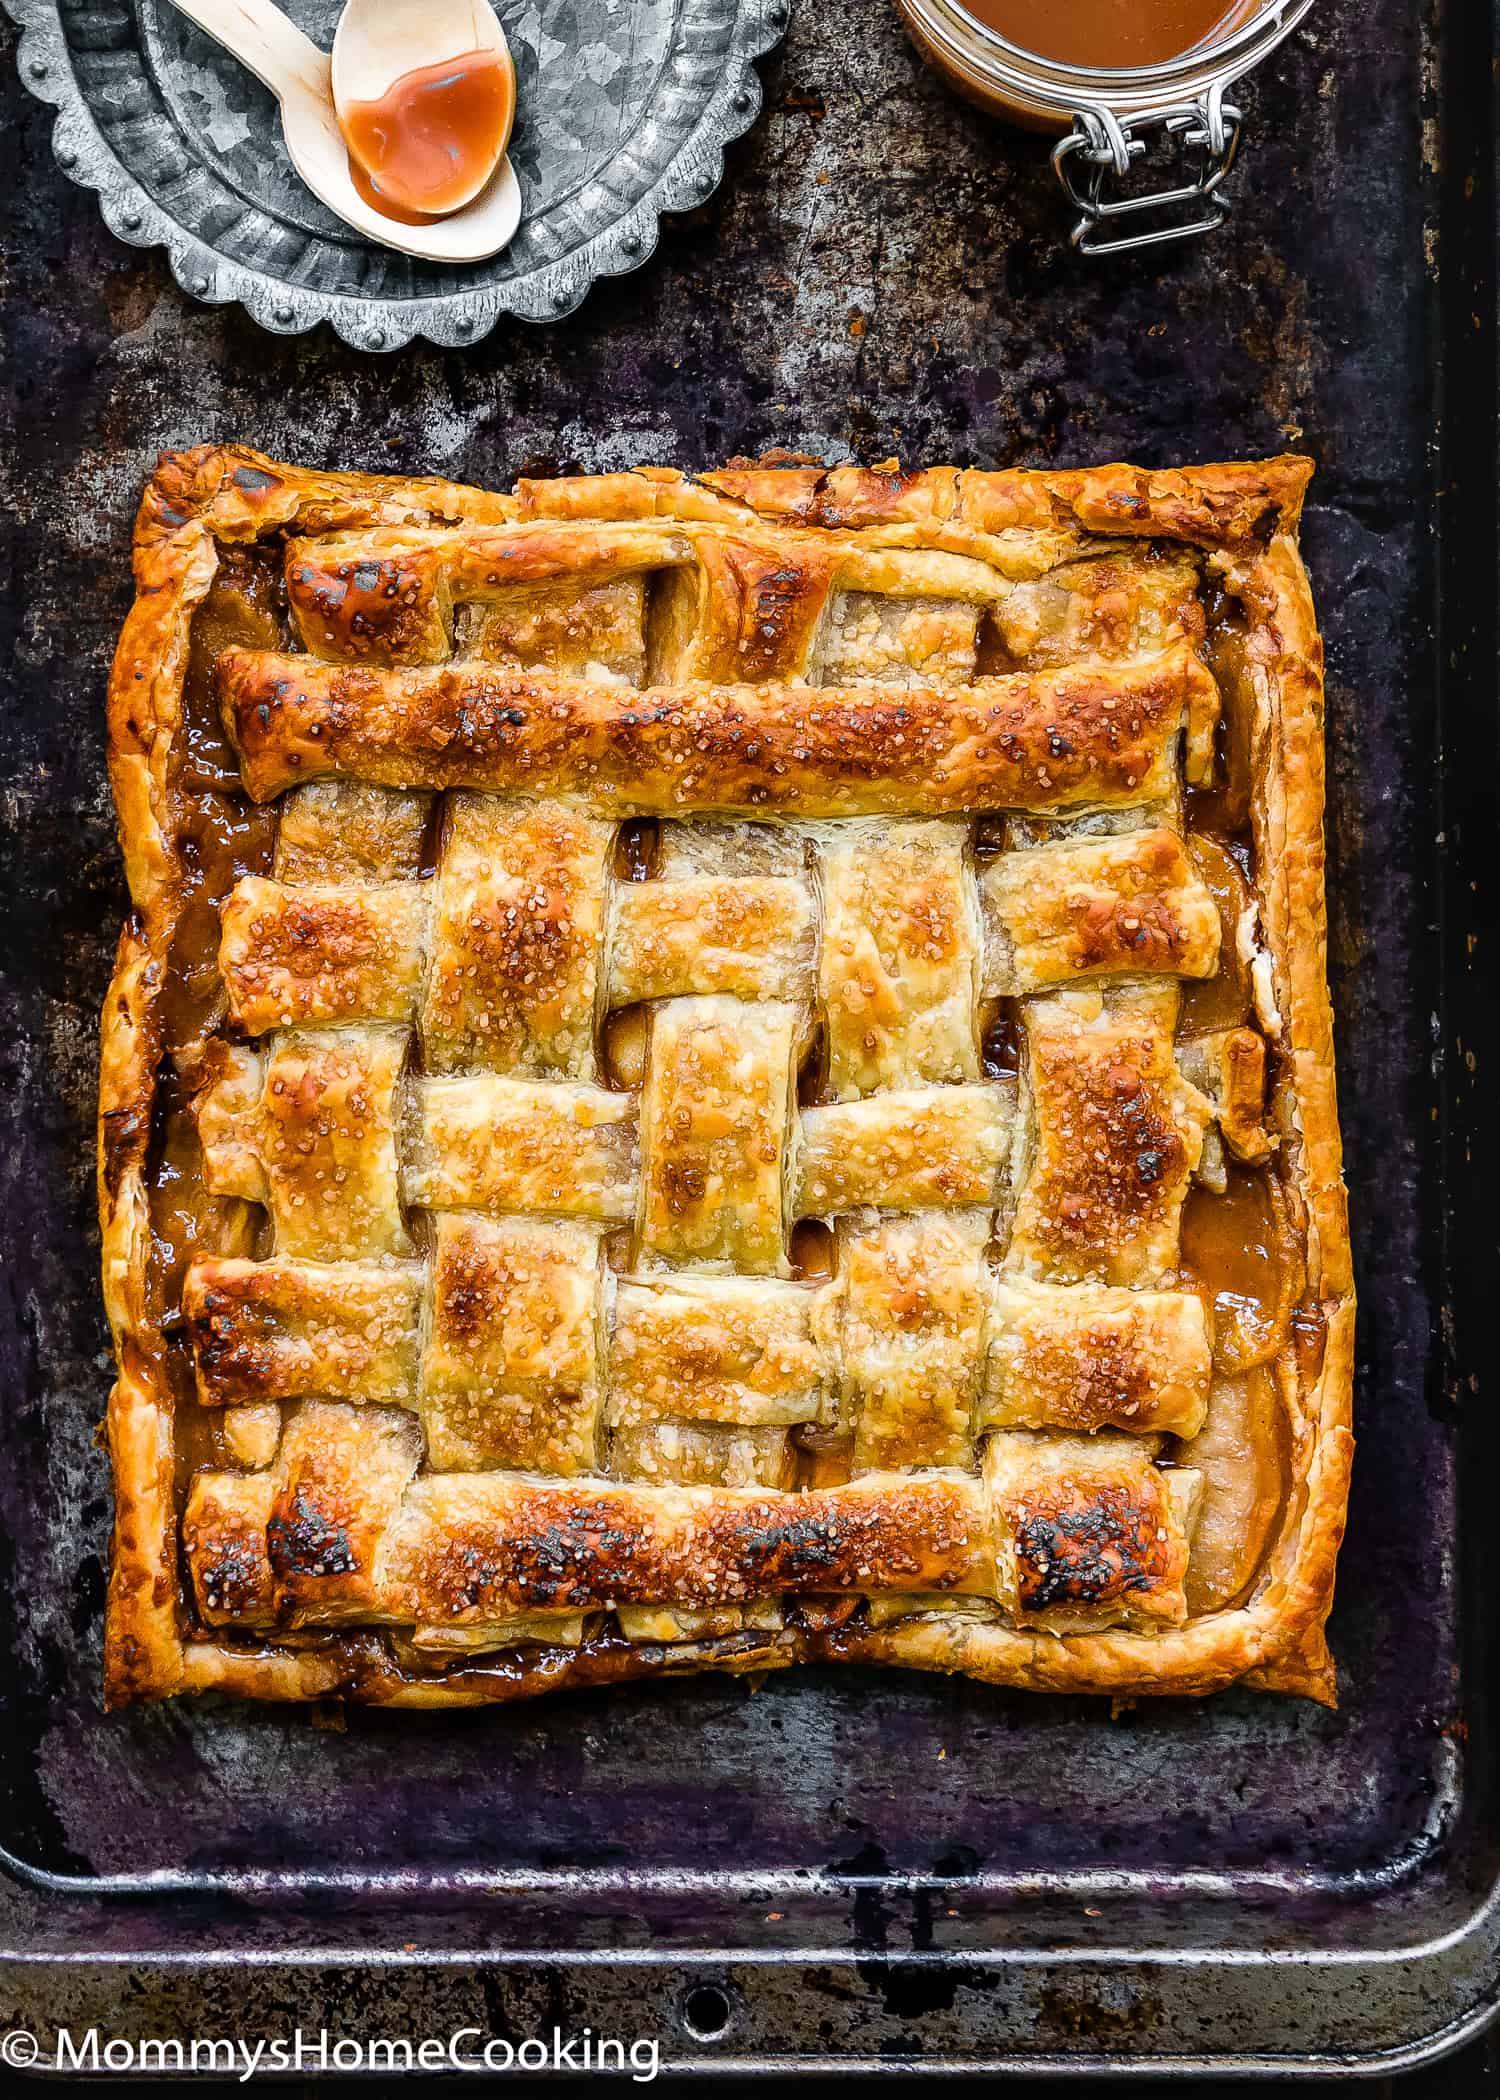
Eggless Apple Cheese Danish Recipe Highlights
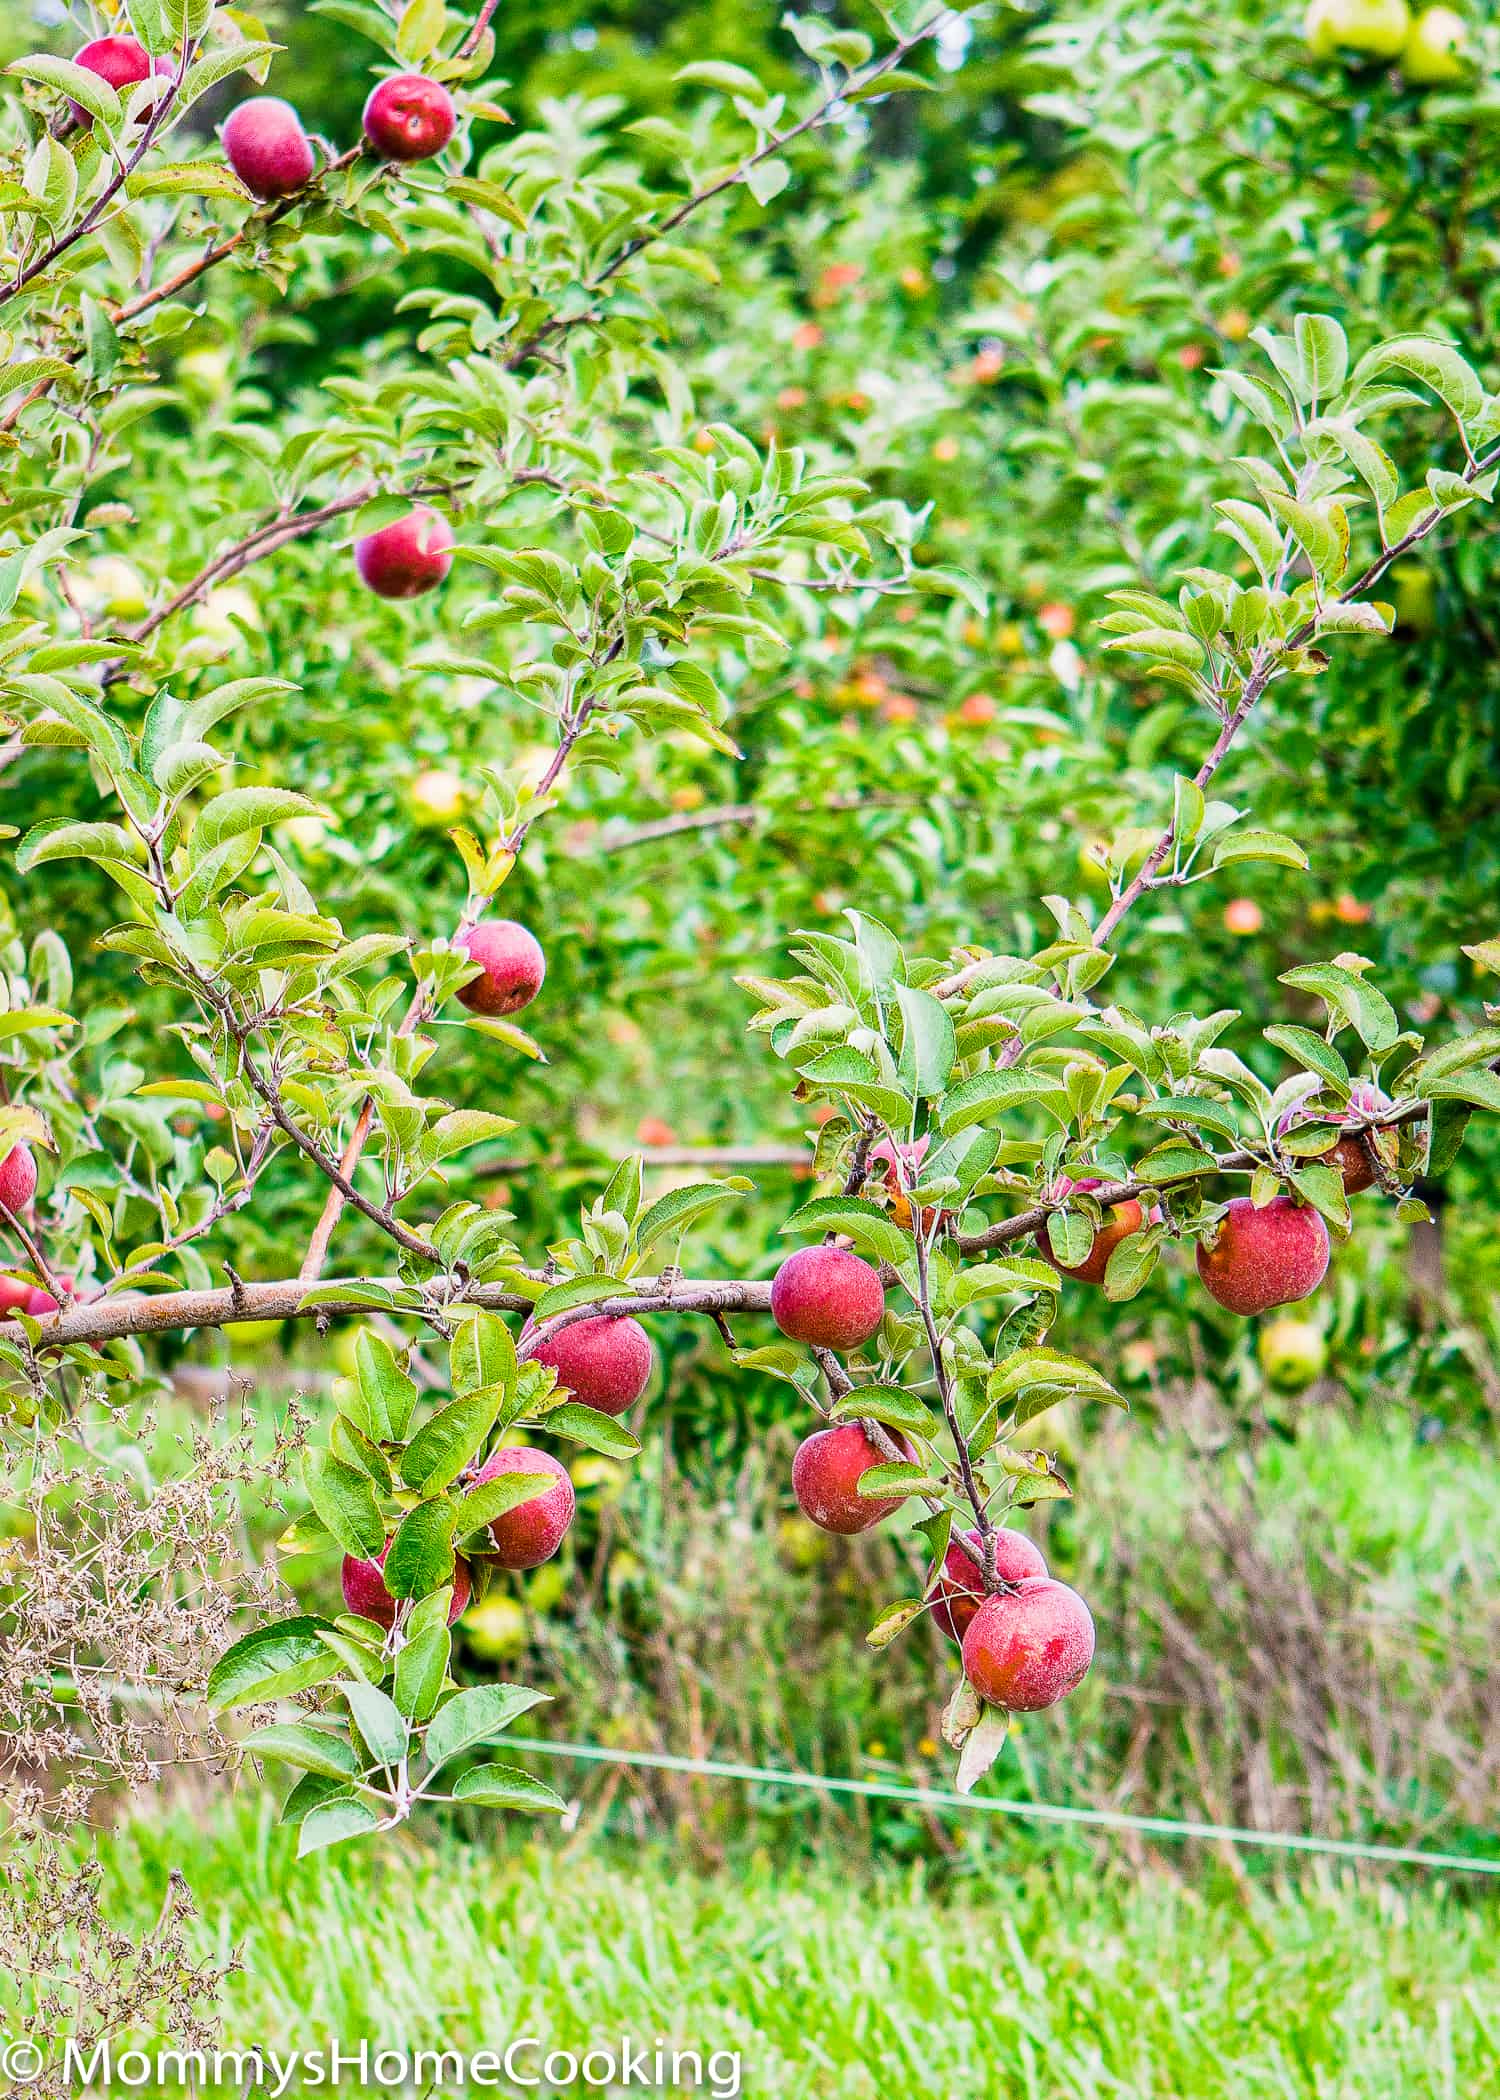
This is what happens when you go apple picking and end up with a huge amount of apples in your kitchen. No kidding. Like 234 of them. Ok… I am exaggerating, but lots of apples. We have been eating them in any way possible. This Eggless Salted Caramel Apples Cheese Danish was our favorite.
This buttery, flaky pastry with rich cream cheese filling, apples, and salted caramel was a tasty way to celebrate fall. It was very easy to make, and I love the fact that I was able to develop an eggless version. Most of the Danish recipes I saw online have eggs in them.
The Eggless Salted Caramel Apple Cheese Danish is sweet but with the perfect amount of salt to balance it. I am telling you, it’s a heavenly dessert. You can’t stop with just one portion; it is absolutely delicious!
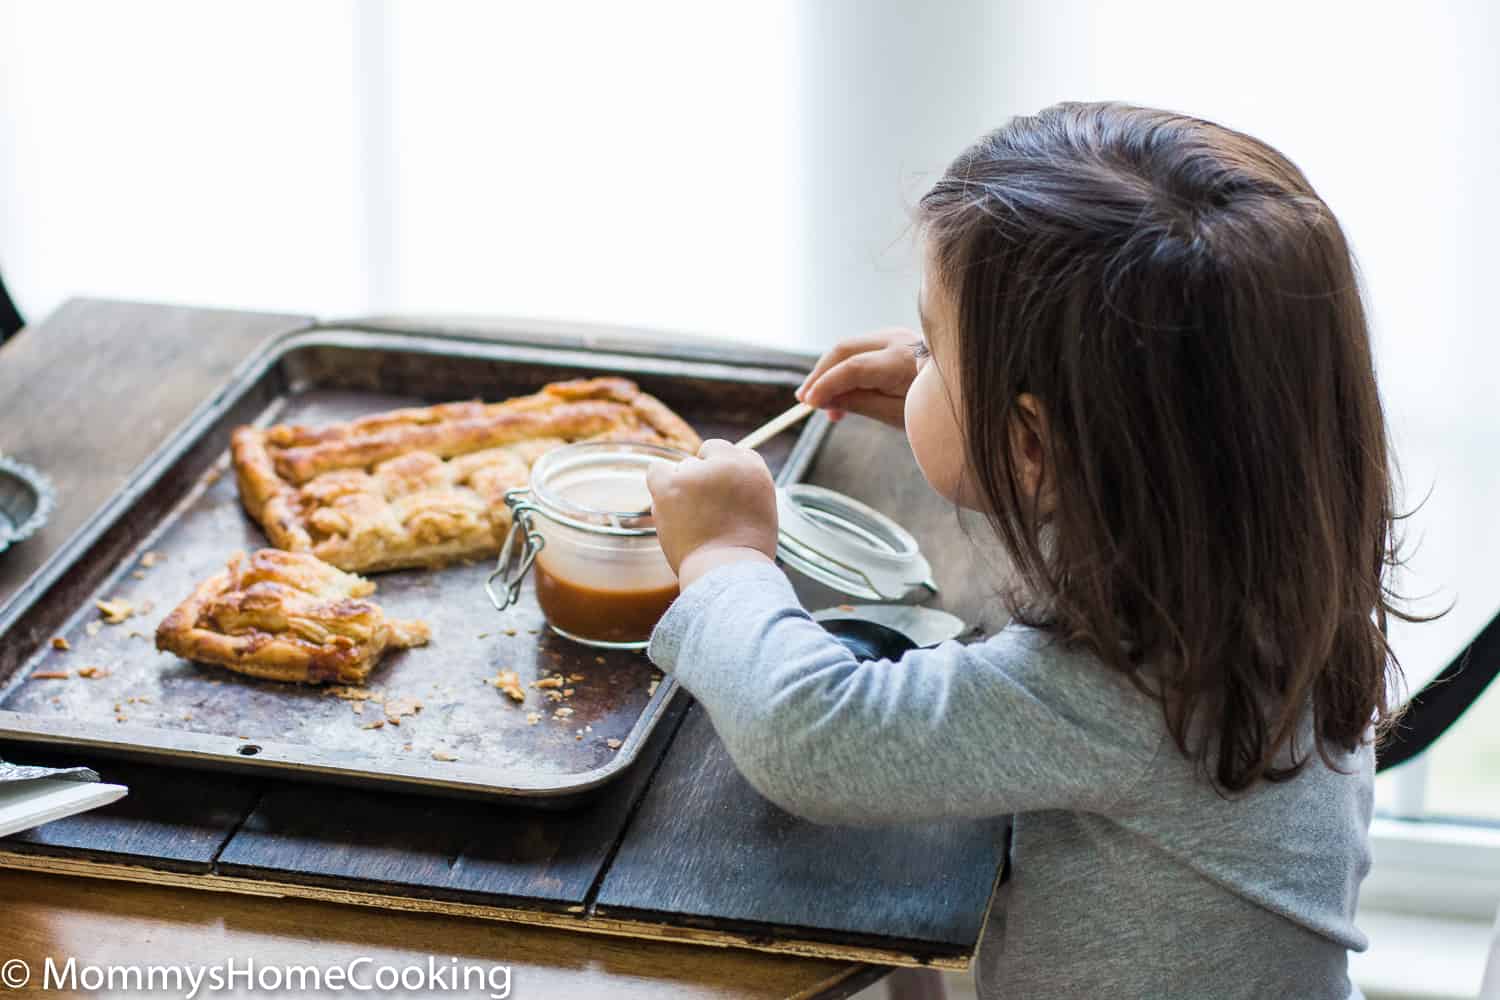
I had a super special helper for this Eggless Salted Caramel Apple Cheese Danish shoot!!
What is Apple Danish?
An apple Danish, also known as an apple pastry or apple turnover, is a sweet pastry filled with apple filling. It is a popular baked good enjoyed as a breakfast treat or dessert. The Danish pastry, from which the name “Danish” originates, is believed to have been brought to Denmark by Austrian bakers in the 19th century. It’s known for its rich, buttery layers.
While the classic apple Danish typically features a sweet apple filling encased in flaky pastry dough and may be topped with icing or powdered sugar, there are variations that include cream cheese filling as an additional element.
Ingredients You’ll Need, Substitutions & Notes
Please check the recipe card at the bottom of the post for exact quantities and detailed instructions (scroll down).
- Frozen puff pastry: Frozen puff pastry is a time-saver. It comes in sheets or blocks, and you can store it in your freezer until you’re ready to use it. It’s important to thaw the pastry according to the package instructions. Typically, it’s best to let it thaw in the refrigerator overnight. Various brands offer frozen puff pastry sheets, including Pepperidge Farm and Dufour. You may find them in the frozen section of your local grocery store.
- Butter: I prefer unsalted butter, but if you only have salted butter handy, that will work, too.
- Apples: Use any apples you like best. I always use Granny Smith + a red variety such as Honeycrisp or Fuji.
- Sugar: Regular white granulated sugar or caster sugar.
- All-purpose flour: Standard all-purpose flour works best here; skip the cake flour, bread flour, and wheat flour. Make sure to measure accurately. In my opinion, a kitchen scale is the best way to measure your ingredients.
- Spices: You’ll need ground cinnamon and nutmeg.
- Cream cheese: Make sure you use the full-fat version that comes in blocks.
- Pure vanilla extract: Reach for pure vanilla instead of imitation for optimal flavor. Even better, try homemade vanilla extract! If you are looking for non-alcoholic vanilla flavoring, I recommend Simply Organic Vanilla Flavoring.
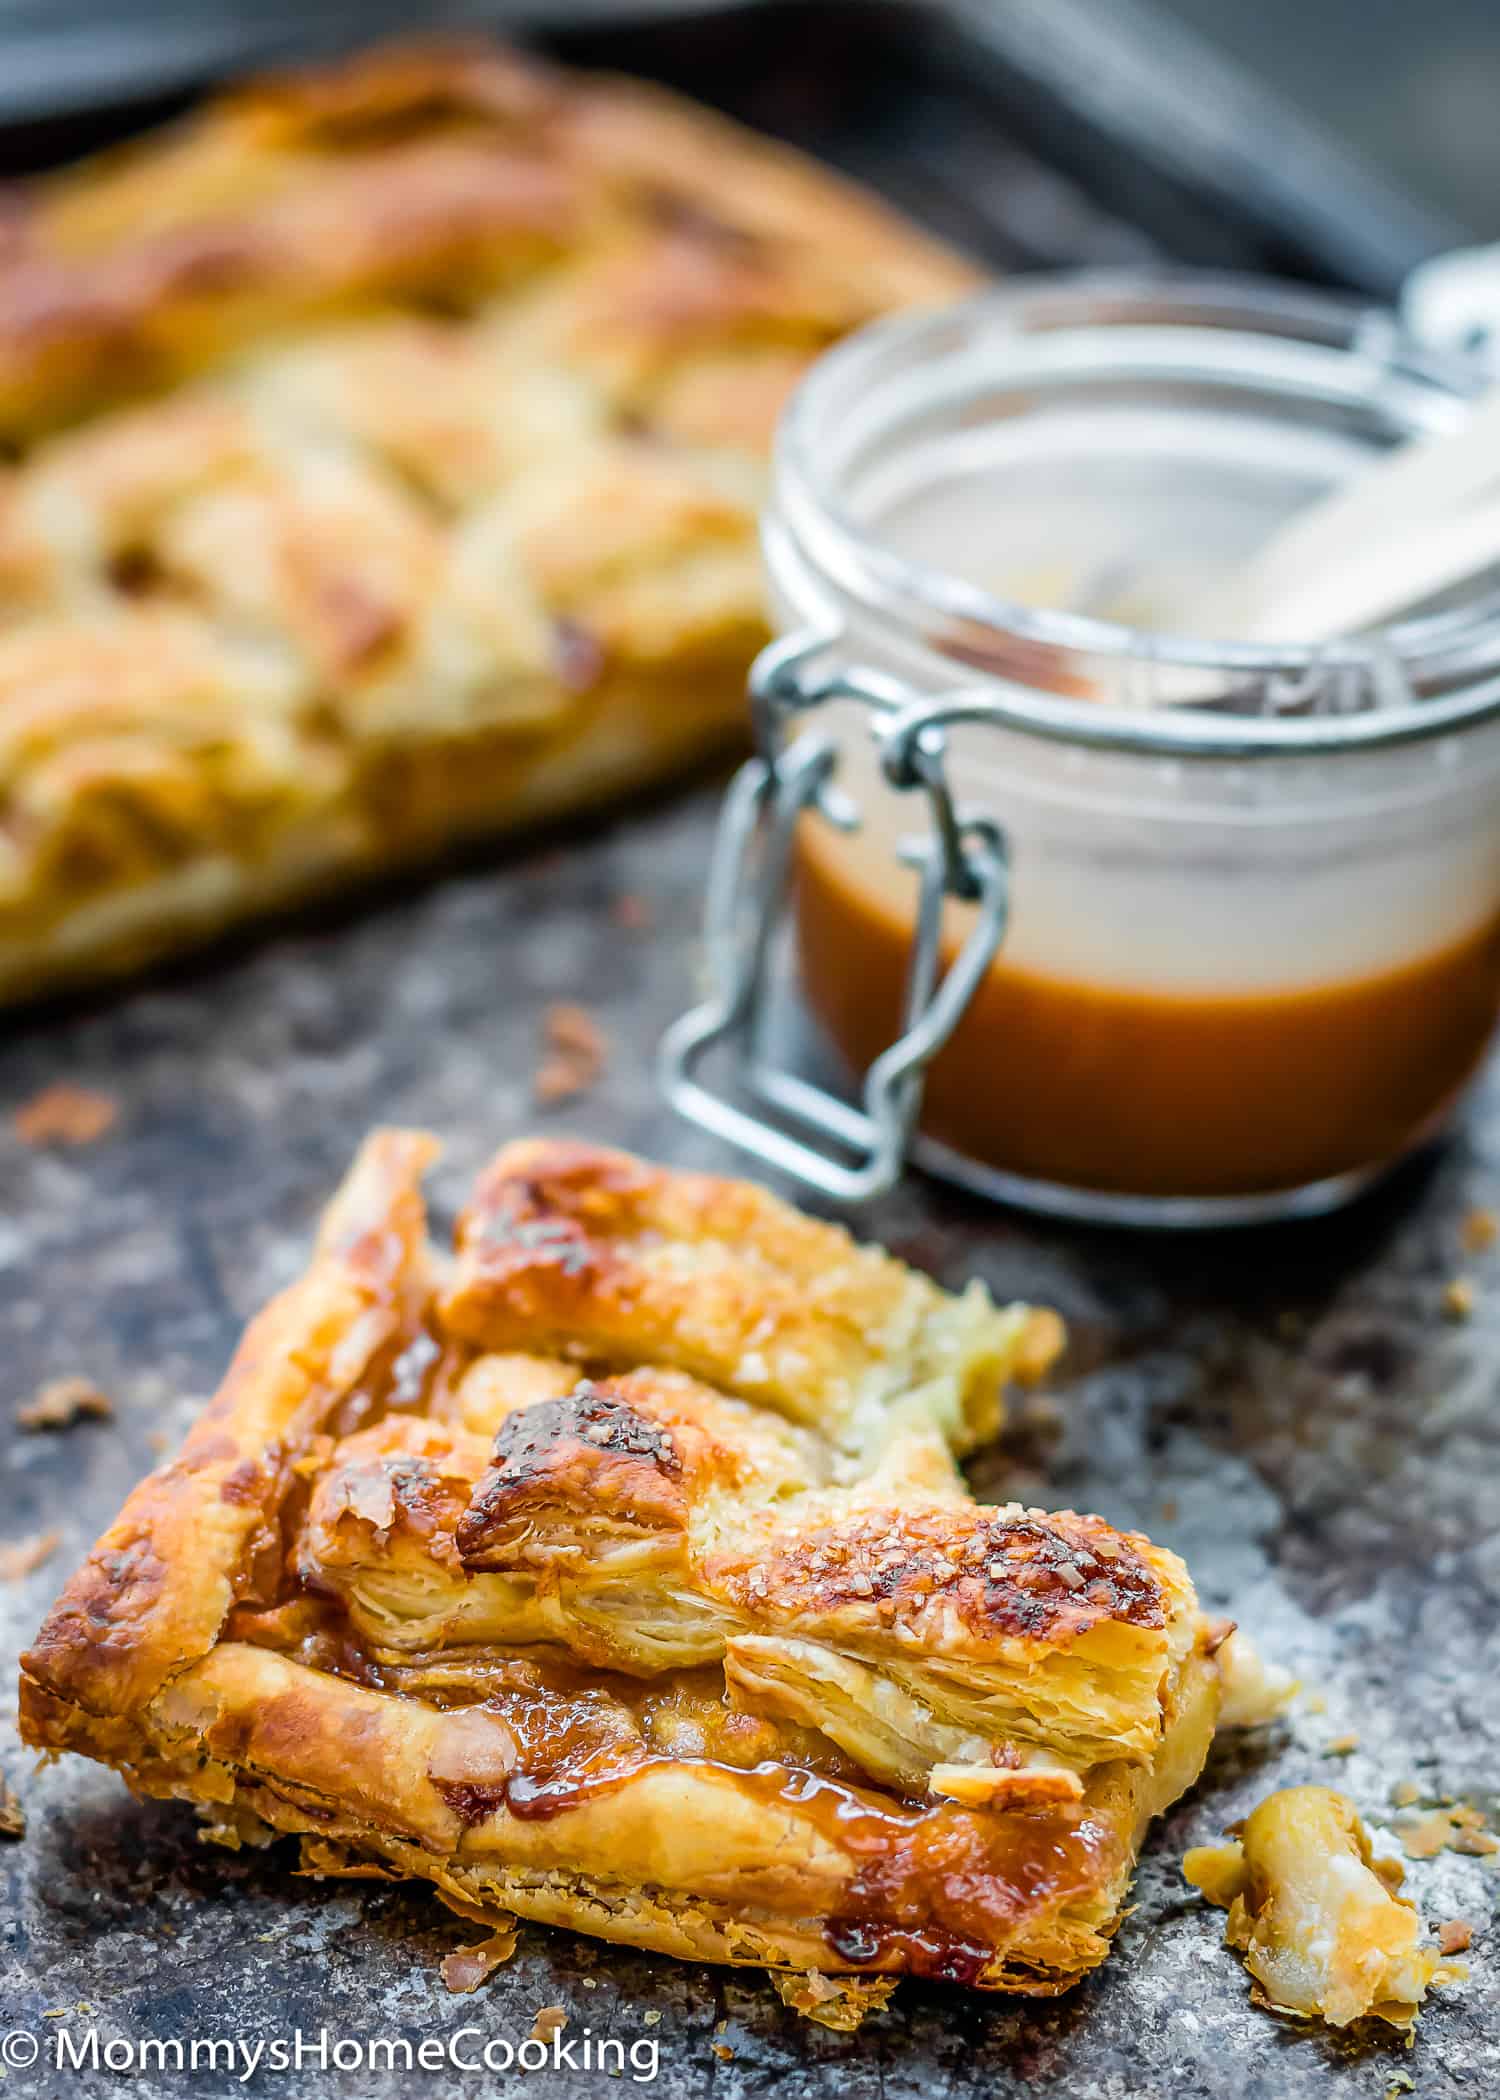
- Salted caramel: You can use store-bought or homemade. When I have no time to make my own, I like to use Ghirardelli Sea Salt Caramel Flavored Sauce.
- Milk for brushing: I recommend using whole milk.
- Coarse sugar: For a little extra sweet crunch on top.
Process Overview: How to Make Apple Danish without Eggs Step-by-Step
Please check the recipe card at the bottom of the post for exact quantities and detailed instructions (scroll down).
- Prepare the puff pastry base
On a floured surface, unfold one pastry sheet. Place pastry on the baking sheet. With a sharp knife, lightly score pastry dough 1 inch in from the edges to mark a rectangle. Using a fork, poke dough inside the markings. Then, bake until golden, about 12- 15 minutes. Cool on a wire rack. Slightly press down with your hands the inside to make room to place the filling. Reserve.
- Make the apple filling
Melt butter in a large skillet over medium heat. Cook apples until crisp-tender, about 8 minutes, stirring occasionally. Add 1/2 cup of sugar, 2 tablespoons of flour, cinnamon, and the nutmeg; mix until incorporated. Cook for 2 more minutes; set aside.
- Make the cheese filling
Beat with an electric mixer on medium speed the cream cheese, 1/2 cup of sugar, 3 tablespoons of flour, and vanilla until smooth.
- Assemble
Carefully spread the cream cheese mixture over the baked pastry. Then, spoon the apple mixture over the cream cheese mixture. Drizzle with salted caramel sauce.
- Add the top pastry layer
On a lightly floured surface, unfold the remaining pastry sheet. With a sharp knife or a pizza cutter, cut the pastry sheet into 5 equal size strips. Then, cut them in half. You will end up with 10 strips. Weave a lattice pattern over the filling with the pastry strips (see notes below). Trim any excess pastry. Lightly press the edges of the top pastry to the edges of the bottom pastry. Finally, lightly brush the pastry with milk. Sprinkle coarse sugar over pastry.
TIP: For a no-fuss version, just place the second pastry sheet over the apple mixture. Lightly press the edges and cut a few slits in the pastry to allow steam to escape. - Bake
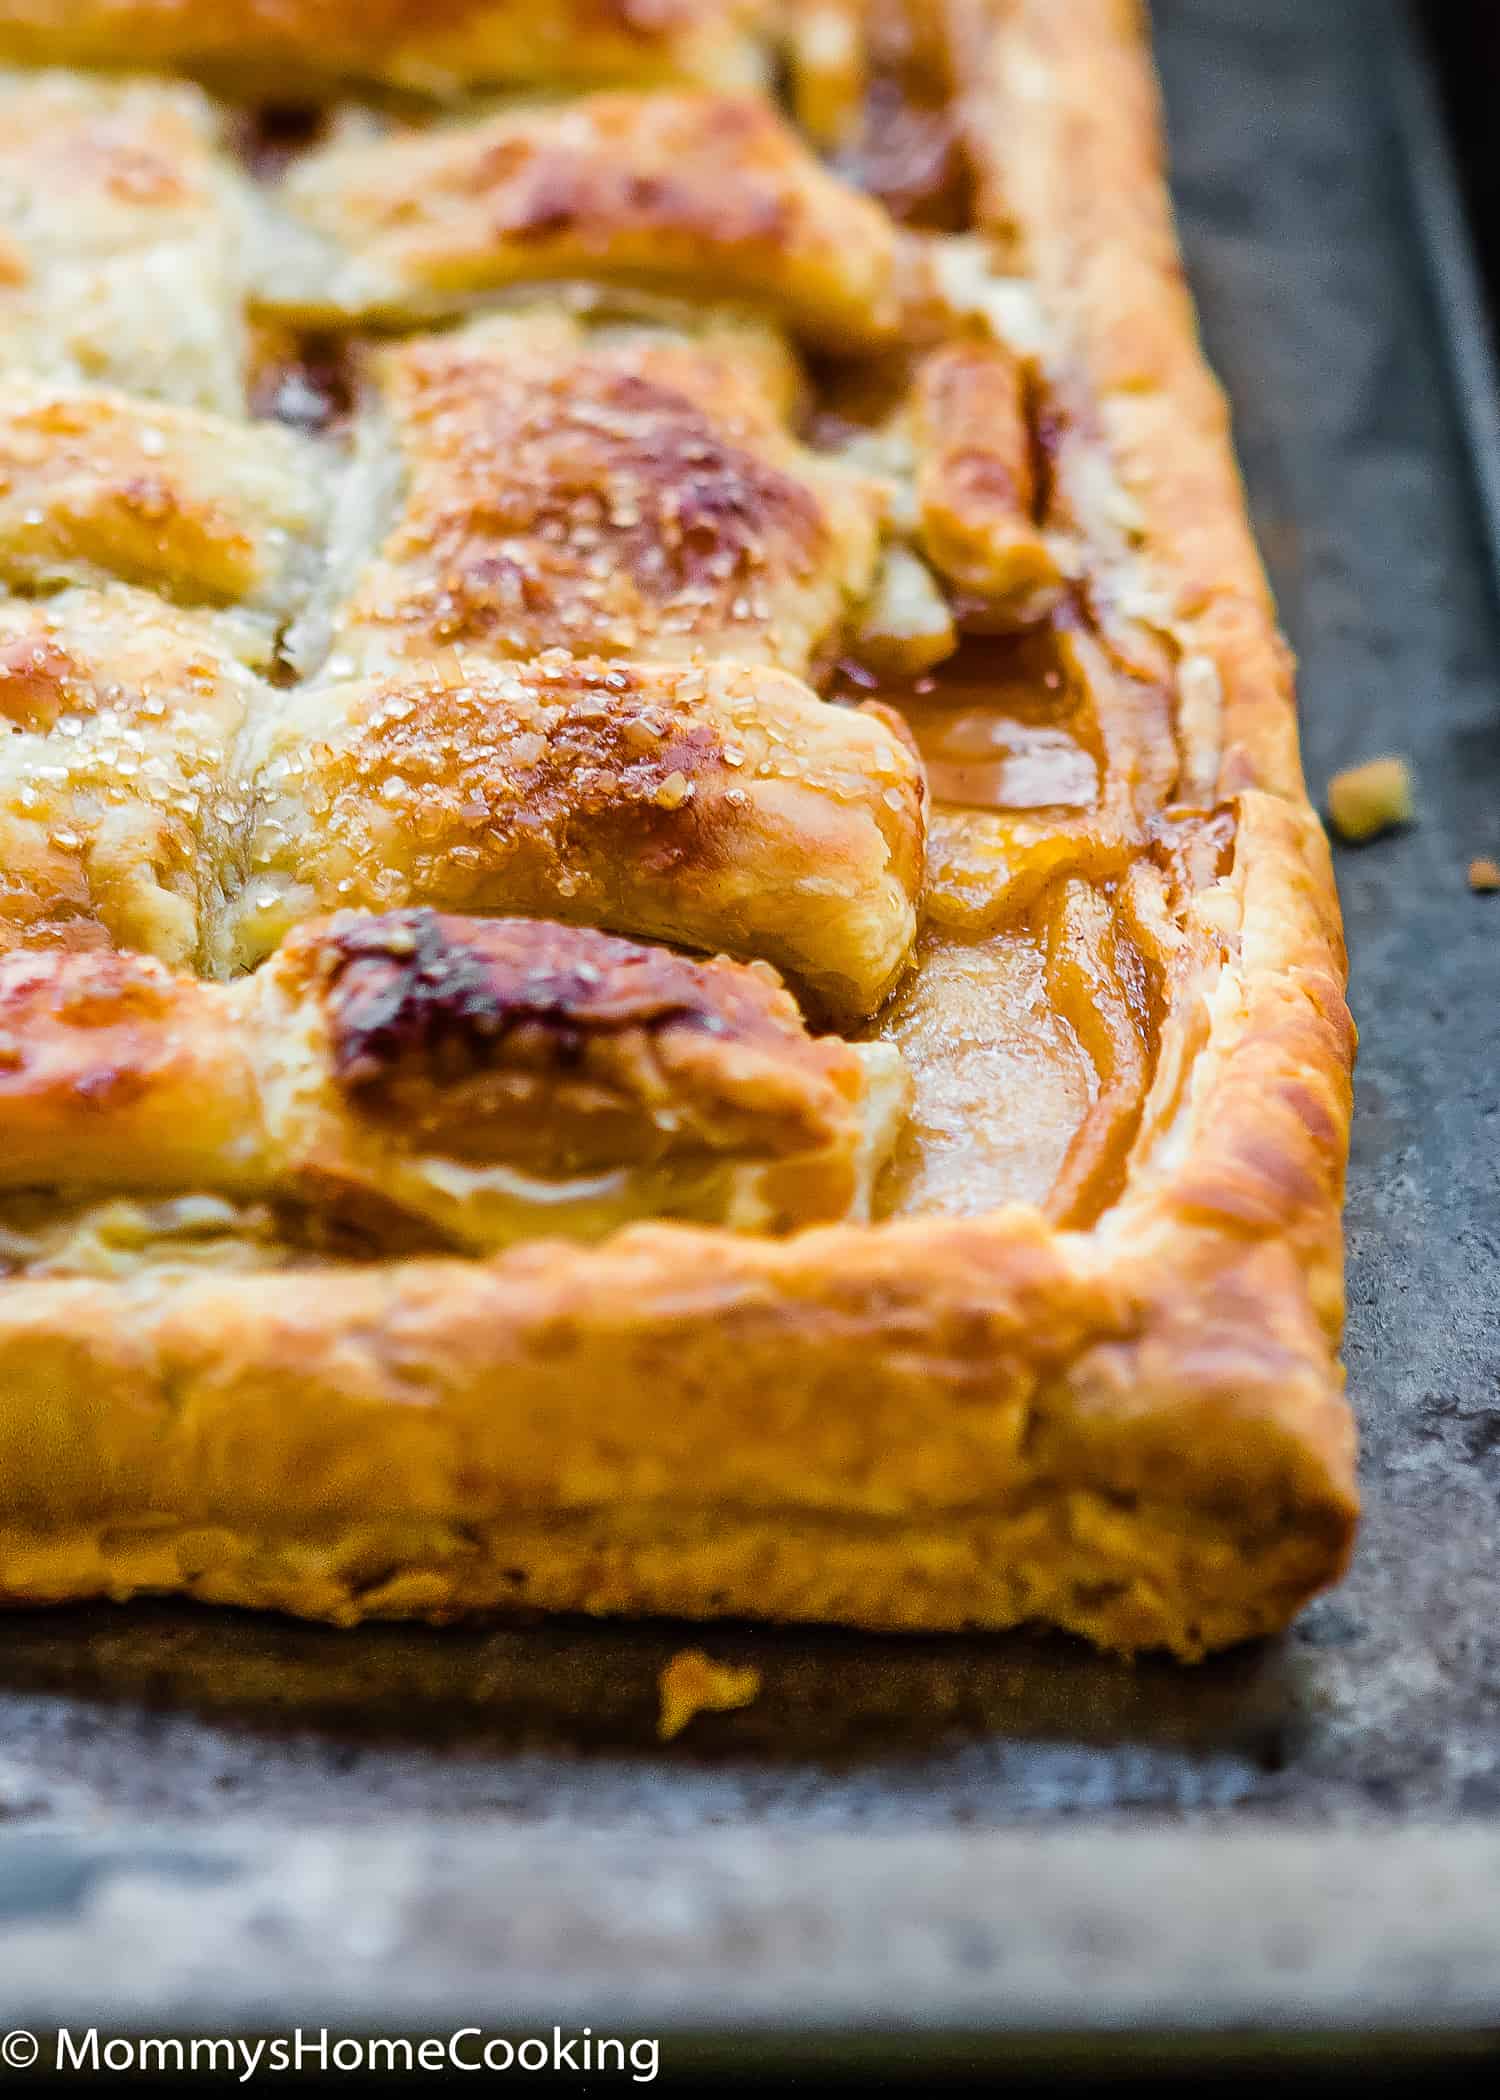
Bake for 35 to 40 minutes or until pastry is slightly puffed and golden brown. Cool on a wire rack. Serve slightly warm.
How to Make a Lattice Pattern
Creating a lattice pattern may take a little practice, but the results are well worth it. It adds an artistic flair to your baked goods that will impress family and friends.
- Cut the Dough into Strips: Use a knife or pastry wheel to cut the rolled-out dough into even strips. The width of the strips can vary depending on your preference, but about 1/2 to 3/4 inch (1.25 to 2 cm) is common. You can use a ruler to ensure they are evenly sized.
- Create the Base Layer: Lay half of the strips vertically over the filling, evenly spaced apart. These strips will become the base layer of your lattice pattern.
- Begin Weaving: Fold back every other strip slightly, a little more than halfway. Then, place a strip horizontally across the unfolded strips. Unfold the folded strips over the horizontal ones.
- Repeat the Weaving: Fold back the vertical strips that are now under the horizontal strip and add another horizontal strip next to the first one. Unfold the folded strips.
- Continue Weaving: Repeat the weaving process, alternating between folding and placing horizontal strips until you’ve covered the entire top of your pie or tart. You can gently press the ends of the strips into the edge of the bottom crust.
- Trim and Seal: Trim any excess dough hanging over the edges of your dish. Then, use a fork or your fingers to crimp and seal the edges of the lattice to the bottom crust.
For this Danish, I used 5 strips. Lay 5 strips of dough over parchment paper. Starting in the center, weave 1 new strip under and over the strips. Weave a second strip, this time weaving over, then under. Repeat, weaving strips across. Return to the center, and repeat with the remaining dough strips to form a lattice pattern. This video is really helpful.
Recipe Tips
Choose a high-quality pastry dough like puff pastry or Danish pastry dough. These dough types create the flaky, buttery layers that are characteristic of a good Danish pastry.
Use a mix of tart and sweet apples like Granny Smith and Fuji for a balanced flavor.
When working with pastry dough, keep it cold to maintain its flakiness. If the dough becomes too warm and soft, it can be challenging to handle. Work quickly and refrigerate the dough as needed during the process. I like to make the apple filling first and let it cool slightly before adding it on top of the pastry.
Allow the apple Danishes to cool slightly before serving. This allows the flavors to meld together and prevents burning your mouth on a hot filling.
Variations
The basic concept of using pastry dough to encase sweetened fruit filling is versatile and can be adapted to different fruits and flavor combinations. Here are a few examples of fruit-filled pastries you can make:
- Cherry Danish: Substitute the apple filling with sweet or tart cherries, either fresh or canned. You can also add a touch of almond extract for a classic cherry almond flavor.
- Blueberry Danish: Use blueberries, fresh or frozen, as the filling. You may want to add a little lemon zest or juice to enhance the blueberry flavor.
- Peach Danish: Sliced or diced fresh or canned peaches can be used as the filling. Consider adding a pinch of ground ginger or a sprinkle of brown sugar for extra flavor.
- Mixed Berry Danish: Combine strawberries, raspberries, and blueberries for a mixed berry filling. Sweeten with sugar and add a touch of lemon juice for brightness.
- Raspberry Danish: Fill the pastry with raspberry preserves or a homemade raspberry compote. You can also mix raspberries with cream cheese for a delightful twist.
- Pear Danish: Sliced or diced pears, either ripe or poached, make a delicious filling. A hint of vanilla or a sprinkle of cinnamon can complement the pear’s flavor.
- Apricot Danish: Use apricot preserves or fresh apricot slices as the filling. Apricot jam or marmalade can also be a great choice.
- Banana and Nut Danish: Create a creamy banana filling by mashing ripe bananas with chopped nuts like walnuts or pecans.
- Dulce de Leche: You can substitute Salted Caramel for Dulce de Leche.
When substituting other fruits for apples, keep in mind that the sweetness and juiciness of the fruit may vary, so you may need to adjust the amount of sugar and any additional flavorings to suit your taste. The pastry dough and baking process will remain relatively consistent regardless of the fruit used, allowing you to enjoy a variety of fruit-filled pastries beyond traditional apple Danishes.
Storing & Freezing Instructions
Store leftover apple Danishes in an airtight container at room temperature for a day or two. For longer storage, refrigerate them. You can reheat them in the oven to refresh the pastry.
Frequently Asked Questions
While the classic apple Danish typically features a sweet apple filling encased in flaky pastry dough and may be topped with icing or powdered sugar, there are variations that include cream cheese filling as an additional element. The cream cheese filling can add a rich and creamy texture to complement the sweet and tart flavors of the apples.
Yes, you can!
More Recipes You’ll Love!
- Eggless Apple Cider Donut Cake
- Eggless Apple Oatmeal Baked Cups (Flourless)
- Eggless Apple Spice Cake
- Eggless Apple Cinnamon Rolls
- Easy Apple Butter (Small Batch)
- Eggless Apple Cider Donuts
- Browse more recipes…
❤️ Love what you see? JOIN my Private Baking Club. Also, SUBSCRIBE to Mommy’s Home Cooking, so you’ll never miss a recipe! And FOLLOW along on Instagram, Pinterest, and Facebook for more fun!
Recipe Card 📖

Eggless Apple Cheese Danish
Equipment
Ingredients
- 2 sheets of frozen puff pastry , thawed
- 3 tablespoons (43 g) butter
- 2 lb (900 g) apples , peeled, cored and thinly sliced (I used Granny Smith + Honeycrisp)
- 1 cup (200 g) sugar , divided
- 5 tablespoons (40 g) all-purpose flour , divided
- 1 teaspoon ground cinnamon
- 1/4 teaspoon nutmeg
- 8 oz (226 g) cream cheese ,softened
- 1 teaspoon (5 ml) pure vanilla extract
- 1 cup salted caramel sauce
- Milk for brushing (about 2 tablespoons)
- 2 -3 tablespoons coarse sugar (optional)
Instructions
- Preheat oven to 375º F (190º C). Line a baking sheet with parchment paper; set aside.
Prepare the puff pastry base:
- On a floured surface, unfold one pastry sheet. Place pastry on the baking sheet. With a sharp knife, lightly score pastry dough 1 inch in from the edges to mark a rectangle. Using a fork, poke dough inside the markings.
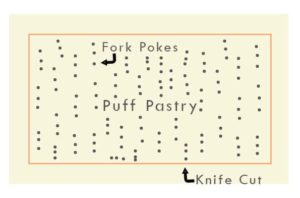
- Bake until golden, about 12- 15 minutes. Cool on a wire rack. Slightly press down with your hands the inside to make room to place the filling. Reserve.
Make the Apple Filling:
- Melt butter in a large skillet over medium-low heat. Add apples, 1/2 cup of sugar, 2 tablespoons of flour, cinnamon, and the nutmeg; mix to combine. Bring to a simmer stirring occasionally; cook until the apples are crisp-tender, about 8 minutes. Remove from heat and allow to cool uncovered at room temperature for 30 minutes. You can make filling ahead of time if you prefer.
Make the Cheese Filling:
- Beat with an electric mixer on medium speed the cream cheese, 1/2 cup of sugar, 3 tablespoons of flour, and vanilla until smooth.
Assemble:
- Carefully spread cream cheese mixture over baked pastry. Spoon apple mixture over cream cheese mixture. Drizzle with salted caramel sauce.
- On a lightly floured surface, unfold the remaining pastry sheet. With a sharp knife or a pizza cutter, cut the pastry sheet into 5 equal size strips. Then, cut them in half. You will end up with 10 strips. Weave a lattice pattern over the filling with the pastry strips (see notes below). Trim any excess pastry. Lightly press the edges of the top pastry to the edges of the bottom pastry.
- Lightly brush pastry with milk. Sprinkle coarse sugar over pastry.
- Bake for 35 to 40 minutes or until pastry is slightly puffed and golden brown. Cool on a wire rack. Serve slightly warm.
- Choose a high-quality pastry dough like puff pastry or Danish pastry dough. These dough types create the flaky, buttery layers that are characteristic of a good Danish pastry.
- Use a mix of tart and sweet apples like Granny Smith and Fuji for a balanced flavor.
- When working with pastry dough, keep it cold to maintain its flakiness. If the dough becomes too warm and soft, it can be challenging to handle. Work quickly and refrigerate the dough as needed during the process. I like to make the apple filling first and let it cool slightly before adding it on top of the pastry.
- Allow the apple Danishes to cool slightly before serving. This allows the flavors to meld together and prevents burning your mouth on a hot filling.
Nutrition
This recipe was originally published in October 2014. The recipe remains the same, but more notes, tips, photos, and information were added to the post in October 2023 to make it as helpful as possible!
