

After more than 12 years of egg-free baking, these Eggless Vanilla Cupcakes have become a reader favorite for good reason. They’re light, fluffy, and perfectly sweet — made with simple pantry staples and no tricky steps. They freeze beautifully, adapt easily for dairy- or gluten-free needs, and are the kind of treat that brings smiles at birthdays, school parties, or anytime you just want a cupcake.
Oriana’s Thoughts On The Recipe
Classic vanilla cupcakes never go out of style, and this eggless version is one of the recipes closest to my heart. These Eggless Vanilla Cupcakes are soft, fluffy, and full of buttery sweetness—the kind of treat that makes any birthday, school party, family gathering, or even just a “because I need a cupcake” day extra special.
When our daughter Victoria was first diagnosed with food allergies, I set out on a mission to recreate all the desserts she couldn’t safely enjoy. Over the years, I’ve tested and perfected hundreds of egg-free recipes, but these vanilla cupcakes have remained in our family’s top ten favorites. They’re simple, reliable, and loved by kids and grown-ups alike.
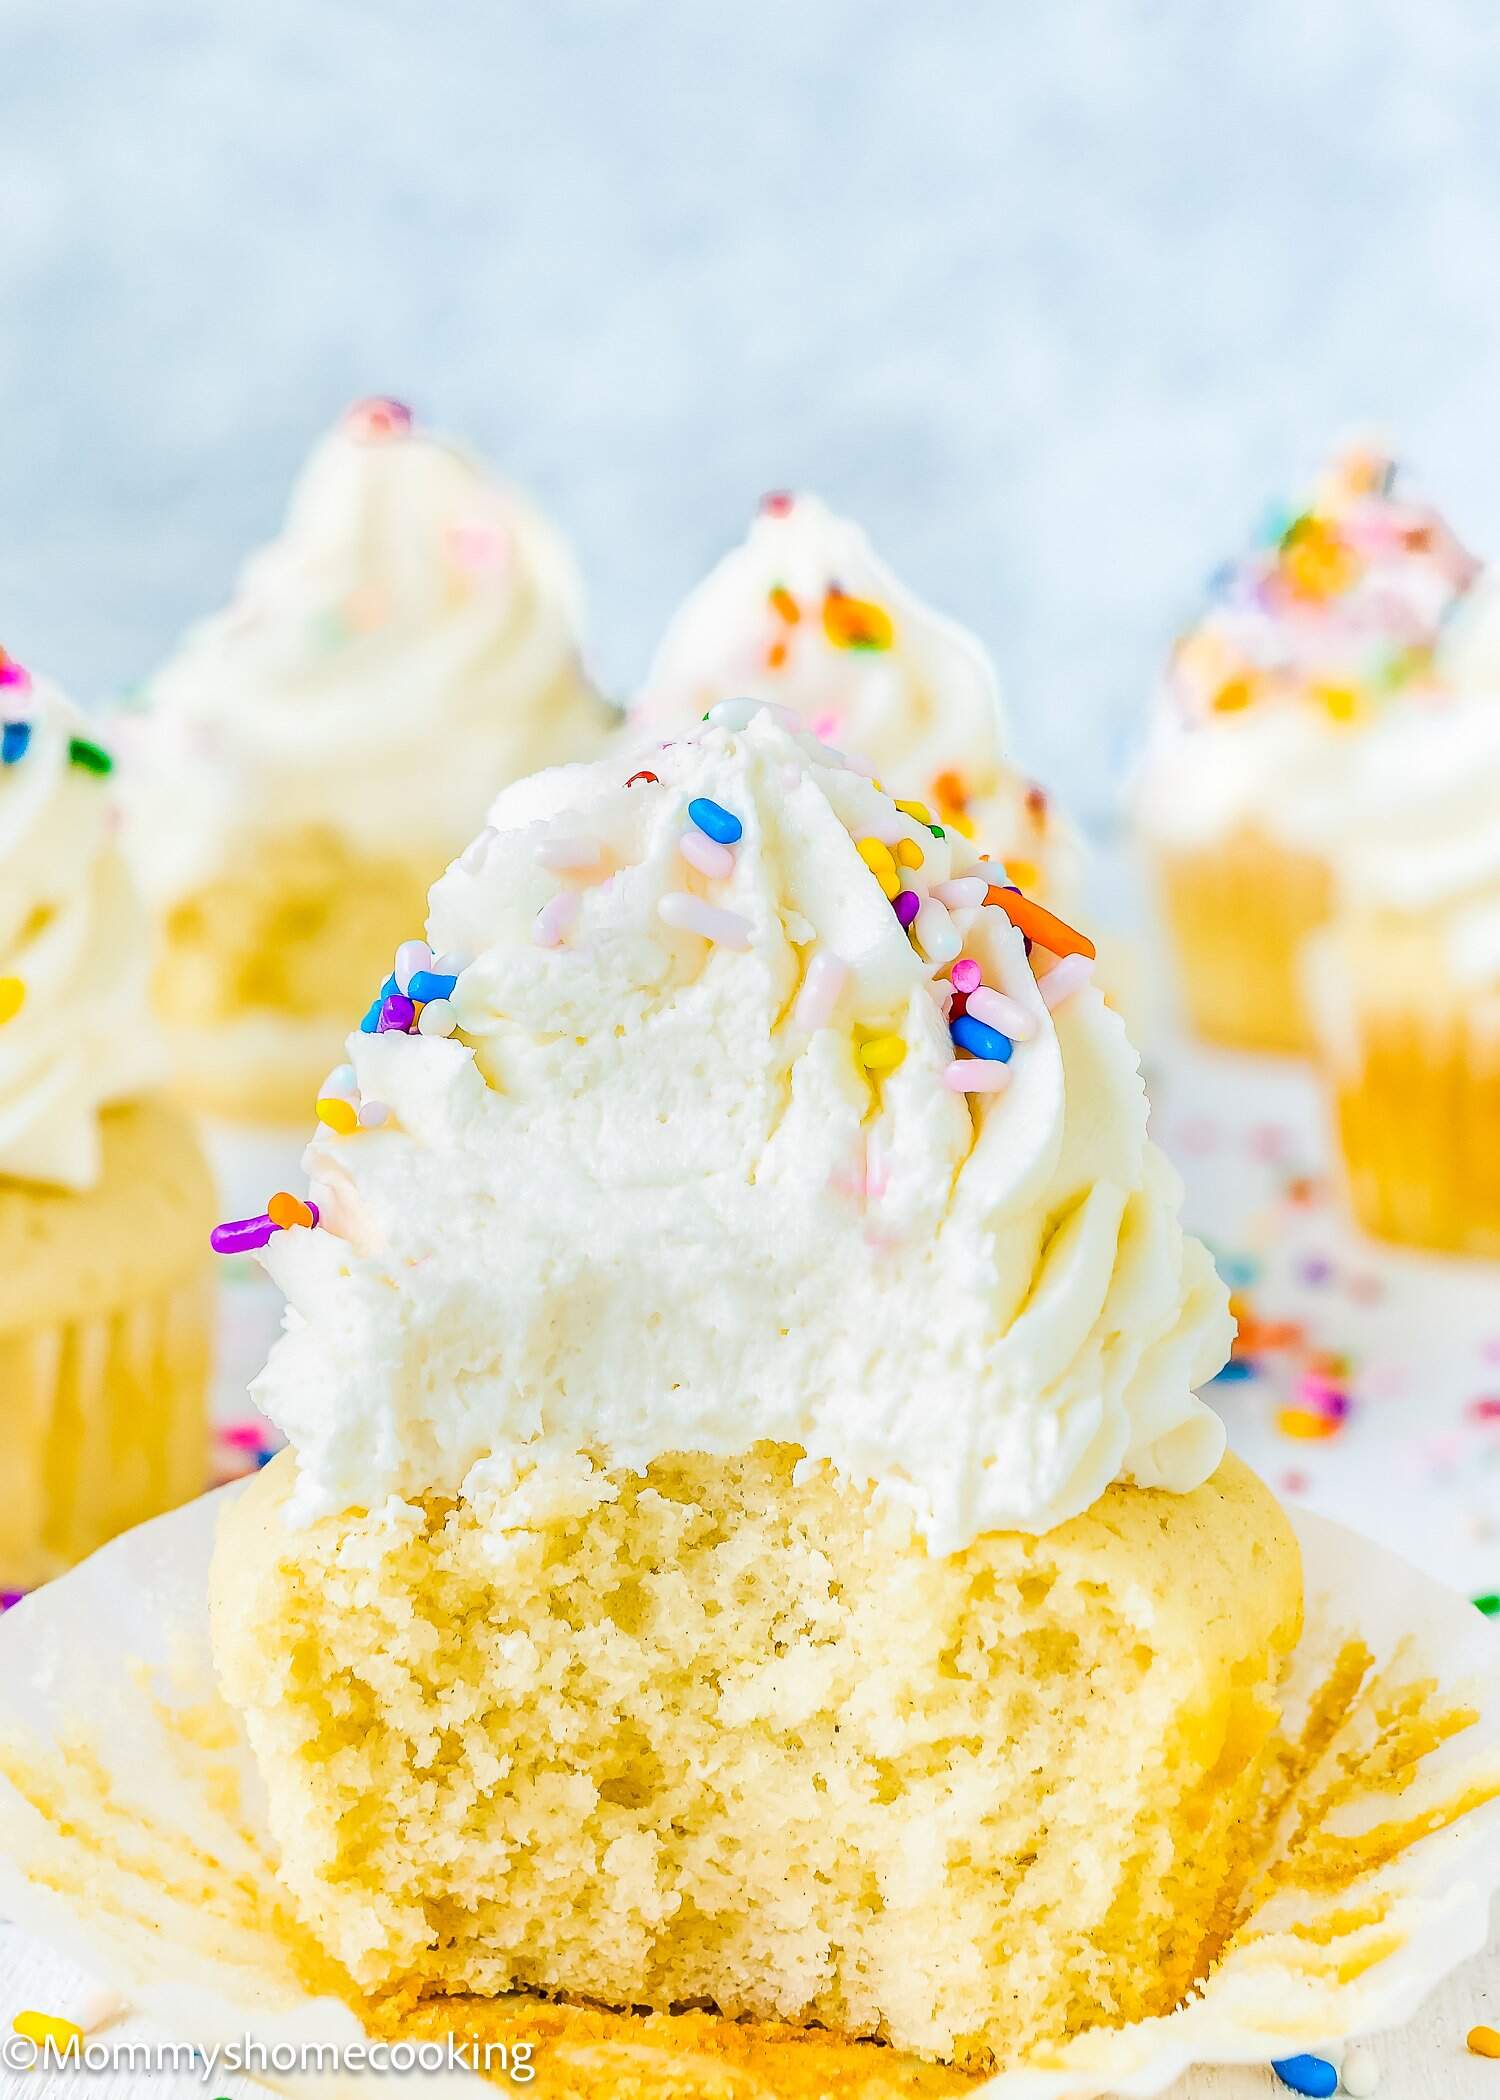
The best part? You don’t need anything fancy to whip them up. With a handful of pantry staples and just a few minutes of mixing, you’ll have perfect cupcakes ready for frosting. I topped mine with homemade vanilla buttercream, but honestly, they’re a blank canvas—pair them with chocolate frosting, cream cheese frosting, strawberry frosting, or whatever flavor you’re craving.
What I Love About This Recipe

Ingredients Notes & Substitutions
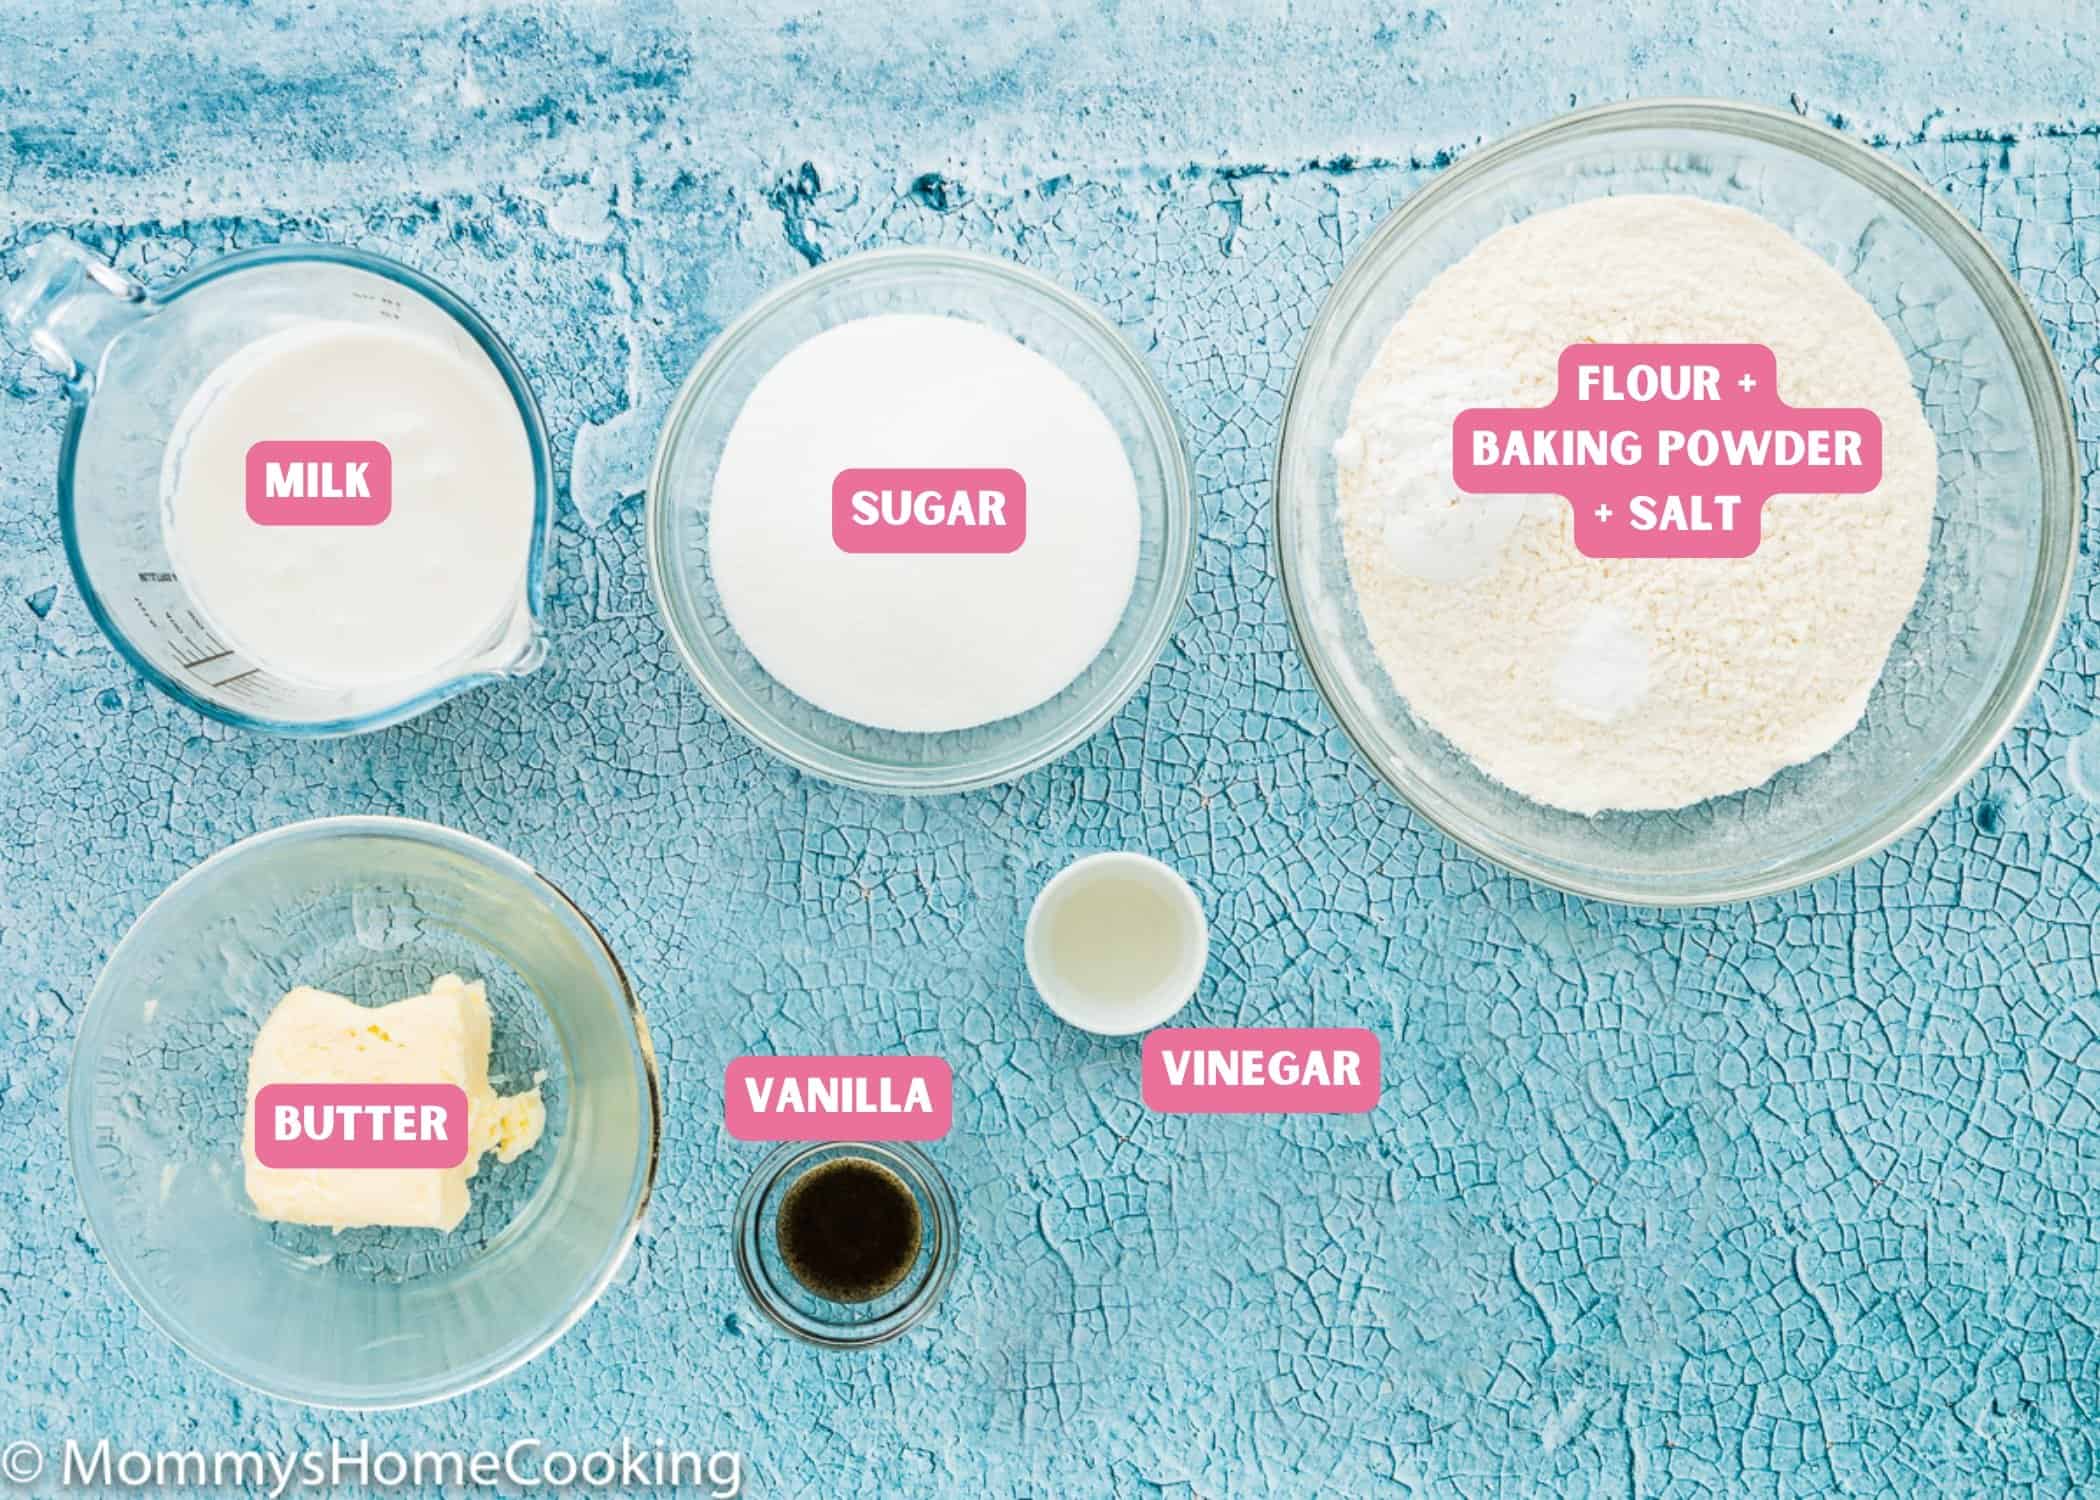
Amounts are included in the printable recipe below (scroll down). You’ll need:
- Sugar – Regular white sugar, also known as caster sugar.
- Butter: You can also use salted butter if that is what you have handy. In that case, skip the salt called for in the recipe.
- Vanilla extract: For optimal flavor, reach for pure vanilla instead of imitation. Even better, try homemade vanilla extract!
- All-purpose flour – You can substitute all-purpose flour for self-rising flour. In that case, omit the baking powder and salt called for in the recipe.
- Baking Powder: Make sure it’s not expired.
- Salt: I prefer kosher or sea salt. If you only have table salt handy, I recommend reducing the amount to half.
- Milk: For baking, I like to use whole milk. However, you can use any milk you have handy.
- Apple cider vinegar: You can also use white vinegar.
Food Allergy Swaps
This recipe is naturally egg, nut, peanut, soy, and sesame-free, making it suitable for most dietary needs. However, always check labels for hidden allergens.
- Dairy-Free: To make this recipe dairy-free, you can easily swap out the dairy ingredients for non-dairy alternatives.
- Butter: Substitute butter with dairy-free butter substitutes. Miyoko’s Creamery Organic Vegan Butter and Earth Balance Vegan Buttery Sticks are my favorite butter substitutes for baking.
- Milk: You can use your favorite non-dairy milk, like soy or oat milk.
- Gluten-Free: Use a gluten-free, all-purpose flour blend. Look for a gluten-free flour blend specifically formulated for baking, as it will have the right combination of flours and starches to mimic the texture of wheat flour. My favorite is Better Batter Original Blend. I also like Doves Farm Freee Gluten-Free All-Purpose Flour, but this blend does not contain xanthan gum, so you need to add 1/4 teaspoon of xanthan gum per cup (140 g) of gluten-free flour blend.
Step-by-Step Recipe Photo Tutorial
Detailed instructions are included in the printable recipe below (scroll down).
Step 1 — Prepare Everything
Preheat the oven to 350º F (180º C). Line the cupcake pans with liners. Measure all the ingredients.
Step 2 – Combine Dry Ingredients
Combine flour, baking powder, and salt in a bowl.

Step 3 — Mix Milk and Vinegar
Combine milk and vinegar in a small bowl.

Step 4 — Cream the Butter
In a large bowl, beat the sugar and butter until creamy and pale. Add vanilla and mix to combine.

Step 5 – Combine Wet and Dry Ingredients
Add the flour alternately with the milk mixture, beginning and ending with the flour mixture; beat until smooth.

Step 6 — Bake
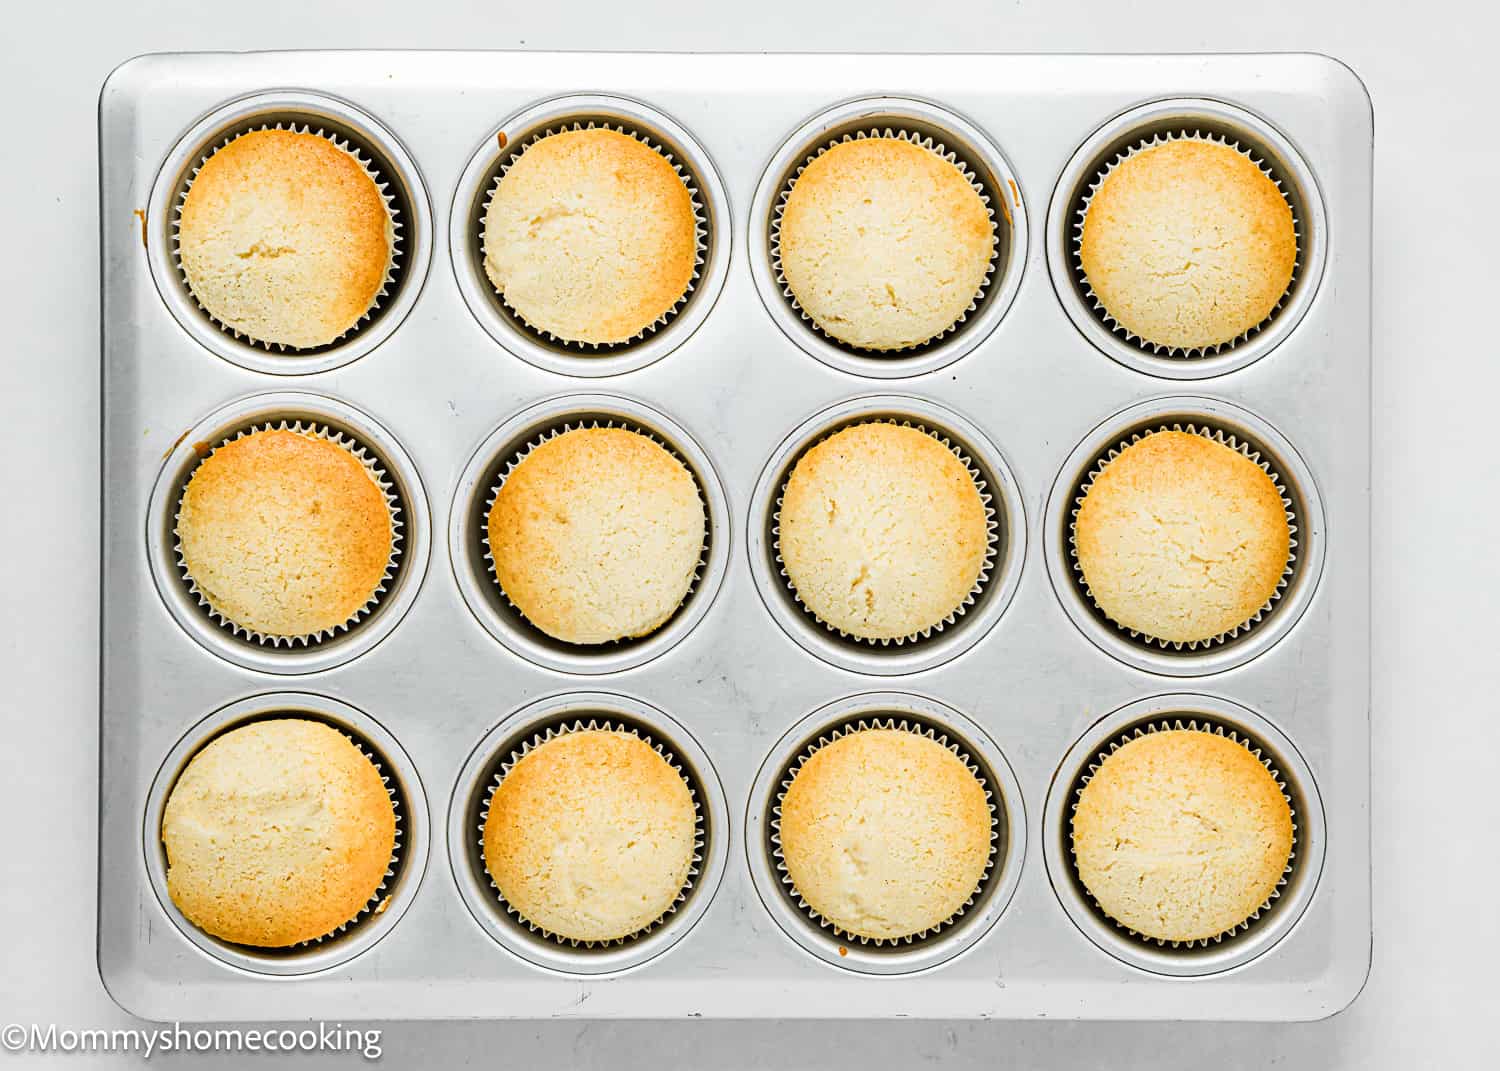
Divide batter evenly among liners, about three-quarters full each. Bake for 18 to 22 minutes, or until a toothpick inserted in the center comes out clean.
IMPORTANT: these cupcakes won’t brown as the cupcakes made with eggs, so when you see the top set (after 15 min), check the cupcakes for doneness with the toothpick test.
Step 7 — Frost and Enjoy
Let them cool in the pan for a couple of minutes, then remove. Allow cooling completely before frosting.
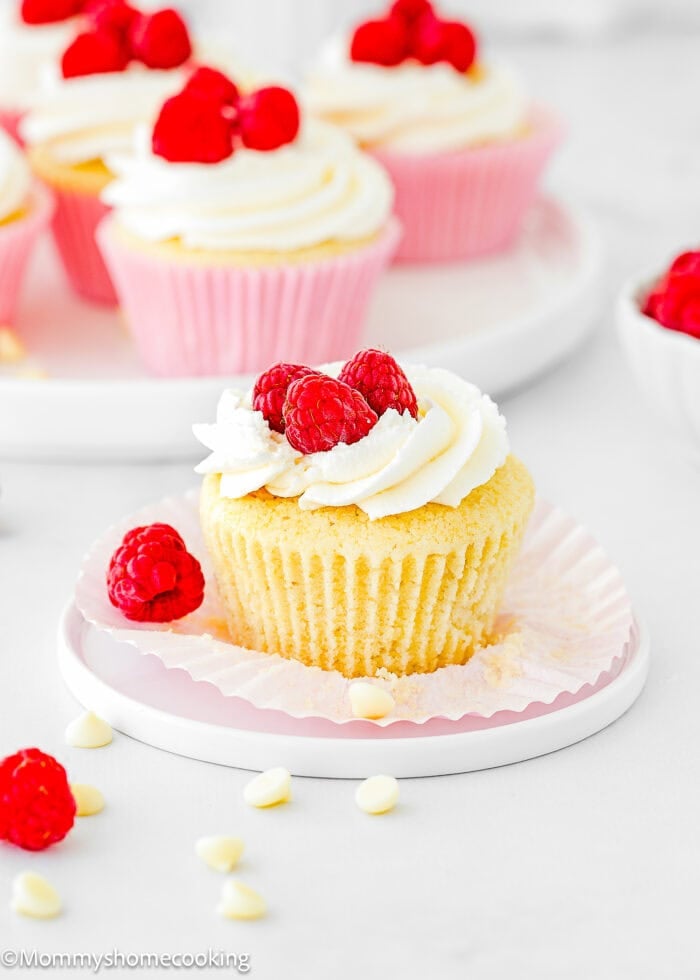
Frosting Ideas for Eggless Cupcakes
- Easy Vanilla Buttercream Frosting
- Favorite Cream Cheese Frosting That Isn’t Runny!
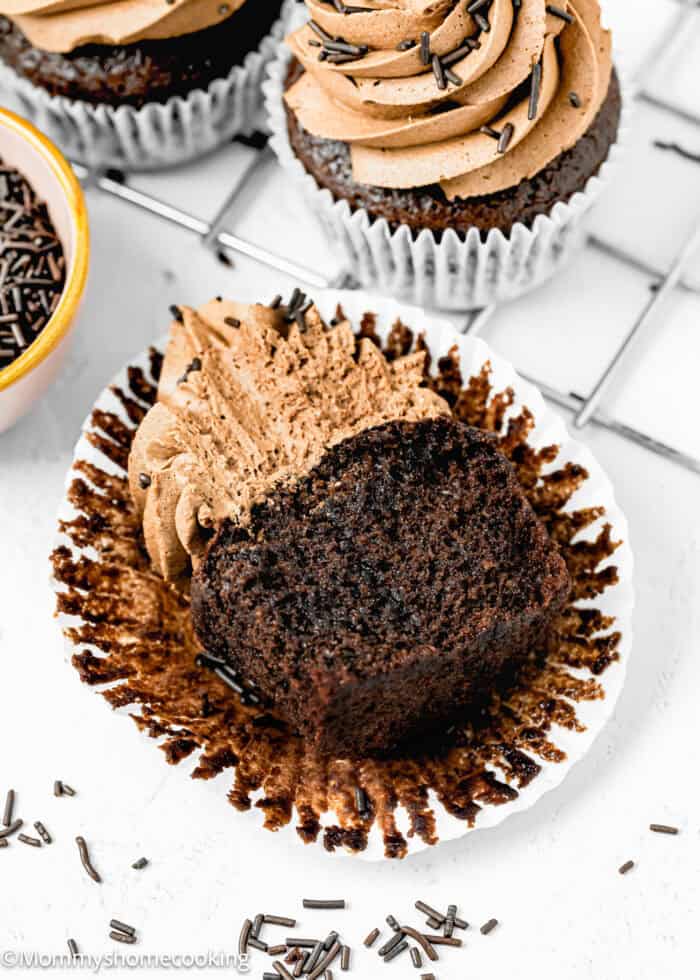
- Easy Chocolate Frosting
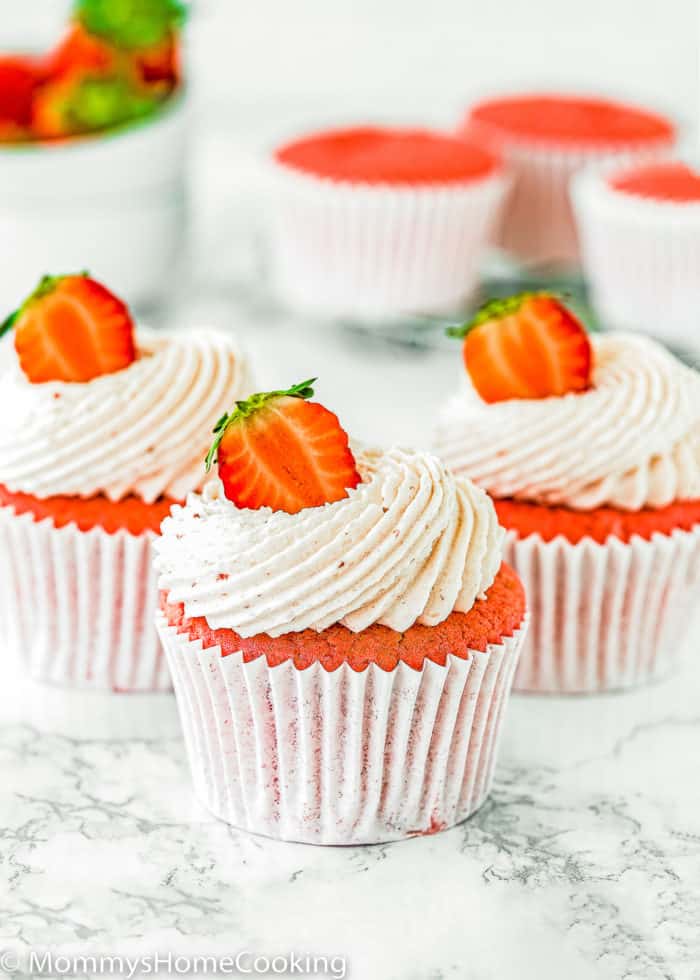
- Strawberry Buttercream
- Coconut Frosting
- Eggless Meringue
Eggless Cupcakes Baking Tips
Measure the ingredients correctly. I highly recommend using a kitchen scale.
Preheat the oven at least 15 minutes before you get started to give it plenty of time to reach the ideal recipe temperature.
The right temperature butter is KEY! Softened butter should easily bend without breaking and will give slightly when pressed. If your finger sinks into the butter and looks oily, it’s way too soft.
Don’t overmix the batter. Instead, mix just until you’ve evenly distributed the ingredients throughout the batter.
Fill the cupcake liners 3/4 full. If you overfill the liners, they won’t rise properly.
Bake the cupcakes as soon as the batter is ready.
Don’t open the oven door until the cupcakes have set. Leave the oven closed until the minimum time stated in the recipe.
Know your oven! Every oven is different, so baking times always have to be taken with a grain of salt. Oven thermostats can be wildly off, and that will all affect baking time, so keep an eye on yours. The cupcakes are done when a toothpick inserted in the center comes out clean.
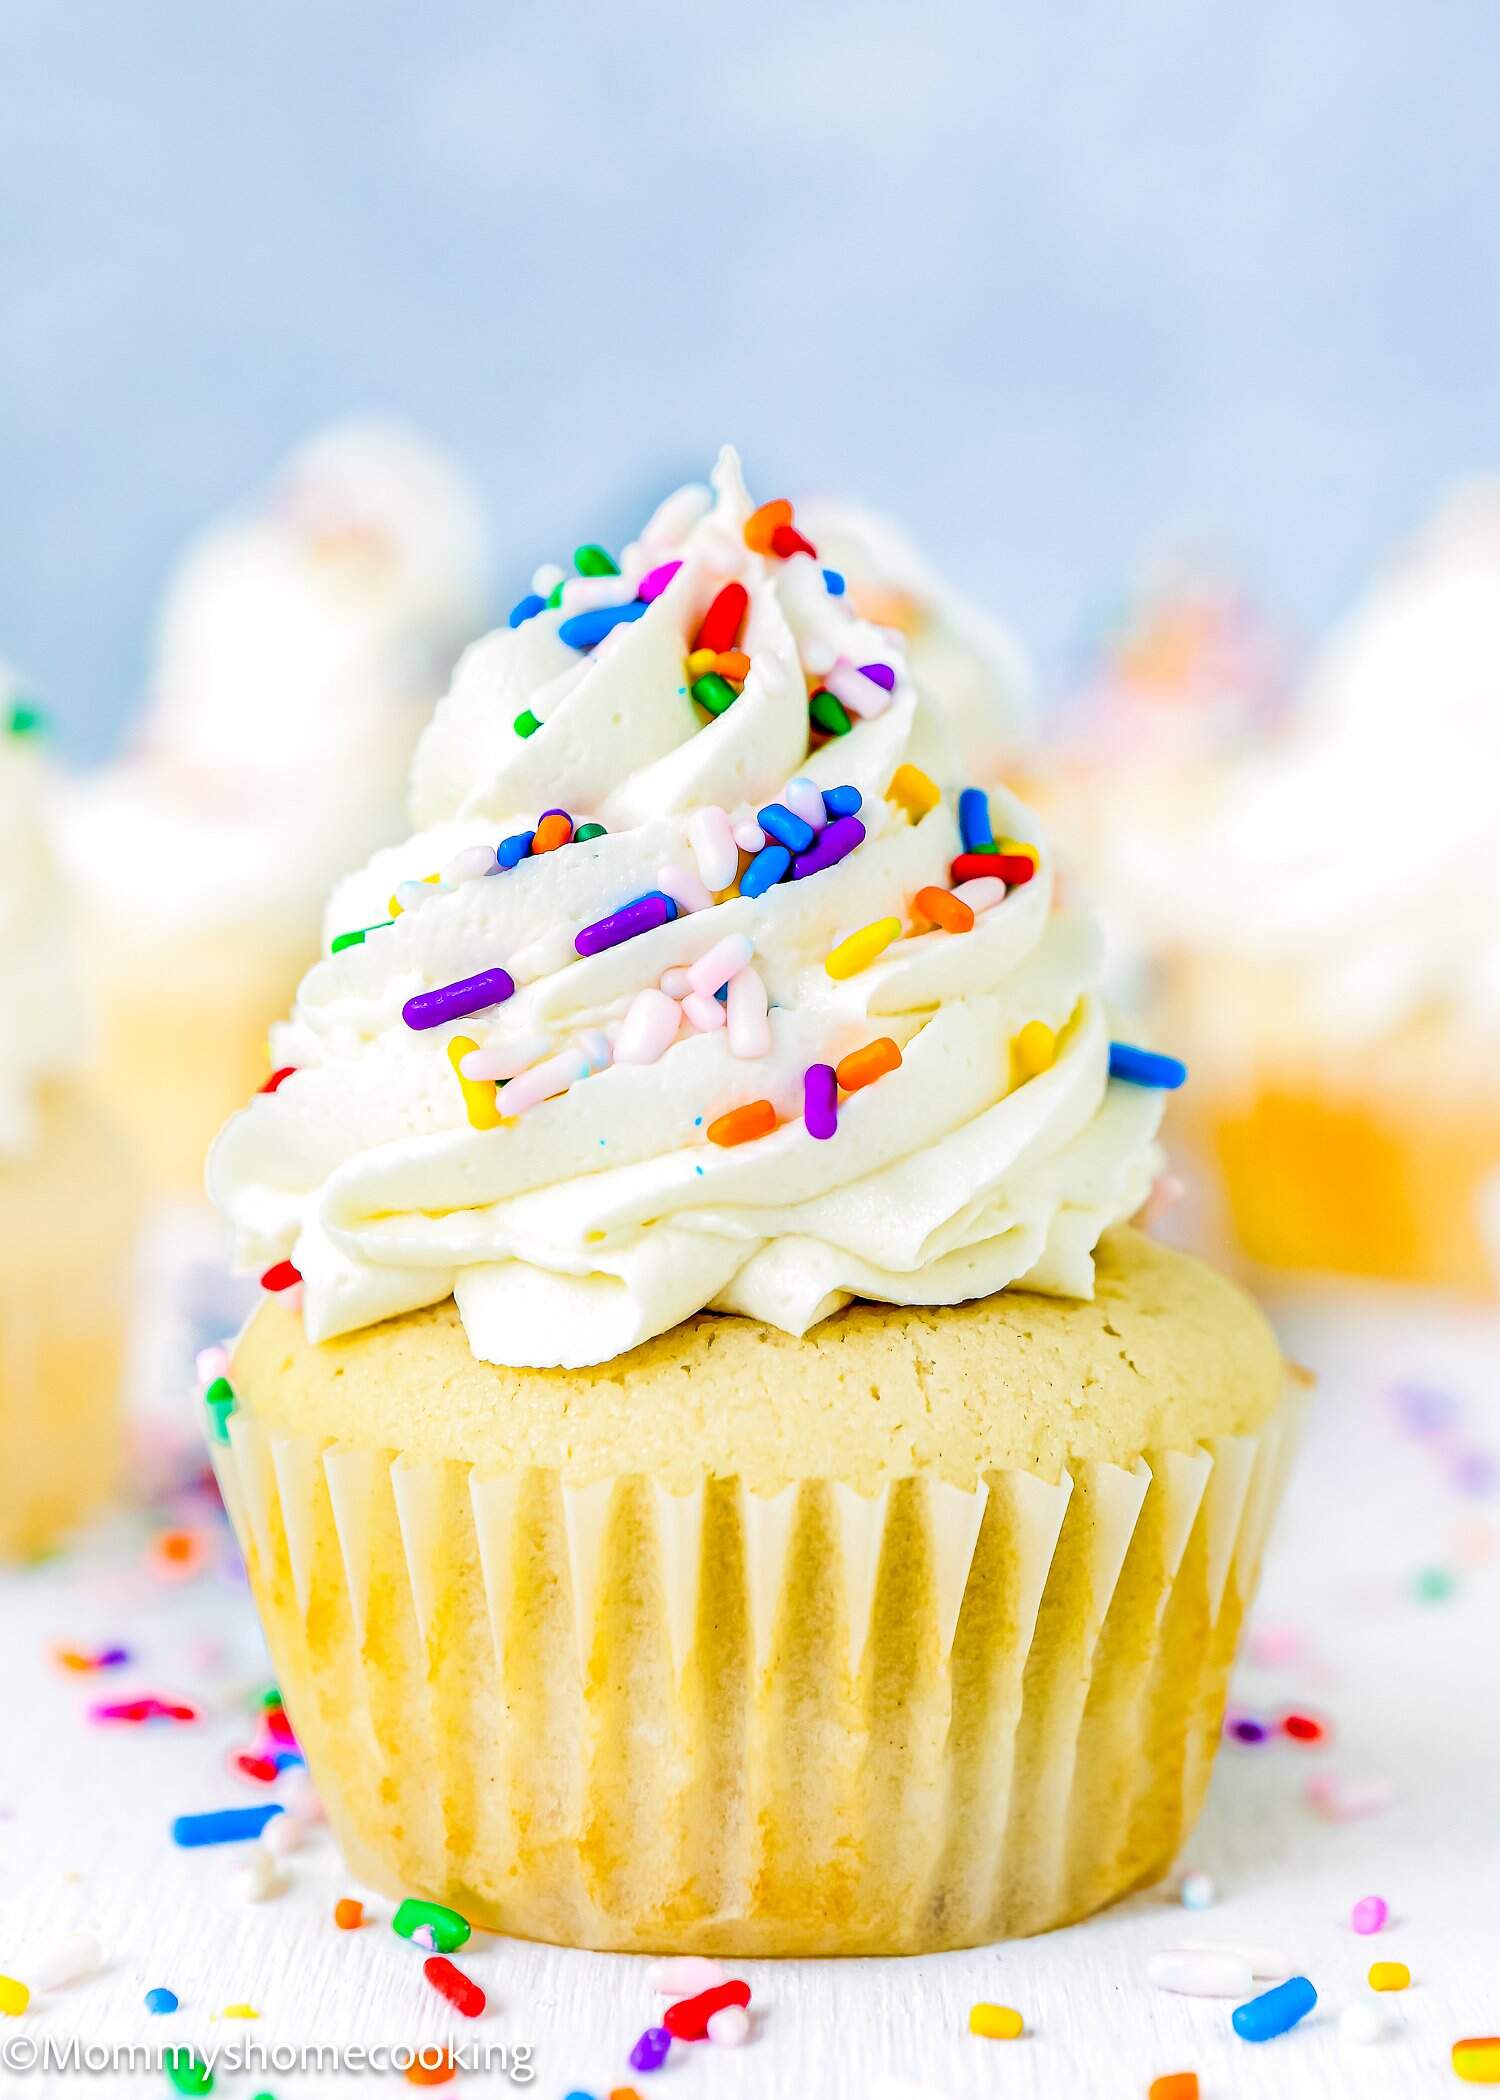
Storing & Freezing Instructions
These egg-free vanilla cupcakes always disappear so quickly that you might not even have leftovers to pack up! But if you do have leftovers or you’re planning on making these ahead of time for a party, here’s how to do so.
Store
The eggless cupcakes will stay fresh in an airtight container at room temperature for up to 3 days as long as they’re unfrosted. If frosted, store it in the fridge well covered for up to 5 days.
Freeze
Allow the cupcakes to cool COMPLETELY before wrapping them tightly in plastic wrap. Place individually wrapped cupcakes in plastic double-zipper quart freezer bags.
To defrost, unwrap cupcakes and bring them to room temperature. Frost to your liking.
My #1 Tip to Handle Egg Allergy in Special Celebrations
Everyone knows that there is no celebration without dessert! These situations are very difficult to handle when you have a kid with food allergies. So this is what I do:
When my daughter has to attend a birthday or school party, I defrost a cupcake, add some icing and lots of sprinkles, of course, and pack it in this super convenient and cute cupcake container. This way, she won’t be left out during celebrations and get to enjoy an eggless cupcake.
Recipe Card
Eggless Vanilla Cupcakes


Video
Equipment
Important
• For best results, I highly recommend using a kitchen scale to measure the ingredients.
Ingredients
- 2 cups (280 g) all-purpose flour (see notes)
- 2 1/2 teaspoons (10 g) baking powder
- 1/4 teaspoon (2 g) salt
- 1 cup (240 ml) whole milk (you can substitute with any plant milk you like)
- 1 tablespoon (15 ml) apple cider vinegar
- 1 cup (200 g) granulated sugar
- 1/2 cup (115 g) unsalted butter, softened
- 1 teaspoon (5 ml) pure vanilla extract
Instructions
- Preheat oven to 350º F (180º C). Line a cupcake pan with cupcake liners.
- Sift the flour, baking powder, and salt together into a large bowl.
- In a mixing bowl or liquid measuring cup, combine milk and vinegar.
- Using an electric hand mixer or a stand mixer, beat butter until creamy and pale on medium-high speed, about 3 – 4 minutes. Add the sugar and beat on high speed for 2 minutes until creamed and pale, scraping down the sides and up the bottom of the bowl with a rubber spatula as needed. Then add vanilla; continue beating to combine, about 1 minute.
- Turn the mixer to low and add the flour mixture in three batches, alternating with milk mixture, beginning and ending with the flour mixture; beat until just combined, about 30 – 45 seconds. Do not overmix.
- Divide batter evenly among liners, filling only 3/4 full each.
- Bake for 18 – 22 minutes, or until a toothpick inserted in the center comes out clean. Cool the pan on wire racks for 5 minutes, then remove cupcakes from the pan, place back on the cooling rack, and cool to room temperature before frosting, about 1 hour. IMPORTANT: These cupcakes won't brown as much as the cupcakes made with eggs, so when you see the top set (after 15 min), check the cupcakes for doneness with the toothpick test.
- Let the cupcakes cool COMPLETELY.
- Wrap cupcakes tightly in plastic wrap.
- Place individually wrapped cupcakes in plastic double-zipper quart freezer bags.
- To defrost, unwrap cupcakes and bring them to room temperature. Frost to your liking.
- Use your favorite dairy-free milk. Make sure to use an unflavored, unsweetened variety of non-dairy milk. In my opinion, soy and oat milk have the best consistency and very neutral flavors.
- Use the same amount of vegan butter substitute. For baking, my fave dairy-free butter substitutes are Miyoko’s Creamery Organic Vegan Butter and Earth Balance Vegan Buttery Sticks.
- Measure the ingredients correctly. I highly recommend using a kitchen scale.
- Preheat the oven at least 15 minutes before you get started to give it plenty of time to reach the ideal recipe temperature.
- The right temperature butter is KEY! Softened butter should easily bend without breaking and will give slightly when pressed. If your finger sinks into the butter and looks oily, it’s way too soft.
- Don’t overmix the batter. Instead, mix just until you’ve evenly distributed the ingredients throughout the batter.
- Fill the cupcake liners 3/4 full. If you overfill the liners, they won’t rise properly.
- Bake the cupcakes as soon as the batter is ready.
- Don’t open the oven door until the cupcakes have set. Leave the oven closed until the minimum time stated in the recipe.
- Know your oven! Every oven is different, so baking times always have to be taken with a grain of salt. Oven thermostats can be wildly off, and that will all affect baking time, so keep an eye on yours. The cupcakes are done when a toothpick inserted in the center comes out clean.
Nutrition
Nutrition information provided is an estimate and will vary based on cooking methods and brands of ingredients used.
Eggless Baking Frequently Asked Questions
You’ve asked, and I’ve answered! Read on for a handful of answers to the most frequently asked questions about eggless baking.
The recipe was originally posted in August 2017; the post content was edited to add more helpful information, and no changes were made to the recipe in August 2025.








This is the best eggless cupcake recipe! I make them for my son to eat when we go to birthday parties because he is allergic to eggs. I frost them with your vanilla buttercream recipe and they are a huge hit with our whole family! Thank you!
Hello Marissa! I love that these have become your son’s birthday party cupcakes! I used to do that too when my daughter was younger. I know how much it means to him to have a treat that feels just as special as everyone else’s, and the vanilla buttercream is such a good match. Thank you for letting me know they’re a hit with the whole family! xo
Hi! Could I use any type of vinegar if I do not have apple cider vinegar?
Hi Melanie! Yes, plain white vinegar works perfectly here, same amount as the apple cider vinegar. I’d just skip strong-flavored ones like balsamic or red wine vinegar, since you want the vinegar to do its job without anyone tasting it in a vanilla cupcake. Happy baking!
Hi! I’m excited to try this recipe. I want to make them mini cupcakes, do you know how long they would have to bake for?
Hello Miranda! Great question! I haven’t baked this exact recipe as mini cupcakes, but at the same 350ºF they usually take about 10 to 14 minutes. Start checking at 10 minutes with a toothpick in the center, and remember these don’t brown as much as cupcakes made with eggs, so don’t wait for a golden top. Fill the mini liners about three-quarters full, just like the regular size. I hope they’re a hit!
Delicious, reliable recipe. I only needed half a dozen so I made half the recipe using a hand mixer and got seven cupcakes. I got nicely domed full looking cupcakes. I tasted one and felt it needed a little more vanilla or vanilla bean paste, but perfect for anyone who needs egg-free cupcakes!
Hello CB! I totally hear you on the vanilla — some of us just want that flavor loud and proud. A splash of vanilla bean paste next time would be a great way to punch it up. So glad they turned out great for you!
Hello, can I substitute buttermilk for the milk and vinegar combination?
Hello Gretchen! Yes, absolutely. The milk-and-vinegar combo in this recipe is really just a quick homemade buttermilk, so real buttermilk swaps in beautifully — use the same 1 cup called for in the recipe. If anything, it’ll give you an even richer, slightly tangier crumb. Happy baking!
Thank you so much for your hard work in creating all of these beautiful egg free recipes! Two of my four kids have egg allergies and one has a gluten allergy. These are our go to birthday party cupcakes!! I usually make them in mini sizes and decrease the cook time. They turn out perfectly every time!!! Like you, I also keep all few frozen to defrost for others’ parties so my kids never feel left out. We also love your chocolate cupcakes, and of course your buttercream recipes! Thank you again!!!
Hello Alex! This just made my whole morning. Knowing these are your go-to birthday cupcakes — and that your kids never have to feel left out, even at other people’s parties — is exactly why I do this. I love the mini trick too; that little freezer stash is such a lifesaver. Thank you for baking along with us and for such a sweet note. Give those four kiddos a hug from me!