
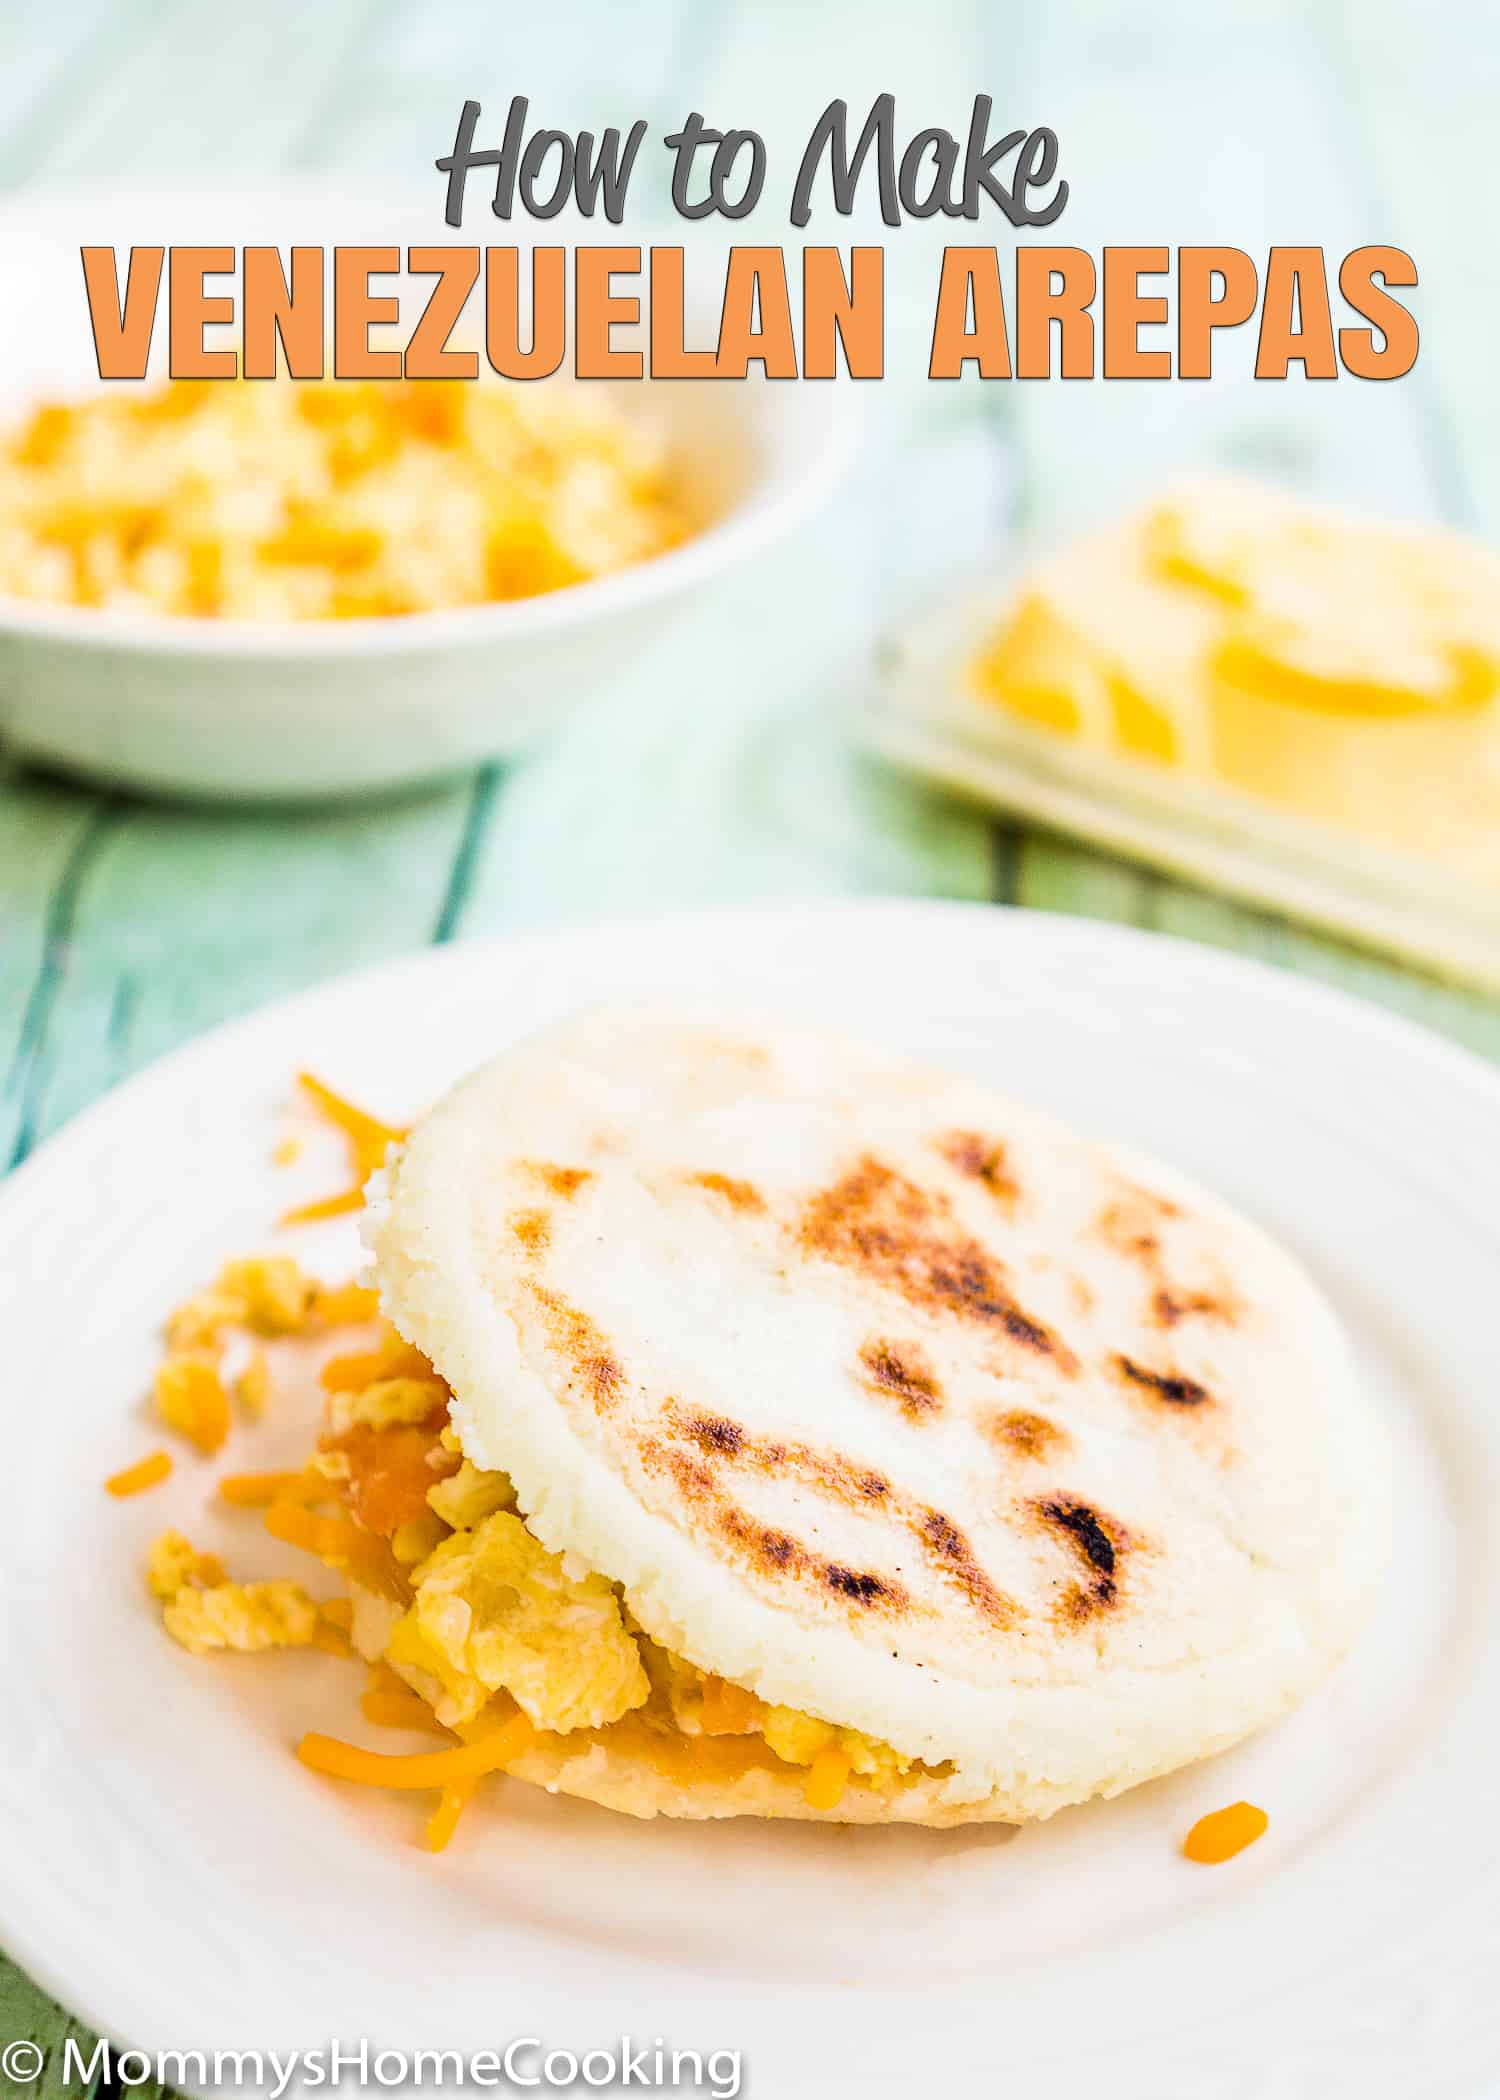
Learn How to Make Venezuelan Arepas and open a world of delicious food possibilities for your family!! These flat patties made of maize flour are sooo yummy and so easy to make. Fill them with chicken salad, tuna, pulled pork, beef, cheese, ham, eggs… the possibilities are endless.
Arepas are the ultimate comfort food for me!
The arepa is a flat, dish-shaped, unleavened patty made of maize flour which can be grilled, fried, or even boil. Depending on what kind of meal {breakfast, lunch, or dinner} can be filled in many ways. If serving for breakfast, my favorite filling is scrambled eggs, or cheese, and ham. Now, if they are to be served for lunch or dinner, they go perfectly with chicken, beef, pork, tuna, or beans.
Back home the arepa is the most popular food. They’re served in every home, and I would dare to say that almost every day. They would be the equivalent of biscuits in the U.S., the tortillas in Mexico, or the baguettes in France.
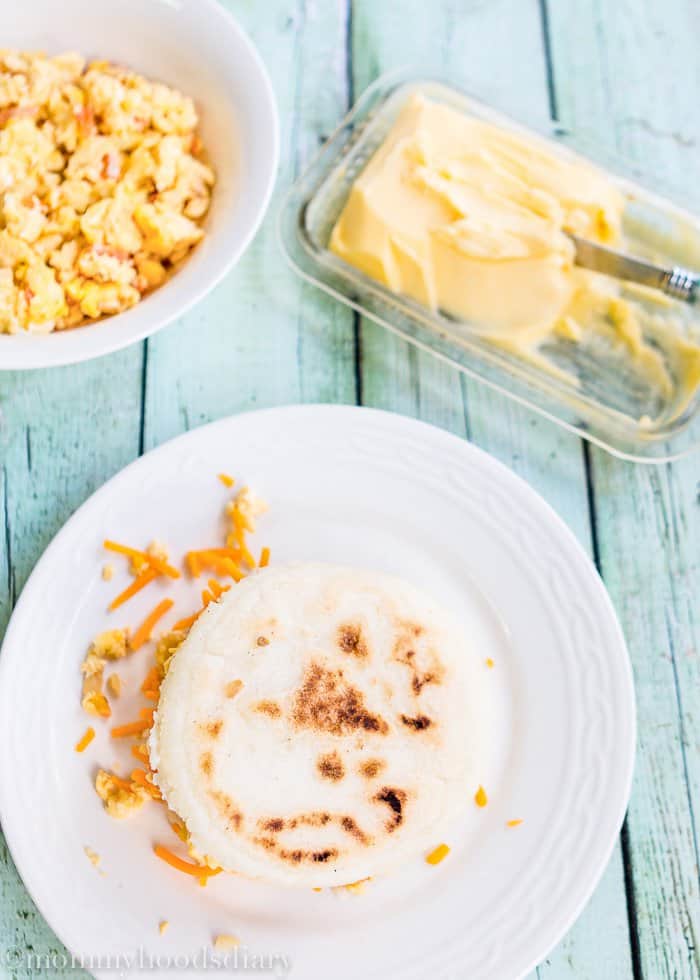
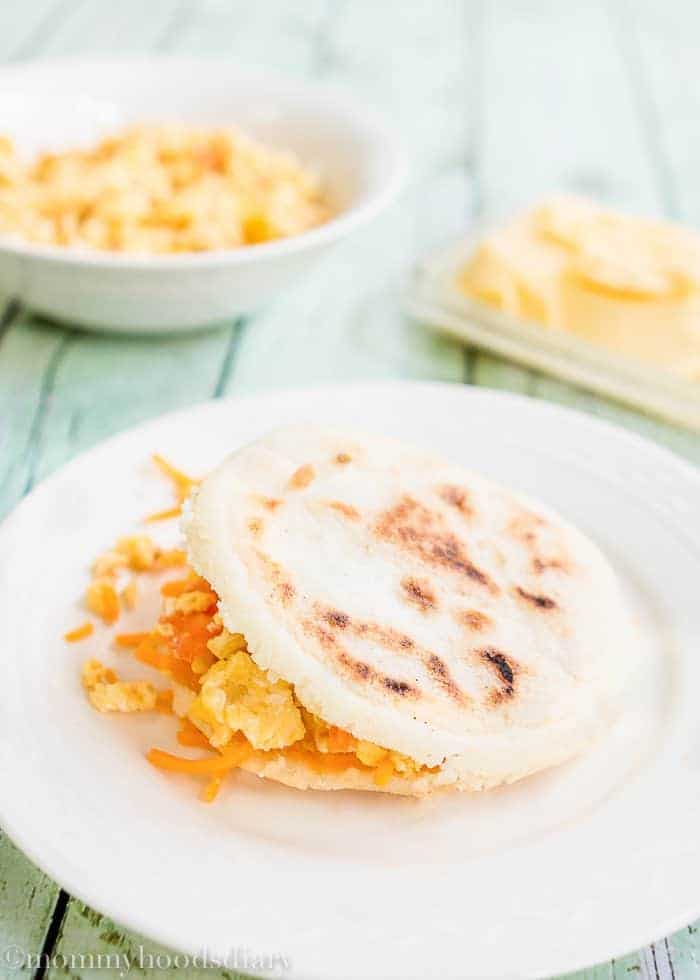
This one was a delicious breakfast. I filled them with “Perico”(scrambled eggs with tomatoes and onion) and cheese.
My picky eater 1 (a.k.a .Matthew) LOVES them. That makes this mommy very happy because I somehow feel that I’m transmitting my traditions and culture to him. My picky eater 2 (a.k.a Vicky) is another story. She is not so thrilled about it. I guess I’ll keep trying. It’s not possible that a daughter of mine does not eat Arepa, LOL.
If you like to experiment in the kitchen, I strongly recommend you try this recipe.
They’re easy and quick to prepare.
Arepas can be filled with almost anything, so they are the perfect option to use leftovers. For example: if you have some chicken, just shredded it, fill the arepa, add some cheese, wrapped in foil… Bam! The perfect school lunch for the kids the next day.
For more Venezuelan recipes, click here.

How to Make Venezuelan Arepas
Ingredients
- 2 cups water
- 1 teaspoon salt
- 1 1/2 cups Harina P.A.N (pre-cooked white maize meal)
- 1 teaspoon corn, canola or vegetable oil
Instructions
- Wash your hands
- In a medium bowl add water and salt. Mix until the salt is dissolved.
- Slowly add the harina P.A.N. Mix with your hands, making circular movements and breaking with your finger the lumps that may form. Let rest 5 minutes to thicken.
- Preheat a non-stick 11-inch square griddle over medium heat. If you don't have a griddle you can use a skillet instead.
- After 5 minutes add the oil to the dough and work it in with your hands for 2 minutes. The dough should be firm enough holds its shape without cracking when molded. If it is too soft add a little more of harina P.A.N; if too hard add a little more water.
- Divide the dough into 4 equal portions. Form 4 balls. Then flatten them gently until they’re about 1/2-inch thick discs.
- Place the discs on the preheated griddle and cook the arepas for 5-7 minutes on each side or until lightly golden brown.
- Split each arepa in half and fill them with whatever you like: cheese, ham, egg, beans, chicken, beef, tuna … your creativity is the limit!
- Serve hot.
- Let the arepas cool completely.
- Wrap it up in aluminum foil, then with plastic wrap.
- Place inside a large freezer Ziploc bag and freeze for up to 3 months.
Nutrition
Love what you see? Subscribe to Mommy’s Home Cooking so you’ll never miss a recipe! Follow along on Instagram, Pinterest, and Facebook for more fun!
