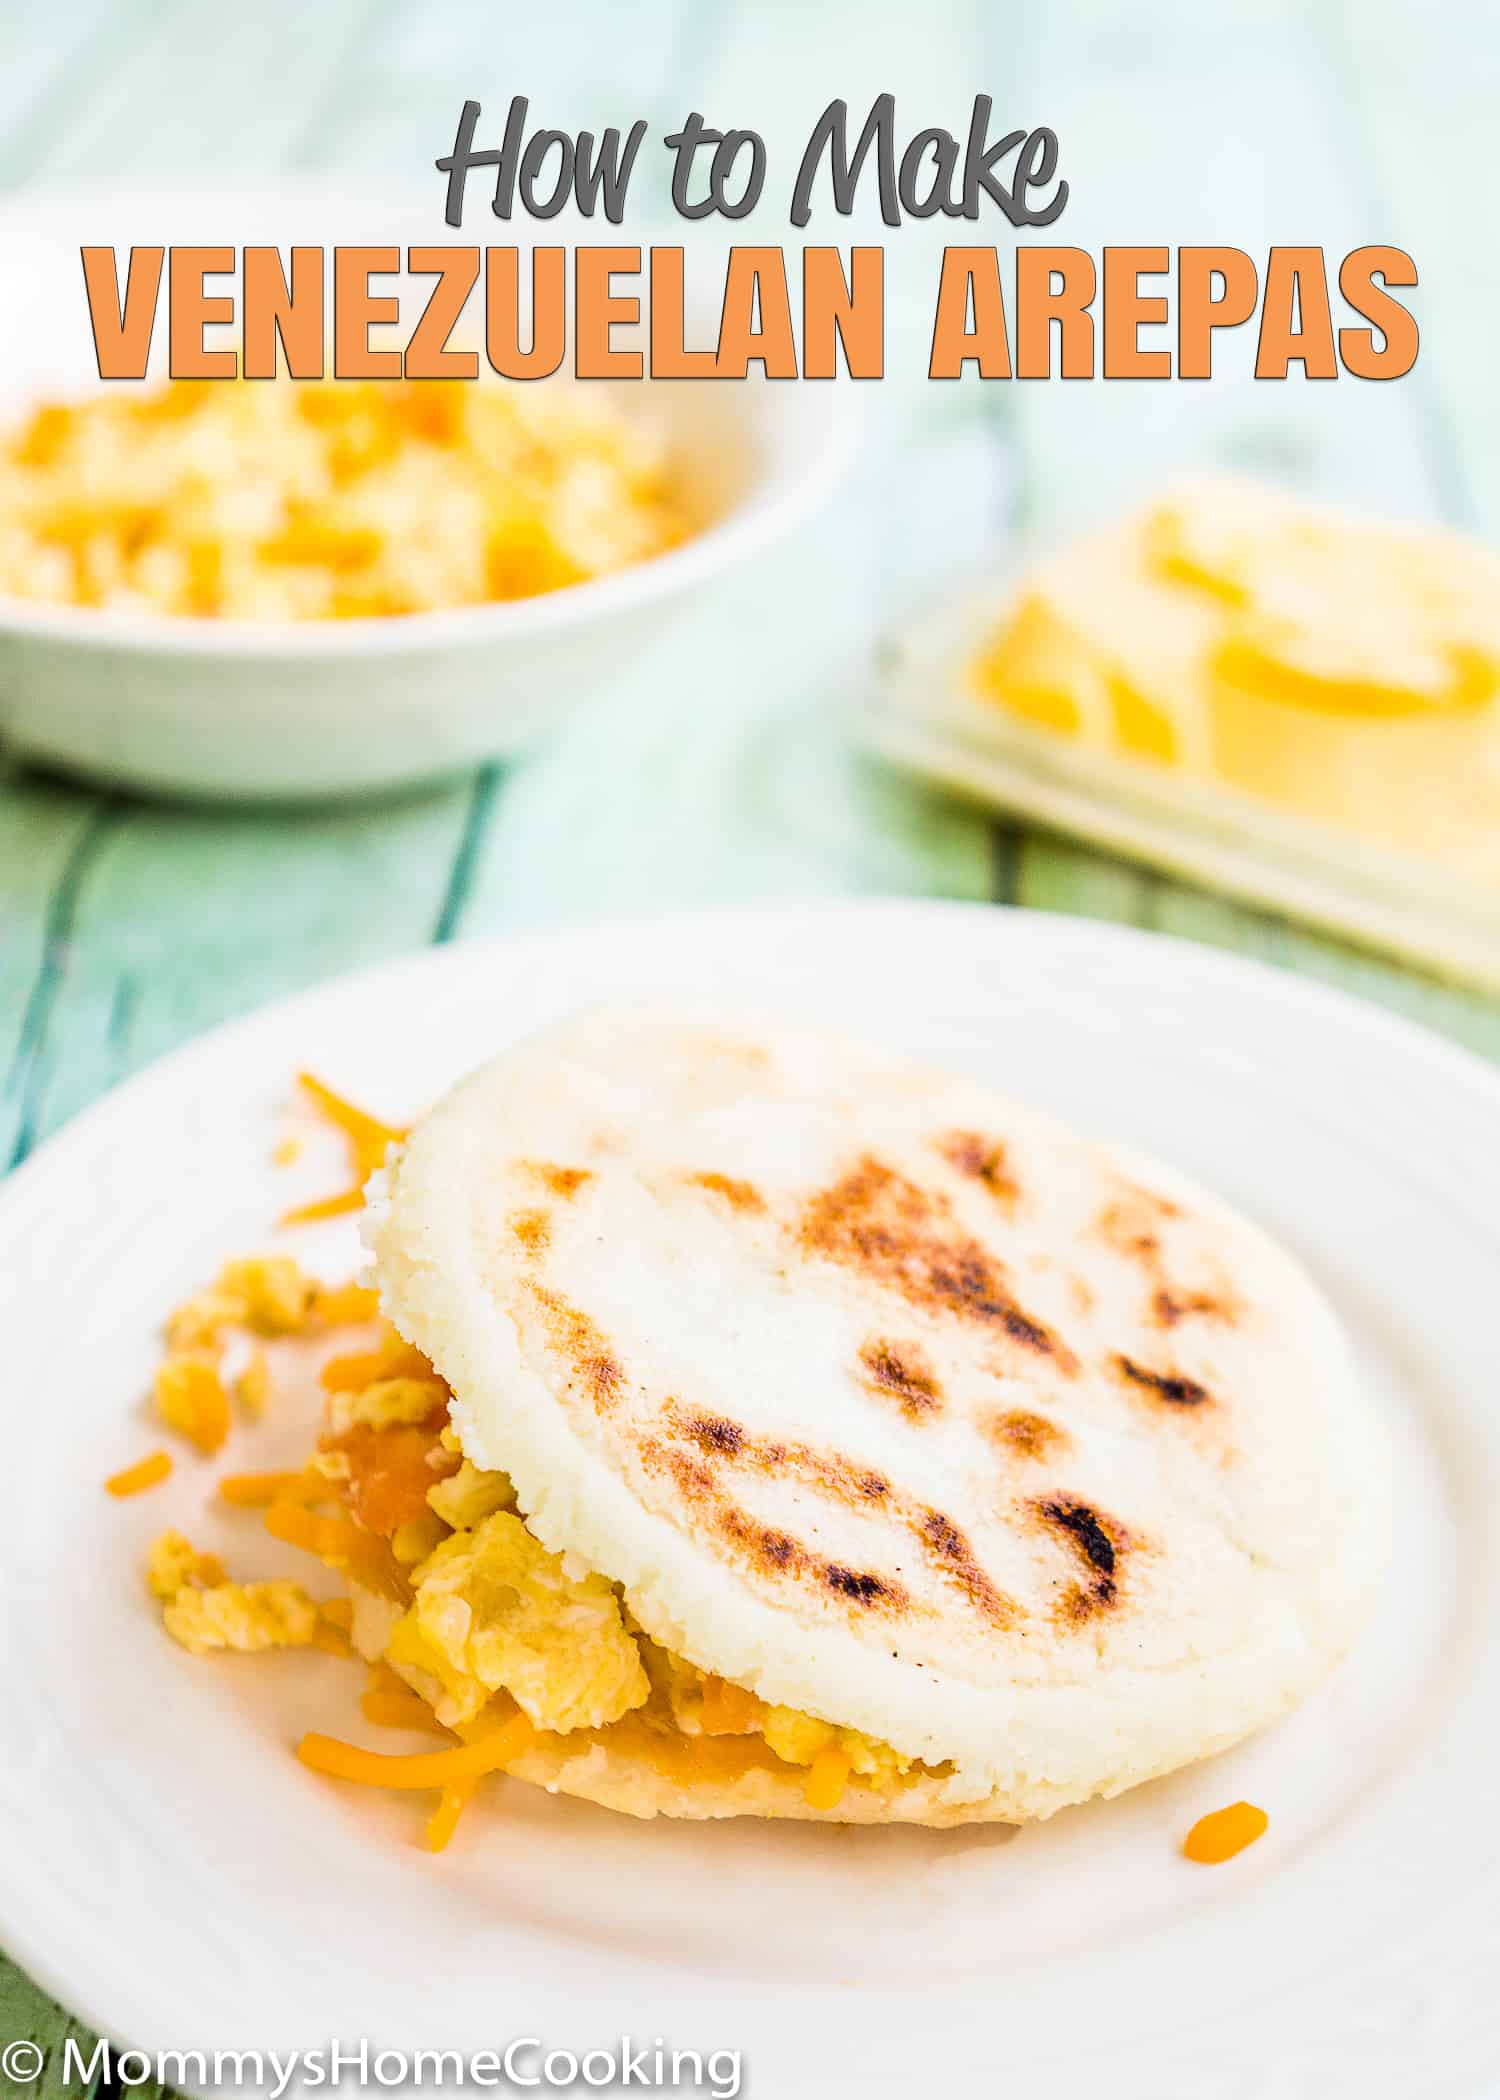


If you’ve been searching for an authentic Venezuelan arepas recipe — one that actually tastes like the real thing — you’ve found it. Arepas venezolanas are made with just three ingredients: Harina P.A.N. white corn flour, water, and salt. I grew up making them in Venezuela, and this is exactly how my family has always made them. They’re naturally gluten-free, egg-free, and endlessly versatile — fill them with cheese for breakfast, shredded beef or chicken for dinner, or anything in between. Once you learn how to make Venezuelan arepas, they’ll become a staple at your table too.

Oriana’s Thoughts On The Recipe

Arepas are the ultimate comfort food for me. Back home in Venezuela, arepas are on the table almost every single day — they’re the equivalent of biscuits in the South, tortillas in Mexico, or baguettes in France. I remember waking up to the smell of arepas on the budare every morning, and that smell still takes me straight back to my grandmother’s kitchen.
I’ll be honest with you: my son Matthew loves them. He’s been eating arepas since he was tiny, and every time I make them, I feel like I’m passing a little piece of Venezuela down to him. My daughter Vicky is still coming around — but I’m not giving up. A daughter of mine will eat arepas, LOL.
Here’s why you’re going to love this recipe:
I’ve made this recipe a thousand times, and it never fails. If you’re new to arepas, don’t be intimidated — once you feel the dough right, you’ll know exactly what you’re doing. Make them once, and you’ll be hooked.

What are Venezuelan Arepas?
An arepa is a round, flat patty made from pre-cooked white corn flour (Harina P.A.N.), water, and salt. It can be grilled, baked, or fried — and it’s filled, not topped. That’s one of the key things that makes Venezuelan arepas different from their Colombian cousins: Venezuelan arepas are thick, slightly puffy, and always sliced open and stuffed with a filling. Colombian arepas tend to be thinner, lower in fat, and are typically topped rather than filled.
Arepas have pre-Columbian origins — indigenous peoples across what is now Venezuela, Colombia, and Panama were grinding corn and cooking flat patties long before Spanish colonization. In Venezuela, the arepa is more than a food — it’s a daily ritual, a cultural symbol, and a comfort that every Venezuelan carries with them no matter where they go in the world.
Ingredients — What You Need And Why
Harina P.A.N. White Corn Flour: This is the non-negotiable ingredient. Harina P.A.N. is a pre-cooked, finely ground white corn flour — and it is NOT the same as regular cornmeal, masa harina, or polenta. Those will not work for arepas. Look for the yellow bag with “Harina P.A.N.” on the label, specifically the white corn variety. You’ll find it in the Latin foods aisle of most large grocery stores, at any Latin market, or online. GOYA’s Masarepa is an acceptable alternative if you can’t find P.A.N.
Water: It helps the flour hydrate evenly and makes the dough easier to knead.
Salt: Just a pinch. Arepas have a mild, slightly sweet corn flavor — you don’t want to over-salt them.
Oil (optional): Some Venezuelan families add a small drizzle of oil to the dough for extra richness and a slightly crispier exterior. I always add oil.

Can I use a different flour?
No — Harina P.A.N. (or another pre-cooked corn flour like GOYA Masarepa) is the only flour that works for authentic arepas. Regular cornmeal, masa harina, or polenta will give you a completely different texture, and the arepas won’t hold together.
Can I make them without salt?
You can reduce it, but a pinch of salt really does make a difference in flavor. I wouldn’t skip it entirely.
Can I add cheese to the dough?
Absolutely — this is actually a popular variation. Add a handful of crumbled queso blanco or shredded white cheese directly into the dough before shaping. Delicious.

Oriana’s Tips
- Use lukewarm water — not cold. Cold water makes the dough stiff and harder to work with. Lukewarm water hydrates the flour more evenly and gives you a softer, more pliable dough.
- The dough should feel like soft Play-Doh. That’s the best way I can describe the right consistency. It should be smooth, not sticky, and not crack when you press it into a disk. If it’s sticking to your hands, add a tiny bit more flour. If it’s cracking at the edges, add a few drops of water.
- Let the dough rest for 5 -10 minutes. After mixing, let the dough sit for 5-10 minutes before shaping. This gives the flour time to fully absorb the water and makes the dough much easier to handle.
- Don’t make them too thin. Venezuelan arepas should be about ¾ to 1 inch thick — thick enough to open and fill. If they’re too thin, they won’t puff up, and you won’t be able to stuff them.
- Use the tap test to know when they’re done. When an arepa is fully cooked, it will sound hollow when you tap it on top — like tapping an empty box. That’s your cue. Don’t go by color alone.
- Finish them in the oven for the best texture. After cooking on the griddle, I transfer my arepas to a 350°F oven for 10 minutes. This makes them beautifully crispy on the outside while keeping the inside soft and steamy. This is how most Venezuelan households do it.
Traditional Arepa Fillings — What To Put Inside
One of the best things about arepas is that you can fill them with almost anything. Here are the most traditional Venezuelan fillings:
- Reina Pepiada — Shredded chicken mixed with avocado and mayo. This is the queen of all arepa fillings and probably the most famous Venezuelan arepa in the world.
- Carne Mechada — Venezuelan shredded beef, seasoned with sofrito, tomatoes, and onion. Rich, savory, and absolutely perfect inside an arepa.
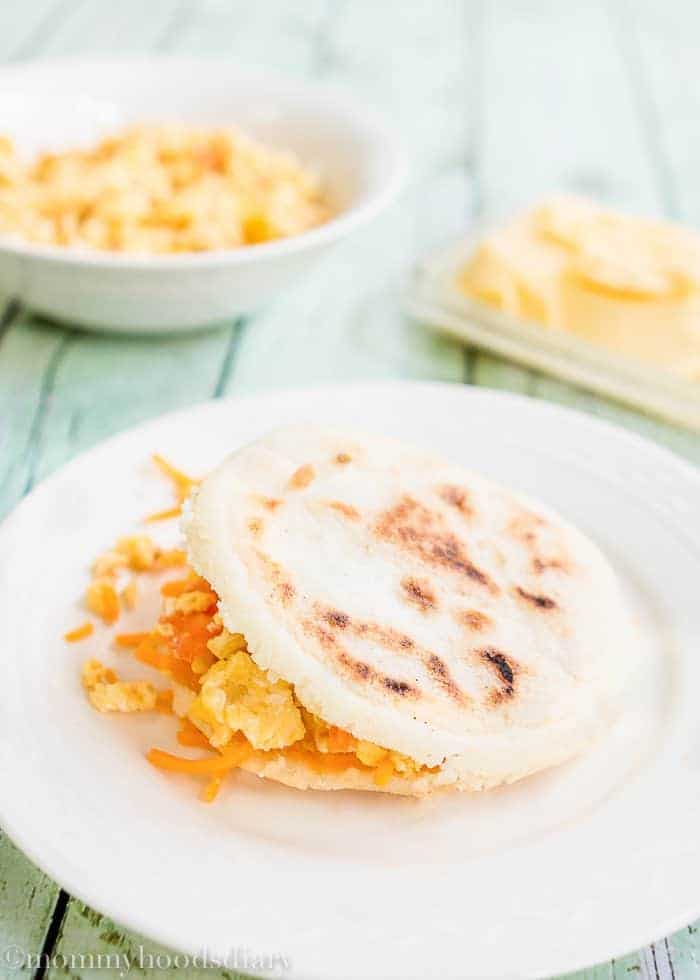
- Perico — Scrambled eggs with tomatoes and onions. This is the classic Venezuelan breakfast arepa — the one I grew up eating every morning.
- Dominó — Black beans and white cheese. Simple, satisfying, and a staple in Venezuelan homes.
- Butter + Ham + Cheese — The simplest and most comforting option. Don’t underestimate it.
- Pollo Guisado — Shredded chicken stewed with tomatoes and onion. A lighter alternative to carne mechada.
- Tuna with Mayo — Quick, easy, and always delicious. A great option for using what you have.
- Leftovers — This is the genius of arepas. Have some leftover pulled pork or black beans? Fill an arepa with it. Done.
How To Store, Freeze & Reheat Arepas
- Room Temperature: Store cooked arepas in an airtight container for up to 2 days.
- Refrigerator: Store in an airtight container for up to 5 days.
- Freezer: Wrap each arepa individually in plastic wrap, then place in a zip-lock freezer bag. Freeze for up to 3 months. This is my favorite option — I always make a double batch and freeze half for busy weeknights.
- To Reheat: You have three great options:
- Air Fryer, Toaster, or toaster oven: My favorite — gives you that crispy exterior back in minutes.
- Oven: 350°F for 10–12 minutes, directly on the rack.
- Dry skillet: Medium heat, 3–4 minutes per side. No oil needed.
Do not microwave arepas if you can avoid it — they turn soft and lose that wonderful crispy crust.
Frequently Asked Questions


Authentic Venezuelan Arepas Recipe
Important
• For best results, I highly recommend using a kitchen scale to measure the ingredients.
Ingredients
salt
- 2 cups (480g) warm water
- 1 teaspoon (6g) salt
- 1½ cups (180g) Harina P.A.N. (pre-cooked white corn flour)
- 1 teaspoon (4g) corn, canola, or vegetable oil (optional but recommended)
Instructions
- Wash your hands.
- In a medium bowl, add the warm water and salt. Mix until the salt is dissolved.
- Slowly add the Harina P.A.N., mixing with your hands and breaking up any lumps that form. Let the dough rest for 5 minutes to thicken.
- Preheat a non-stick griddle or skillet over medium heat.
- Add the oil to the dough and knead for 2 minutes. The dough should feel smooth and firm — like soft Play-Doh. If it’s too soft, add a little more Harina P.A.N. If it’s too stiff, add a few drops of water.
- Divide the dough into 4 equal portions. Roll each into a ball, then flatten gently into a disc about ½ inch thick.
- Place the discs on the preheated griddle and cook for 5–7 minutes per side, until lightly golden brown. The arepa is done when it sounds hollow when tapped on top.
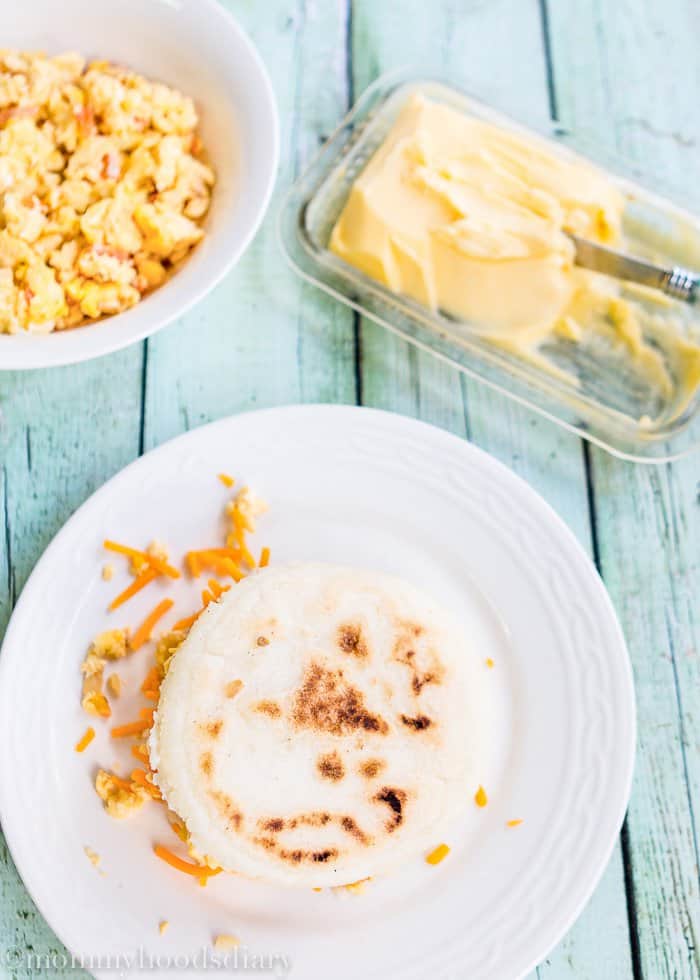
- Serve hot. Split each arepa open, add a little bit of butter, and fill with whatever you love — cheese, ham, eggs, beans, chicken, beef, tuna. The possibilities are endless.
- Air Fryer, Toaster, or toaster oven: My favorite — gives you that crispy exterior back in minutes.
- Oven: 350°F for 10–12 minutes, directly on the rack.
- Dry skillet: Medium heat, 3–4 minutes per side. No oil needed.
- Use lukewarm water — not cold. Cold water makes the dough stiff and harder to work with. Lukewarm water hydrates the flour more evenly and gives you a softer, more pliable dough.
- The dough should feel like soft Play-Doh. That’s the best way I can describe the right consistency. It should be smooth, not sticky, and not crack when you press it into a disk. If it’s sticking to your hands, add a tiny bit more flour. If it’s cracking at the edges, add a few drops of water.
- Let the dough rest for 5 -10 minutes. After mixing, let the dough sit for 5-10 minutes before shaping. This gives the flour time to fully absorb the water and makes the dough much easier to handle.
- Don’t make them too thin. Venezuelan arepas should be about ¾ to 1 inch thick — thick enough to open and fill. If they’re too thin, they won’t puff up, and you won’t be able to stuff them.
- Use the tap test to know when they’re done. When an arepa is fully cooked, it will sound hollow when you tap it on top — like tapping an empty box. That’s your cue. Don’t go by color alone.
- Finish them in the oven for the best texture. After cooking on the griddle, I transfer my arepas to a 350°F oven for 10 minutes. This makes them beautifully crispy on the outside while keeping the inside soft and steamy. This is how most Venezuelan households do it.
Nutrition
Nutrition information provided is an estimate and will vary based on cooking methods and brands of ingredients used.


My Grandma used to make these. I always wished I could have learned to make her regular dishes. Grandma didn’t keep recipes and she measured by her hands or eyes.
Thank you for the name and the recipe. I always thought they were gorditas. Until I found this recipe by chance. I’m going to make these as soon as possible! Ty so much.
Hello Mary! So glad you enjoyed this recipe. Thanks so much for trying my recipe and taking the time to come back and let me know!
Hello, I had arepas at a Venezuelan place in Denver, Colorado and looked for a recipe to make them, having enjoyed it so much. I just finished your recipe and they came out super. Taste and texture were like what I had eaten, have to work a little on the color, but shape and size were good. Thank you so much for this gluten free option in breads. I love it.
Going to try the empanadas next.
Hello Susan! I’m so glad you loved the arepas! Thank you for sharing your wonderful feedback.
thank you. I will be making arepas this weekend
Hello Jose! Thanks for your interest in my recipe. Please come back and let me know how you like it =)
Wow I made this and they came out so authentic!
Thanks!
Can you make colombian empanadas?
Hello Cyn! It sounds like you nailed it! Colombian and Venezuelan empanadas are very similar so you can check out my empanada recipe. Thanks so much for trying my recipe and taking the time to come back and let me know.
Hello, I am planning on making these tonight. Your recipe (I believe) doesn’t specify how many arepas it makes. You just say “4 servings” and to divide into balls. A lot of other recipes I’ve seen show that 1 serving is 2 arepas but I want to clarify- should this recipe yield 4 or 8 or another amount of arepas. (I know size can vary based on preference but I want to know how to adjust the 5-7 minute cooking time). Thanks!
Hello Jessica! In my recipe, 1 serving = 1 arepa. I usually divide the dough into 4 equal balls to make 4 arepas. of course, you can make them as big or as small as you want, it’s totally up to you. Thanks for your interest in my recipe. Please come back and let me know how you like it =)
Looks tasty and im about to make this sometime this week, i have a question, in fact 3 questions that i hope you will be able to answer which are all along the same lines. Firstly if i want to make a bigger arepa like a much wider one like the size of a bigger pizza base how much more should i be using (note im not trying to make pizza), do i simply multiply the amount im using several times and its easy as that?
Is the bread stable or does it break apart easily if you fold it over? Im thinking of making a kebab style pitta/naan with this so i can stuff meat and salad in it but dont know if the bread will break apart if you fold it over. I was thinking also to make 7-9 inch base then roll it over or stick a 7inch base on top of another 7 inch base to make a sort of “sandwich” of sorts.
Also are there any dangers in eating too much Arepa in one sitting, is it unhealthy to eat much of one sitting? Thanks for sharing this recipe and if it goes down a treat i will come back to leave a comment
Hello Jay! You can make the arepa as big as you want, it’s totally up to you. You can use the same amount of ingredients and use the dough to make only one big arepa, instead of several smalls. You won’t be able to fold or roll the arepas, just cut them open and fill them with whatever you choose. Eating too many arepas is as unhealthy as it’s eating too much bread or rice or pasta. It will depend on your eating habits. Thanks for your interest in my recipe. Please come back and let me know how you like it =)
Hello, thank you for the wonderful recipe! I have made them twice now and both times, they are gooey on the inside. Is that normal, and if not can you help me figure it out?
Once again, thank you for sharing your expertise. Ivy Jones
Hello Yvy! Yes, they are kind of gooey but not that much. Next time, after you cook them on the skillet you can bake them for 5-8 minutes at 325º F. This step is optional but helpful in case the arepa is undercook in the inside. Thanks for trying my recipe.
Thanks for sharing this recipe, I tried it at home and my first attempt itself was a success and I tried fillings with chicken and egg and it is so yummy. Hope to read more menus from your blog. Thanks Again.
Hello Ponsundaram! I’m so glad you enjoyed this recipe. Chicken is one of my fave fillings. Thank YOU so much for taking the time to come back and let me know!
I followed this recipe exactly, except I used yellow corn flour (all my international market had), and the mixture is very watery, far from thick enough to make into discs or balls. Am I doing something wrong?
Yes, you’re using the wrong kind of corn flour. You have to use masarepa or the recipe 1) won’t work and 2) won’t be an arepa. You made a soggy tortilla instead.
Hello Aaron! I think you might be using the wrong flour. This is the right one: https://amzn.to/2R5ZP7F It can be found in most grocery stores. Hope this helps! Take care.
Hi Oriana I’m Leah from Trinidad. I just made my first arepa. Thank you for this recipe. I filled mine with cheese and avocado. Question. Can I store unused mix in my fridge and use the next dat?
Hello Leah! Yes, the dough stays fresh for up to 3 days in the refrigerator. Make sure it is well covered. Thanks so much for trying my recipe and for taking the time to come back and let me know!
Really nice, thanks. I baked them in the oven for 10mins after frying which caused them to puff up really nicely.
Sounds like you nailed, Sonny! Thanks so much for your feedback and for trying my recipe.
I dont have any corn oil and its not something i use can i use rapeseed oil or vegetable or sunflower oil instead
Hello Maria! You can use vegetable or canola oil too. Thanks for your interest in my recipe. Please come back and let me know how you like it =)
My boyfriend is Venezolano and he has been telling me about arepas so I want to try to cook them. I am vegetarian and want to try making this with beans – do you have a suggestion of how to serve this for dinner with pinto or black beans to make it tasty? I have two semi picky kids too. Thanks!
Hello Emily! You’ll love arepas. This is my black beans recipe: https://mommyshomecooking.com/instant-pot-black-beans-with-chorizo/ Of course, skip the chorizo. if you are short of time you can use canned beans. Thanks for your interest in my recipe. Please come back and let me know how you like it =)
I’ve tried making these a million times. It never came out right. The proportions were always weird. Your recipe is perfect!! I now know the consistency it should be and don’t need the recipe anymore. Thank you!!!!
Hello Diana – Wow, what a compliment! I’m so glad you liked it and thank you so much for taking the time to come back and let me know!
Just came here to check for how long to cook in a electric skillet.. ???
I forgot how to make them. “I’m from Maracaibo”
Living in Georgia since 2005. ??
Hola Javier!! Hope you enjoyed the arepas. Make sure to check out my other Venezuelan recipes =)
Do you think that I could make these, stuff them with eggs and then reheat in the oven the next day?
Hello Rhonda! I don’t recommend reheating the arepas already filled. I would reheat the arepas and egg separately and then fill them when you are ready to serve. Hope this help.?