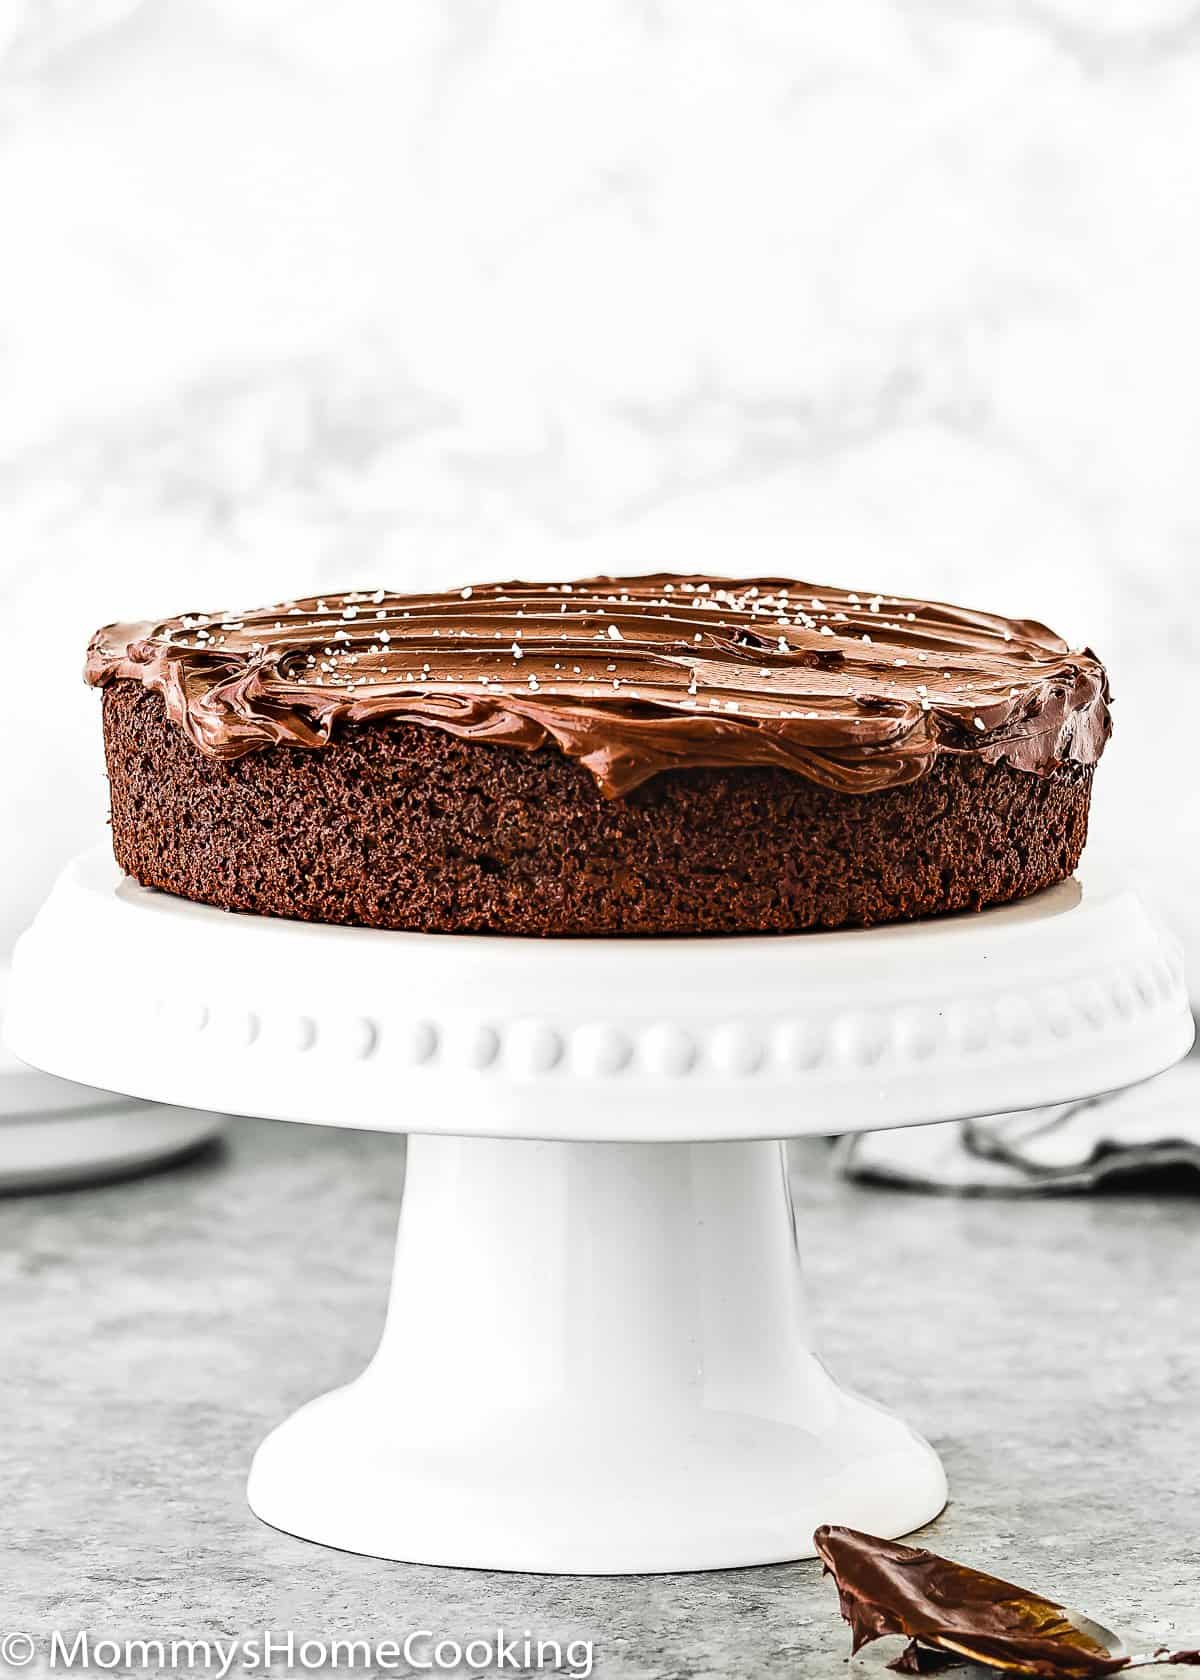
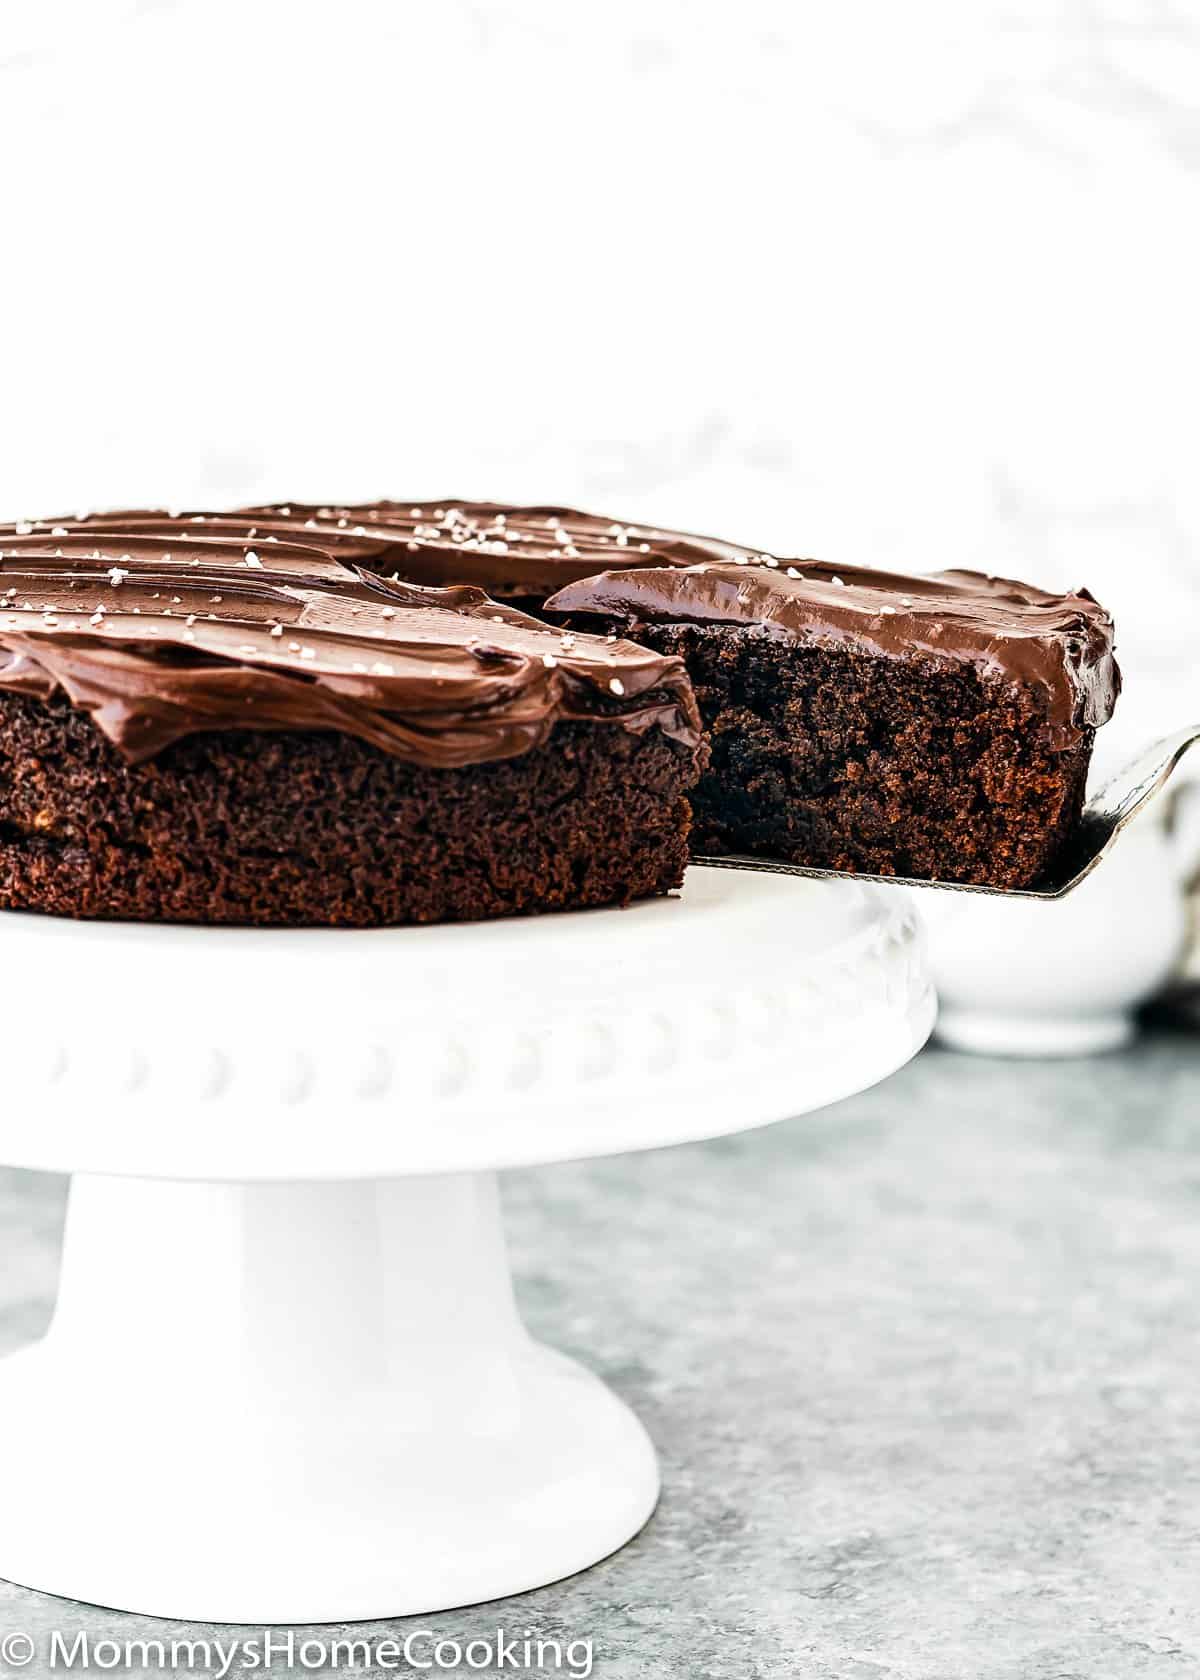
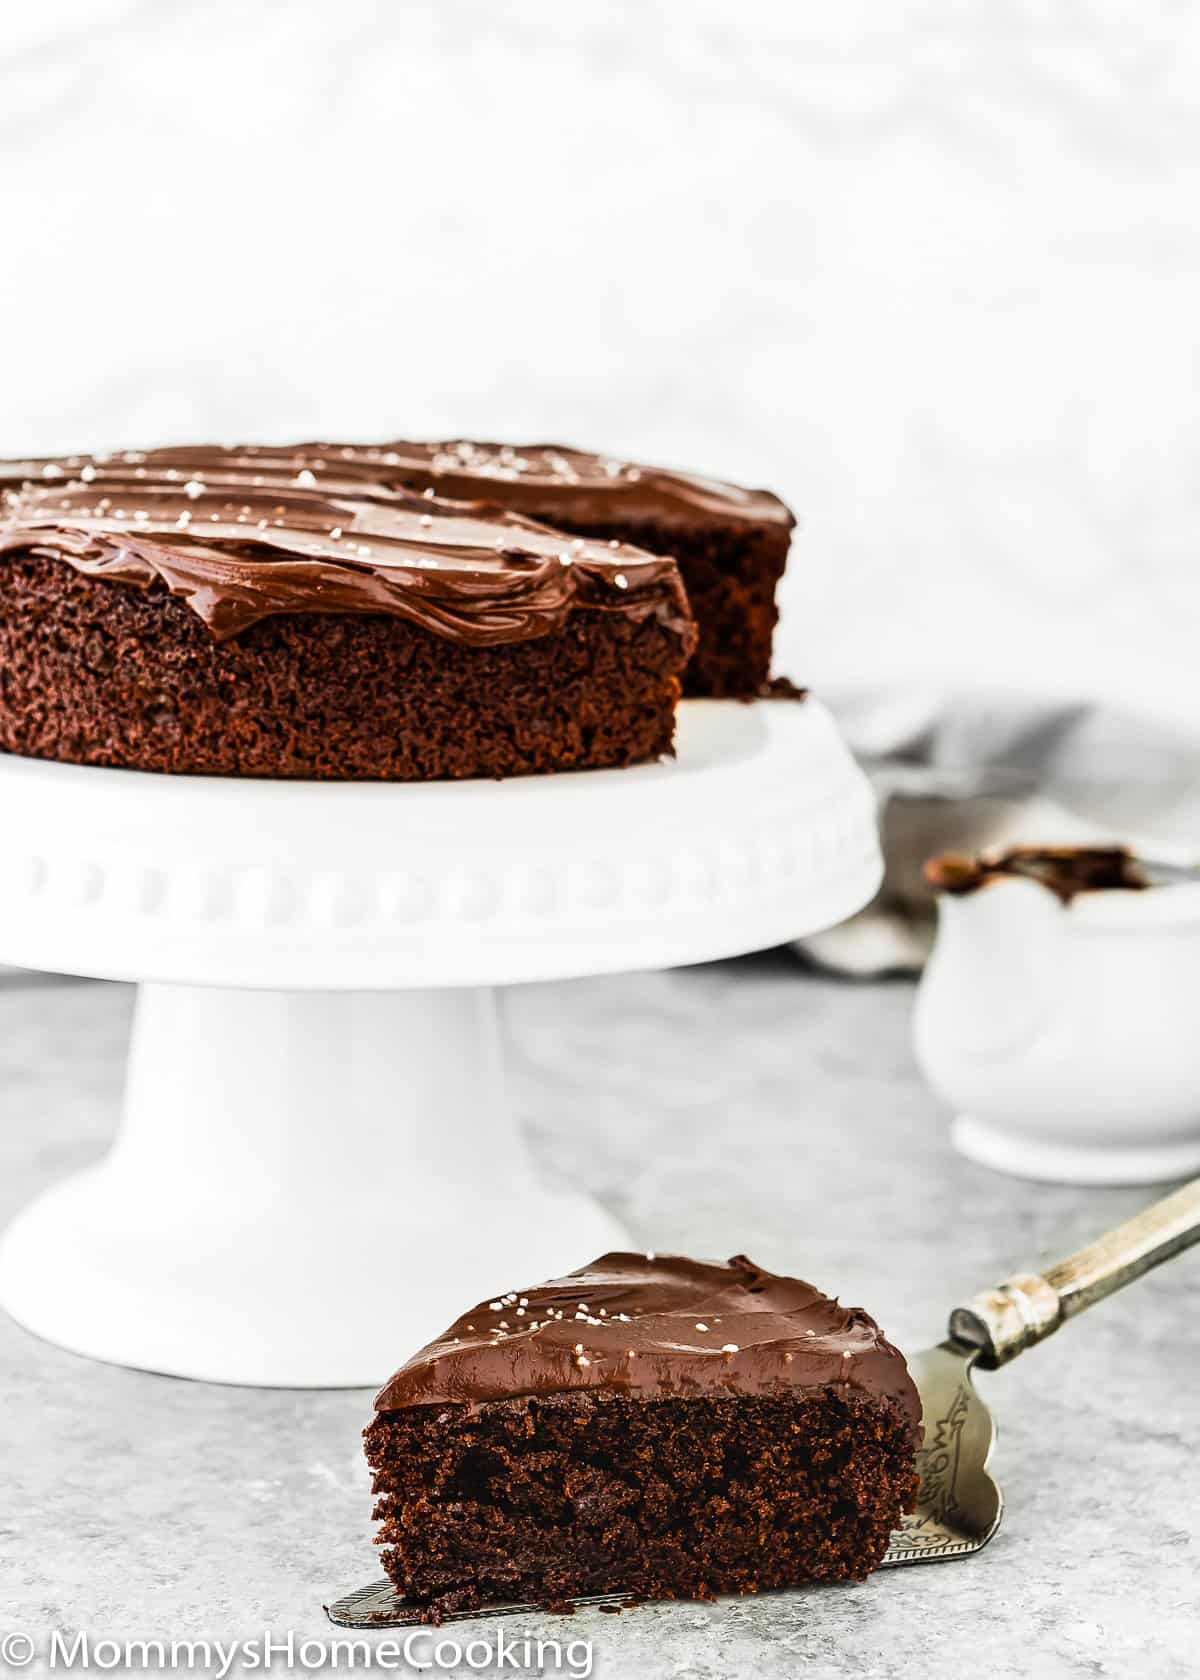
This One Bowl Eggless Chocolate Cake is a fluffy and moist cake with delicious and intense chocolate flavor! You only need one mixing bowl and a whisk to make it. The recipe includes step-by-step photos and lots of tips.
Why I Love This One-Bowl Eggless Chocolate Cake Recipe
Sometimes you need a cake, like right now, and getting out the mixer and dirtying a few bowls just isn’t best. So, for those days, this One Bowl Eggless Chocolate Cake recipe is the solution!
This eggless cake recipe could not be easier to make. You only need one mixing bowl and a whisk to make the batter. And honestly, this cake can come together faster than your oven will preheat.
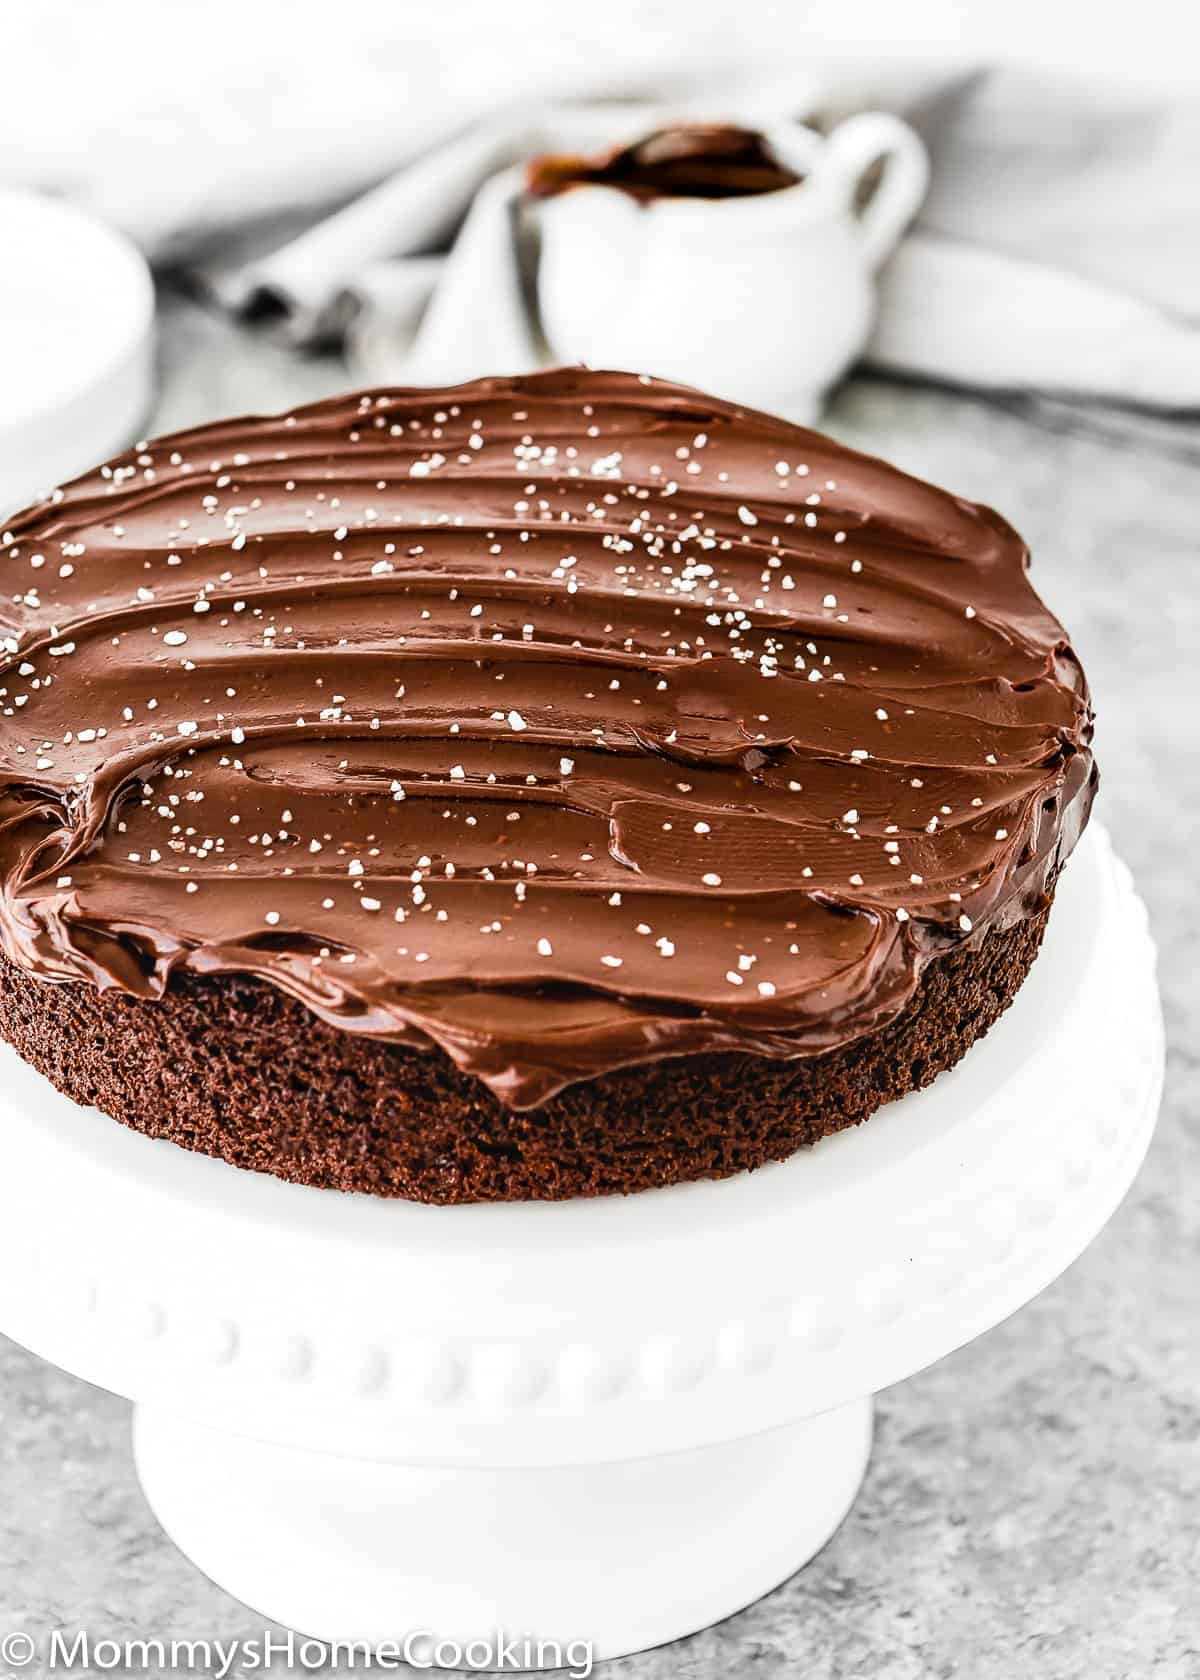
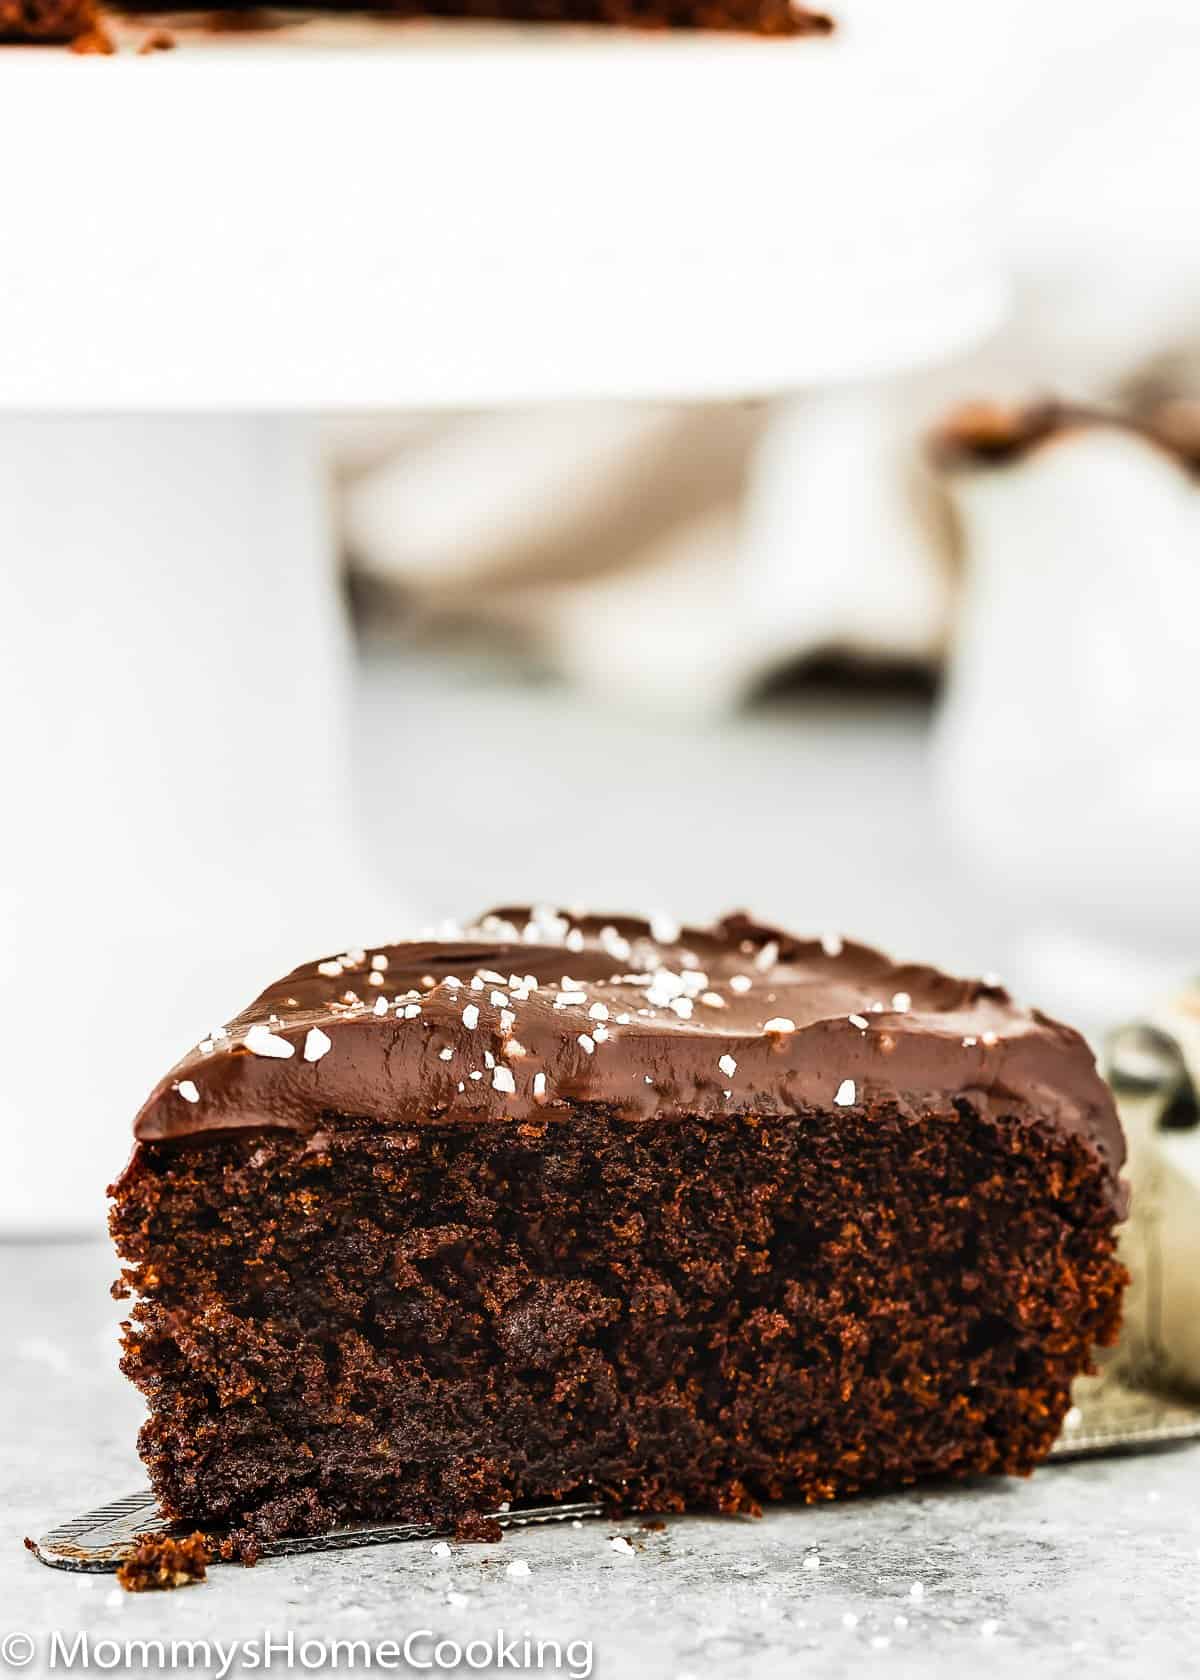
It’s soft with a velvety crumb, intensely flavorful and rich, and extra moist. And if that were not enough, then covered with a decadent chocolate ganache!
This One Bowl Eggless Chocolate Cake recipe helps you to save on cleanup without scrimping on taste. And it will make an excellent birthday cake!
It’s a must-try dessert for every chocolate lover!
One Bowl Eggless Chocolate Cake Recipe Highlights
- Soft with a velvety crumb.
- Deeply flavorful and rich.
- No electric mixer requiered.
- Made with simple ingredients.
Ingredients You’ll Need
Please check the recipe card at the bottom of the post for exact quantities and instructions (scroll down).
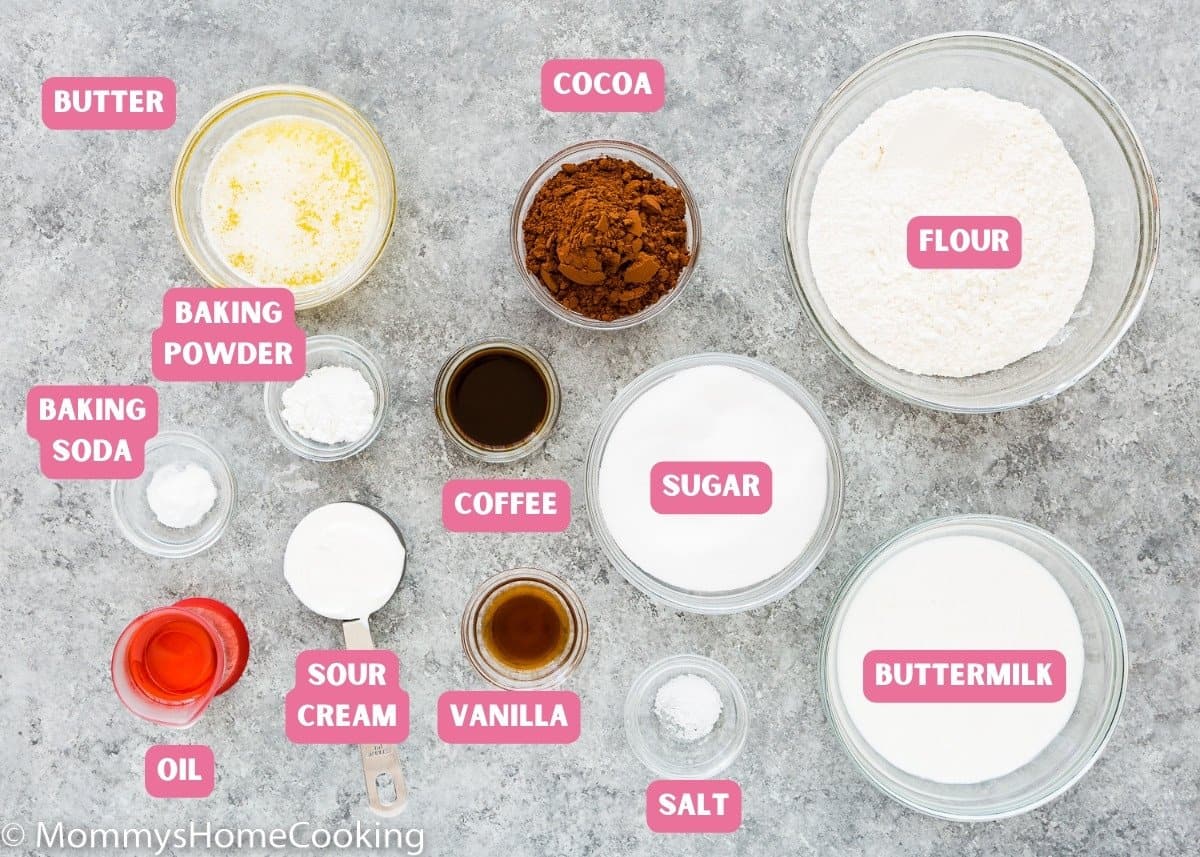
Ingredients Notes & Substitutions
For the cake:
- Butter: I prefer to use unsalted butter, but if you only have salted butter handy, you can use it. In this case, skip the salt called in the recipe.
- Oil: Vegetable or canola oil – or any light-tasting oil of your preference.
- Sugar: Regular white granulated sugar o caster sugar.
- Buttermilk: You don’t have buttermilk? No problem!! Check out my recipe of Easy Homemade Buttermilk Substitute [Video].
- Sour cream: You can substitute sour cream for plain regular yogurt. I recommend using the full-fat versions. If sour cream is difficult to find in your country, learn How to Make Sour Cream at Home.
- Vanilla extract: For optimal flavor, reach for pure vanilla instead of imitation. Even better, try homemade vanilla extract!
- Hot water: To dissolve the espresso powder.
- Instant espresso coffee: This is optional, but I recommend its addition because it enhances the chocolate flavor. Adding a little bit will make things taste more “chocolatey” without giving a coffee flavor.
- Flour: Standard all-purpose flour works best here, skip the cake flour, bread flour, and wheat flour.
- Baking powder & Baking soda: Make sure they’re not expired or too old.
- Unsweetened natural cocoa powder: I like to use unsweetened natural cocoa powder instead of Dutch-processed, because it’s more acidic and reacts with baking soda, allowing your baked goods to rise.
- Salt: I prefer kosher or sea salt. If you only have table salt handy, I recommend reducing the amount to half.
For the chocolate ganache:
- Heavy cream: Make sure it has at least 35% of fat content.
- Semi-sweet chocolate: I recommend using high-quality chocolate with a high cocoa butter content. This is my fave baking chocolate.
Step By Step Recipe Photo Tutorial
Please check the recipe card at the bottom of the post for exact quantities and instructions (scroll down).
1 – Make the Egg-Free Chocolate Cake Batter
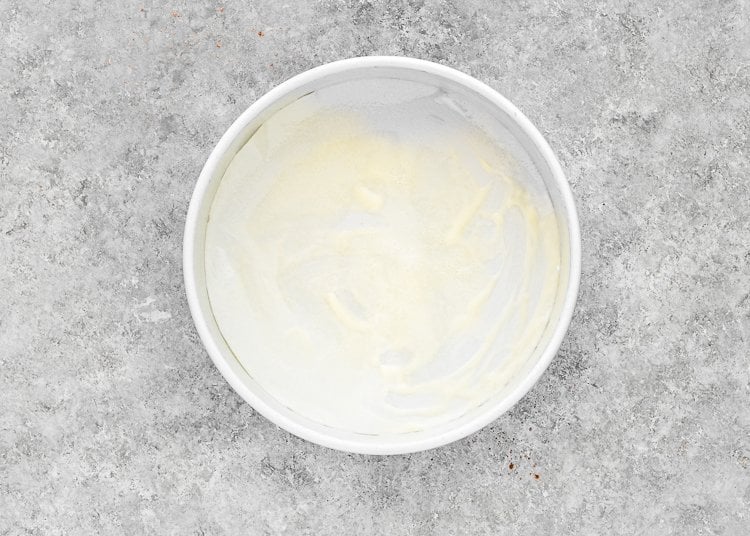
Preheat the oven and prepare the cake pan.
In a large mixing bowl, whisk together melted butter, oil, and sugar.
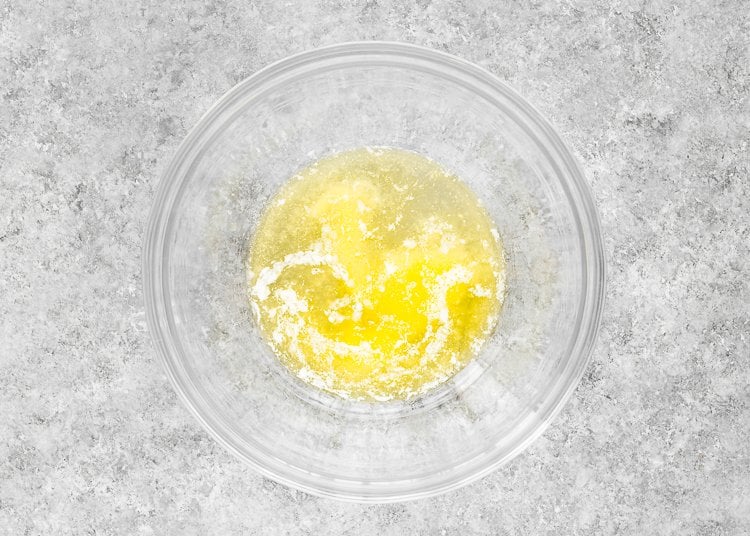
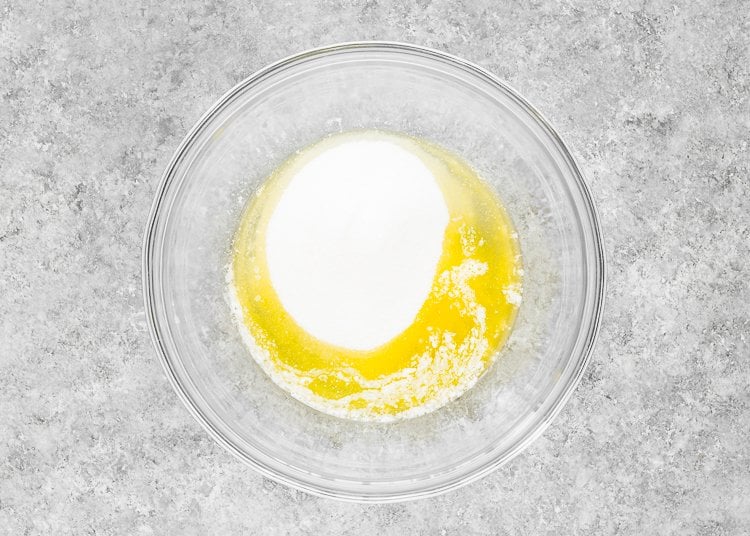
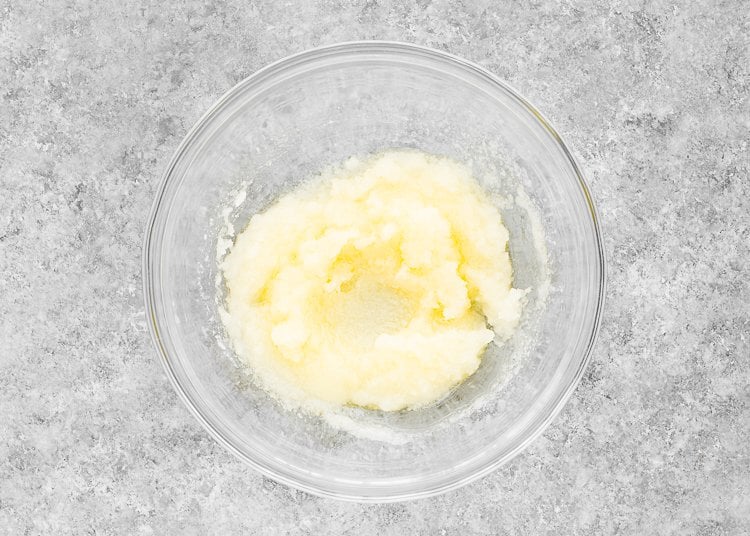
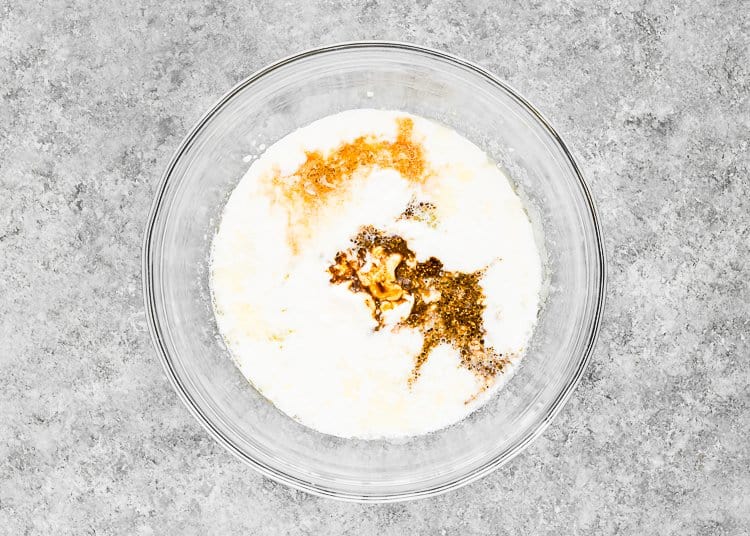
Whisk in buttermilk, sour cream, and vanilla. If using coffee, dissolve the instant coffee in the hot water and add it to the mixture. Mix until thoroughly combined

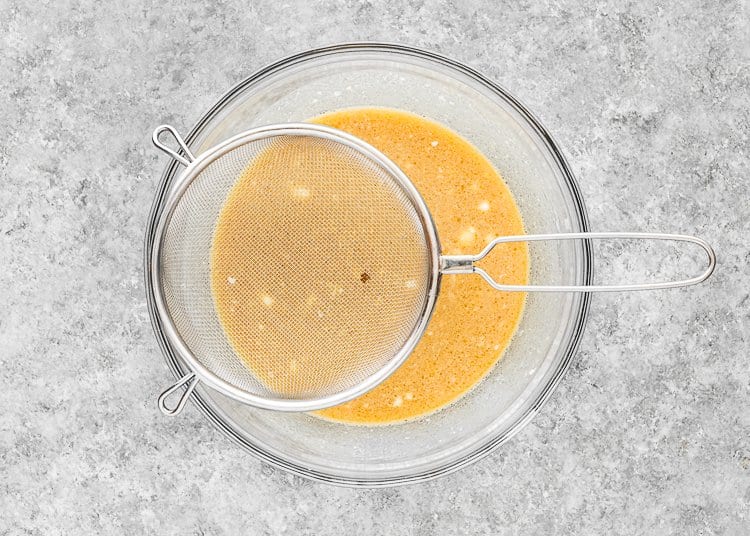
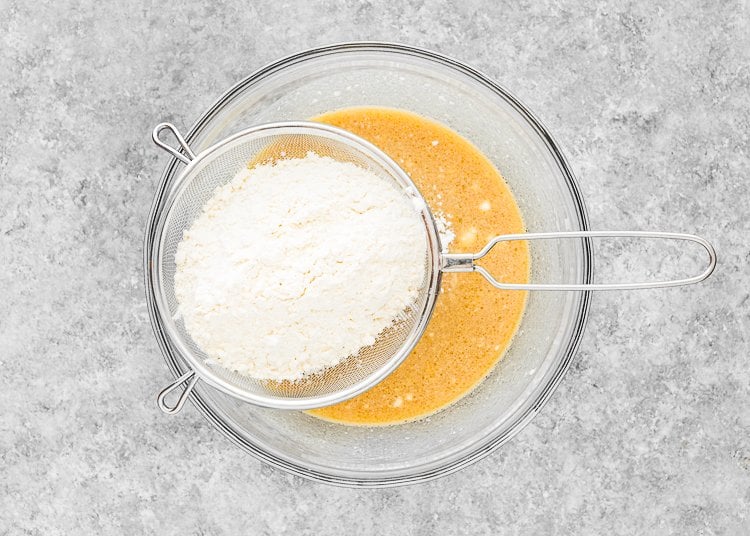
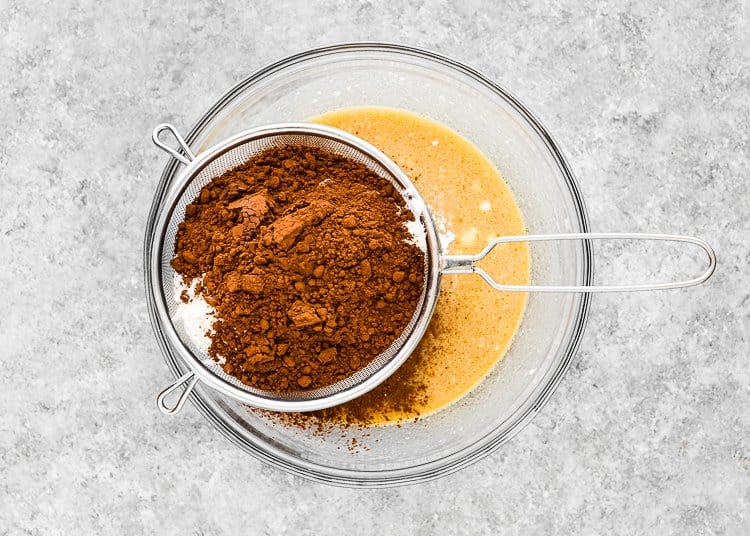
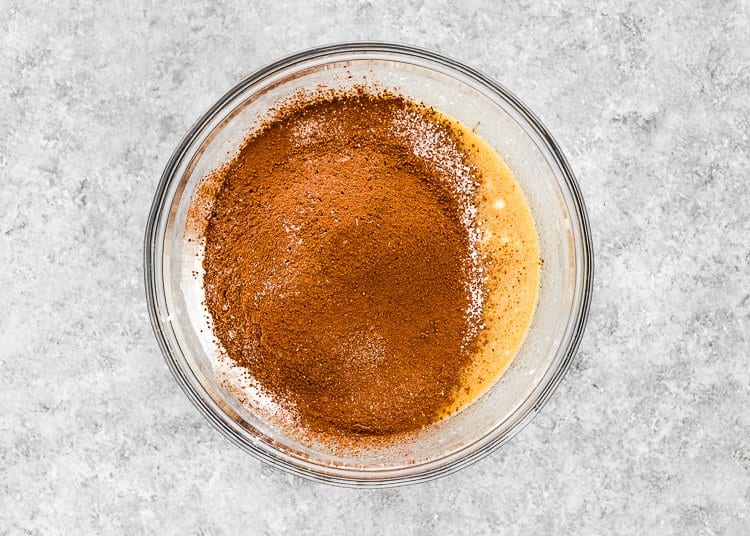
Place a fine-mesh strainer over the bow. Sift flour, baking powder, baking soda, and cocoa powder into the liquid mixture. Add salt and whisk until a smooth batter forms.
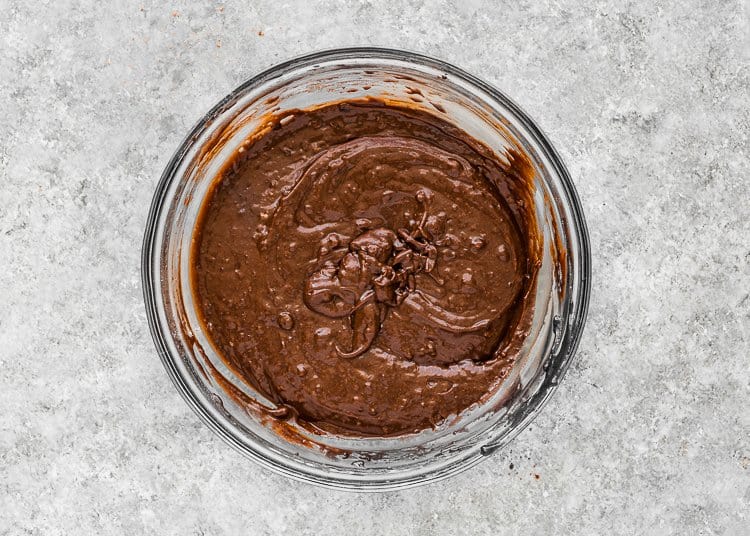
Transfer the cake batter to the prepared cake pan.
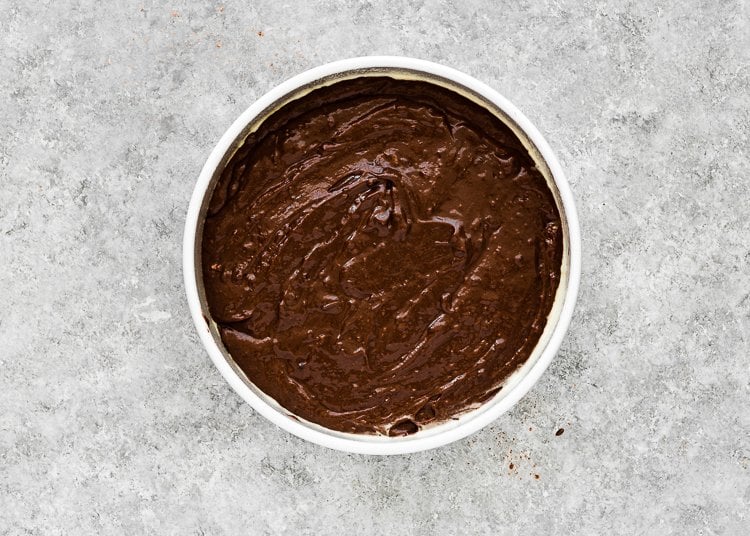
Bake for 30 – 35 minutes until a toothpick inserted in the middle of the cake comes out clean with just a few crumbs attached. Allow the cake to cool in the pan for 20 minutes before inverting it over and setting it on a wire rack to cool completely.
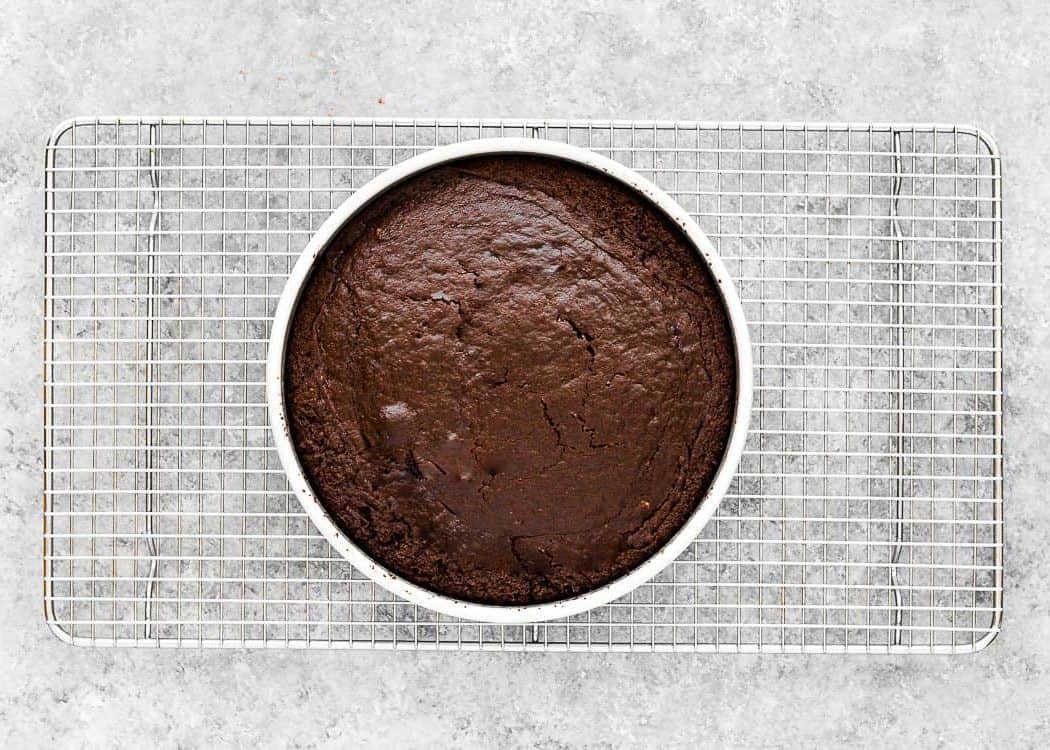
2 – Make the Chocolate Ganache
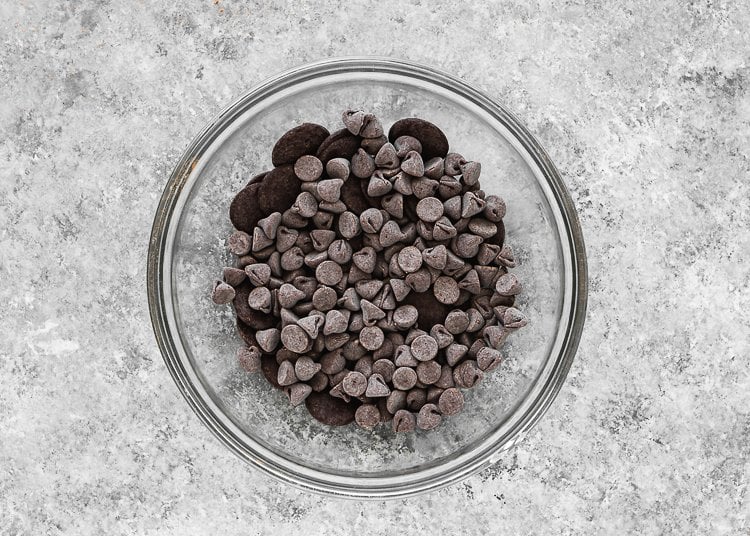
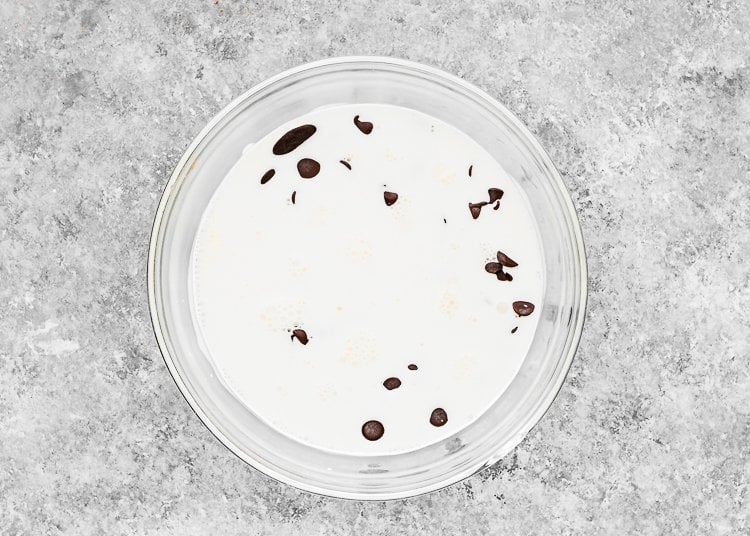
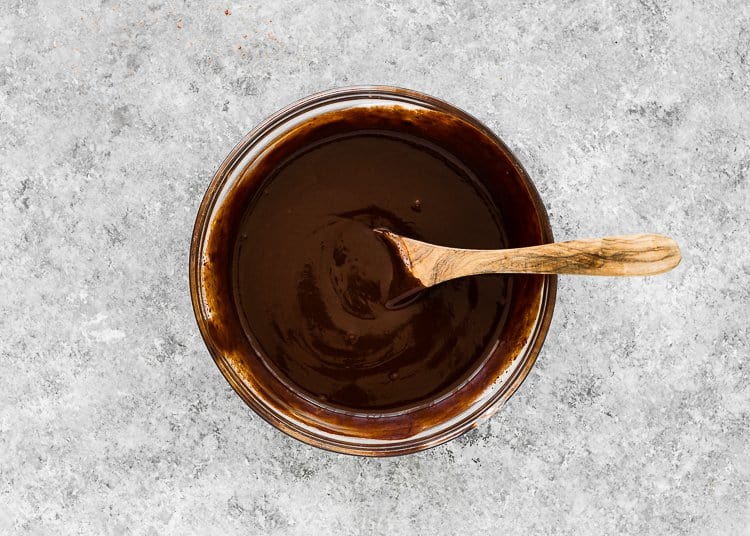
- Place heavy cream into a microwave-safe bowl and heat in the microwave for about 45 – 55 seconds. Make sure to keep an eye on it so it doesn’t boil over in the microwave.
- Pour the warm cream over the chocolate chips and allow to sit for 2-3 minutes.
- Gently stir the cream and chocolate together until they come together to a smooth consistency.
- Let it sit at room temperature to cool completely to thicken. Then refrigerate for about 15 – 20 minutes until it thickens even more but is still pourable.
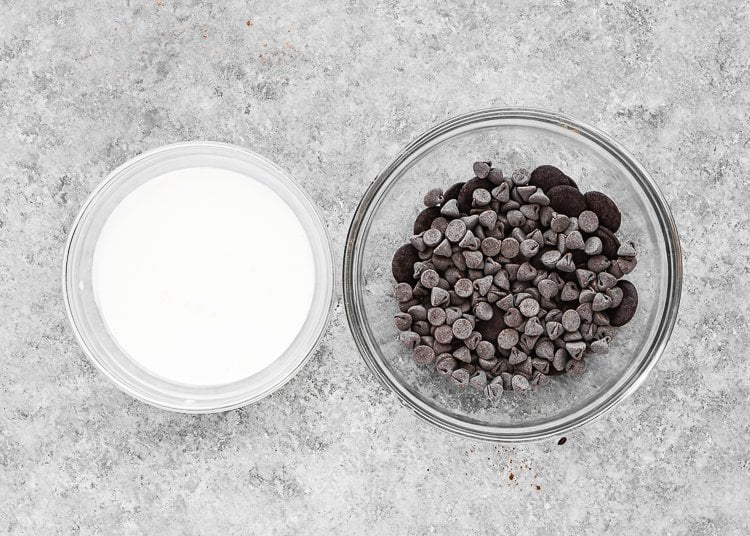
3 – Decorate
The frosting I used for this cake is Chocolate Ganache! Not a big fan of ganache? Try my Chocolate Buttercream.
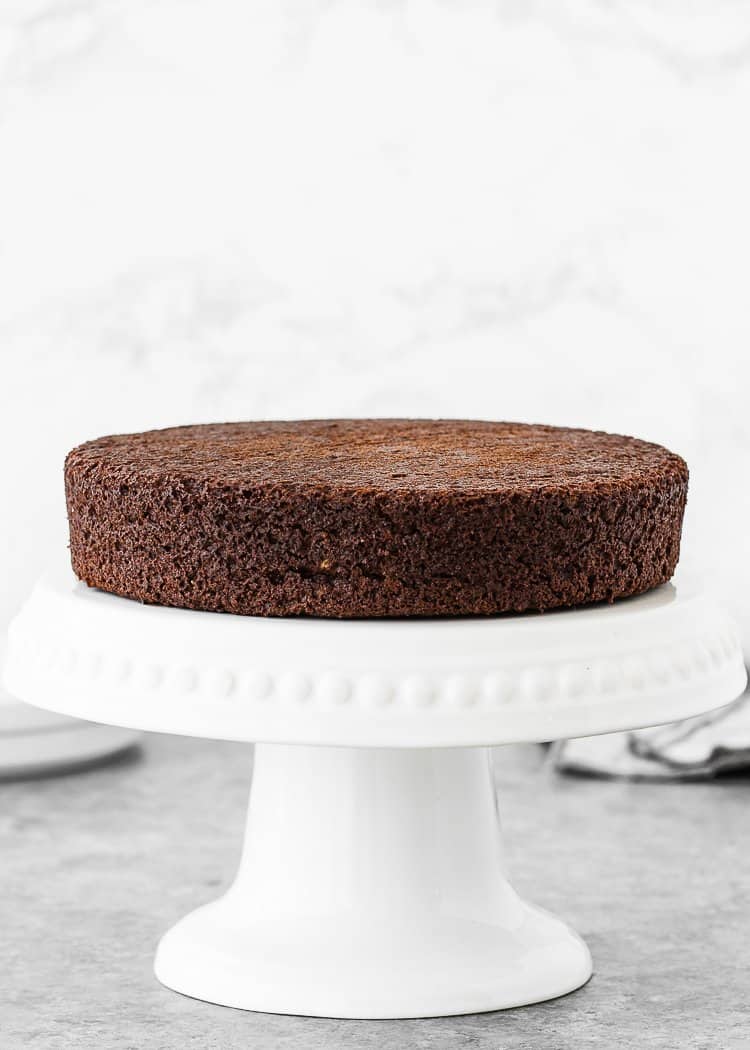
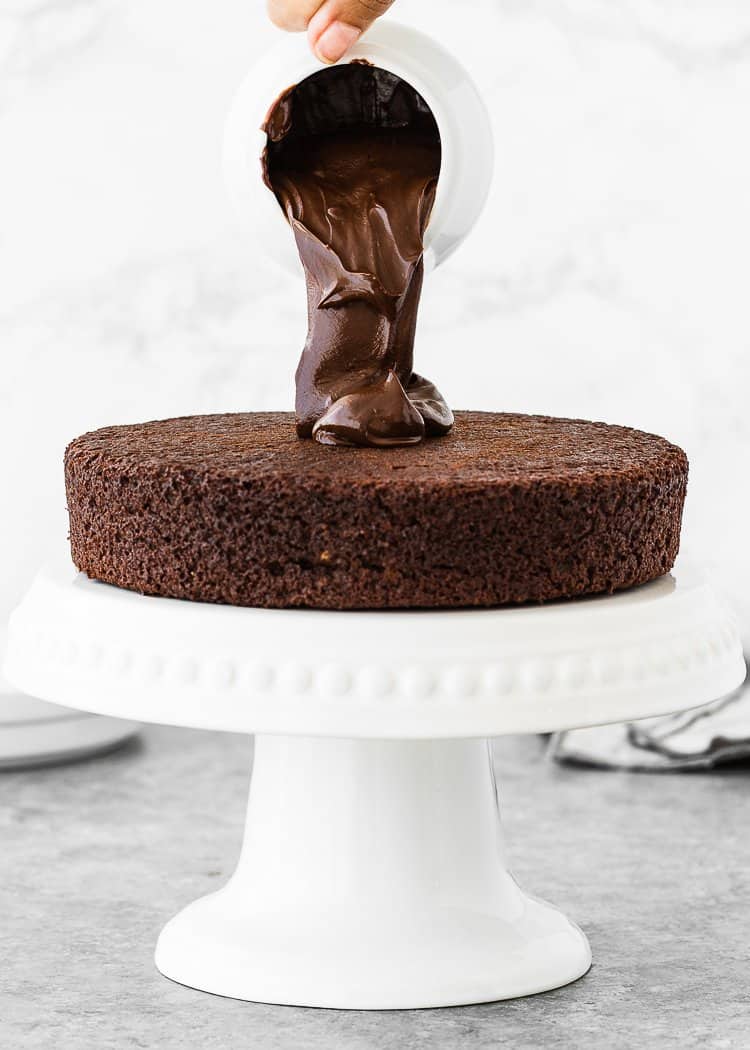
- Place the cake on a cake stand or plate.
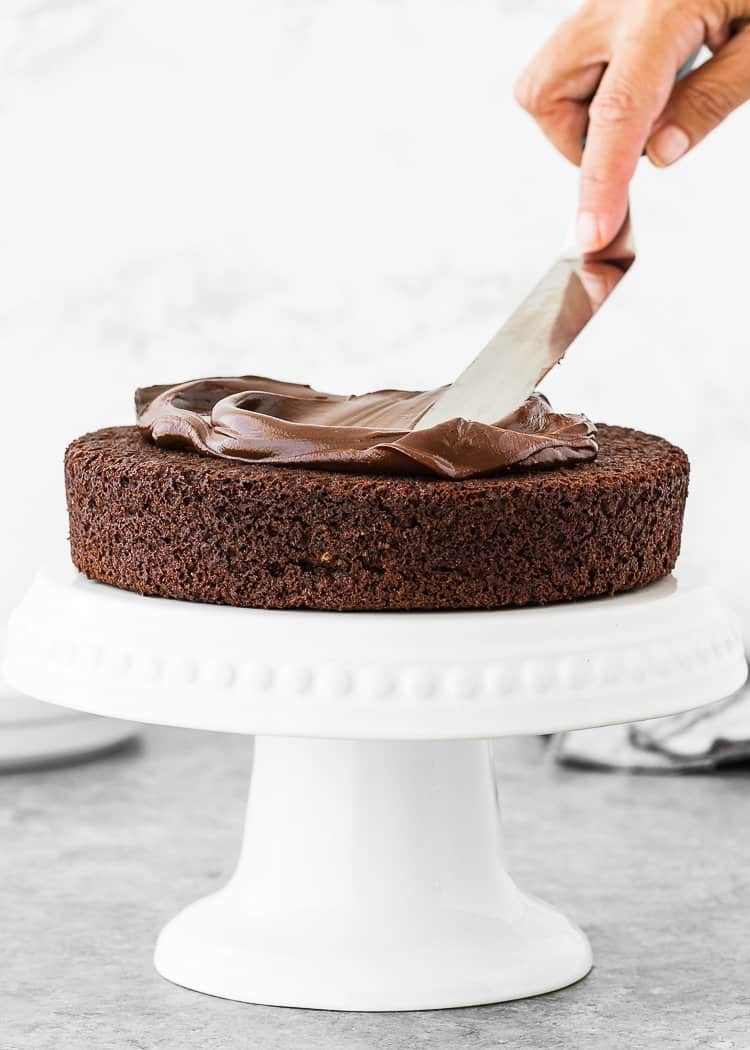
- Pour or drizzle the ganache over the top of the cake.
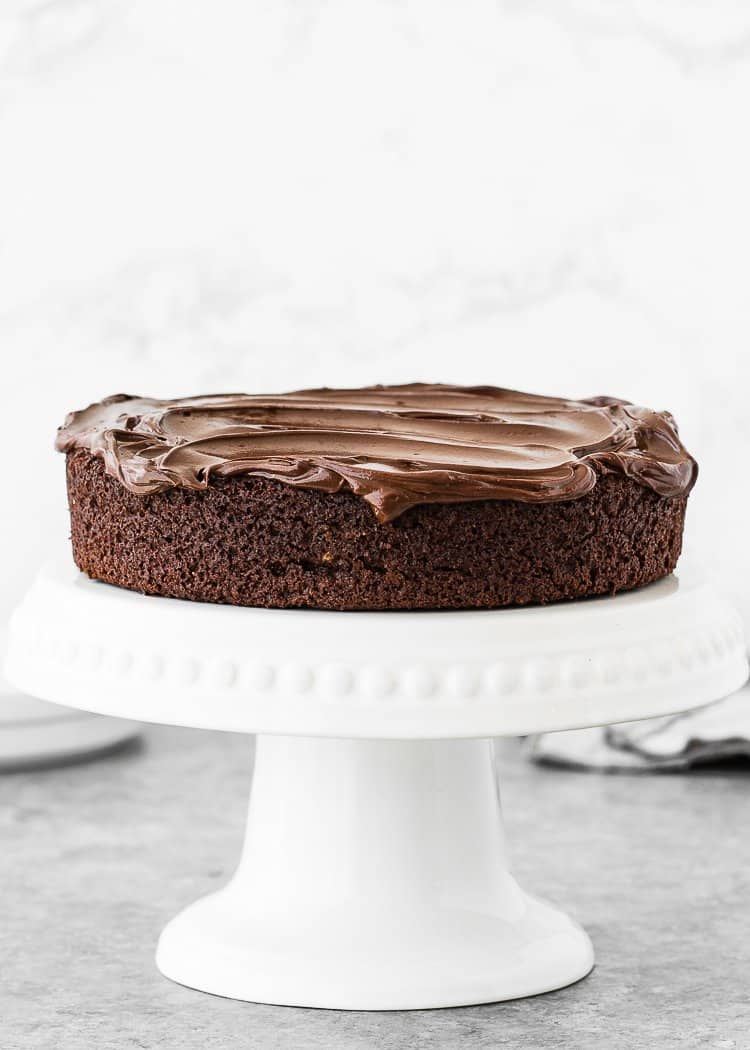
- Spread the ganache over the cake. You can also tap the cake stand or plate lightly on the tabletop to even out the top of the ganache.
- Sprinkle with flaked sea salt, if desired, and serve!
Recipe Tips
Room Temperature Ingredients. All refrigerated items should be at room temperature, so the batter mixes easily and evenly.
Measure Your Flour Correctly! Adding too much flour to the recipe is the most common mistake. The best and easiest way to measure flour is by using a scale. If you don’t have one, then use a spoon to scoop the flour into the measuring cup, and then I use a knife (straight-edged) to level the flour across the measuring cup. Do not dip a measuring cup directly into the flour bin or you can compact it and get up to 25% more flour.
Don’t Overmix the Batter. Overmixing the batter lends a tough-textured baked good because you’re deflating all the air and over-developing the gluten.
Bake The Cake as Soon as The Batter Is Ready. Once the dry ingredients get in contact with the wet ingredients, the rising agent becomes activated. Leaving it out for a long time causes the batter to begin deflating.
Don’t Open the Oven Door Until the Cake Has Set. Each time you open the oven door, you’ll be letting out some heat and letting in cool air and the drastic temperature change causes the rising cake to sink.
Baking Times Vary, so keep an eye on yours. The cake is done when a toothpick inserted in the center comes out clean.
Instant Espresso Powder. Instant Espresso powder is optional, but I recommend its addition because it enhances the chocolate flavor. Adding a little bit will make things taste more “chocolatey” without giving a coffee flavor.
Adapt This Recipe for Other Food Allergies
This recipe is egg-free, but you can certainly adapt it to other food allergies.
Gluten-Free: Substitute all-purpose flour for 1-to-1 Gluten-Free flour. This is my favorite brand.
Dairy-Free: Use your favorite plant-based milk, dairy-free, or vegan butter.
My favorite dairy-free butter brands for baking are:
Make sure to use an unflavored, unsweetened variety of non-dairy milk to make your own buttermilk substitute. Soy and oat milk have the best consistency and very neutral flavors, in my opinion. To make your own dairy-free buttermilk at home, check my Easy Homemade Buttermilk Substitute [Video] post.
Also, use your favorite dairy-free sour cream. You can substitute sour cream for dairy-free plain unsweetened yogurt.
Substitutions & Additions
Coffee is optional, but I recommend its addition because it enhances the chocolate flavor. Adding a little bit will make things taste more “chocolatey” without giving a coffee flavor. If you don’t want to add coffee, just add 1 tablespoon of hot water.
Flour: You can use self-rising flour. In that case, omit the baking powder and salt called in the recipe.
Sour Cream: you can substitute sour cream for plain regular yogurt. I recommend using the full-fat versions. Or make your own sour cream following my How to Make Sour Cream at Home tutorial.
Frosting: I used chocolate ganache to frost this cake. Not a big fan of ganache? Try my Chocolate Buttercream.
Frequently Asked Questions
Yes, you can use self-rising and leave out the baking powder and salt called in the recipe.
Yes, you can! Just omit the extra salt called in the recipe.
If you don’t have sour cream handy, plain whole milk plain yogurt will work just fine!
Buttermilk is required for this recipe. If you don’t have it available, you can make your own by adding 1 tablespoon of apple cider vinegar, white vinegar, or fresh lemon juice to 1 cup of regular room temperature milk. Stir and let the mixture stand at room temperature for 5 to 10 minutes. When it is ready, the milk will be slightly thickened, and you will see small curdled bits. This soured milk can be used in the recipe. I prefer to use whole milk for the richest texture.
Instant Espresso powder is optional, but I recommend its addition because it enhances the chocolate flavor. Adding a little bit will make things taste more u0022chocolateyu0022 without giving a coffee flavor. If you don’t like coffee, add just the hot water.
Yes, you can! Just double the recipe for a two-layer cake or triple it for a 3-layer cake.
Yes, you can! Follow the exact baking instructions as my chocolate cupcake recipe.
Storing & Freezing Instructions
Store: Cover leftover cake and store at room temperature for 2 days, or tightly cover and store in the refrigerator for up to 5 days.
PRO TIP: If your kitchen is hot, it is better to refrigerate your cake and then allow it to come up to room temperature if you plan to serve it at a later time.
Freeze: Let the eggless chocolate cake cool completely. Wrap it up in 2 layers of plastic wrap, then with foil to avoid freezer burn. Place inside a large freezer Ziploc bag and freeze for up to 2 months.
Ready to eat it? Thaw overnight in the refrigerator and bring to room temperature before slicing and serving.
More Egg-Free Chocolate Dessert Recipes You’ll Love!
- Eggless German Chocolate Cake
- Eggless Chocolate Cheesecake
- The Best Eggless Chocolate Chip Cookies [Video]
- Eggless Chocolate Cupcakes
- Eggless Chocolate Bundt Cake
- Browse more recipes…
❤️ Love what you see? JOIN my Private Baking Club. Also, SUBSCRIBE to Mommy’s Home Cooking, so you’ll never miss a recipe! And FOLLOW along on Instagram, Pinterest, and Facebook for more fun!
One Bowl Eggless Chocolate Cake
Equipment
Ingredients
CAKE:
- 4 tablespoons (60 g) unsalted butter, melted
- ¼ cup (60 ml) vegetable or canola oil
- 1 cup (200 g) granulated sugar
- ¾ cup (180 ml) buttermilk
- ¼ cup (60 g) sour cream (see notes)
- 1 teaspoon pure vanilla extract
- 1 tablespoon (15 ml) hot water (optional)
- 1 teaspoon instant espresso coffee (optional)
- 1 ¼ cup (175 g) all-purpose flour
- 2 teaspoons baking powder
- ¼ teaspoon baking soda
- 6 tablespoons (45 g) unsweetened natural cocoa powder
- ¼ teaspoon salt
GANACHE:
- 5 oz (148 ml) heavy cream
- 5 oz (145 g) quality semi-sweet chocolate
Instructions
MAKE THE CAKE:
- Preheat the oven to 350º F (180º C). Grease one 8-inch round cake pan with flour-based baking spray, or grease with butter and flour, and line with a parchment paper round (cut an 8-inch circle of parchment), then grease the parchment paper. Parchment paper helps the cake seamlessly release from the pan.
- In a large mixing bowl, whisk together melted butter, oil, and sugar.
- Whisk in buttermilk, sour cream, and vanilla. If using coffee, dissolve the instant coffee in the hot water and add it to the mixture. If not using cofee just add the hot water. Mix until thoroughly combined.
- Place a fine-mash strainer over the bowl with the wet ingredients. Sift flour, baking powder, baking soda, and cocoa powder into the liquid mixture. Add salt and whisk until combined.
- Transfer the cake batter into the prepared cake pan.
- Bake for 30 – 35 minutes until a toothpick inserted in the middle of the cake comes out clean with just a few crumbs attached.
- Allow the cake to cool in the pan for 20 minutes before inverting it over and set it on a wire rack to cool completely.
MAKE THE GANACHE:
- Place heavy cream into a microwave-safe bowl and heat in the microwave for about 45 – 55 seconds. Make sure to keep an eye on it so it doesn't boil over in the microwave.
- Pour the warm cream over the chocolate and allow to sit for 2-3 minutes.
- Gently stir the cream and chocolate together until they come together to a smooth consistency. Note: this may take a minute and the mixture may look separated and piece-y at first, just keep stirring!
- Let it sit at room temperature to cool completely to thicken. Then refrigerate for about 15 – 20 minutes until it thickens even more but is still pourable.
DECORATE:
- Place the cake on a cake stand or plate.
- Pour or drizzle the ganache over the top of the cake.
- Spread the ganache over the cake. You can also tap the cake stand or plate lightly on the tabletop to even out the top of the ganache.
- Sprinkle with flaked sea salt, if desired, and serve!
- ROOM TEMPERATURE INGREDIENTS: All refrigerated items should be at room temperature so the batter mixes together easily and evenly.
- MEASURE YOUR FLOUR CORRECTLY! Adding too much flour to the recipe is the most common mistake. The best and easiest way to measure flour is by using a scale. If you don’t have one, then use a spoon to scoop the flour into the measuring cup, and then I use a knife (straight-edged) to level the flour across the measuring cup. Do not dip a measuring cup directly into the flour bin or you can compact it and get up to 25% more flour.
- DON’T OVERMIX THE BATTER: Overmixing the batter lends a tough-textured baked good because you’re deflating all the air and over-developing the gluten.
- BAKE THE CAKE AS SOON AS THE BATTER IS READY: Once the dry ingredients make contact with the wet ingredients, the rising agent becomes activated. Leaving it out for a long time causes the batter to begin deflating.
- DON’T OPEN THE OVEN DOOR UNTIL THE CAKE HAS SET: Each time you open the oven door, you’ll be letting out some heat and letting in cool air and the drastic temperature change causes the rising cake to sink.
- BAKING TIMES VARY, so keep an eye on yours. The cake is done when a toothpick inserted in the center comes out clean.
Nutrition
Eggless Baking Frequently Asked Questions
You’ve asked, and I’ve answered! Read on for a handful of answers to the most frequently asked questions about eggless baking.
Originally posted in May 2020, the post content was edited to add more helpful information, no change to the recipe in July 2022.
