



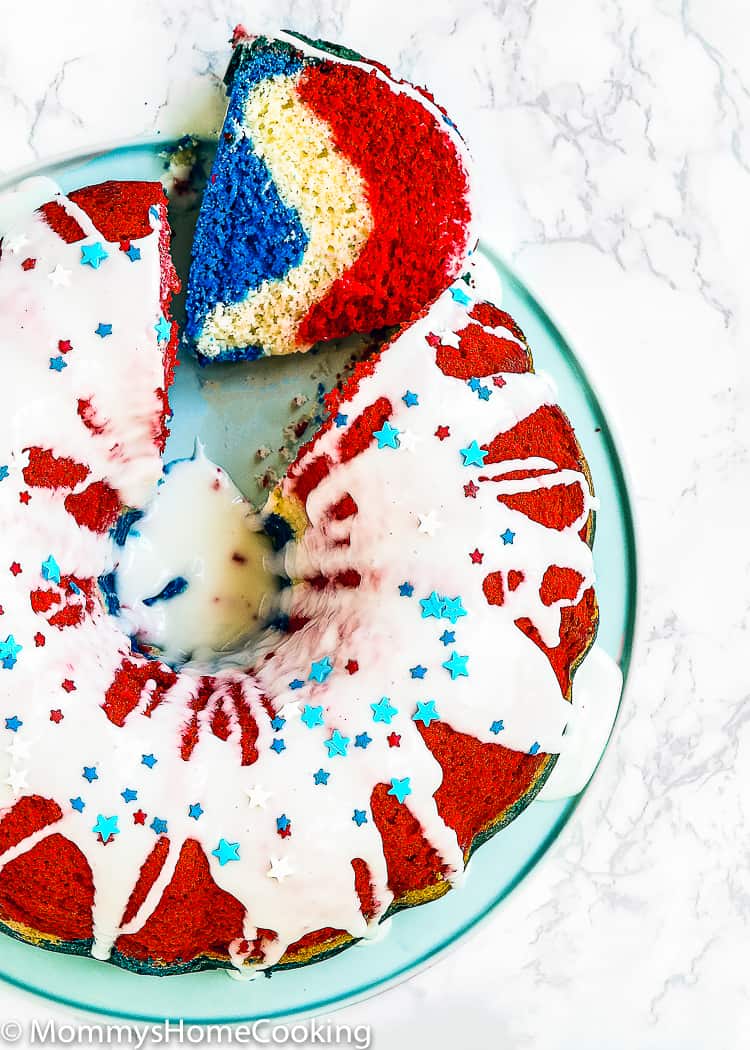
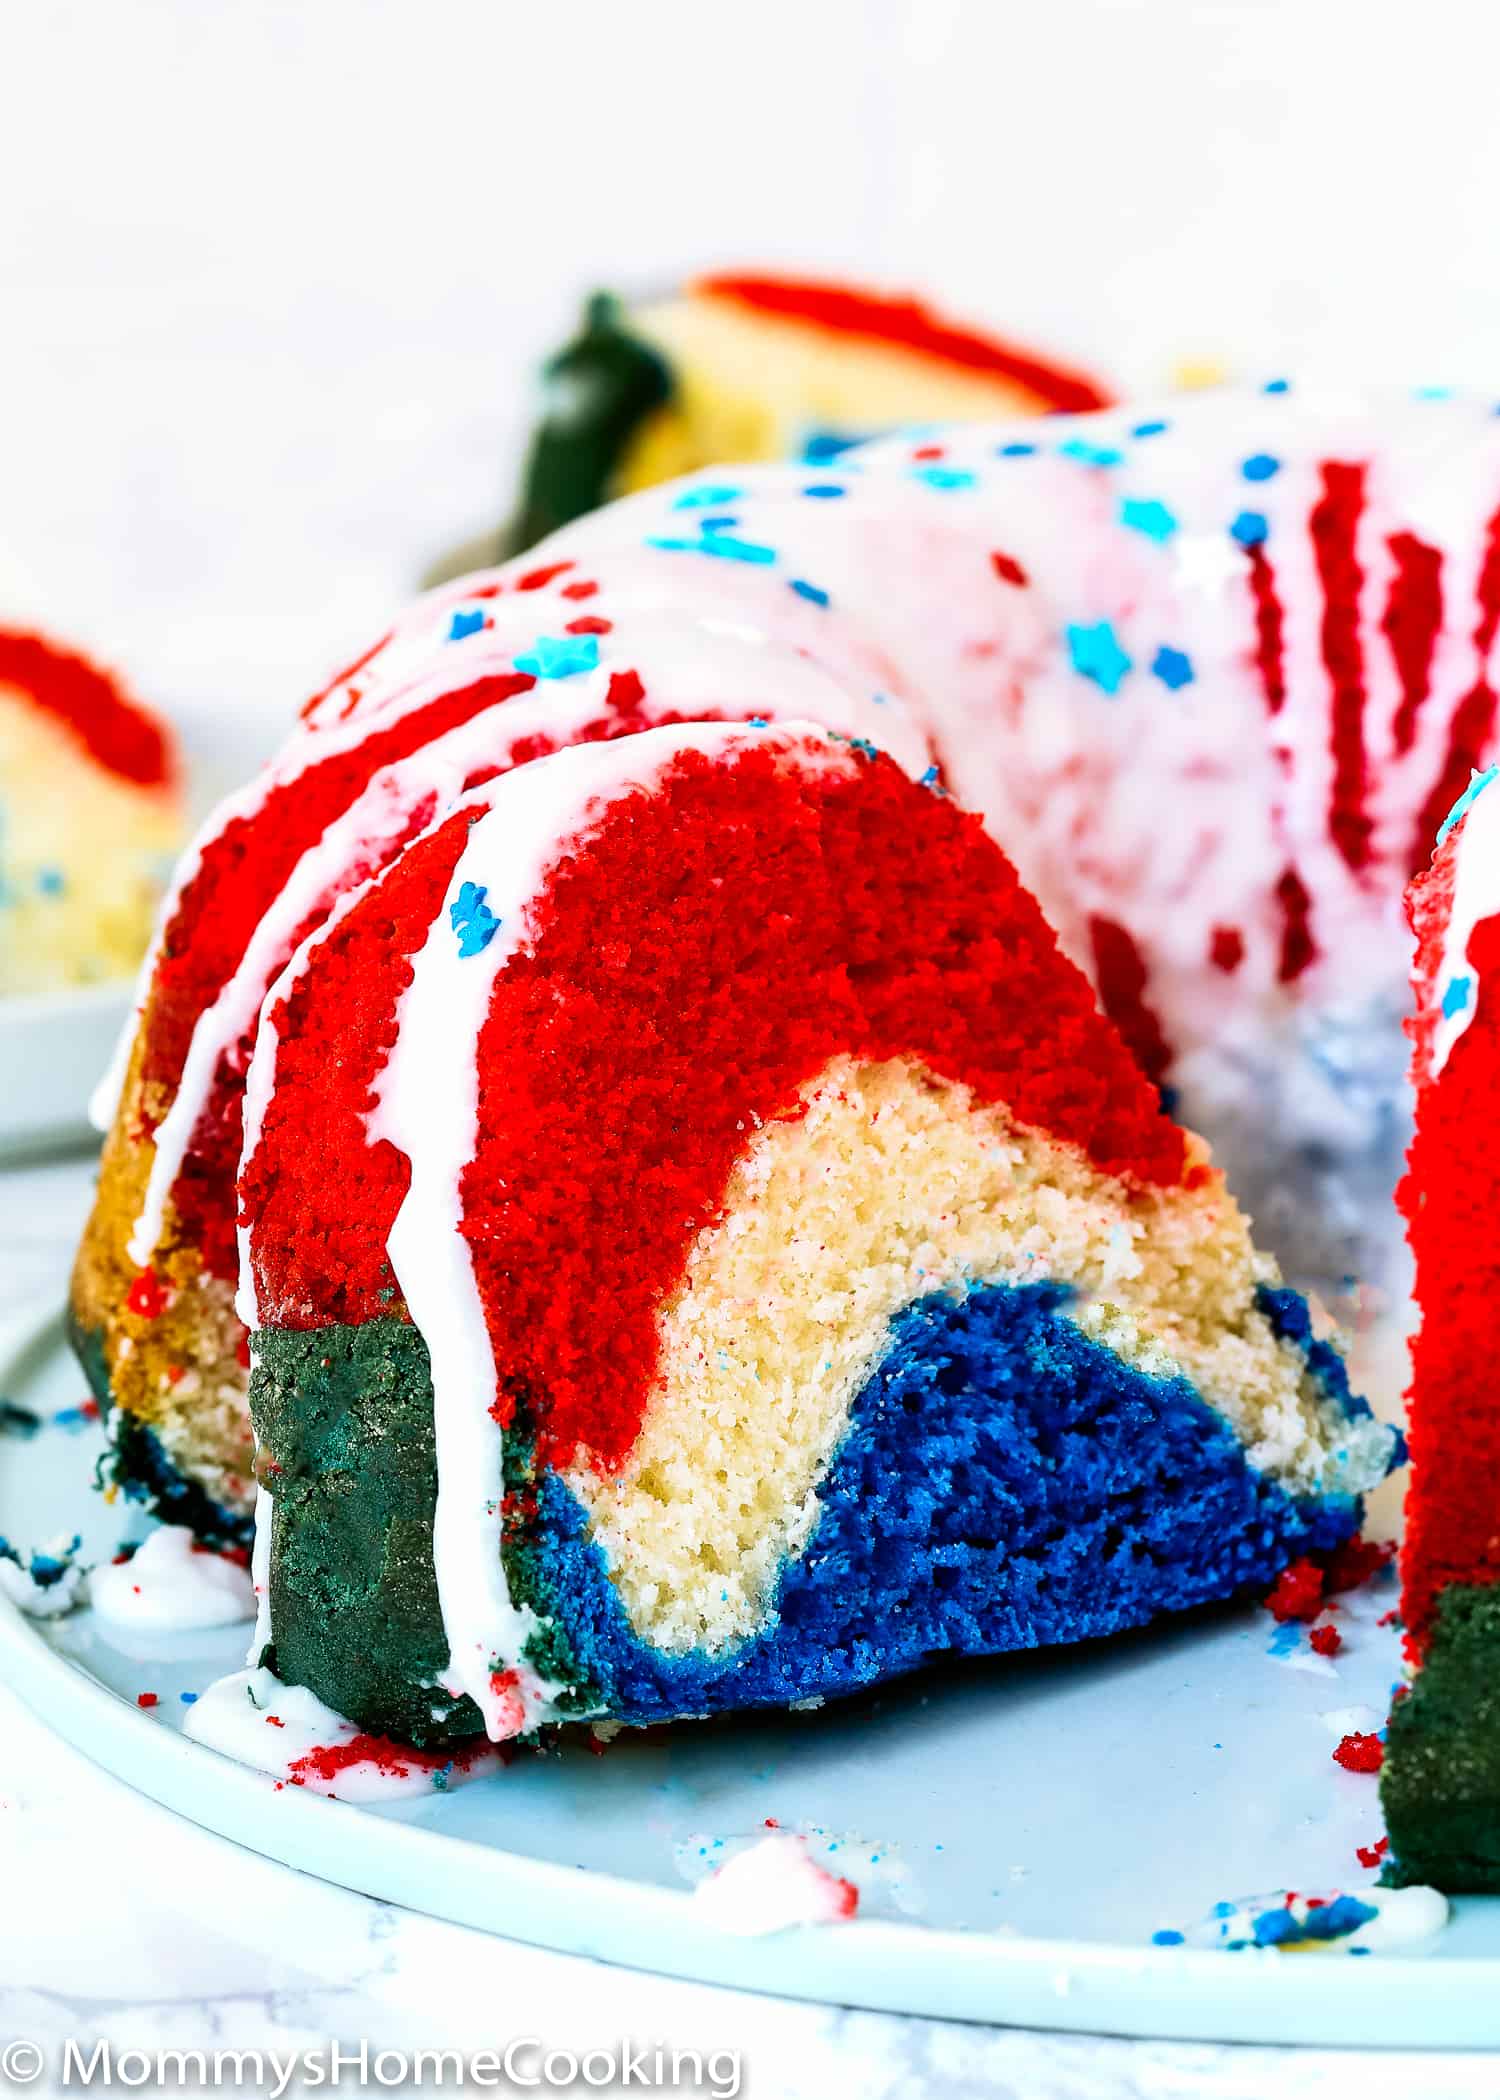
This melt-in-your-mouth Red, White, and Blue Eggless Bundt Cake is what you need to celebrate the 4th of July! Easy to make and super delicious, this cake will be a BIG hit at your party.
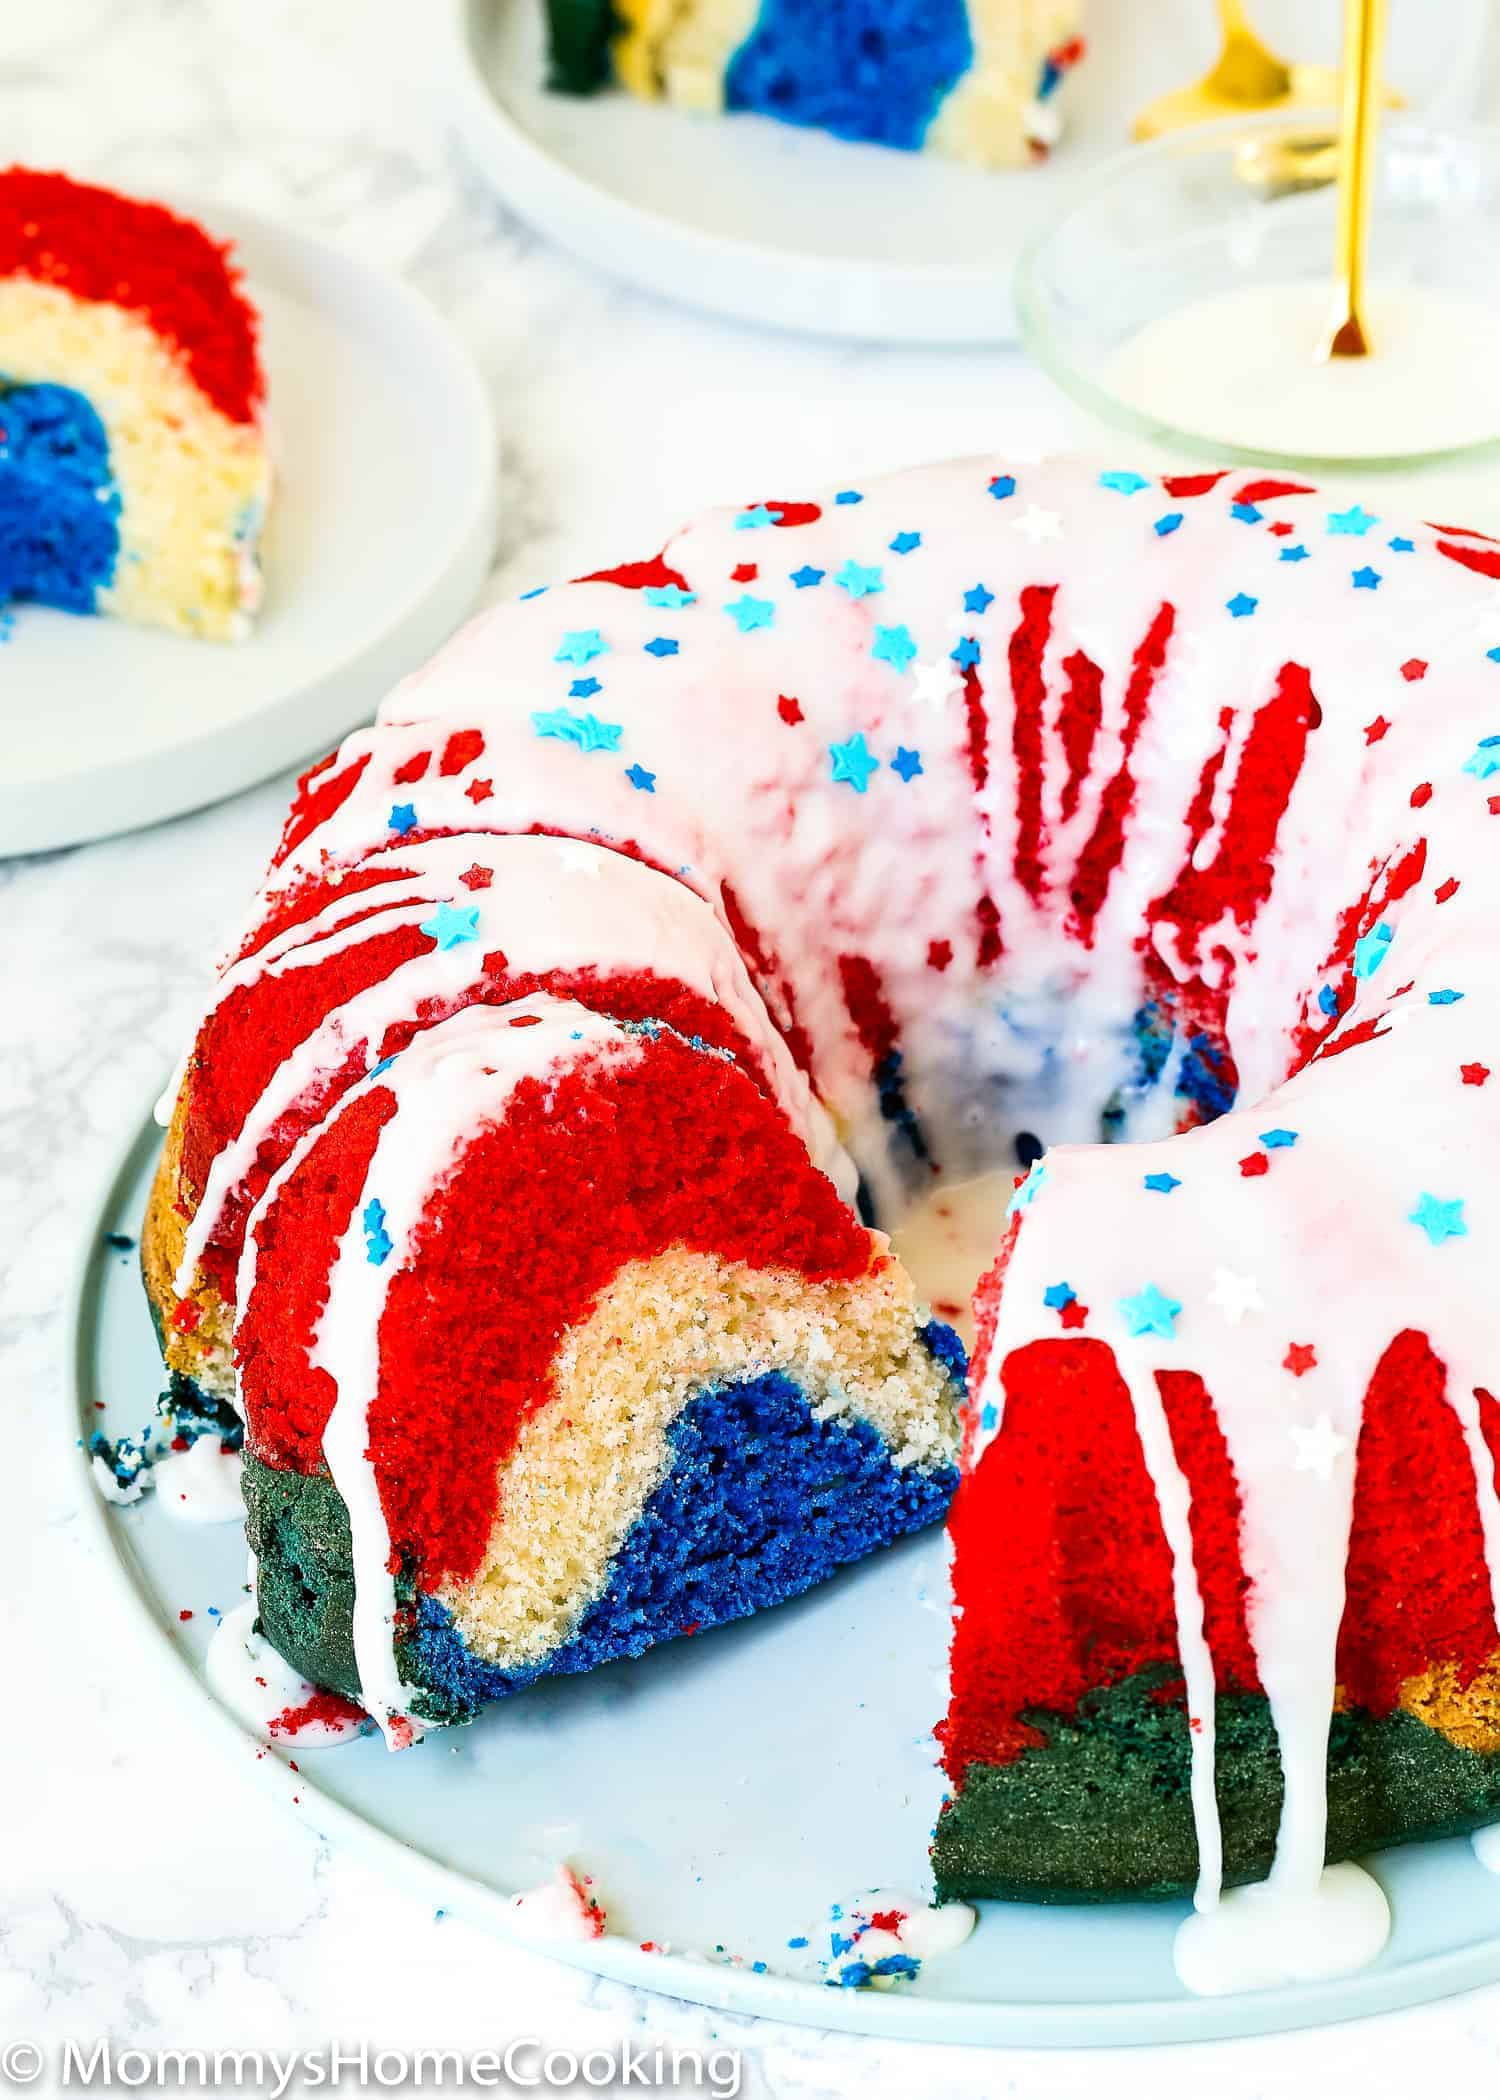
My Fave Fourth of July Eggless Cake Recipe
The Fourth of July is a holiday we love! It is typically a night when family, friends, and neighbors get together around delicious food and fireworks! And this super-patriotic Red, White, and Blue Eggless Bundt Cake is one of my favorite ways to add to the cookout feast.
It’s tender, moist, and luscious, and it comes together easily. If you have any leftovers, which I doubt, this cake is wonderful for breakfast, afternoon snacks, or dessert.
I made this cake from scratch, but if you want to use a cake box mix, check out my post about How to Make a Cake Mix Box without Eggs.
So, if you are looking for a super fun, patriotic dessert idea, this Red, White, and Blue Eggless Bundt Cake is your answer.
Show off your patriotic spirit with this fun, festive, and very colorful July 4th Bundt Eggless Cake!
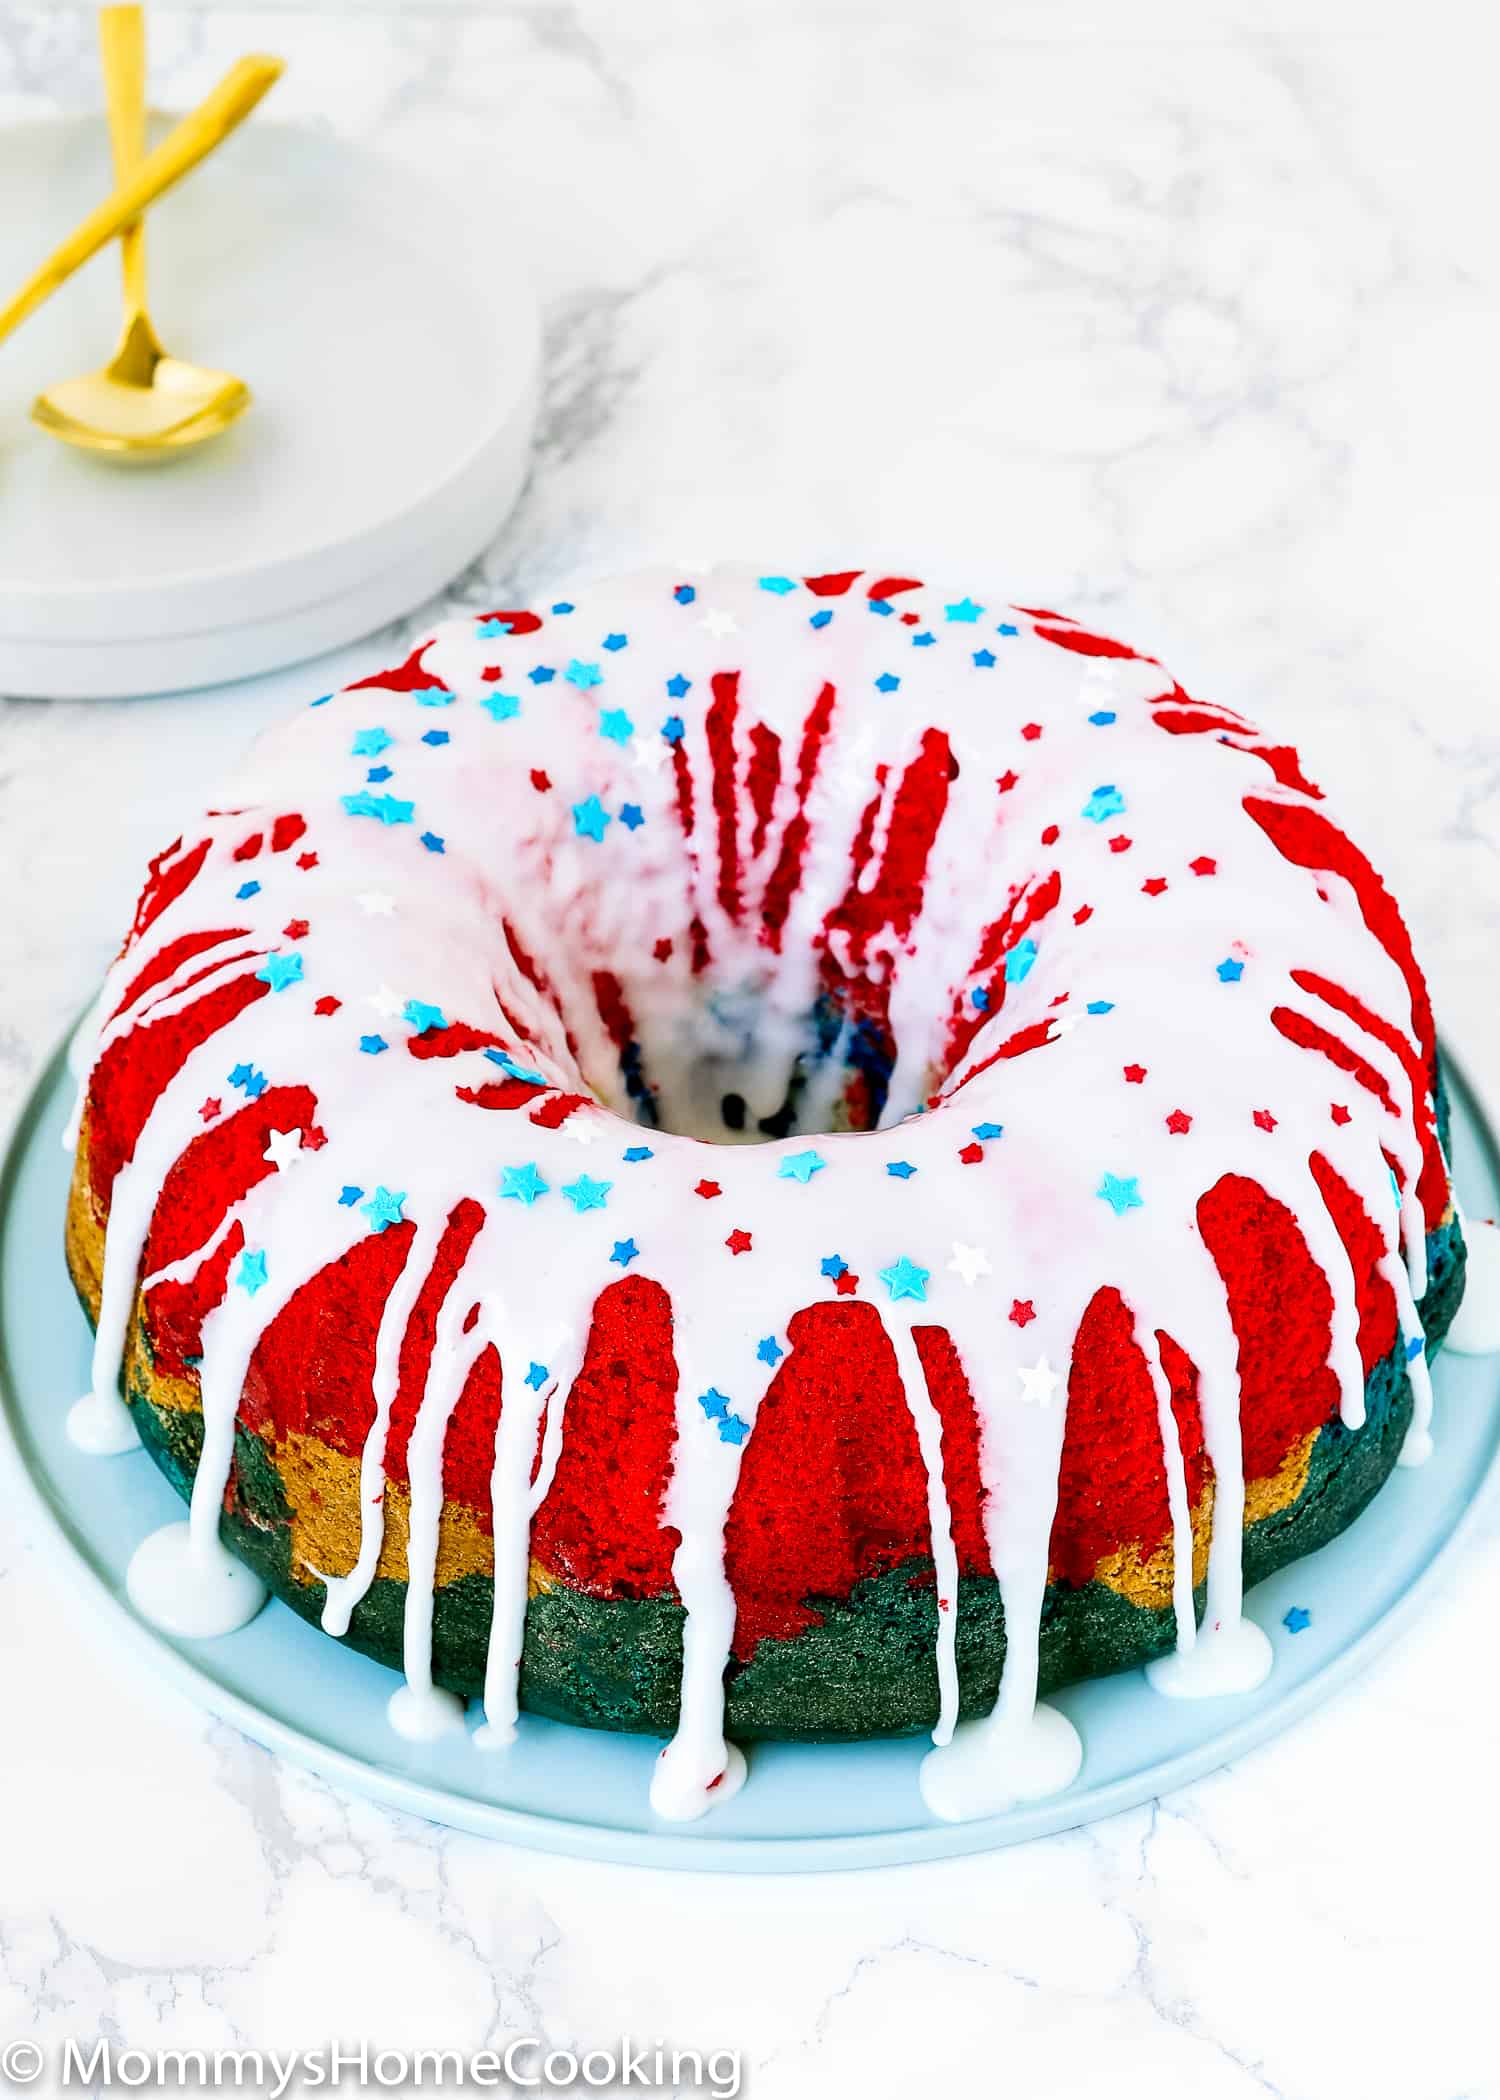
Ingredients You’ll Need
Please check the recipe card at the bottom of the post for exact quantities and instructions (scroll down).
For the Cake:
- Sugar: Regular white granulated sugar o caster sugar.
- Butter: I prefer to use unsalted butter, but if you only have salted butter handy, you can use it. In this case, skip the salt called in the recipe.
- Vanilla extract: For optimal flavor, reach for pure vanilla instead of imitation. Even better, try homemade vanilla extract!
- Flour: For this recipe, I used self-rising flour. However, you can also use all-purpose flour if that is what you have handy. In that case, add 3 teaspoons of baking powder and a teaspoon of salt.
- Milk: For baking, I like to use whole milk. However, you can use any milk you have handy.
- Vinegar: You can use apple cider vinegar or white vinegar
- Food Coloring: You will need red and blue gel food colors. I recommend using gel or paste food colors since they are highly concentrated, and you’ll end up using less.
For the Glaze:
- Confectioners’ sugar
- Milk
- Pinch of salt
- Red, white and blue sprinkles (optional)
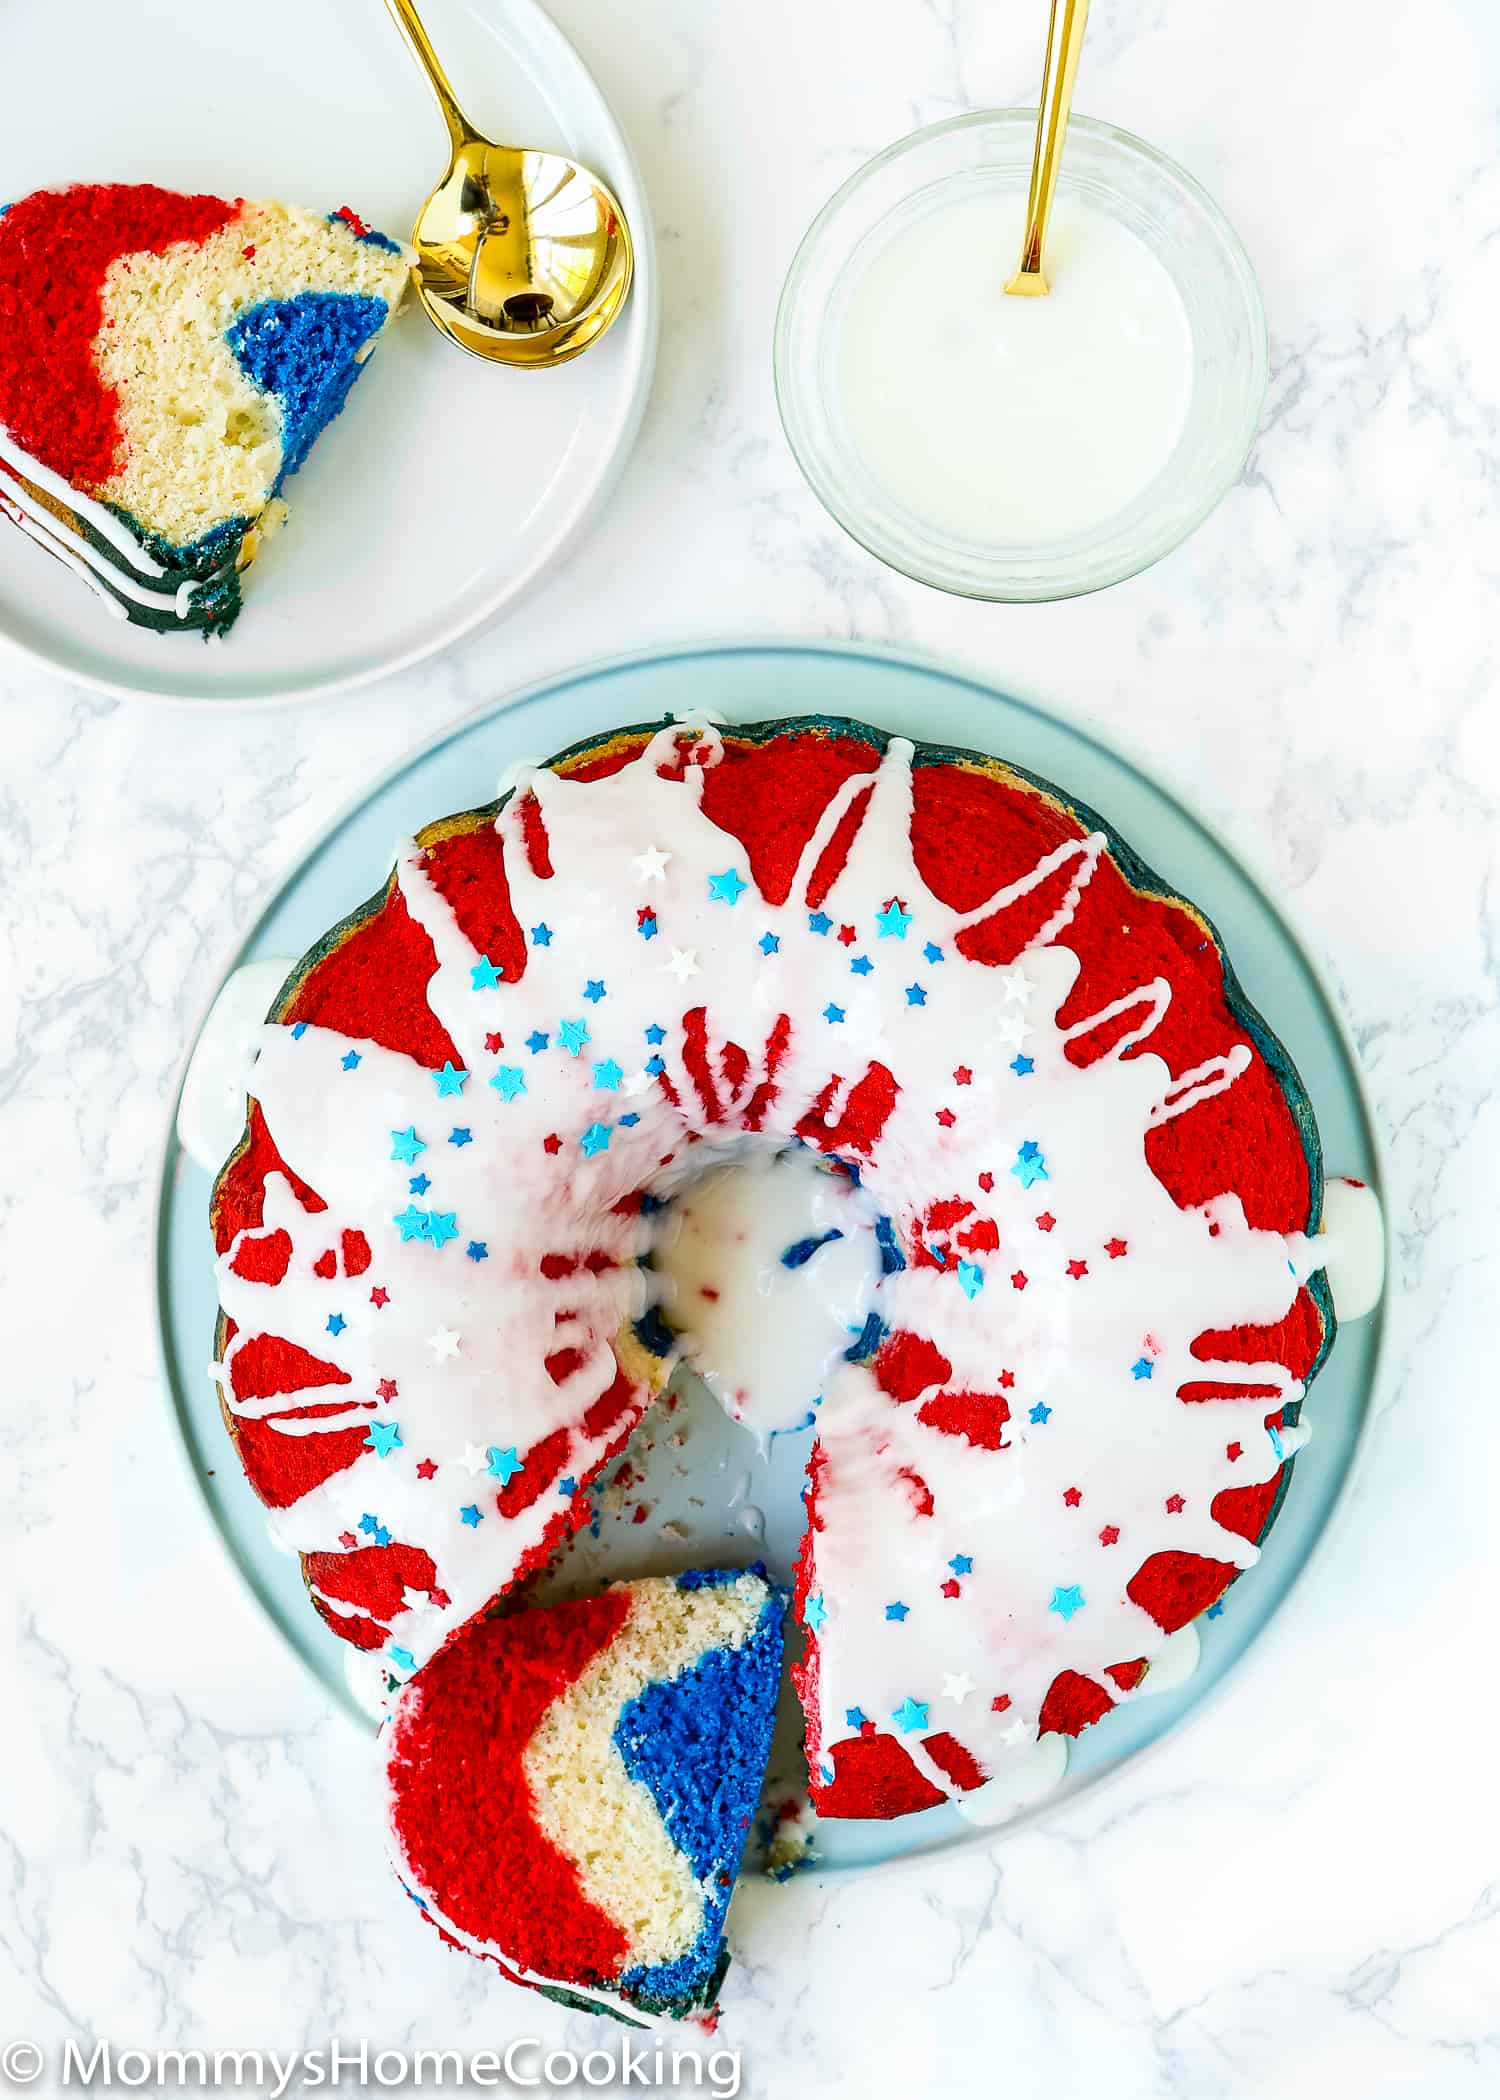
Steps to Make Fourth of July Eggless Cake
Please check the recipe card at the bottom of the post for exact quantities and instructions (scroll down).
- Make the cake batter: In a large bowl, beat the sugar and butter until creamy and pale. Add vanilla and mix to combine. Combine milk and vinegar in a small bowl. Set aside. Add the flour alternately with milk to the butter mixture. Beat just until incorporated.
- Divide the batter: In a small bowl, place 2 cups of the batter; stir in 1 teaspoon of the red food color until blended. In another small bowl, place 2 cups of the batter; stir in 1 teaspoon of the blue food color until blended.
- Assemble: Pour red cake batter into the bottom of the prepared fluted cake pan. Carefully pour the remaining white batter over the red batter in the pan. Carefully pour blue batter over white batter. (Blue batter does not need to cover white batter completely.
- Bake. Let it rest for 10 minutes and then remove from the pan; let the cake cool completely before decorating with the glaze and sprinkles.
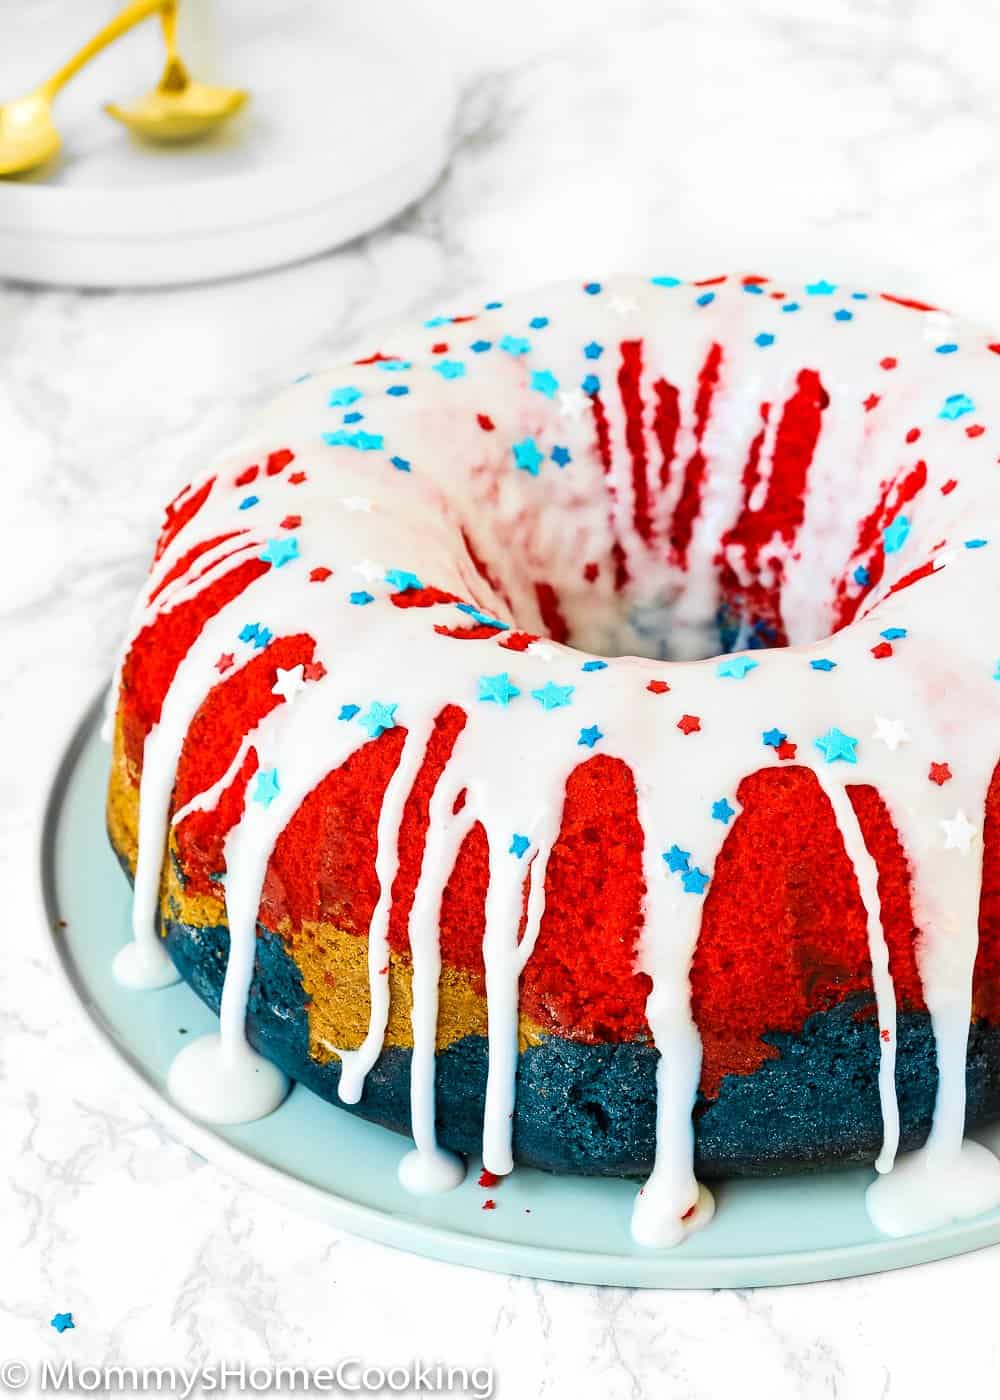
Frequently Asked Questions
Yes, you can! Just covered with plastic wrap, it keeps well at room temperature for up to 2 days. Add the icing just before serving.
Yes, you can! In that case, mix the all-purpose flour with 3 teaspoons of baking powder and a teaspoon of salt.
Adapt This Recipe to Other Food Allergies
This recipe is egg- and nut-free, but you can adapt it to other food allergies.
Gluten-Free
Substitute all-purpose flour for 1-to-1 Gluten-Free flour mix. My favorite brand is Better Batter Original All Purpose Flour Blend. Cup4Cup will also work fine, but the texture will be slightly different.
Dairy-Free
Use your favorite plant-based, dairy-free, or vegan butter and milk. Make sure to use an unflavored, unsweetened variety of non-dairy milk. Soy and oat milk have the best consistency and very neutral flavors. My favorite dairy-free butter brands for baking are:
Storing & Freezing Instructions
Cover leftover cake tightly and store at room temperature for up to 3 days and/or in the refrigerator for up to 5 days.
To freeze just follow these simple steps:
- Let the cake cool completely.
- Wrap it up in 2 layers of plastic wrap, then with foil to avoid freezer burn.
- Place inside a large freezer Ziploc bag and freeze for up to 2 months.
Ready to eat it? Thaw overnight in the refrigerator and bring to room temperature before slicing and serving.
More Recipes You’ll Love!
- The Best Eggless Chocolate Cake Ever
- Eggless Red Velvet Cake
- Eggless Sugar Cookies
- Eggless Snickerdoodle Cookies
- Eggless Vanilla Cake Recipe
- Eggless Vanilla Cupcakes
- The Best Eggless Chocolate Chip Cookies
- Eggless Chocolate Cupcakes
- More recipes…
❤️ Love what you see? JOIN my Private Baking Club. Also, SUBSCRIBE to Mommy’s Home Cooking, so you’ll never miss a recipe! And FOLLOW along on Instagram, Pinterest, and Facebook for more fun!
Recipe Card 📖
Red, White, and Blue Eggless Bundt Cake

Equipment
Ingredients
- 2 cups (450 ml) whole milk (you can substitute with any plant milk you like)
- 2 tablespoons (30 ml) apple cider vinegar
- 2 cups (400 g) granulated sugar
- 1 cup (226 g) unsalted butter, softened (2 sticks)
- 2 teaspoons vanilla extract
- 4 cups (560 g) self-rising flour (see notes)
- Red and blue gel food color
Glaze:
- 1 cup (120 g) confectioners' sugar
- 2 ½ – 3 tablespoons milk
- Pinch of salt
- Red, white and blue sprinkles (optional)
Instructions
- Preheat oven to 350º F (180º C). Generously, spray 12-cup fluted tube cake pan with baking spray with flour.
- Combine milk and vinegar in a small bowl. Let the mixture stand at room temperature for 5 to 10 minutes. When it is ready, the milk will be slightly thickened and you will see small curdled bits. Set aside.
- In a large bowl, beat the sugar and butter until creamy and pale. Scrape down the sides and up the bottom of the bowl with a rubber spatula as needed. Add vanilla and mix to combine.
- Add the flour alternately with the milk mixture to the creamed butter, beginning and ending with the flour. Scrape down the mixing bowl with a spatula and turn the batter over several times to ensure all of the ingredients are well incorporated. Beat just until incorporated. Do not overmix this batter.
- In a small bowl, place 2 cups of the batter; stir in 1 teaspoon of the red food color until blended.
- In another small bowl, place 2 cups of the batter; stir in 1 teaspoon of the blue food color until blended.
- Pour red cake batter into the bottom of the prepared fluted cake pan. Carefully pour the remaining white batter over the red batter in the pan. Carefully pour blue batter over white batter. Note: Blue batter does not need to cover white batter completely.
- Bake for 40 – 45 minutes, or until a skewer comes out clean when poked in the center.
- Remove from the oven and allow the cake to cool for 10 -1 5 minutes. Remove from the pan; let the cake cool completely before decorating.
Glaze:
- Mix sugar, milk and salt in a small bowl until smooth.
- Drizzle the glaze over the top of the cooled cake, letting it drip down the sides. Let stand for 20 minutes until the glaze is set. Cut the cake into wedges and serve. Sprinkle candy sprinkles on top, if desired.
- Let the cake cool completely.
- Wrap it up in 2 layers of plastic wrap, then with foil to avoid freezer burn.
- Place inside a large freezer Ziploc bag and freeze for up to 2 months.
- Flour: You can use all-purpose flour, just mix the all-purpose flour with 4 teaspoons of baking powder + 1/2 teaspoon of salt.
- I made this cake from scratch, but if you want to use a cake box mix, check out my post about How to Make a Cake Mix Box without Eggs.
- When you add the batter to the pan, do not mix with a spoon. Just pour it in so colors don’t mix but rather, just rest on top of each other in the pan.
Nutrition
Originally posted in June 2018, the post content was edited to add more helpful information, no change to the recipe in July 2022.

