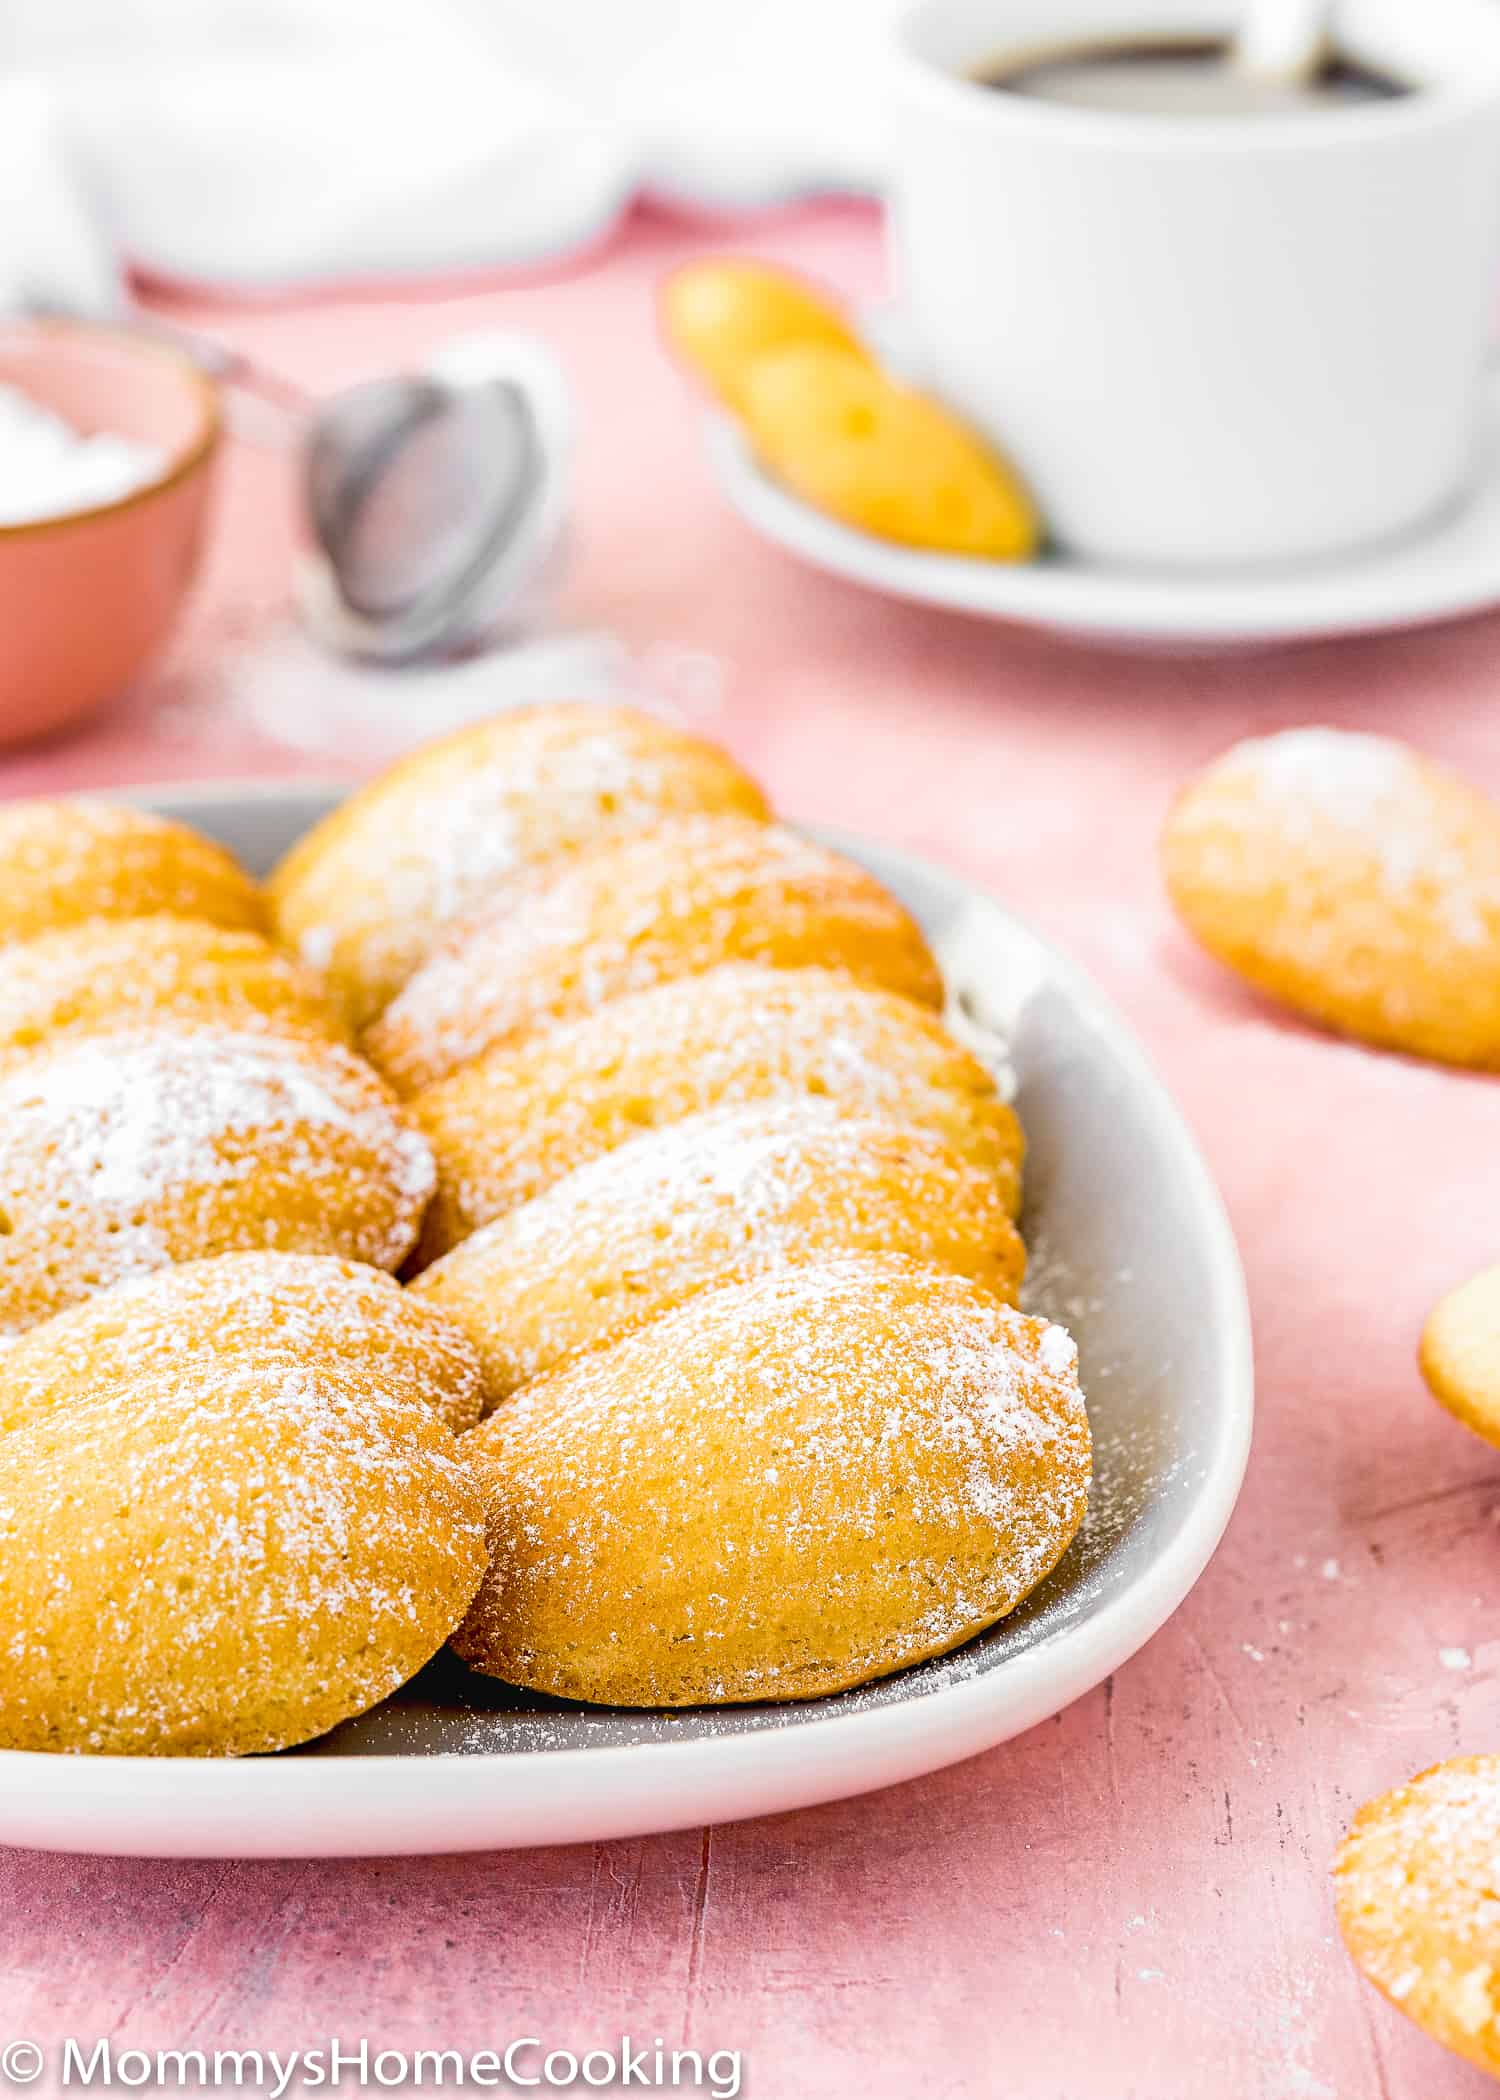
These Eggless Madeleines are buttery and tender with crisp edges! This easy egg-free recipe will have you whipping up Madeleines like a pro in no time! The recipe includes step-by-step photos and lots of tips.
Eggless Madeleines Recipe Highlights
It took weeks upon weeks to finally get this recipe perfected, but it was definitely worth it.
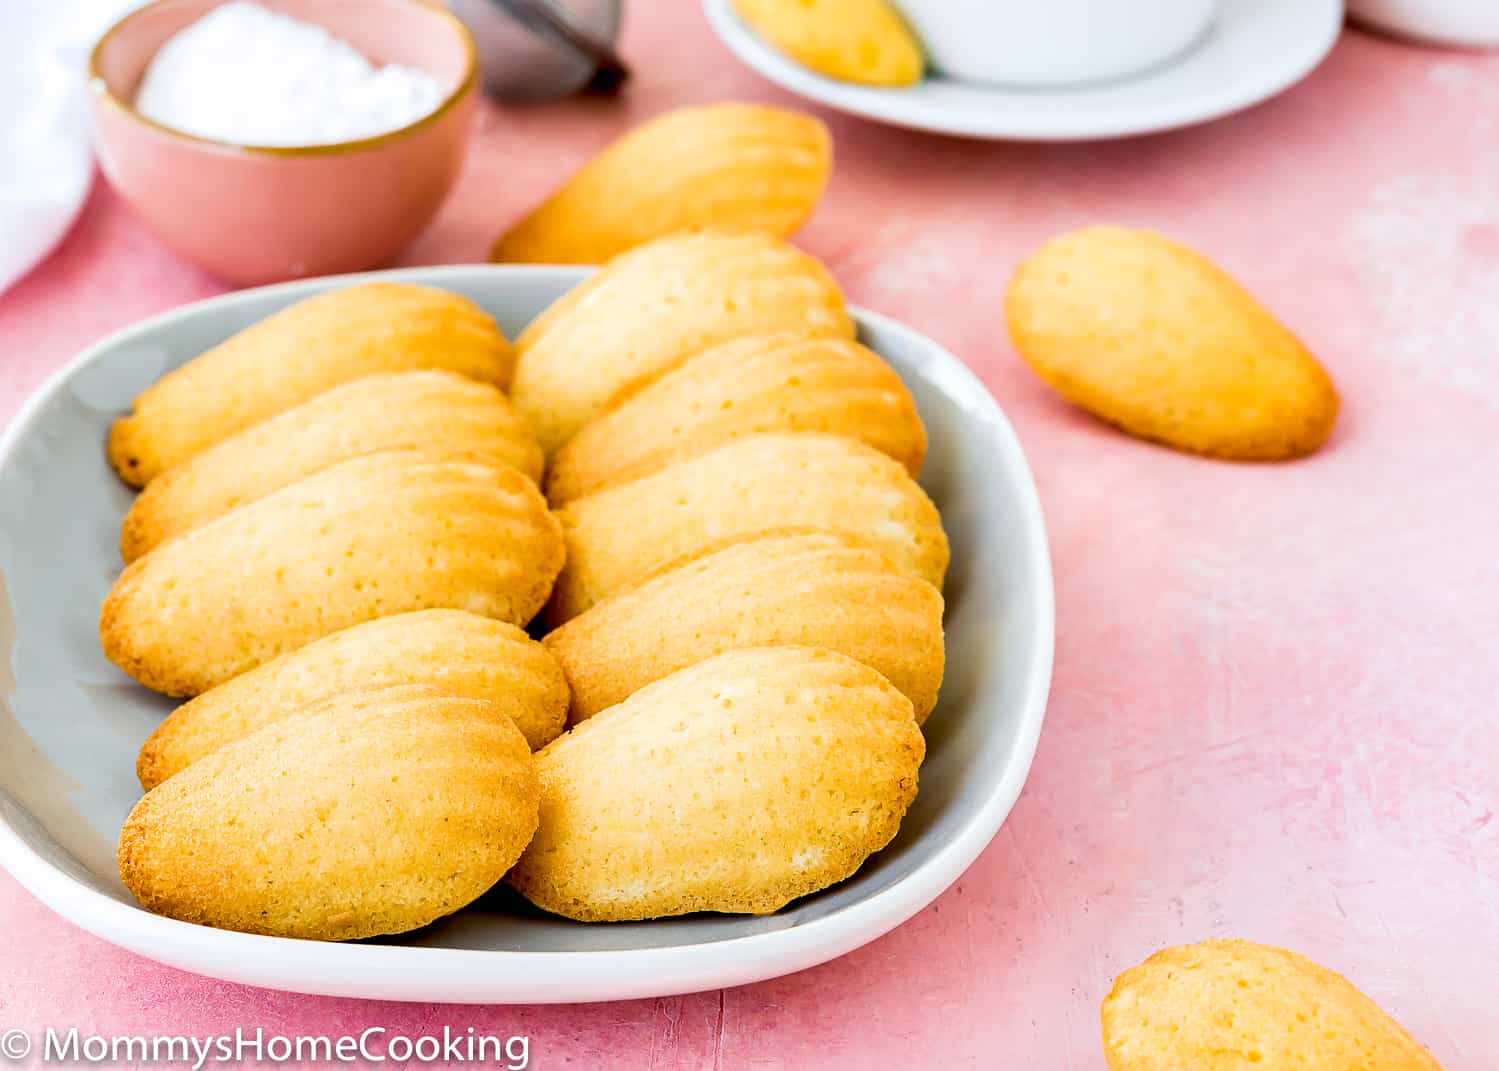
These Eggless Madeleines have a browned and crispy outside and subtly sweet airy melt-in-your-mouth crumb.
To say they’re delicious is an understatement. They’re extraordinary. Plus, they’re very easy to make.
Here’s a step-by-step recipe to guide you to egg-free Madeleine’s heaven.
Eggless Madeleines Ingredients
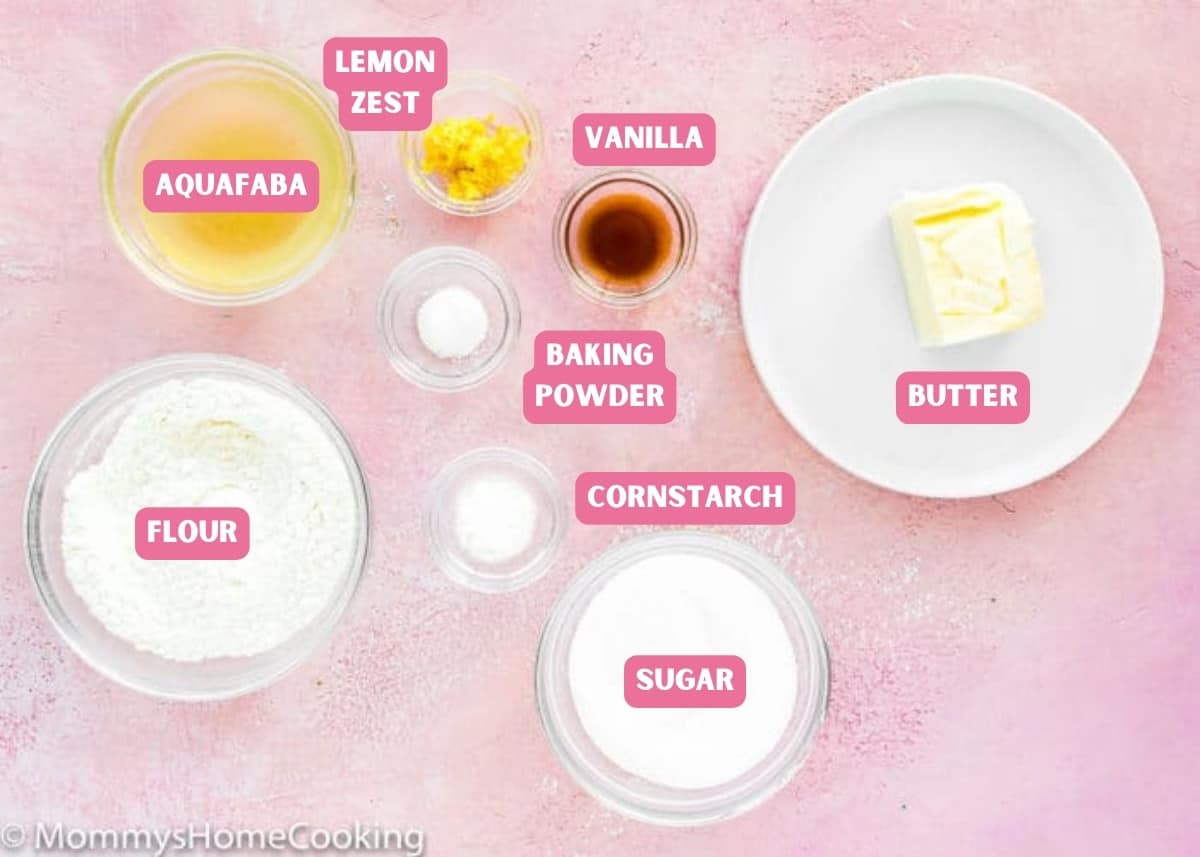
You’ll need:
Ingredients Notes & Substitutions
Please check the recipe card at the bottom of the post for exact quantities and detailed instructions (scroll down).
- Unsalted butter: I recommend using unsalted butter because the aquafaba is salty, so we don’t need to add more salt to the recipe.
- Aquafaba (chickpea brine): Aquafaba is just the liquid that we usually discard from a can of beans. This liquid emulates the unmistakably fluffy texture of whipped egg whites. Want to know more about aquafaba? Check this out!
- Sugar: Regular white granulated sugar o caster sugar
- Pure vanilla extract: You could substitute it for almond extract or even a dash of rosewater.
- Lemon zest: A bit of lemon zest adds a nice flavor to the madeleines but is optional.
- Flour: Standard all-purpose flour works best here, skip the cake flour, bread flour, and wheat flour. I like to sift flour before measuring. And then sift it again when adding to the batter.
- Baking powder: Make sure it’s not expired or too old.
- Confectioners’ sugar for sprinkling on top (optional)
How to Make Madeleines without Eggs Step by Step
Please check the recipe card at the bottom of the post for exact quantities and detailed instructions (scroll down).
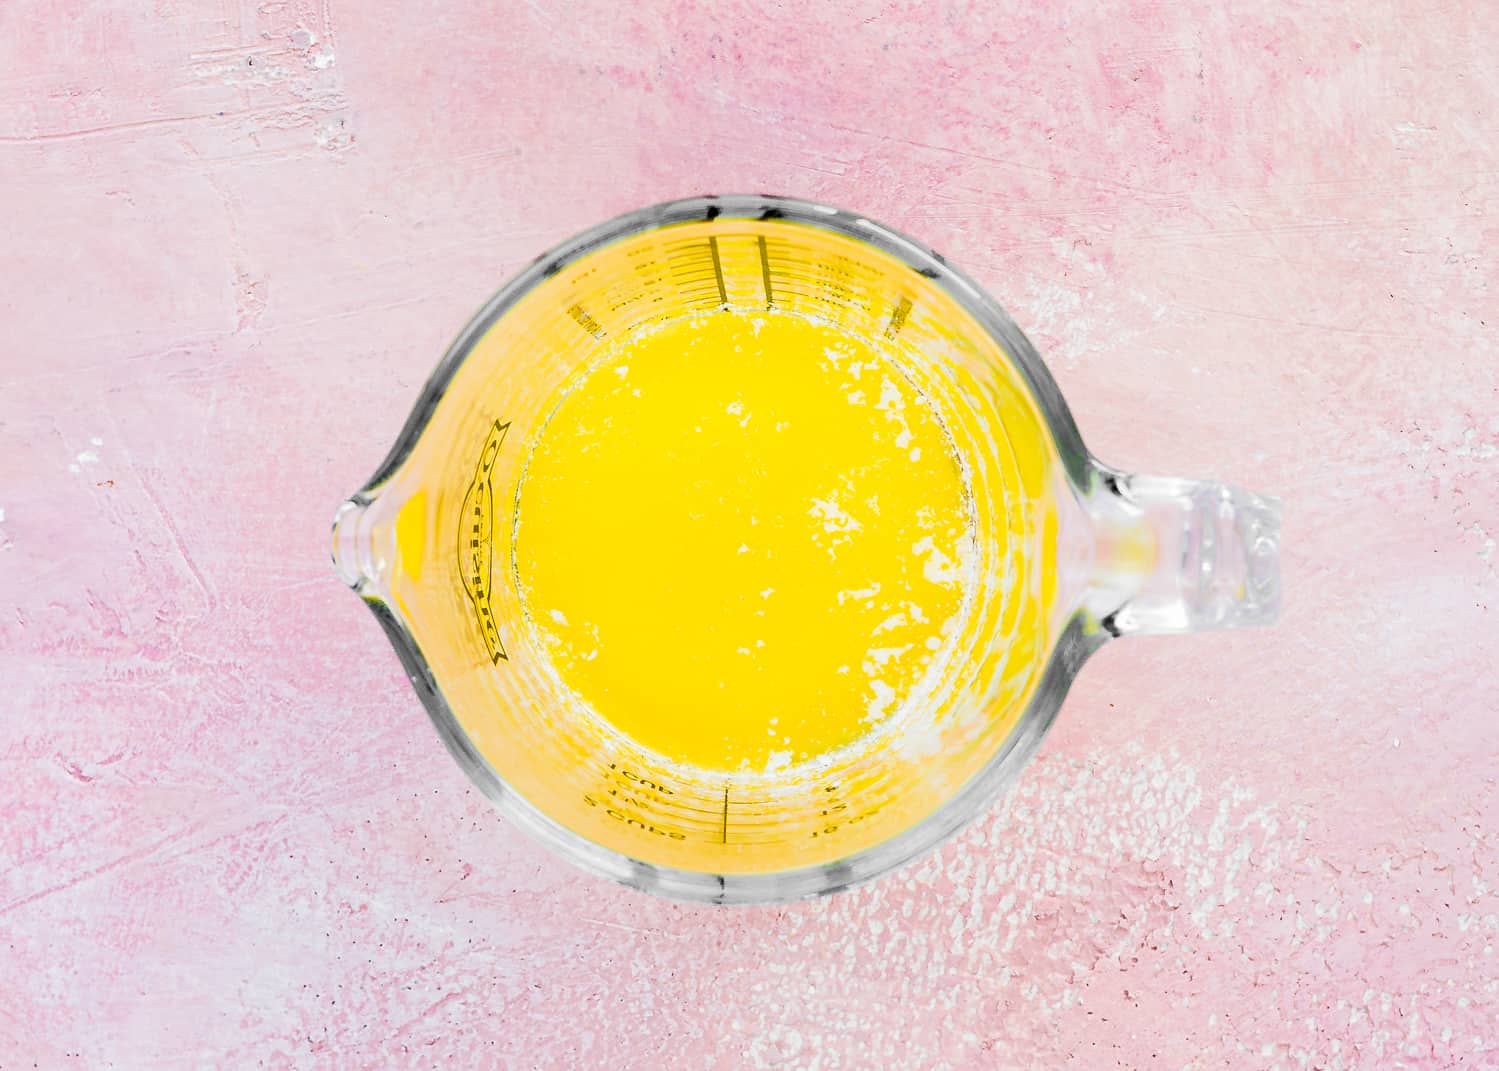
1 – Melt the butter.
2 – Whip the aquafaba. Then slowly add sugar and cornstarch. Add lemon zest and vanilla.
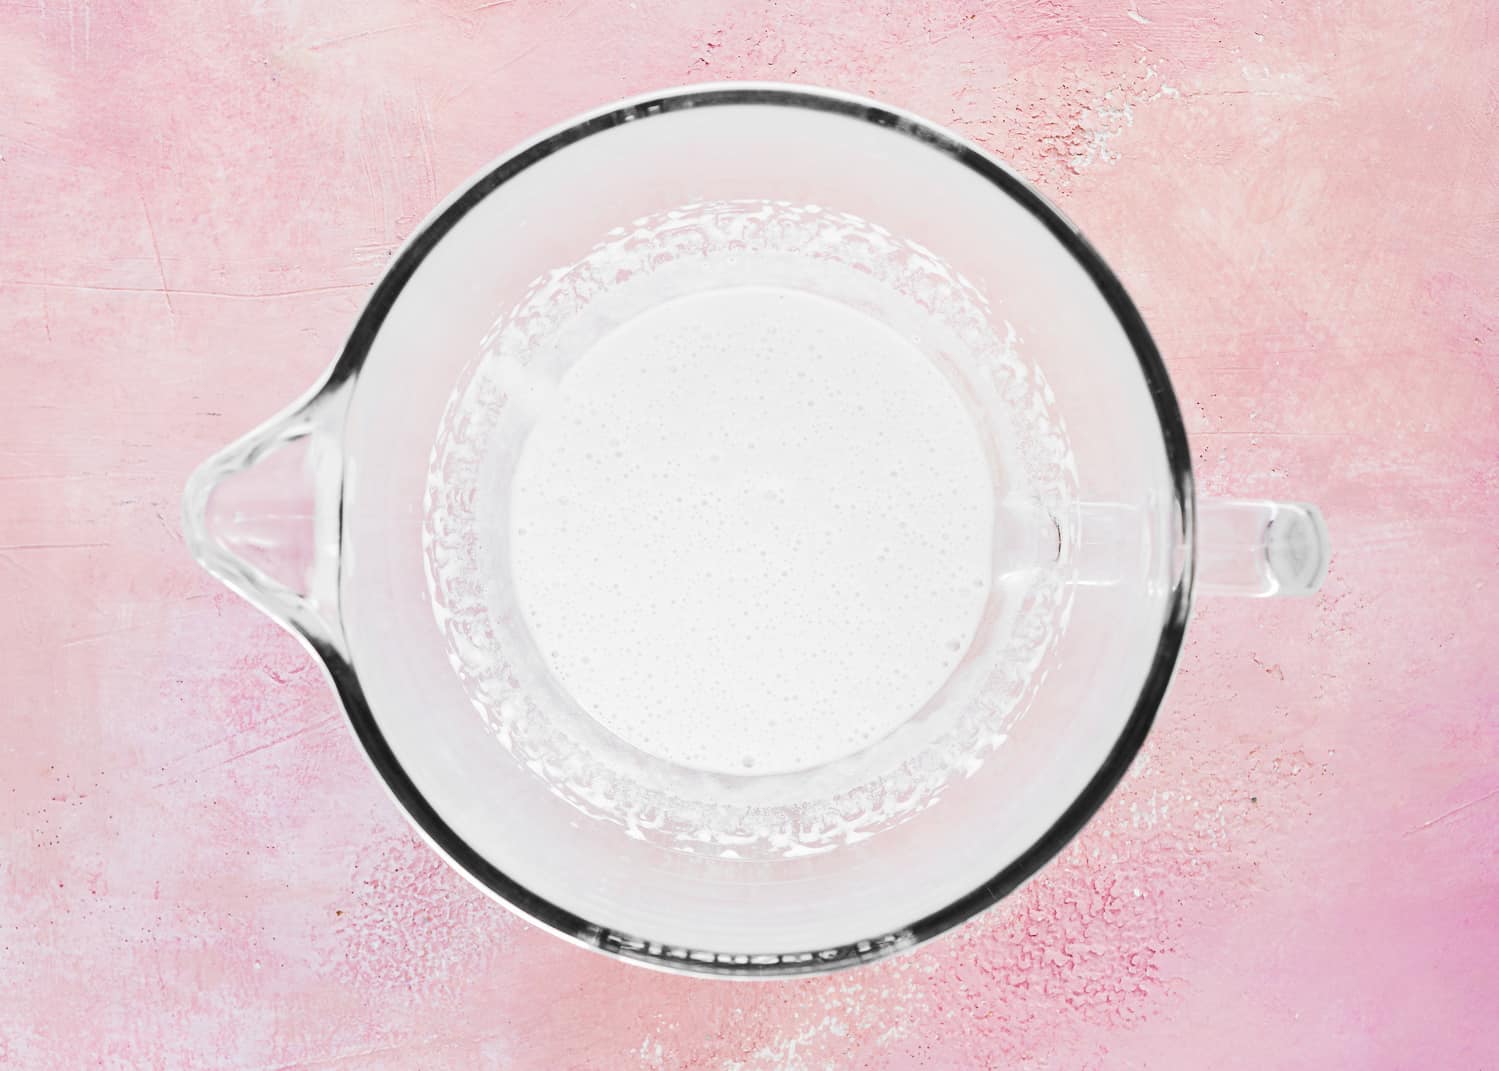
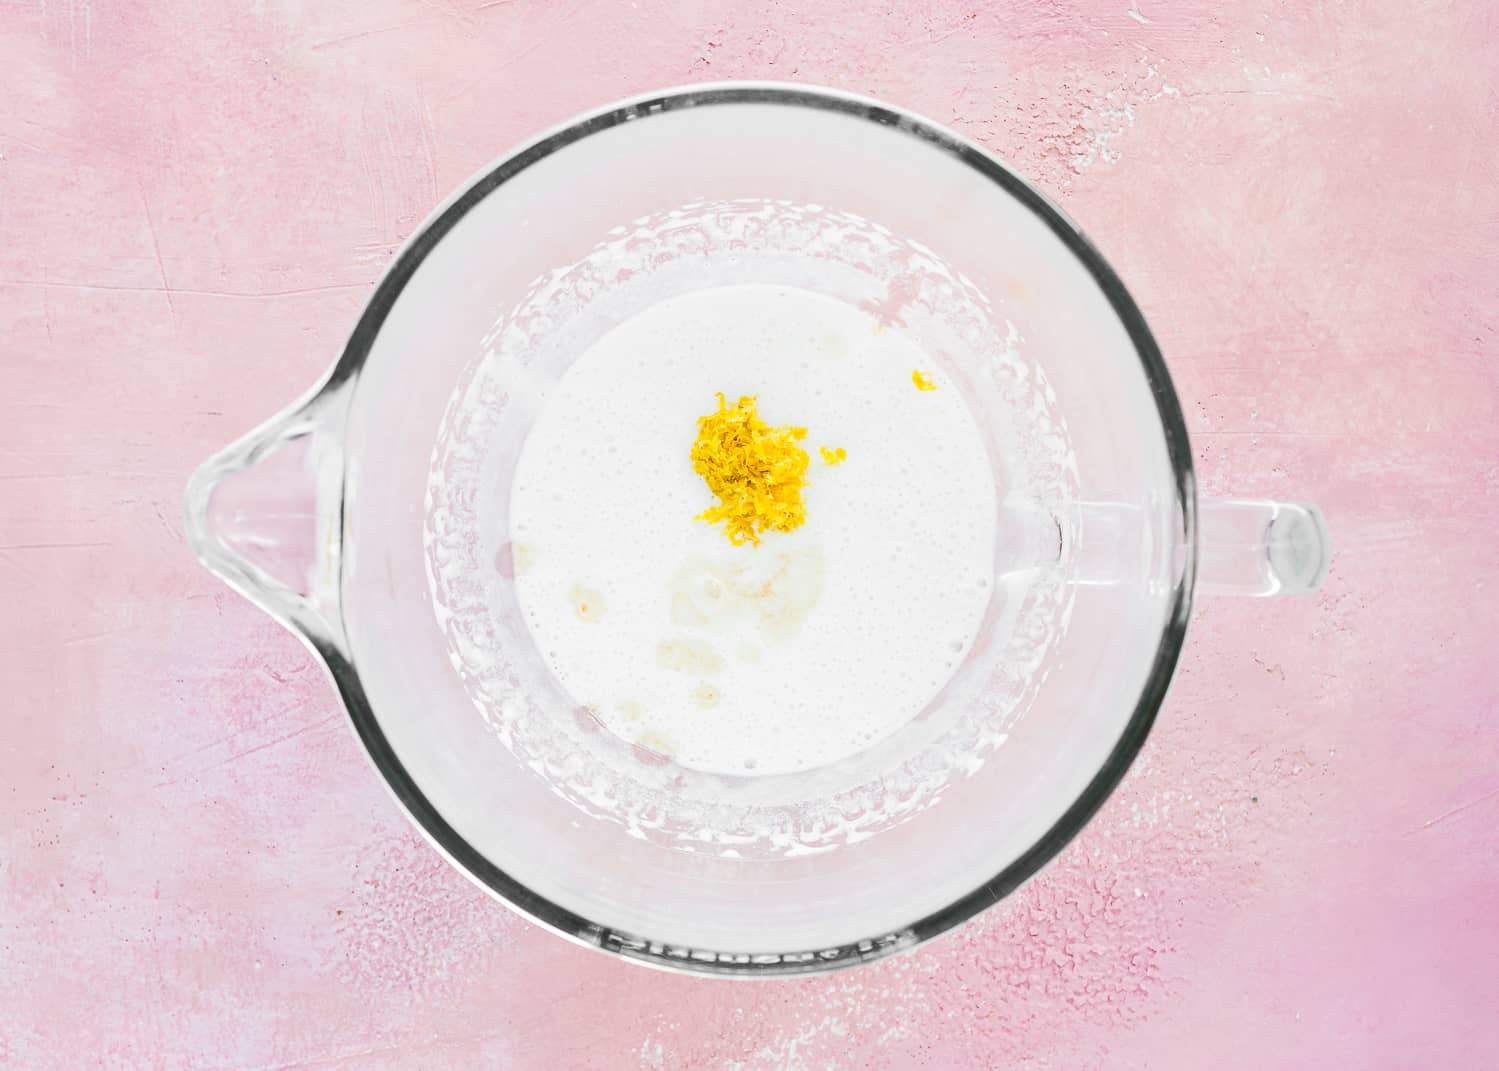
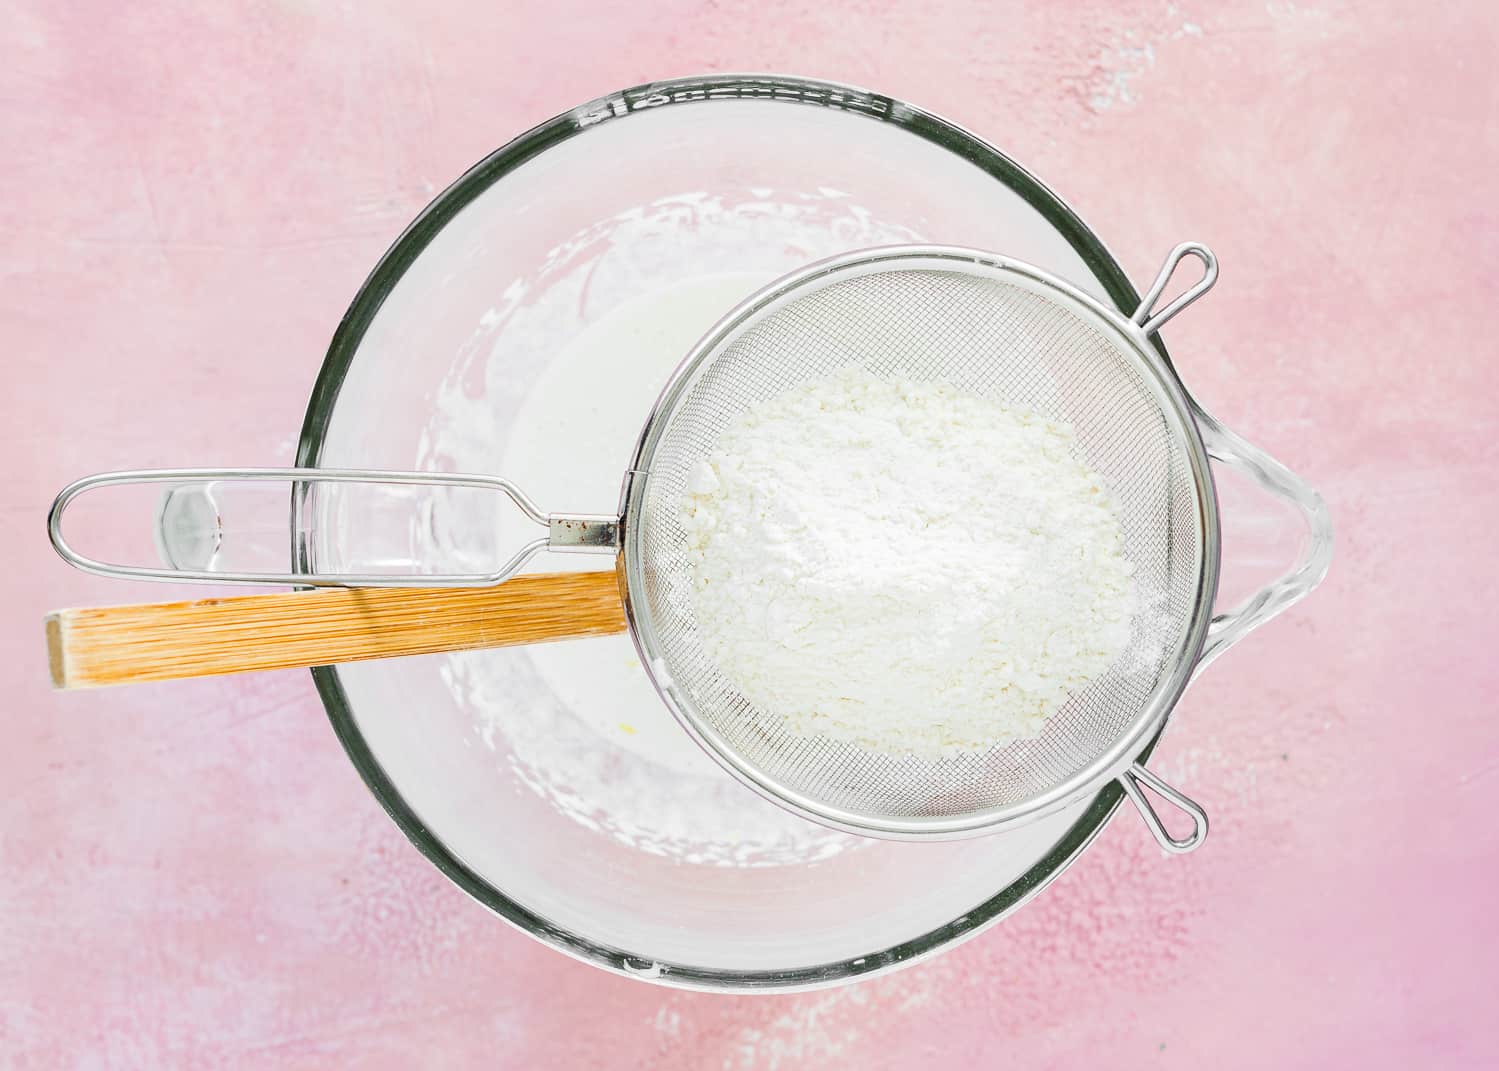
3 – Place a fine-mesh strainer over the bowl, and stiff the flour and baking powder into the bowl. Using a spatula or wooden spoon, gently fold into the aquafaba mixture.
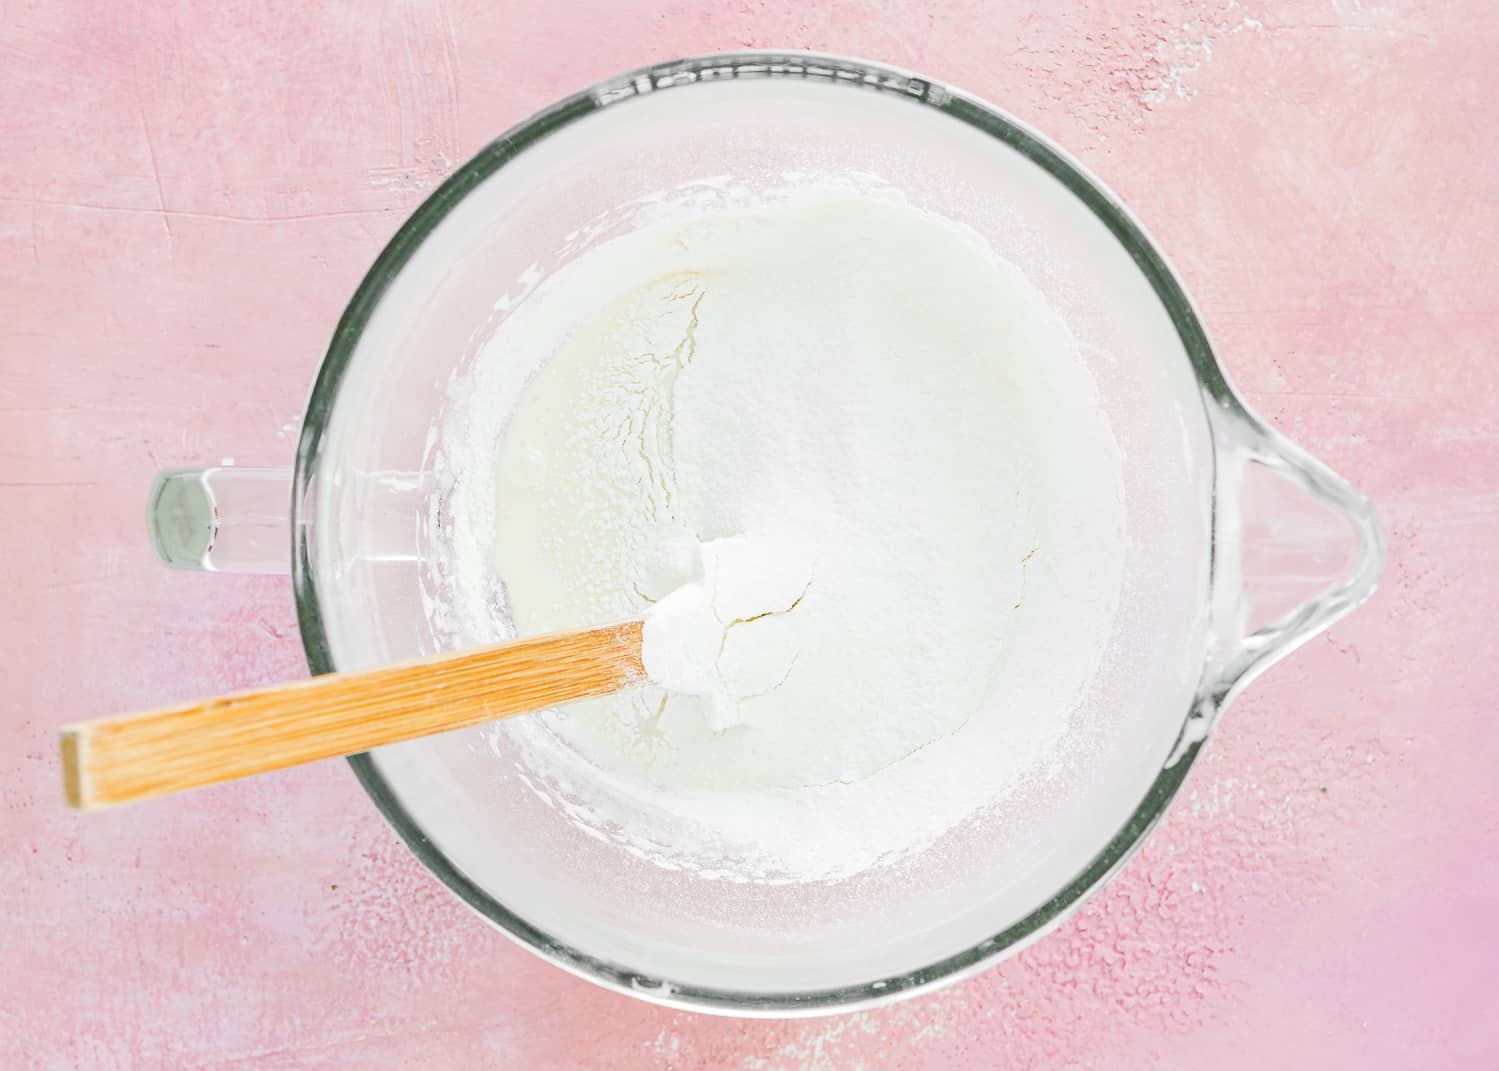
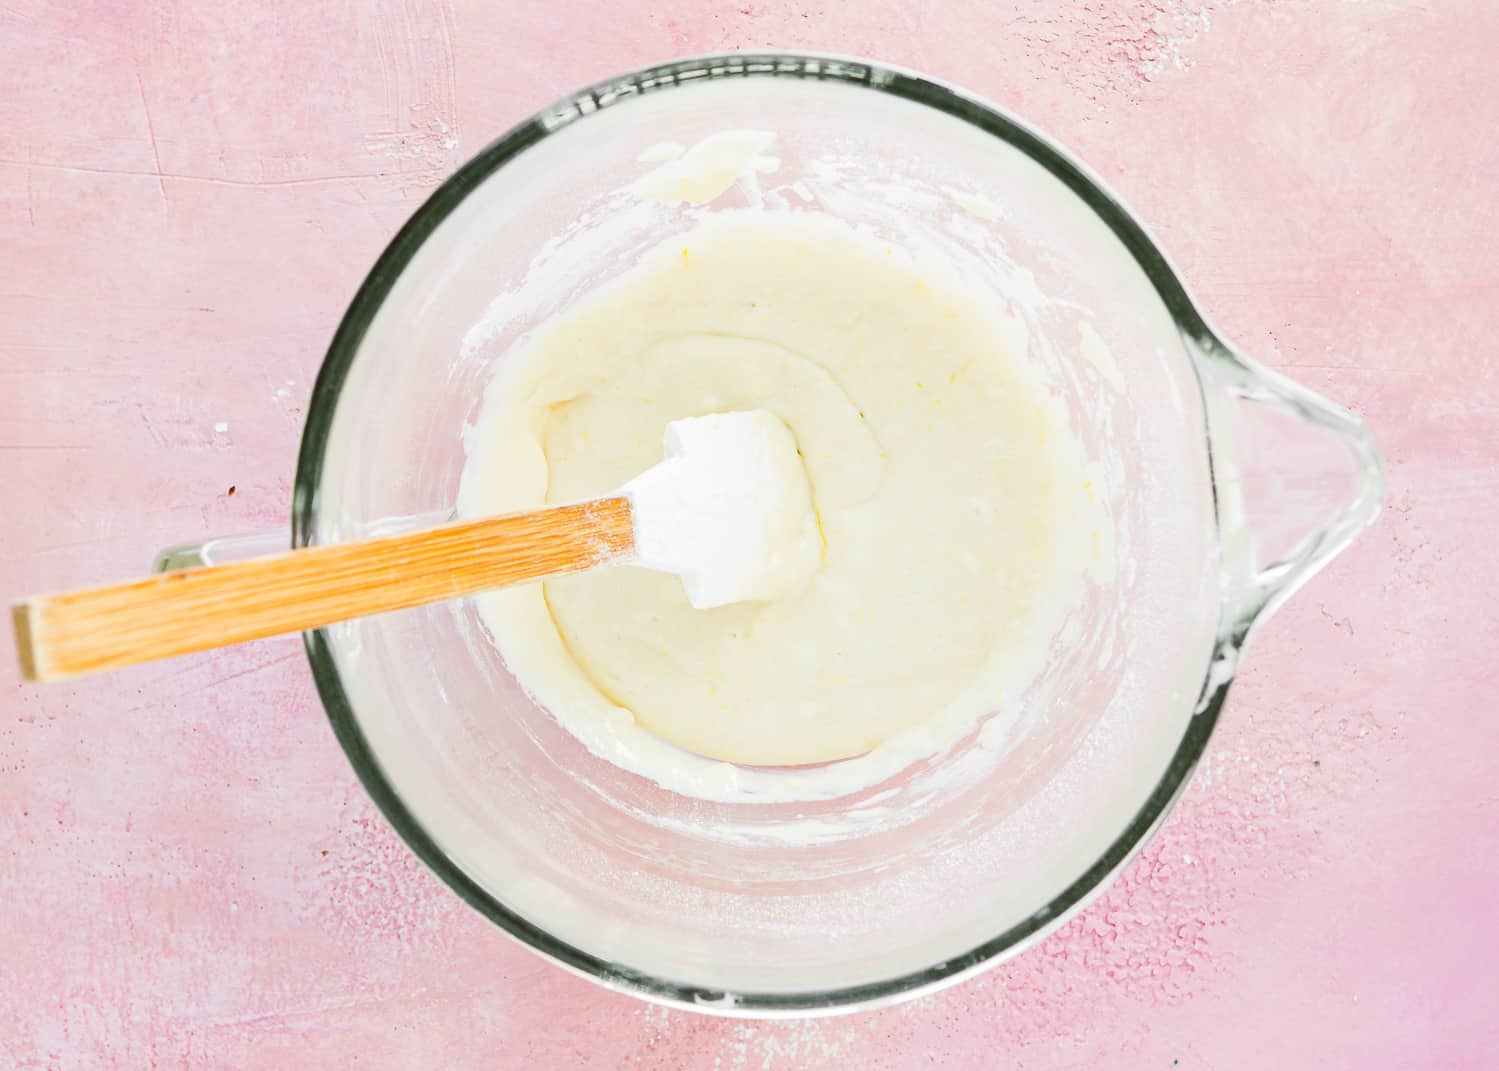
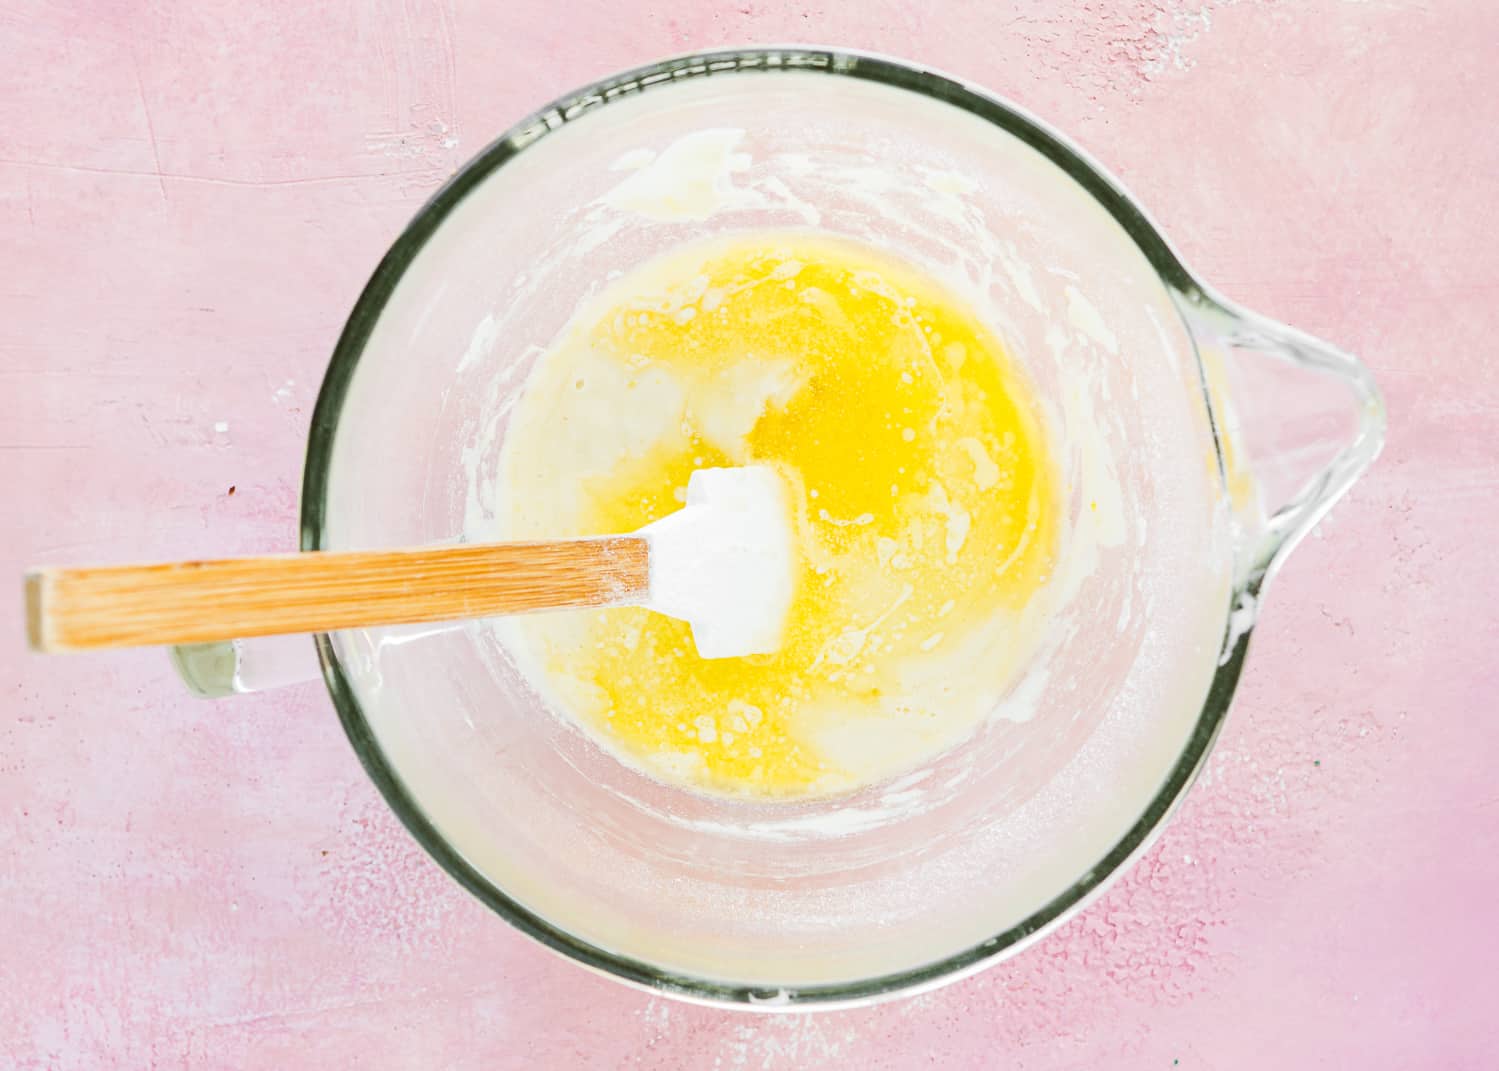
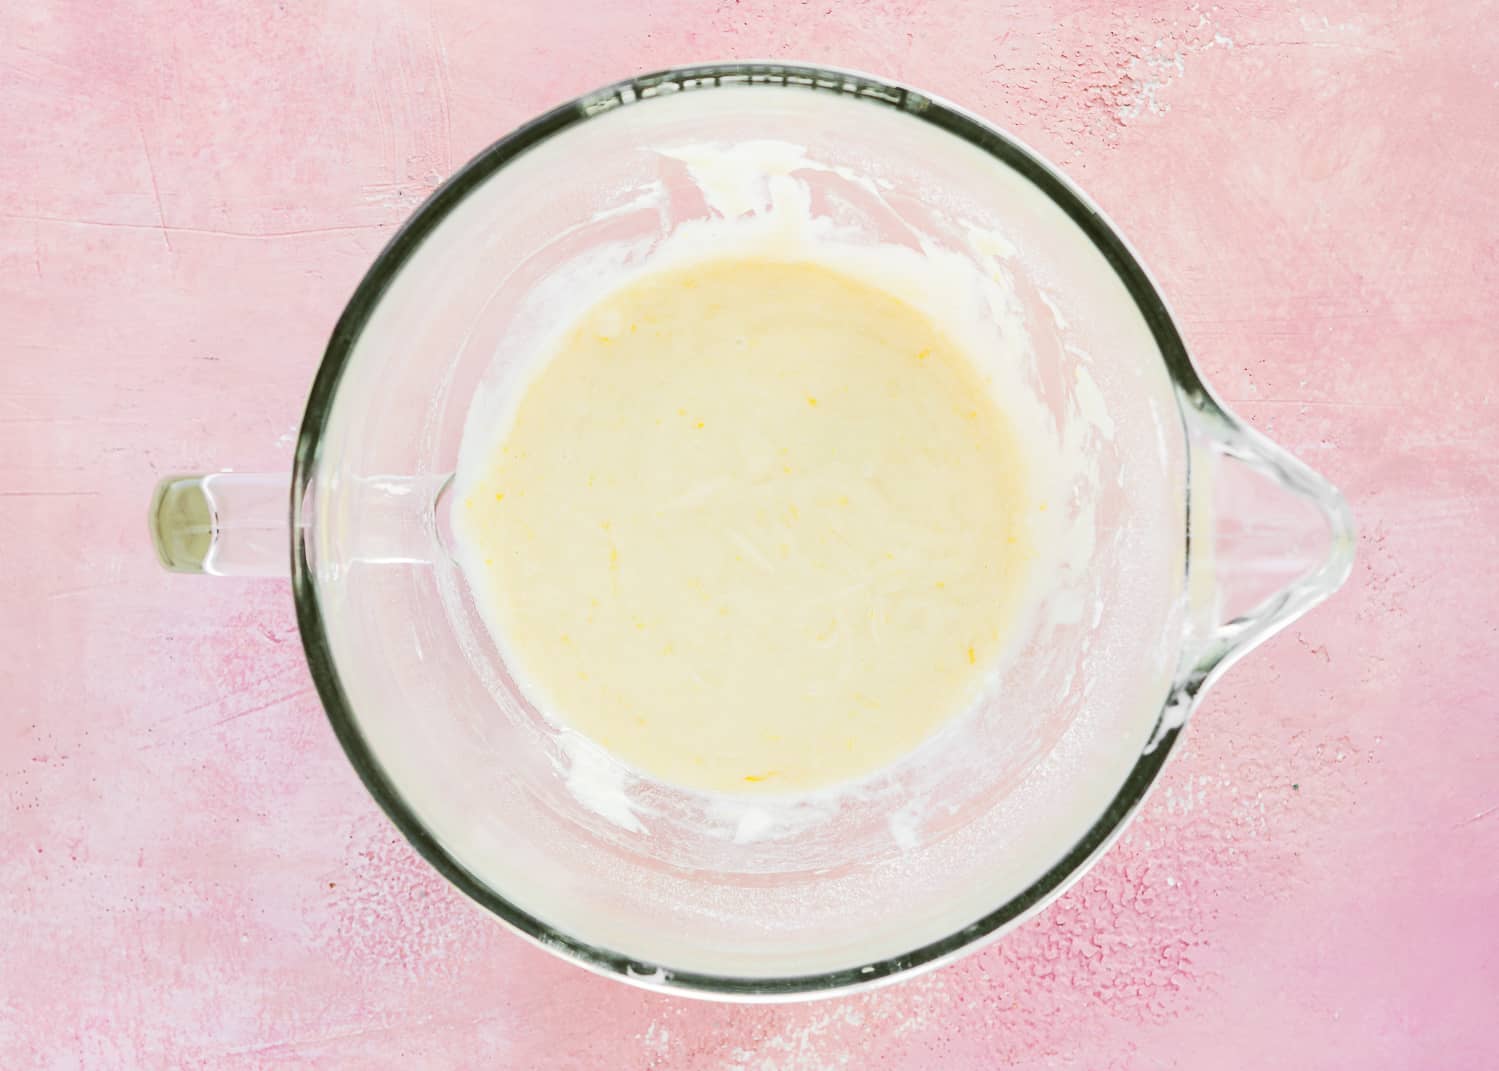
4 – Stir in melted butter until fully incorporated.
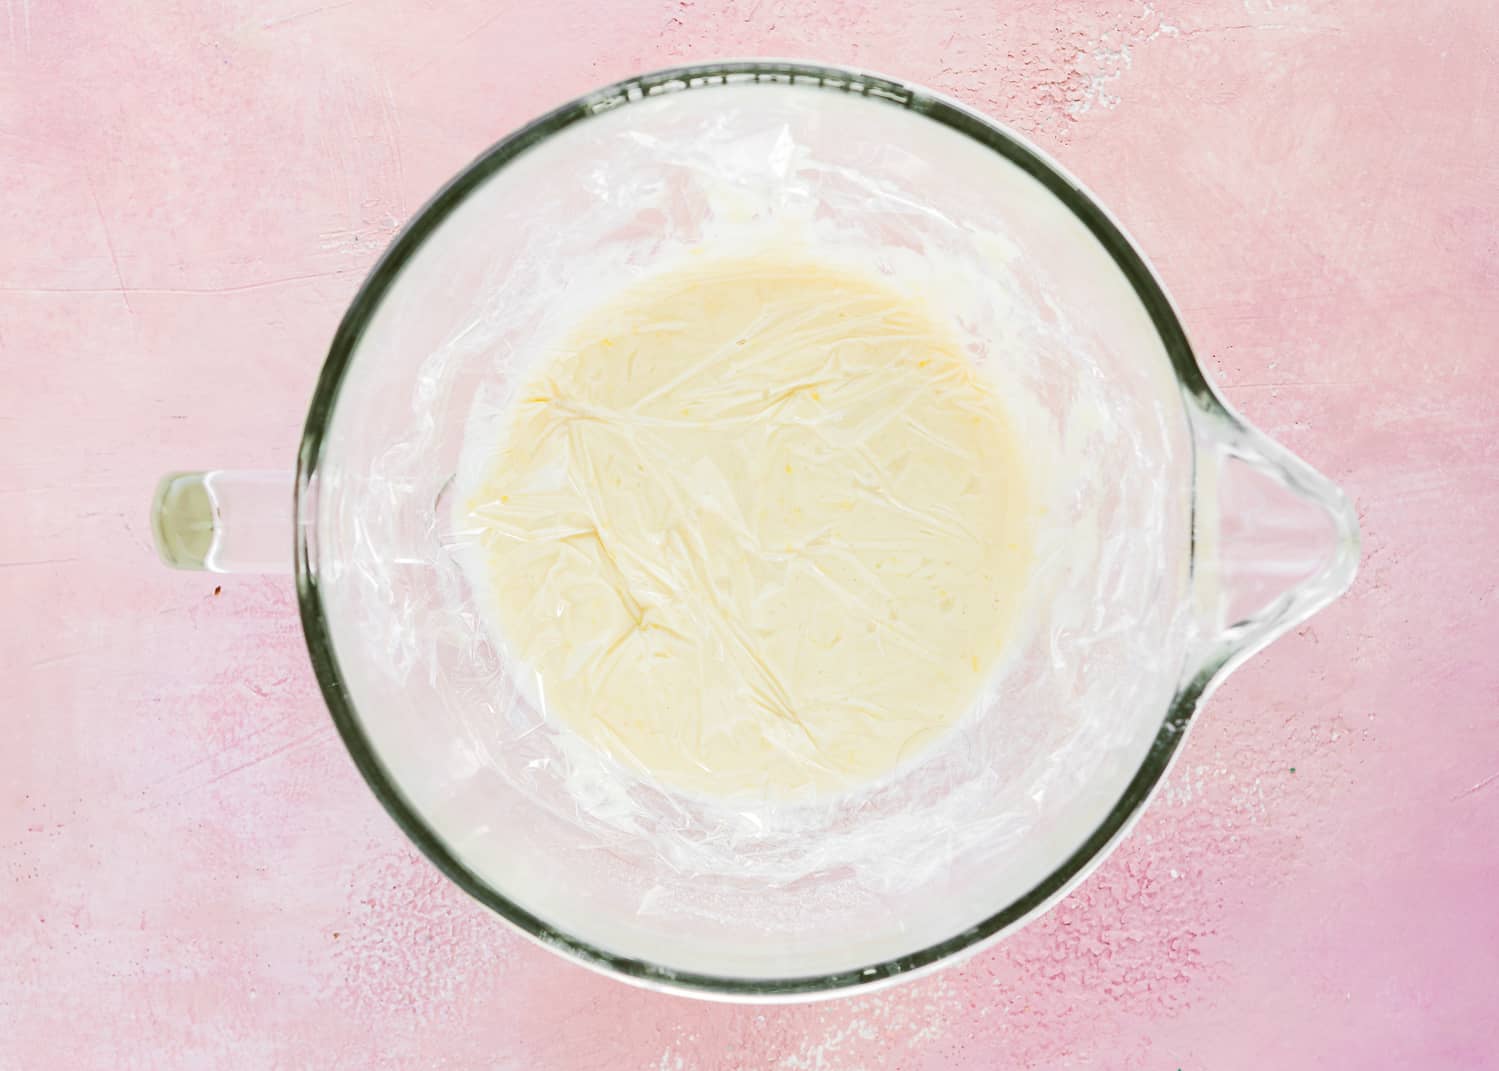
5 – Cover the batter with plastic wrap. Chill in the refrigerator for 60 minutes.
6 – Melt the remaining 2 tablespoons of butter. Using a pastry brush, brush the pan with melted butter. Refrigerate the pans until the butter hardens.
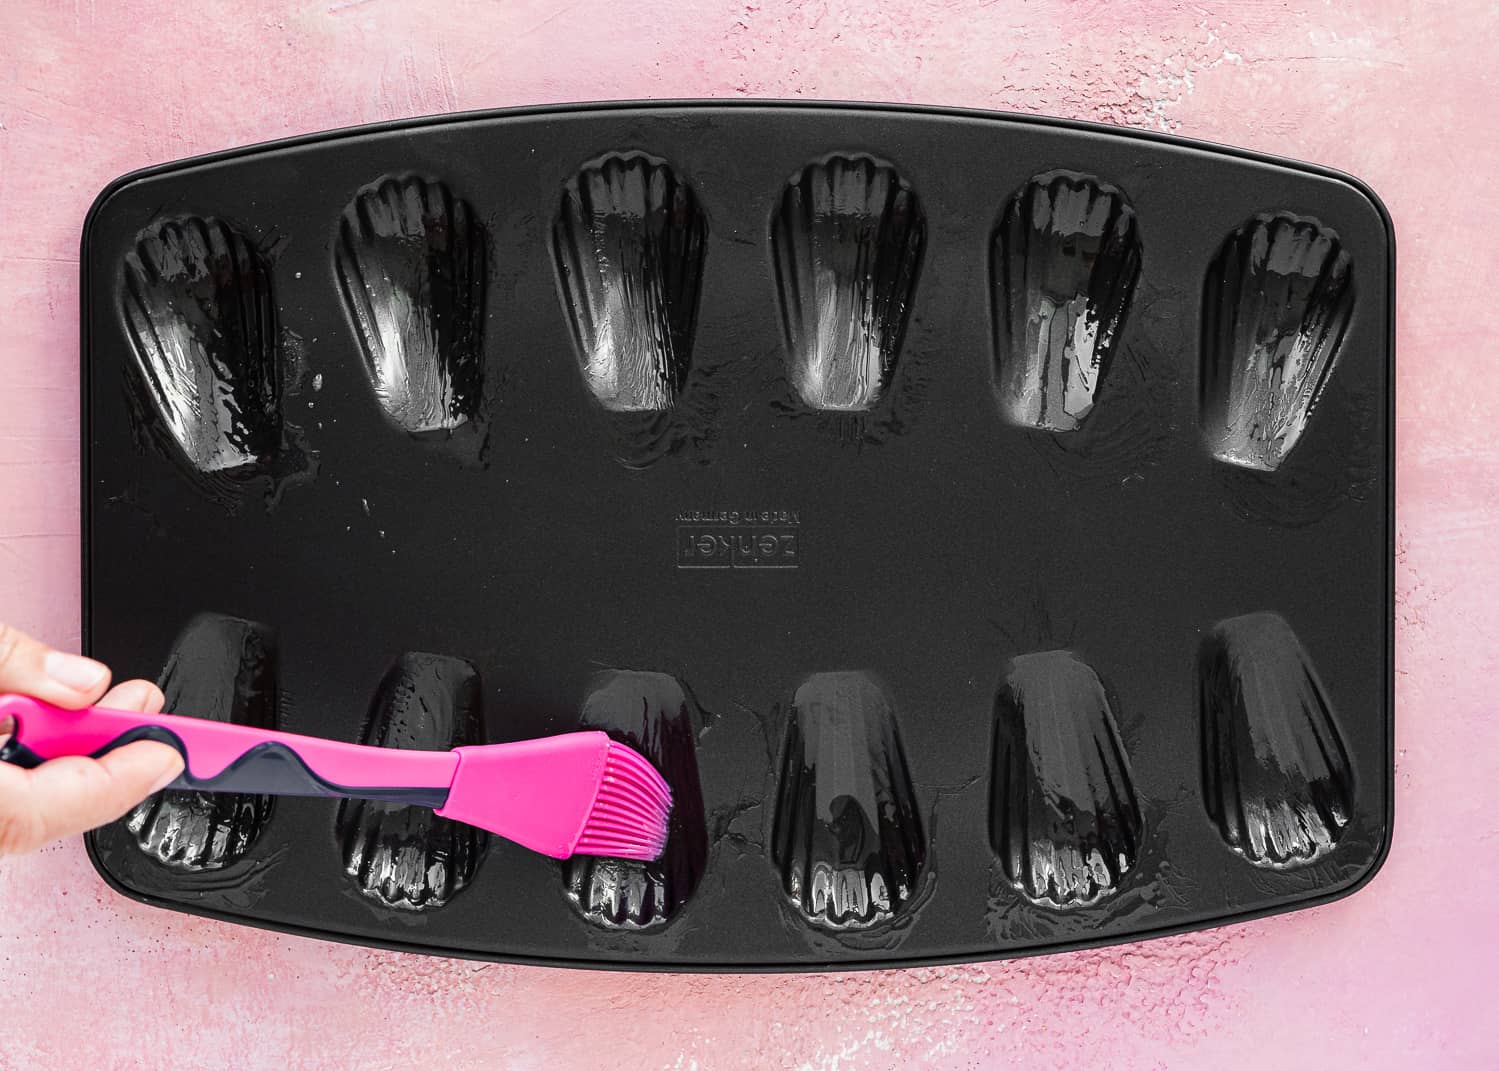
7 – Spoon 1 generous tablespoon of batter into the center of each scallop-shaped well (you can use an ice cream scoop).
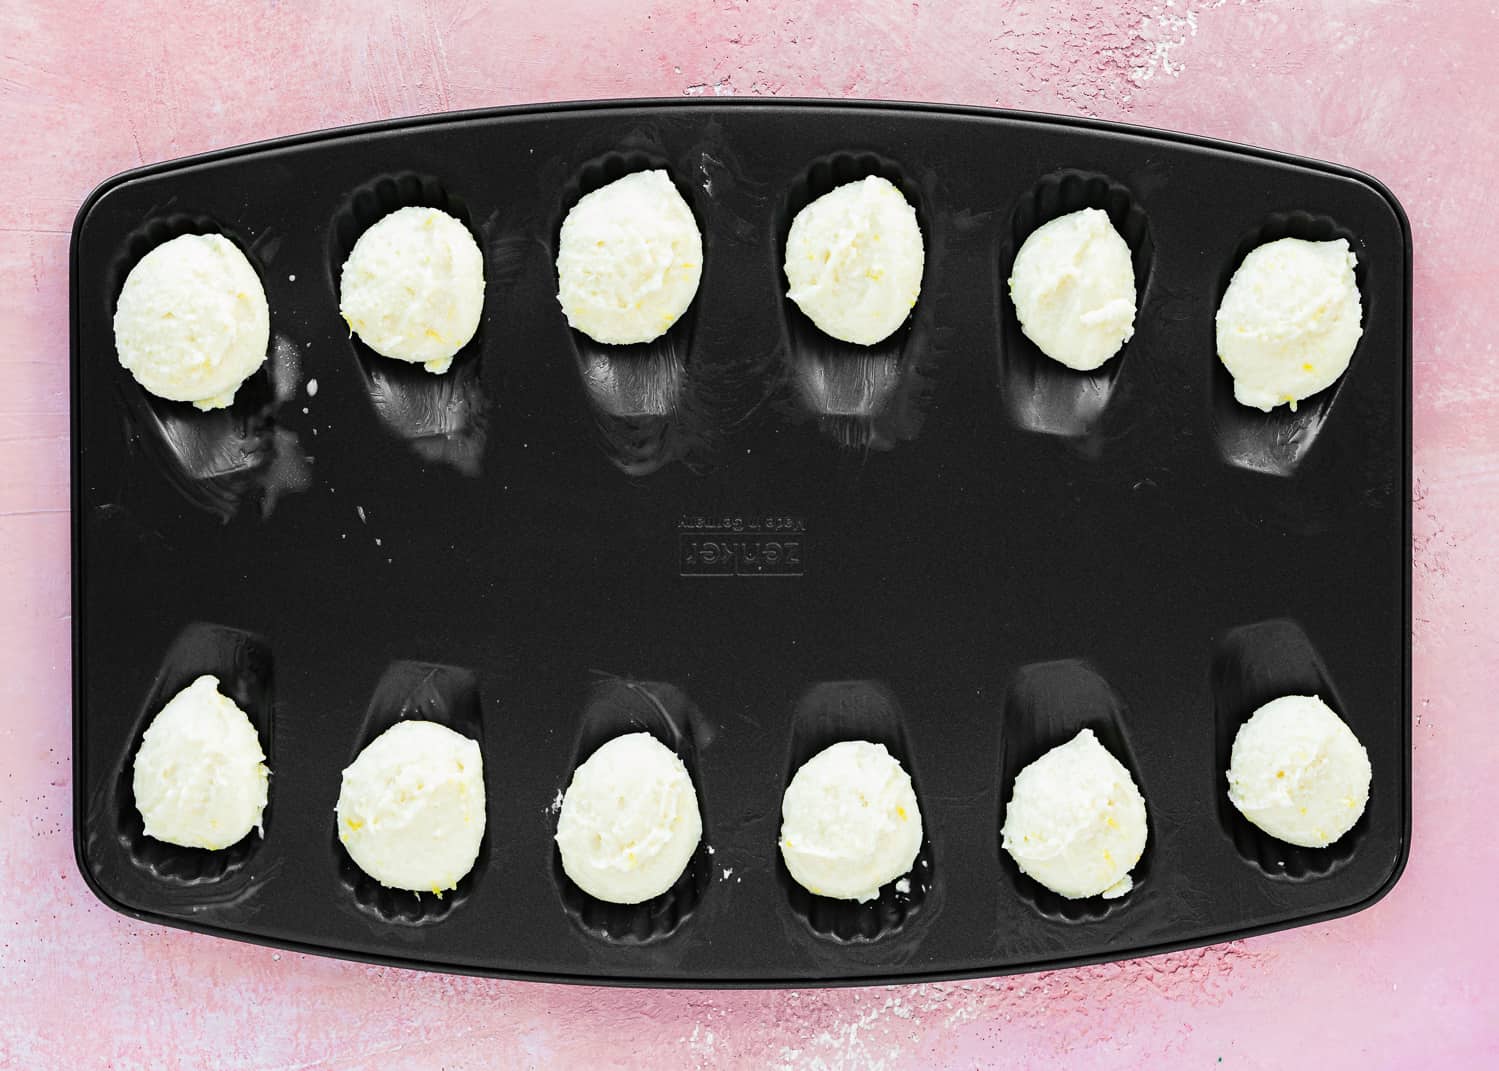
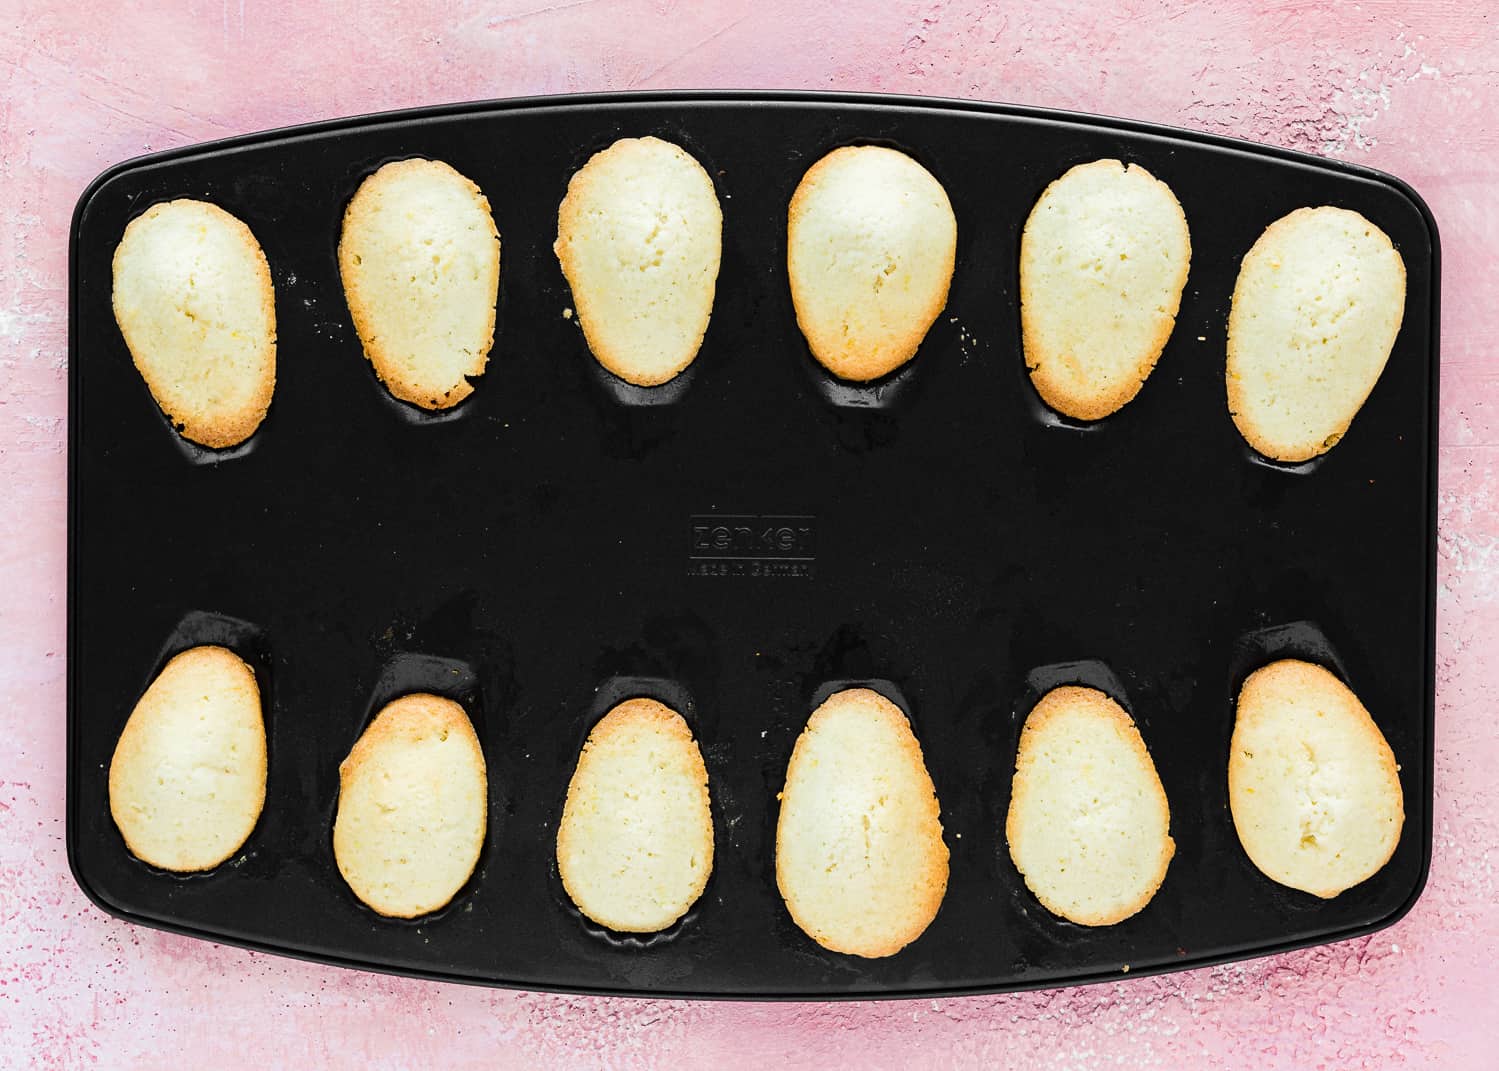
8 – Bake. Serve with a light dusting of confectioners’ sugar, if desired.
Tips to Make Perfect Eggless Madeleines
Depending on the consistency of the aquafaba, the whipping process may take less or more time. Ensure you get the mixture whipped enough; we need those air bubbles to get the perfect madeleine crumb.
Make sure you’re handling this batter with care. It’s very delicate. Instead of dumping the flour all in at once, I recommend carefully folding in half of the flour mixture, then folding in the other half—the same for the melted butter.
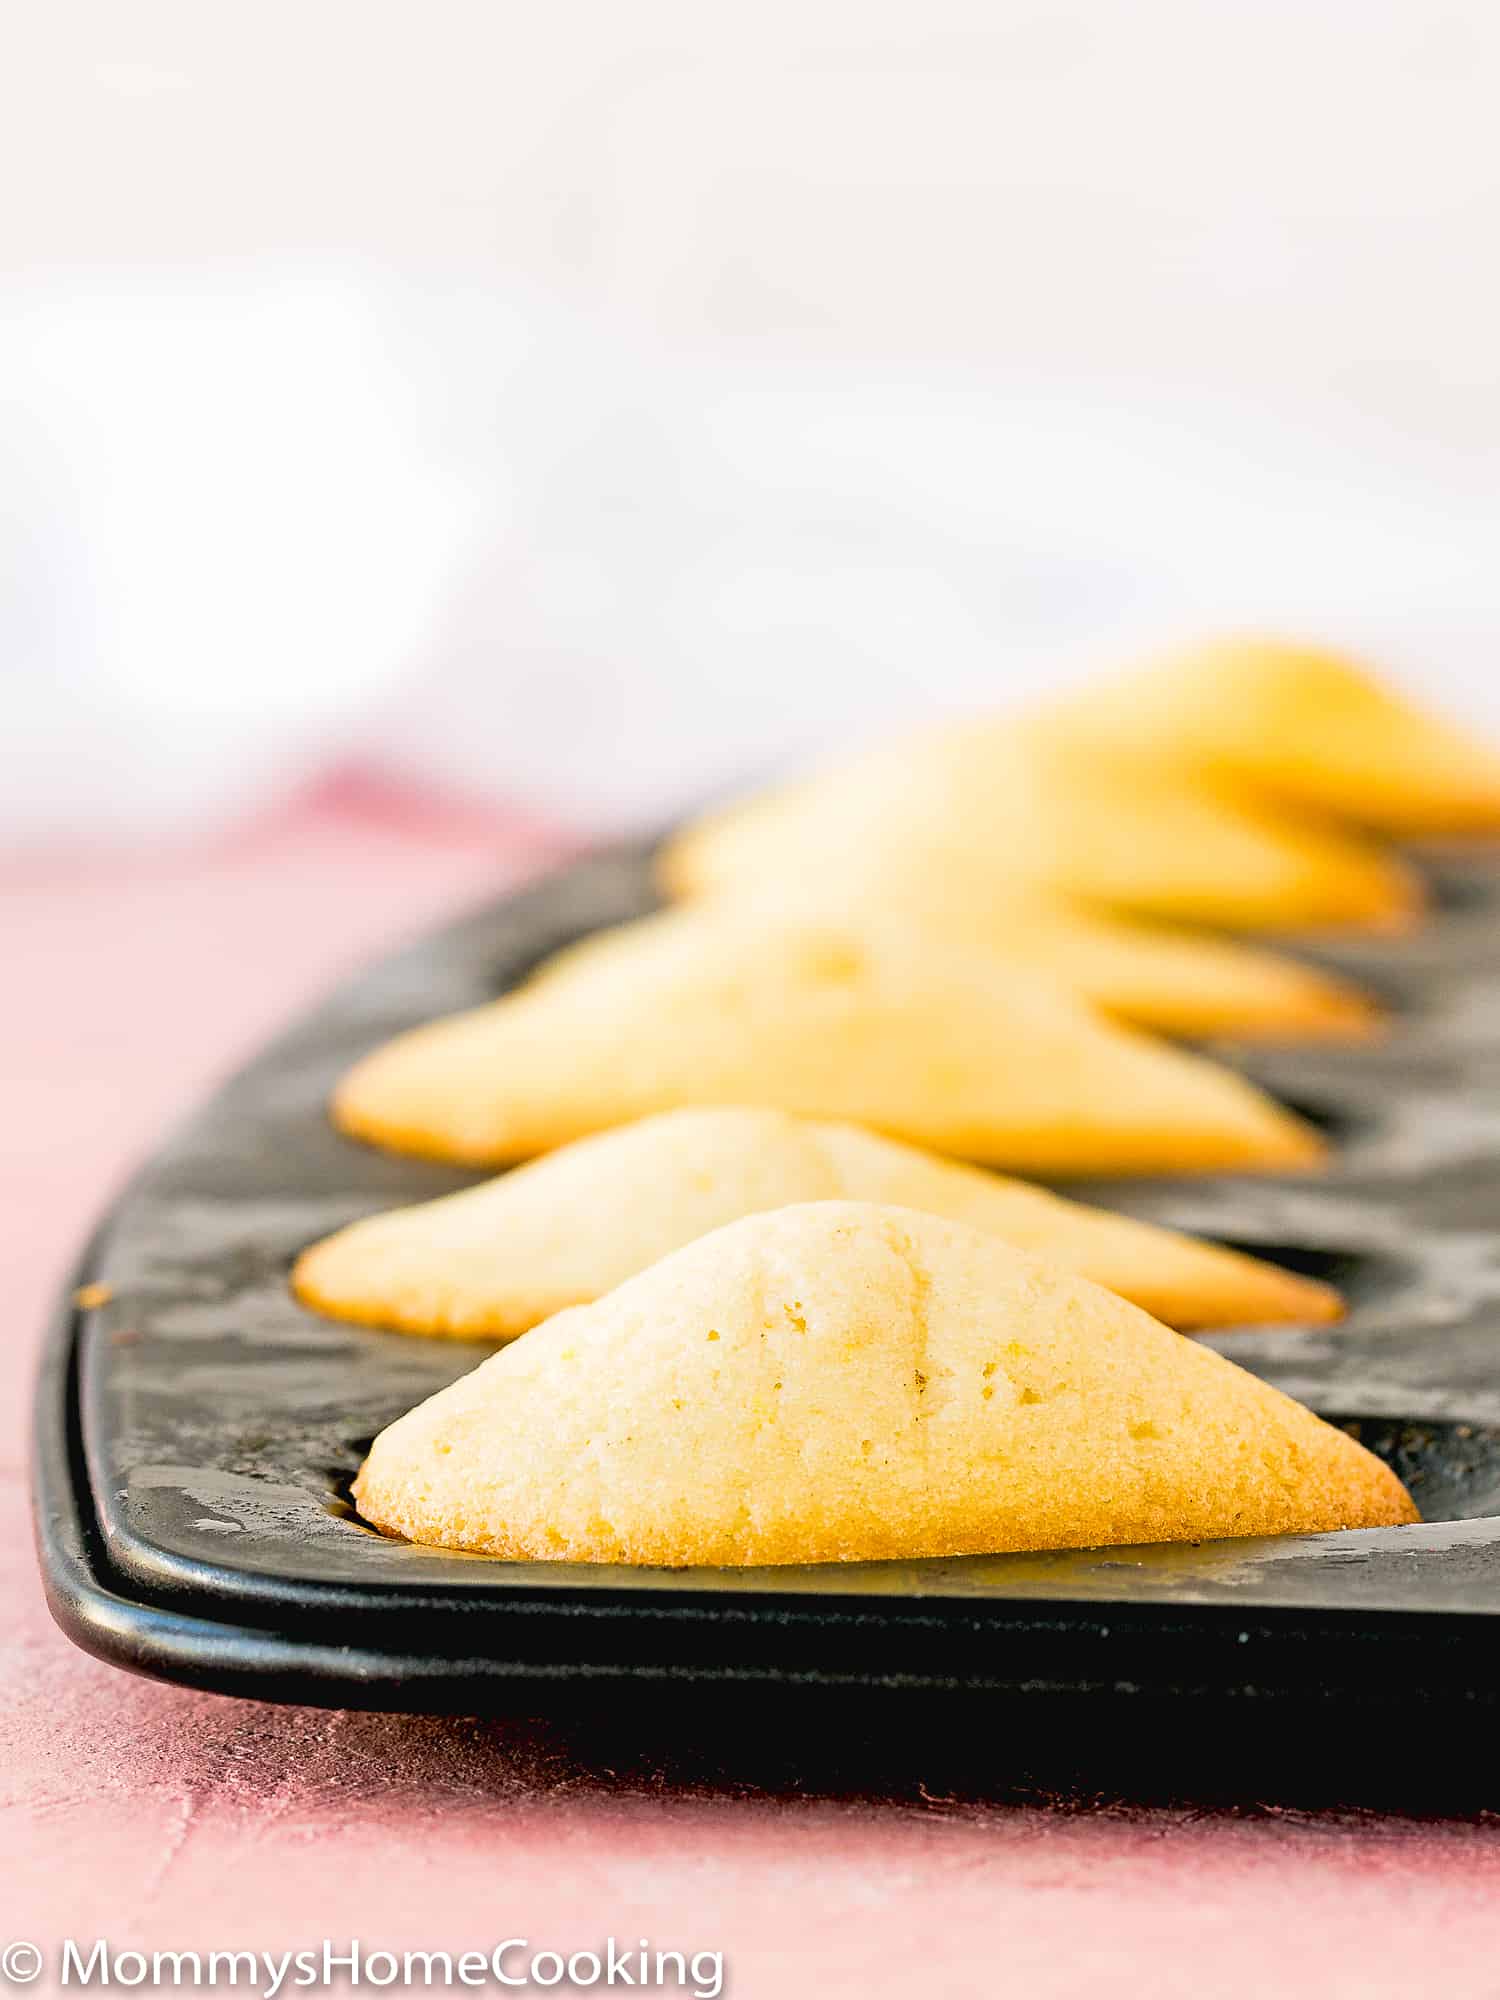
When placing the dough in the Madeleine pan, leave the batter mounded in the center. This will help to achieve the classic “humped or domed” appearance of the Madeleines.
This recipe makes 18 madeleines; if you do not have 2 madeleine pans for baking the batter all at once, baking one batch and cover and refrigerating the remaining batter until the first batch is ready.
Do not overbake these cookies, or they will be dry. Remember that every oven is different; the madeleines are ready when the edges are golden brown, and the centers spring back after lightly pressed with your finger.
Frequently Asked Questions
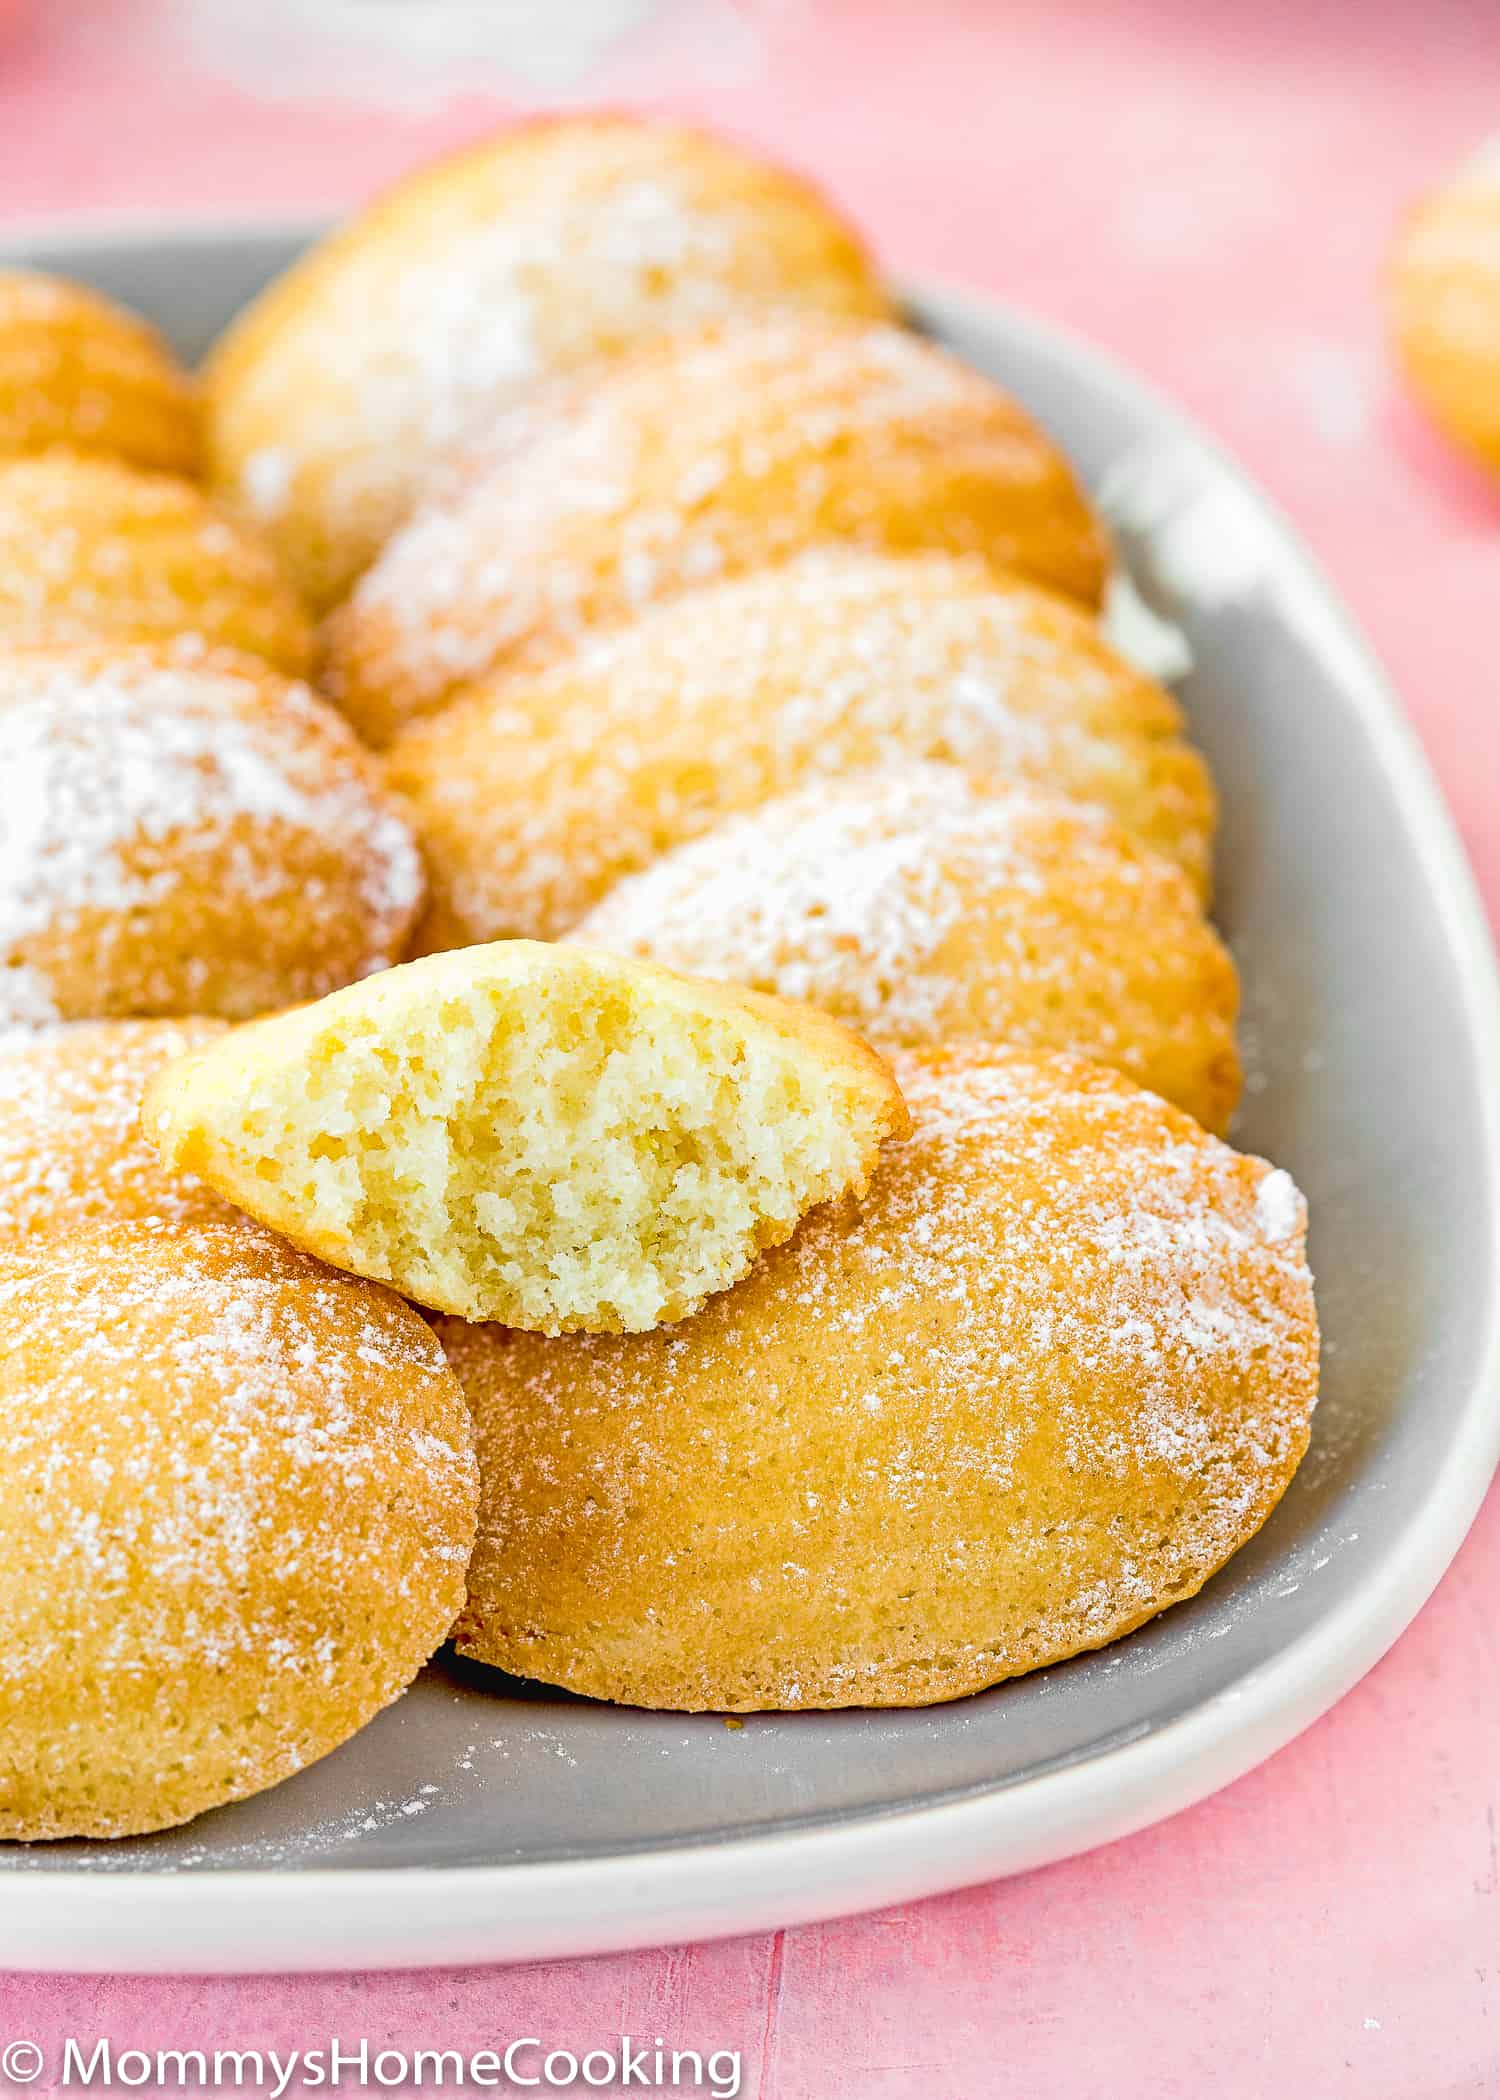
Madeleines are small cookie-sized sponge cakes from the Lorraine region of France! They have a distinctive shell-like shape acquired from being baked in shell-shaped pans. Madeleines have a very delicate texture—Buttery, light as air, and flavored with vanilla and lemon hint.
Technically, madeleines are small butter cakes. However, because of their size and shape, they’re often referred to as cookies. Whether you call them cookies or cakes, there are two absolutely key characteristics that all madeleines must have: A beautiful scalloped, shell-shaped exterior on one side and a pronounced hump on the other.
Yes, you do need a scalloped pan like the one seen above in order to make madeleines. It’s the only way to get that characteristic shape. This is the one I have.
Madeleines are best served fresh but will keep in an airtight container at room temperature for 2 -3 days.
The two most likely culprits for dry Madeleines are too much flour and overbaking. Next time, try to reduce a minute or two of the baking time and ensure the flour is being measured properly.
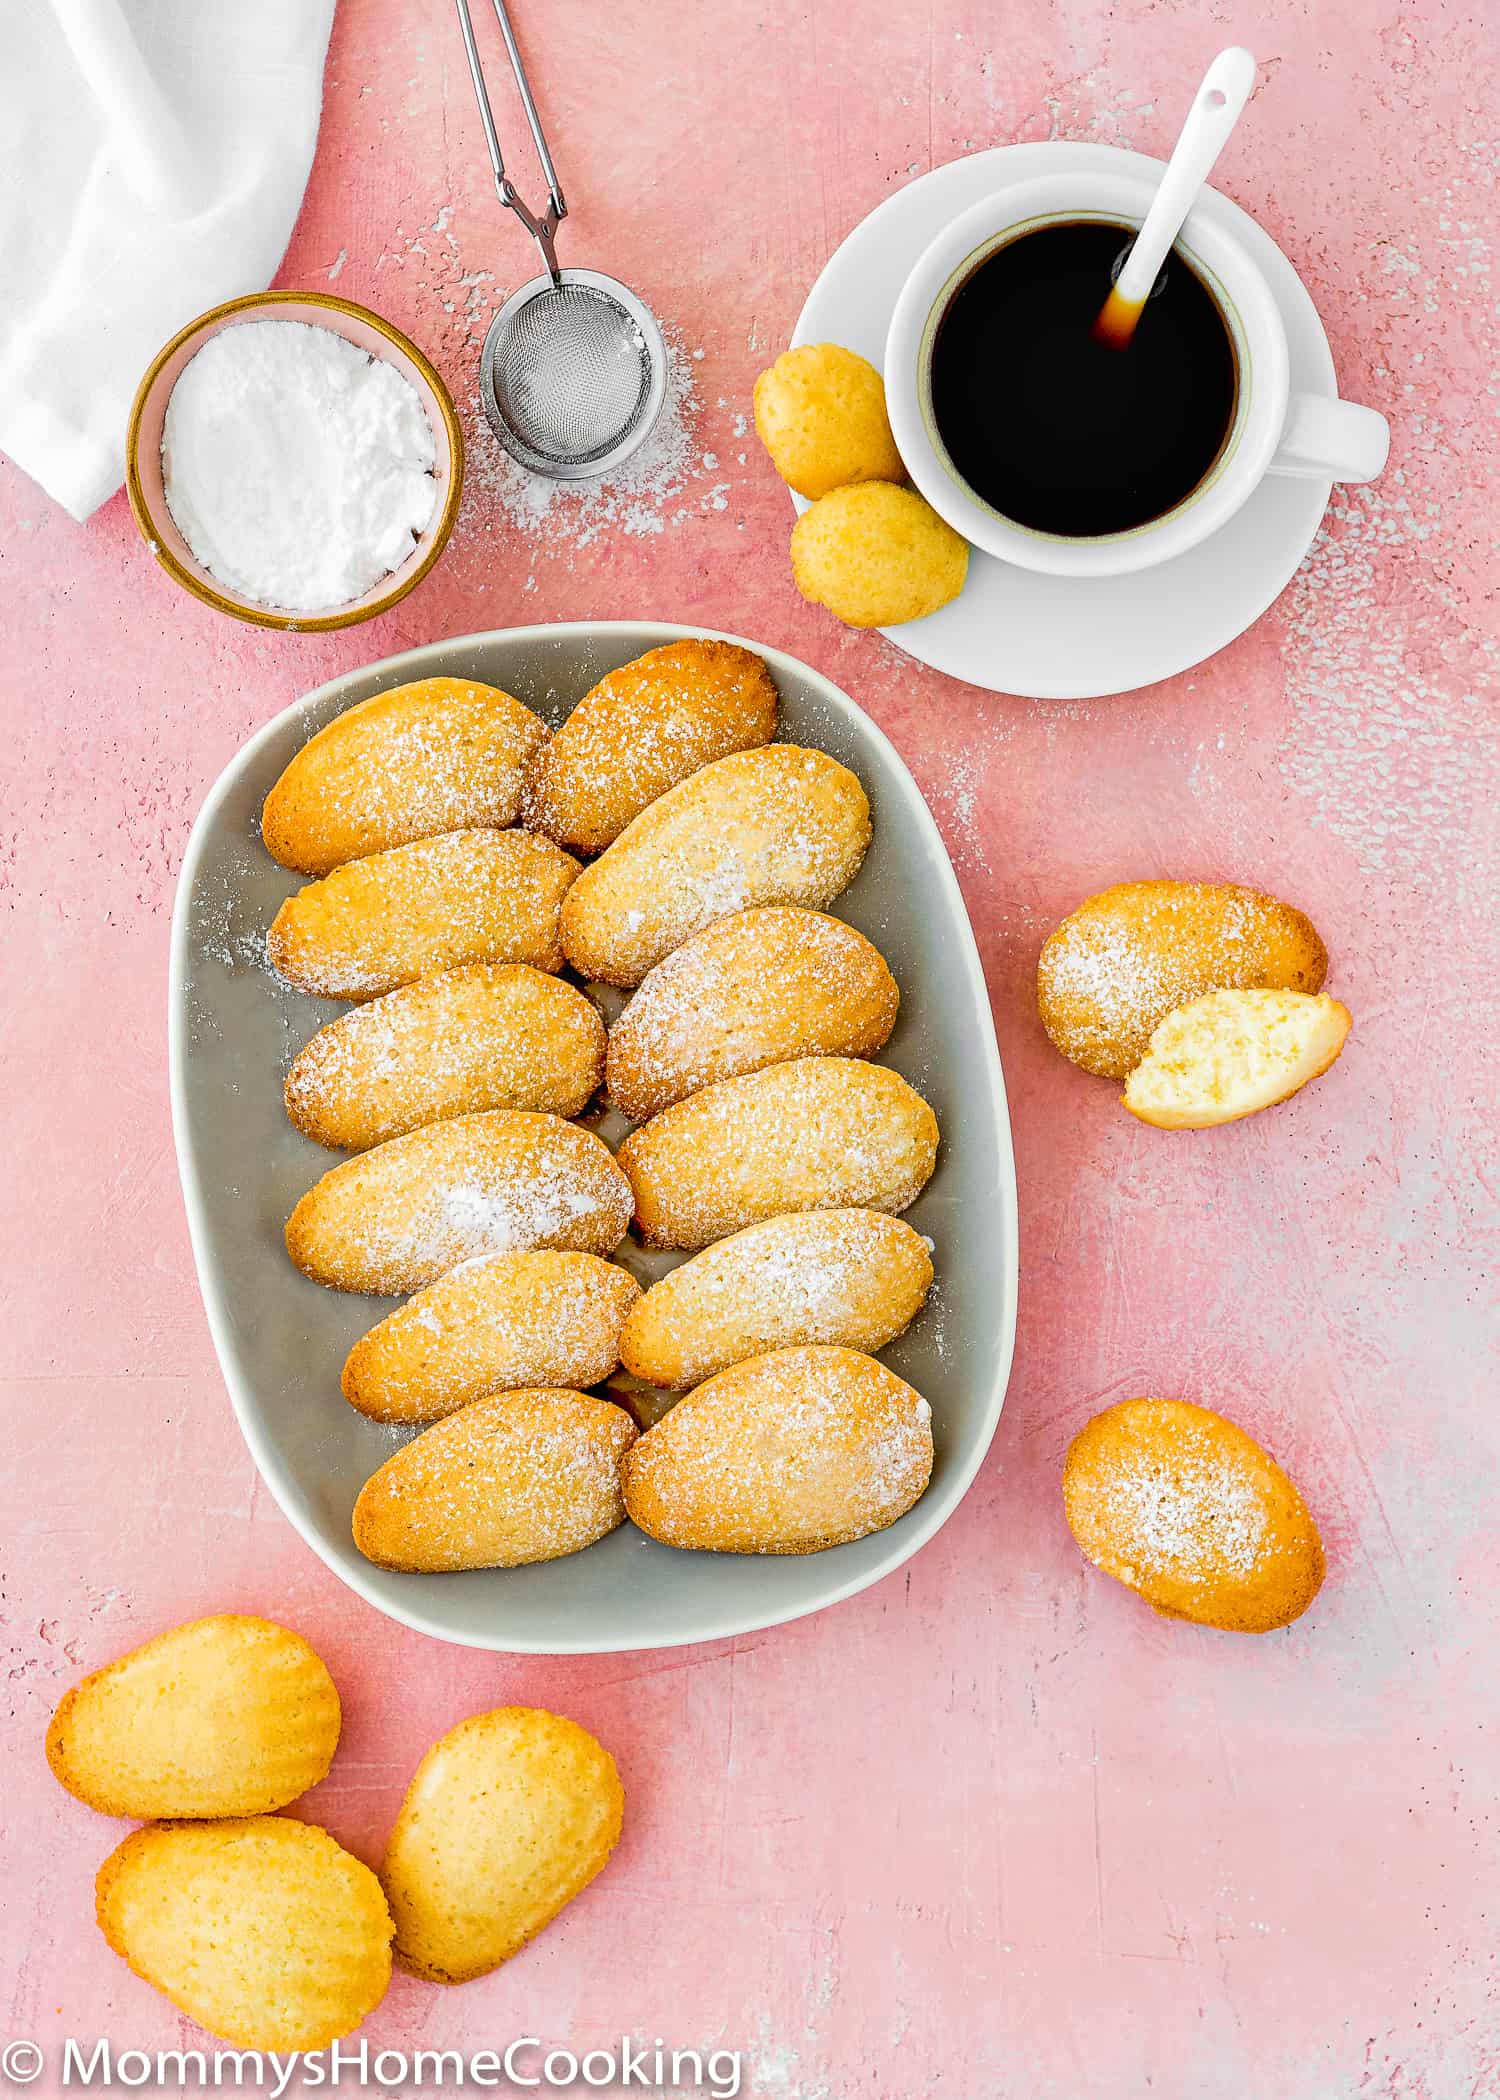
Look at that rise! This is called the belly, hump, or bump of a madeleine.
Storing Instructions
Madeleines are best right out of the oven. They’ll lose a lot of moisture over time, so I recommend baking and enjoying them fresh. However, if you’re storing leftovers, make sure to seal them in an airtight container for a couple of days.
More Recipes You’ll Love!
❤️ Love what you see? JOIN my Private Baking Club. Also, SUBSCRIBE to Mommy’s Home Cooking, so you’ll never miss a recipe! And FOLLOW along on Instagram, Pinterest, and Facebook for more fun!
Eggless Madeleines
Ingredients
- 5 tablespoons (70 g) unsalted butter (plus another 2 tablespoons for the pan)
- 1/2 cup (100 g) granulated sugar
- 2 tablespoons (20 g) cornstarch
- 6 tablespoons (90 ml) aquafaba
- 2 teaspoons lemon zest
- 1 teaspoon (5 ml) pure vanilla extract
- 3/4 cup + 1 tablespoon (115g) sifted all-purpose flour
- 1/2 teaspoon baking powder
- Confectioners’ sugar for sprinkling on top optional
Instructions
- Melt 5 tablespoons of butter and set aside to slightly cool as you prepare the rest of the batter.
- In a small bowl, mix sugar and cornstarch. Set aside.
- Using an electric mixer or a stand mixer with the whisk attachment, beat the aquafaba on medium-high speed until it becomes foamy and opaque. Continue beating until reach medium peaks, about 3 – 5 minutes.
- With the mixer on high, gradually add sugar mixture, about 1 teaspoon at a time, or sprinkle it in slow as slow can be, mixing after each addition, until sugar is dissolved (about 15-20 seconds between each addition).
- Beat in the lemon zest and vanilla extract until combined. Note: The remaining ingredients are mixed by hand; you no longer need the mixer.
- Place a fine-mesh strainer over the bowl and stiff the flour and baking powder into the bowl. Then, gently fold into the aquafaba mixture using a spatula or wooden spoon.
- Stir in half of the cooled melted butter until fully incorporated. Then stir in the rest of the butter and gently incorporate.
- Cover the batter with plastic wrap, pressing it directly onto the surface of the batter. Chill in the refrigerator for 60 minutes.
- Melt the extra 2 tablespoons of butter. Using a pastry brush, brush the pan with melted butter. Refrigerate the pans until the butter hardens.
- Preheat the oven to 350°F (180°C).
- Spoon 1 generous tablespoon of batter into the center of each scallop-shaped well (you can use an ice cream scoop). No need to spread it to the edges. Just plop it in the center.
- Bake for 10-12 minutes, or until the edges are golden brown and the centers spring back after being lightly pressed with your finger. Invert the pan onto the counter. Transfer the warm madeleines to a wire rack to cool slightly. Note: Do not overbake these cookies, or they will be dry.
- Serve with a light dusting of confectioners’ sugar, if desired.
- Depending on the consistency of the aquafaba, the whipping process may take less or more time. Ensure you get the mixture whipped enough; we need those air bubbles to get the perfect madeleine crumb.
- Make sure you’re handling this batter with care. It’s very delicate. Instead of dumping the flour all in at once, I recommend carefully folding in half of the flour mixture, then folding in the other half—the same for the melted butter.
- When placing the dough in the Madeleine pan, leave the batter mounded in the center. This will help to achieve the classic “humped or domed” appearance of the Madeleines.
- This recipe makes 18 madeleines; if you do not have 2 madeleine pans for baking the batter all at once, baking one batch and cover and refrigerating the remaining batter until the first batch is ready.
- Do not overbake these cookies, or they will be dry. Remember that every oven is different; the madeleines are ready when the edges are golden brown, and the centers spring back after lightly pressed with your finger.
Nutrition
Eggless Baking Frequently Asked Questions
You’ve asked, and I’ve answered! Read on for a handful of answers to the most frequently asked questions about eggless baking.
Originally posted in December 2020, the post content was edited to add more helpful information, with no change to the recipe in June 2022.
