These Easy Strawberry Rolls are soft, fluffy, and dreamy! They are filled with juicy strawberries and topped with creamy, delicious strawberry icing. They are easy to make with basic pantry staples you probably already have. Lots of tips and step-by-step photos are included.
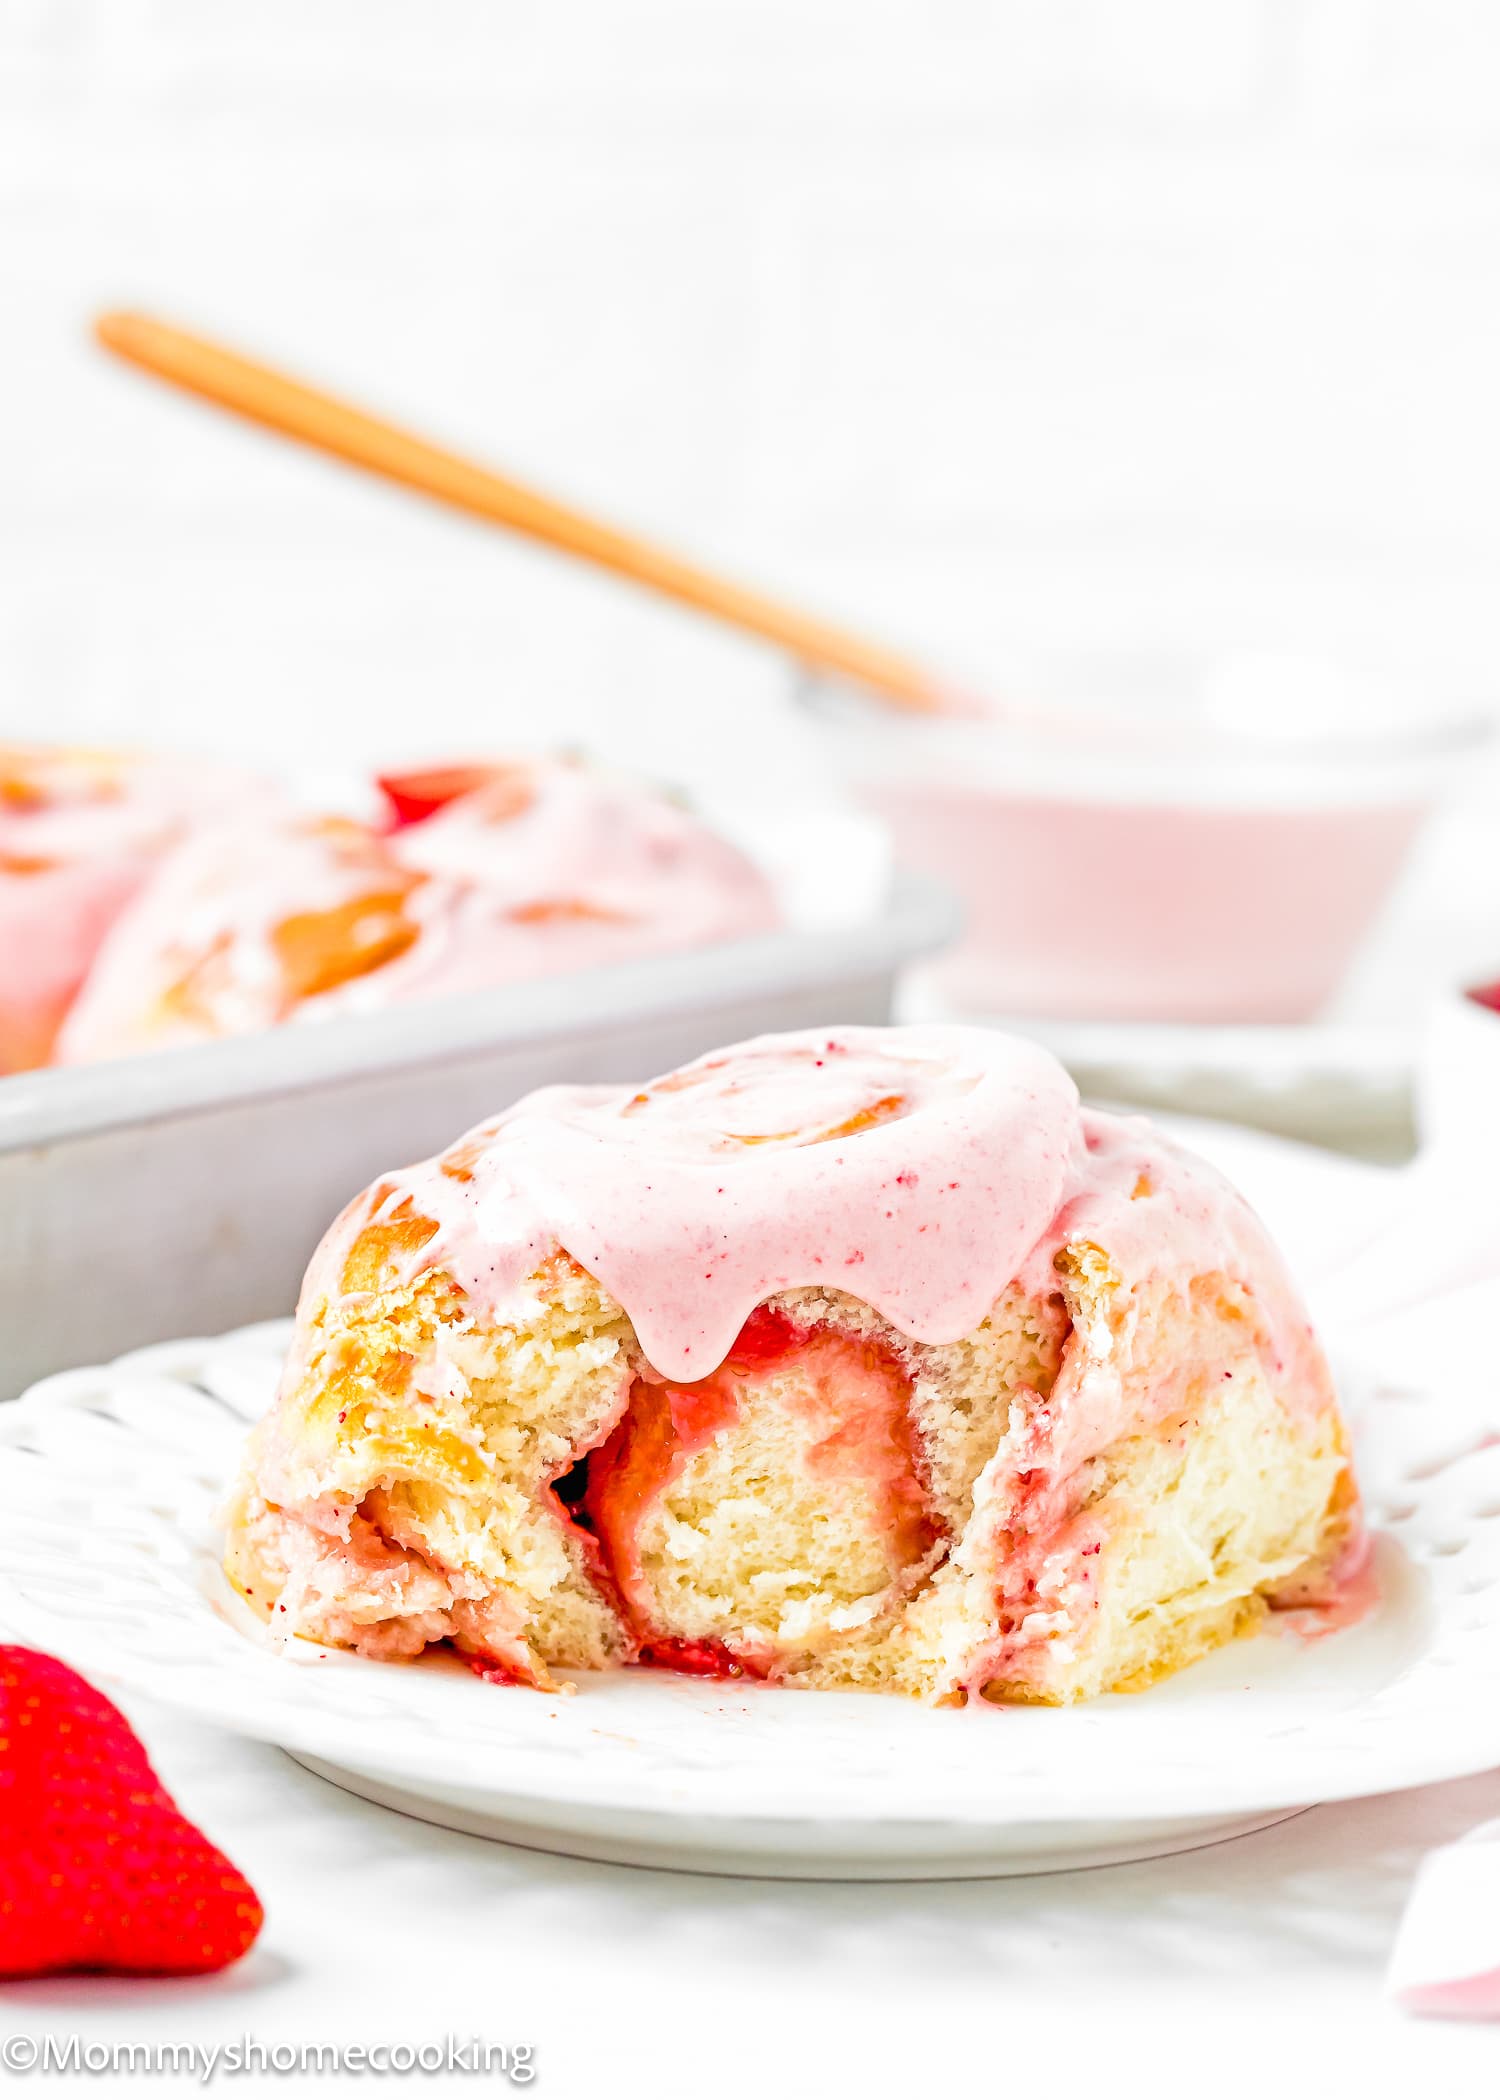
Berry Bliss: Whip Up These Easy Strawberry Rolls Today!
While we all love a good cinnamon roll, sometimes it’s fun to switch things up. These Easy Strawberry Rolls offer a fruity, summery twist that’s sure to please your palate.
This recipe is as easy as pie (or, should I say, rolls)! With just a handful of everyday ingredients you probably already have in your pantry, you can whip up these strawberry-infused delights in no time.
These rolls are perfect for a weekend brunch with friends, a cozy family breakfast, or a sweet treat to enjoy all by yourself (no judgment here!). They fit the bill perfectly and are guaranteed to brighten even the dreariest days.
Because life is too short not to indulge in the simple pleasures – like the joy of baking something delicious from scratch and sharing it with the ones you love.
Let’s get baking!
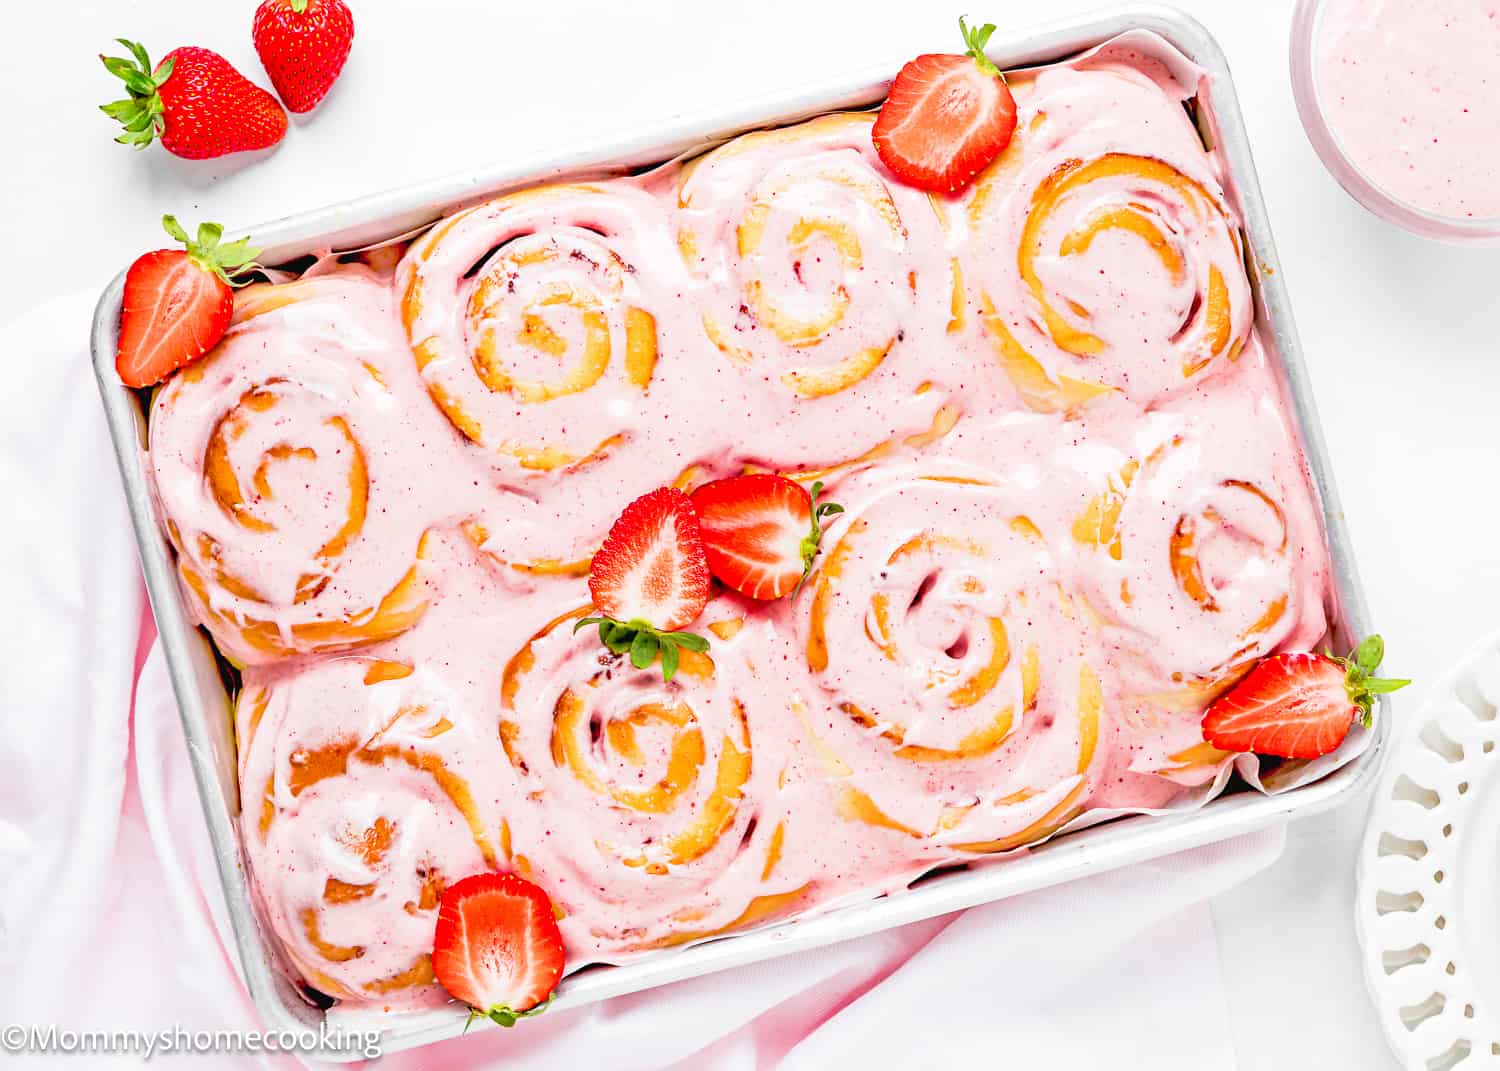
What To Love About This Recipe
- Easy to make: With straightforward instructions and simple ingredients you probably already have on hand, anyone can whip up a batch of these delightful rolls.
- Egg-Free: These are perfect for those with egg allergies or anyone looking to cut back on their egg consumption without sacrificing flavor or texture.
- Summer twist on classic cinnamon rolls: While we all love a good cinnamon roll, sometimes it’s fun to switch things up. These strawberry rolls offer a fruity, summery twist that’s sure to please your palate.
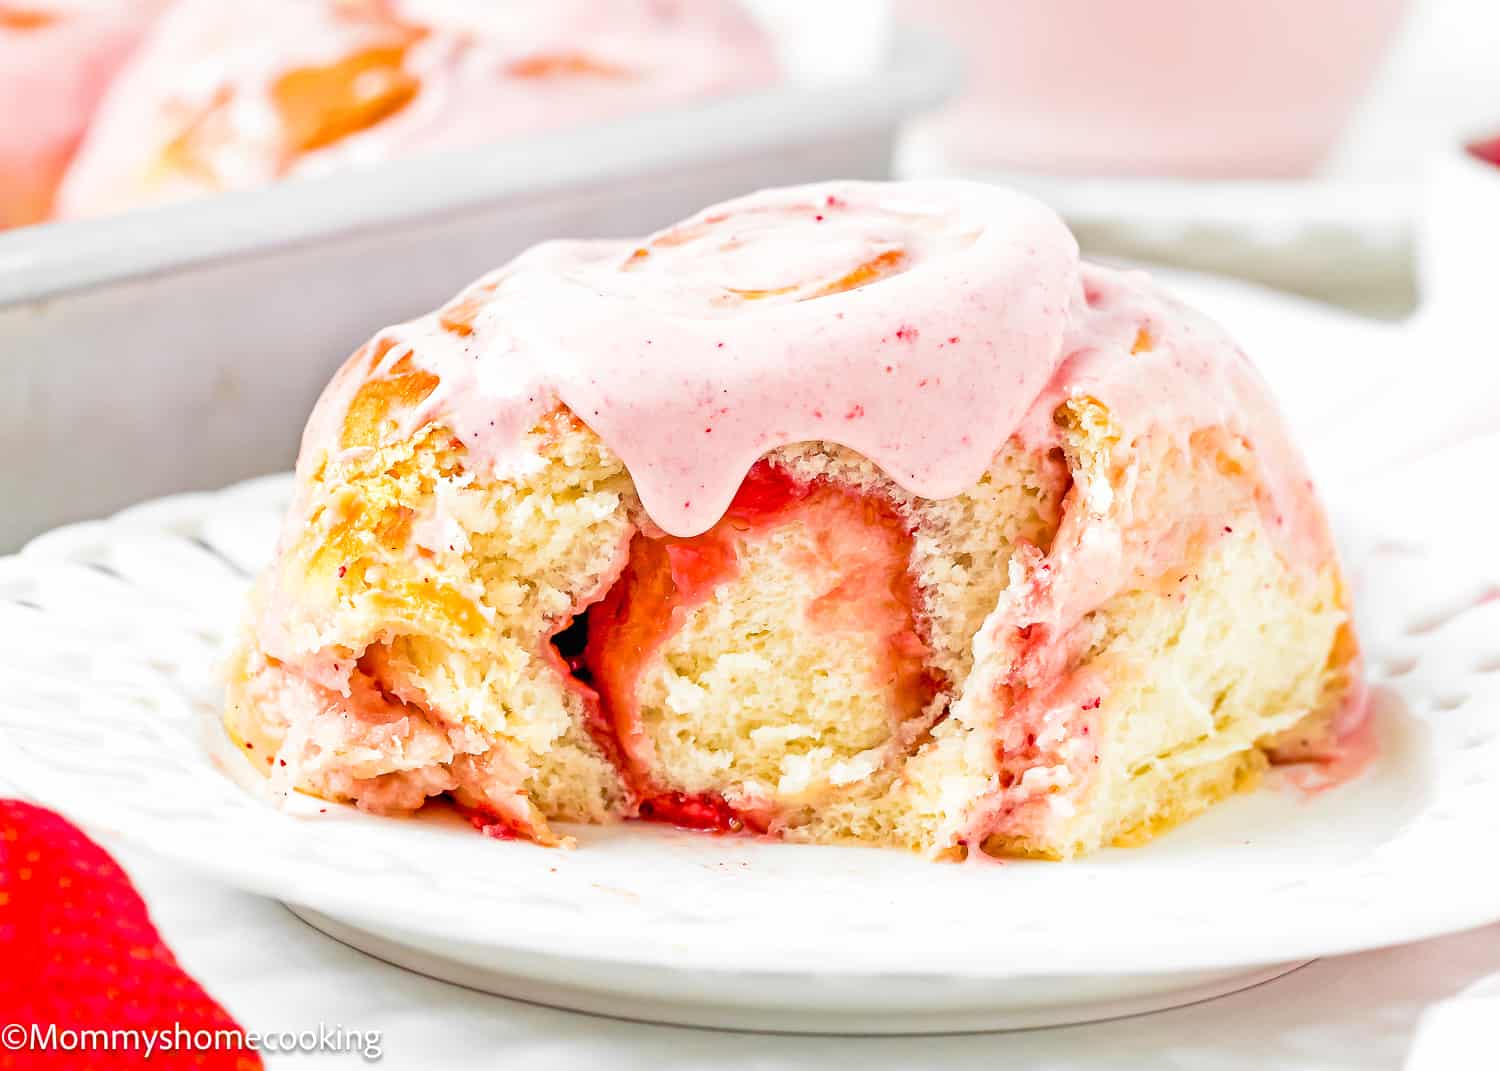
- Texture: Soft, sweet, and oh-so-fluffy, these rolls practically melt in your mouth with each bite.
- Taste: Packed with the irresistible flavor of fresh strawberries, these rolls are the epitome of summer sweetness. And don’t even get me started on that luscious strawberry cream cheese icing – it’s the icing on the cake, so to speak!
Ingredients You’ll Need, Substitutions & Notes
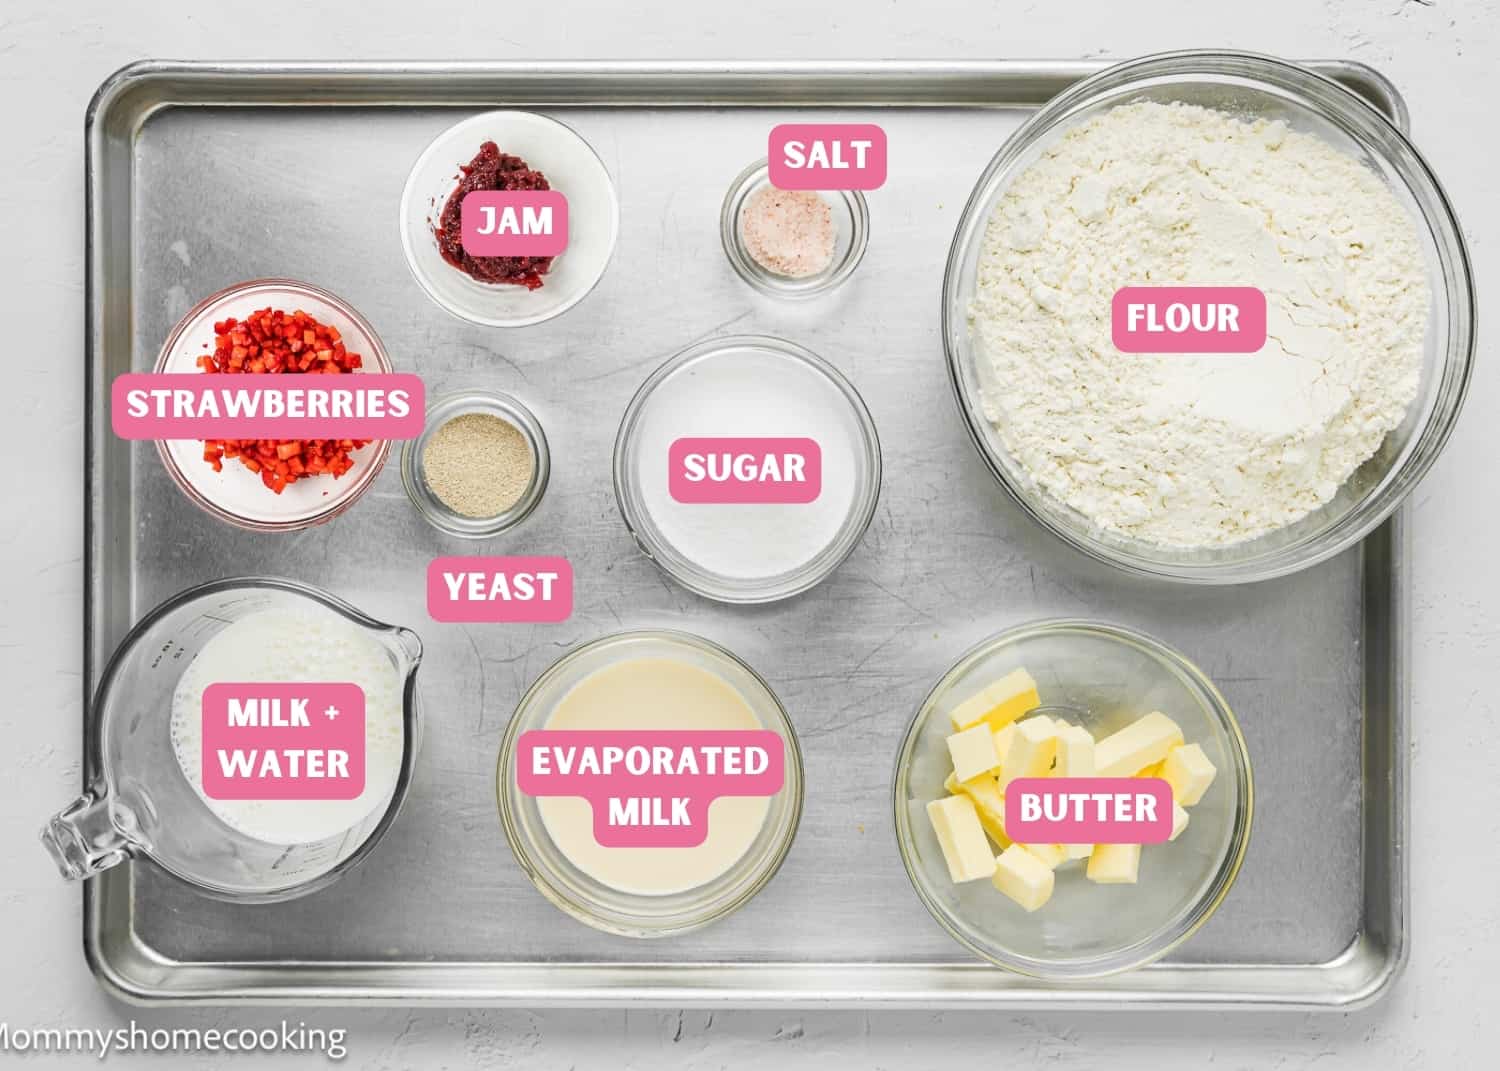
Please check the recipe card at the bottom of the post for exact quantities and detailed instructions (scroll down).
For the Rolls Dough:
- All-purpose flour: Provides structure and bulk to the dough, ensuring a soft and tender texture. You can also use bread flour. Make sure to measure accurately. In my opinion, a kitchen scale is the best way to measure your ingredients.
- Granulated sugar: Adds sweetness to the dough and helps with yeast activation.
- Salt: Balances the sweetness and enhances the flavor of the dough. I prefer kosher or sea salt. If you only have table salt handy, I recommend reducing the amount to half
- Yeast: Leavens the dough, causing it to rise and become airy. I recommend using instant yeast since it doesn’t need to be activated; just mix it with the dry ingredients. You can substitute active dry yeast for instant dry yeast in equal amounts. However, you may need to proof it in warm liquid before using it in the recipe.
- Evaporated milk: Adds richness and tenderness to the dough. If you don’t have evaporated milk on hand or prefer to use an alternative, you can use an equal amount of regular milk as a substitute for evaporated milk. Keep in mind that evaporated milk has a slightly thicker consistency and creamier taste compared to regular milk, so your final result may vary slightly in texture and flavor.
- Water: Helps hydrate the dough and activate the yeast.
- Milk: Adds moisture and richness to the dough. I use whole milk for baking.
- Butter: Adds flavor and tenderness to the dough. I prefer to use unsalted butter, but if you only have salted butter handy, you can use it. In this case, skip the salt called in the recipe.
Strawberry Filling:
- Strawberries: They are the star of the show! Choose ripe, juicy strawberries for the best flavor. Chopped fresh or frozen strawberries work. I prefer fresh! Do not thaw first if using frozen.
- Strawberry jam: Enhances the strawberry flavor and adds sweetness to the filling. I recommend using a good quality jam with no sugar added.
Strawberry Frosting:
For the strawberry frosting, you’ll need butter, cream cheese, vanilla, salt, heavy cream (or milk), powdered sugar, and strawberry flavor. To add the strawberry flavor to the frosting, you have several options: you can use freeze-dried strawberry powder, strawberry puree, strawberry jam, or strawberry bakery emulsion. I prefer strawberry puree.
Process Overview: How To Make Strawberry Rolls Step-by-Step
Please check the recipe card at the bottom of the post for exact quantities and detailed instructions (scroll down).
Step 1 – Make the Rolls Dough
- Mix flour, sugar, sugar, salt, and yeast in the bowl of the stand mixer.
- Mix evaporated milk, water, and milk in a bowl or measuring cup. Microwave for 1 minute to warm up, like lukewarm – about 100° F/ 38º C. This is essential to activate the yeast.
- Add warm milk/water mixture to the bowl with the flour mixture. Beat with a dough hook on low speed for 2 – 3 minutes until combined; scrape down the sides of the bowl with a rubber spatula. Increase mixer speed to medium, continue kneading until the dough comes together, about 3 more minutes
- Add the softened butter, with the mixer running, one tablespoon at a time, letting each piece incorporate before adding the next. The dough will be sticky after adding in the butter. Be sure to scrape the bowl as needed to make sure the dough is mixing correctly.
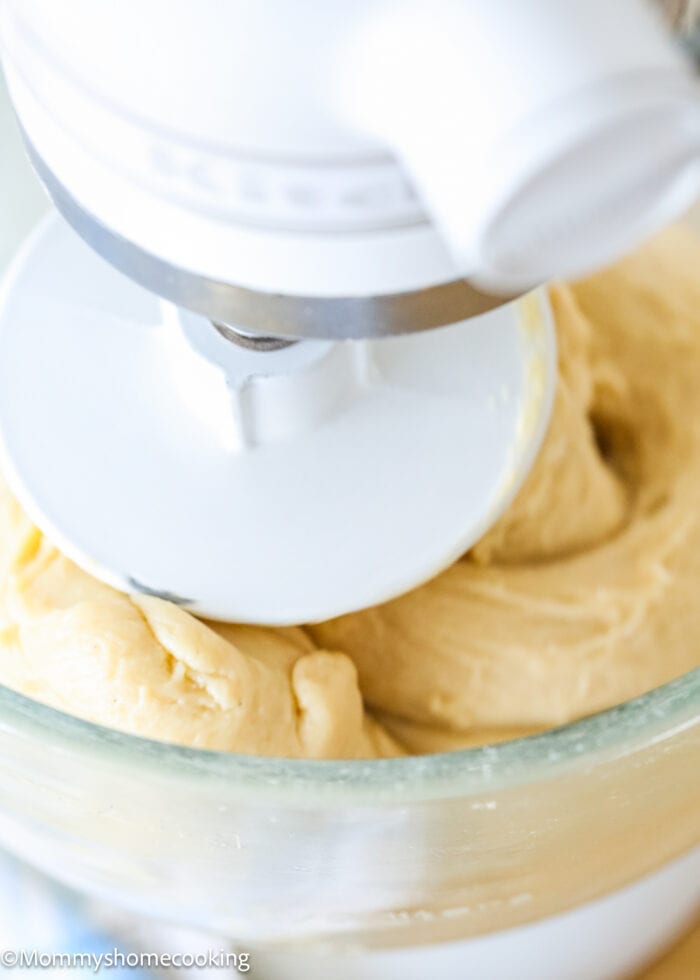
- After adding all the butter, keep mixing the dough for 10 minutes, or until the dough is smooth, velvety, screechy, and the dough passes the windowpane test. This can take anywhere from 10 minutes to 15 minutes, so be patient. Note: Make sure to knead the dough long enough, so your rolls are light and fluffy and not dense or heavy. Heavy rolls can be the result of not kneading the dough long enough.
Step 2 – First Rise
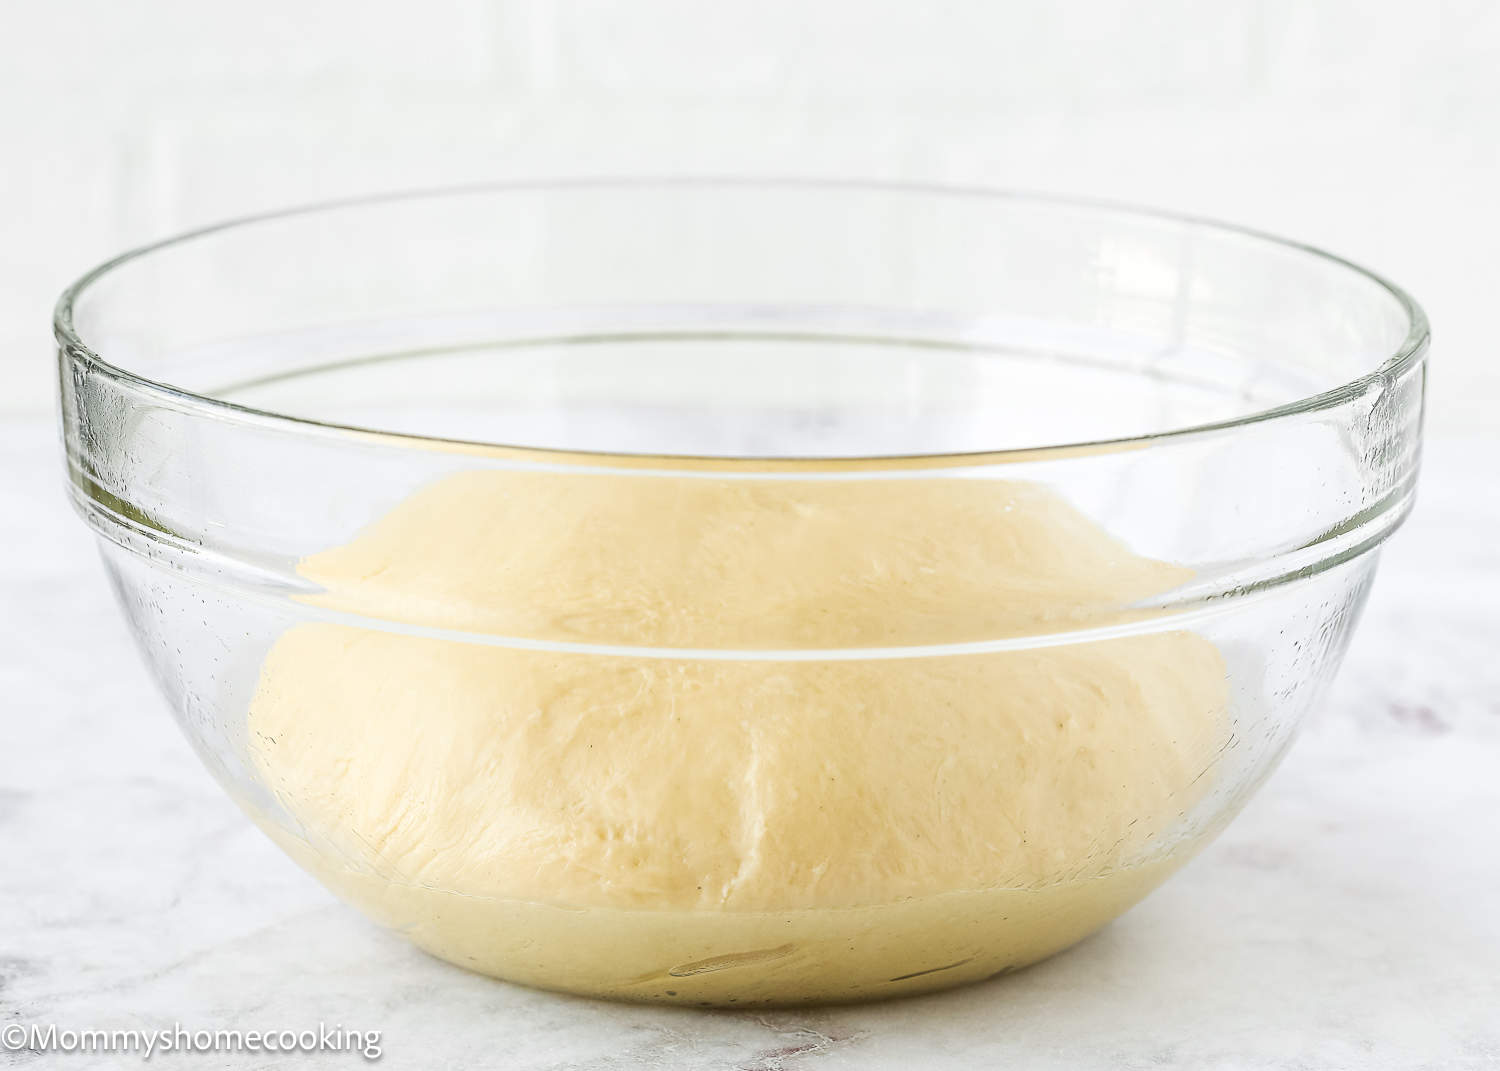
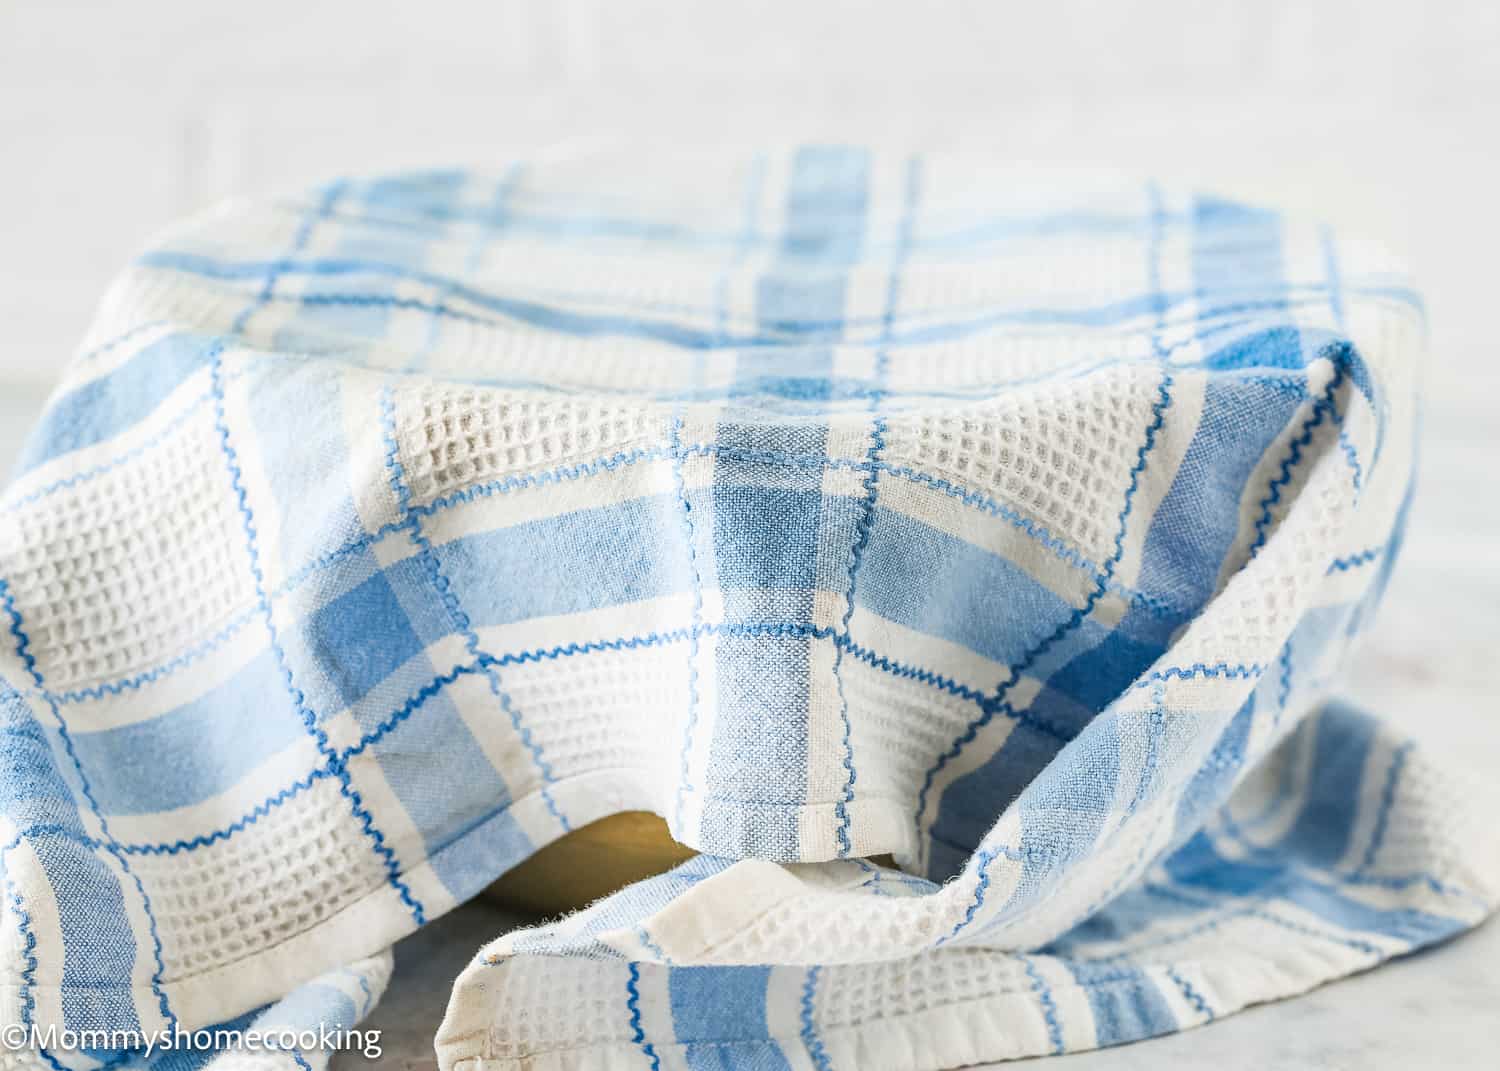
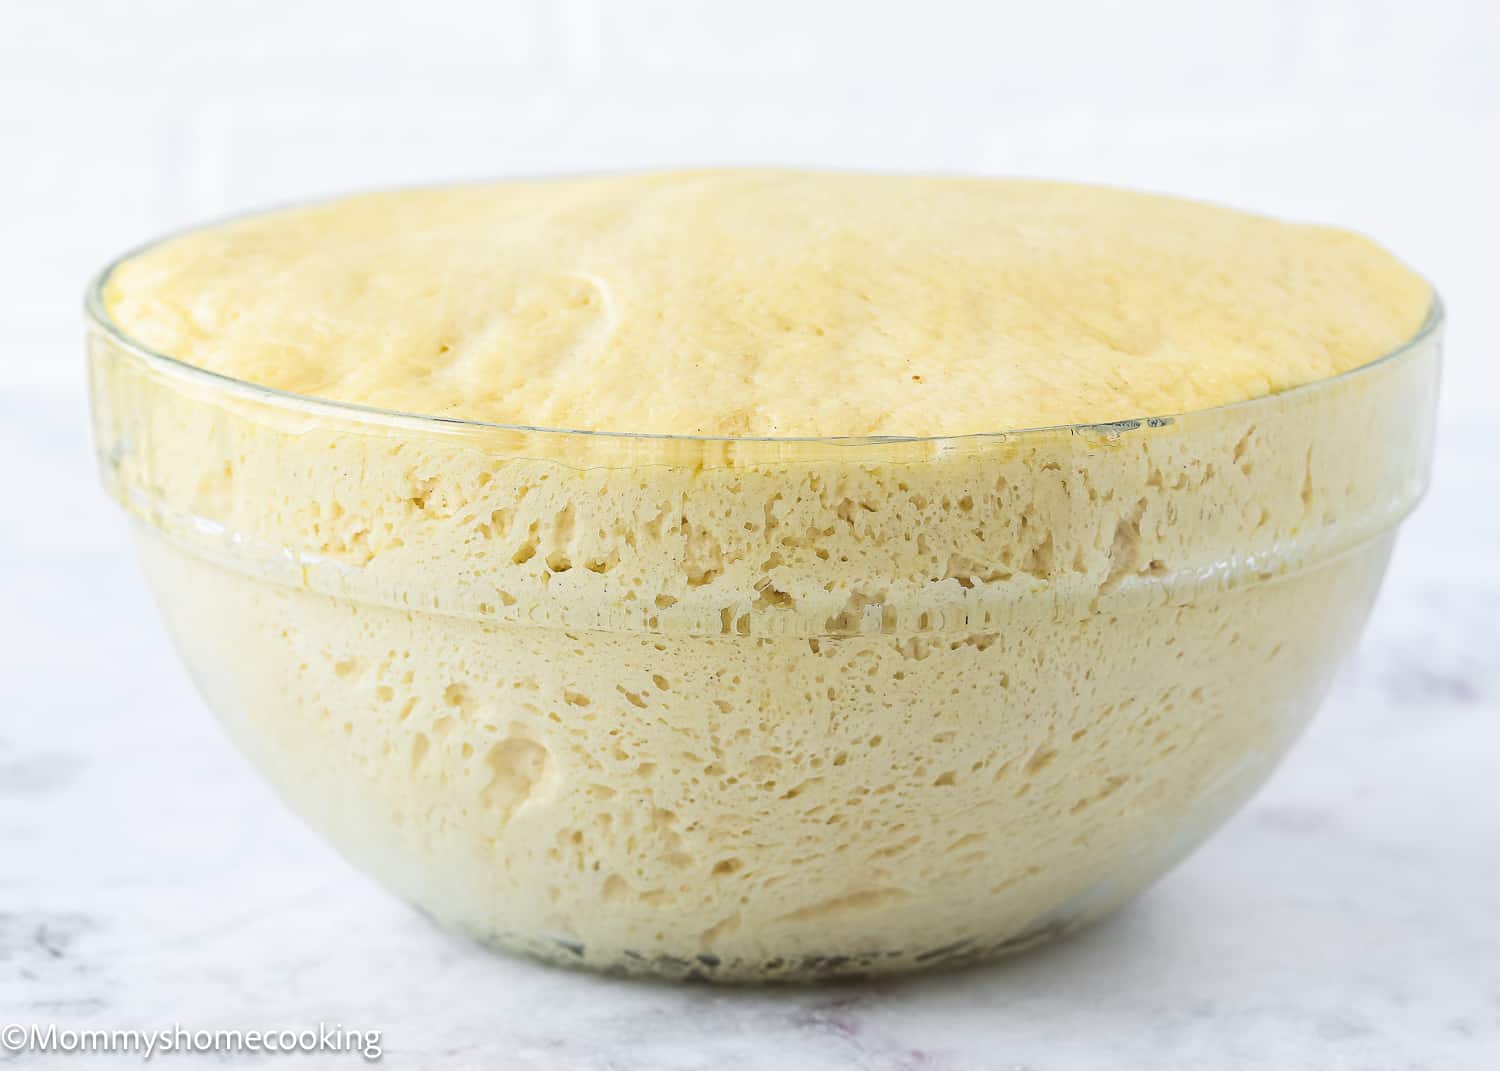
Roll the dough into a ball and place it in a lightly greased bowl. Cover and let it set in a warm place for 1 ½ – 2 hours, or until double in size. Note: Alternately, you can rise the dough in the refrigerator overnight. If you do this, the second rise will take longer, about 1 – 2 hours, because the dough will be cold.
Step 3 – Form the Rolls
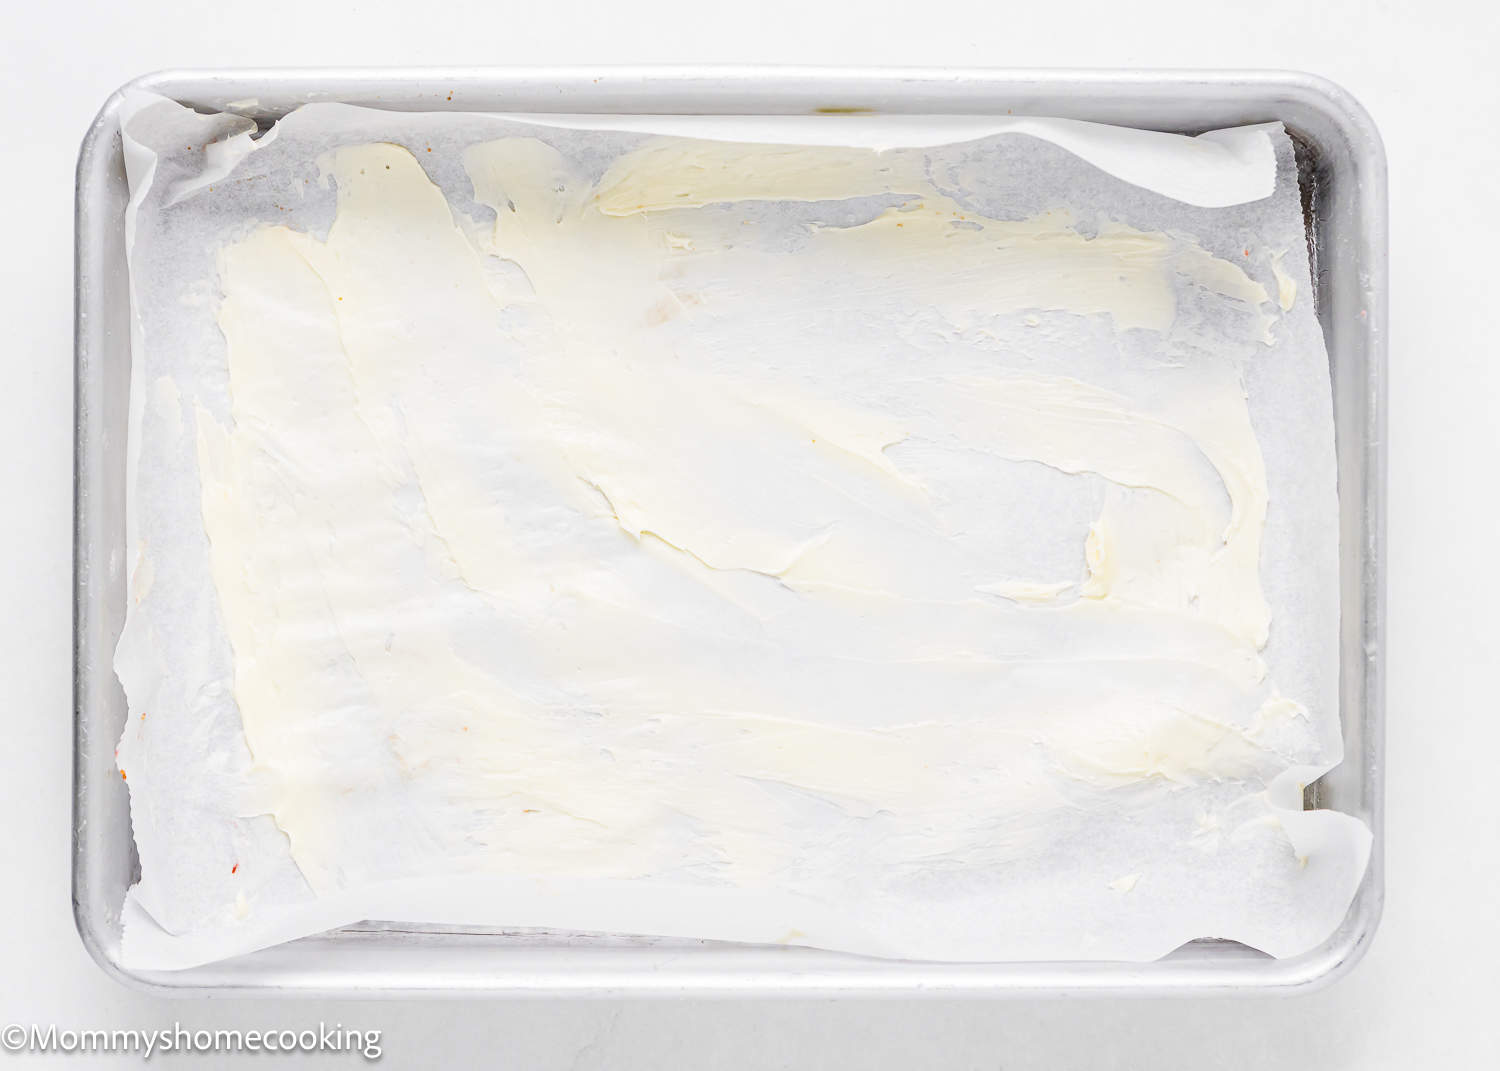
- Line a 9×13-inch baking dish with parchment paper, then grease the bottom with butter. Set aside.
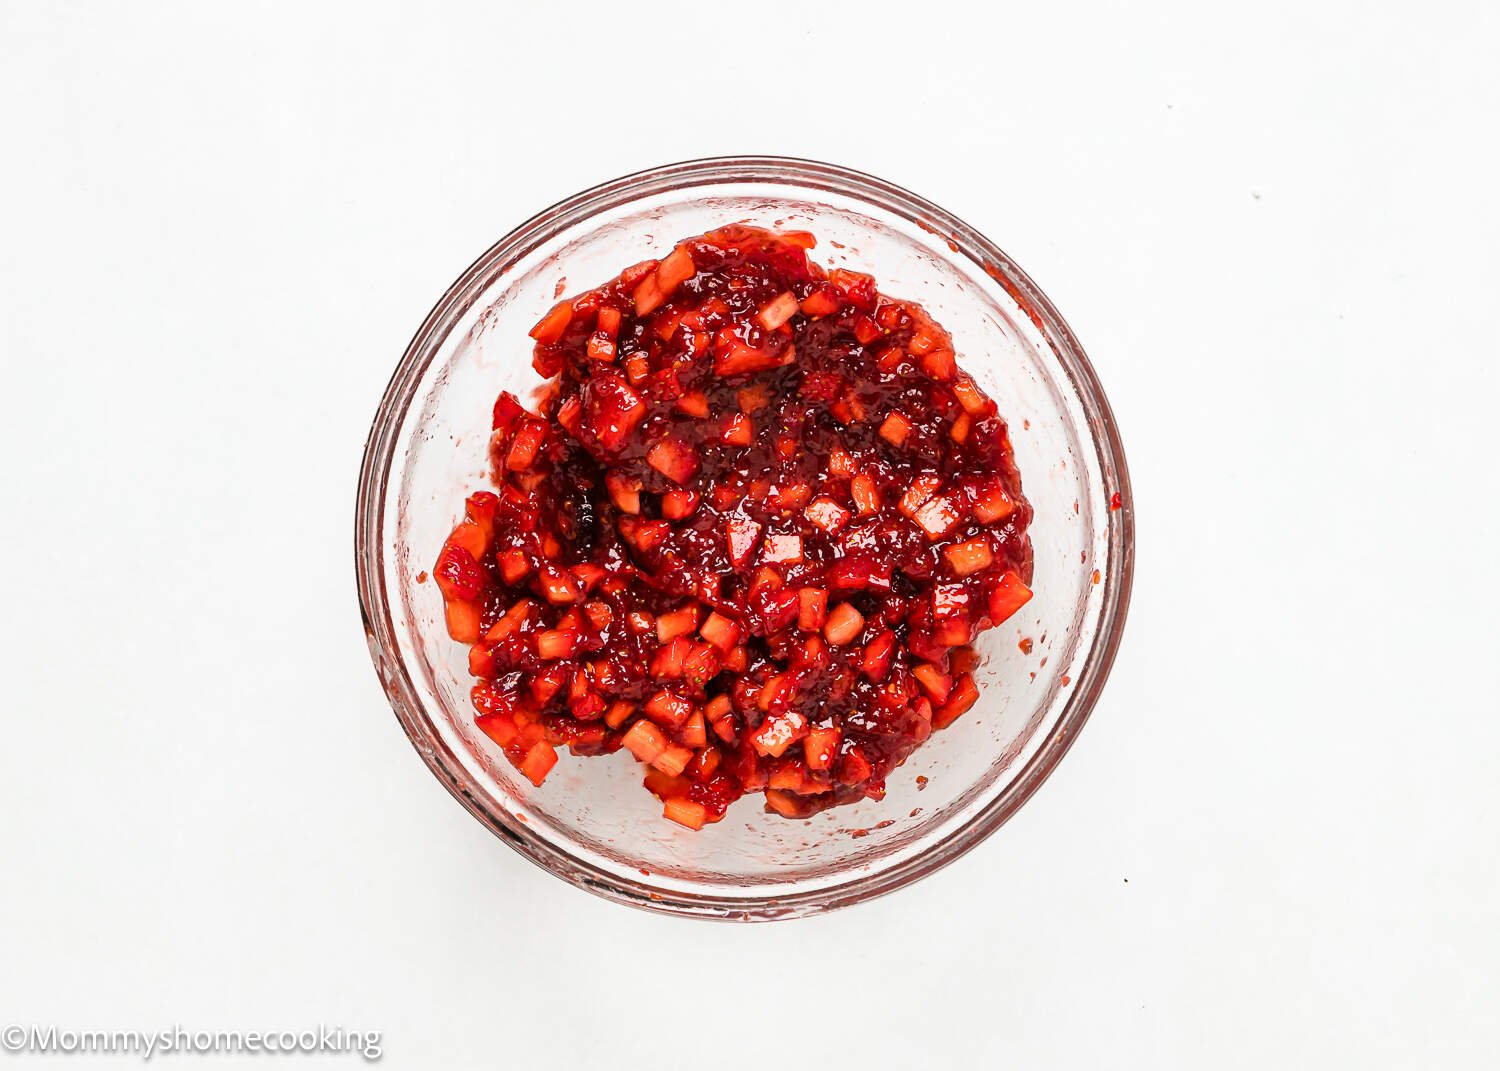
- In a small bowl, stir together the strawberries and jam.
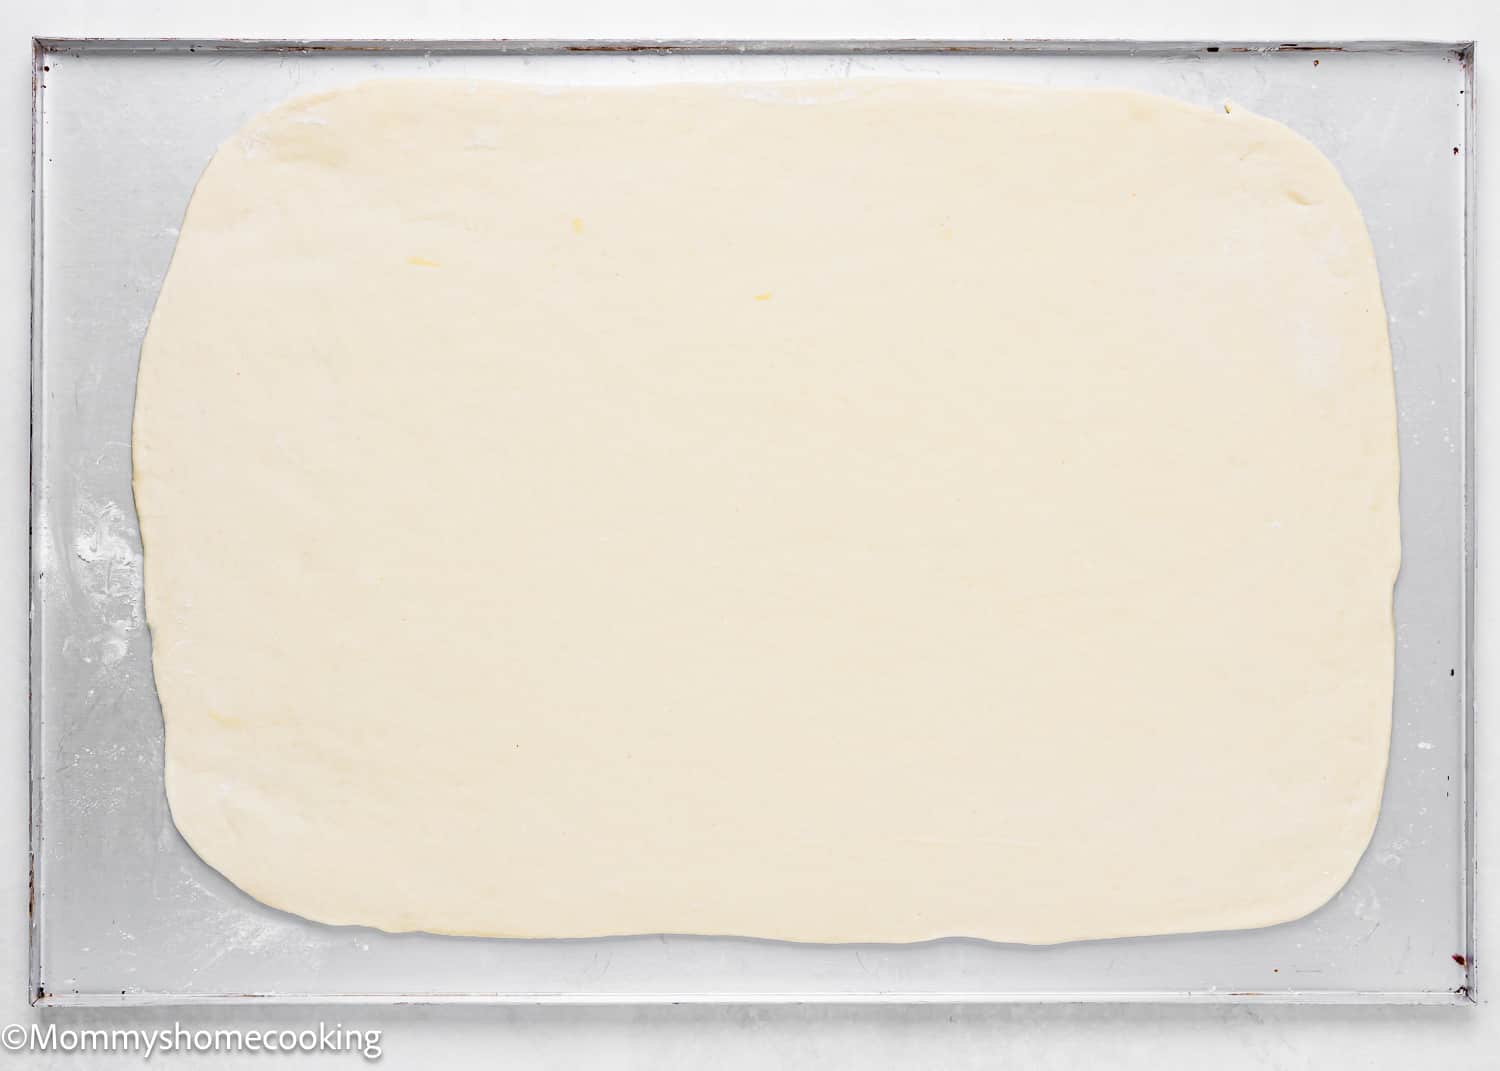
- Turn out the risen dough on a lightly floured surface. Press the dough with your hands to shape it into a square and release a little bit of air. Roll the dough into a 20 x 14-inch (50 x 35 cm) rectangle. Make sure the dough is smooth and evenly thick, even at the corners.
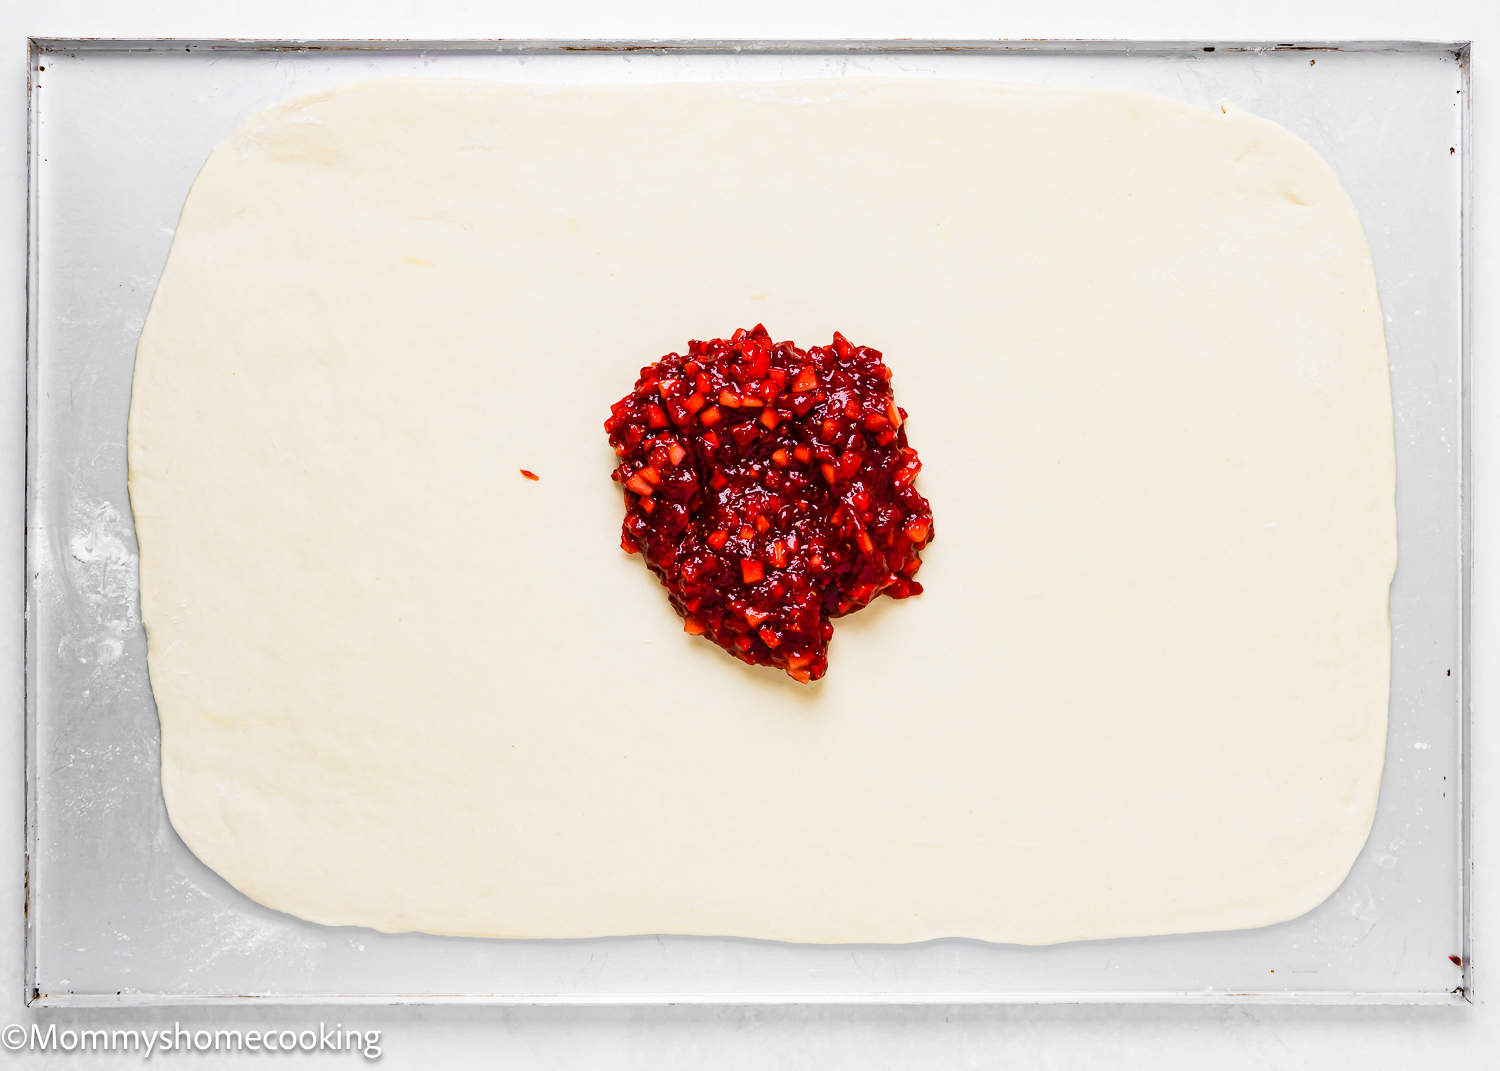
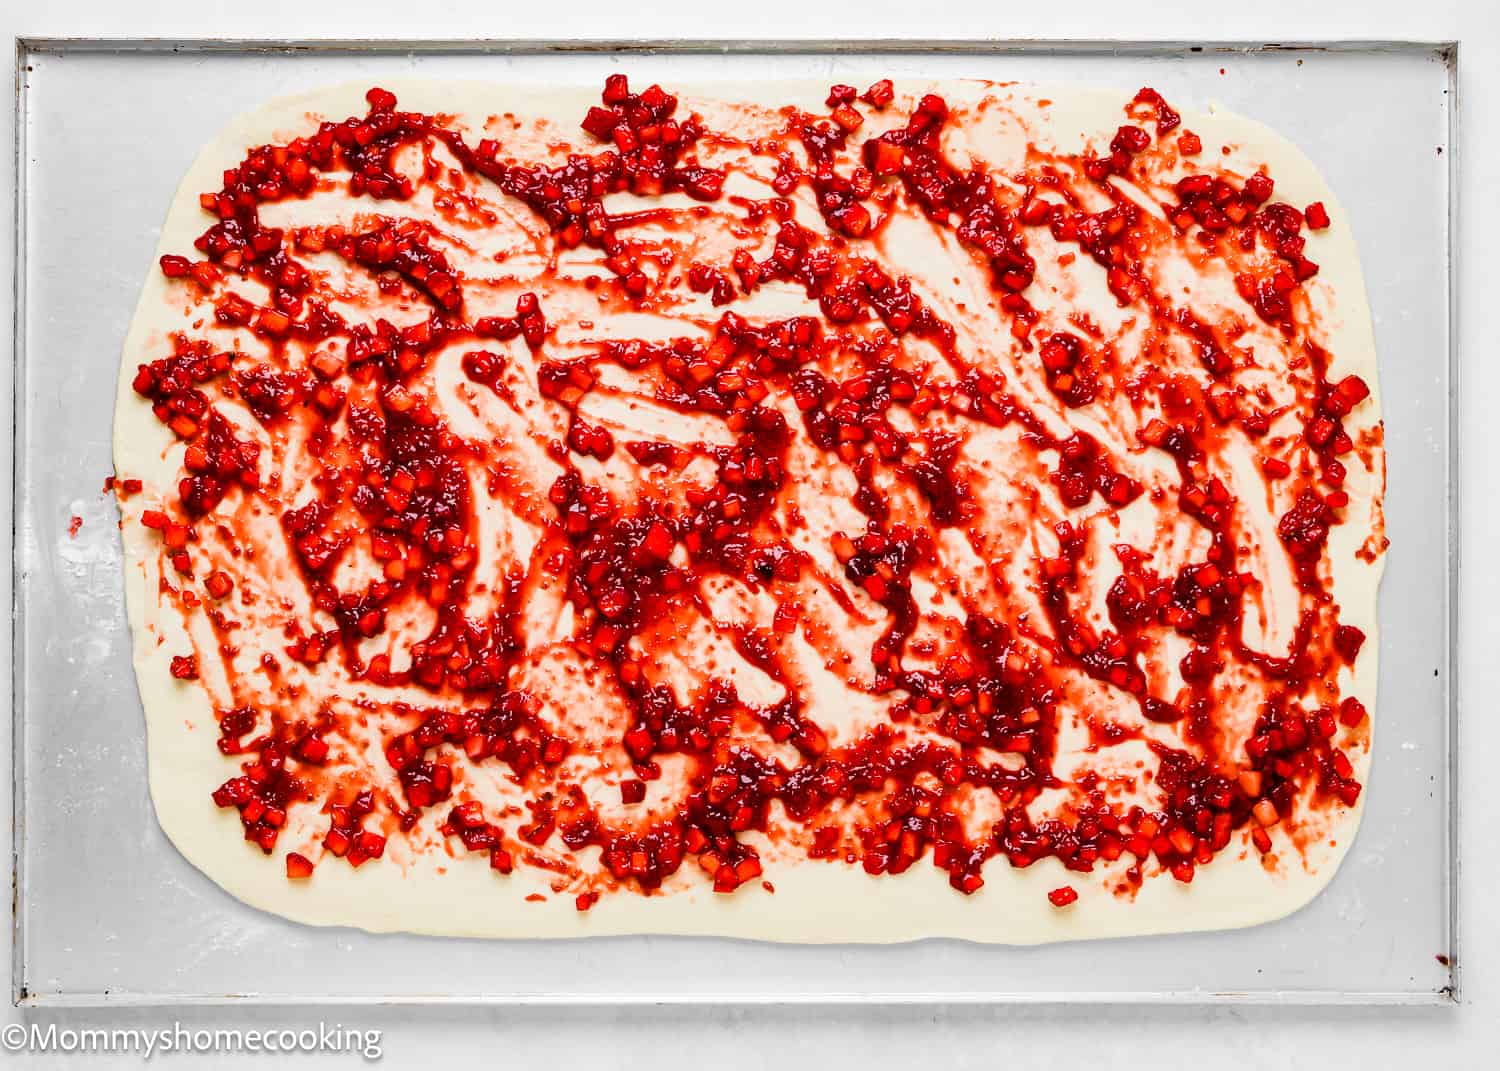
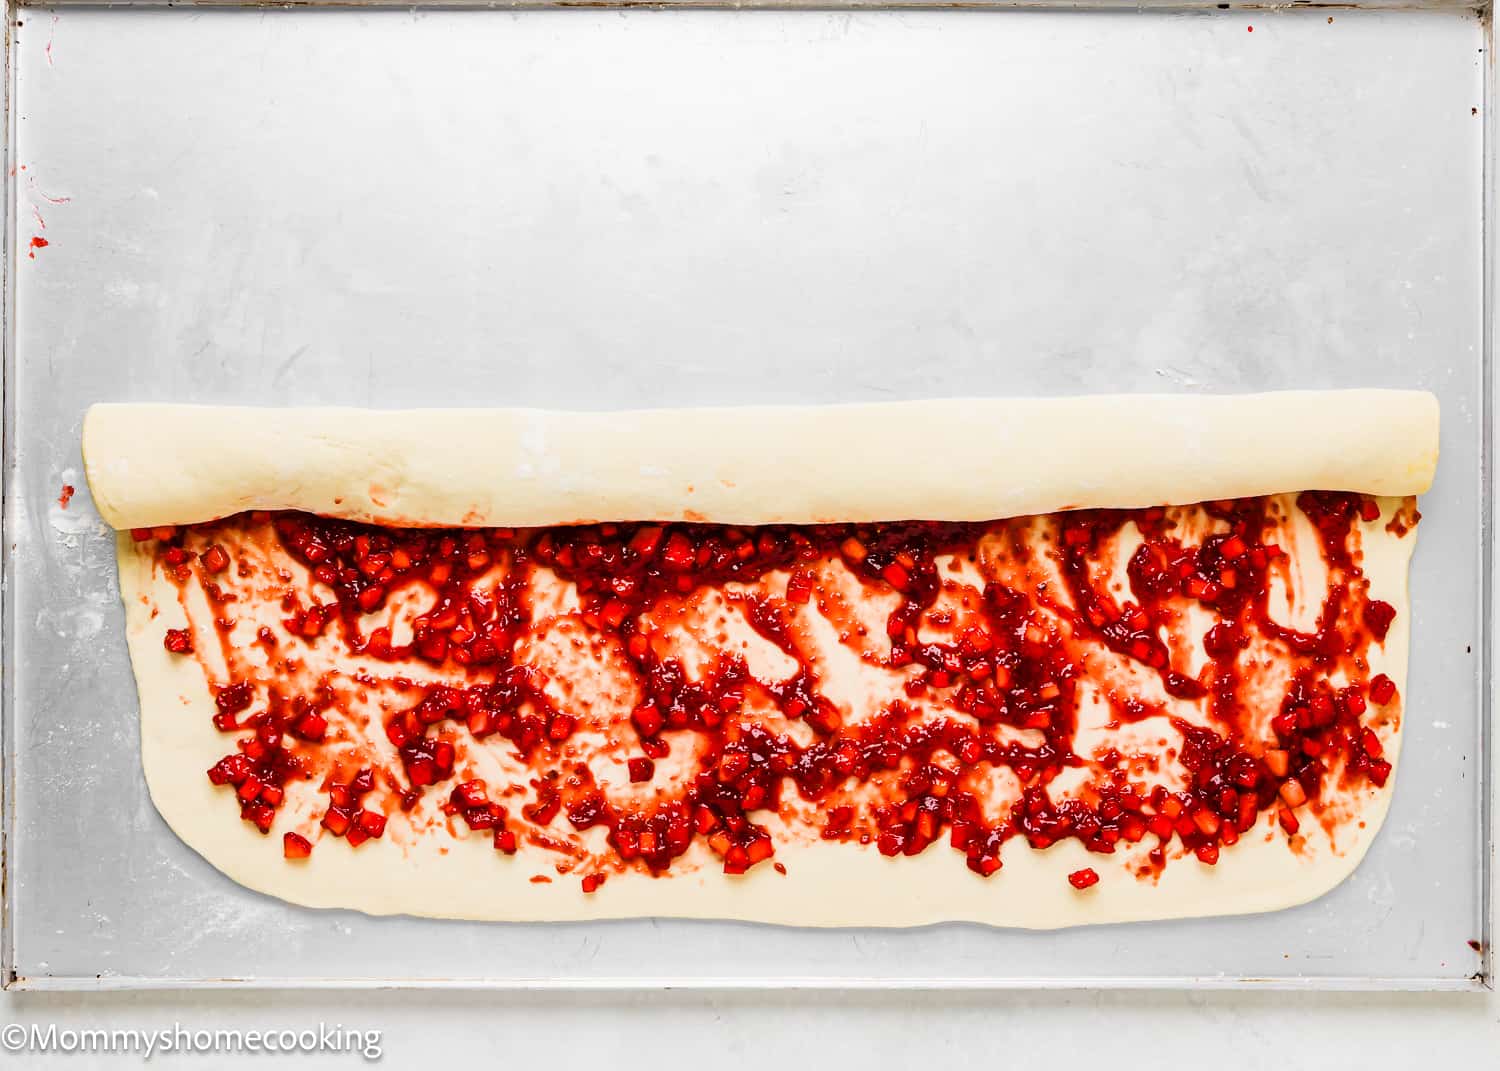
- Spread the mixture over the dough, leaving a 1/2-inch border on one long side.
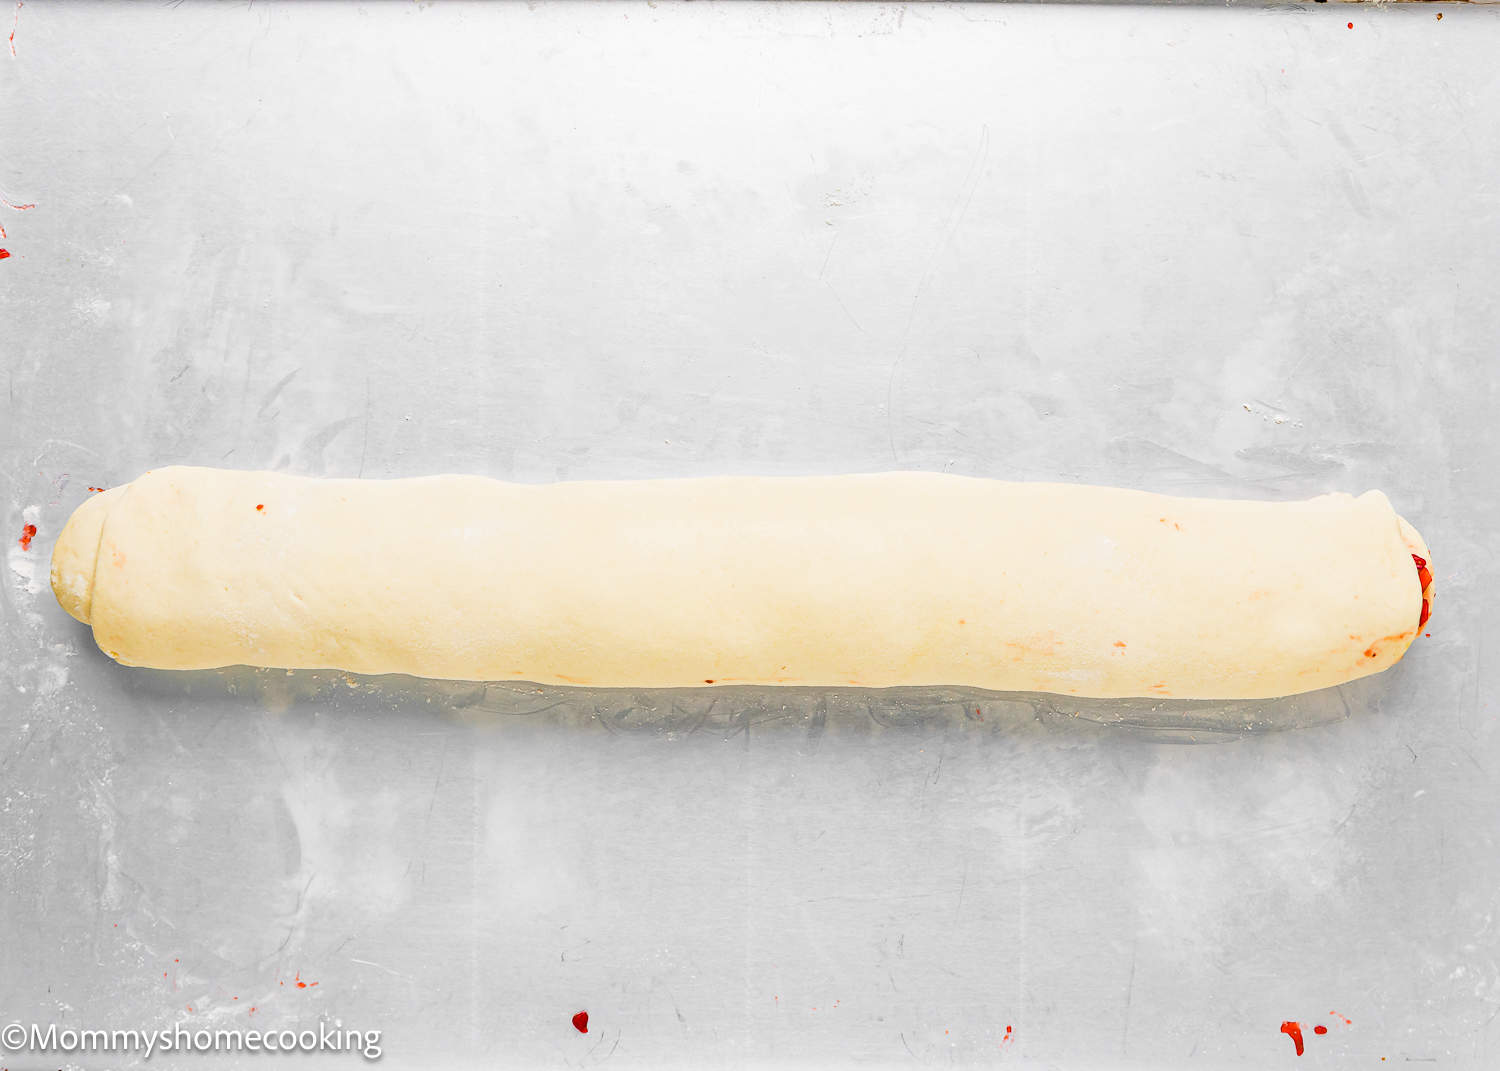
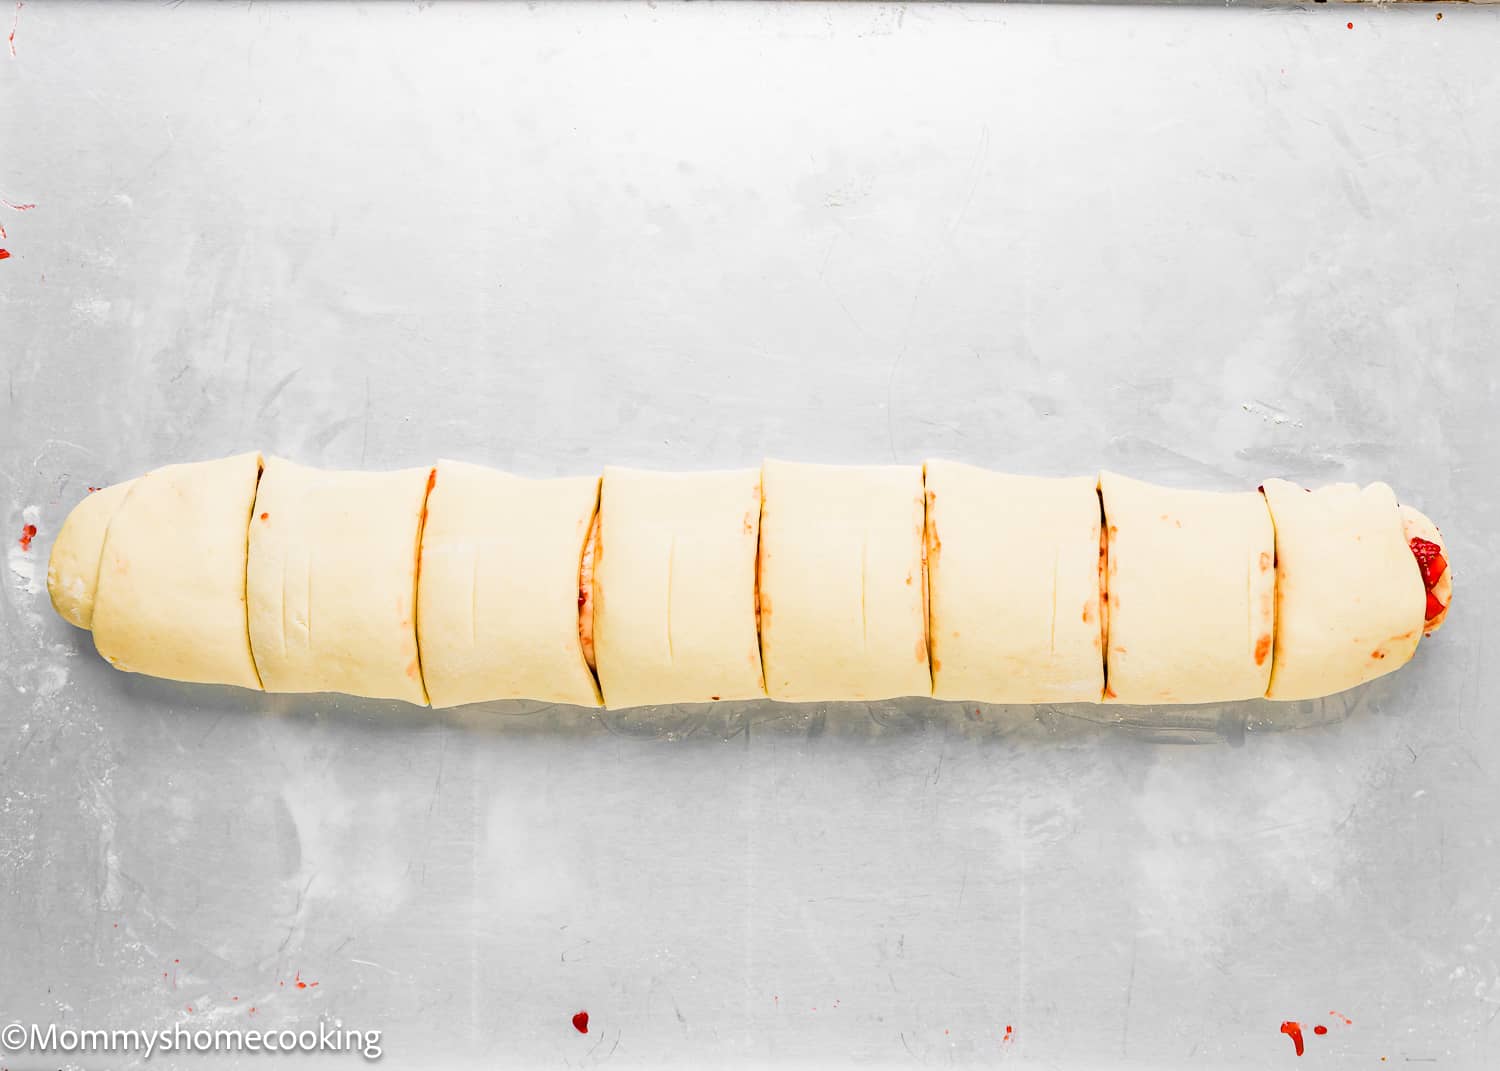
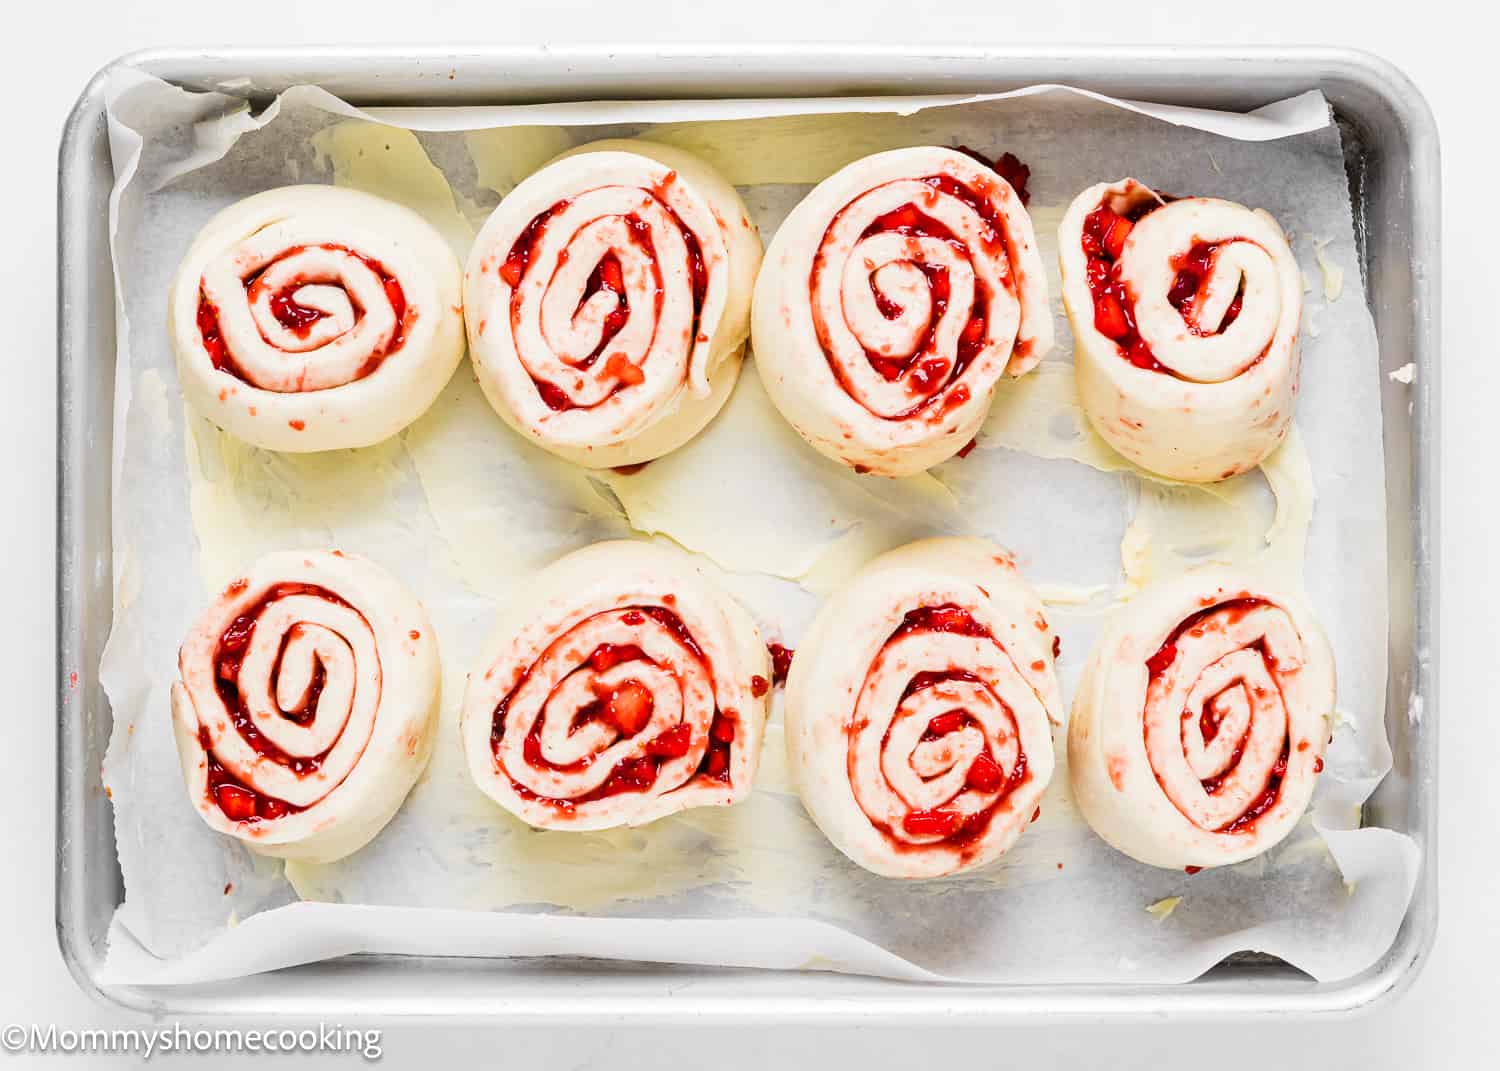
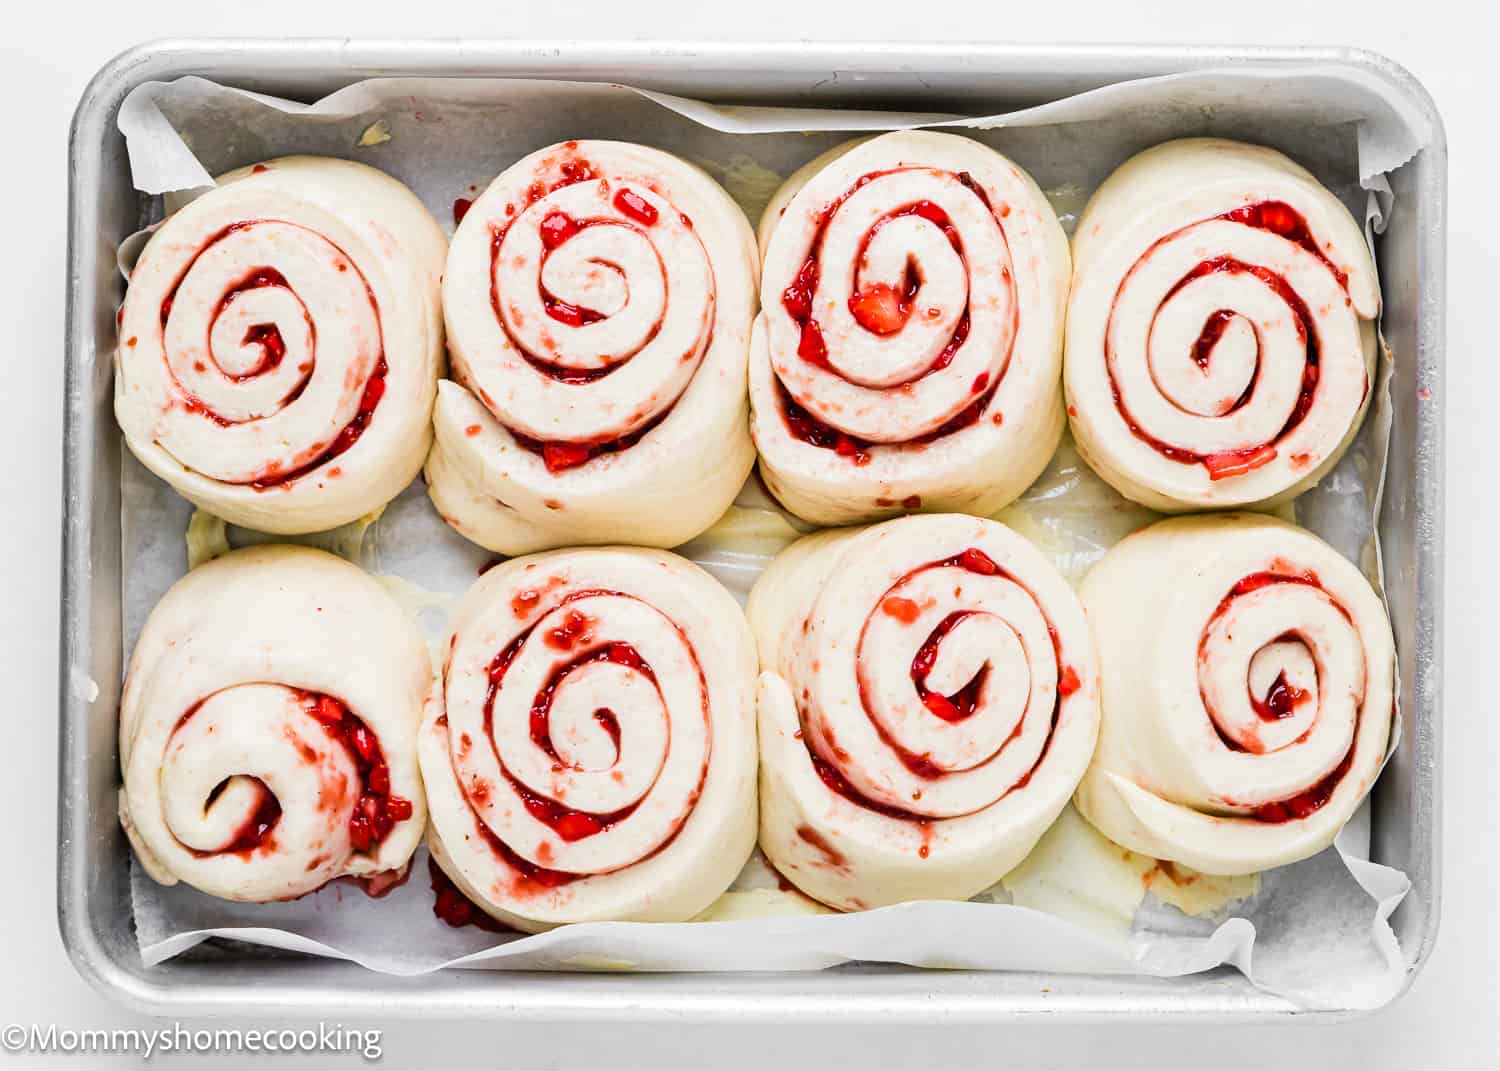
- Roll dough to form a log. Cut the log into 8 rolls and place the rolls in the prepared baking pan. Cover the rolls and allow them to rise in a warm environment once again until they are puffy—about 45 – 60 minutes.
Step 4 – Bake
While the rolls are rising, preheat the oven to 350º F (180º C).
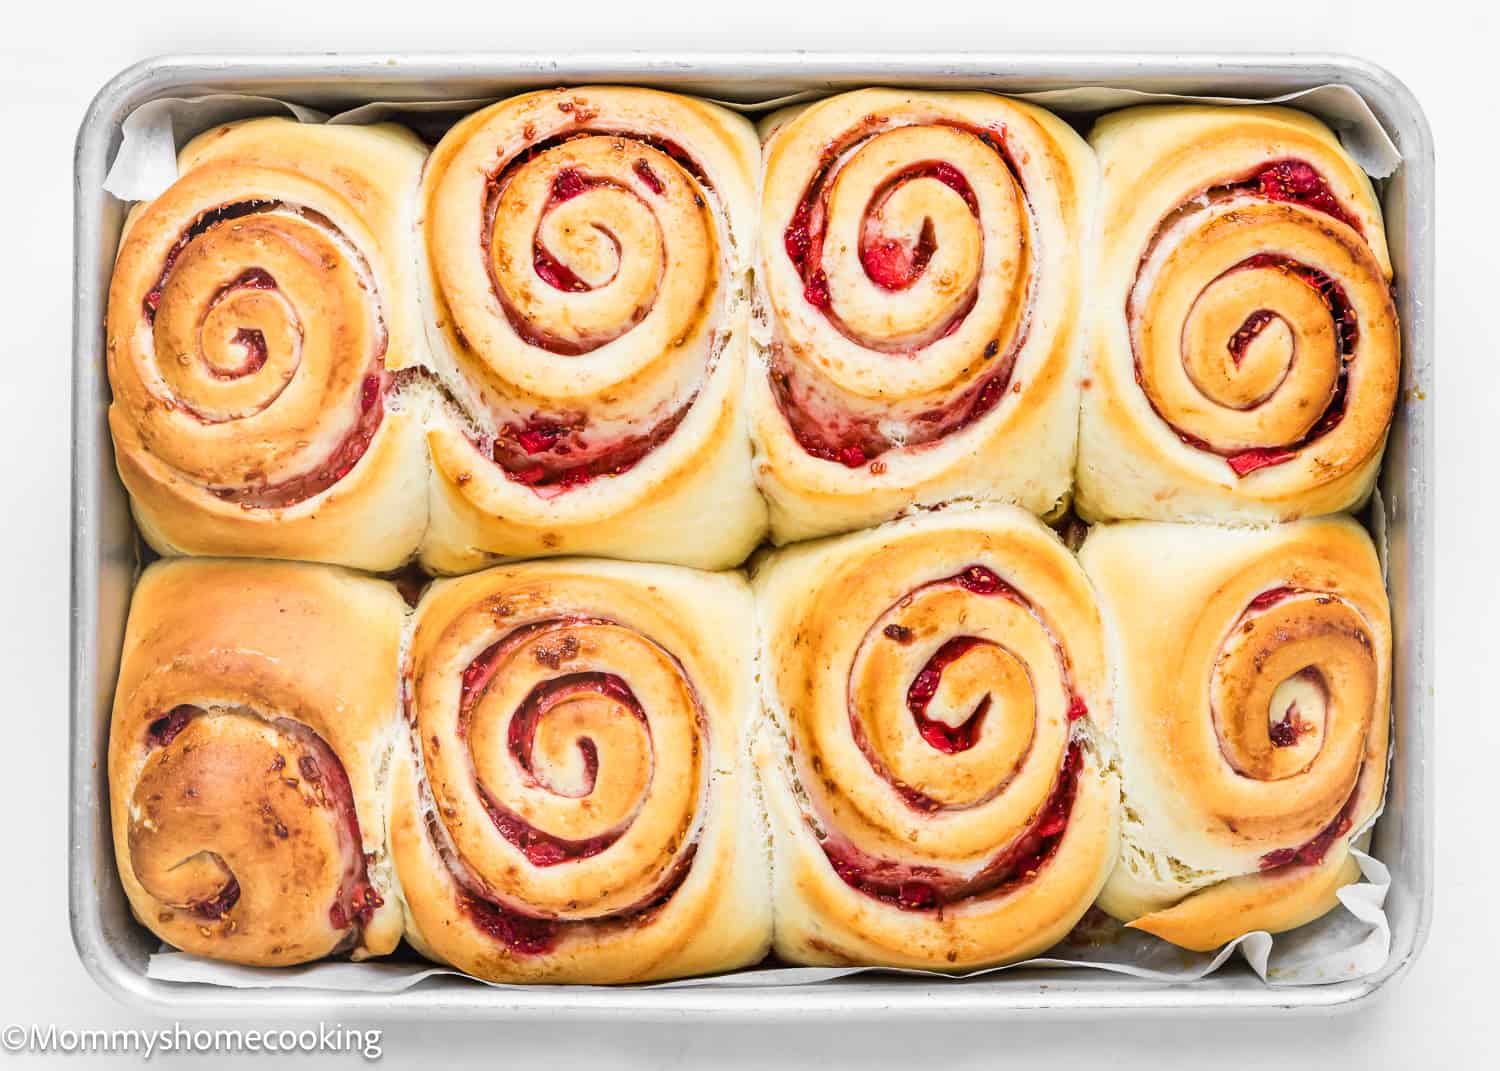
Uncover the rolls and bake for 25 – 30 minutes, until the rolls are lightly golden brown, and the center of the rolls are cooked through. Remove the pan from the oven and allow it to cool on a wire rack for about 10 -15 minutes as you make the frosting.
Pro-Tip: About halfway through the bake time, cover the rolls loosely with aluminum foil if you don’t want the tops to brown too much.
Step 5 – Make the Frosting
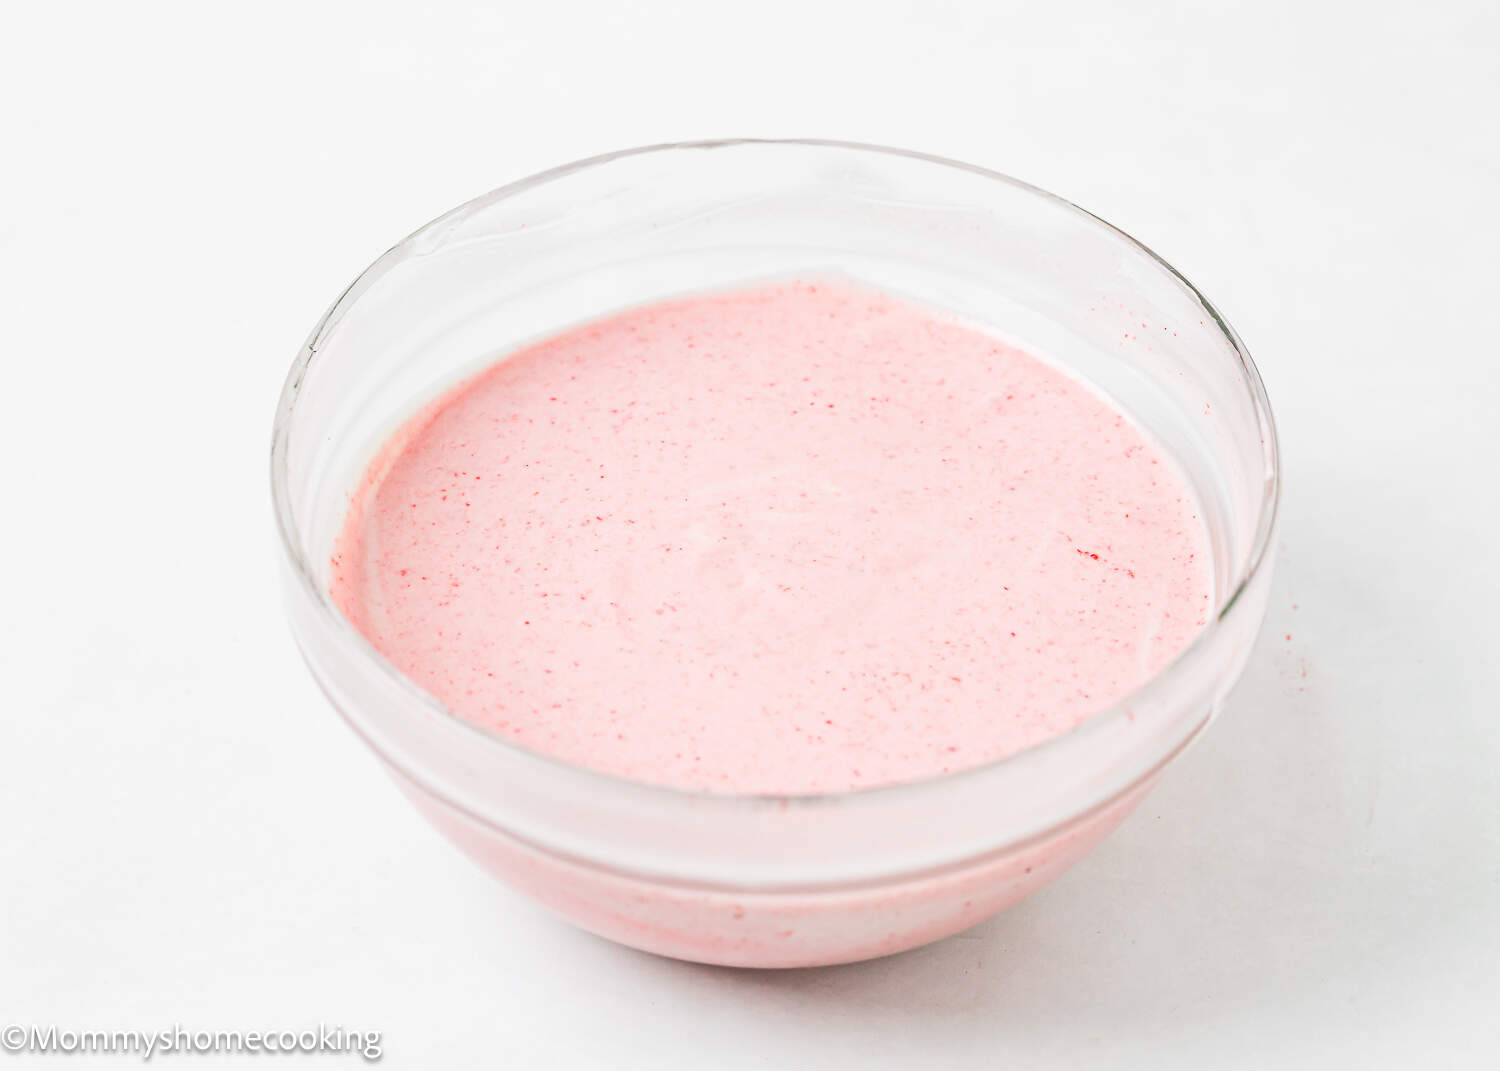
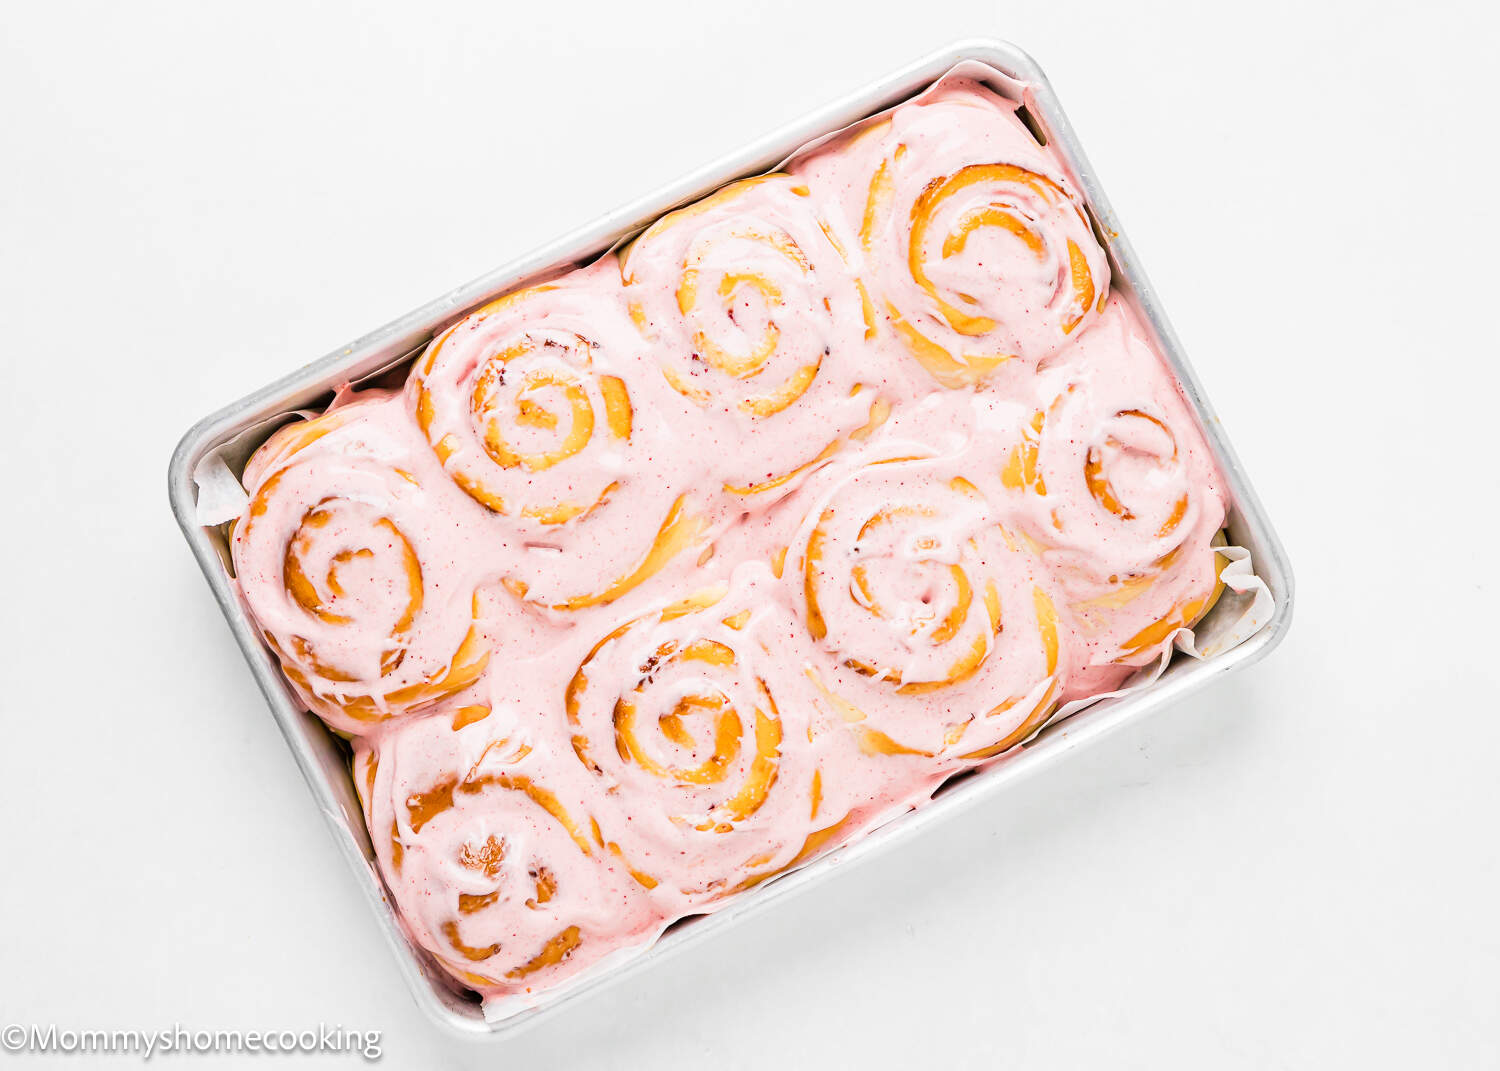
Combine butter and cream cheese in a large bowl using an electric mixer. Add vanilla extract, salt, and heavy cream; continue mixing until well combined. Then, add powdered sugar. Beat until combined. Add your preferred strawberry flavoring; mix until evenly distributed. Spread the frosting over the warm rolls.
Recipe Tips
- Yeast. If using active yeast, you need to activate it. To do so, mix warmed water and milk (bath temperature), yeast, and 1 tablespoon of sugar in a small and stir. Cover with a paper towel and let it sit until bubbly, about 5 – 8 minutes. If using instant yeast, you don’t need to activate it. In that case, add to the flour in step 1.
- Make sure your liquids are not too hot. It must be slightly warm to the touch but not steaming, about 105-115º F. Anything hotter is likely to kill the yeast, which means the cinnamon rolls will not rise. TIP: Dip your finger in the milk — it should feel warm, like warm bath water, but not HOT. If you warmed it up too much, simply wait a few minutes until it cools down enough to touch.
- Knead long enough. The windowpane test is one of the best ways to tell if you’ve sufficiently kneaded your bread dough. If properly kneaded, the dough should stretch, without tearing or breaking, into a thin membrane that you can see through. It means the gluten is well-developed, and your dough is ready to rise.
- Don’t overfill your rolls with strawberry jam, or you risk them bursting open during baking. A thin, even layer is all you need.
- Let your rolls cool slightly before frosting them to prevent the icing from melting and sliding off.
Food Allergy Swaps
- Dairy-Free: To make this recipe dairy-free, you can easily swap the dairy ingredients for non-dairy alternatives. Instead of butter and cream cheese, use vegan butter and vegan cream cheese. Instead of milk, use non-dairy milk like soy or oat milk. There are many brands available in stores. I usually use Earth Balance Vegan Buttery Sticks and Violife Just Like Cream Cheese Original. Check out my favorite dairy-free substitutes here.
- Gluten-Free: I haven’t tested this recipe with a gluten-free flour mix, but you can give it a try. My favorite GF blend for bread is Bob’s Red Mill Gluten Free Homemade Wonderful Bread Mix. Keep in mind that gluten-free doughs may require a shorter rise time than doughs made with regular flour. Also, gluten-free breads may bake at a slightly lower temperature and for a shorter amount of time than traditional breads. Start by baking the rolls at the temperature specified in the recipe, but be prepared to adjust the baking time if necessary.
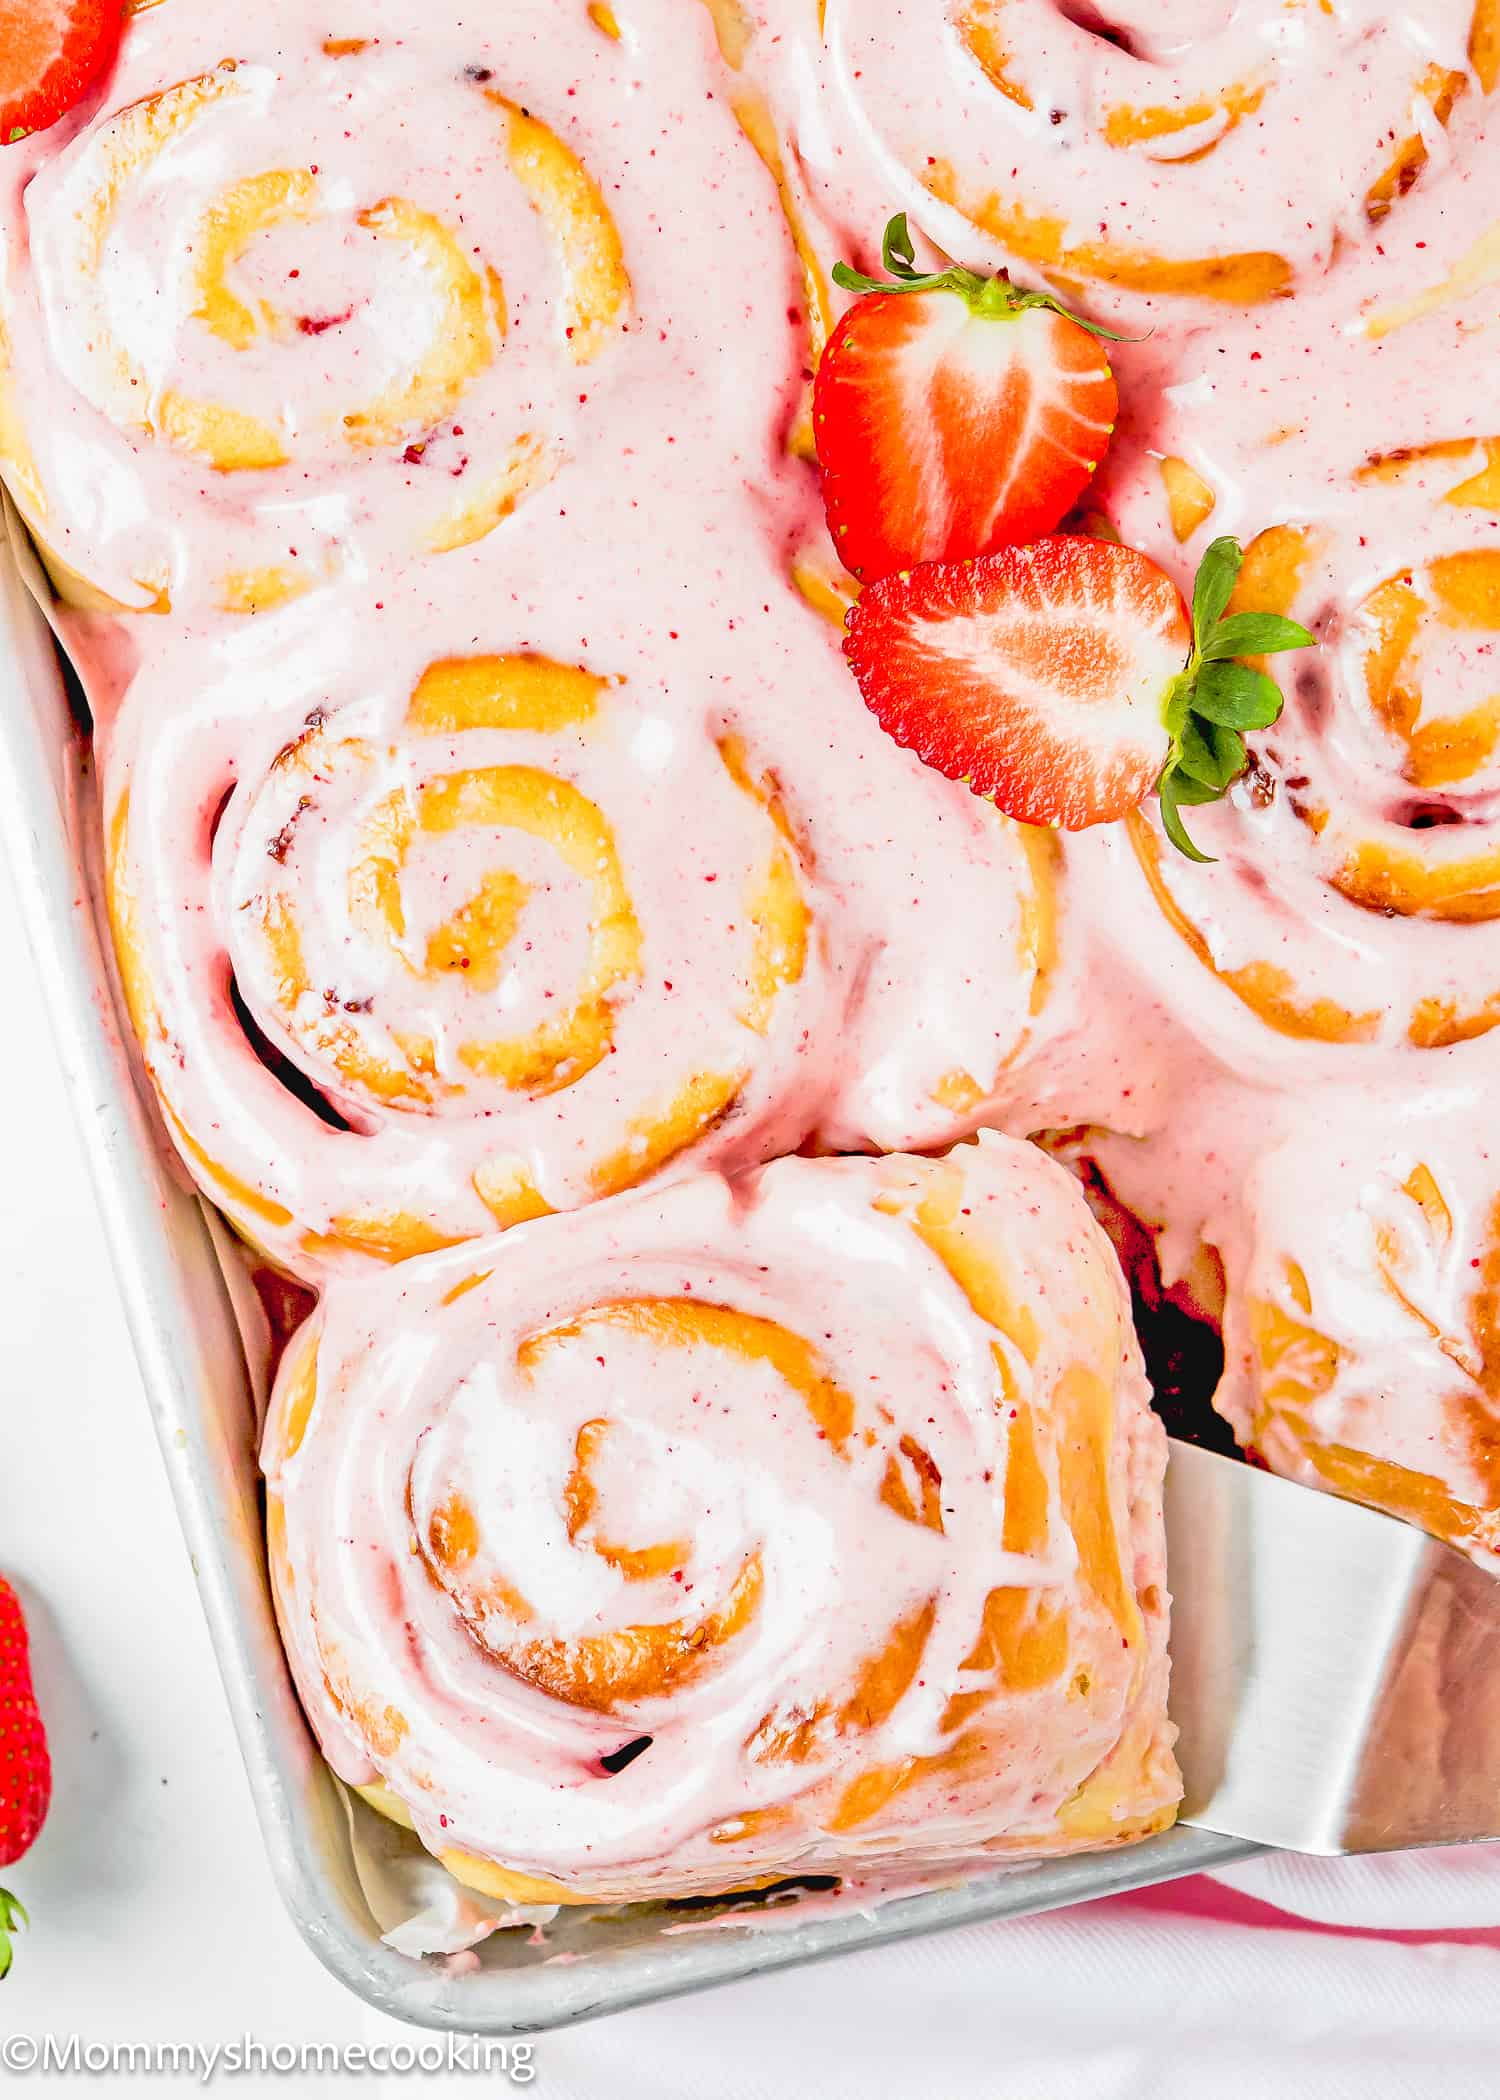
Variations & Additions
Feeling adventurous? Here are a few fun variations you can try:
- Add a sprinkle of lemon zest to the strawberry filling for a bright, citrusy twist.
- Drizzle melted chocolate over the rolls instead of frosting for a decadent treat.
- Feel free to get creative with your fillings and toppings! Try using different fruits like raspberries or blueberries, or swap the cream cheese frosting for a simple vanilla glaze or whipped cream.
Serving Suggestions
These Easy Strawberry Rolls are perfect for breakfast, brunch, or dessert! Serve them warm with a cup of coffee or tea for the ultimate indulgence.
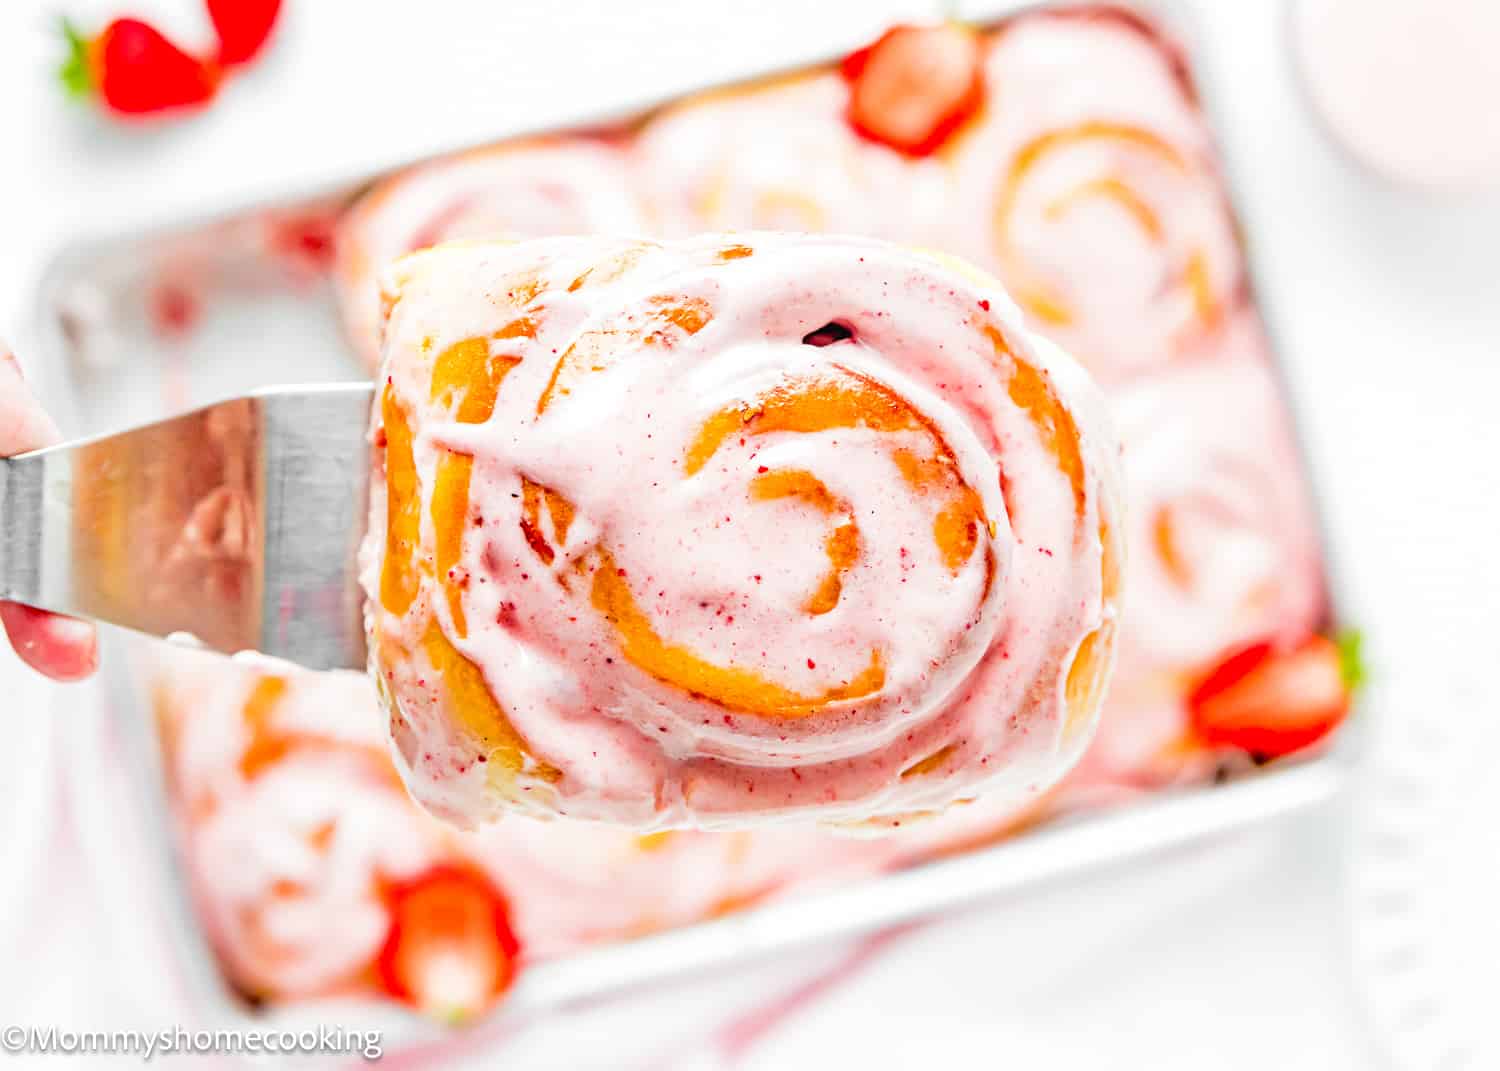
Storing and Freezing Instructions
Store leftover rolls in an airtight container in the refrigerator for up to 5 days.
Freeze:
- To freeze unbaked rolls: Make them through the rolling and cutting steps and place them in the pan. Unbaked rolls can typically be frozen for up to 1 month. Before freezing, it’s important to properly wrap them to prevent freezer burn and maintain their freshness. Individually wrap each unbaked roll tightly in plastic wrap, then place them in an airtight container or freezer bag. When you’re ready to bake, simply thaw the rolls in the refrigerator overnight, then let them rise until puffy, about 2 hours, before baking according to the recipe instructions. Please keep in mind that yeast may lose some of its potency over time, especially if frozen for extended periods. To ensure the best results, using the frozen unbaked rolls within 2 weeks of freezing is a good idea.
- To freeze baked rolls: I recommend freezing the baked rolls without frosting. Baked rolls can be frozen for up to 2 months. You can either freeze the entire pan or individual cinnamon rolls. Make sure they are well covered to avoid freezer burn. When ready to eat, defrost the cinnamon rolls at room temperature, then warm in the oven at 350º F for 10-15 minutes or in the microwave for 20-30 seconds intervals until warmed through.
Frequently Asked Questions
Absolutely! Fresh or frozen chopped strawberries work. Do not thaw first if using frozen.
If you’re not a fan of cream cheese, you can simply make a traditional powdered sugar glaze instead. Just mix powdered sugar with a bit of milk or cream until you reach your desired consistency.
If you don’t have evaporated milk on hand or prefer to use an alternative, you can use an equal amount of regular milk as a substitute for evaporated milk. Keep in mind that evaporated milk has a slightly thicker consistency and creamier taste compared to regular milk, so your final result may vary slightly in texture and flavor.
Yes! You can prepare the dough up to the point of shaping the rolls, then cover and refrigerate it overnight. Let it come to room temperature and rise before baking.
More Bread Recipes You’ll Love!
- Easy Eggless Cinnamon Rolls
- Eggless Apple Cinnamon Rolls
- Eggless Homemade Hawaiian Rolls
- Eggless Honey Whole Wheat Rolls
- Soft & Easy Eggless Dinner Rolls
- Easy Easter Sweet Bread (No Eggs)
- Browse more recipes…
❤️ Love what you see? JOIN my Private Baking Club. Also, SUBSCRIBE to Mommy’s Home Cooking, so you’ll never miss a recipe! And FOLLOW along on Instagram, Pinterest, and Facebook for more fun!
Recipe Card 📖

To Die For Easy Strawberry Rolls
Ingredients
For the Rolls Dough:
- 4 ½ cups (630 g) all-purpose flour or bread flour
- 1/3 cup (67 g) granulated sugar
- 1 ½ teaspoon (6 g) salt
- 2 1/4 teaspoons (7 g) instant yeast (1 US standard size packet)
- ½ cup (120 ml) evaporated milk (see notes)
- ½ cup (120 ml) water
- ½ cup (120 ml) milk
- 6 tablespoons (84 g) unsalted butter + more for the pan, softened
Strawberry Filling:
- 1 cup (150 g) finely chopped fresh strawberries (see notes)
- ½ cup (160 g) strawberry jam
Strawberry Frosting:
- ¼ cup (58 g) unsalted butter, softened
- 8 oz (226 g) cream cheese, softened
- 1 teaspoon (5 ml) pure vanilla extract
- 1/4 teaspoon (1 g) salt
- 1 tablespoon (15 ml) heavy cream or milk
- 2 cups (240 g) powdered sugar
- 1 tablespoon freeze-dried strawberry powder or 3 tablespoons strawberry puree, or strawberry jam, or 2 teaspoons strawberry bakery emulsion (see notes)
Instructions
Make the Rolls Dough:
- Mix flour, sugar, salt, and yeast in the bowl of the stand mixer.
- Mix evaporated milk, water and milk in a bowl or measuring cup. Microwave for 1 minute to warm up, like lukewarm – about 100° F/ 38º C. This is essential to activate the yeast.
- Add warm milk/water mixture to the bowl with the flour mixture. Beat with a dough hook on low speed for 2 – 3 minutes until combined; scrape down the sides of the bowl with a rubber spatula. Increase mixer speed to medium, continue kneading until the dough comes together, about 3 more minutes
- Add the softened butter, with the mixer running, one tablespoon at a time, letting each piece incorporate before adding the next. The dough will be sticky after adding in the butter. Scrape the bowl as needed to make sure the dough is mixing correctly.
- After adding all the butter, keep mixing the dough for 10 minutes, or until the dough is smooth, velvety, screechy, and the dough passes the windowpane test. This can take anywhere from 10 minutes to 15 minutes, so be patient. Note: Make sure to knead the dough long enough, so your rolls are light and fluffy and not dense or heavy. Heavy rolls can be the result of not kneading the dough long enough.
First Rise:
- Roll the dough into a ball and place it in a lightly greased bowl. Cover and let it set in a warm place for 1 ½ – 2 hours, or until double in size. Note: Alternately, you can rise the dough in the refrigerator overnight. If you do this, the second rise will take longer, about 1 – 2 hours, because the dough will be the cool.
Form the Rolls:
- Line a 9×13-inch baking dish with parchment paper, then grease the bottom with butter. Set aside.
- On a lightly floured surface, turn out the risen dough. Press the dough with your hands to shape it into a square and release a little bit of air. Roll the dough into a 20 x 14-inch (50 x 35 cm) rectangle. Make sure the dough is smooth and evenly thick, even at the corners.
- In a small bowl, stir together the chopped strawberries and jam.
- Spread the mixture over the dough, leaving a 1/2-inch border on long side.
- Roll dough to form a log. Cut the log into 8 rolls and place rolls in the prepared baking pan. Cover the rolls and allow to rise in a warm environment once again until the are puffy—about 45 – 60 minutes.
Bake:
- While the rolls are rising, preheat the oven to 350º F (180º C).
- Uncover the rolls and bake for 25 – 30 minutes, until the rolls are lightly golden brown, and the center of the rolls are cooked through. Remove pan from the oven and allow to cool on a wire rack for about 10 -15 minutes as you make the fronting.Tip: About halfway through the bake time, cover the rolls loosely with aluminum foil if you dont want the tops to brown too much.
Make the Frosting:
- In a large bowl, combine butter and cream cheese using an electric mixer. Add vanilla extract salt, and heavy cream; continue mixing until well combined. Then add powdered sugar. Beat until combined. Add you preferred strawberry flavoring; mix until evenly distribute.
- Spread the frosting over the warm rolls.
Overnight Strawberry Rolls Instructions:
- Prepare the dough, roll out, fill, roll into a log and cut into rolls following the recipe's steps above. Arrange rolls cut side down in the baking pan; cover tightly with aluminum foil and let rest in the warmed place for about 10 – 15 minutes to kick start the rising process. Then, store in the refrigerator overnight or up to 16 hours.
- The next day, preheat the oven to 200º F (90º C) for 10 minutes; turn off the oven. Place rolls, covered, in the warm oven, close the oven door, and let the rolls rise until they look slightly puffy, approximately 45 – 60 minutes. Take the rolls out of the oven.
- Then, preheat the oven to 375º F (190º C). Uncover the rolls and bake for 25 – 30 minutes, until the rolls are lightly golden brown, and the center of the rolls are cooked through (or until the internal temperature reaches 185º F / 90º C. While the rolls are baking, prepare the frosting.
- Spread the frosting over the rolls and serve immediately.
- To freeze unbaked rolls: Make them through the rolling and cutting steps and place them in the pan. Unbaked rolls can typically be frozen for up to 1 month. Before freezing, it’s important to properly wrap them to prevent freezer burn and maintain their freshness. Individually wrap each unbaked roll tightly in plastic wrap, then place them in an airtight container or freezer bag. When you’re ready to bake, simply thaw the rolls in the refrigerator overnight, then let them rise until puffy, about 2 hours, before baking according to the recipe instructions. Please keep in mind that yeast may lose some of its potency over time, especially if frozen for extended periods. To ensure the best results, using the frozen unbaked rolls within 2 weeks of freezing is a good idea.
- To freeze baked rolls: I recommend freezing the baked rolls without frosting. Baked rolls can be frozen for up to 2 months. You can either freeze the entire pan or individual cinnamon rolls. Make sure they are well covered to avoid freezer burn. When ready to eat, defrost the cinnamon rolls at room temperature, then warm in the oven at 350º F for 10-15 minutes or in the microwave for 20-30 seconds intervals until warmed through.
- Yeast. If using active yeast, you need to activate it. To do so, mix warmed water and milks (bath temperature), yeast, and 1 tablespoon of sugar in a small bowl and stir. Cover with a paper towel and let it sit until bubbly, about 5 – 8 minutes. If using instant yeast, you don’t need to activate it. In that case, add to the flour in step 1.
- Make sure your liquids are not too hot. It must be slightly warm to the touch but not steaming, about 105-115º F. Anything hotter is likely to kill the yeast, which means the cinnamon rolls will not rise. TIP: Dip your finger in the milk — it should feel warm, like warm bath water, but not HOT. If you warmed it up too much, simply wait a few minutes until it cools down enough to touch.
- Knead long enough. The windowpane test is one of the best ways to tell if you’ve sufficiently kneaded your bread dough. If properly kneaded, the dough should stretch, without tearing or breaking, into a thin membrane that you can see through. It means that the gluten is well-developed, and your dough is ready to rise.
- Don’t overfill your rolls with strawberry jam, or you risk them bursting open during baking. A thin, even layer is all you need.
- Let your rolls cool slightly before frosting them to prevent the icing from melting and sliding off.
- Dairy-Free: To make this recipe dairy-free, you can easily swap out the dairy ingredients for non-dairy alternatives. Instead of butter and cream cheese, use vegan butter and vegan cream cheese. Instead of milk, use non-dairy milk like soy or oat milk. There are many brands available in stores. I usually use Earth Balance Vegan Buttery Sticks and Violife Just Like Cream Cheese Original. Check out my favorite dairy-free substitutes here.
- Gluten-Free: I haven’t tested this recipe with a gluten-free flour mix, but you can give it a try. My favorite GF blend for bread is Bob’s Red Mill Gluten Free Homemade Wonderful Bread Mix. Keep in mind that gluten-free doughs may require a shorter rise time than doughs made with regular flour. Also, gluten-free breads may bake at a slightly lower temperature and for a shorter amount of time than traditional breads. Start by baking the bread at the temperature specified in the recipe, but be prepared to adjust the baking time if necessary.
- Add a sprinkle of lemon zest to the strawberry filling for a bright, citrusy twist.
- Drizzle melted chocolate over the rolls instead of frosting for a decadent treat.
- Feel free to get creative with your fillings and toppings! Try using different fruits like raspberries or blueberries, or swap the cream cheese frosting for a simple vanilla glaze or whipped cream.

Leave a Reply