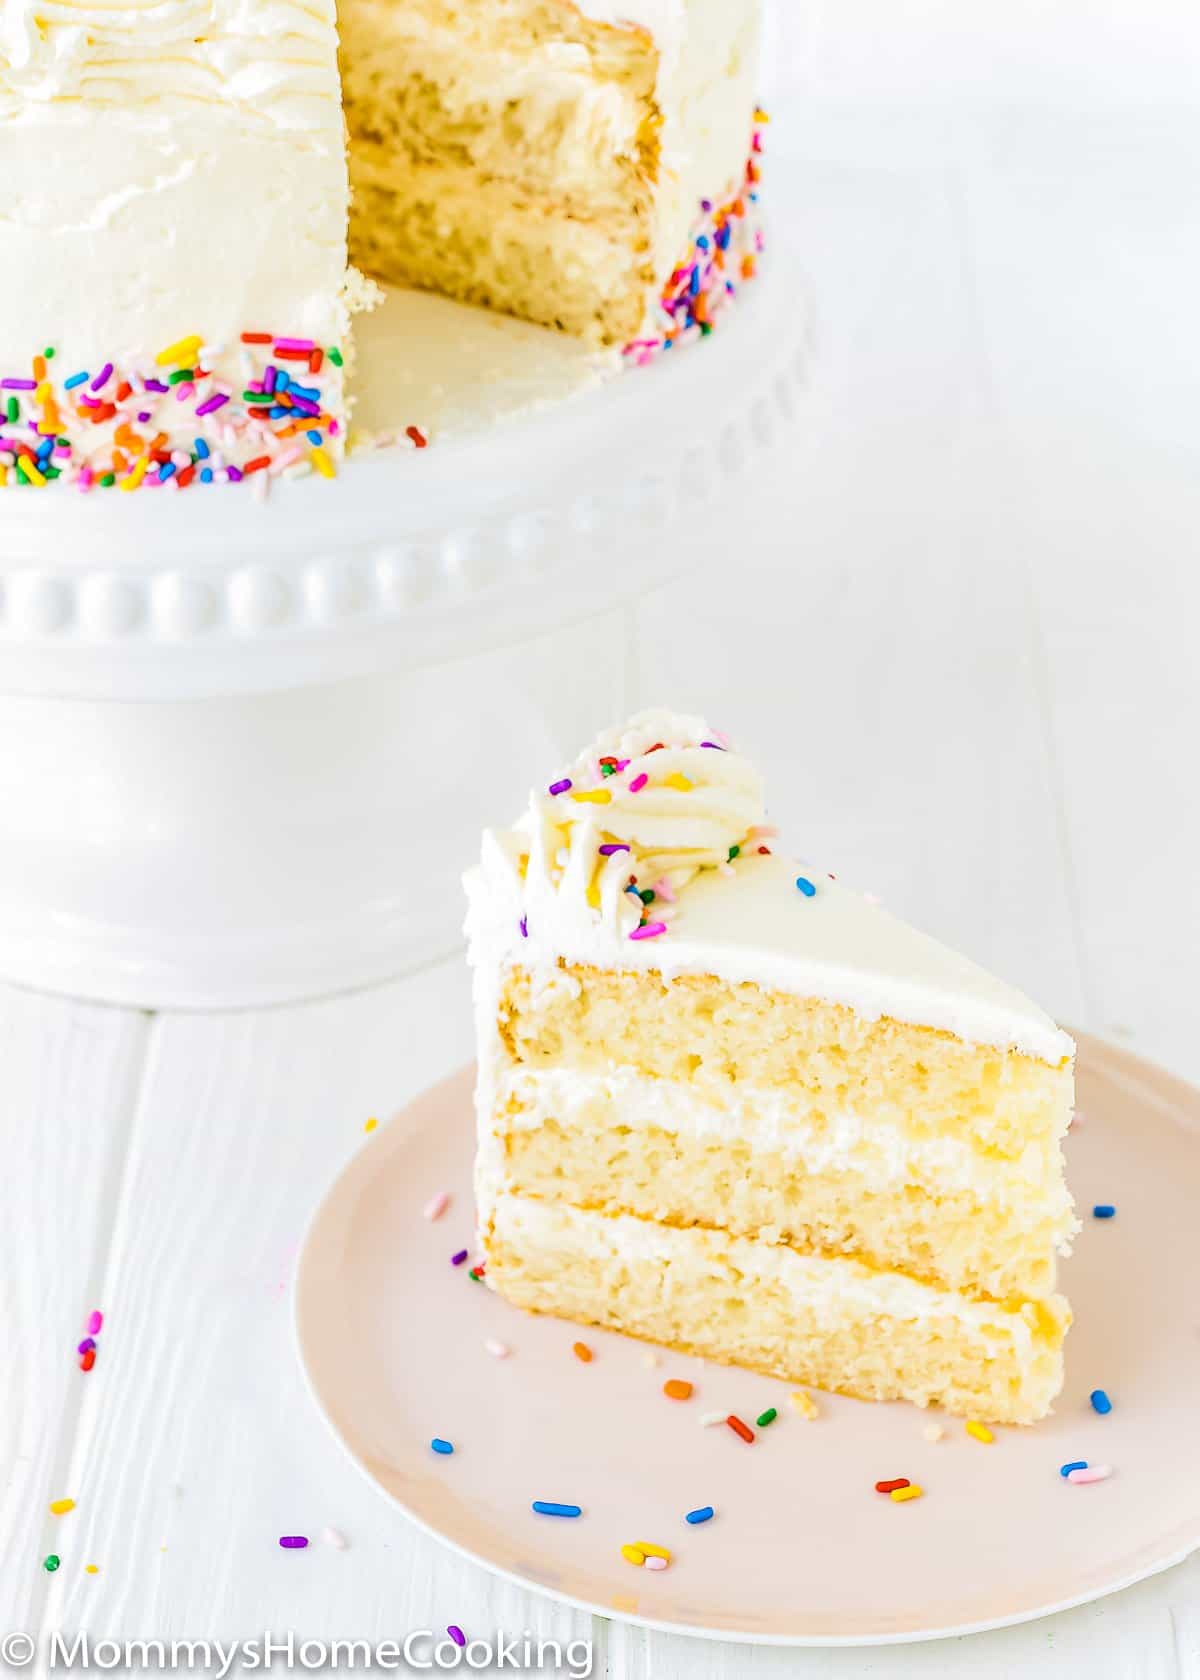
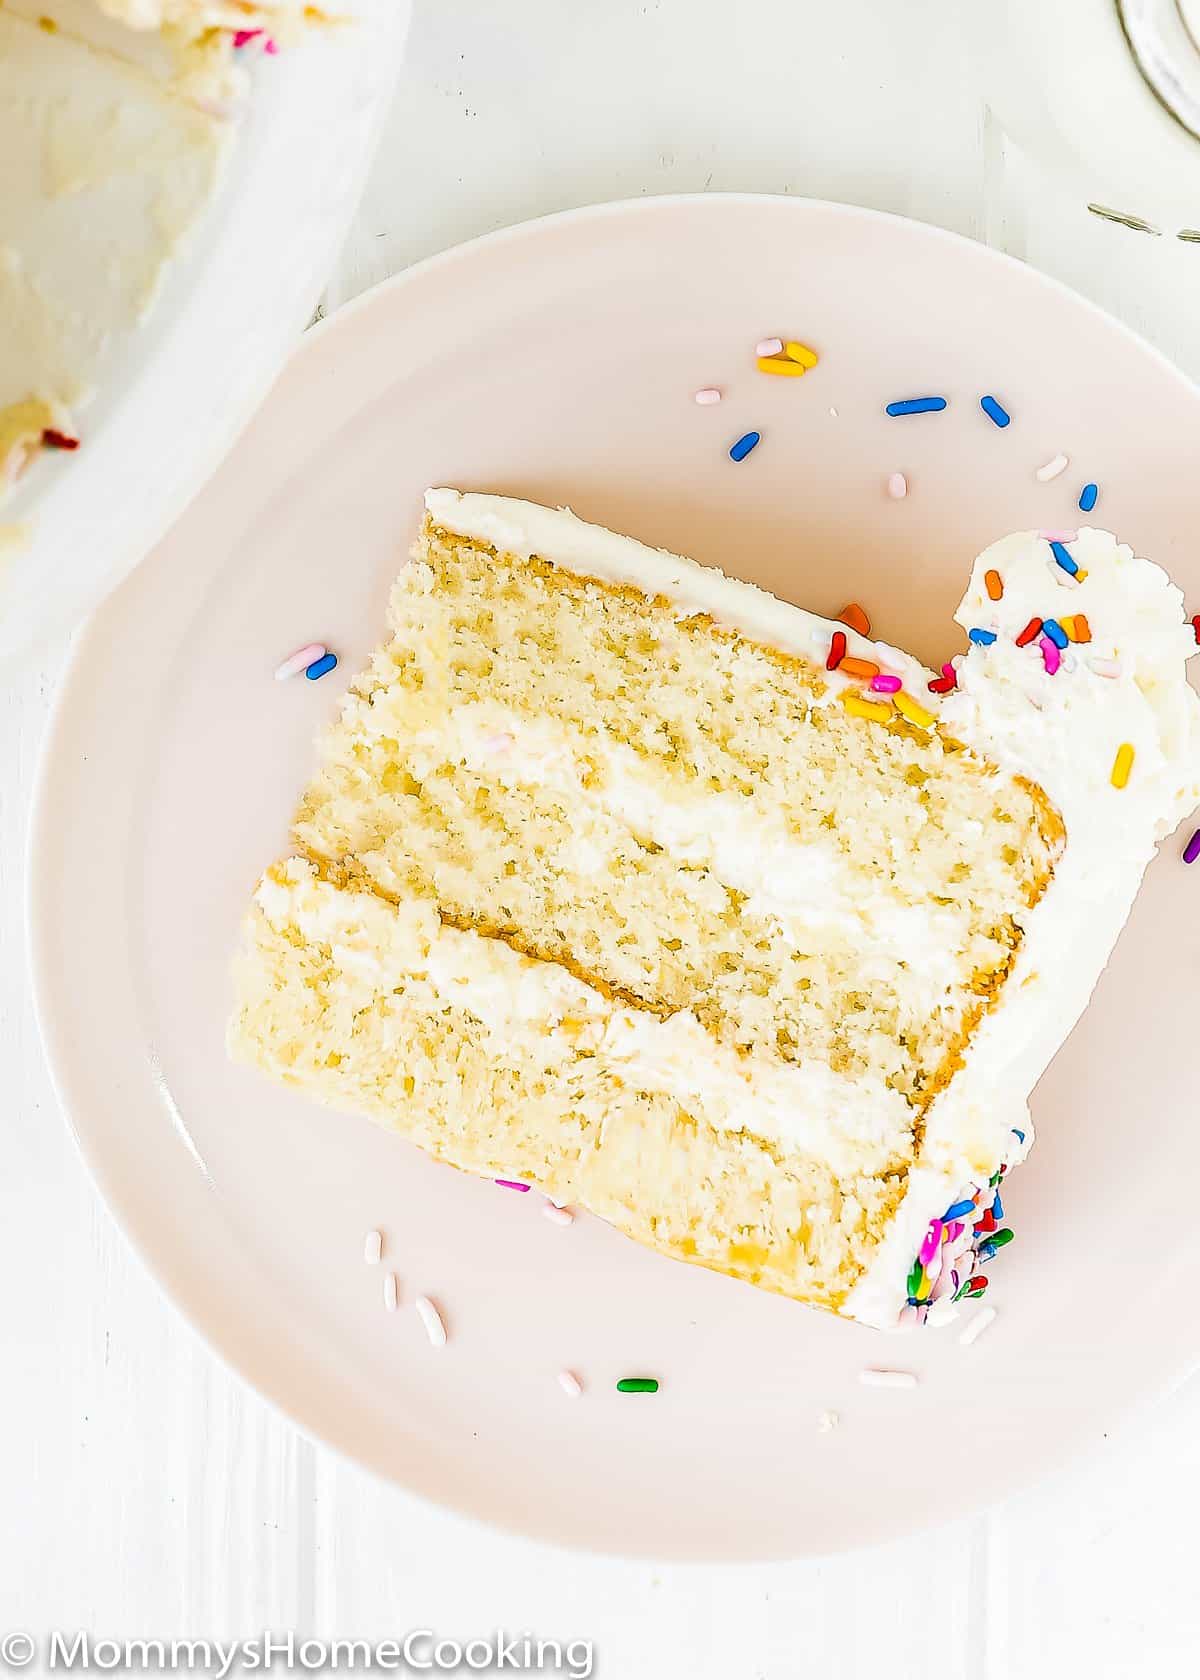
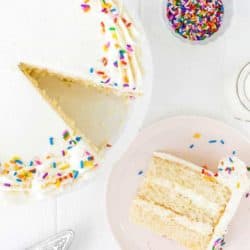
This is The BEST Eggless Vanilla Cake Recipe!! Its sweet buttery flavor and light and moist texture make it perfect for celebrating any occasion! Easy to make with simple ingredients.
Easy Egg-Free Vanilla Cake Recipe Highlights
This is my tried and true Eggless Vanilla Cake Recipe!
Its sweet buttery flavor and light and moist texture make it perfect for celebrating any occasion. Plus, It’s super easy to make with simple ingredients and D.E.L.I.C.I.O.U.S!!! This vanilla cake made without eggs works every time.
When my daughter was diagnosed with egg allergy when she was one year old, I promised myself that she would never feel left out because of her condition. And so, my adventure of cooking without eggs started.
Have been a LONG journey! Finally, I feel that I have the perfect Eggless Vanilla Cake Recipe. And many, many other eggless cake recipes, cupcakes, and other sweet treats that you can find here, on my website.
That being said, I truly hope this recipe helps you light up any special celebrations. Let’s get started!
Ingredients Notes & Substitutions
Please check the recipe card at the bottom of the post for exact quantities and detailed instructions (scroll down).
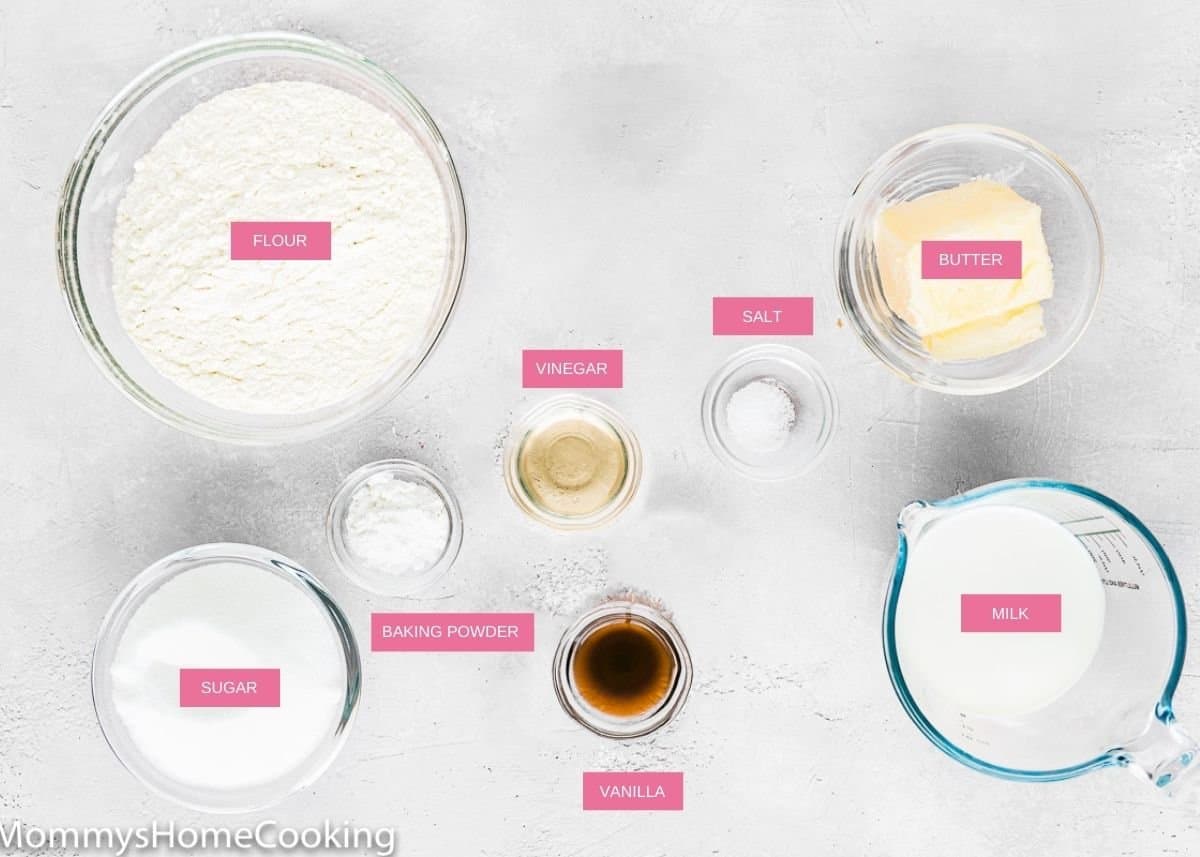
Let’s talk about the ingredients. Like all my recipes, I wanted simple ingredients that most people usually have on hand. Mission accomplished.
- Flour – Standard all-purpose flour works best here; skip the cake, bread, and wheat flour. Make sure to measure accurately. In my opinion, a kitchen scale is the best way to measure your ingredients.
- Baking powder – Make sure it is not expired or too old. To avoid a chemical aftertaste, use baking powder that is labeled aluminum free. I usually use the Clabber Girl brand, and though the ingredients state aluminum, I’ve never noticed an aluminum aftertaste.
- Salt – I prefer kosher or sea salt. If you only have table salt handy, I recommend reducing the amount to half.
- Milk – I prefer whole milk, but you can use any milk you have handy, even dairy-free milk.
- Vinegar – You can use apple cider vinegar or white vinegar.
- Butter – I prefer to use unsalted butter, but if you only have salted butter handy, you can use it. In this case, skip the salt called in the recipe.
- Sugar – Granulated sugar or caster sugar will work fine.
- Pure vanilla extract – Reach for pure vanilla instead of imitation for optimal flavor. Even better, try homemade vanilla extract!
Eggless Vanilla Cake Recipe Step-By-Step Photo Tutorial
Please check the recipe card at the bottom of the post for exact quantities and detailed instructions (scroll down).
1 – Preheat The Oven & Prepare The Cake Pans
Preheat the oven to 350º F (175º C). Line 3 8-in (20 cm) round cake pans with parchment paper. Lightly grease with baking spray with flour.
2 – Combine Dry Ingredients
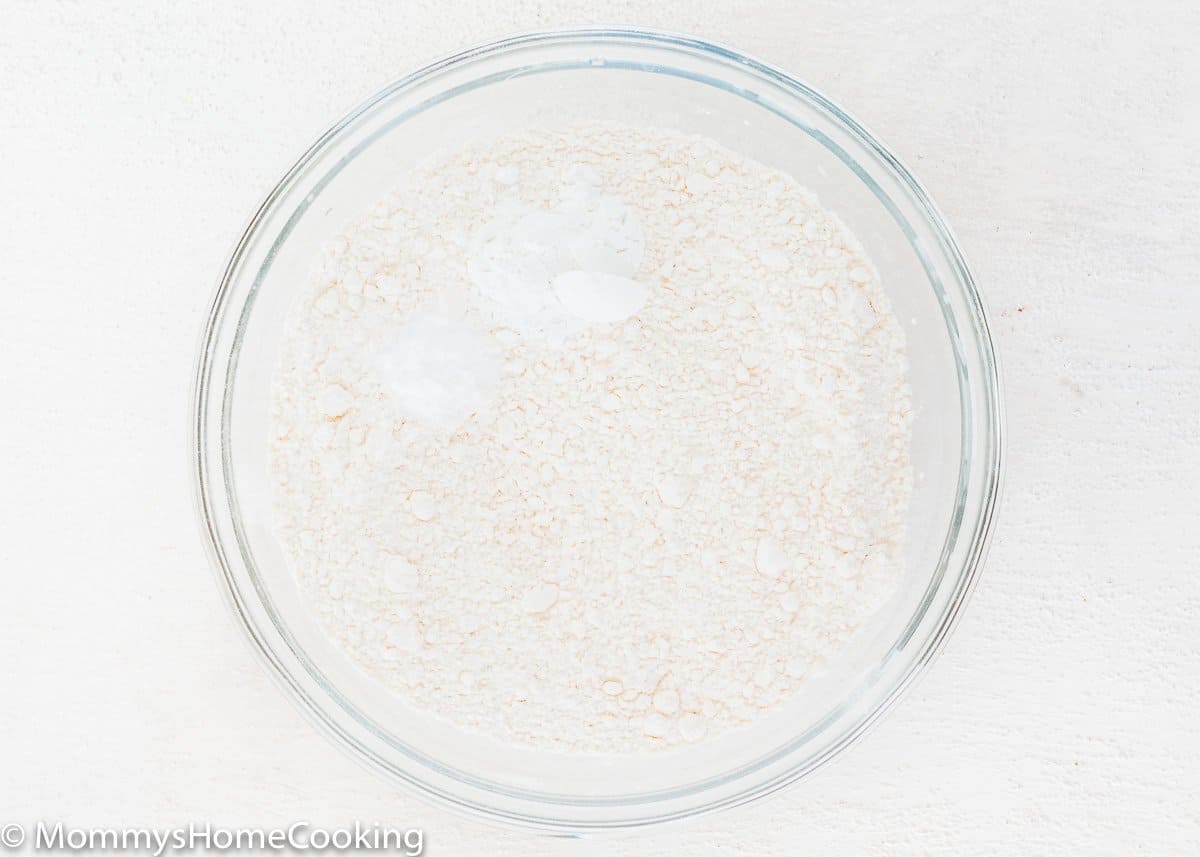
Sift the flour and baking powder into a large bowl. Add salt and mix to combine.
3 – Mix Milk And Vinegar
Combine milk and vinegar in a small bowl. Set aside.
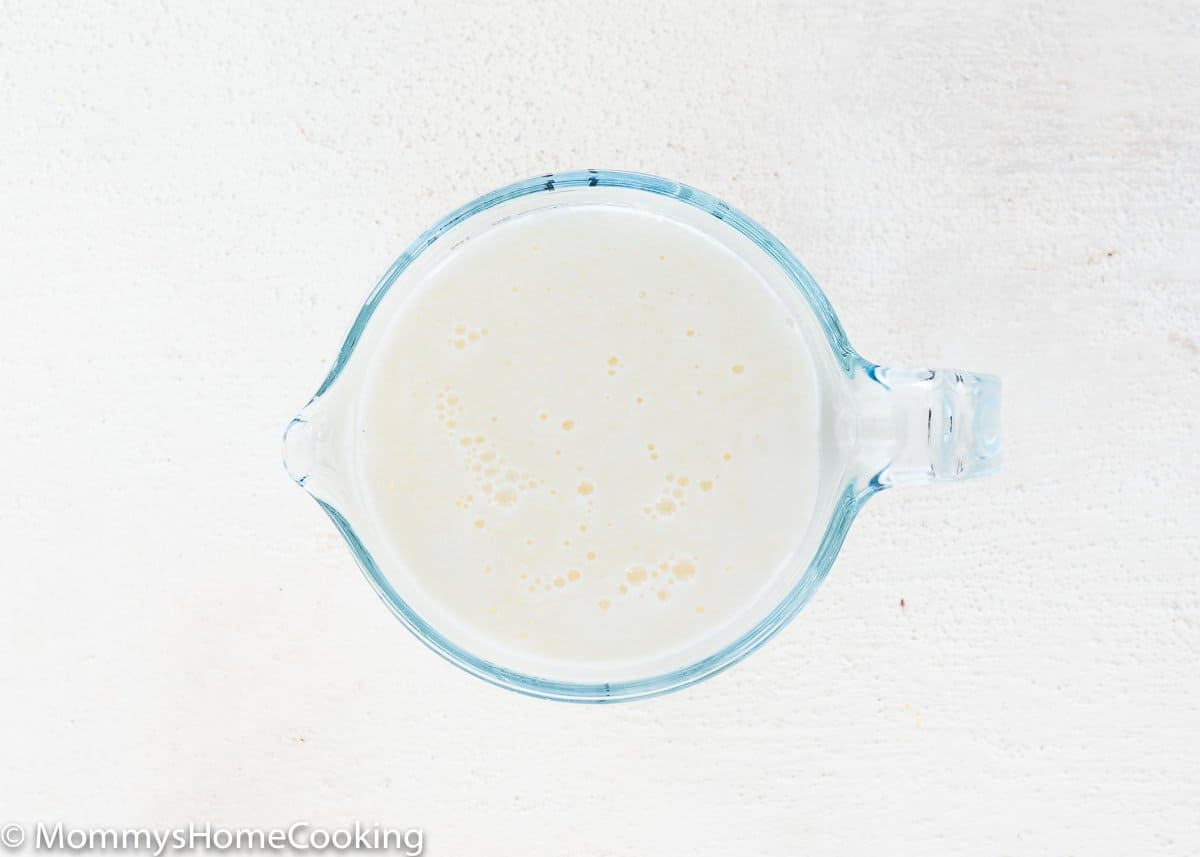
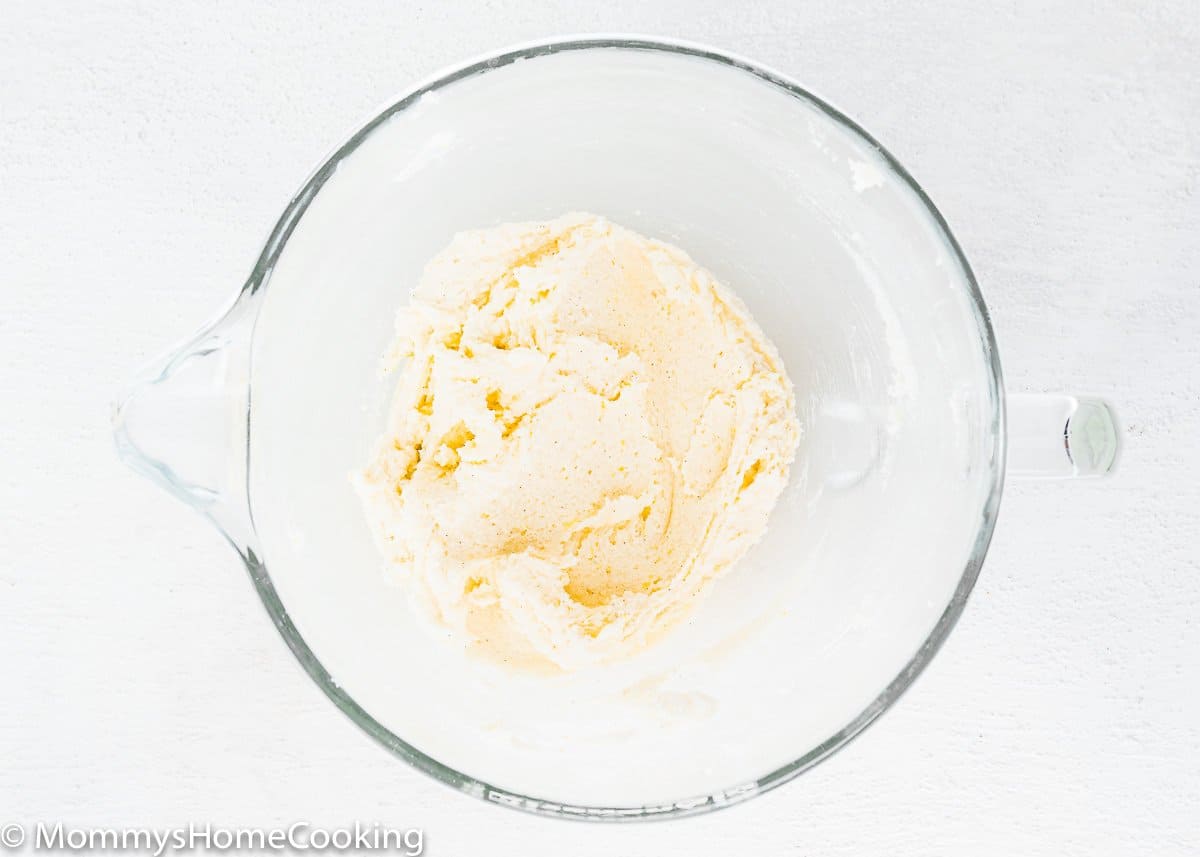
4 – Cream Butter And Sugar
Using an electric hand mixer or a stand mixer, beat butter until creamy on medium-high speed, about 3 – 4 minutes. Add the sugar and beat on high speed for 4 minutes until creamed and pale, scraping down the sides and up the bottom of the bowl with a rubber spatula as needed. Then add vanilla; continue beating to combine, about 1 minute.
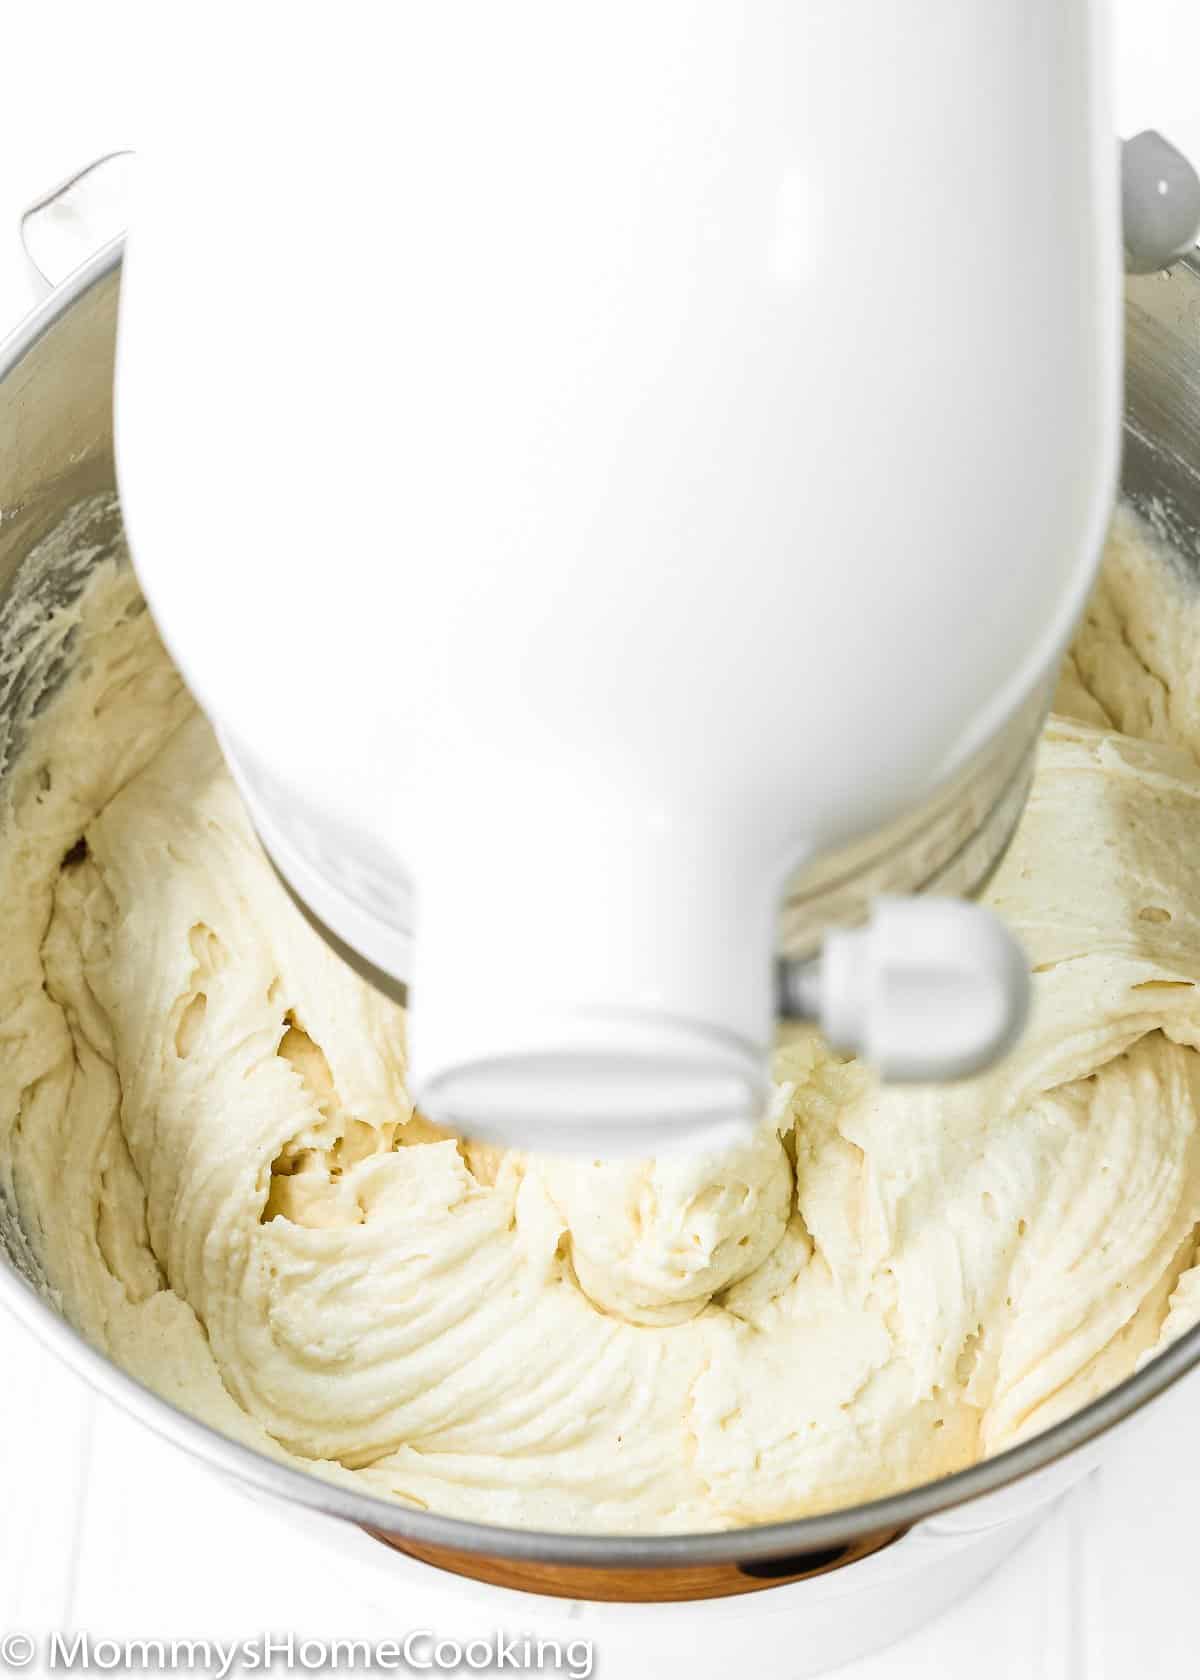
5 – Add Dry Ingredients
Turn the mixer to low and add the flour mixture in three batches, alternating with milk mixture, beginning and ending with the flour mixture; beat until just combined, about 30 – 45 seconds. Do not overmix.
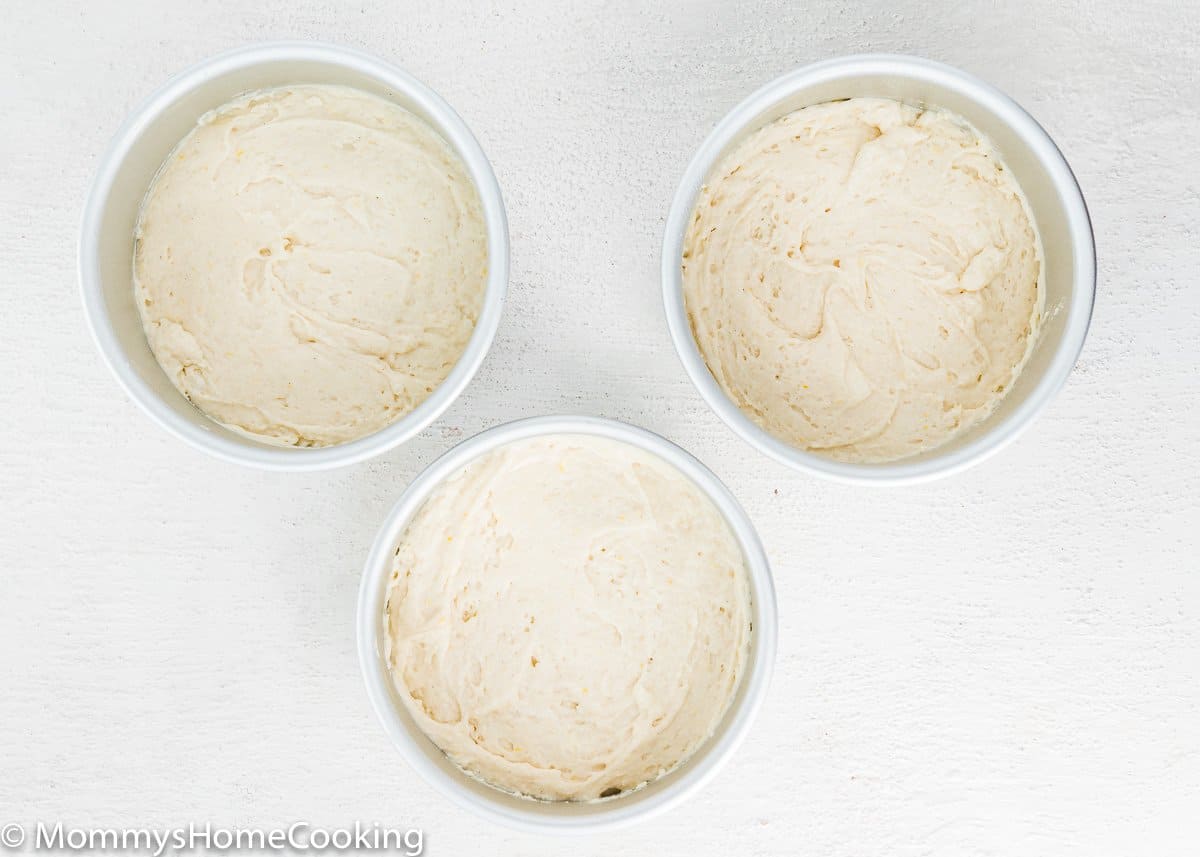
6 – Divide The Batter
Evenly divide the batter between prepared pans (2 1/2 cups of batter in each pan approximately).
7 – Bake
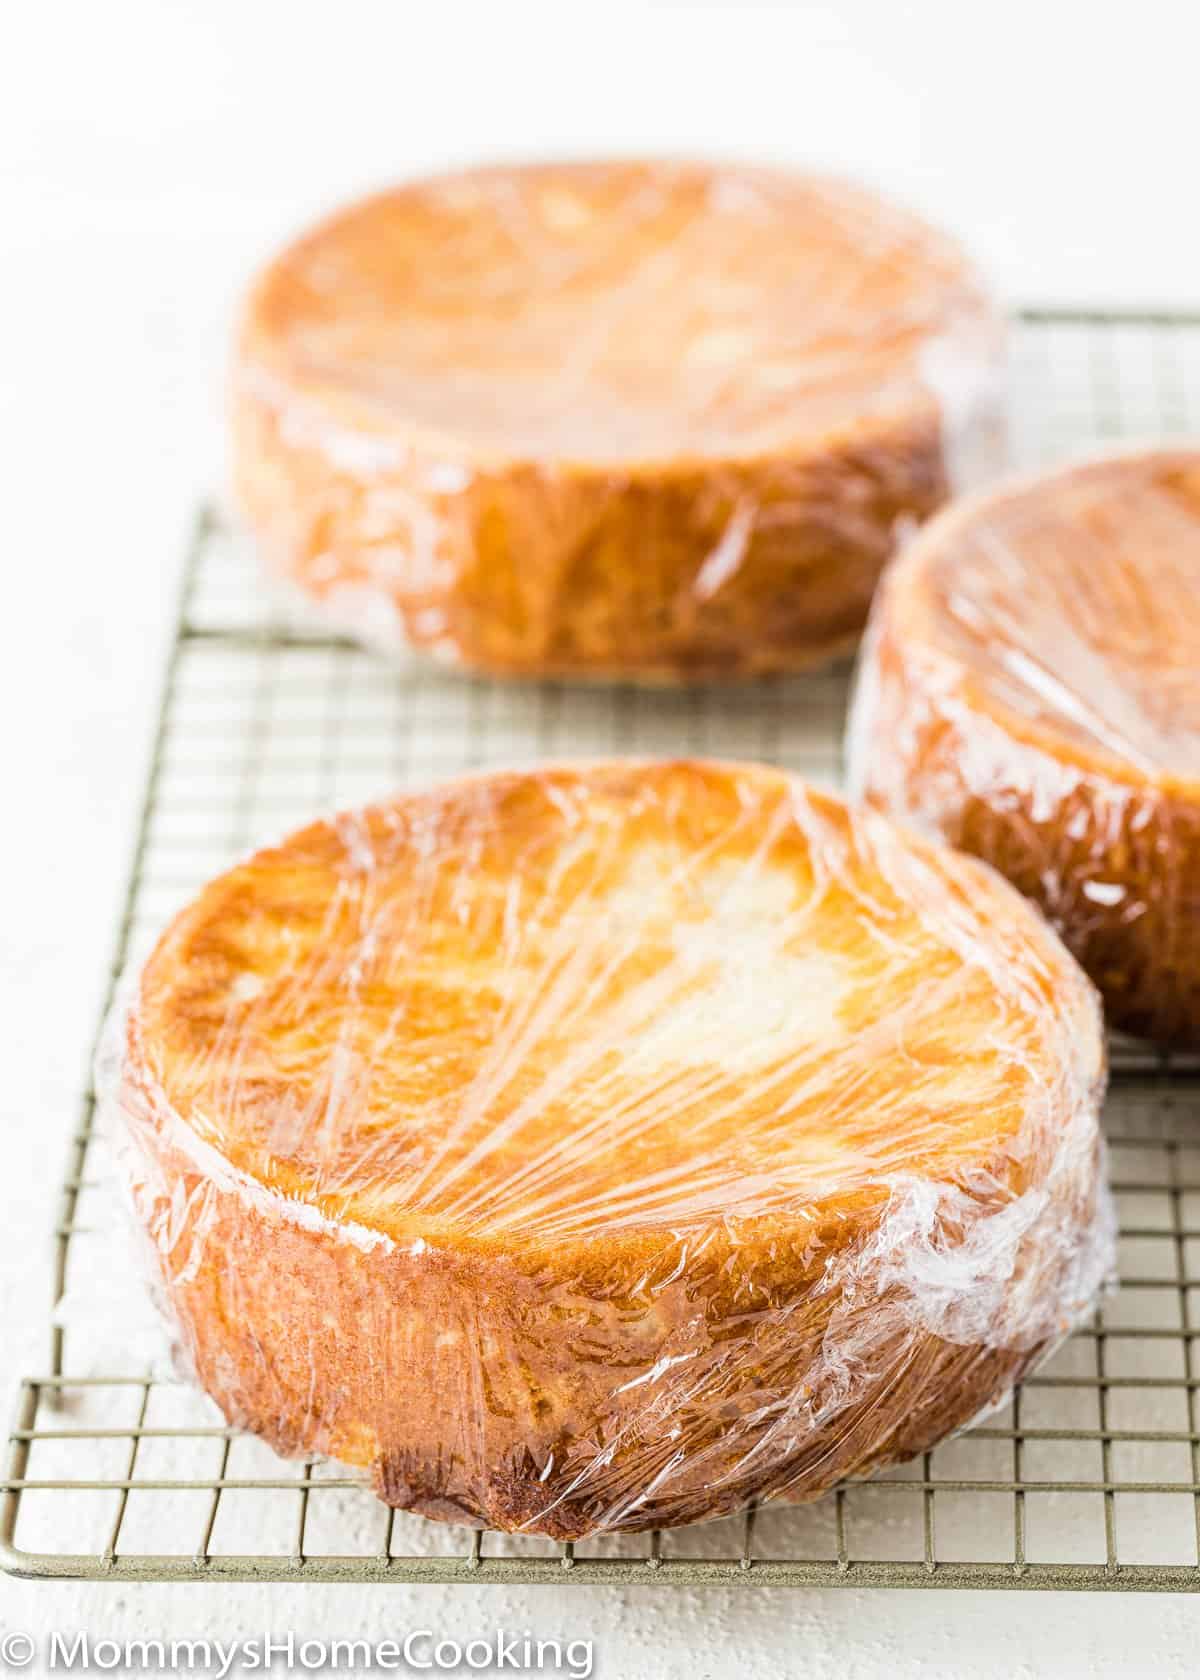
Bake for 20 – 25 minutes, or until a toothpick inserted in the center comes out clean. Let the cakes cool in their pans on wire racks for 10 minutes before removing them from the pans. Allow the cakes to cool completely, right-side up, on a wire rack before removing the parchment paper.
8 – Decorate
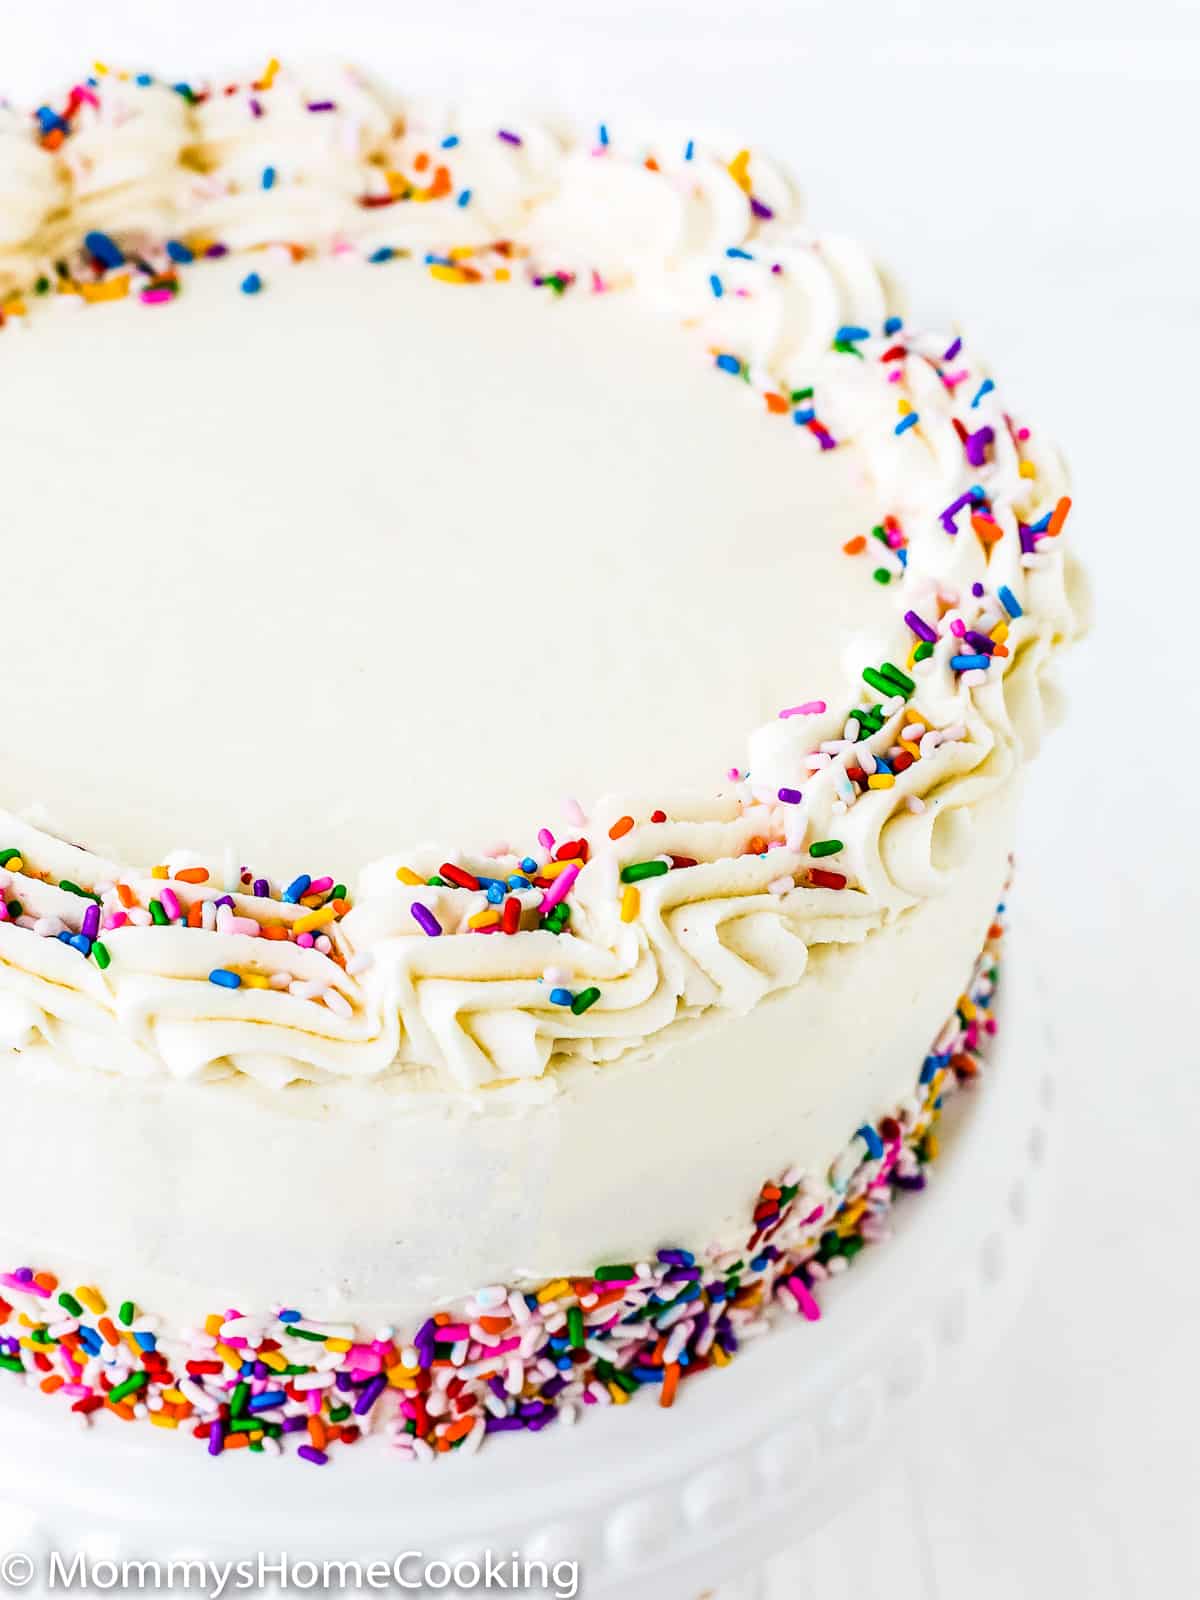
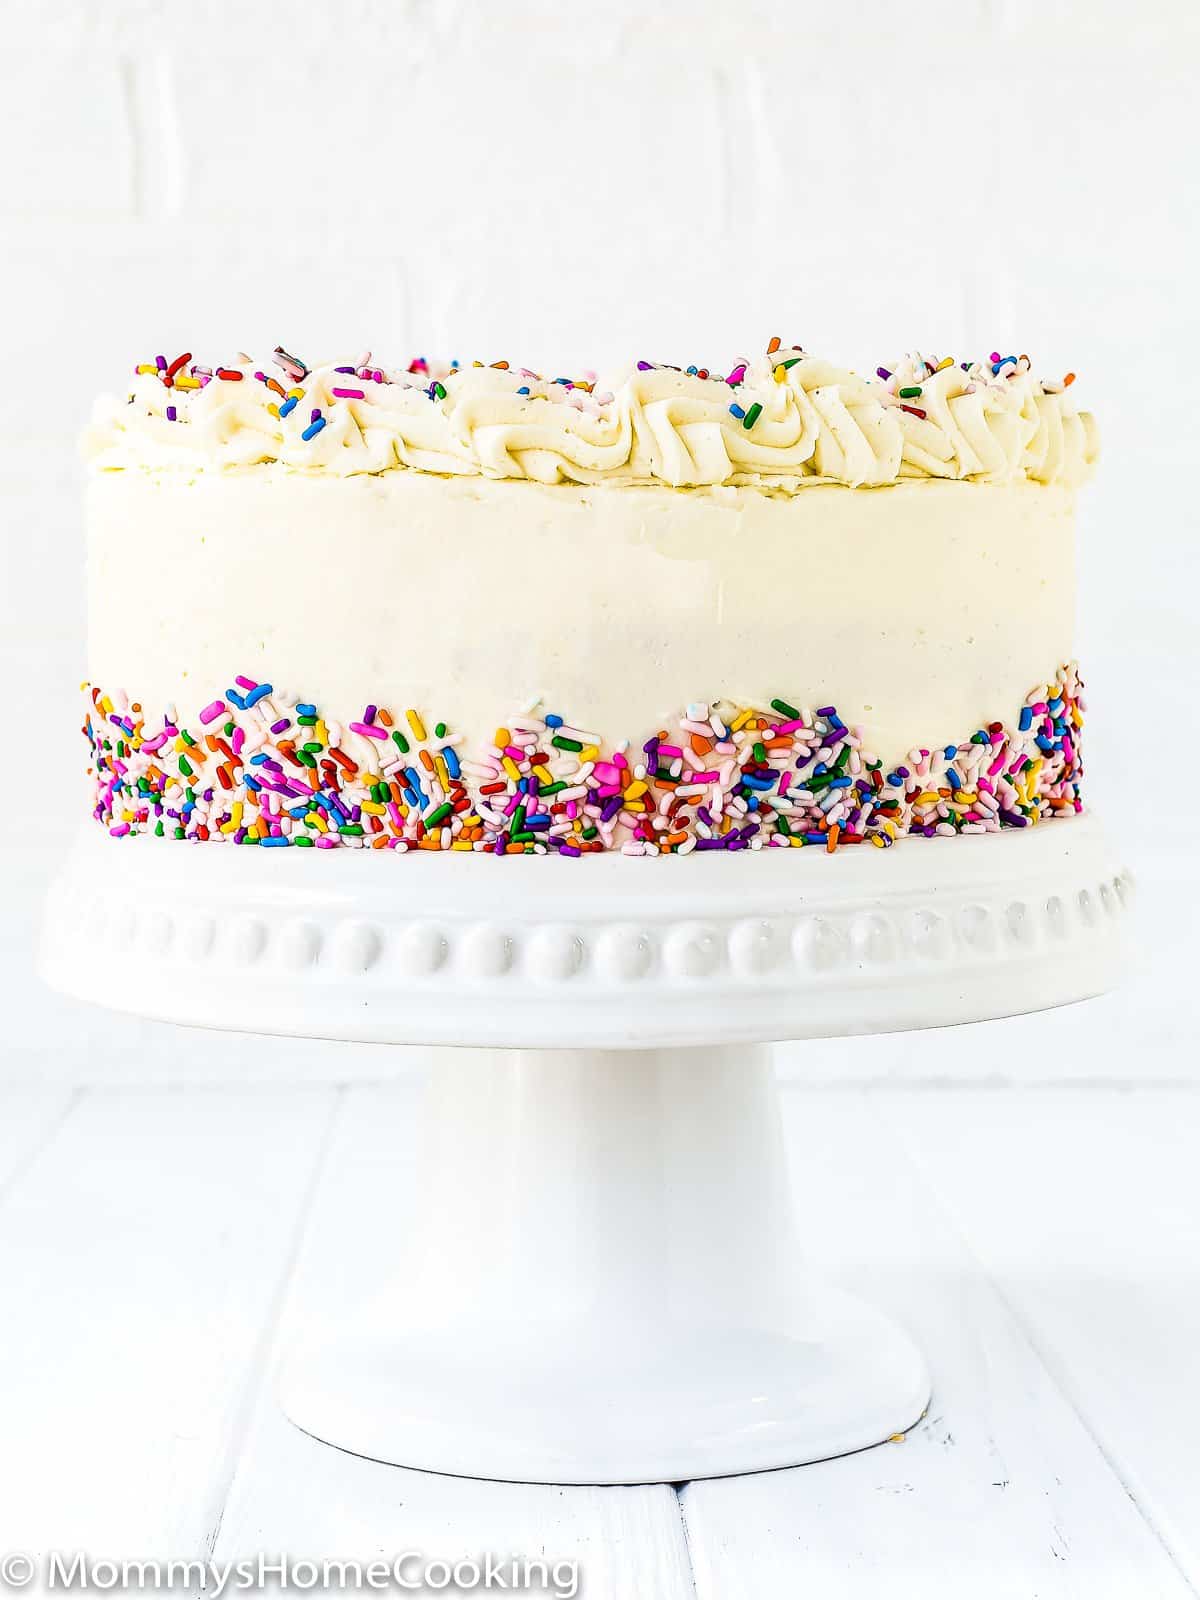
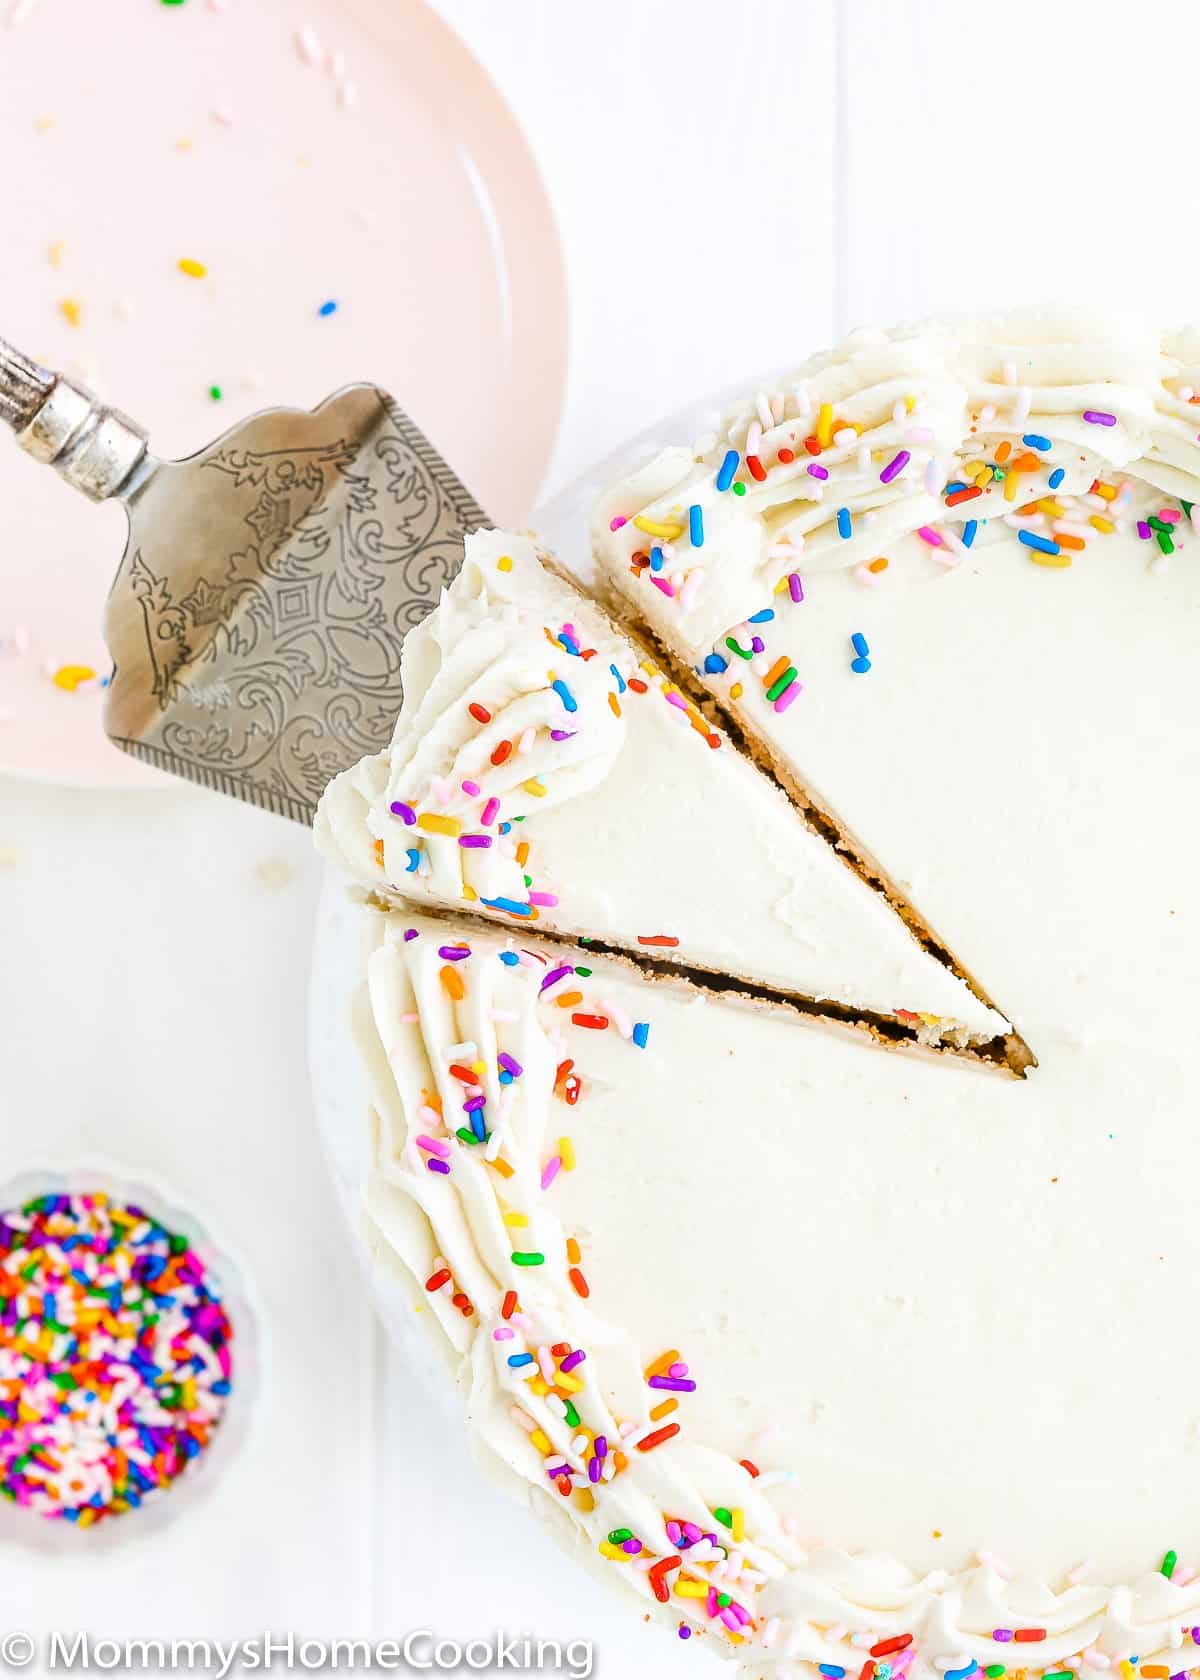
I decorated my cake with Vanilla Buttercream and sprinkles! Check out my post about How To Stack A Layer Cake For Beginners.
Eggless Cake Success Tips
Measure the ingredients correctly. I highly recommend using a kitchen scale.
Preheat the oven for at least 15 minutes before getting started to give it plenty of time to reach the ideal recipe temperature.
Don’t overmix the batter. Instead, mix just until you’ve evenly distributed the ingredients throughout the batter.
Bake the batter as soon as it is ready.
Don’t open the oven door until your baked good has set. Leave the oven closed until the minimum time is stated in the recipe.
Every oven is different, so baking times always have to be taken with a grain of salt. Oven thermostats can be wildly off, affecting baking time, so keep an eye on yours.
Other Cake Pan Sizes
Without scaling up or down this recipe, you can bake it in the following ways:
- Four 6-in round cake pans – 3 cups of batter each.
- Two 9-in round cake pans – 6 cups of batter each.
- One 13×9-inch rectangular pan – 9 cups of batter (use the leftover batter to make cupcakes).
- Two 9×5-in loaf pans – 6 cups of batter each.
Adapt This Recipe to Other Food Allergies
This recipe is egg- and nut-free, but you can adapt it to other food allergies.
Gluten-Free
Substitute all-purpose flour for 1-to-1 Gluten-Free flour mix. My favorite brand is Better Batter Original All Purpose Flour Blend. Cup4Cup will also work fine, but the texture will be slightly different.
Dairy-Free
Use your favorite plant-based, dairy-free, or vegan butter and milk. Make sure to use an unflavored, unsweetened variety of non-dairy milk. Soy and oat milk have the best consistency and very neutral flavors. My favorite dairy-free butter brands for baking are:
Storing & Freezing Instructions
Store
To store the cake layers, let the cakes cool completely. Wrap them with plastic wrap and store them at room temperature for up to 2 – 3 days. For longer storage, cover the cake tightly and store it in the refrigerator for up to 5 days.
Freeze
To freeze the cake layers, let the cakes cool completely. Wrap with two layers of plastic wrap, followed by a layer of aluminum foil. Store it in the freezer for up to 3 months. Thaw: Allow the cake to thaw in the plastic wrap and foil overnight in the refrigerator. Finally, bring it to room temperature before slicing and serving.
Take into consideration that the cakes will lose part of their fluffiness if refrigerated or frozen.
Frequently Asked Questions
You can use self-rising flour; make sure to omit the baking powder and salt called in the recipe.
Yes, you can! Add the same amount of buttermilk.
Yes, reduce by half the amount of salt called in the recipe.
In some cases, it may be possible to switch between oil and butter in recipes, but it is not something I recommend. Butter adds a surprising amount of flavor to cakes and cupcakes, particularly vanilla or plain ones. Most of my recipes are made by the creaming method – beating butter and sugar together – which helps to incorporate air into the batter to make it fluffy; if you use oil, the cake will be flatter and denser.
You can substitute apple cider vinegar for an equal amount of white vinegar or fresh lemon juice.
Yes, this eggless cake recipe is used by many cake designers to make big wedding cakes.
To make cupcakes, please use this recipe.
Yes, you can make this cake up to 2 days in advance. After the cakes are completely cool, wrap them with plastic wrap and store them at room temperature for up to 2 – 3 days.
Yes! Unfrosted cake layers can be frozen for up to three months; defrost at room temperature before frosting and serving. Take into consideration that the cakes will lose part of their fluffiness if refrigerated or frozen. See freezing instructions below.
To make this cake recipe into a different cake pan, you will need to make some adjustments. Please, check out my post about Tips to Scale a Recipe u0026 Cake Pan Sizes.
More Recipes You’ll Love
- The Best Eggless Chocolate Cake Ever
- Eggless Red Velvet Cake
- Easy Eggless Orange Cake
- Eggless Lemon Cake
- Easy Eggless Banana Cake
- Eggless Carrot Cake
- more eggless cake recipes…
❤️ Love what you see? JOIN my Private Baking Club. Also, SUBSCRIBE to Mommy’s Home Cooking, so you’ll never miss a recipe! And FOLLOW along on Instagram, Pinterest, and Facebook for more fun!
Recipe Card 📖
Eggless Vanilla Cake
Equipment
Ingredients
- 4 cups (560 g) all- purpose flour (see notes for self rising flour)
- 6 teaspoons (24 g) baking powder
- 1 teaspoon salt
- 2 cups (480 ml) whole milk (you can substitute with any plant milk you like)
- 2 tablespoons (30 ml) apple cider vinegar
- 2 cups (400 g) granulated sugar
- 1 cup (230 g) unsalted butter, softened
- 2 teaspoons (10 ml) pure vanilla extract
Instructions
BEFORE YOU GET STARTED:
- Read and follow the recipe – Don't sabotage your time, effort, and money! This might sound obvious, right? But following the recipe is the most important cake baking tip you'll ever hear/read. I'm guilty of this, too! Sometimes I'm in a rush, and I don't take the time to read the recipe carefully or substitute ingredients in recipes based on what I have. I do not recommend doing this unless the recipe suggests alternatives.
- Bring all your refrigerated ingredients to room temperature. This will ensure that the batter mixes correctly, and you'll get a better rise and texture in your final baked good.
- I like to pre-measure all my ingredients before I get started. This way, I have them ready to go, and I don't forget anything. To measure, I highly recommend using a scale. If you haven't used a scale before, don't be intimidated. It's actually easier than using cups and more precise, which is key for baking. You can get a great scale online or in any local kitchen equipment store.
MAKE THE EGGLESS VANILLA CAKE:
- Preheat oven to 350º F (180º C). Line 3 8-in (20 cm) round cake pans with parchment paper. Lightly grease with baking spray with flour.
- Sift the flour and baking powder into a large bowl. Add salt and mix to combine.
- Combine milk and vinegar in a small bowl. Set aside.
- Using an electric hand mixer or a stand mixer, beat butter until creamy on medium-high speed, about 3 – 4 minutes. Add the sugar and beat on high speed for 4 minutes until creamed and pale, scraping down the sides and up the bottom of the bowl with a rubber spatula as needed. Then add vanilla; continue beating to combine, about 1 minute.
- Turn the mixer to low and add the flour mixture in three batches, alternating with milk mixture, beginning and ending with the flour mixture; beat until just combined, about 30 – 45 seconds. Do not overmix.
- Evenly divide the batter between prepared pan (2 1/2 cups of batter in each pan approximately).
- Bake for 20 – 25 minutes, or until a toothpick inserted in the center comes out clean. Let the cakes cool in their pans on wire racks for 10 minutes before removing them from the pans. Allow the cakes to cool completely, right-side up, on a wire rack before removing the parchment paper.
DECORATE:
- Decorate as your heart desires! I decorated my cake with Vanilla Buttercream and sprinkles! Check out my post about How To Stack A Layer Cake For Beginners.
Video
- Measure the ingredients correctly. I highly recommend using a kitchen scale.
- Preheat the oven at least 15 minutes before getting started to give it plenty of time to reach the ideal recipe temperature.
- Don’t overmix the batter. Instead, mix just until you’ve evenly distributed the ingredients throughout the batter.
- Bake the batter as soon as it is ready.
- Don’t open the oven door until your baked good has set. Leave the oven closed until the minimum time stated in the recipe.
- Every oven is different, so baking times always have to be taken with a grain of salt. Oven thermostats can be wildly off, and that will all affect baking time, so keep an eye on yours.
Nutrition
Eggless Baking Frequently Asked Questions
You’ve asked, and I’ve answered! Read on for a handful of answers to the most frequently asked questions about eggless baking.
Originally posted in September 2014, the post content was edited to add more helpful information, no change to the recipe in July 2021.
