
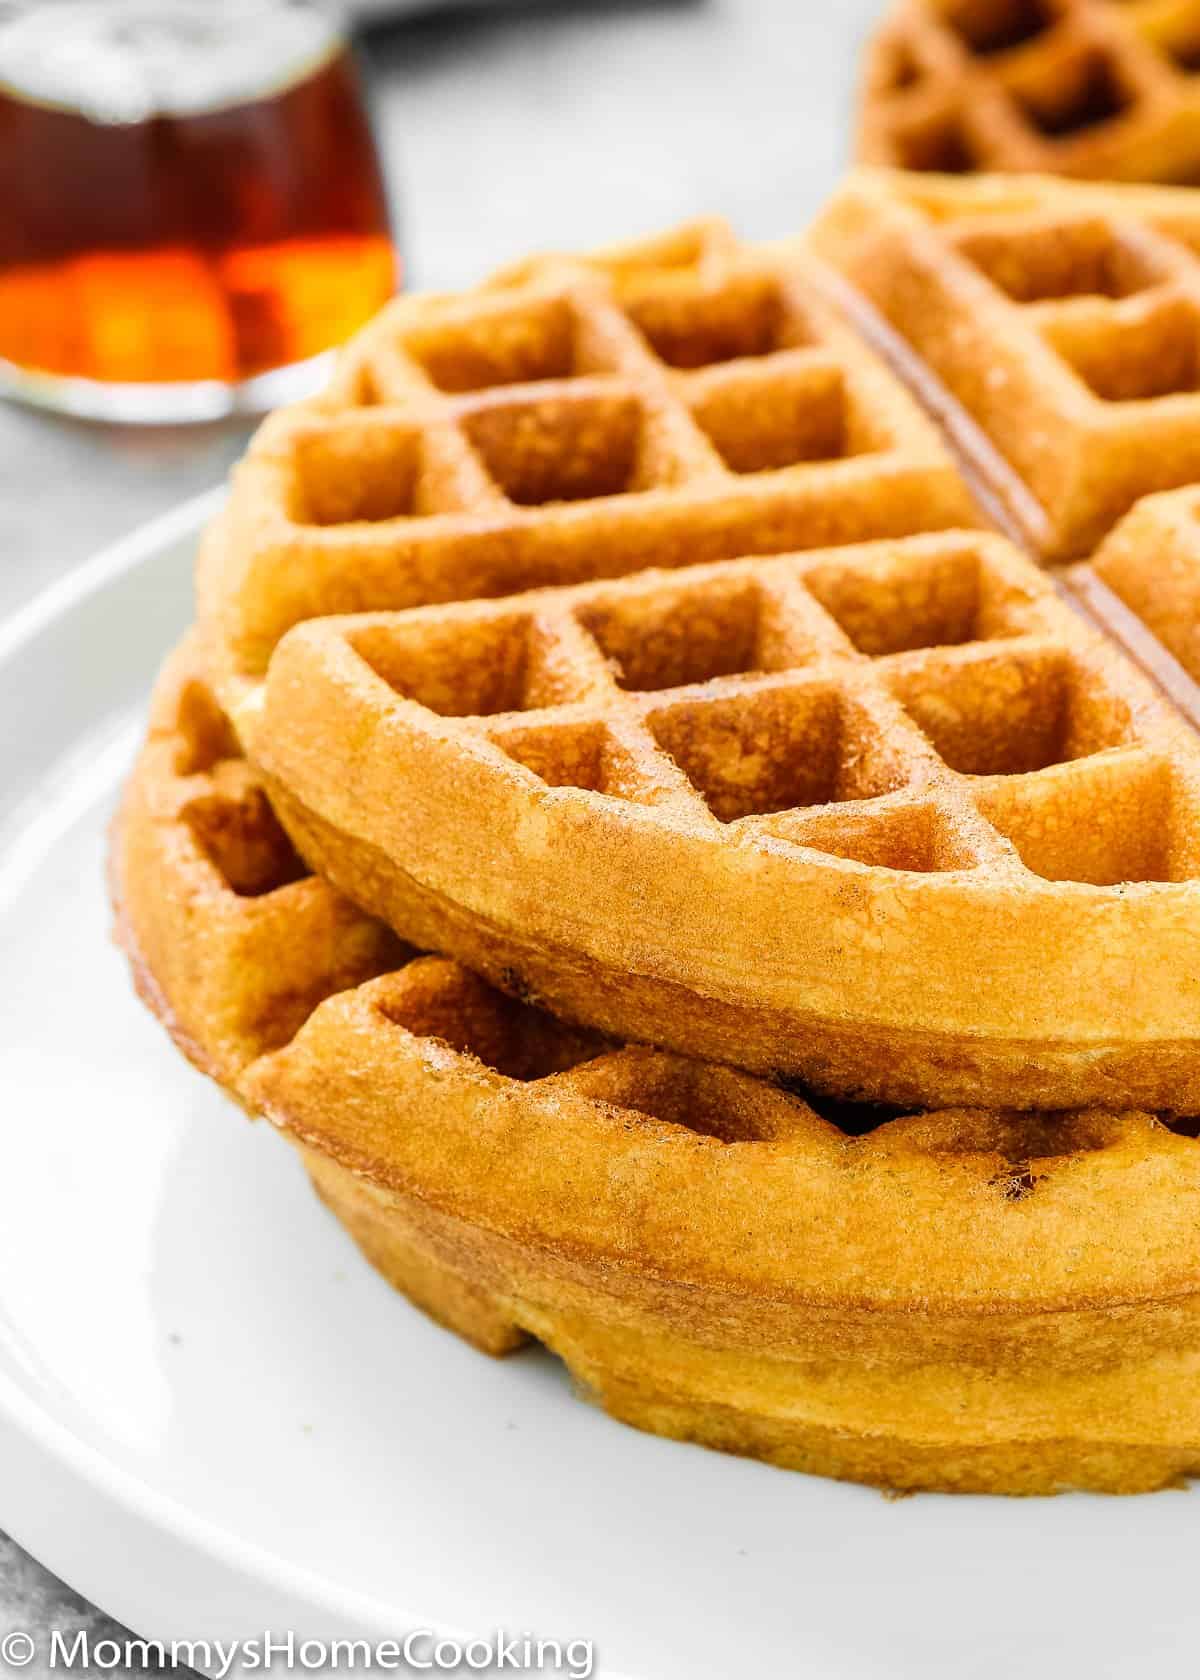
This is my staple recipe for golden and buttery Eggless Waffles! They’re perfectly crispy on the outside and fluffy on the inside. This recipe has no eggs…and you won’t even notice a difference!
Easy Eggless Waffles Recipe Highlights
I can’t believe I haven’t shared this Eggless Waffles recipe with you before!! These waffles are a staple around our house. I make them so often that I can almost do it with my eyes closed.
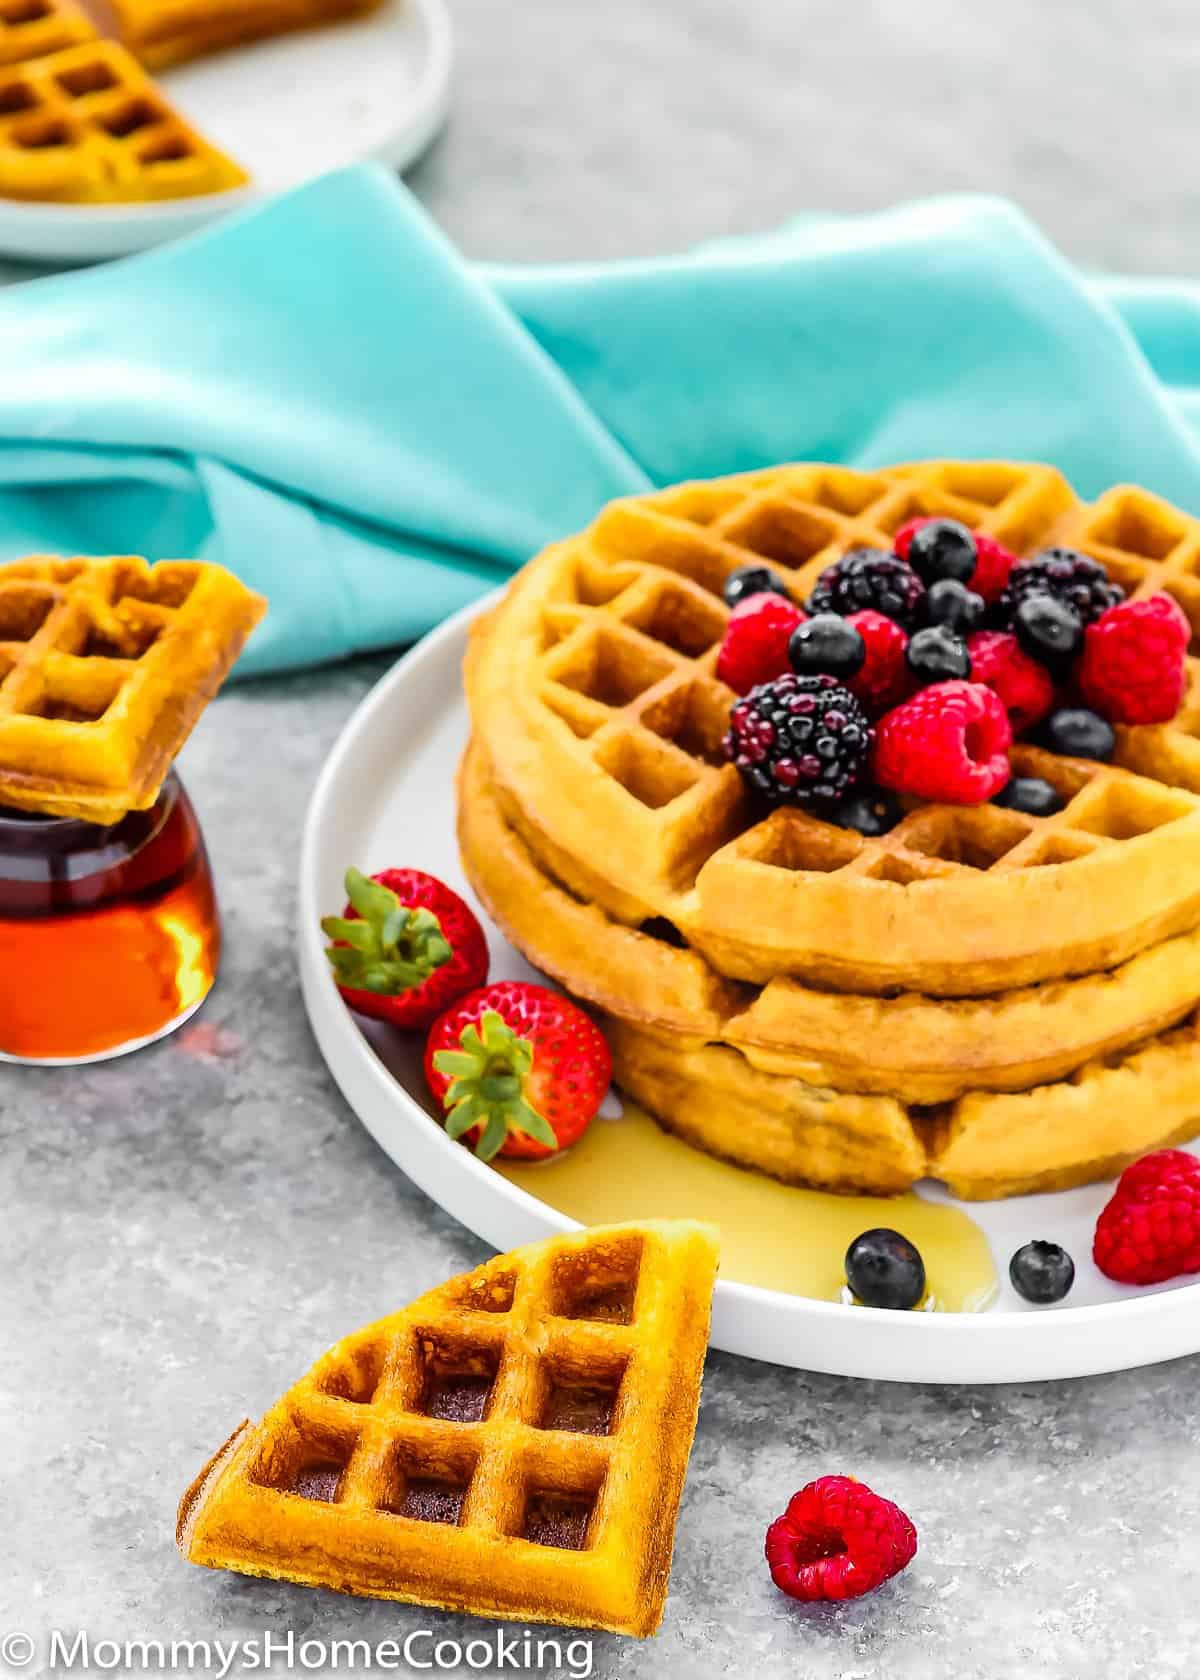
These waffles have such a rich, buttery flavor! They are golden, have slightly crispy edges, and are fluffy on the inside.
They’re VERY close, in taste and texture, to their counterpart with eggs. Plus, I use mostly pantry staples, so you don’t have to run to your nearest gourmet/healthy store to get the ingredients.
You’ll LOVE these eggless waffles!
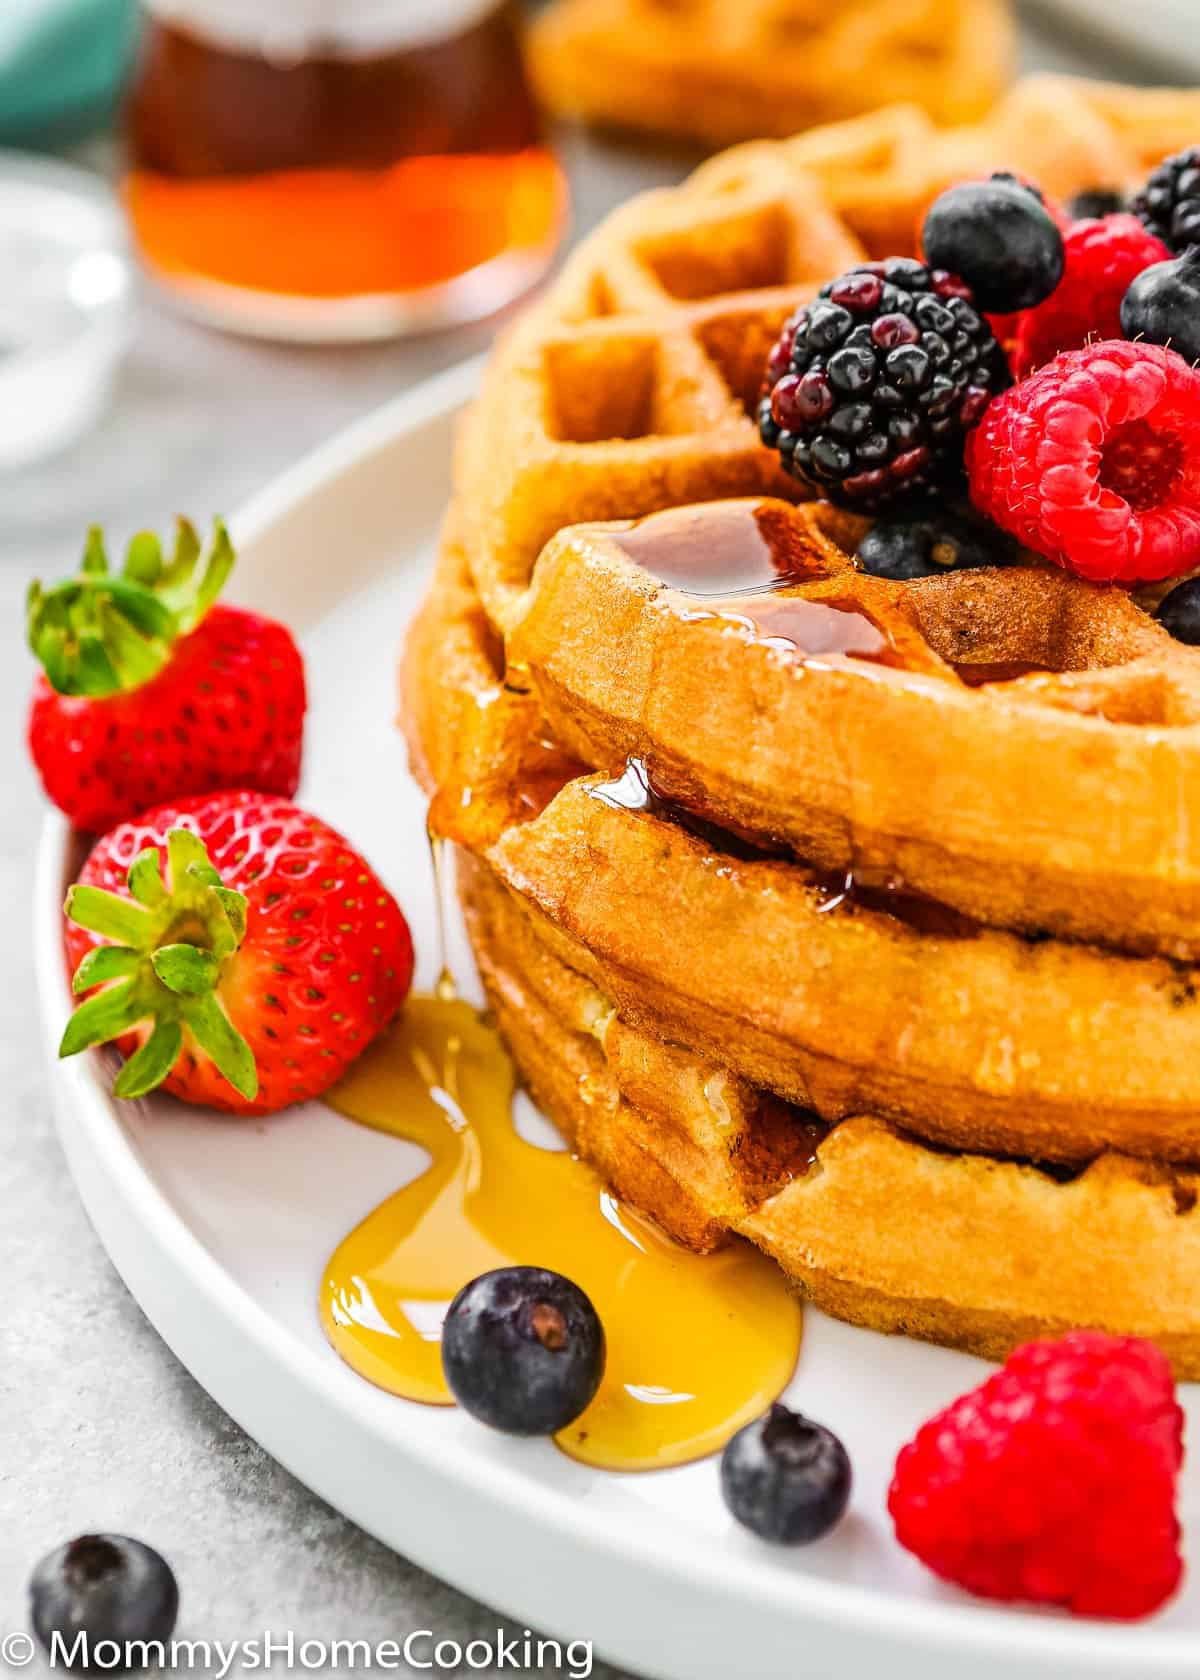
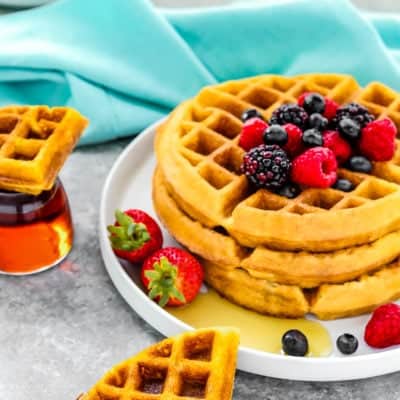
Top these with some butter, maple syrup, and some fresh berries, but I’m telling you… they’re also amazing without any topping.

Ingredients Notes & Substitutions
Please check the recipe card at the bottom of the post for exact quantities and detailed instructions (scroll down).
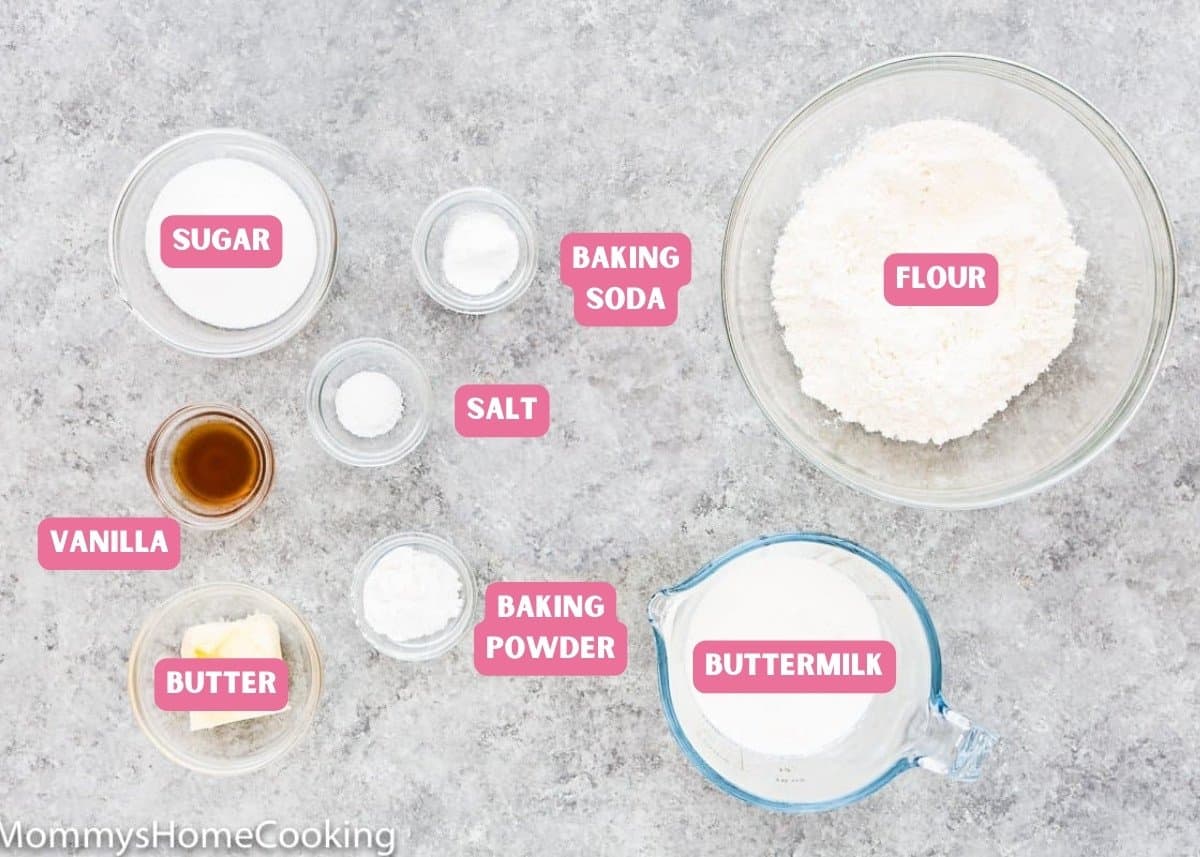
You’ll need:
- Flour: Standard all-purpose flour works best here; skip the cake flour, bread flour, and wheat flour.
- Sugar: Regular white sugar, also known as caster sugar.
- Baking soda and baking powder: Make sure they’re not expired
- Salt: I prefer kosher or sea salt. If you only have table salt handy, I recommend reducing the amount to half.
- Buttermilk: You don’t have buttermilk? No problem!! Check out my recipe for Easy Homemade Buttermilk Substitute [Video].
- Butter: I prefer to use unsalted butter, but if you only have salted butter handy, you can use it. In this case, skip the salt called in the recipe.
- Vanilla extract: For optimal flavor, reach for pure vanilla instead of imitation. Even better, try homemade vanilla extract!
Step By Step Recipe Photo Tutorial
Please check the recipe card at the bottom of the post for exact quantities and detailed instructions (scroll down).
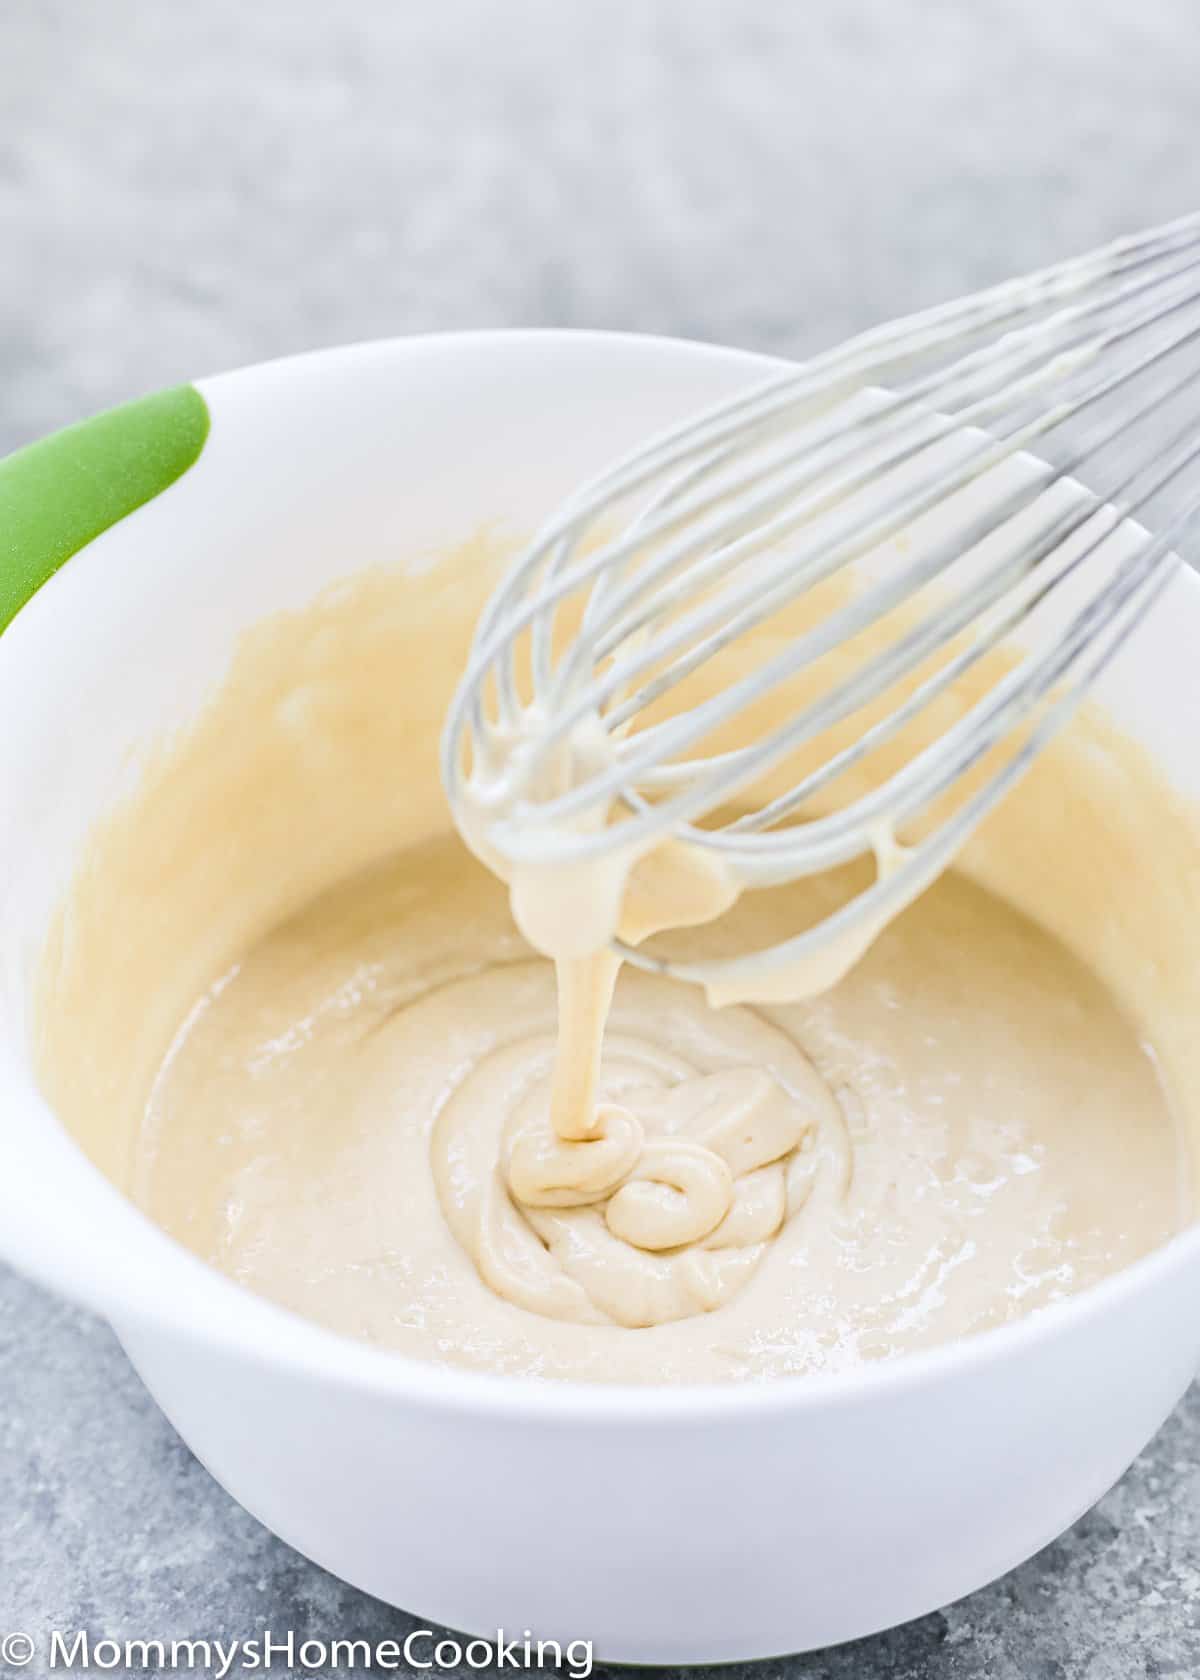
- Combine dry ingredients, flour, sugar, baking soda, baking powder, and salt in a medium bowl and stir using a balloon whisk to combine.
- Add the wet ingredients: buttermilk, butter, and vanilla, and mix until smooth. Do not overmix; otherwise, the waffles will be heavy when cooked. Let the batter rest at room temperature for 10 minutes.
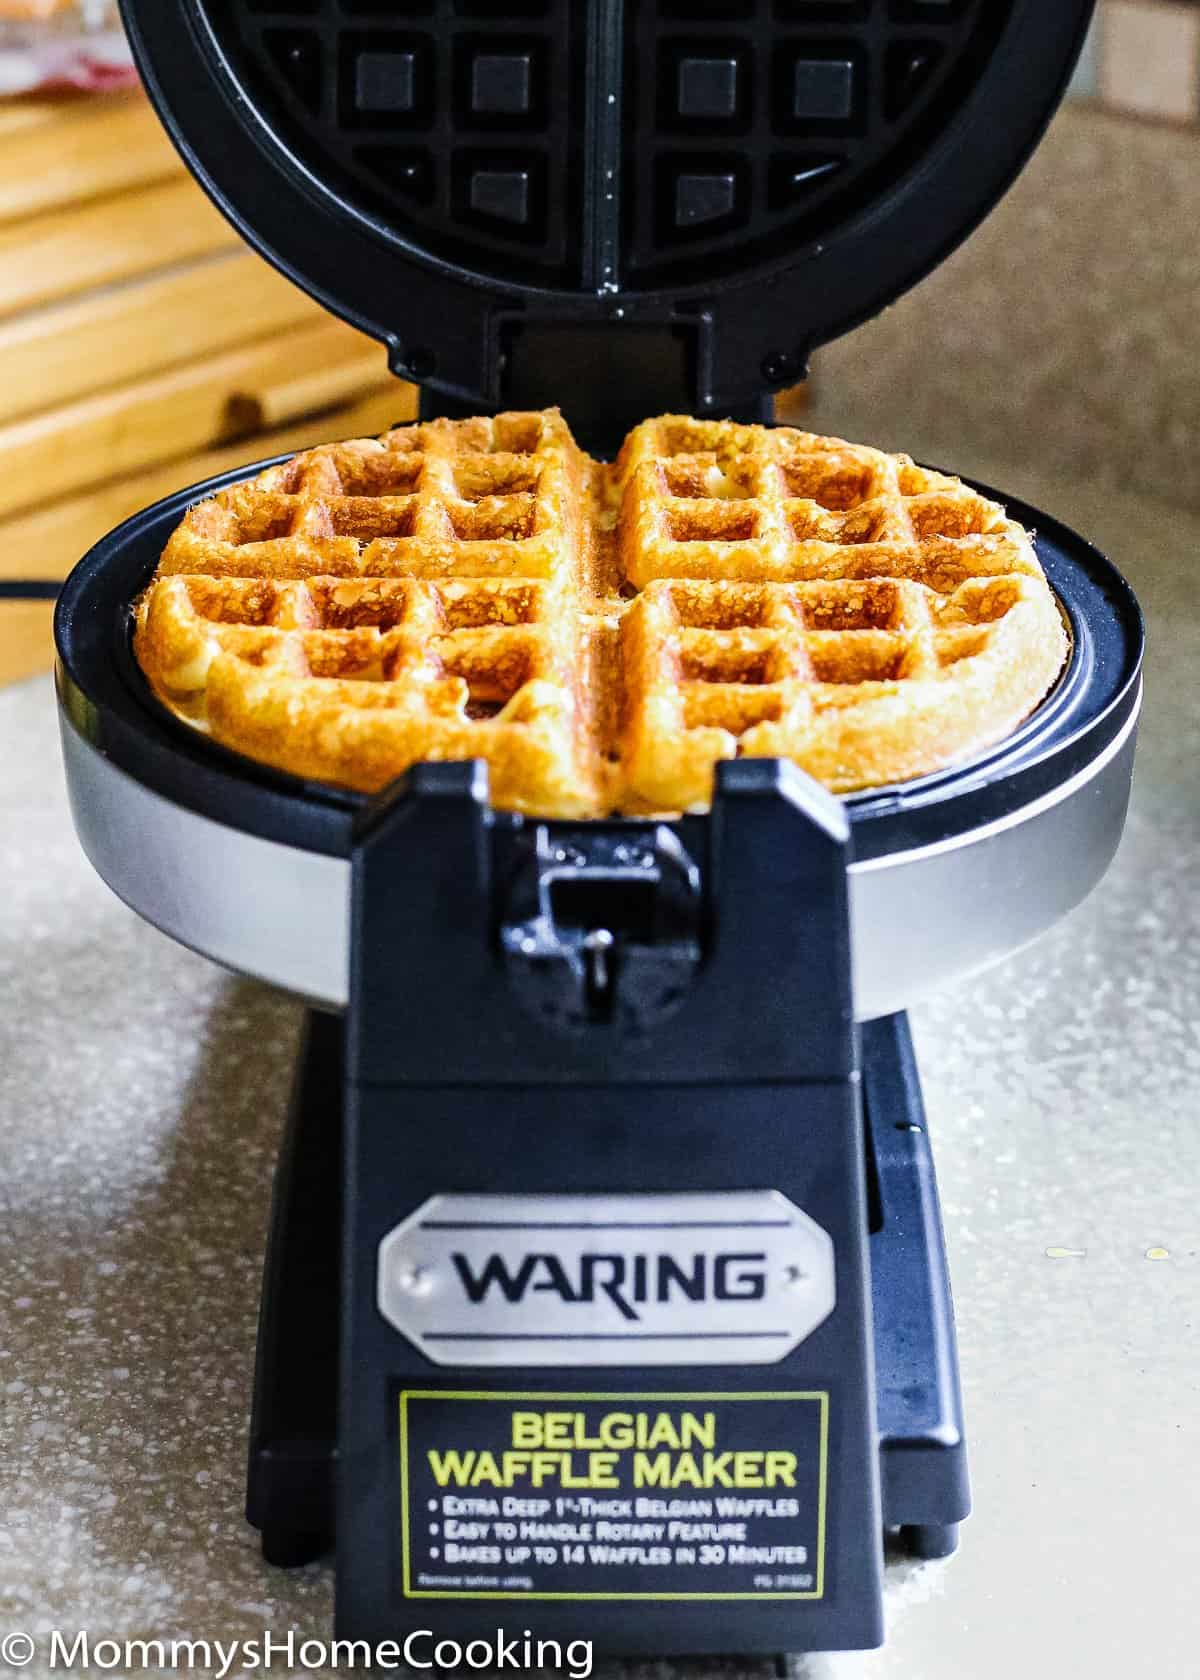
- Preheat a waffle iron according to the manufacturer’s instructions.
- Spray the waffle iron with non-stick cooking spray. Pour the batter into the waffle iron and cook according to the manufacturer’s instructions, usually for 2 to 3 minutes.
PRO TIP: your waffles most likely be ready when you don’t see more steam coming out of the side of the waffle maker.
Expert Tips
Do not overmix the batter, it is okay if it’s a bit lumpy.
Preheat your waffle maker and lightly oil with vegetable or canola oil. Cooking spray isn’t recommended as it can cause a sticky residue.
Put enough batter, so the waffle hole is almost full; that will ensure you have a full-shaped waffle.
Frequently Asked Questions
Technically, you can, but I highly recommend using buttermilk in this egg-free recipe since the acid in it reacts with the leavening agents making your waffles fluffy inside.
Yes, you can use self-rising flour. In that case, omit the baking powder and salt called in the recipe.
Waffles can stick for several reasons, including iron was not hot enough when you add the batter, too much or not enough fat content in the batter, and too much or not enough oil on the iron surface.
How To Keep Waffles Crisp
Place the waffles in a 200°F oven to keep them warm and crisp while you finish with the rest of the batter.
PRO TIP: I recommend placing the waffles directly on the oven rack in a single layer; this way, the heat will circulate properly, and the waffles will retain their crisp texture.
Storing & Freezing Instructions
Nothing beats freshly-made waffles, but if you have a crazy busy life like me, these waffles are freezer-friendly. I love making a double batch of eggless waffles so we can enjoy them for breakfast on the weekday without having to cook them up from scratch. Here’s how to store them.
Leftovers
Store in an airtight container in the refrigerator for up to 5 days. You can keep waffles for as long as three months in the freezer.
Freeze
Wrap the cooled waffles in wax paper and then stack them all in a gallon-size freezer bag. Close the bag and make sure to squeeze out as much air as possible to prevent freezer burn.
How To Reheat Frozen Waffles
Remove the waffles from the freezer, and use your toaster or toaster oven to reheat and crisp individual waffles to your liking. Or in the oven at 350º F (180º C) for 8-10 minutes, or until warm.
More Eggless Breakfast Recipes You’ll Love!
- Eggless Blueberry Pancake Muffins
- Eggless Pancakes
- Easy Eggless Chocolate Chip Pancakes
- BEST Eggless French Toast
- Easy Eggless Chocolate French Toast
- Eggless Blueberry Pancake Muffins
- Eggless Sugar Donut Muffins
❤️ Love what you see? JOIN my Private Baking Club. Also, SUBSCRIBE to Mommy’s Home Cooking, so you’ll never miss a recipe! And FOLLOW along on Instagram, Pinterest, and Facebook for more fun!
Recipe Card 📖
Eggless Waffles
Equipment
Ingredients
- 2 cups (280 g) all-purpose flour
- 2/3 cup (130 g) sugar
- 1 teaspoon baking soda
- 3 teaspoons baking powder
- pinch of salt
- 2 cups (480 ml) buttermilk
- 4 tablespoons (60 g) butter, melted
- 2 teaspoons pure vanilla extract
Instructions
- Combine the flour, sugar, baking soda, baking powder, and salt in a medium bowl and stir using a balloon whisk to combine.
- Add the wet ingredients: buttermilk, butter, and vanilla, and mix until smooth. Do not over mix; otherwise, the waffles will be heavy when cooked. Let the batter rest at room temperature for 10 minutes.
- Preheat a waffle iron according to the manufacturer's instructions.
- Spray the waffle iron with non-stick cooking spray. Pour the batter into the waffle iron and cook according to the manufacturer's instructions, usually for 2 to 3 minutes. PRO TIP: your waffles most likely be ready when you don't see more steam coming out of the side of the waffles maker.
- Place in a 200º F (95º C) oven to keep waffles warm while you finish with the rest of the batter. I recommend placing the waffles directly on the oven rack in a single layer; this way, the heat will circulate properly, and the waffles will retain their crisp texture.
- Do not overmix the batter, it is okay if it’s a bit lumpy.
- Preheat your waffle maker and lightly oil with vegetable or canola oil. Cooking spray isn’t recommended as it can cause a sticky residue.
- Put enough batter so the waffle hole is almost full, that will ensure you have full-shaped waffles.
- You don’t have Buttermilk? NO problem!! Check my recipe to make buttermilk substitute at home.
Nutrition
Eggless Baking Frequently Asked Questions
You’ve asked, and I’ve answered! Read on for a handful of answers to the most frequently asked questions about eggless baking.
Originally posted in September 2016, the post content was edited to add more helpful information, no change to the recipe in August 2021.
