These Eggless Sugar Cookie Bars are soft, tender, and cakey! They’re bursting with buttery goodness and are a breeze to make. Plus, they’re completely customizable, making them perfect for any celebration.
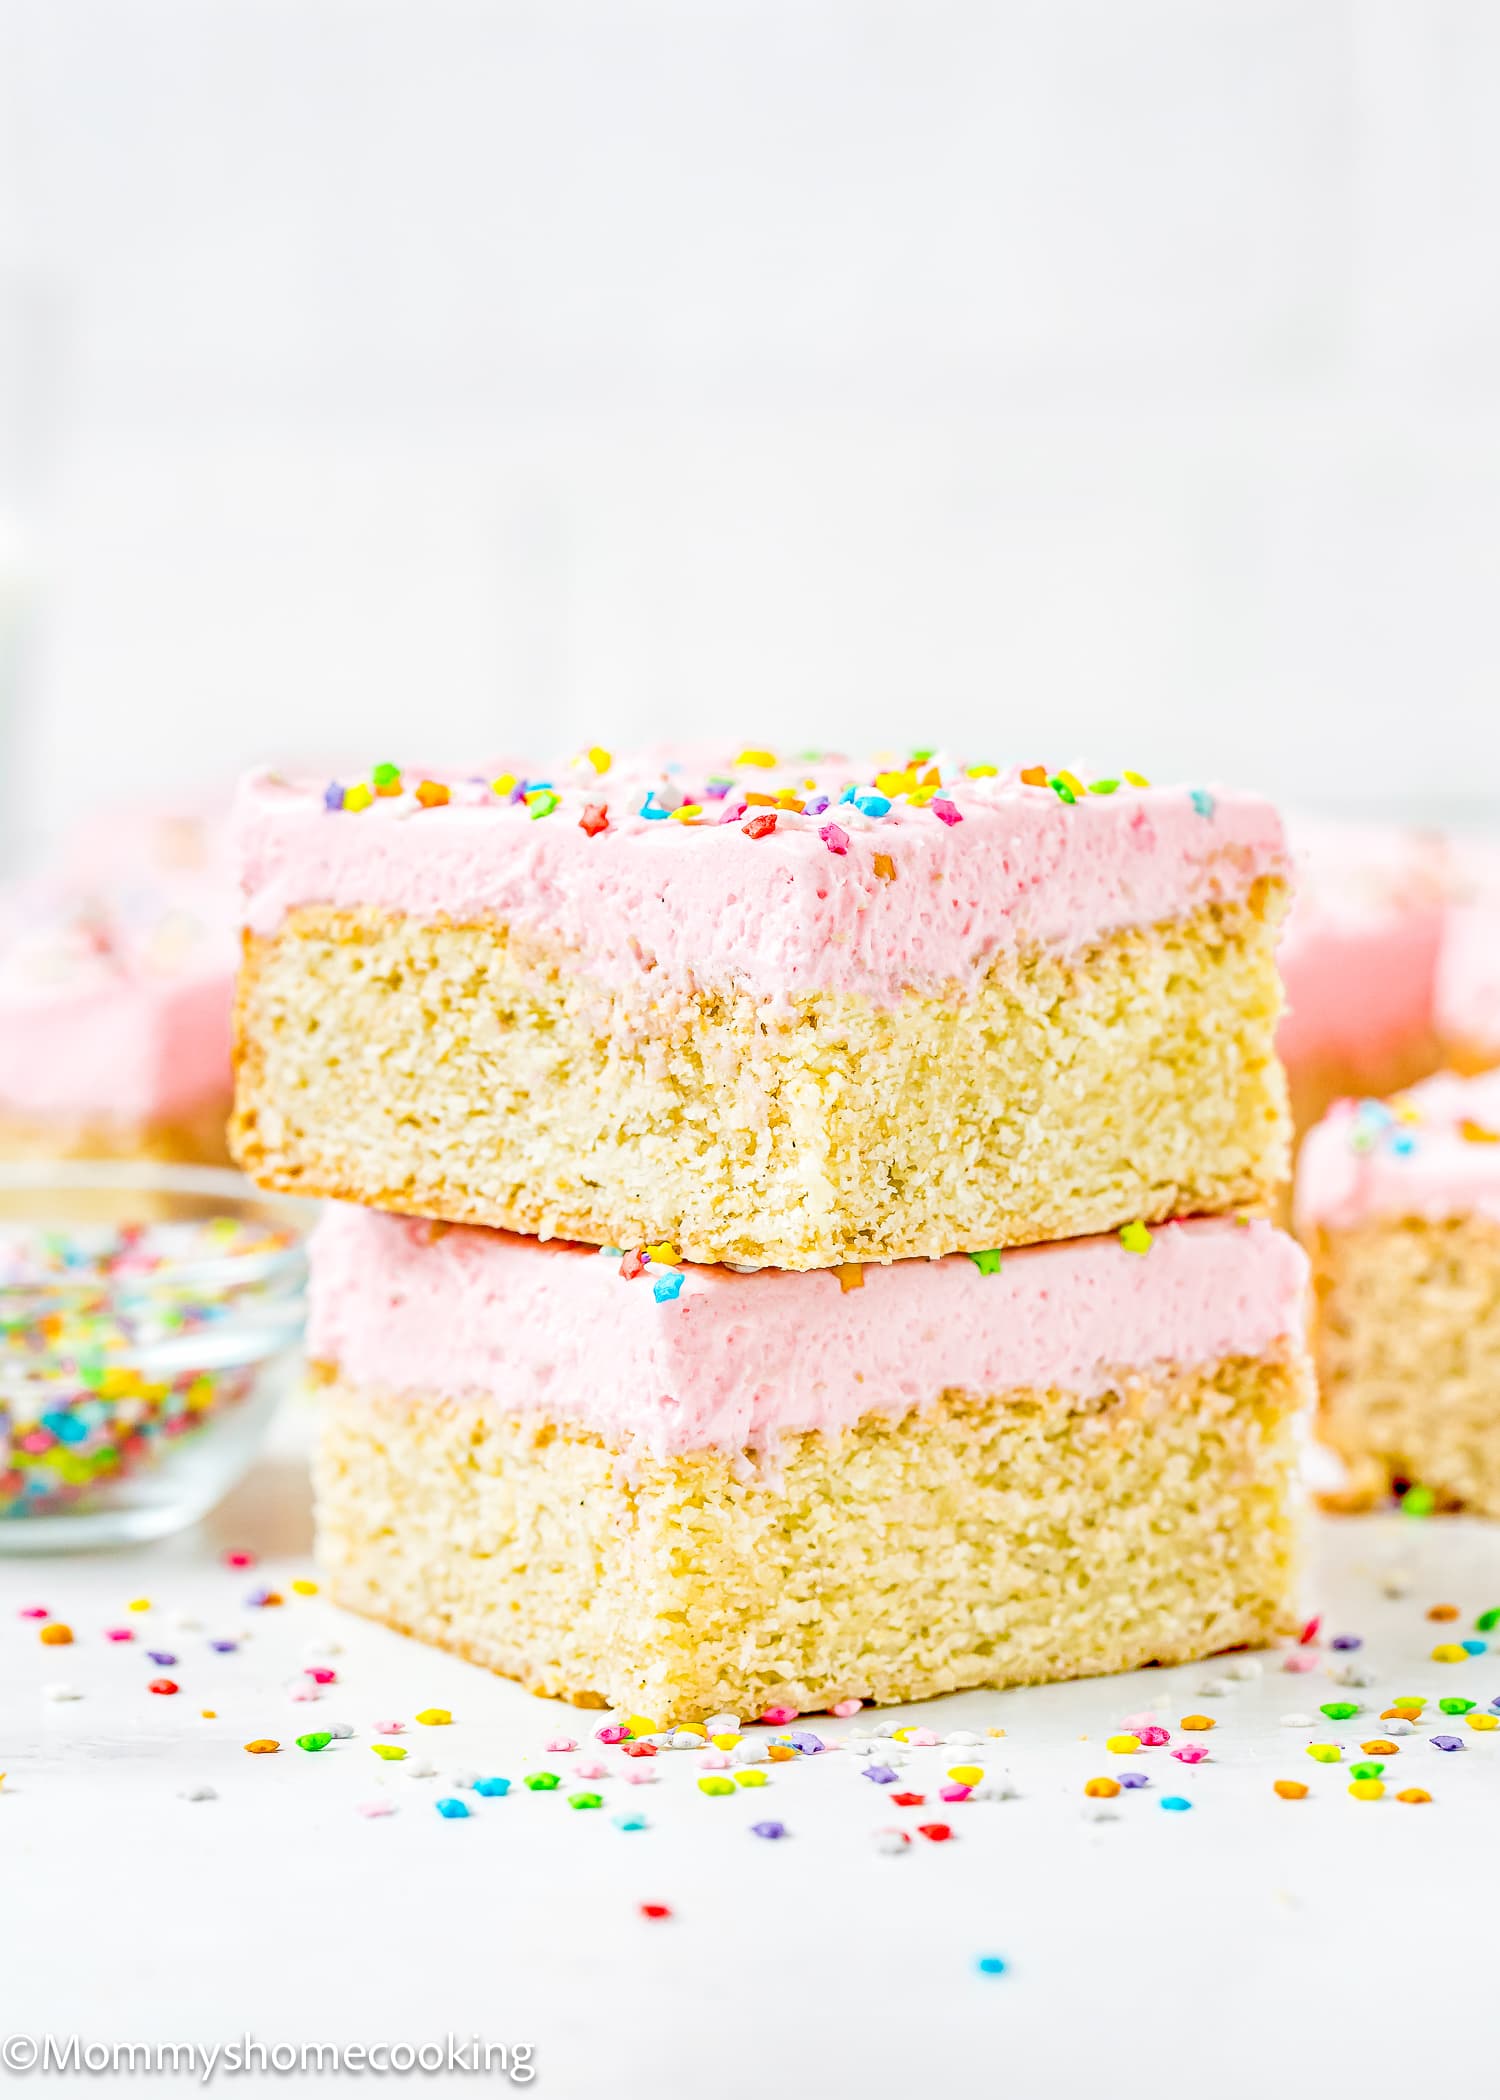
Are you craving a delicious sugar cookie but want to skip the hassle of rolling out dough and cutting shapes? Look no further than these delightful Eggless Sugar Cookie Bars!
Soft, tender, and cakey, these bars are bursting with buttery goodness and are a breeze to make. They’re completely egg-free so that everyone can indulge without worry. Plus, they’re completely customizable, making them perfect for any celebration.
These bars are incredibly easy to make, with simple ingredients and straightforward instructions. No fancy techniques or special equipment are required—mix, bake, and enjoy!
Whether you’re baking for a special occasion or simply treating yourself to a sweet indulgence, these bars are guaranteed to delight!
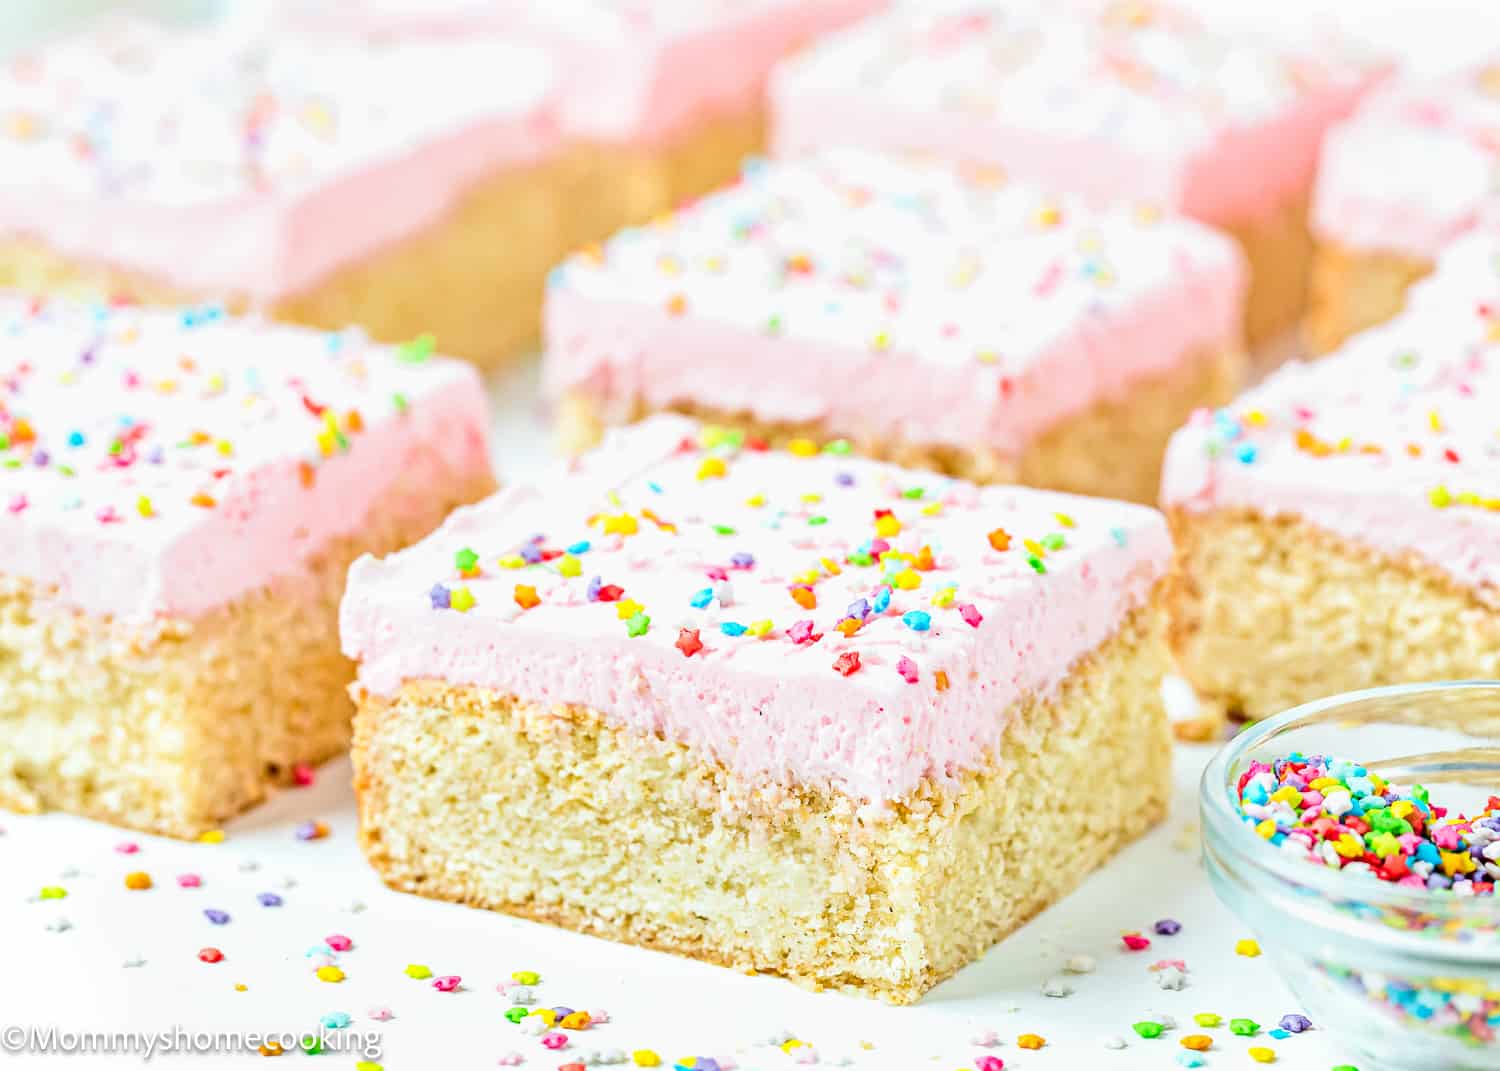
What To Love About This Recipe
- Easy to make: With simple ingredients and straightforward instructions, these bars come together in no time. Perfect for busy bakers or last-minute cravings!
- Simple ingredients: You probably have most of the ingredients already in your pantry. There is no need for fancy or hard-to-find items!
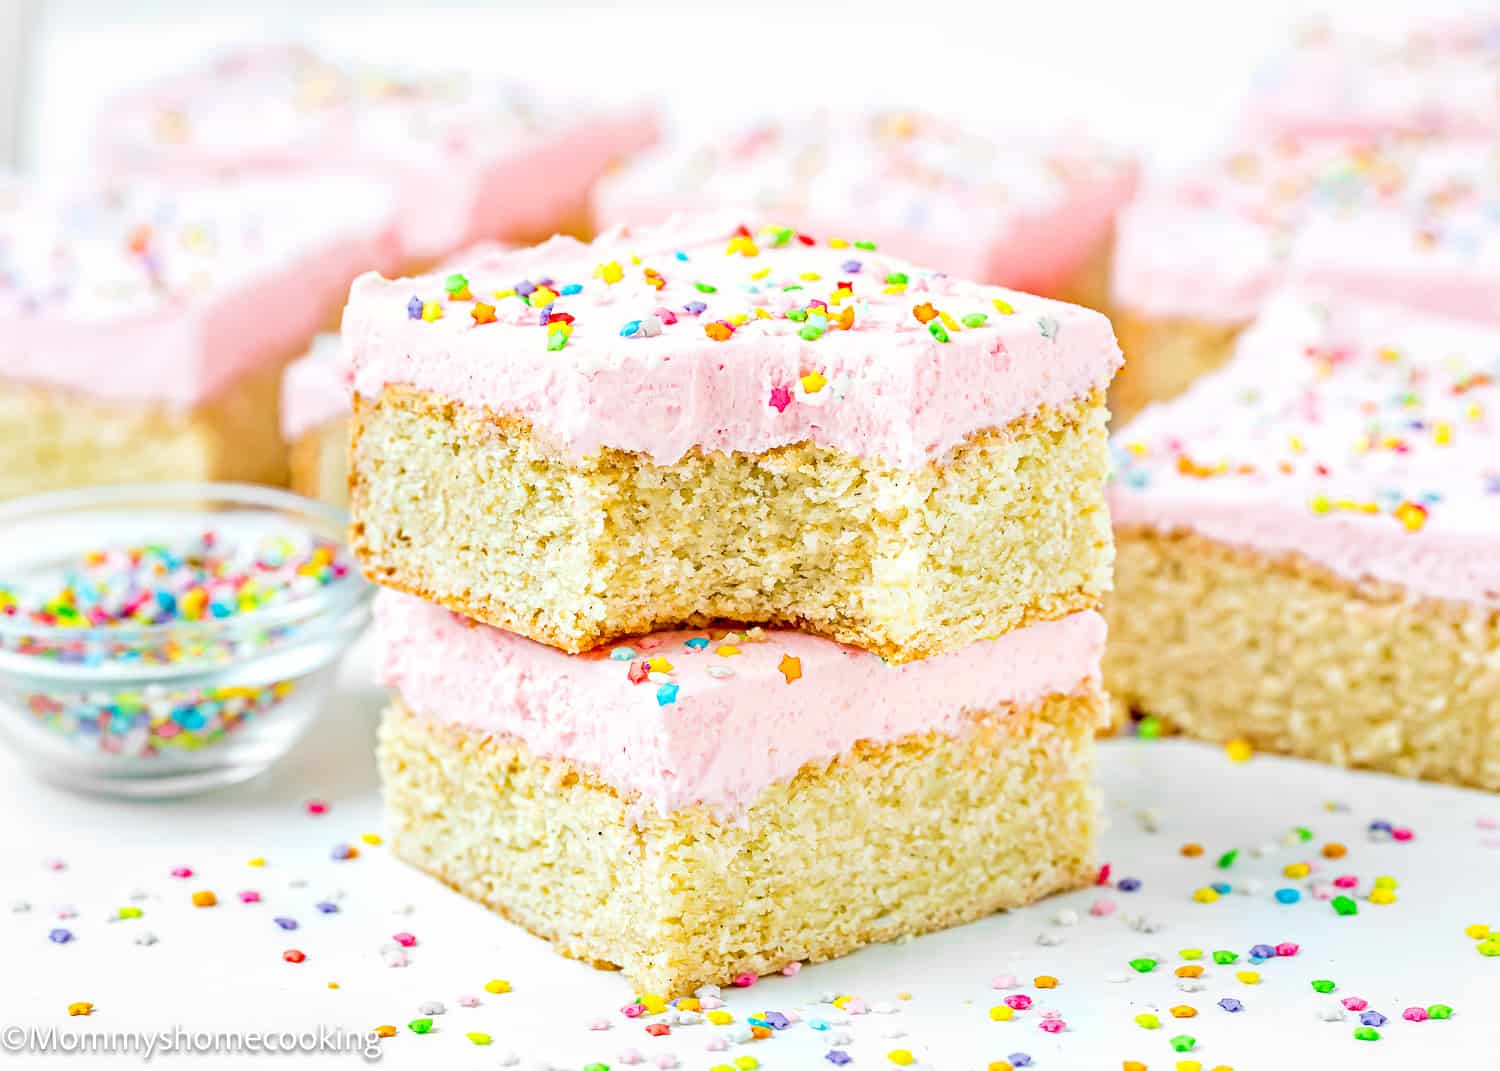
- Texture: Soft, tender, and cakey, these bars melt in your mouth with every bite.
- Taste: Bursting with buttery goodness and a hint of vanilla, these bars are simply irresistible. You won’t be able to stop at just one!
- Allergy-Friendly Option: These bars are egg-free, ideal for those with egg allergies or dietary preferences, and they are just as delicious without eggs. They can be dairy and/or gluten-free with a few simple ingredient swaps. See my Food Allergy Swaps section below.
- Easy Peasy, Lemon Squeezy: Unlike traditional sugar cookies, there’s no need to chill the dough, fuss with cookie cutters, or decorate cookies one by one.
- Endless Customization: Whether you’re celebrating a birthday, holiday, or any special occasion, these bars are easily customizable. Change up the colors and decorations to match your theme, and spread joy with every bite!
Ingredients You’ll Need, Substitutions & Notes
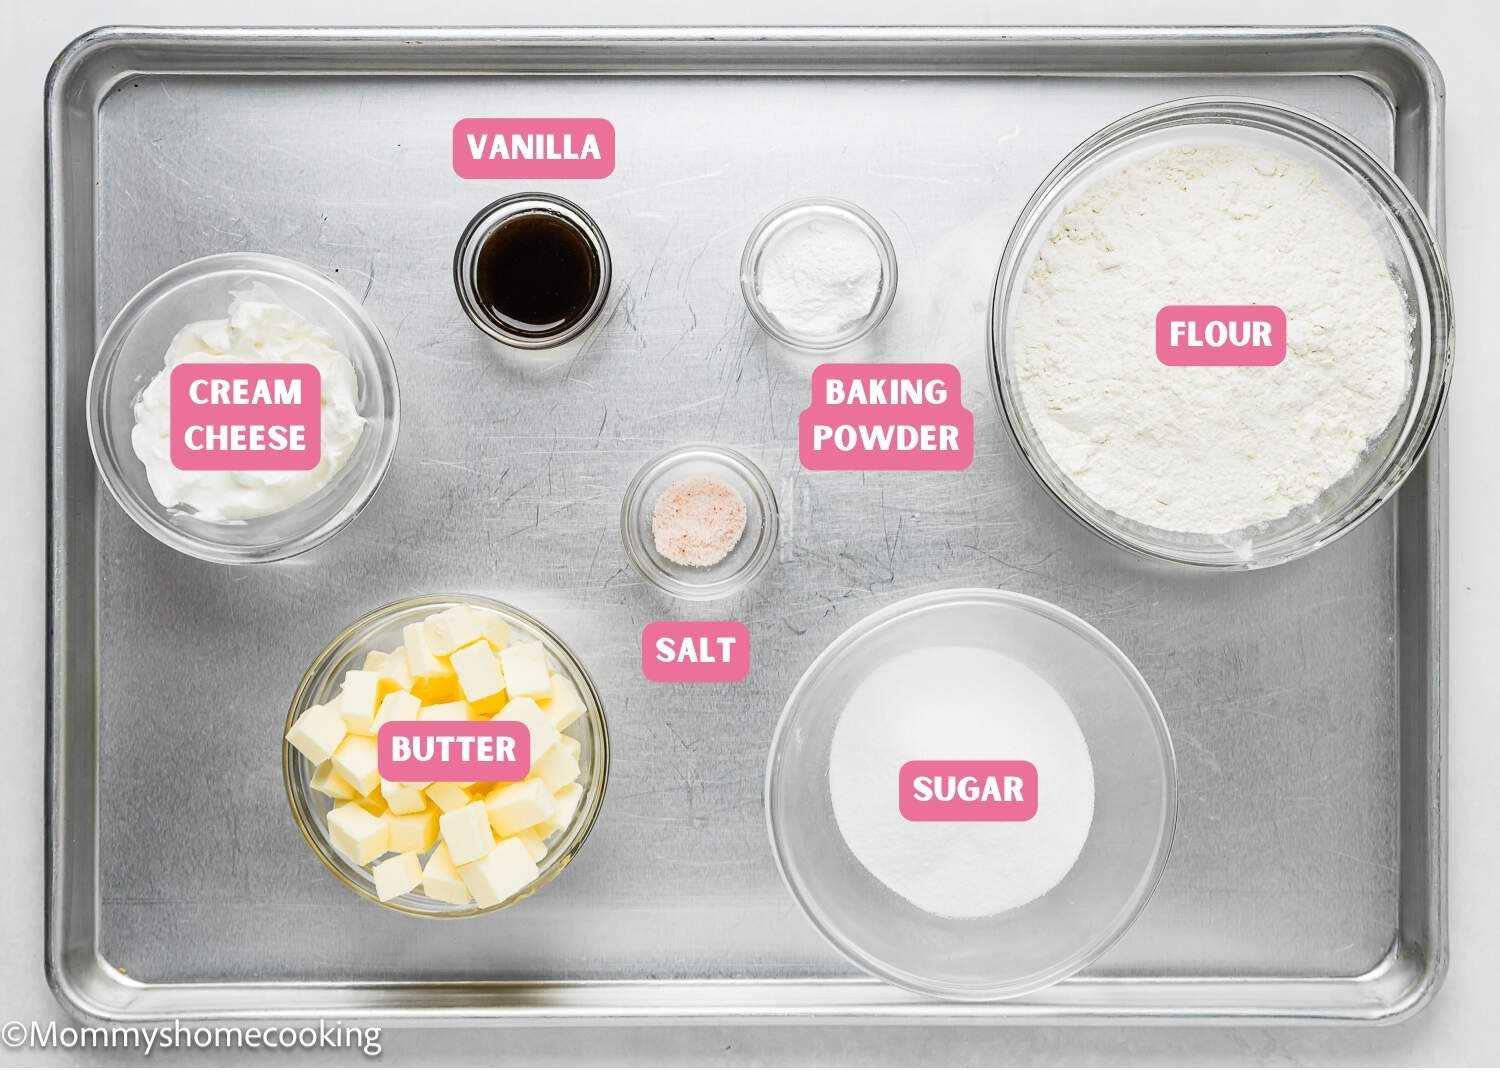
Please check the recipe card at the bottom of the post for exact quantities and detailed instructions (scroll down).
- All-purpose flour: Provides structure and texture to the bars. Make sure to measure accurately. In my opinion, a kitchen scale is the best way to measure your ingredients.
- Baking powder: Helps the bars rise and become soft and fluffy. Make sure it’s not expired or too old. To avoid a chemical aftertaste, use baking powder that is labeled aluminum-free. I usually use the Clabber Girl brand, and though the ingredients state aluminum, I’ve never noticed an aluminum aftertaste.
- Salt: Balances the sweetness and enhances the flavors. I prefer kosher or sea salt. If you only have table salt handy, I recommend reducing the amount to half.
- Butter: Adds richness and flavor to the bars. Make sure it’s at room temperature for easy mixing. I prefer to use unsalted butter, but if you only have salted butter handy, you can use it. In this case, skip the salt called in the recipe.
- Granulated sugar: Sweetens the bars and contributes to their soft texture. Regular white granulated sugar or caster sugar. I do not recommend reducing the amount of sugar or changing the type of sugar, as it will change the texture of the cookie bars.
- Cream cheese: Adds moisture and richness to the bars while keeping them tender. Use the full-fat version that comes in blocks.
- Pure vanilla extract: This infuses the bars with delicious vanilla flavor. Use pure extract for the best taste! Even better, try homemade vanilla extract! If you are looking for non-alcoholic vanilla flavoring, I recommend Simply Organic Vanilla Flavoring.
- For the frosting, you’ll need butter, vanilla, salt, confectioners’ sugar, heavy cream or milk, and food color. You can color the frosting any color your heart desires.
- Sprinkles for decorating on top! Because who doesn’t love sprinkles? They add a fun and festive touch to the bars!
Please check the recipe card at the bottom of the post for exact quantities and detailed instructions (scroll down).
Step 1 – Preheat The Oven & Prepare The Pan
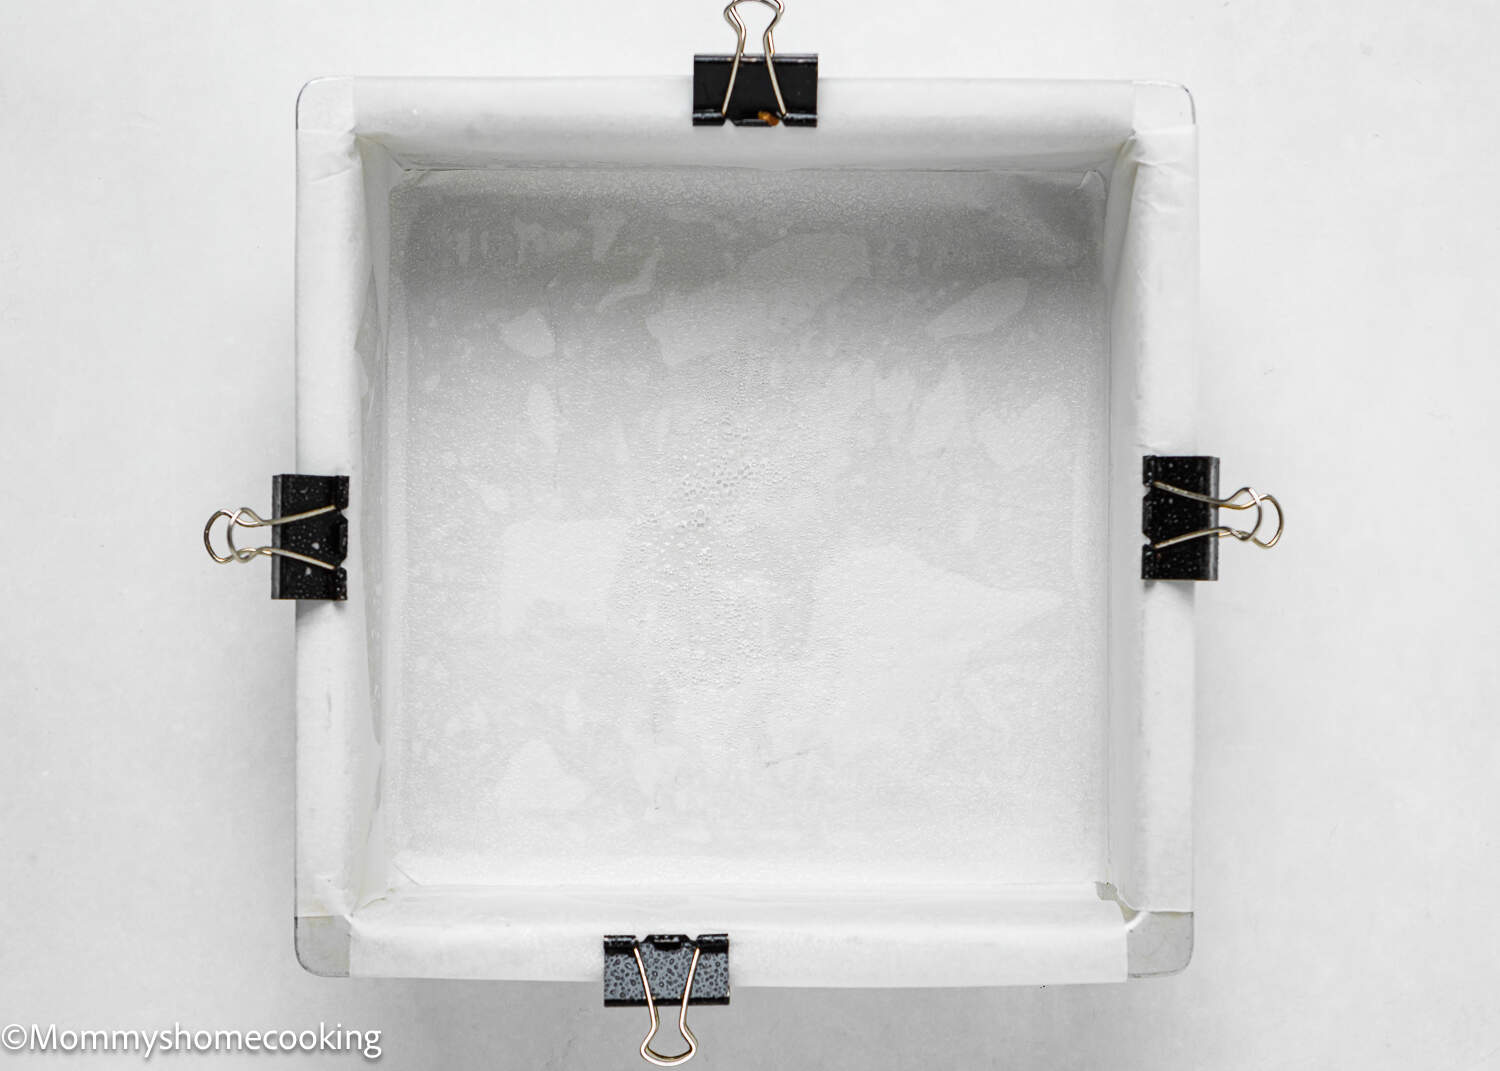
Preheat oven to 350° F (180° C). Lightly grease a 8×8-inch (or 9×9-inch) baking pan with cooking spray or line with parchment paper and grease. Making sure to leave enough overhang on the sides. Set aside.
Step 2 – Mix Dry Ingredients
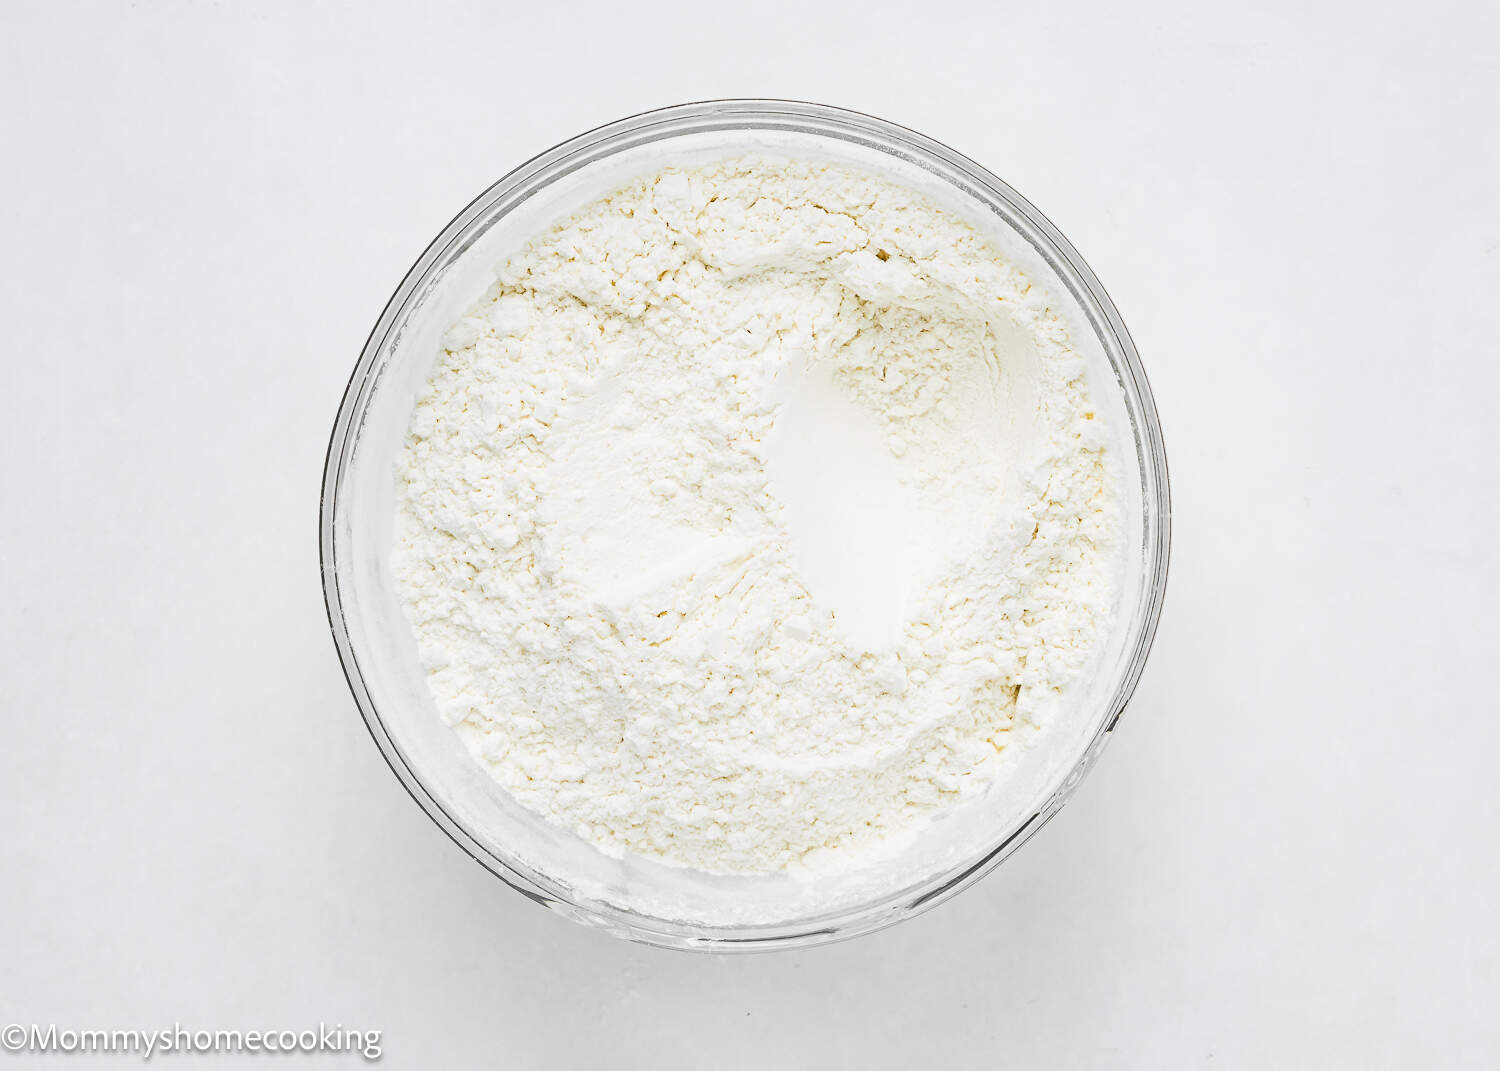
Combine the flour, baking powder, and salt in a medium-sized bowl and set aside.
Step 3 – Cream Butter and Sugar
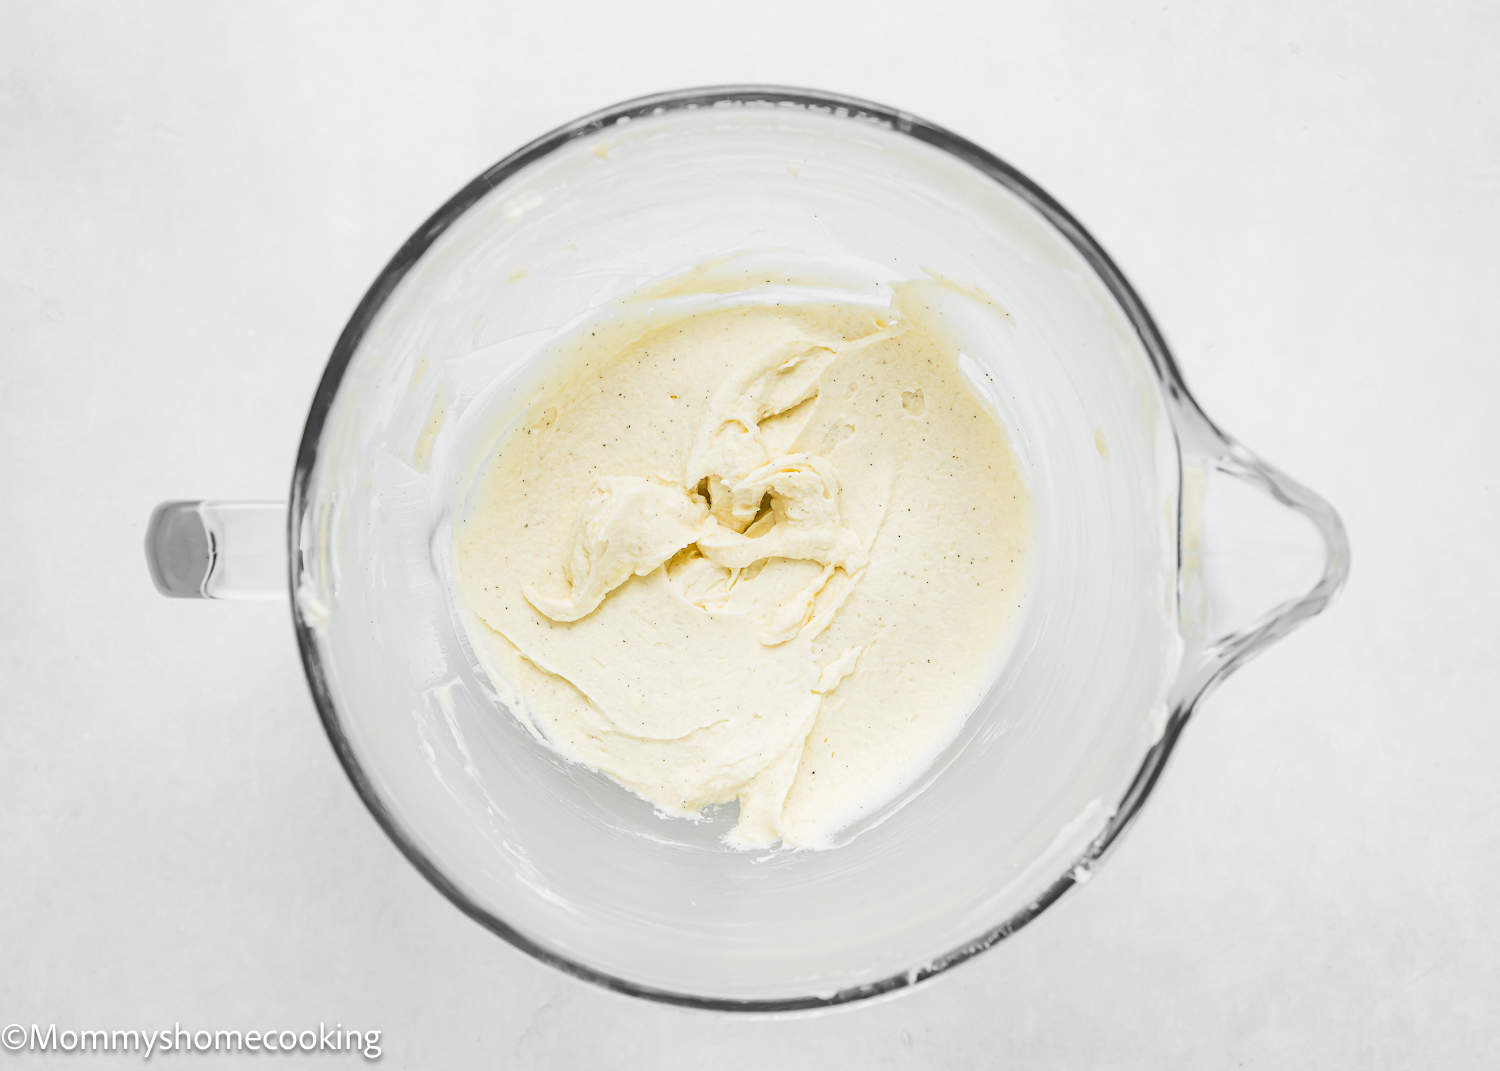
Cream the butter and sugar together in a large bowl with an electric mixer on medium speed until light in color and fluffy, about 3 minutes. Add cream cheese and vanilla and mix until well combined.
Step 4 – Add Dry Ingredients
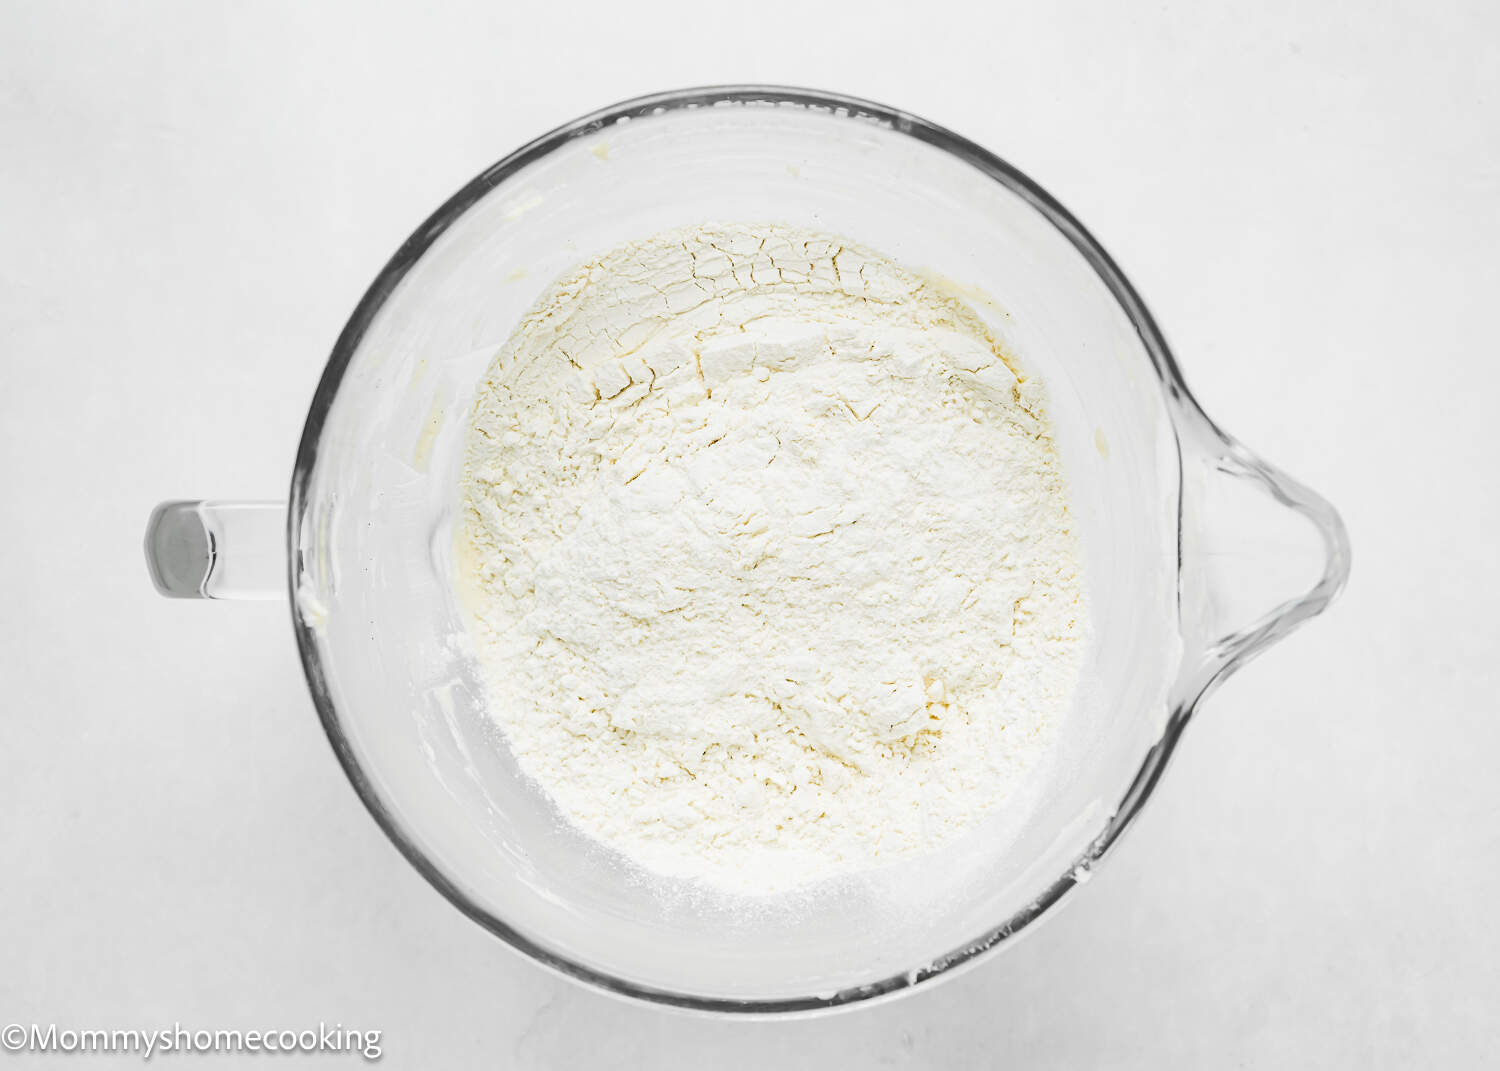
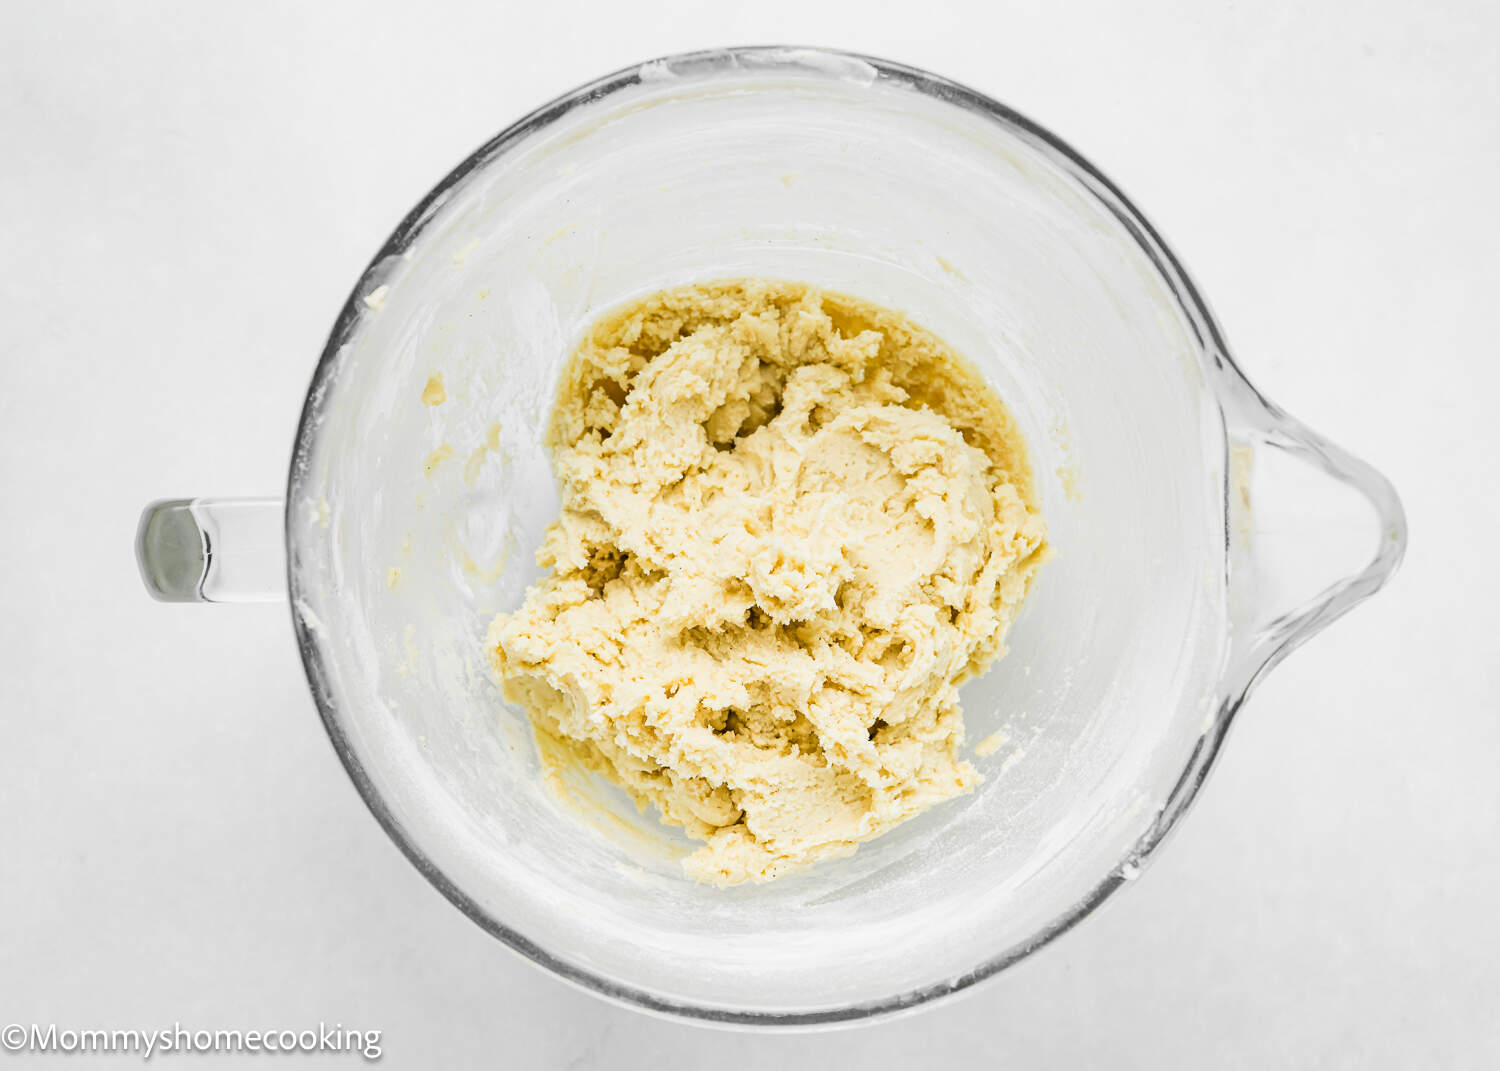
Add the flour mixture and mix until the dough comes together and is combined. Do not overmix.
Step 5 – Press Dough Into The Pan
Press the sugar cookie dough into an even layer in the bottom of the pan.
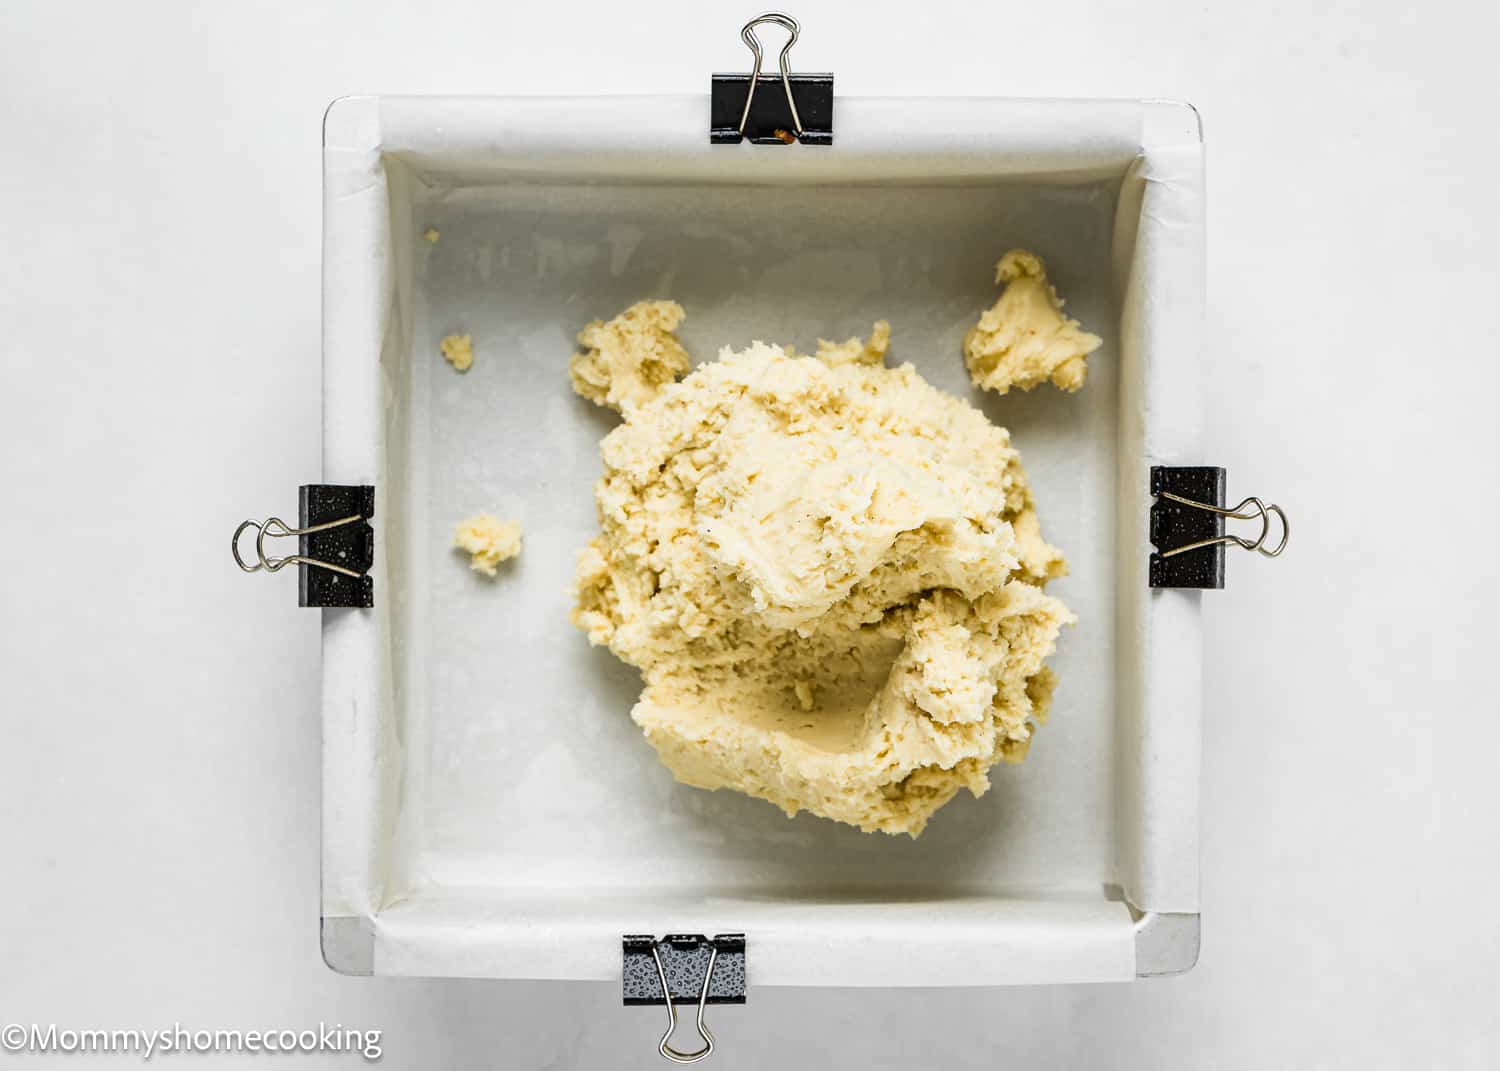
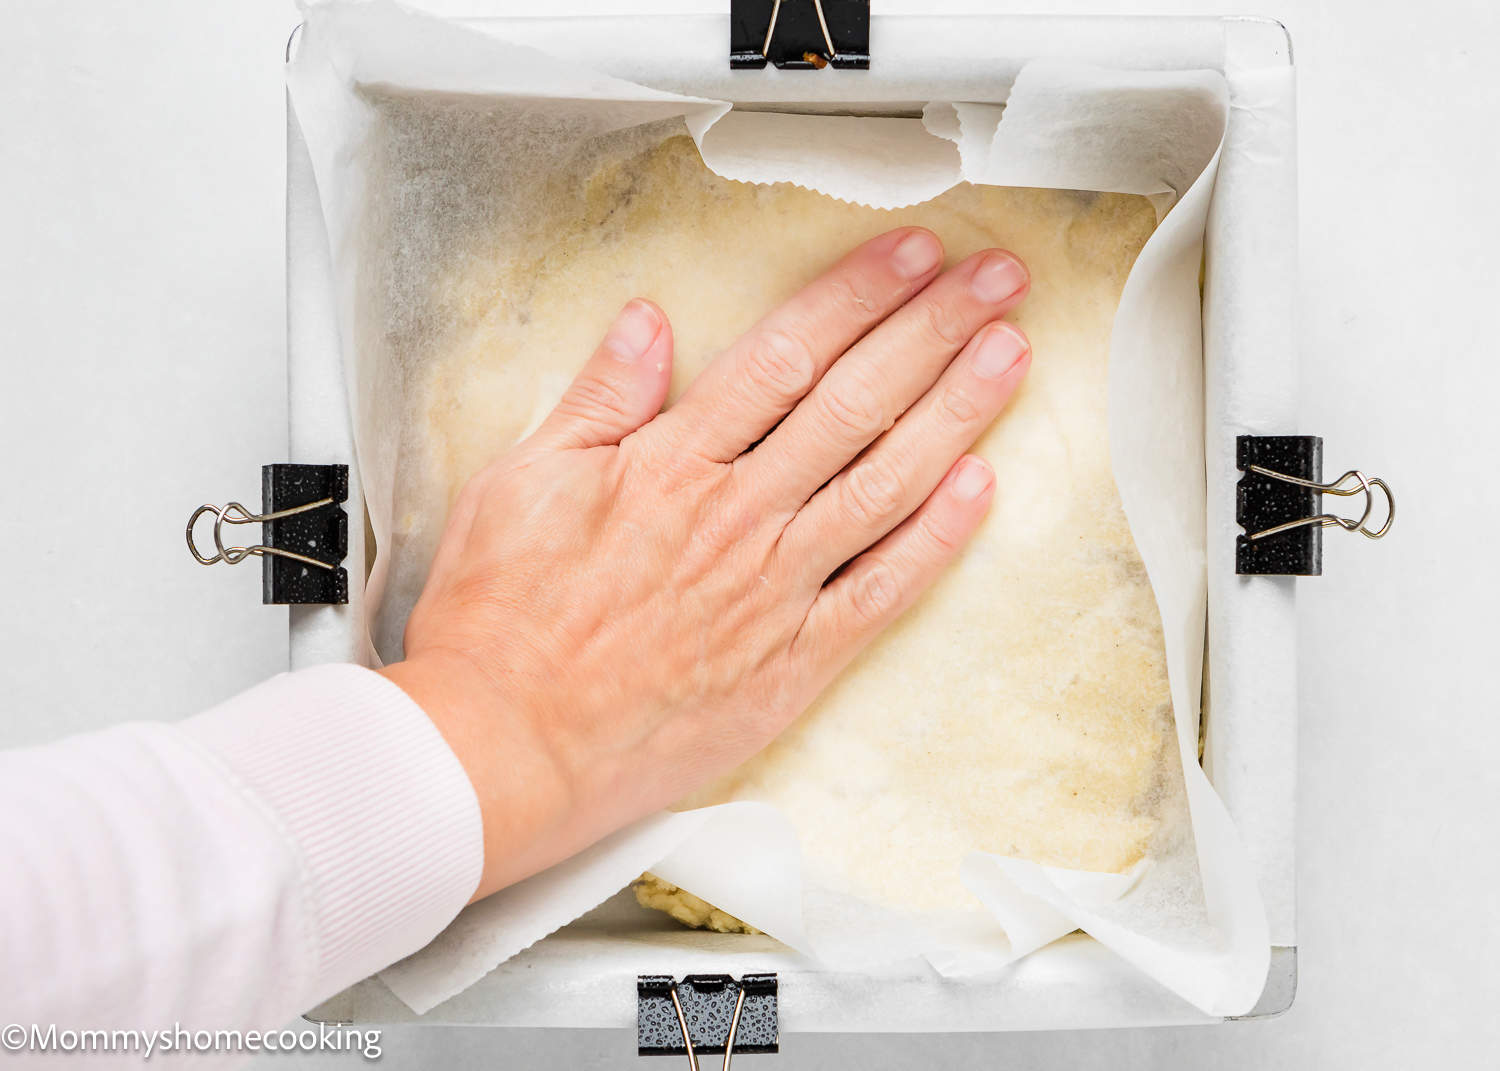
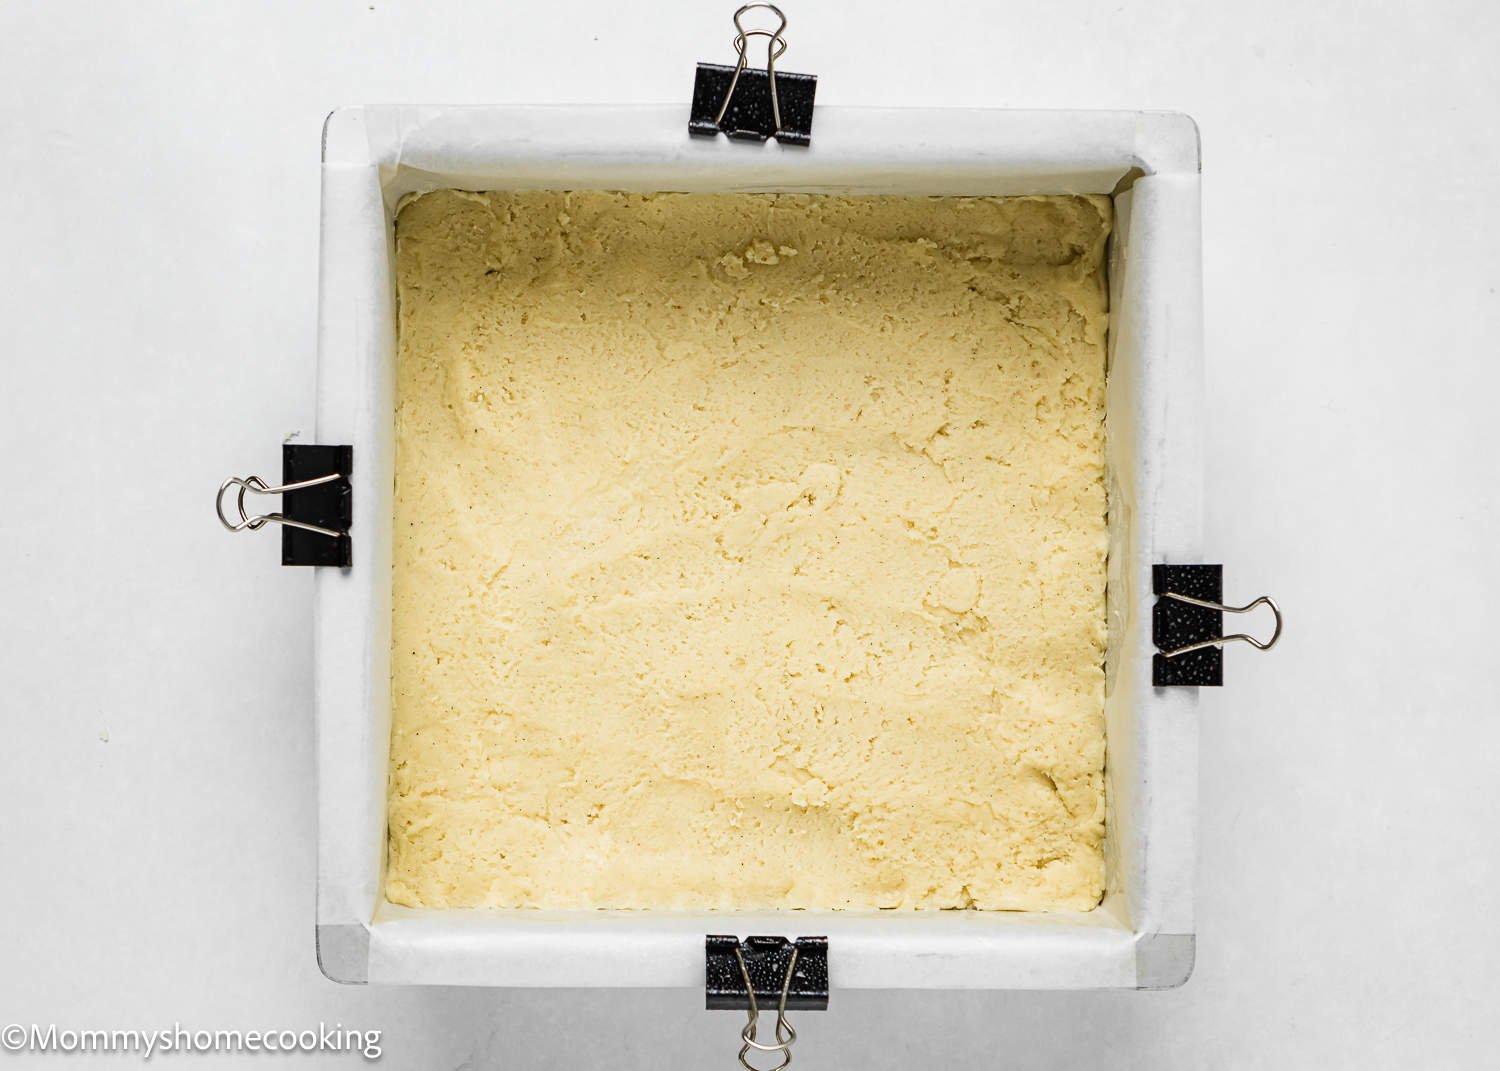
PRO-TIP: To spread the dough easily, I like to place a piece of parchment paper on top of it and spread it with my hand or a spatula into an even layer.
Step 6 – Bake
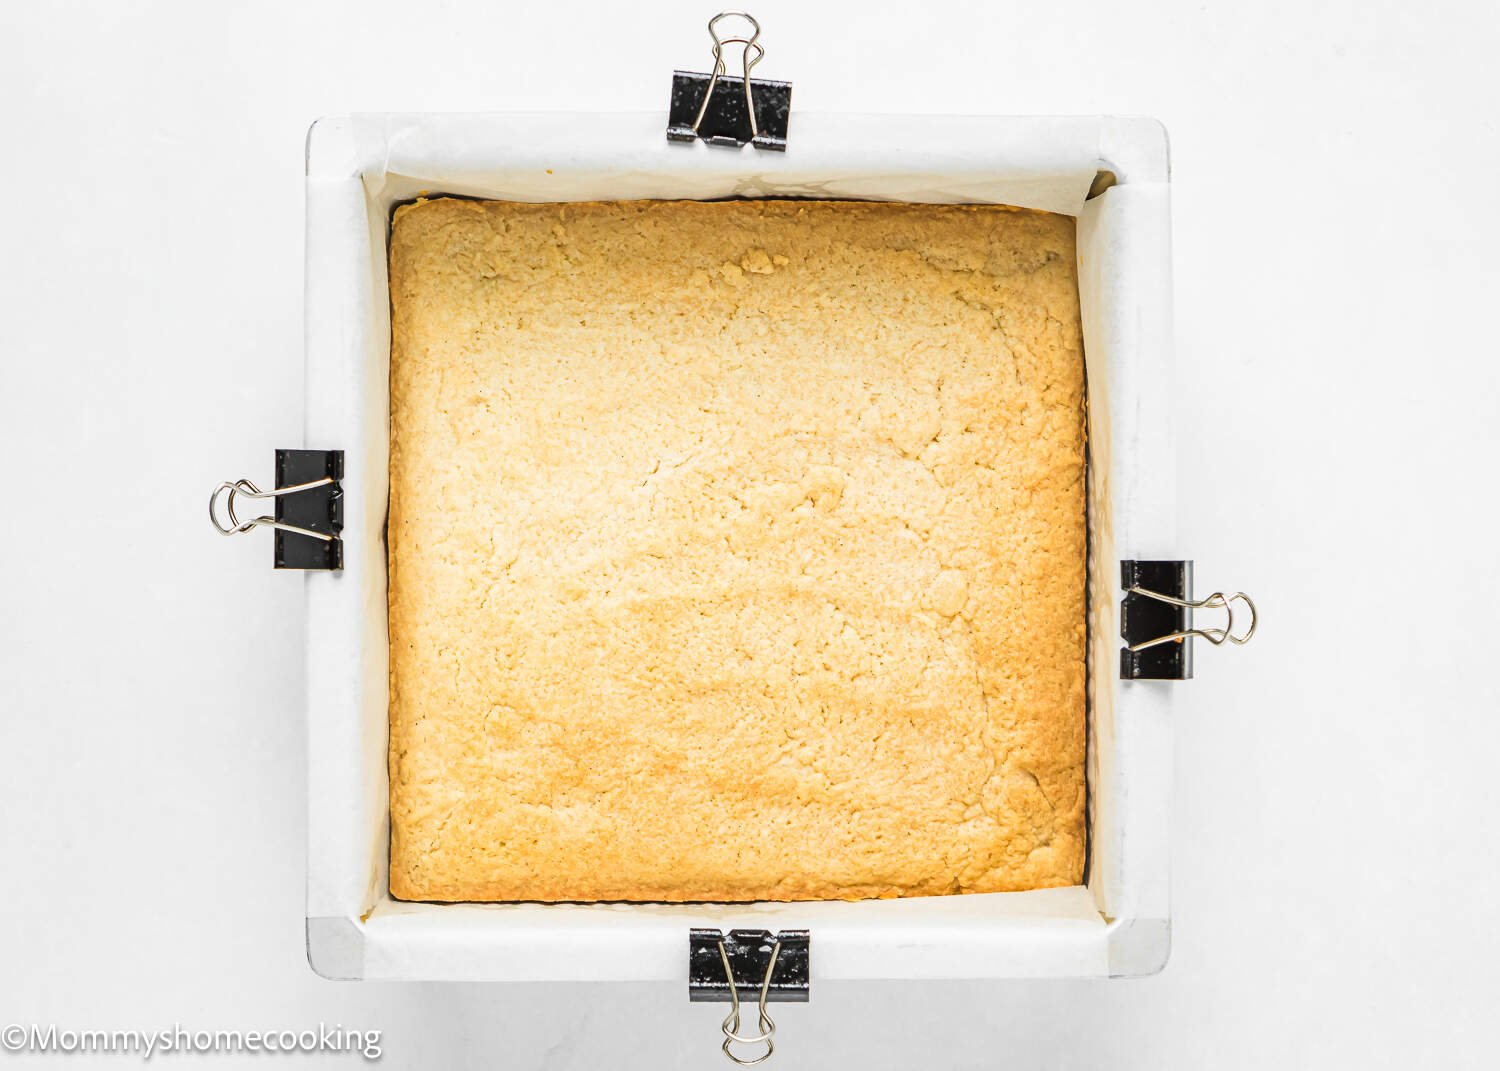
Bake for 25-26 minutes or until very lightly browned on top. You want the cookie bars to be extra soft, so careful not to overbake. Allow the bars to cool completely on a wire rack at room temperature before frosting.
Step 7 – Frost
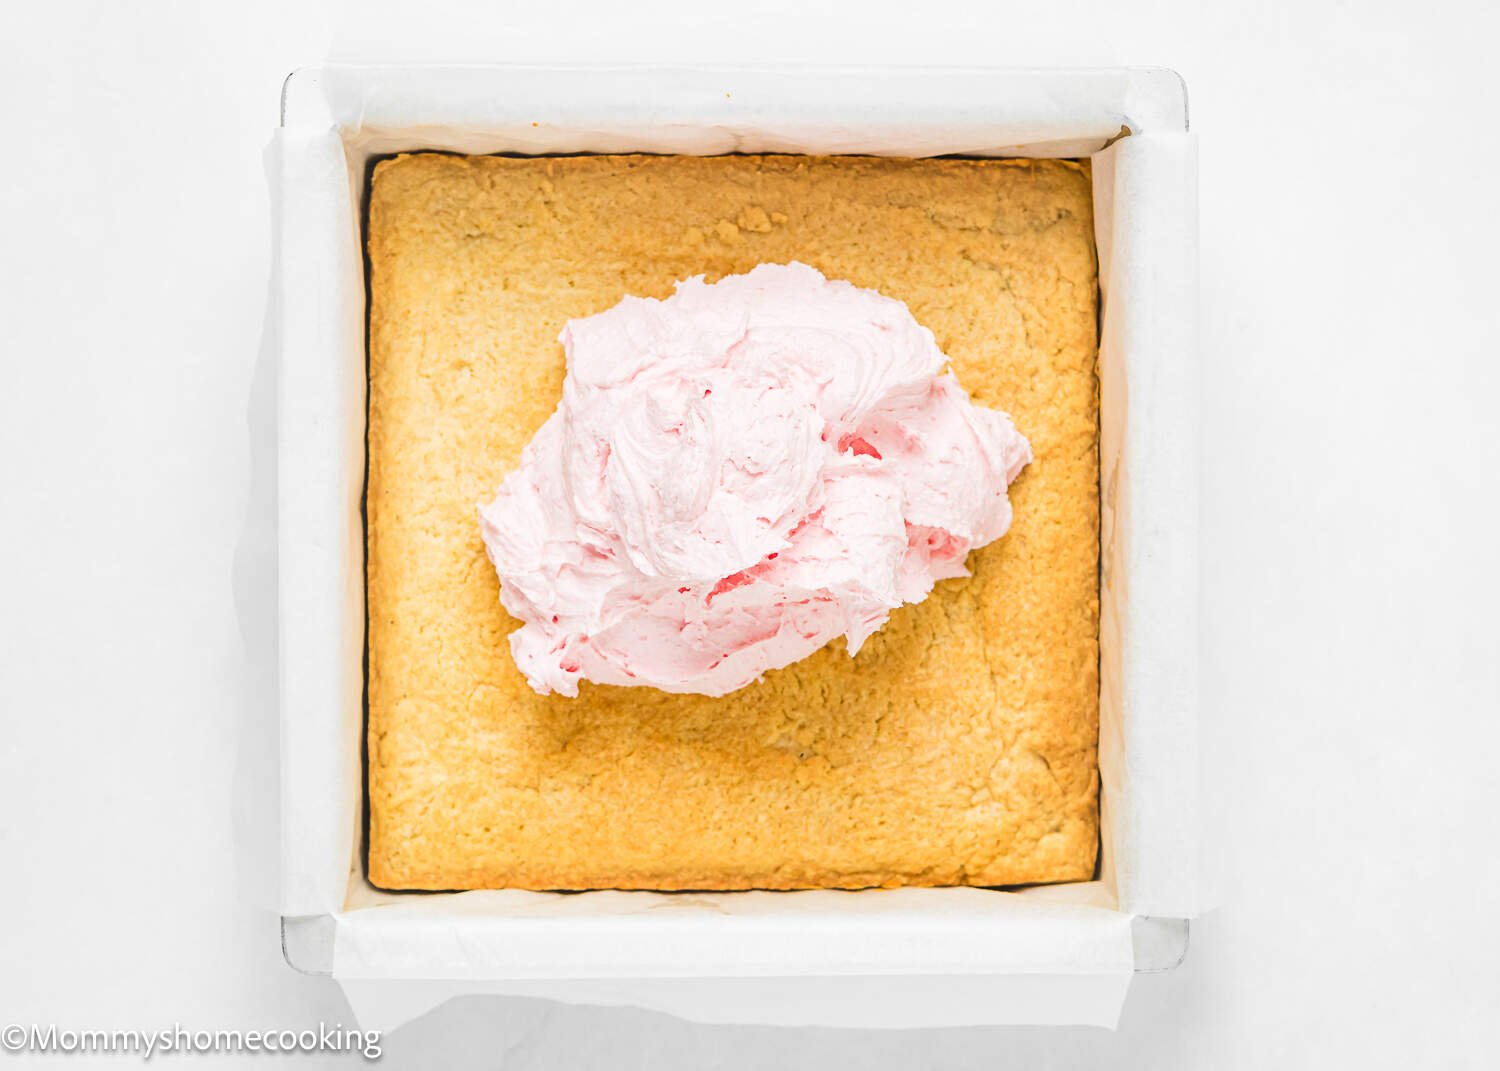
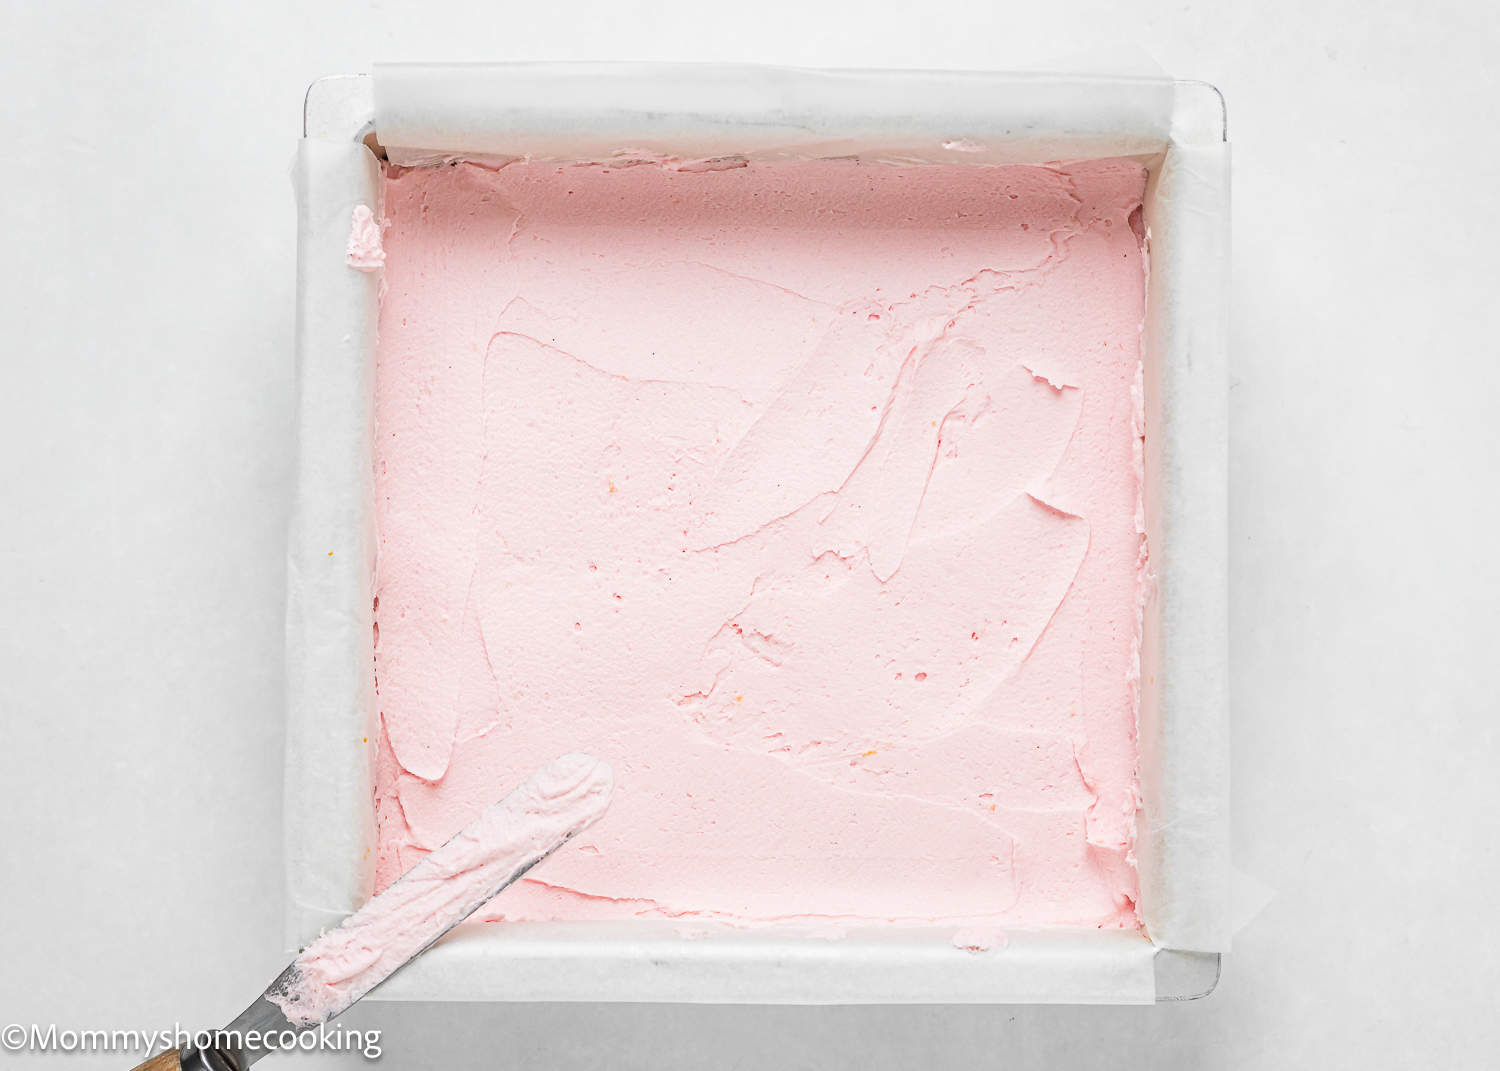
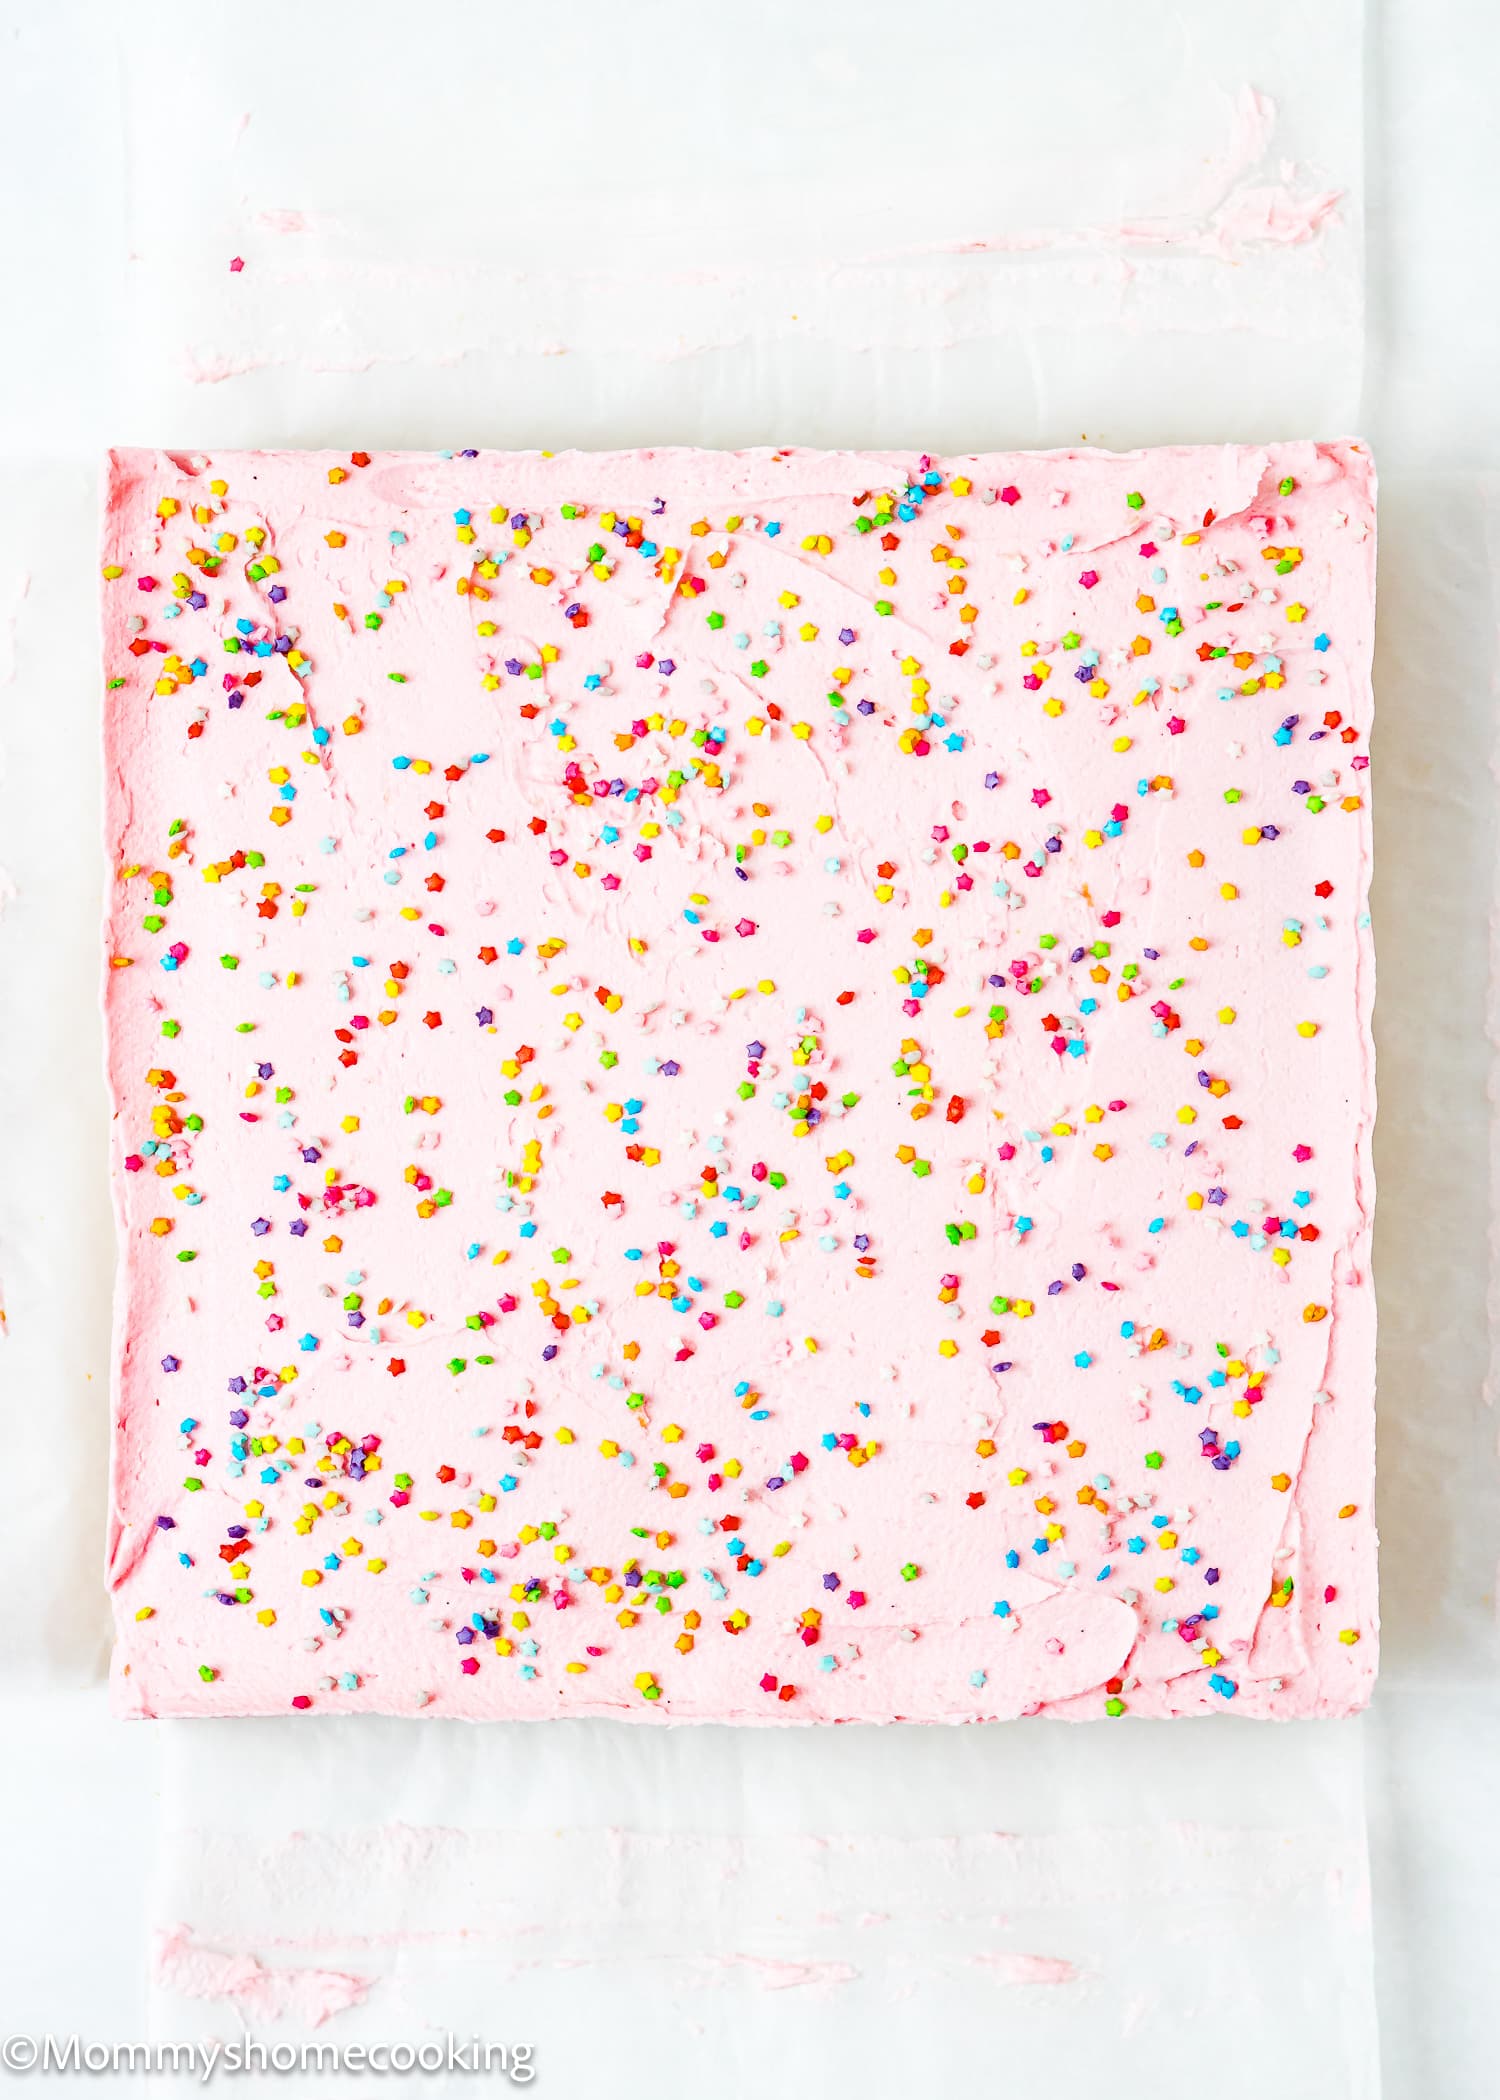
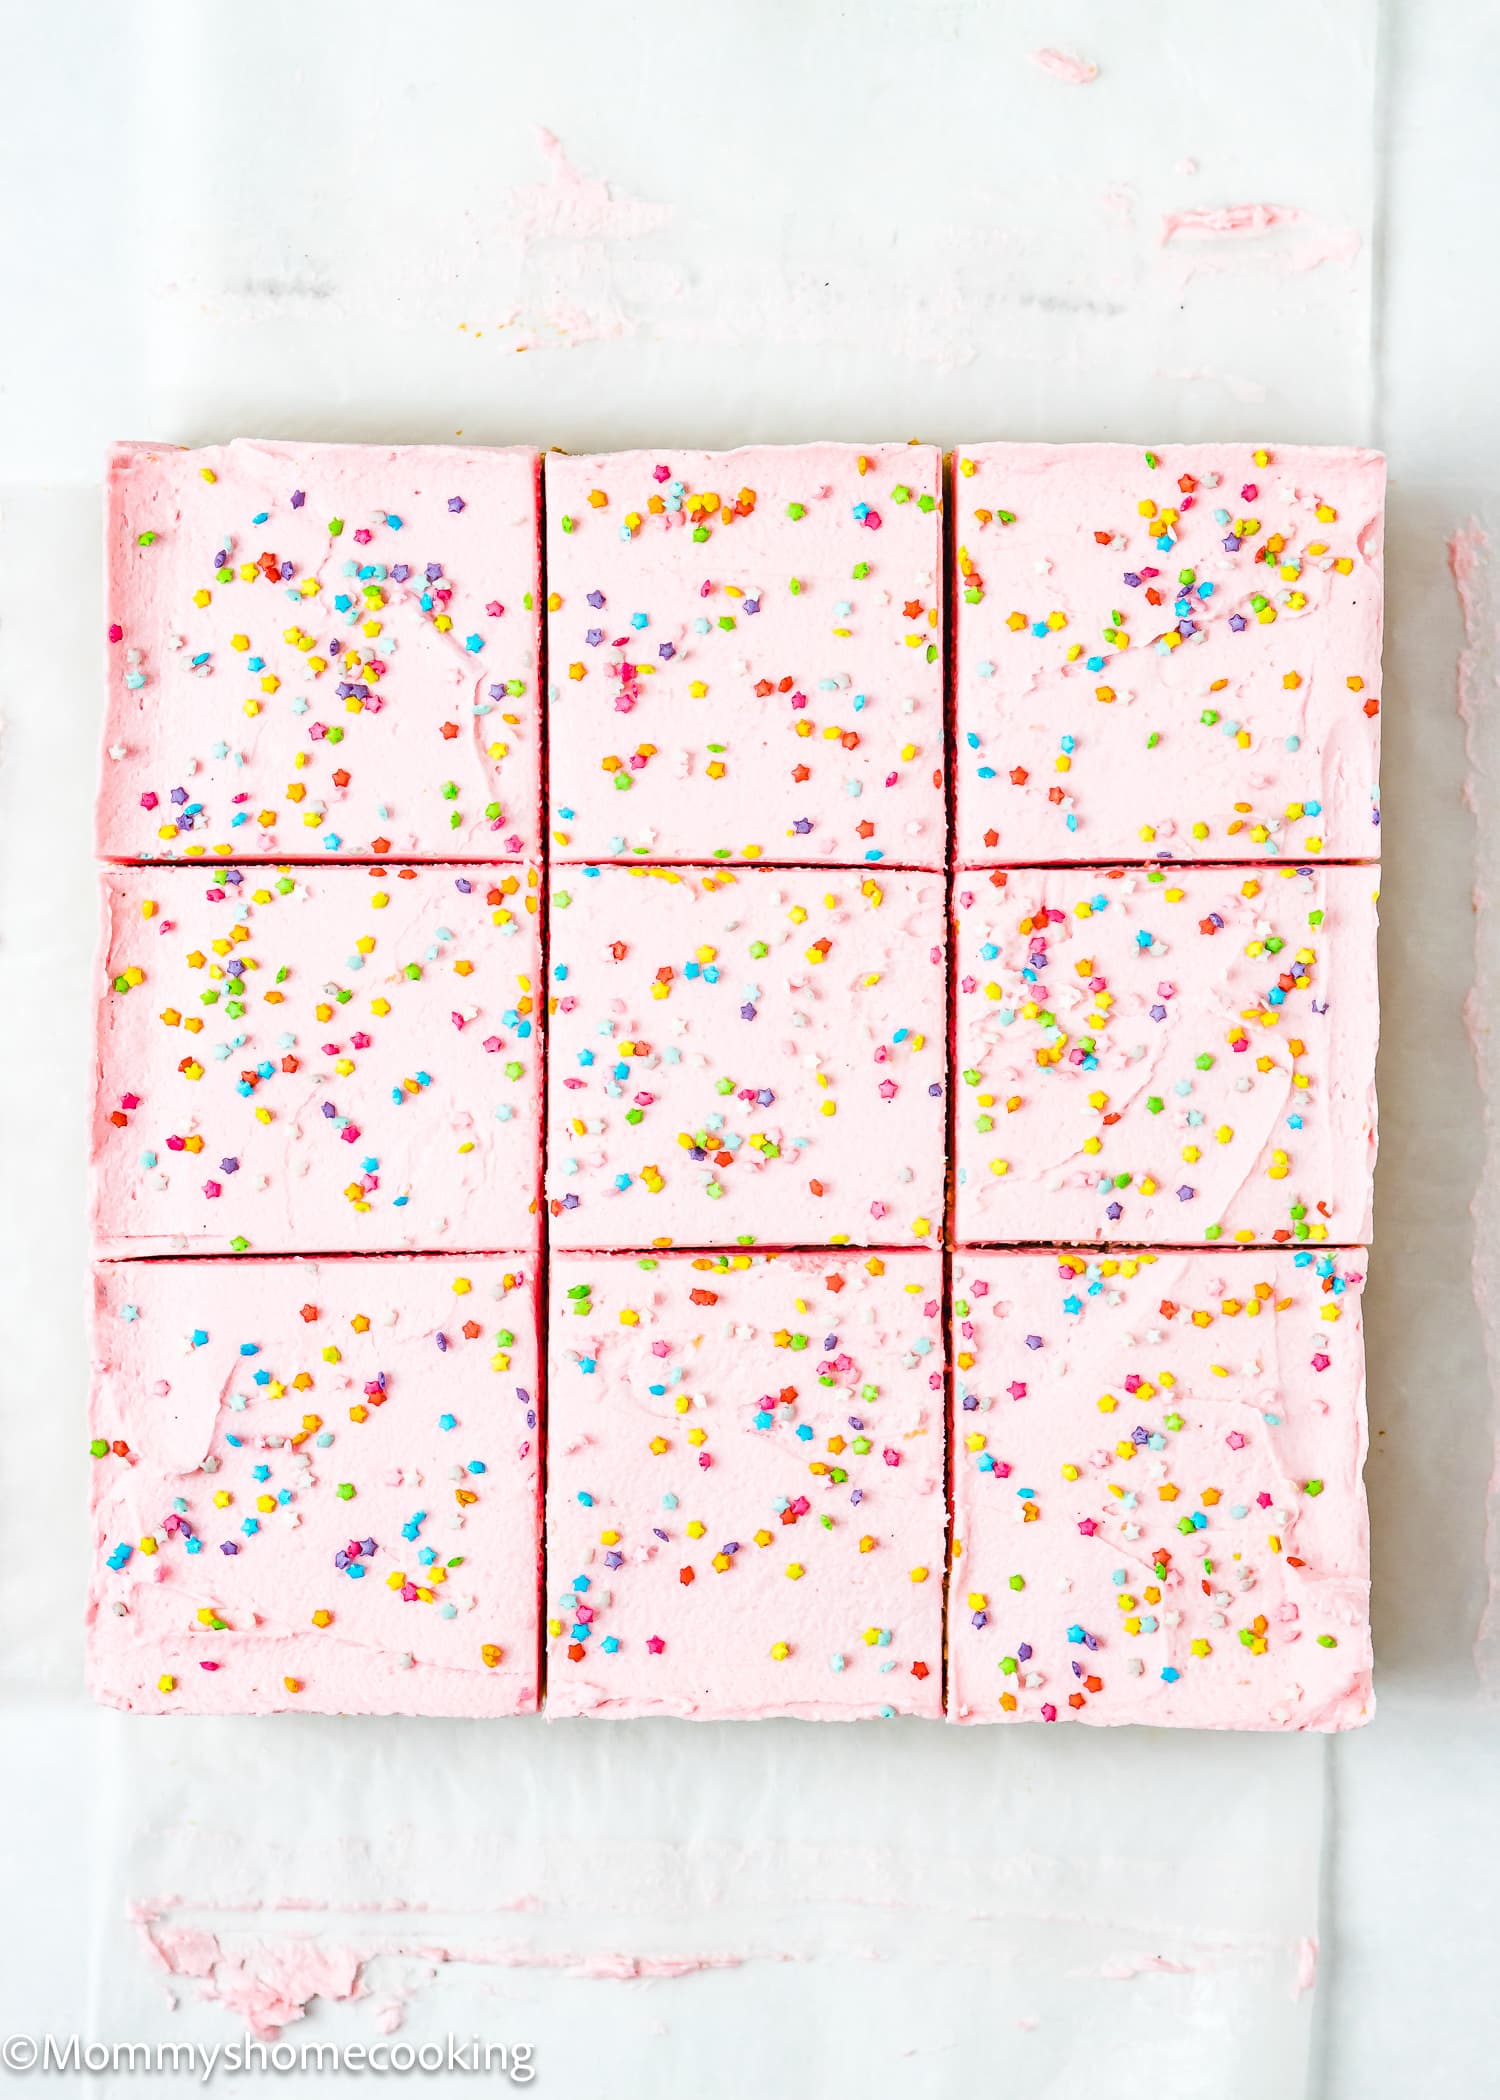
Make the frosting. Frost the bars with a thick layer of frosting and decorate with extra sprinkles if desired. Cut into squares.
Recipe Tips
- Make sure your butter and cream cheese are softened for easy mixing and a smooth batter.
- Don’t overmix the batter, as it can result in tough bars. Mix until just combined for a tender texture.
- To spread the dough easily, I like to place a piece of parchment paper on top of it and spread it with my hand or a spatula into an even layer.
- For picture-perfect slices. After you frost the cookie bars slab, chill it for 15 minutes. This helps the bar and the frosting to firm up, so your slices are perfect. Use a large, sharp chef’s knife.
Food Allergy Swaps
- Gluten-Free: Use a gluten-free, all-purpose flour blend. Look for a gluten-free flour blend specifically formulated for baking, as it will have the right combination of flours and starches to mimic the texture of wheat flour. My favorite is Better Batter Original Blend.
- Dairy-Free: To make this recipe dairy-free, you can easily swap out the dairy ingredients for non-dairy alternatives. Instead of butter and cream cheese, use vegan butter and vegan cream cheese. There are many brands available in stores. I usually use Earth Balance Vegan Buttery Sticks and Violife Just Like Cream Cheese Original. Check out my favorite dairy-free substitutes here.
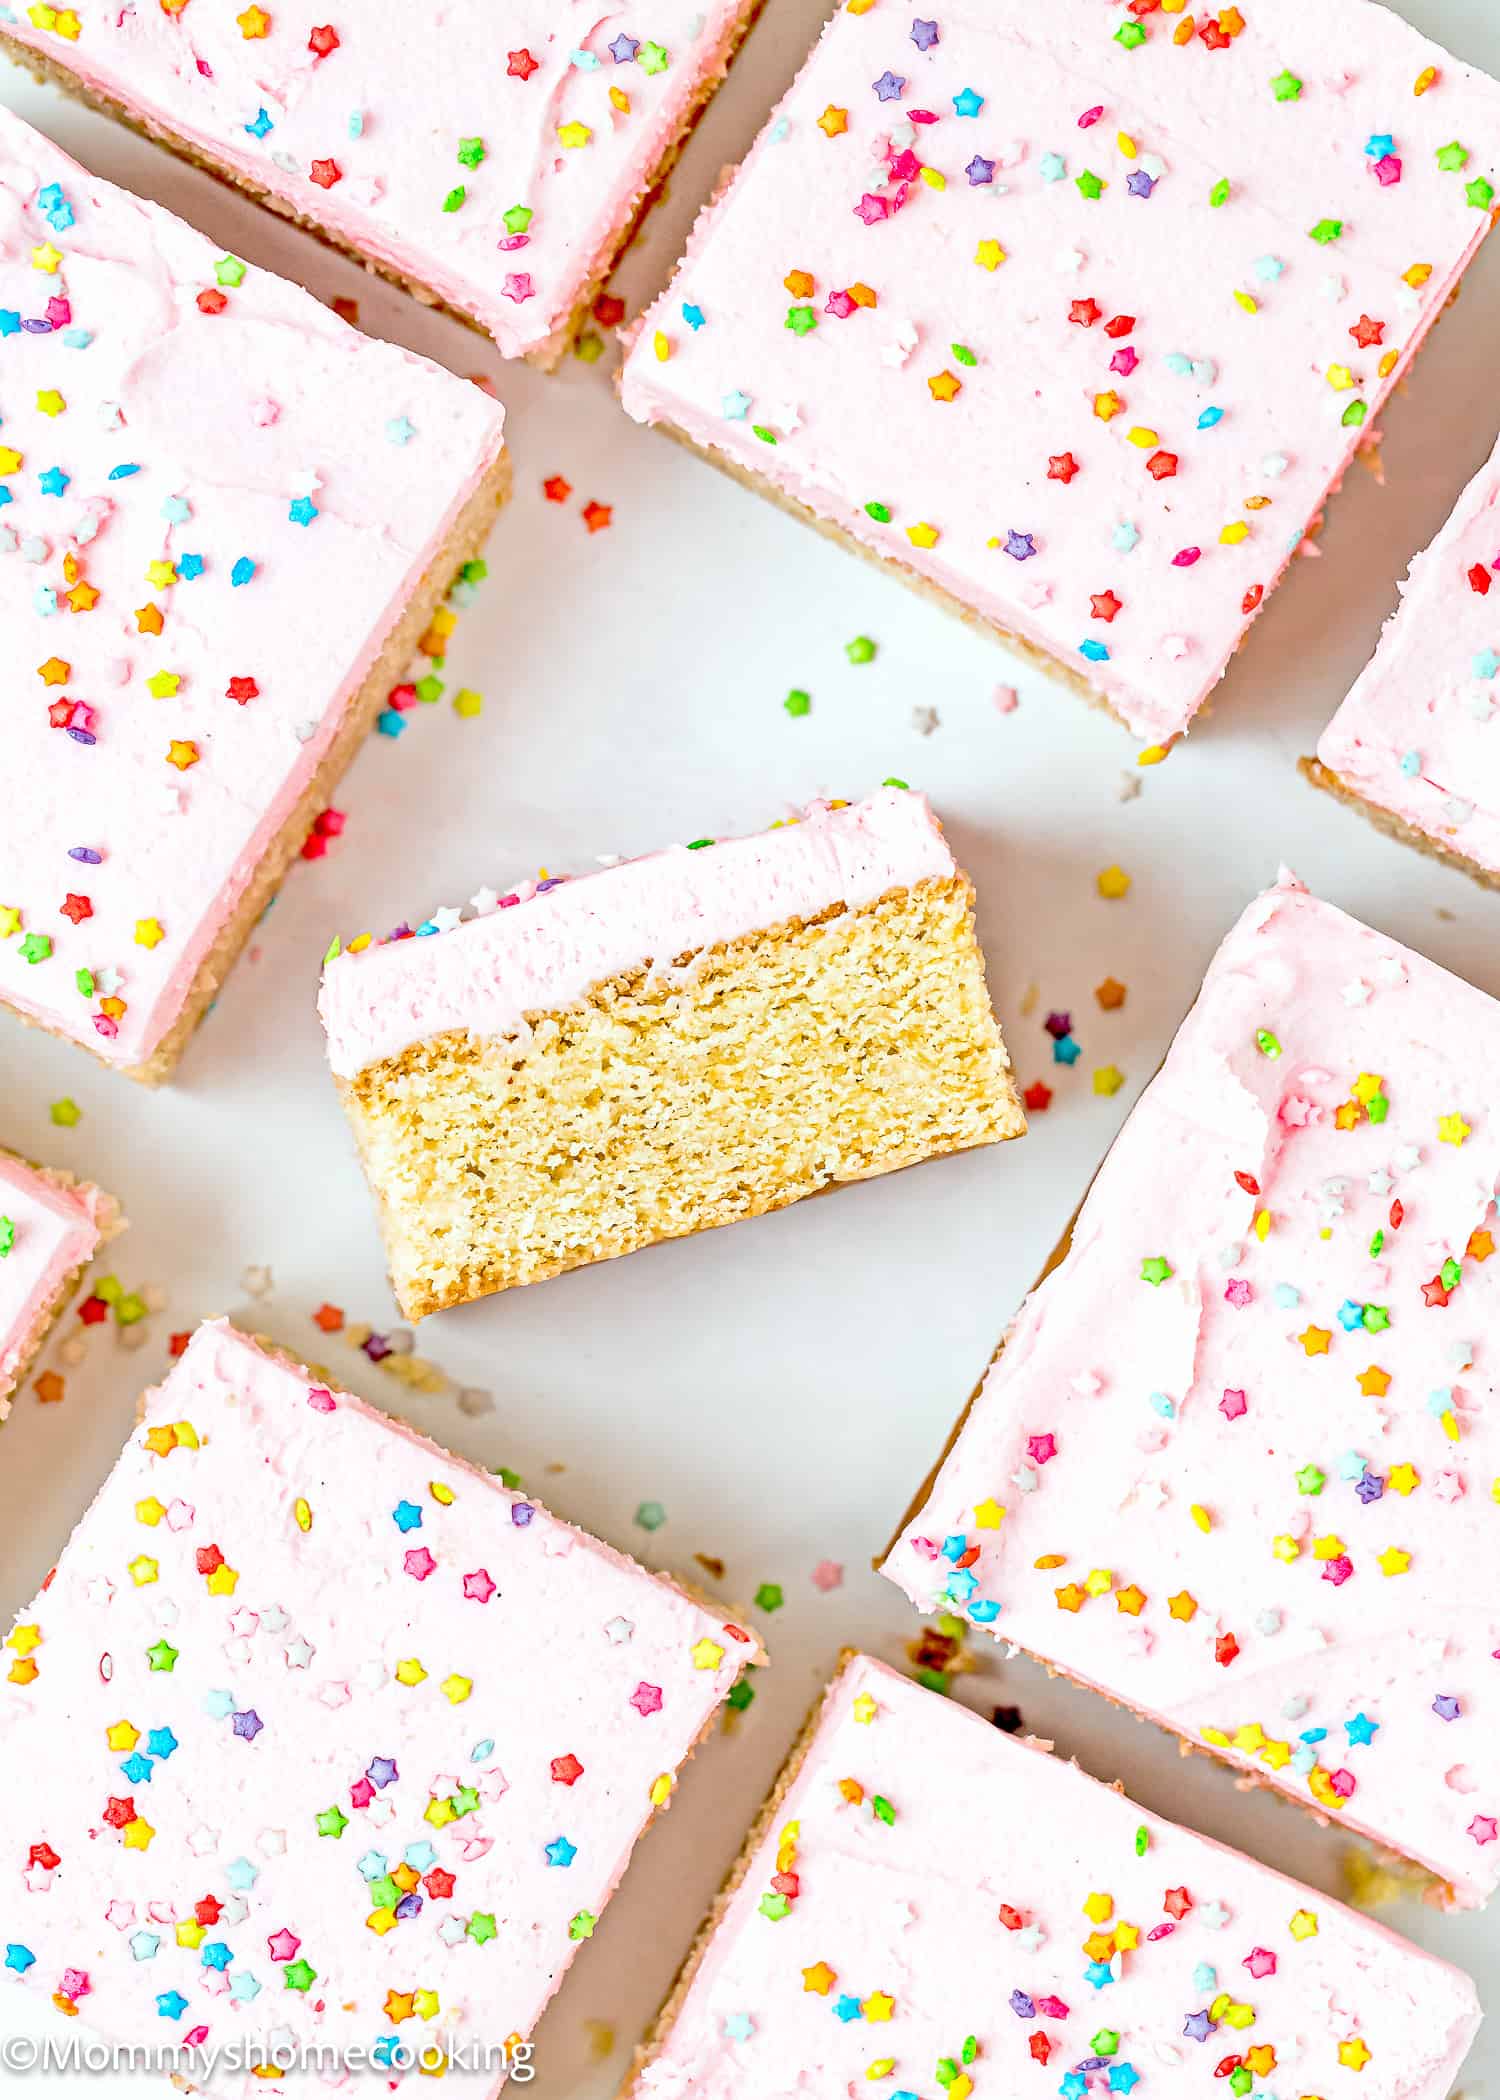
Variations & Additions
- Add chocolate chips, nuts, or dried fruit to the batter for extra flavor and texture.
- Experiment with different extract flavors, such as almond or lemon, for a unique twist.
- Feel free to customize the frosting with your favorite flavors or colors. Get creative and have fun with it!
- You can also top the bars with crushed cookies, candies, or drizzles of chocolate for added indulgence.
Make Ahead
You can make these bars and the frosting 1 day in advance– store the bars, covered, at room temperature overnight and store the frosting, covered, in the refrigerator. Frost before cutting and serving.
Storing and Freezing Instructions
Store the cooled bars in an airtight container at room temperature for up to 3 days, or in the refrigerator for up to 1 week.
To freeze, wrap the bars tightly in plastic wrap or aluminum foil and place them in a freezer-safe container. They will keep for up to 2 months. Thaw in the refrigerator before serving.
Frequently Asked Questions
Yes! These bars are perfect for making ahead. You can make these bars and the frosting 1 day in advance– store the bars, covered, at room temperature overnight, and store the frosting, covered, in the refrigerator. Frost before cutting and serving.
Absolutely! Double the ingredients and bake in a 13×9 pan. Adjust the baking time as needed.
While the frosting adds an extra layer of sweetness and flavor, you can certainly enjoy these bars without it. They’re delicious either way!
Yes! To make this recipe dairy-free, you can easily swap out the dairy ingredients for non-dairy alternatives. Instead of butter and cream cheese, use vegan butter and vegan cream cheese. There are many brands available in stores. I usually use Earth Balance Vegan Buttery Sticks and Violife Just Like Cream Cheese Original. Check out my favorite dairy-free substitutes here.
Yes! Use a gluten-free, all-purpose flour blend. Look for a gluten-free flour blend specifically formulated for baking, as it will have the right combination of flours and starches to mimic the texture of wheat flour. My favorite is Better Batter Original Blend.
The frosting will form a crust on the surface, but it won’t completely harden. However, if you need/want the frosting to set more firmly, add one tablespoon of cornstarch to the frosting when you add the confectioners’ sugar.
More Recipes You’ll Love!
- Ultimate Fudgy Brownies without Eggs
- Eggless Biscoff White Chocolate Blondies
- Eggless Snickerdoodle Bars
- Easy Eggless Lemon Bars
- Eggless Lemon Blueberry Cheesecake Bars
- Browse more recipes…
❤️ Love what you see? JOIN my Private Baking Club. Also, SUBSCRIBE to Mommy’s Home Cooking, so you’ll never miss a recipe! And FOLLOW along on Instagram, Pinterest, and Facebook for more fun!
Recipe Card 📖
Best Eggless Sugar Cookie Bars
Equipment
Ingredients
- 2 ¼ cups (315 g) all-purpose flour
- 2 ¼ teaspoons (9 g) baking powder
- ½ teaspoon (4 g) salt
- ¾ cup (174 g – 6 oz) unsalted butter, softened
- ¾ cup (150 g) granulated sugar
- 4 oz (112 g) cream cheese, softened
- 3 teaspoons (15 ml) pure vanilla extract
Vanilla Frosting:
- 3/4 cup (170 g) unsalted butter, softened
- 1 teaspoon (5 ml) pure vanilla extract
- ½ teaspoon (2 g) salt
- 2 1/4 cups (270 g) confectioners’ sugar
- 3 tablespoons (45 ml) heavy cream or milk
- Food coloring (I used 1 drop of deep pink gel food color for this pink frosting and extra sprinkles for decorating on top)
Instructions
- Preheat the oven to 350° F (180° C). Lightly grease an 8×8-inch (or 9×9-inch) baking pan with cooking spray or line it with parchment paper and grease, leaving enough overhang on the sides. Set aside.
- Combine the flour, baking powder, and salt in a medium-sized bowl and set aside.
- Cream the butter and sugar together in a large bowl with an electric mixer on medium speed until light in color and fluffy, about 3 minutes. Add cream cheese and vanilla and mix until well combined, about 1 more minute.
- Add the flour mixture and mix until the dough comes together and is combined. Do not overmix.
- Press the sugar cookie dough into an even layer in the bottom of the pan.
- Bake for 25-28 minutes or until very lightly browned on top. You want the cookie bars to be extra soft, so careful not to overbake. Allow the bars to cool completely on a wire rack at room temperature before frosting.
Make the Vanilla Frosting:
- Beat the butter, vanilla and salt with an electric mixer on medium speed until creamy, about 3 minutes. Add confectioners’ sugar and heavy cream; mix to incorporate. Then, increase to high speed and beat for 3 full minutes. Adjust the frosting to your liking by adding more confectioners’ sugar if the frosting is too thin or more cream if the frosting is too thick. Add in food coloring, if using, and mix until evenly colored.
Frost:
- Frost the bars with a thick layer of frosting and decorate with sprinkles if desired. Cut into squares. TIP: For picture-perfect slices. After you frost the cookie bars slab, chill it for 15 minutes. This helps the bar and the frosting to firm up, so your slices are perfect. Use a very sharp knife and wipe off with a paper towel between each cut to make neat, even cuts.
- Gluten-Free: Use a gluten-free, all-purpose flour blend. Look for a gluten-free flour blend specifically formulated for baking, as it will have the right combination of flours and starches to mimic the texture of wheat flour. My favorite is Better Batter Original Blend.
- Dairy-Free: To make this recipe dairy-free, you can easily swap out the dairy ingredients for non-dairy alternatives. Instead of butter and cream cheese, use vegan butter and vegan cream cheese. There are many brands available in stores. I usually use Earth Balance Vegan Buttery Sticks and Violife Just Like Cream Cheese Original. Check out my favorite dairy-free substitutes here.
- Make sure your butter and cream cheese are softened for easy mixing and a smooth batter.
- Don’t overmix the batter, as it can result in tough bars. Mix until just combined for a tender texture.
- To spread the dough easily, I like to place a piece of parchment paper on top of it and spread it with my hand or a spatula into an even layer.
- For picture-perfect slices. After you frost the cookie bars slab, chill it for 15 minutes. This helps the bar and the frosting to firm up, so your slices are perfect. Use a very sharp knife and wipe off with a paper towel between each cut to make neat, even cuts.
- Add chocolate chips, nuts, or dried fruit to the batter for extra flavor and texture.
- Experiment with different extract flavors, such as almond or lemon, for a unique twist.
- Feel free to customize the frosting with your favorite flavors or colors. Get creative and have fun with it!
- You can also top the bars with crushed cookies, candies, or drizzles of chocolate for added indulgence.

Leave a Reply