
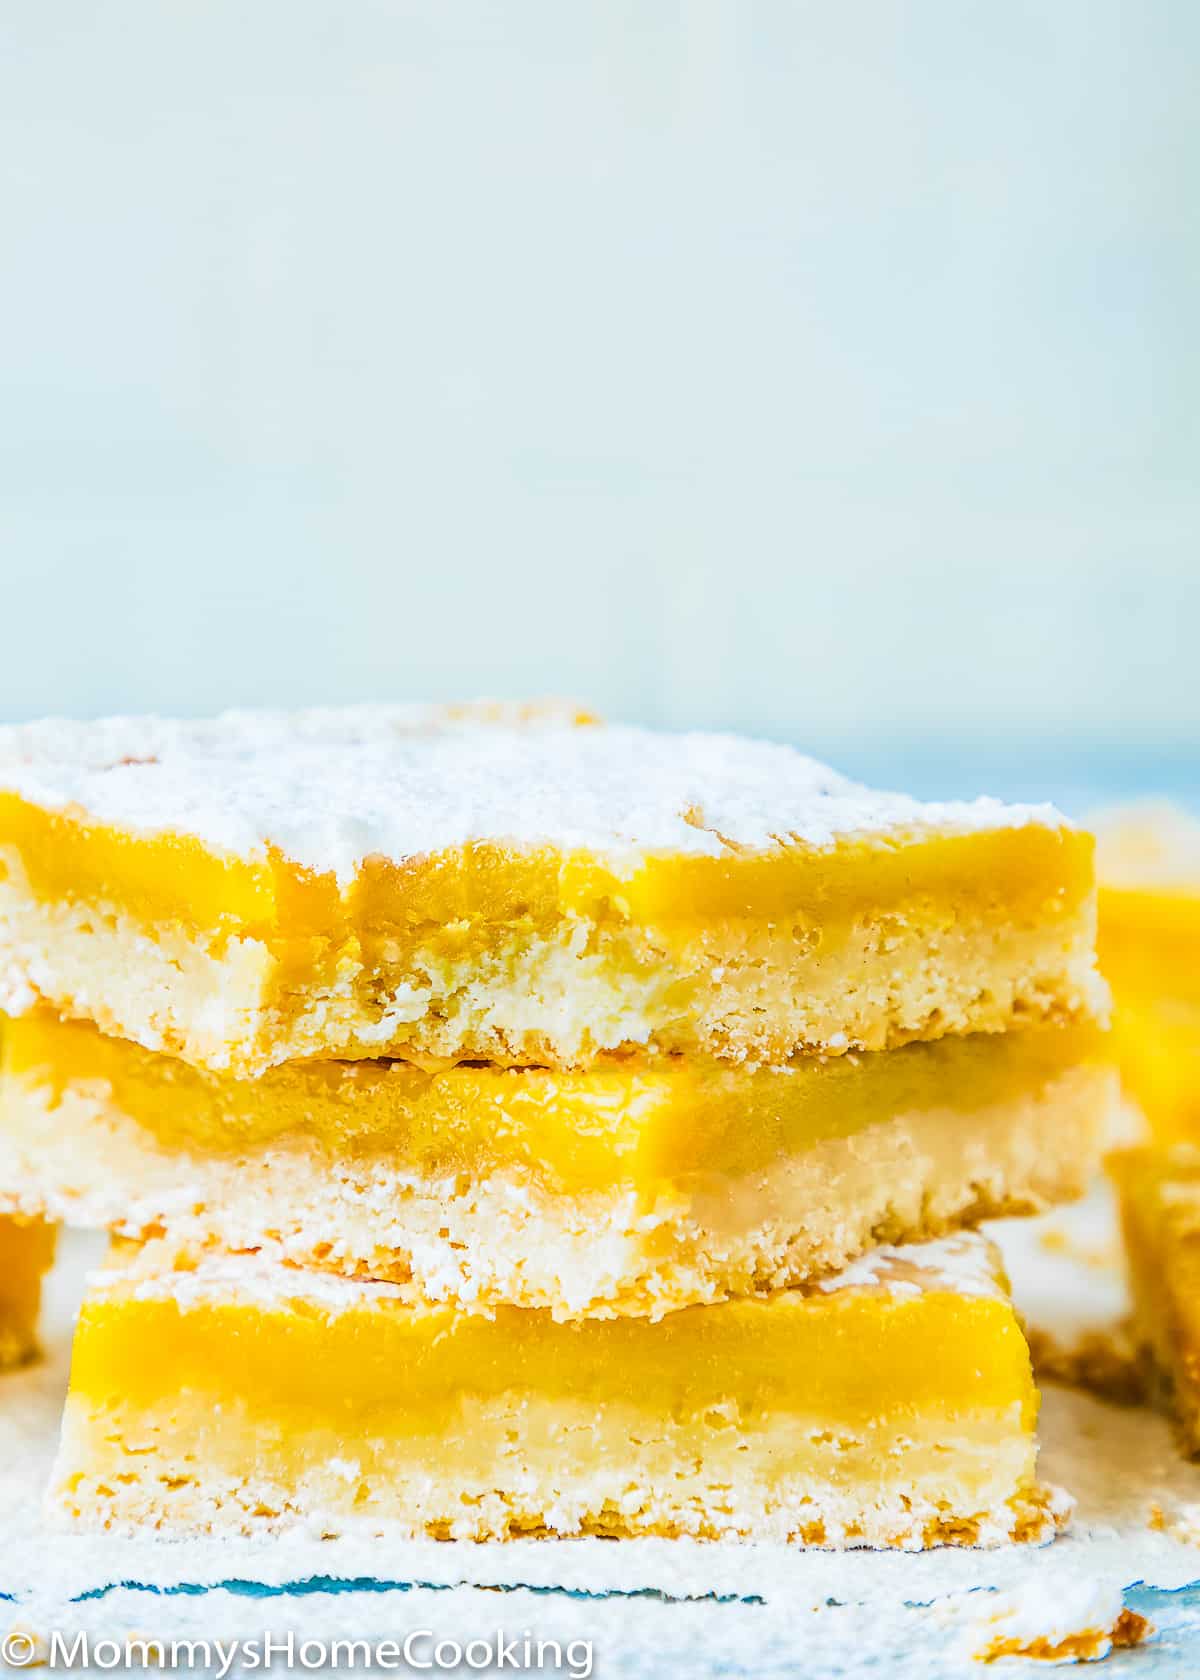
These Eggless Lemon Bars are pretty simple to make and only require 7 ingredients! The shortbread crust is buttery and crunchy, which is the perfect match for the lusciously sweet and tart lemon filling.
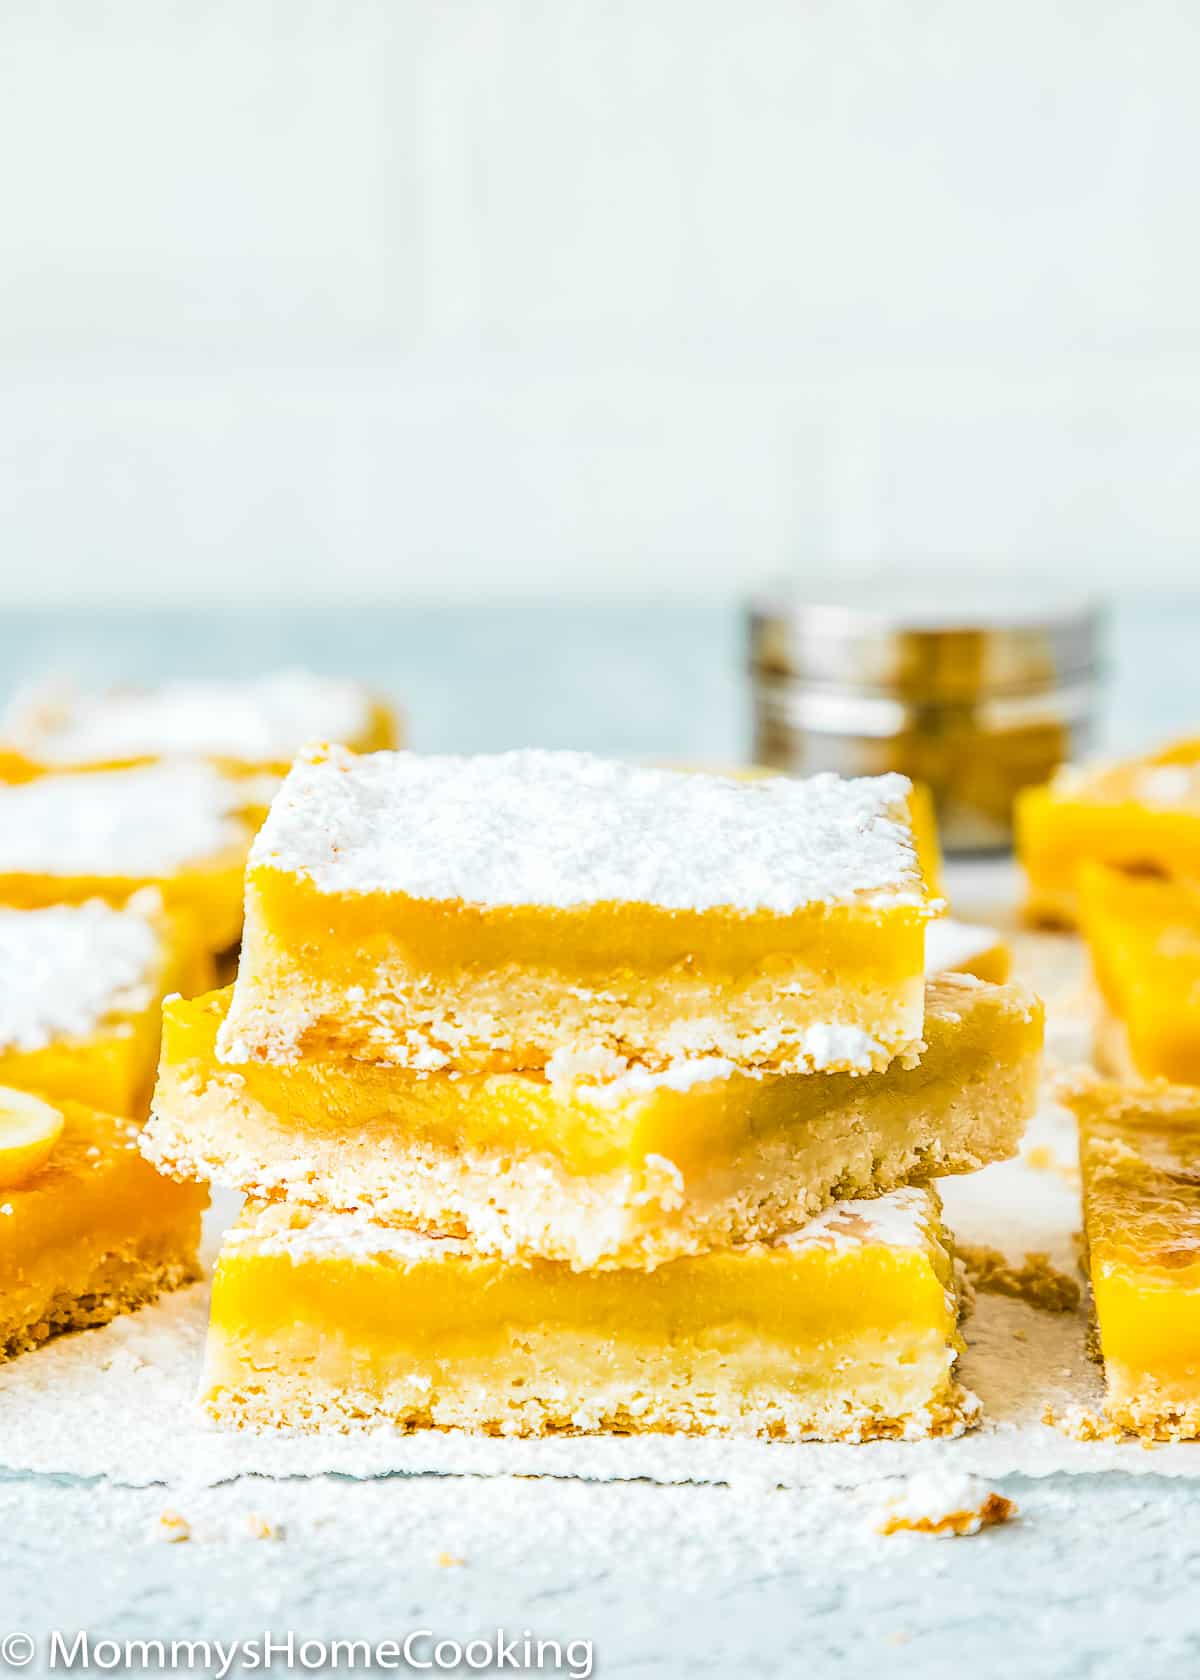
This Eggless Lemon Bars recipe is insanely delicious!
I’ve been working on it for a few weeks to get it just right, and what better time to give in to all our lemon cravings than today, right? Plus, they are the perfect dessert or snack. Especially when you need an extra dose of vitamins C.
Eggless Lemon Bars Recipe Highlights
- These Eggless Lemon Bars are sweet, tart, and lemony, just what you want in a lemon bar.
- They are pretty simple to make, you only need 7 ingredients, and I’m walking you through each step in the photo tutorial below.
So pick up some fresh lemons and let’s get baking!
Ingredients Notes & Substitutions
Please check the recipe card at the bottom of the post for exact quantities and instructions (scroll down).
You’ll need just 7 ingredients:
- Butter: . I prefer to use unsalted butter, but if you only have salted butter handy, you can use it. In this case, skip the salt called in the recipe.
- Sugar: Regular white sugar, also known as caster sugar.
- Flour: Standard all-purpose flour works best here, skip the cake flour, bread flour and wheat flour.
- Cornstarch: This will help to thicken the filling and make it creamy.
- Salt: I used Black Salt , which is a salt that is used in many vegan/eggless recipes to mimic the flavor of the eggs. If black salt is not available you can substitute with kosher or sea salt. See recipe notes to learn more about black salt.
- Evaporated milk: You don’t have evaporated milk? No problem!! Check out my post about How to Make Evaporated Milk at home.
- Fresh Lemons: You’ll need the juice and zest.
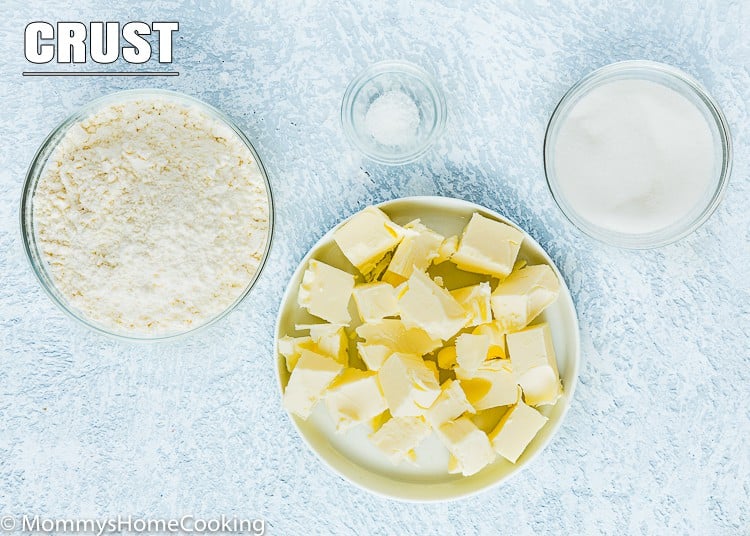
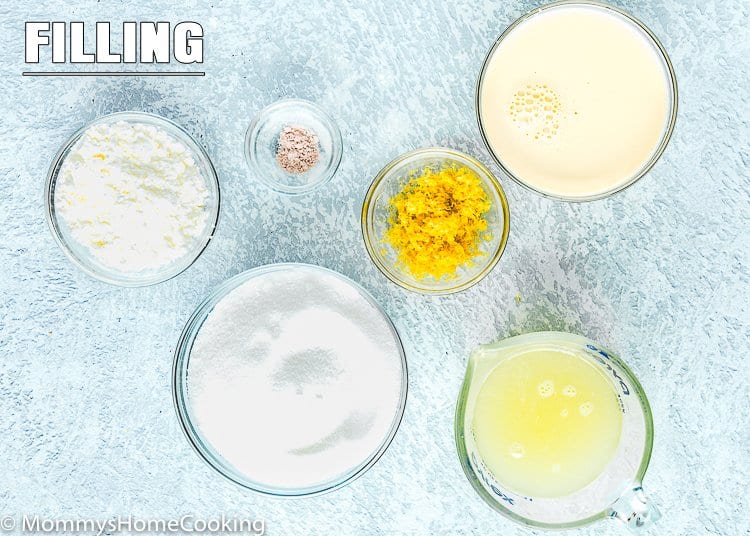
Step By Step Recipe Photo Tutorial
Please check the recipe card at the bottom of the post for exact quantities and detailed instructions (scroll down).
1 – Make the Crust
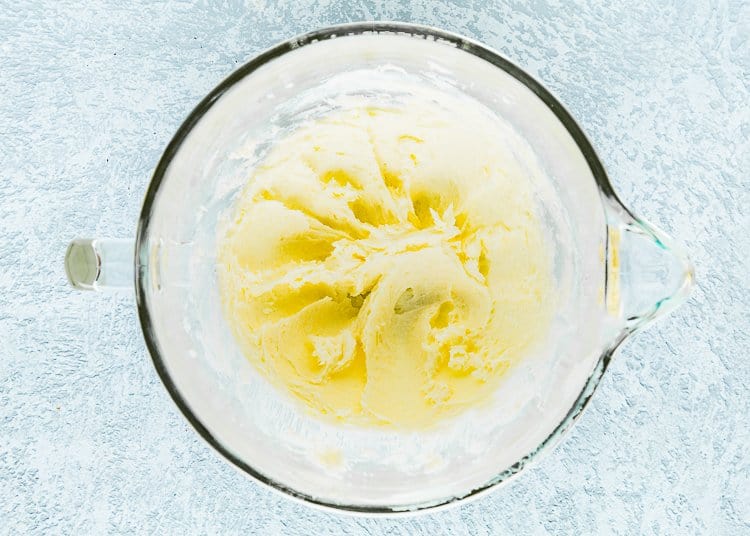
In a medium bowl, beat together with an electric mixer softened butter and sugar.
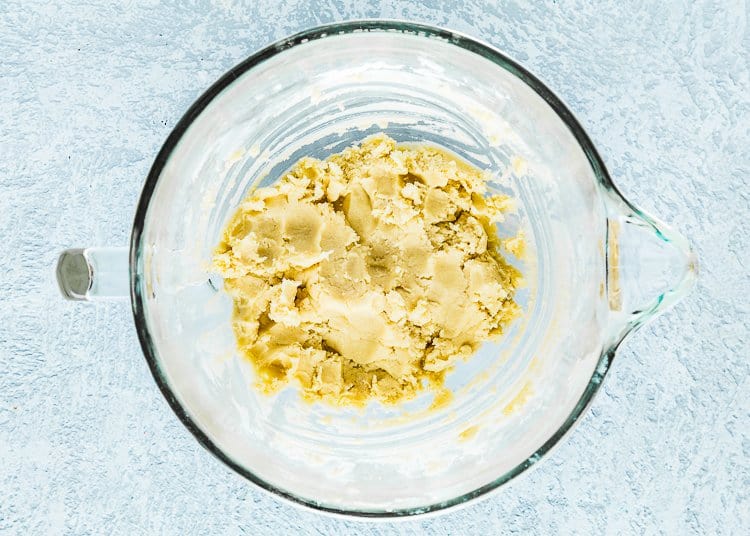
Add flour and salt, mix to blend until the mixture is just combined, about 1 minute.
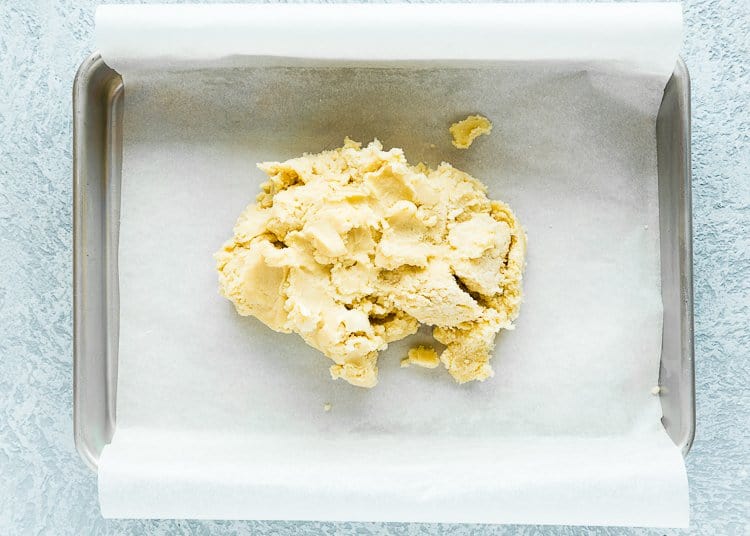
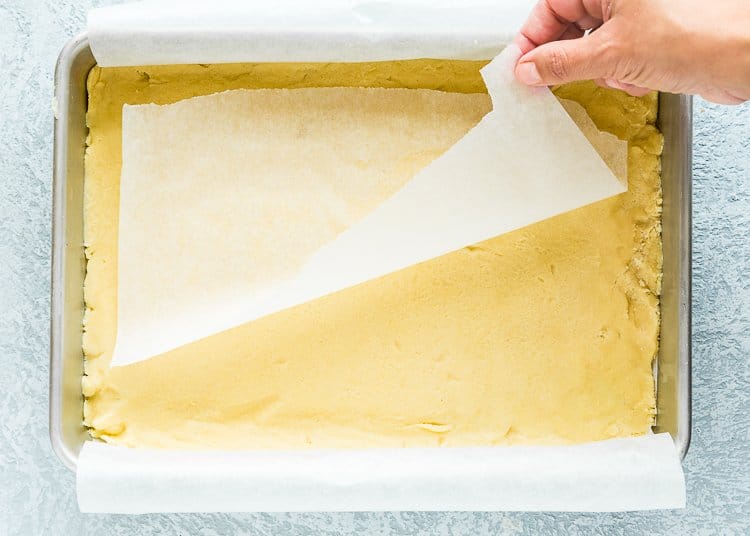
Place the mixture into the prepared pan and press firmly with your fingers into an even layer. TIP: I place a piece of parchment paper on top of the dough to help the spreading.
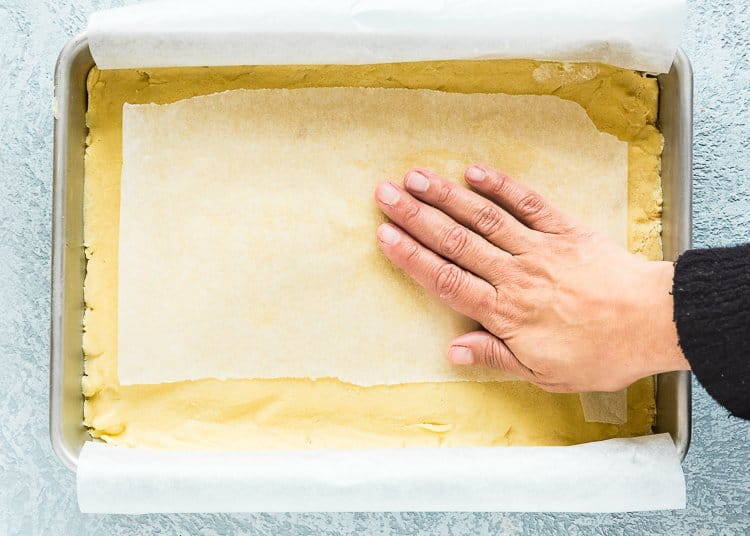
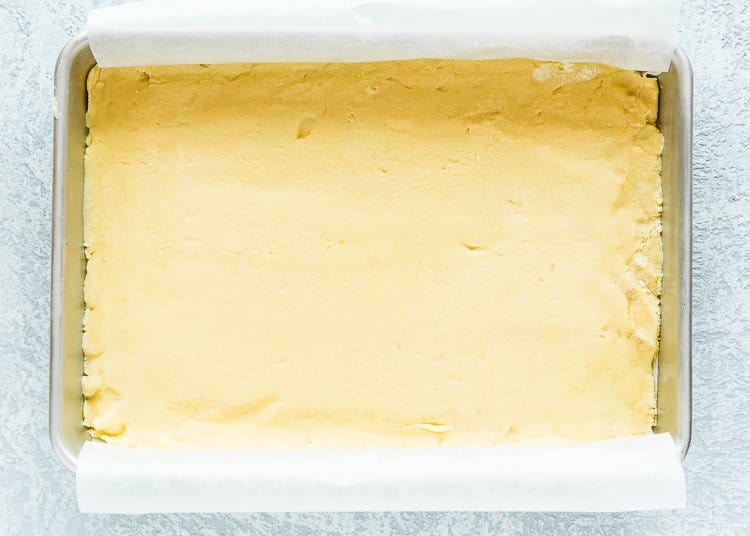
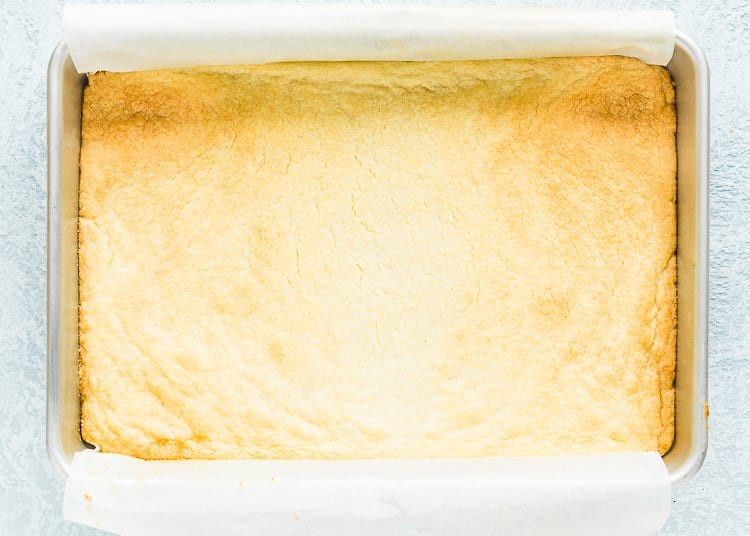
Bake until the edges are very lightly browned. Remove from the oven and set aside.
2 – Make the Filling
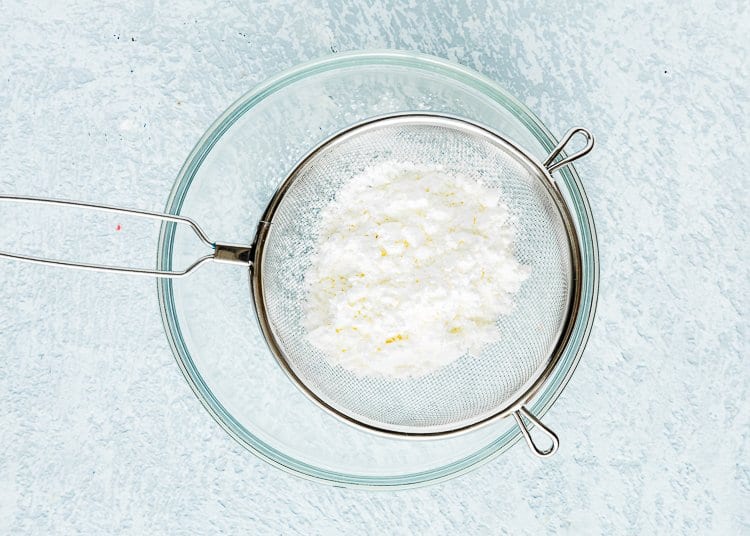
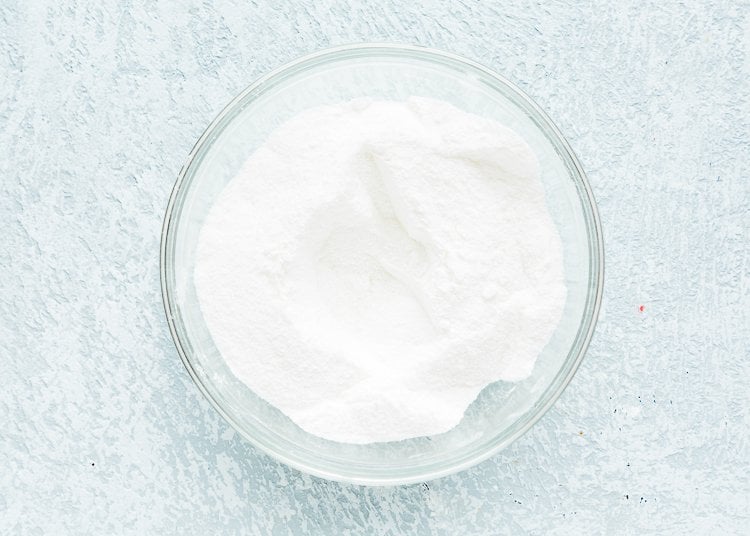
Sift the sugar, cornstarch, and salt together in a large bowl.
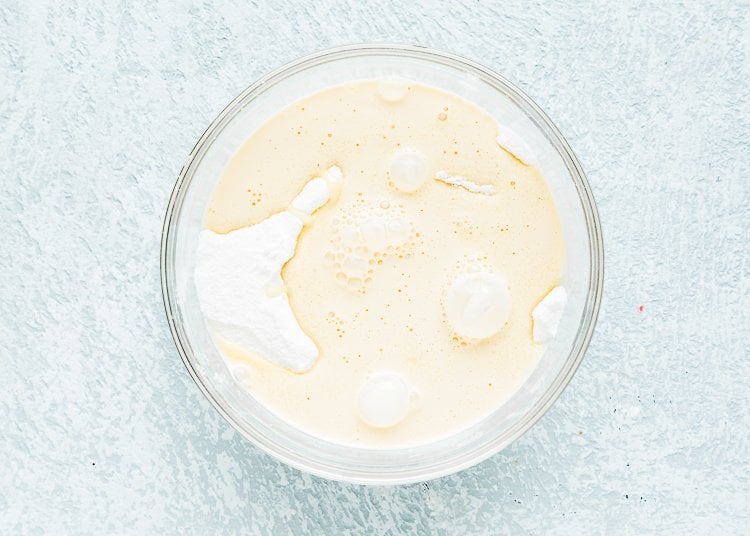
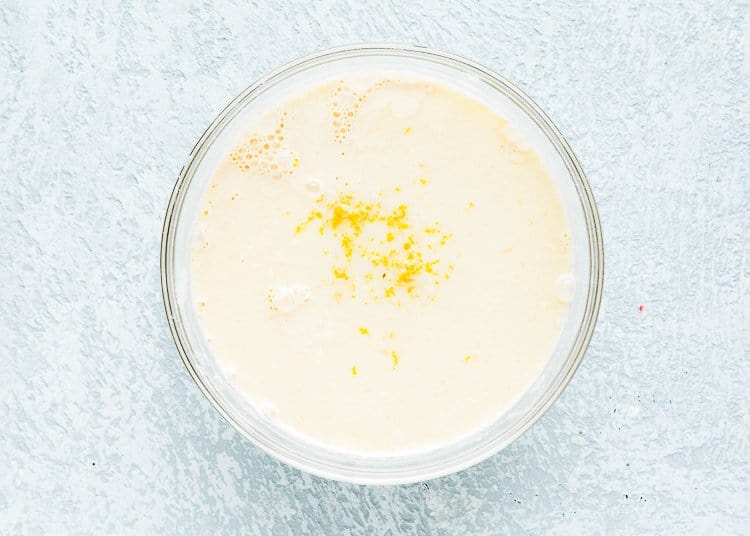
Add the evaporated milk, lemon juice, lemon zest, and whisk until completely combined. Add 1-2 drops of yellow food coloring if desired.
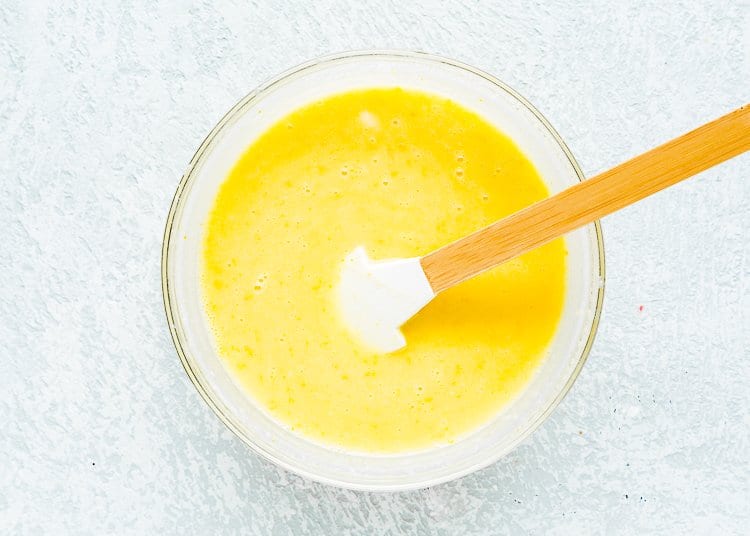
Pass the mixture through a fine sieve and then pour filling over the crust.
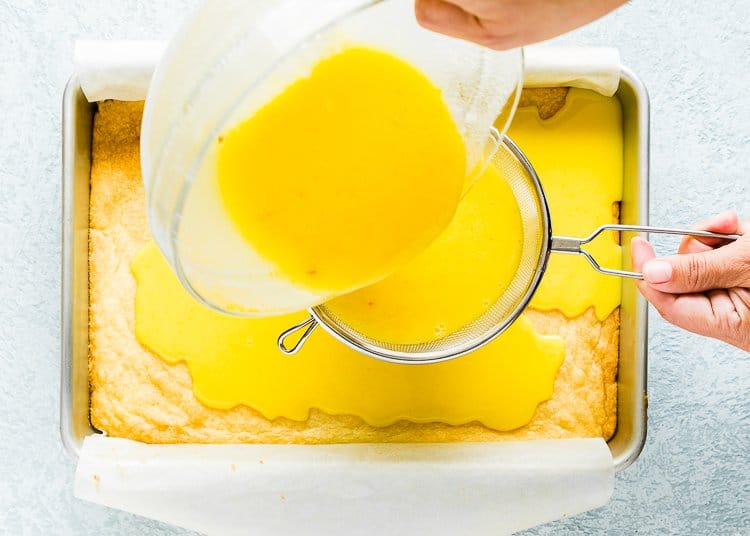
3 – Bake
Bake the bars until the center is relatively set and no longer jiggles. Remove bars from the oven and cool completely at room temperature, for about 2 hours. Then refrigerate for 1-2 more hours until chilled.
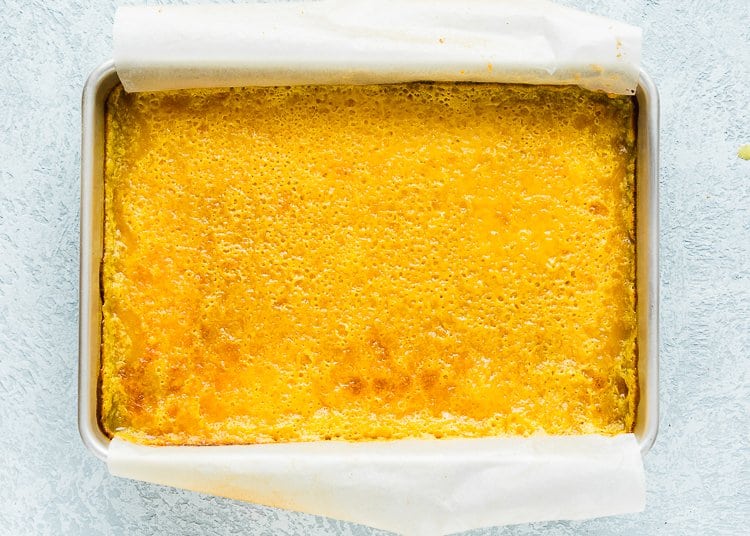
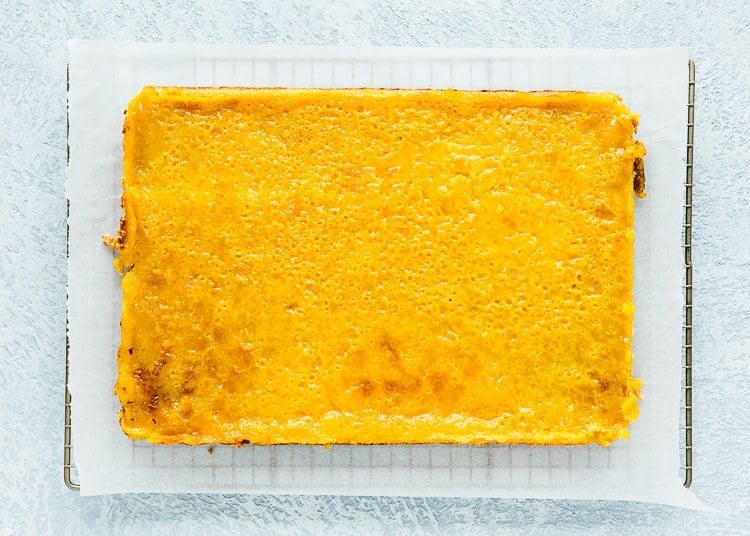
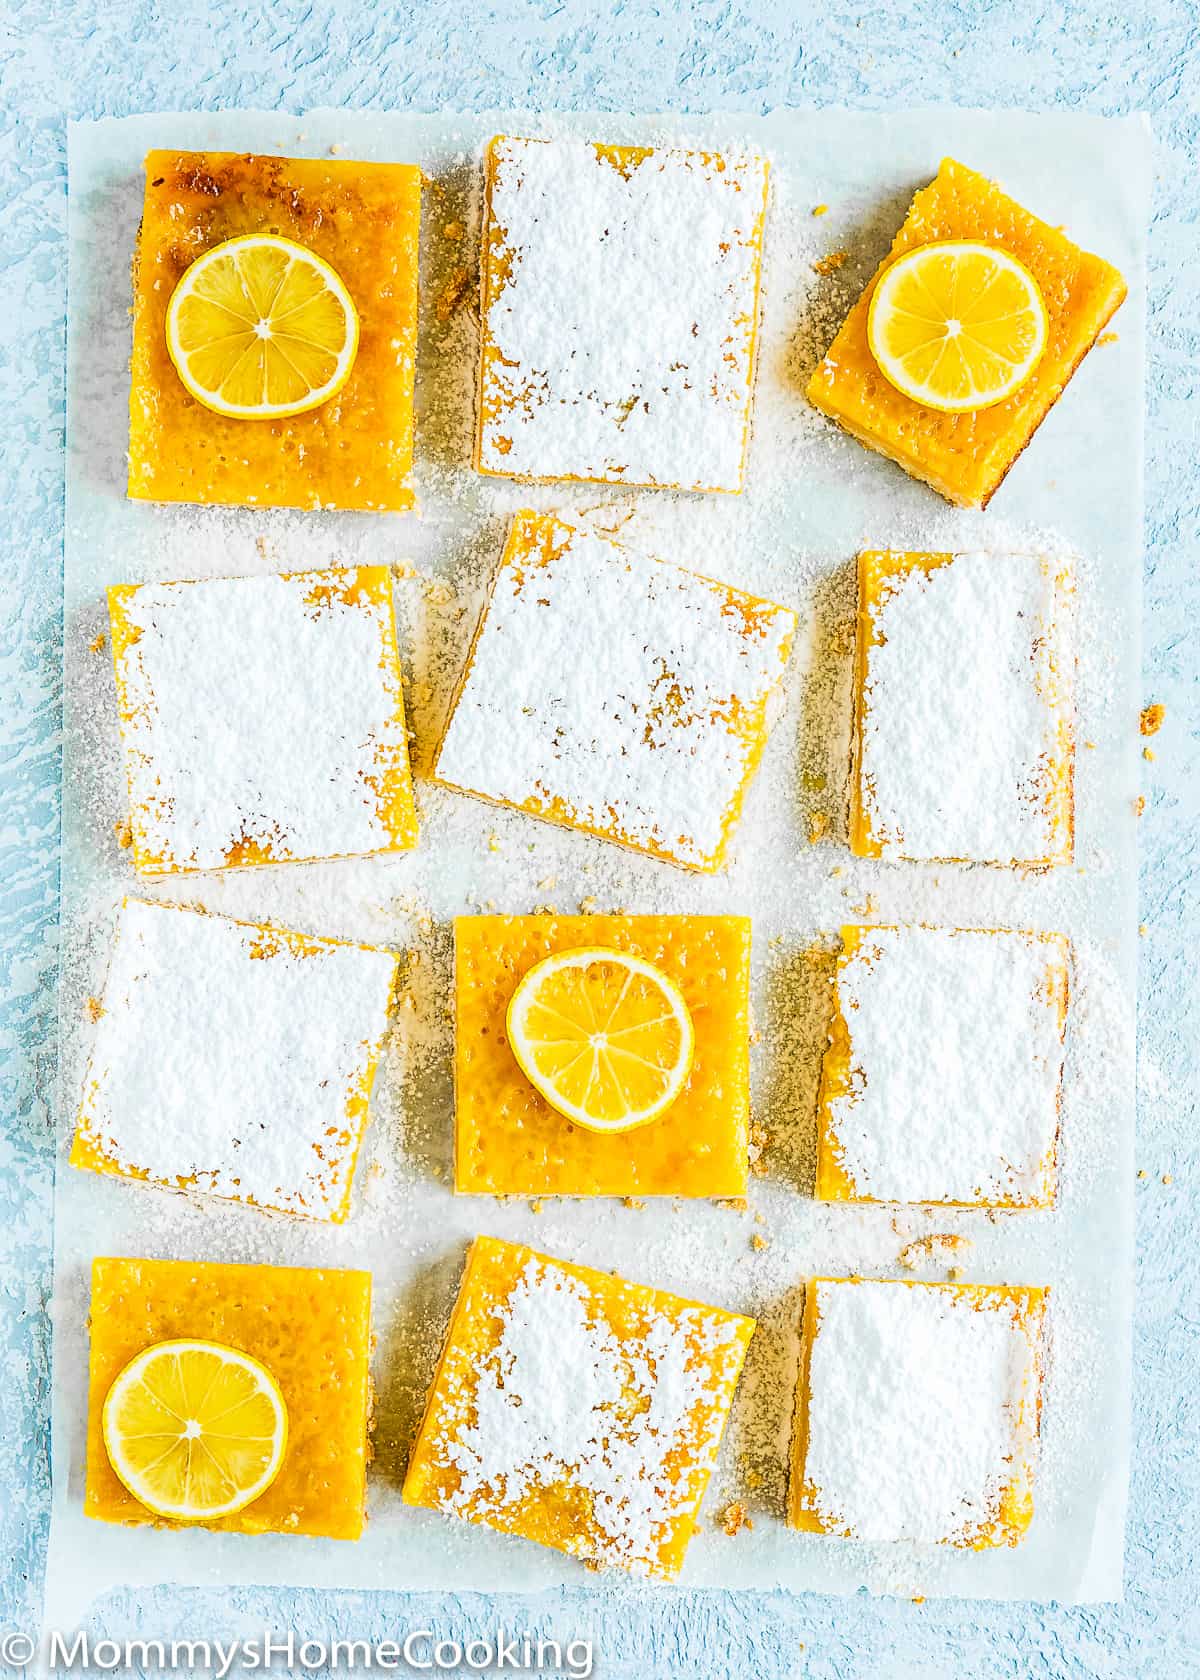
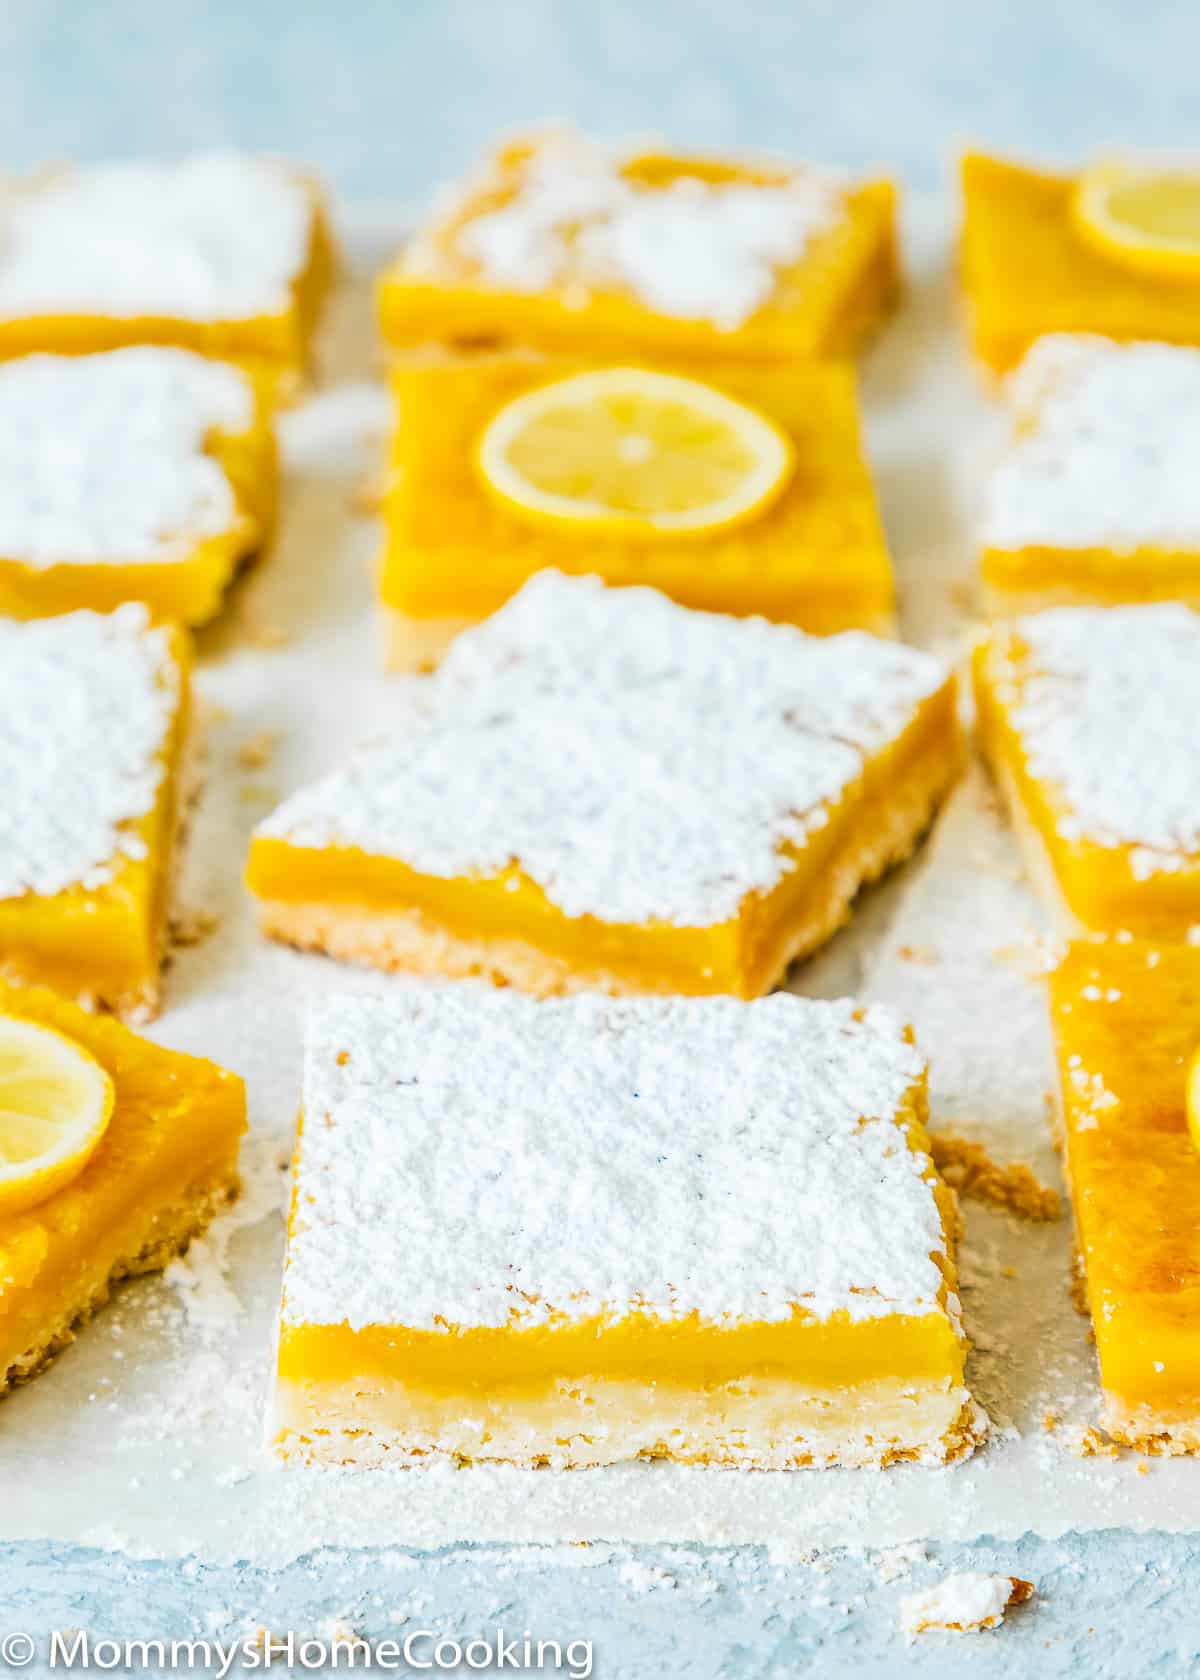
Once cool, lift the parchment paper out of the pan using the overhang on the sides. Cut into squares, and dust with icing sugar before serving. NOTE: For neat squares, I recommend using a long serrated knife and wiping the knife clean between each cut.
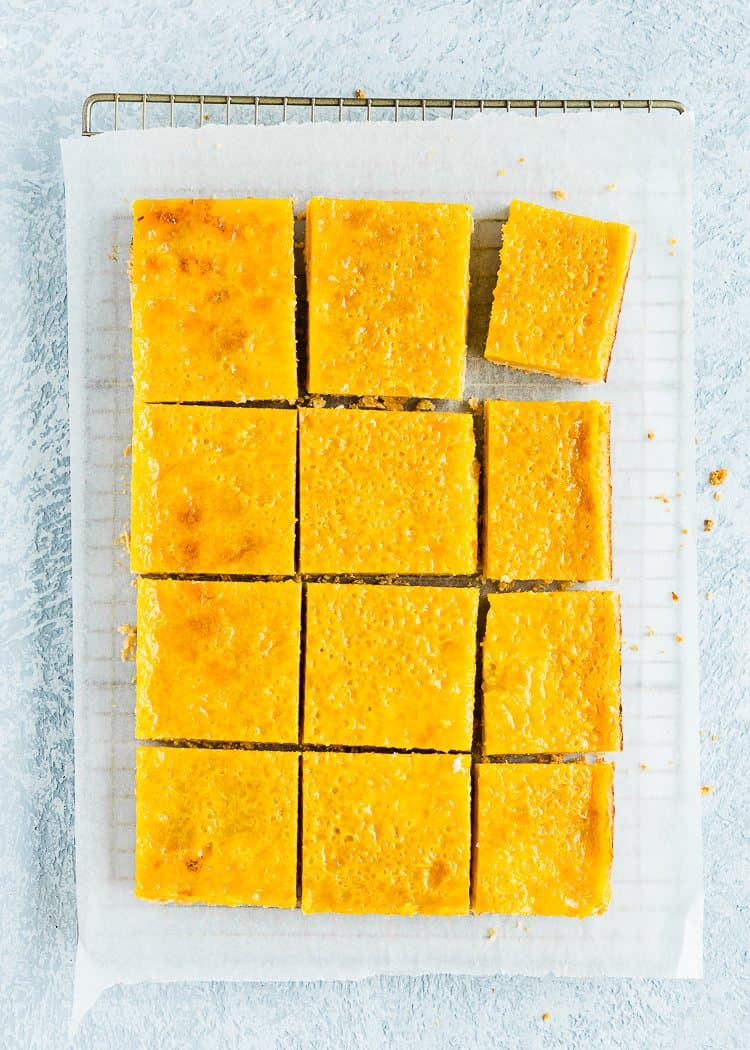
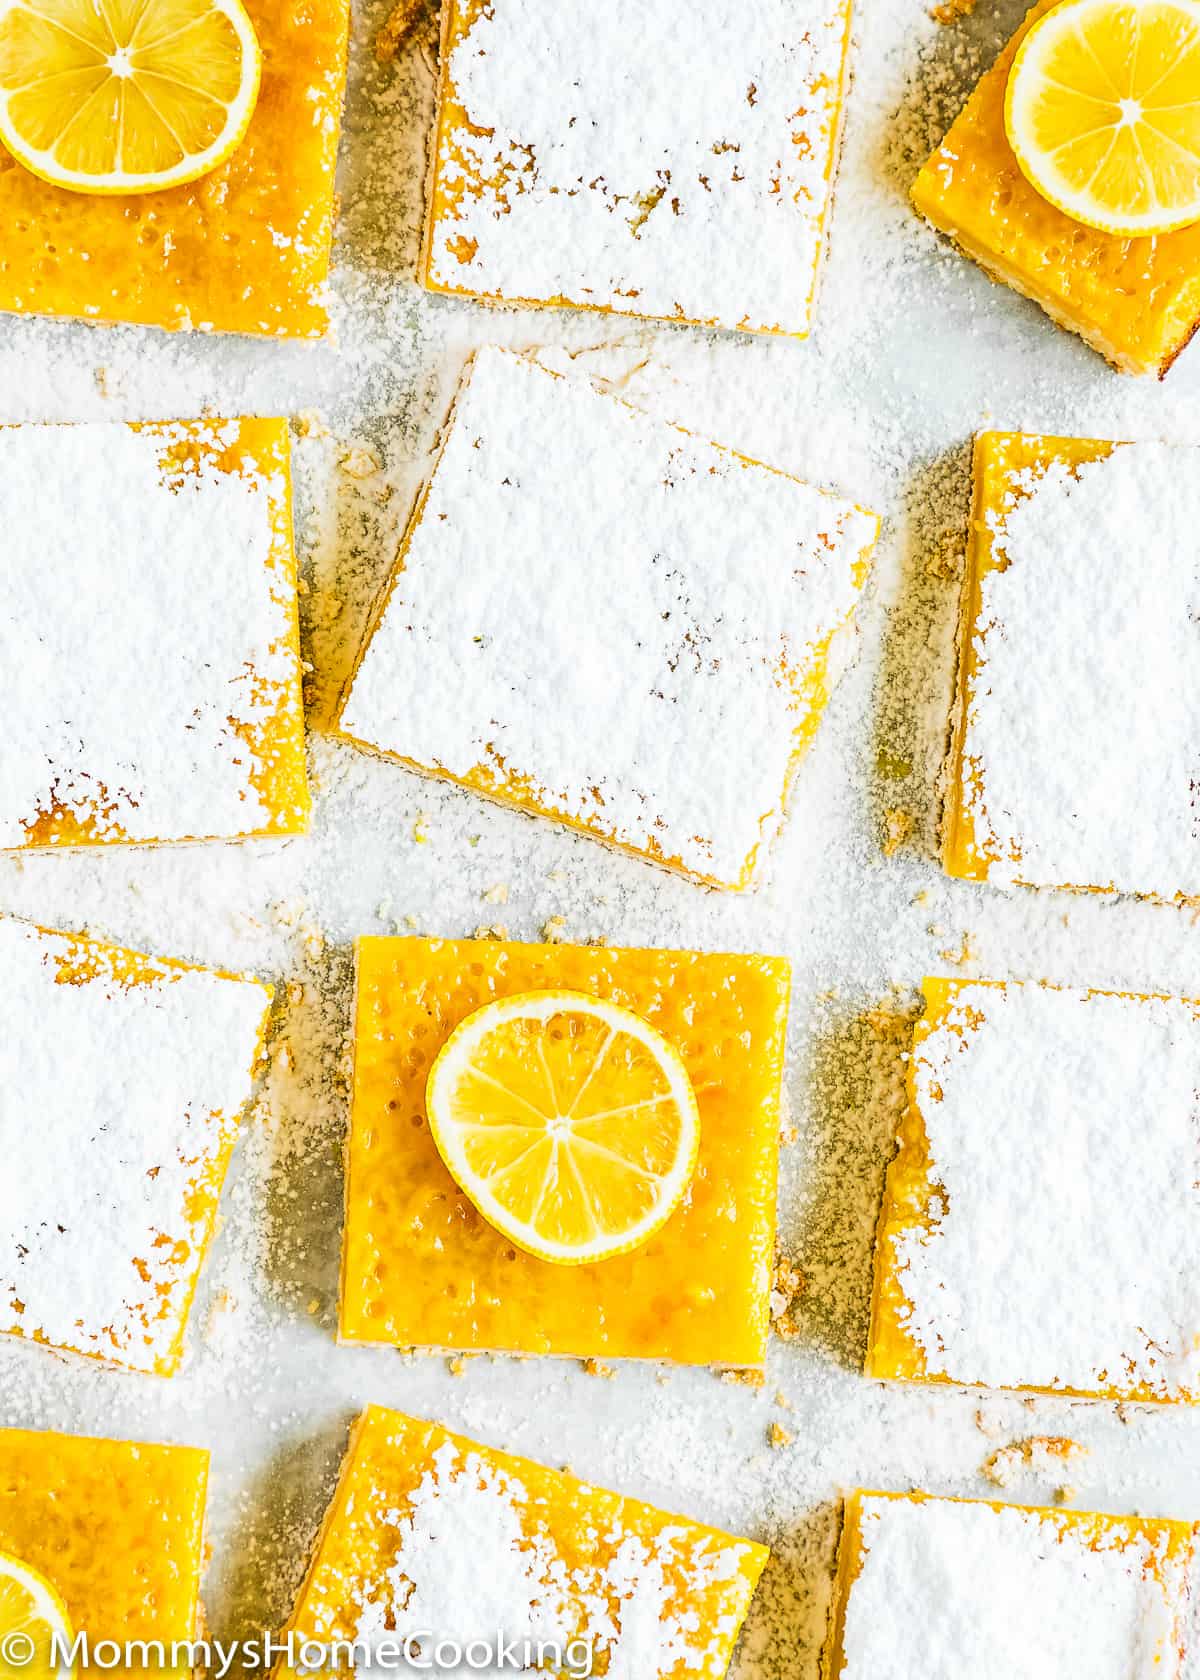
Air Bubbles on Top Of Baked Lemon Bars
The air bubbles on top of the baked lemon bars are completely normal. It’s the air from the mixture rising to the surface. Regardless, the lemon bars taste the same and after dusting them with confectioners’ sugar the bubbles won’t be visible.
Frequently Asked Questions
Yes! Halve each of the ingredients and bake in a 9×9-inch baking pan. Same oven temperature. Bake the crust for 13-15 minutes and the bars for 15-20 minutes or until the center no longer jiggles.
Black salt or Kala namak is a type of rock salt, a salty and pungent-smelling condiment used in South Asia. Although it is called black salt, its color is not black, it has a purple-ish to pink-ish color. Due to its sulfur content, it tastes and smells like hard-boiled egg yolks. This salt is used in many vegan/eggless recipes to mimic the flavor of the eggs. It can be found in gourmet grocery stores or online on Amazon. You don’t have black salt? No problem! Just use regular salt. The bars won’t have an eggy flavor but will be still delicious regardless.
If you plan on eating your eggless lemon bars within a day or so of baking them, there is no need to refrigerate them. However, for more extended storage chilling the bars is recommended.
I haven’t tested this recipe with regular milk so I cant say for sure. But making your own evaporated milk is super easy. Check out my post about How to Make Evaporated Milk at home.
Storing & Freezing Instructions
Store: Cover and store leftover lemon bars in the refrigerator for up to 1 week.
Freeze: Lemon Bars are freezer-friendly!
- Let them cool completely.
- Place cut bars in a single layer in a tray and freeze for 1 hour.
- Then cover each bar individually tightly with aluminum foil or plastic freezer wrap. Place into a large bag or freezer container to freeze.
- Freeze for up to three months.
Before serving, remove them from the freezer and let them thaw overnight in the refrigerator. Sprinkle with Confectioners’ sugar before serving, if desired.
More Lemon Egg-Free Recipes You’ll Love!
- Easy Eggless Lemon Curd
- Eggless Lemon Blueberry Cheesecake Bars
- Eggless Lemon Blueberry Cake
- Best Eggless Lemon Pound Cake
- Eggless Lemon Cake
- Easy Eggless Lemon Bars
- More recipes…
❤️ Love what you see? JOIN my Private Baking Club. Also, SUBSCRIBE to Mommy’s Home Cooking, so you’ll never miss a recipe! And FOLLOW along on Instagram, Pinterest, and Facebook for more fun!
Easy Eggless Lemon Bars

Ingredients
Crust:
- 1 cup (230 g) unsalted butter, softened
- ½ cup (100 g) granulated sugar
- 2 cups (280 g) all-purpose flour
- ¼ teaspoon salt
Filling:
- 2 cups (400 g) granulated sugar
- ½ cup (75 g) cornstarch
- ¼ teaspoon black salt (see notes below)
- 12 oz (354 ml) evaporated milk
- 1 cup (240 ml) fresh lemon juice
- 2 tablespoons lemon zest
- 1-2 drop yellow food coloring (optional)
Instructions
Crust:
- Preheat the oven to 350º F/ 180º C. Line the bottom and sides of a 9×13 baking pan with parchment paper (see tip in the notes below), leaving an overhang on the sides to lift the finished bars out. Set aside.
- In a medium bowl, cream together with an electric mixer softened butter and sugar. Add flour and salt, mix to blend until the mixture is just combined, about 1 minute.
- Place the dough into the prepared pan and press firmly with your fingers into an even layer. TIP: I like to place a piece of parchment paper on top of the dough to help the spreading. NOTE: I highly recommend building up a thin 3/4-inch edge around the sides to keep the filling from spilling beneath the crust and sticking.
- Bake for 15-20 minutes or until the edges are very lightly browned. Remove from the oven and set aside.
Filling:
- Reduce oven temperature to 325º F/ 160º C.
- Sift the sugar, cornstarch, and salt together in a large bowl.
- Add the evaporated milk, lemon juice, lemon zest, and whisk until completely combined. Add 1-2 drops of yellow food coloring if desired.
- Pass the mixture through a fine sieve and then pour filling over the crust.
- Bake the bars for 20-25 minutes or until the center is relatively set and no longer jiggles. Remove bars from the oven and cool completely at room temperature, for about 2 hours. Then refrigerate for 1-2 more hours until chilled.
- Once cool, lift the parchment paper out of the pan using the overhang on the sides. Cut into squares, dust with icing sugar before serving. NOTE: For neat squares, I recommend using a long serrated knife and wiping the knife clean between each cut.
- Cover and store leftover lemon bars in the refrigerator for up to 1 week.
- Let them cool completely.
- Place cut bars in a single layer in a tray and freeze for 1 hour.
- Then cover each bar individually tightly with aluminum foil or plastic freezer wrap. Place into a large bag or freezer container to freeze.
- Freeze for up to three months.
Nutrition
Eggless Baking Frequently Asked Questions
You’ve asked, and I’ve answered! Read on for a handful of answers to the most frequently asked questions about eggless baking.
Originally posted in April 2020, the post content was edited to add more helpful information, no change to the recipe in April 2022.

