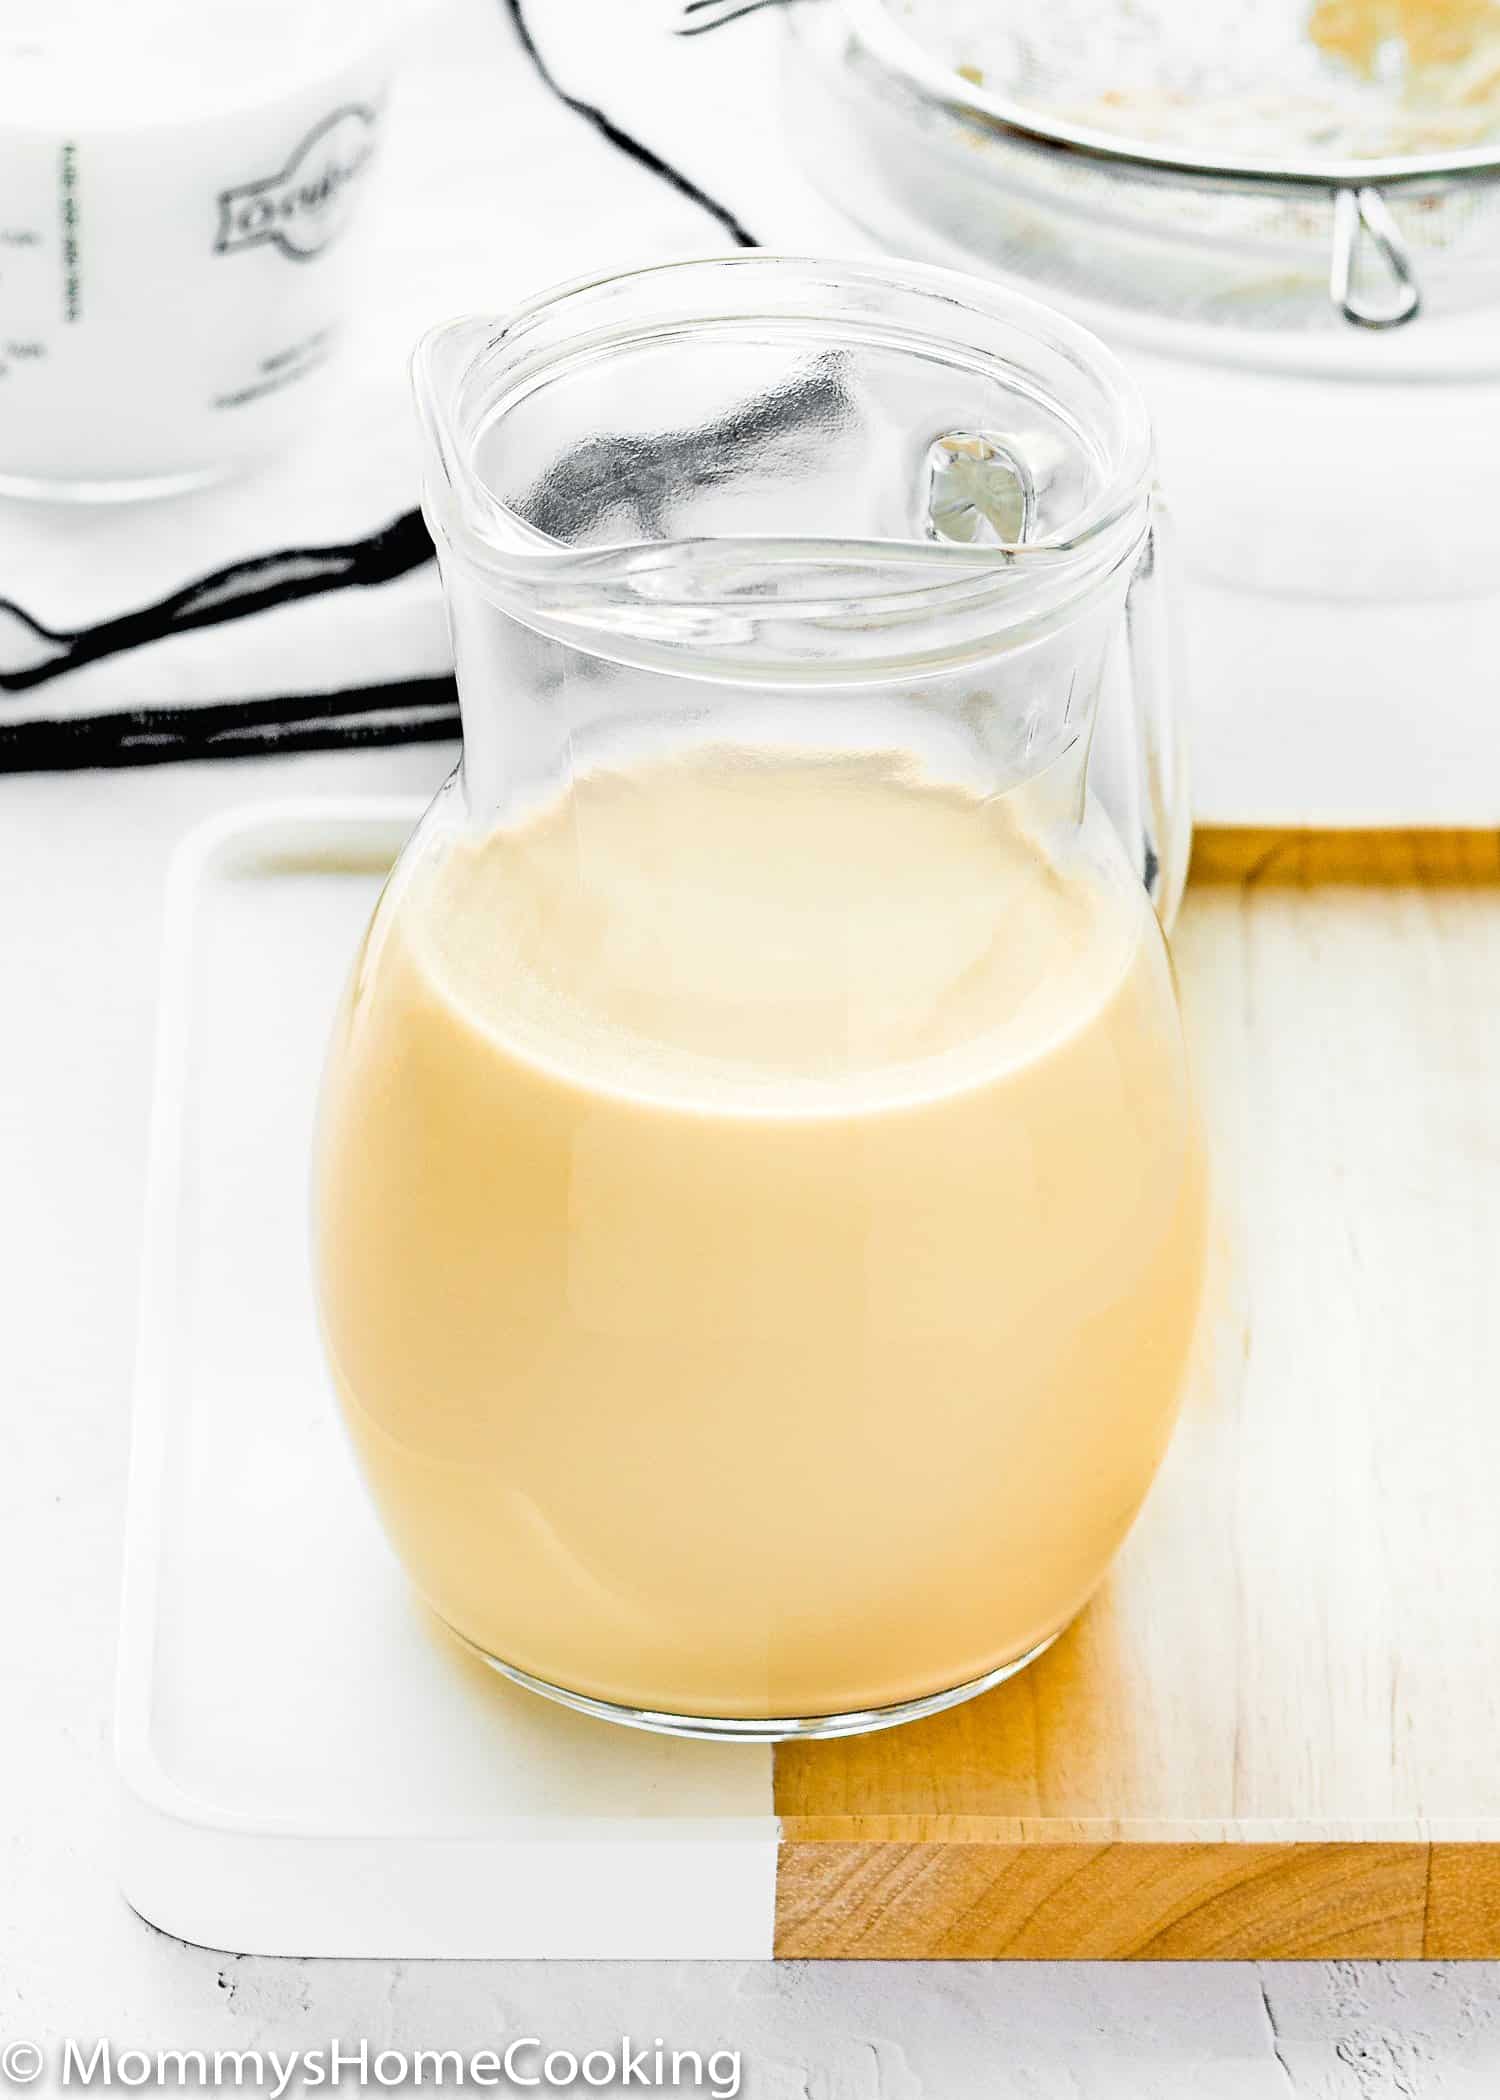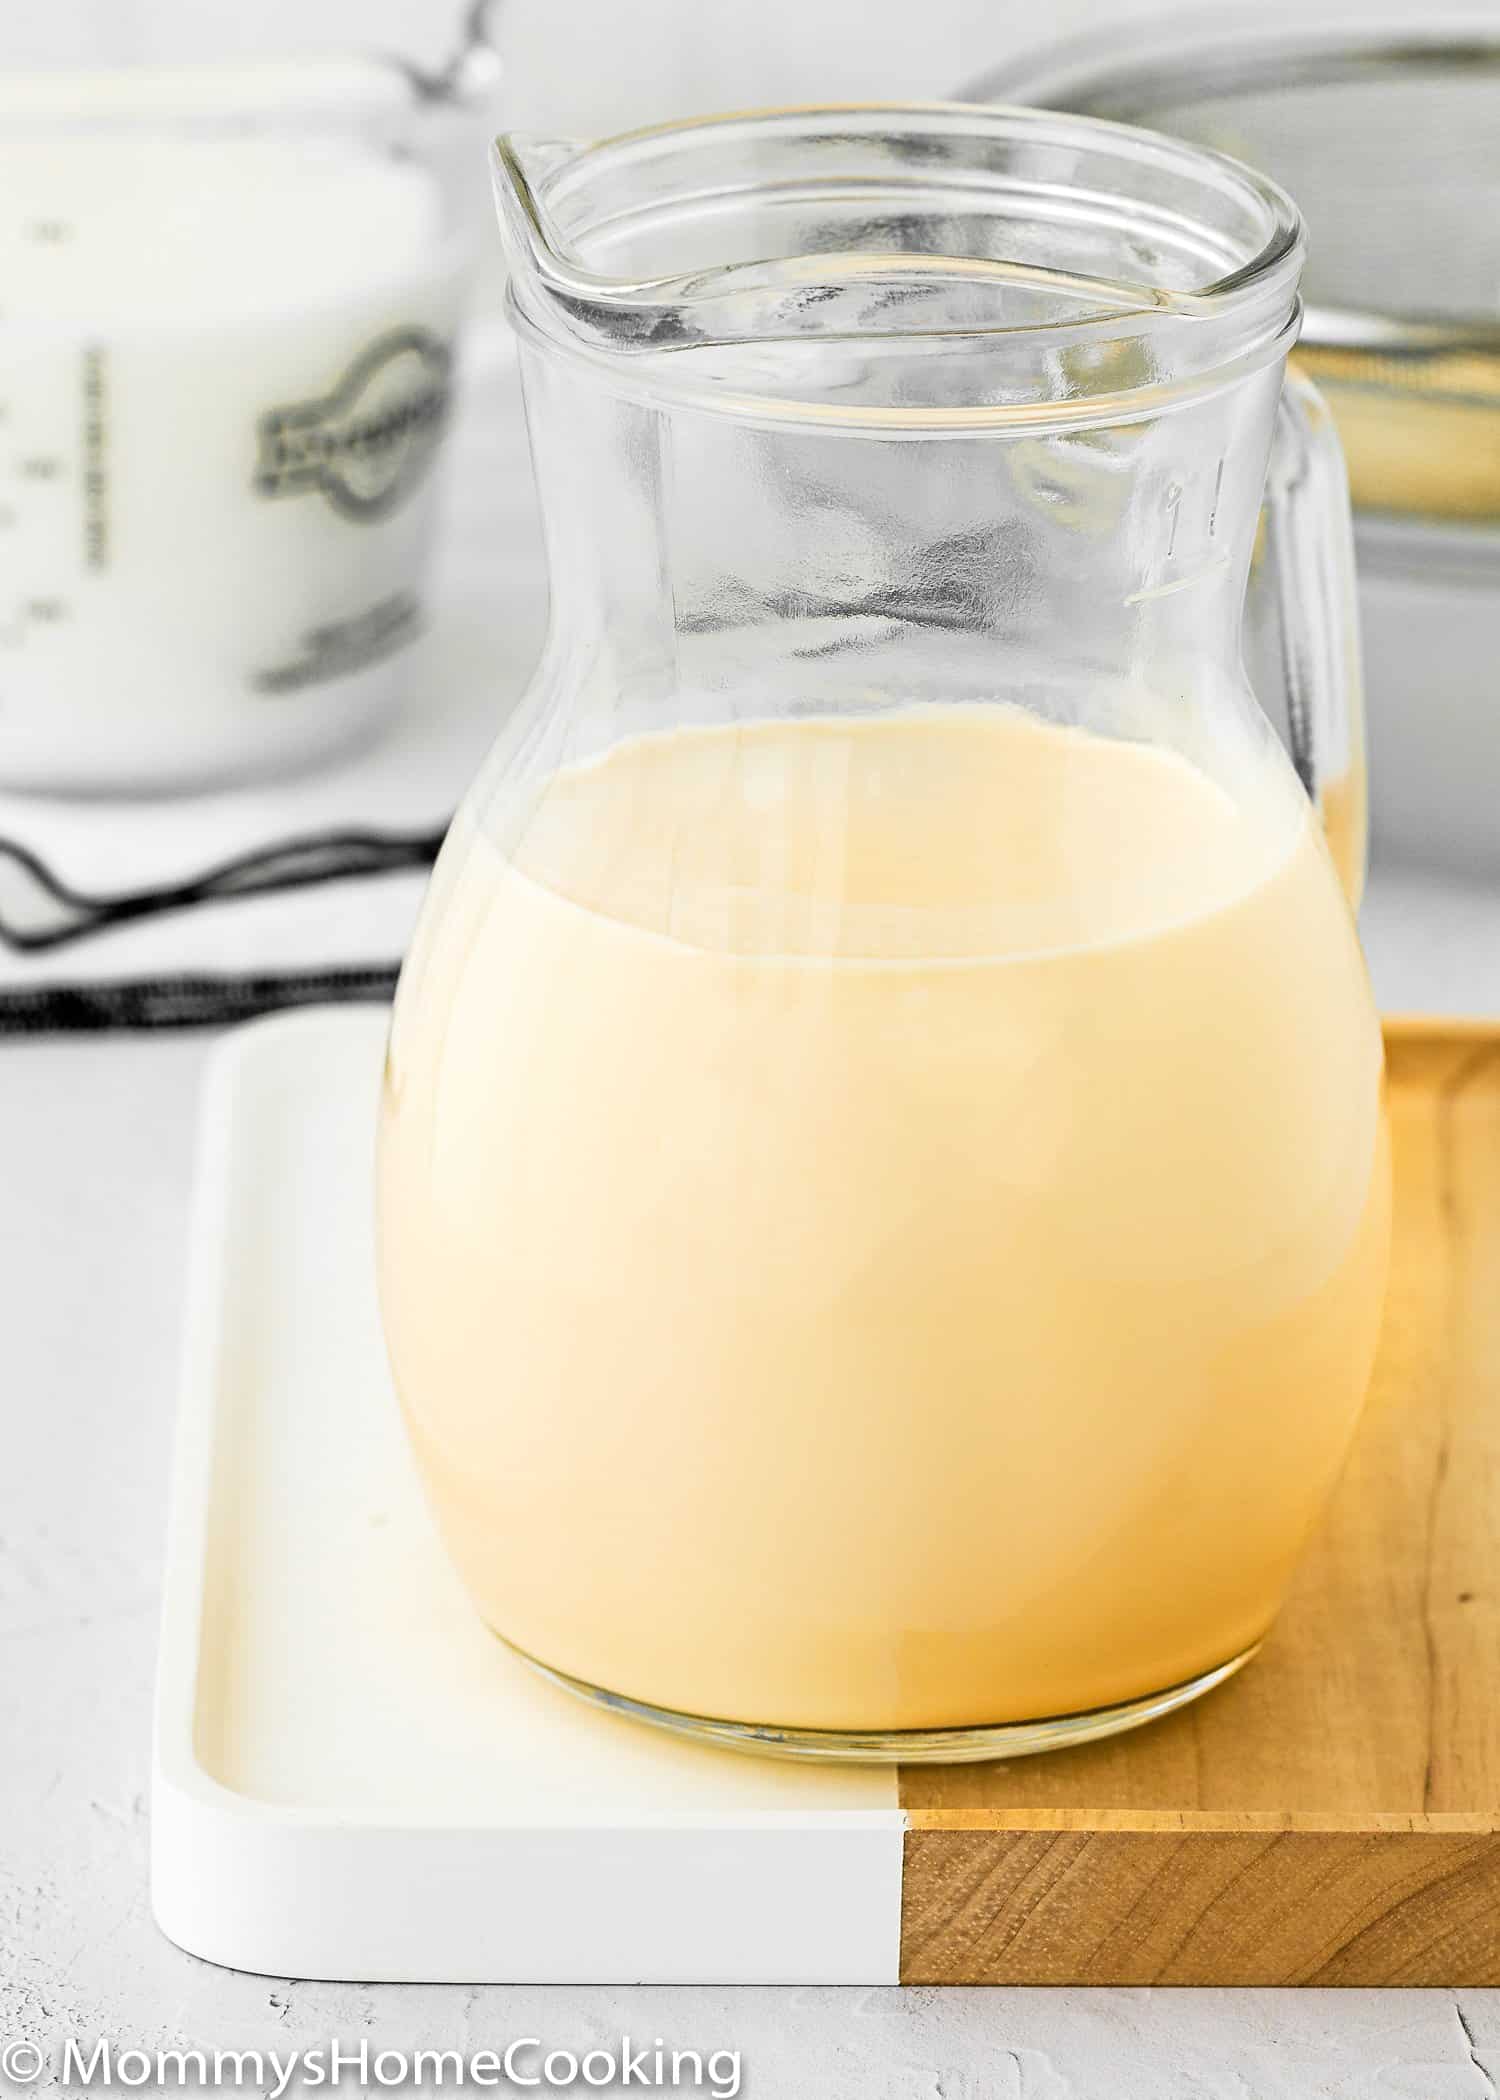
How to Make Evaporated Milk

This post may contain affiliate links. Read our disclosure policy.

Evaporated milk is one of the most powerful ingredients in egg-free baking — and learning how to make it at home with just one ingredient changed everything for me. When you bake without eggs, you lose the richness that egg yolks bring to every batter, custard, and cream. Evaporated milk is what fills that gap: thick, naturally sweet, slightly caramelized, and deeply creamy in a way that regular milk simply can’t replicate. I’ve been making this at home for years, and once you see how easy it is, you’ll never stress about running out again. Whether you’re baking an eggless custard, a creamy pie, or a fudgy no-egg dessert, this is the ingredient that makes it taste like you didn’t skip a thing.

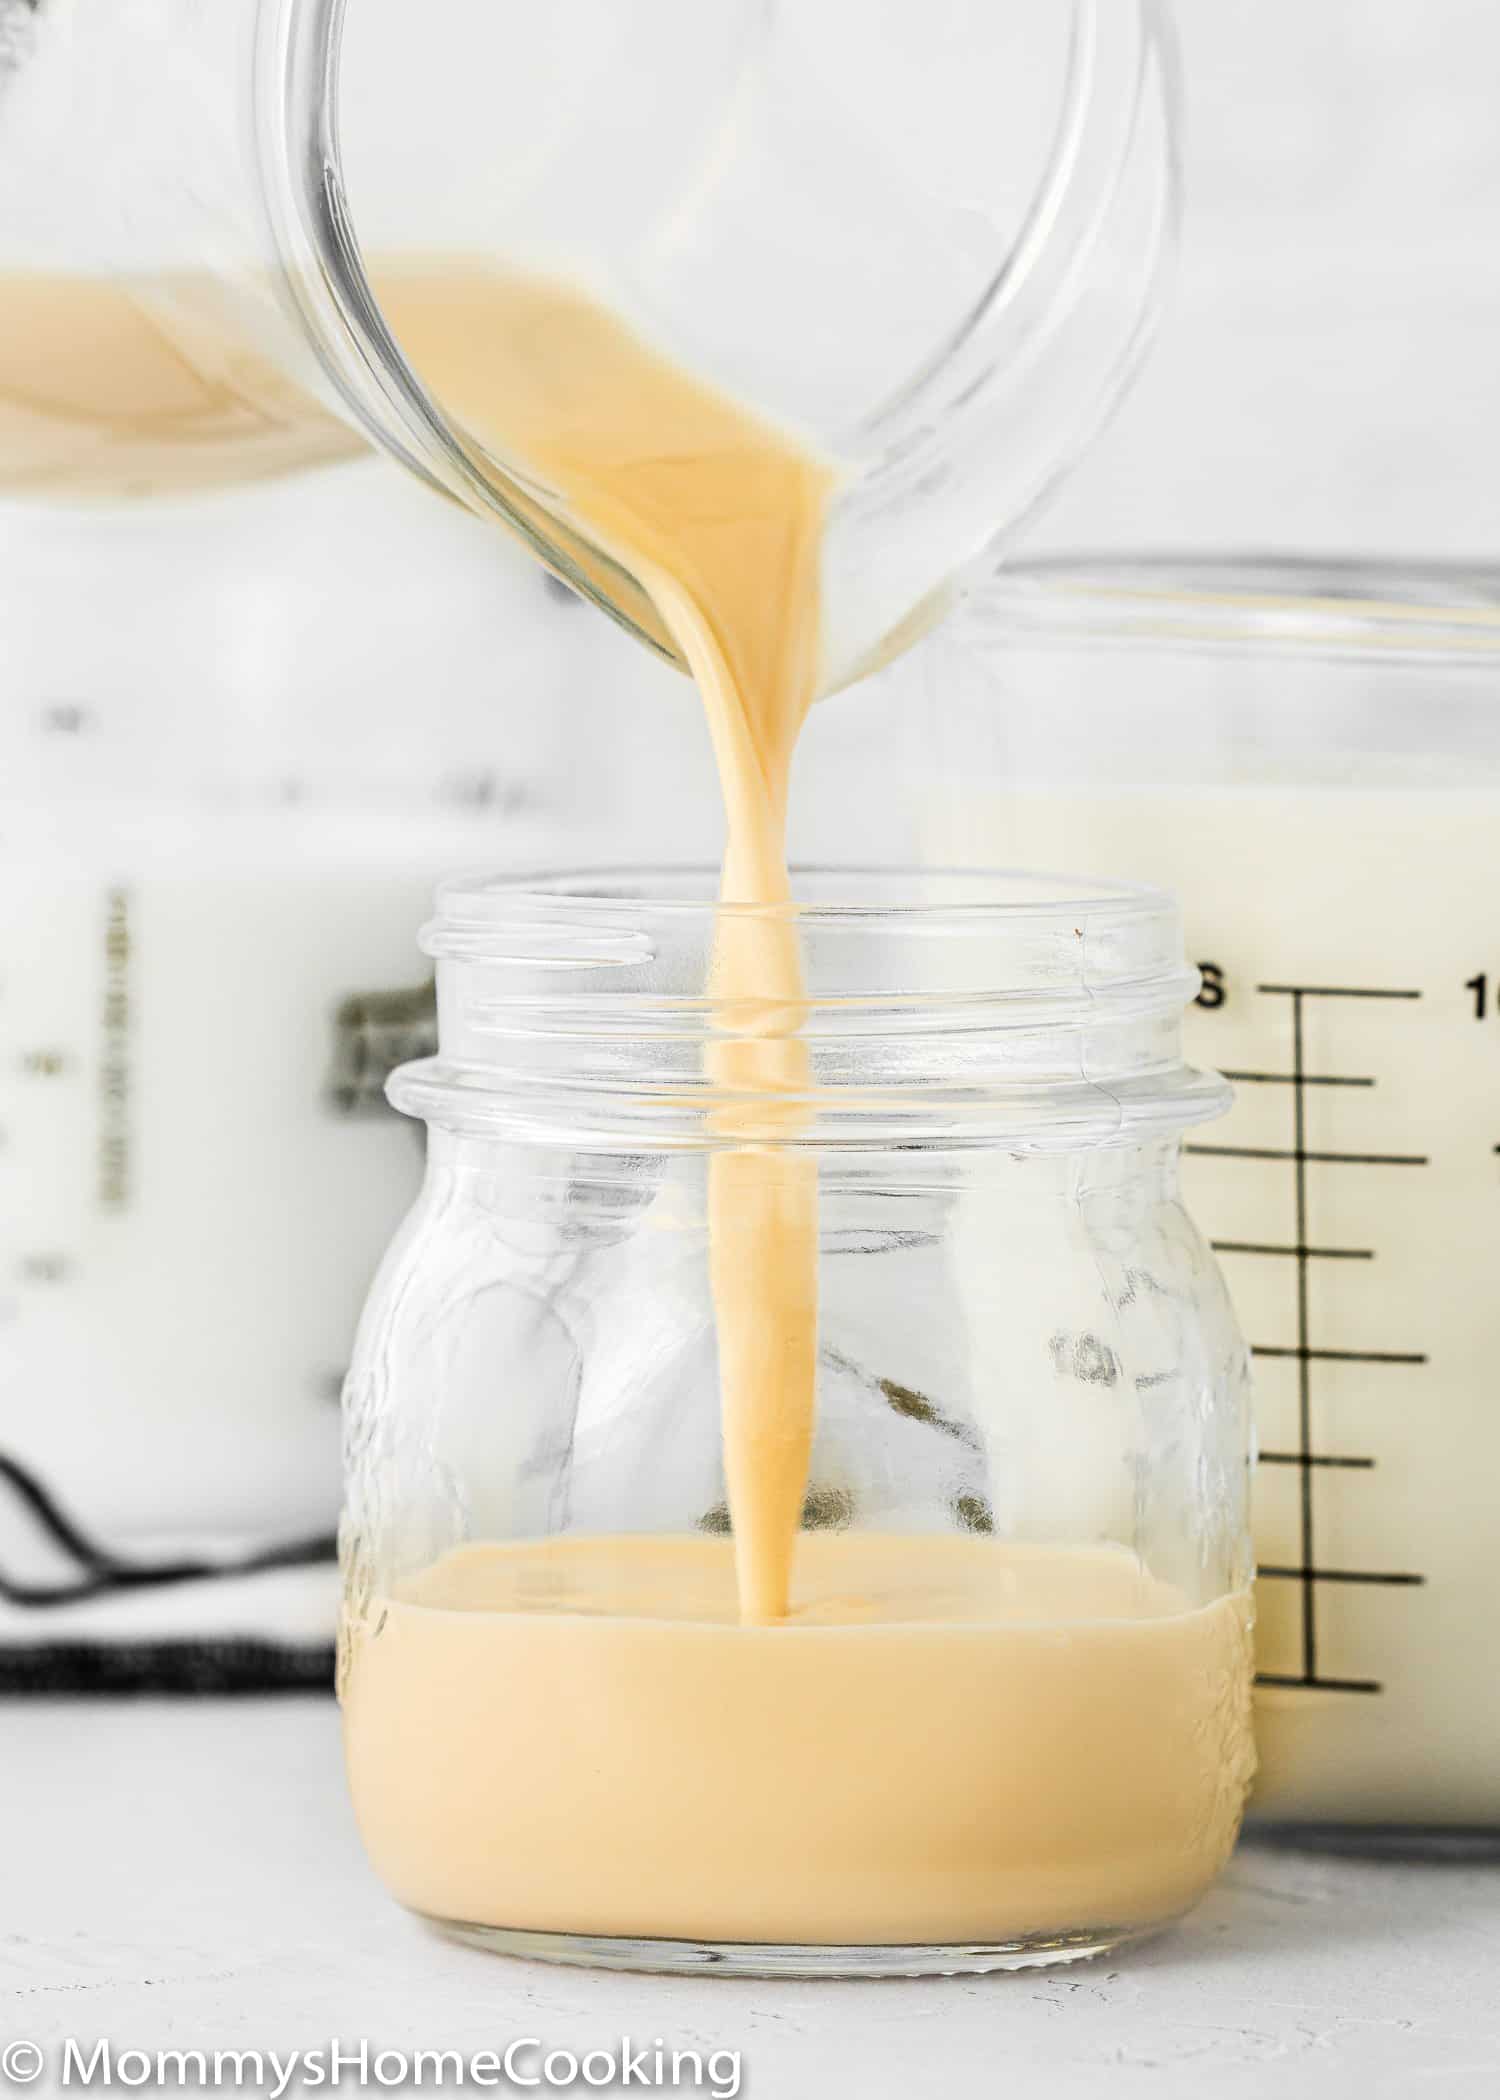
A thick yellow liquid is being poured into a small glass jar, hinting at the process of how to make evaporated milk, with a container of milk visible in the background.

Oriana’s Thoughts On The Recipe

Oriana Romero, creator of Mommy's Home Cooking and egg-free baking queen.

I want to tell you something I don’t say enough: evaporated milk quietly saved my egg-free baking. When my daughter was diagnosed with an egg allergy, I spent months trying to figure out why my eggless cakes came out flat, why my custards felt thin, and why my desserts just didn’t have that depth. Egg yolks are rich and fatty — they carry flavor and create that silky, luxurious texture we all love. Without them, something was missing. Then I started reaching for evaporated milk, and everything shifted. It adds back the creaminess, the body, the richness. Now it’s a staple in my kitchen — and honestly, making it at home takes about 30 minutes and costs a fraction of the canned version.

Why You’ll Want to Try My Recipe

  • One ingredient — that’s it. Any milk works.
  • Ready in 30 to 40 minutes with minimal effort.
  • Tastes better than the can — no additives, no preservatives.
  • Works with dairy-free milks too (oat, soy, nut milks — see my notes below).
  • The secret weapon behind every creamy, rich egg-free dessert I make.
Handwritten text reading "xo, Oriana" on a light pink background, reminiscent of the soft hues in strawberry puree.

What is Evaporated Milk?

Evaporated Milk is dense, creamy, ultra-concentrated milk. Honestly, it’s exactly what it sounds like: Milk with the water evaporated out. So it’s milk with 60% less water. It is a great milk substitute for coffee creamer or in desserts, as it has a slightly caramelized flavor, which makes it sweeter than regular milk.

For egg-free bakers, evaporated milk serves an especially important role: it replaces the richness and creaminess that egg yolks would normally provide. If you’ve ever wondered why your eggless desserts taste a little flat or thin, switching to evaporated milk is often the fix.

You can purchase Evaporated Milk in most grocery stores, but it’s really easy to create at home.

What is Evaporated Milk Used For?

Evaporated milk is one of those ingredients that works quietly in the background and makes everything taste better. Here’s where I reach for it most:

  • In egg-free baking: Custards, pastry creams, puddings, pies — anywhere a recipe needs that silky, rich texture that egg yolks would normally create. It’s the ingredient I use most often to add body and depth to my eggless desserts.
  • In creamy desserts: Tres leches cake, flan, crème brûlée, and ice cream bases all rely on evaporated milk for their signature richness.
  • In savory dishes: Creamy soups, chowders, mac and cheese, and casseroles. It adds creaminess without the heaviness of heavy cream.
  • In drinks: Stir it into coffee or tea for a richer, creamier cup. It’s how café con leche gets that velvety texture.
  • In fudge and candy: The slightly caramelized flavor of evaporated milk is what makes old-fashioned fudge taste like fudge.

Here are some of my favorite MHC recipes that use evaporated milk:

Homemade Evaporated Milk Ingredients

Believe it or not, making Evaporated Milk requires only one ingredient: milk!

For dairy-restricted diets, you can also use any nut milk or soy milk as a substitute. Any milk will work!

Pro-Tip: If you don’t have any dairy restrictions, full-fat milk works best.
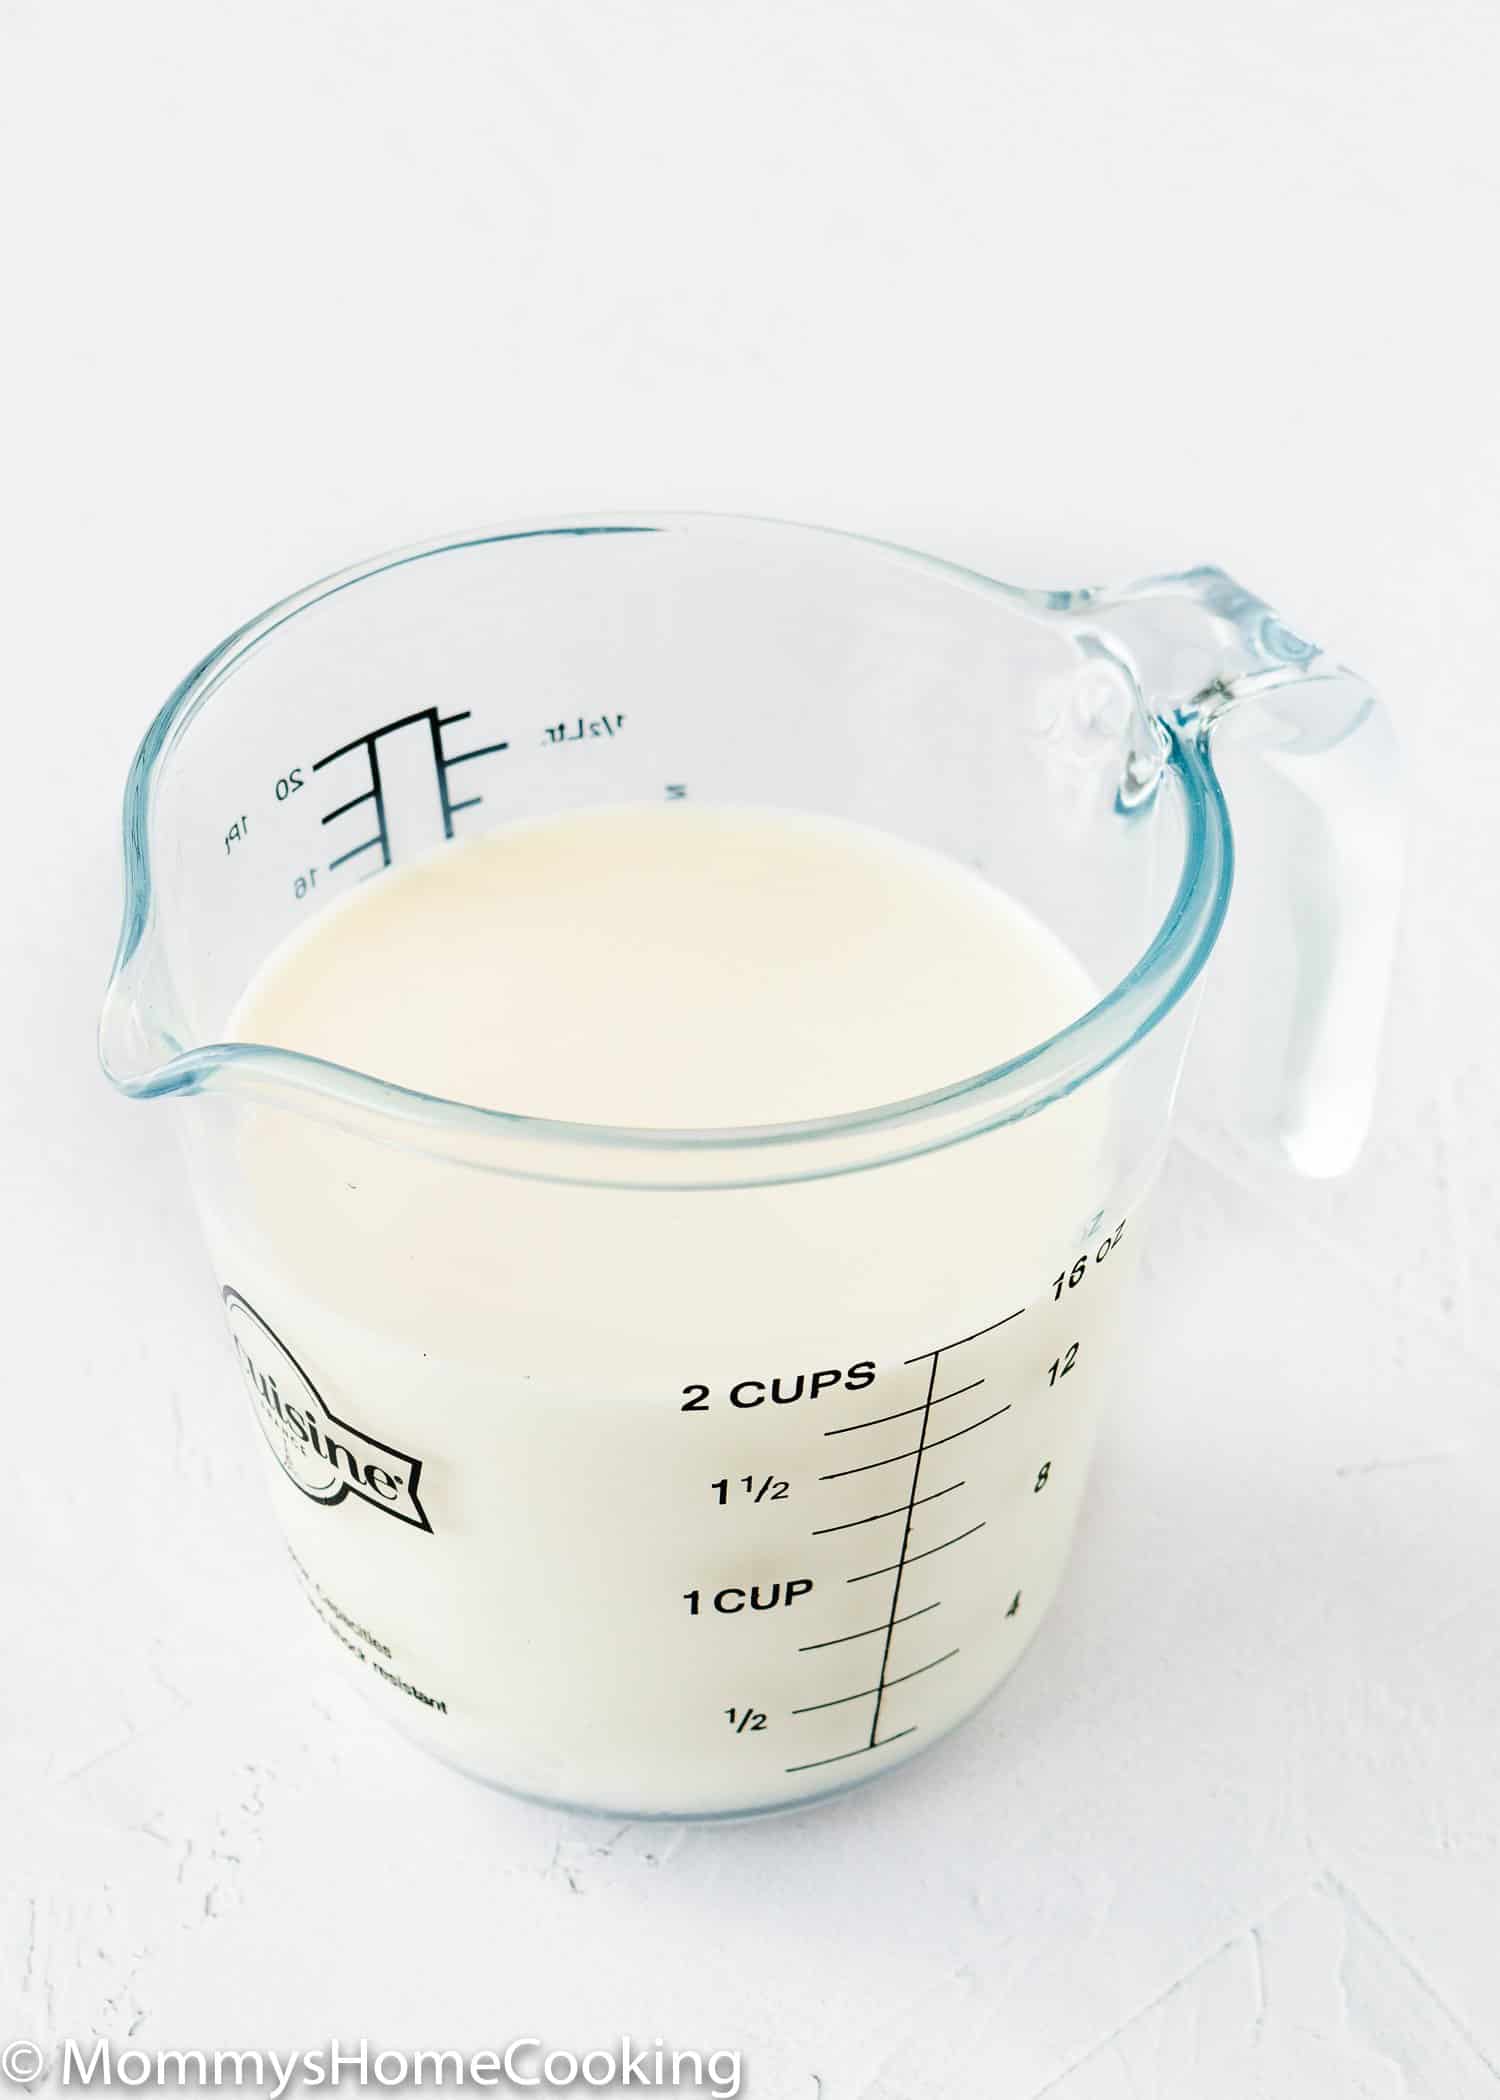
Milk Types — What Works Best

Any milk will work for this recipe, but the type you choose affects the final texture and flavor:

  • Whole milk (full-fat): My top recommendation. The higher fat content gives you the creamiest, richest evaporated milk — closest to what you’d buy in a can. This is what I use for baking.
  • 2% or reduced-fat milk: Works well, just slightly thinner. Fine for most recipes.
  • Oat milk: A great dairy-free option with a naturally mild, slightly sweet flavor. Reduces well and works beautifully in baked goods.
  • Soy milk: Another solid dairy-free choice. Neutral flavor, reduces nicely.
  • Coconut milk: Works, but will add a coconut flavor — great if that’s intentional (like in a coconut cream pie!), not so great if you want something neutral.
  • Almond milk: Thinner than other options and doesn’t reduce as smoothly. I’d reach for oat or soy before almond.
  • Lactose-free milk: Works exactly like regular milk — great option if you’re lactose intolerant.

One thing to keep in mind: the flavor and thickness of your homemade evaporated milk will vary depending on the milk you choose. Whole dairy milk will always give you the closest result to the canned version.

whole milk in a measuring cup.

Step-by-Step Recipe Photo Tutorial

Evaporated Milk is extremely easy to make at home! Check the recipe card below for exact quantities and instructions (scroll down). Here’s a basic step-by-step:

Step 1 – Pour

Pour the milk of your choice into a pot.
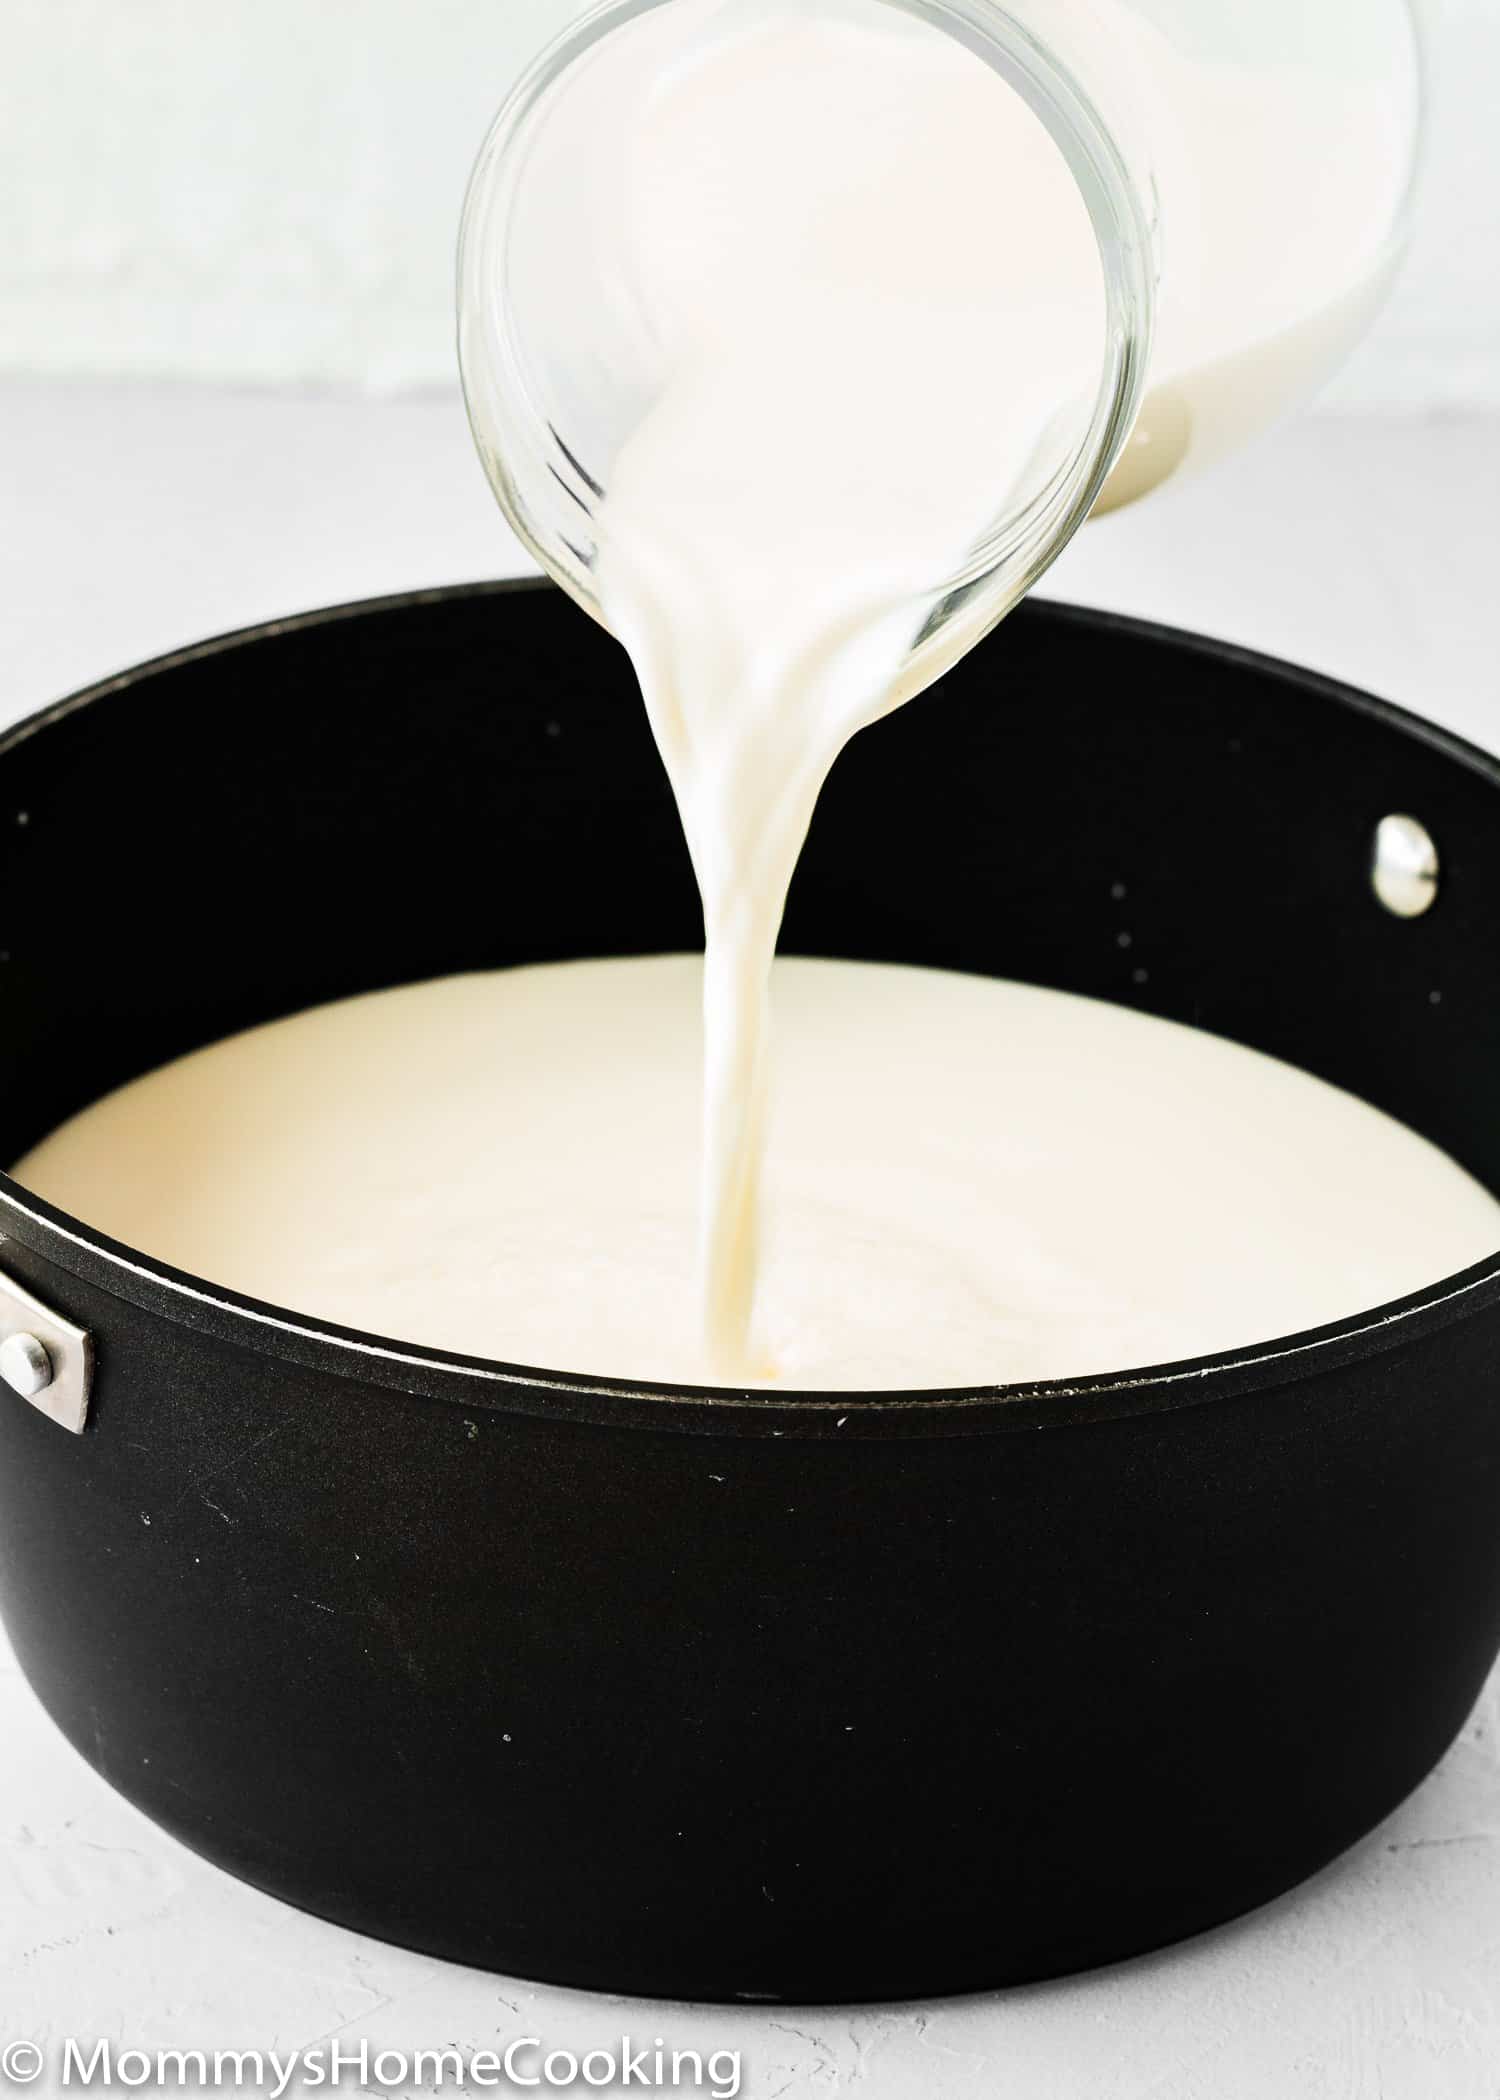
milk being poured into a pot.

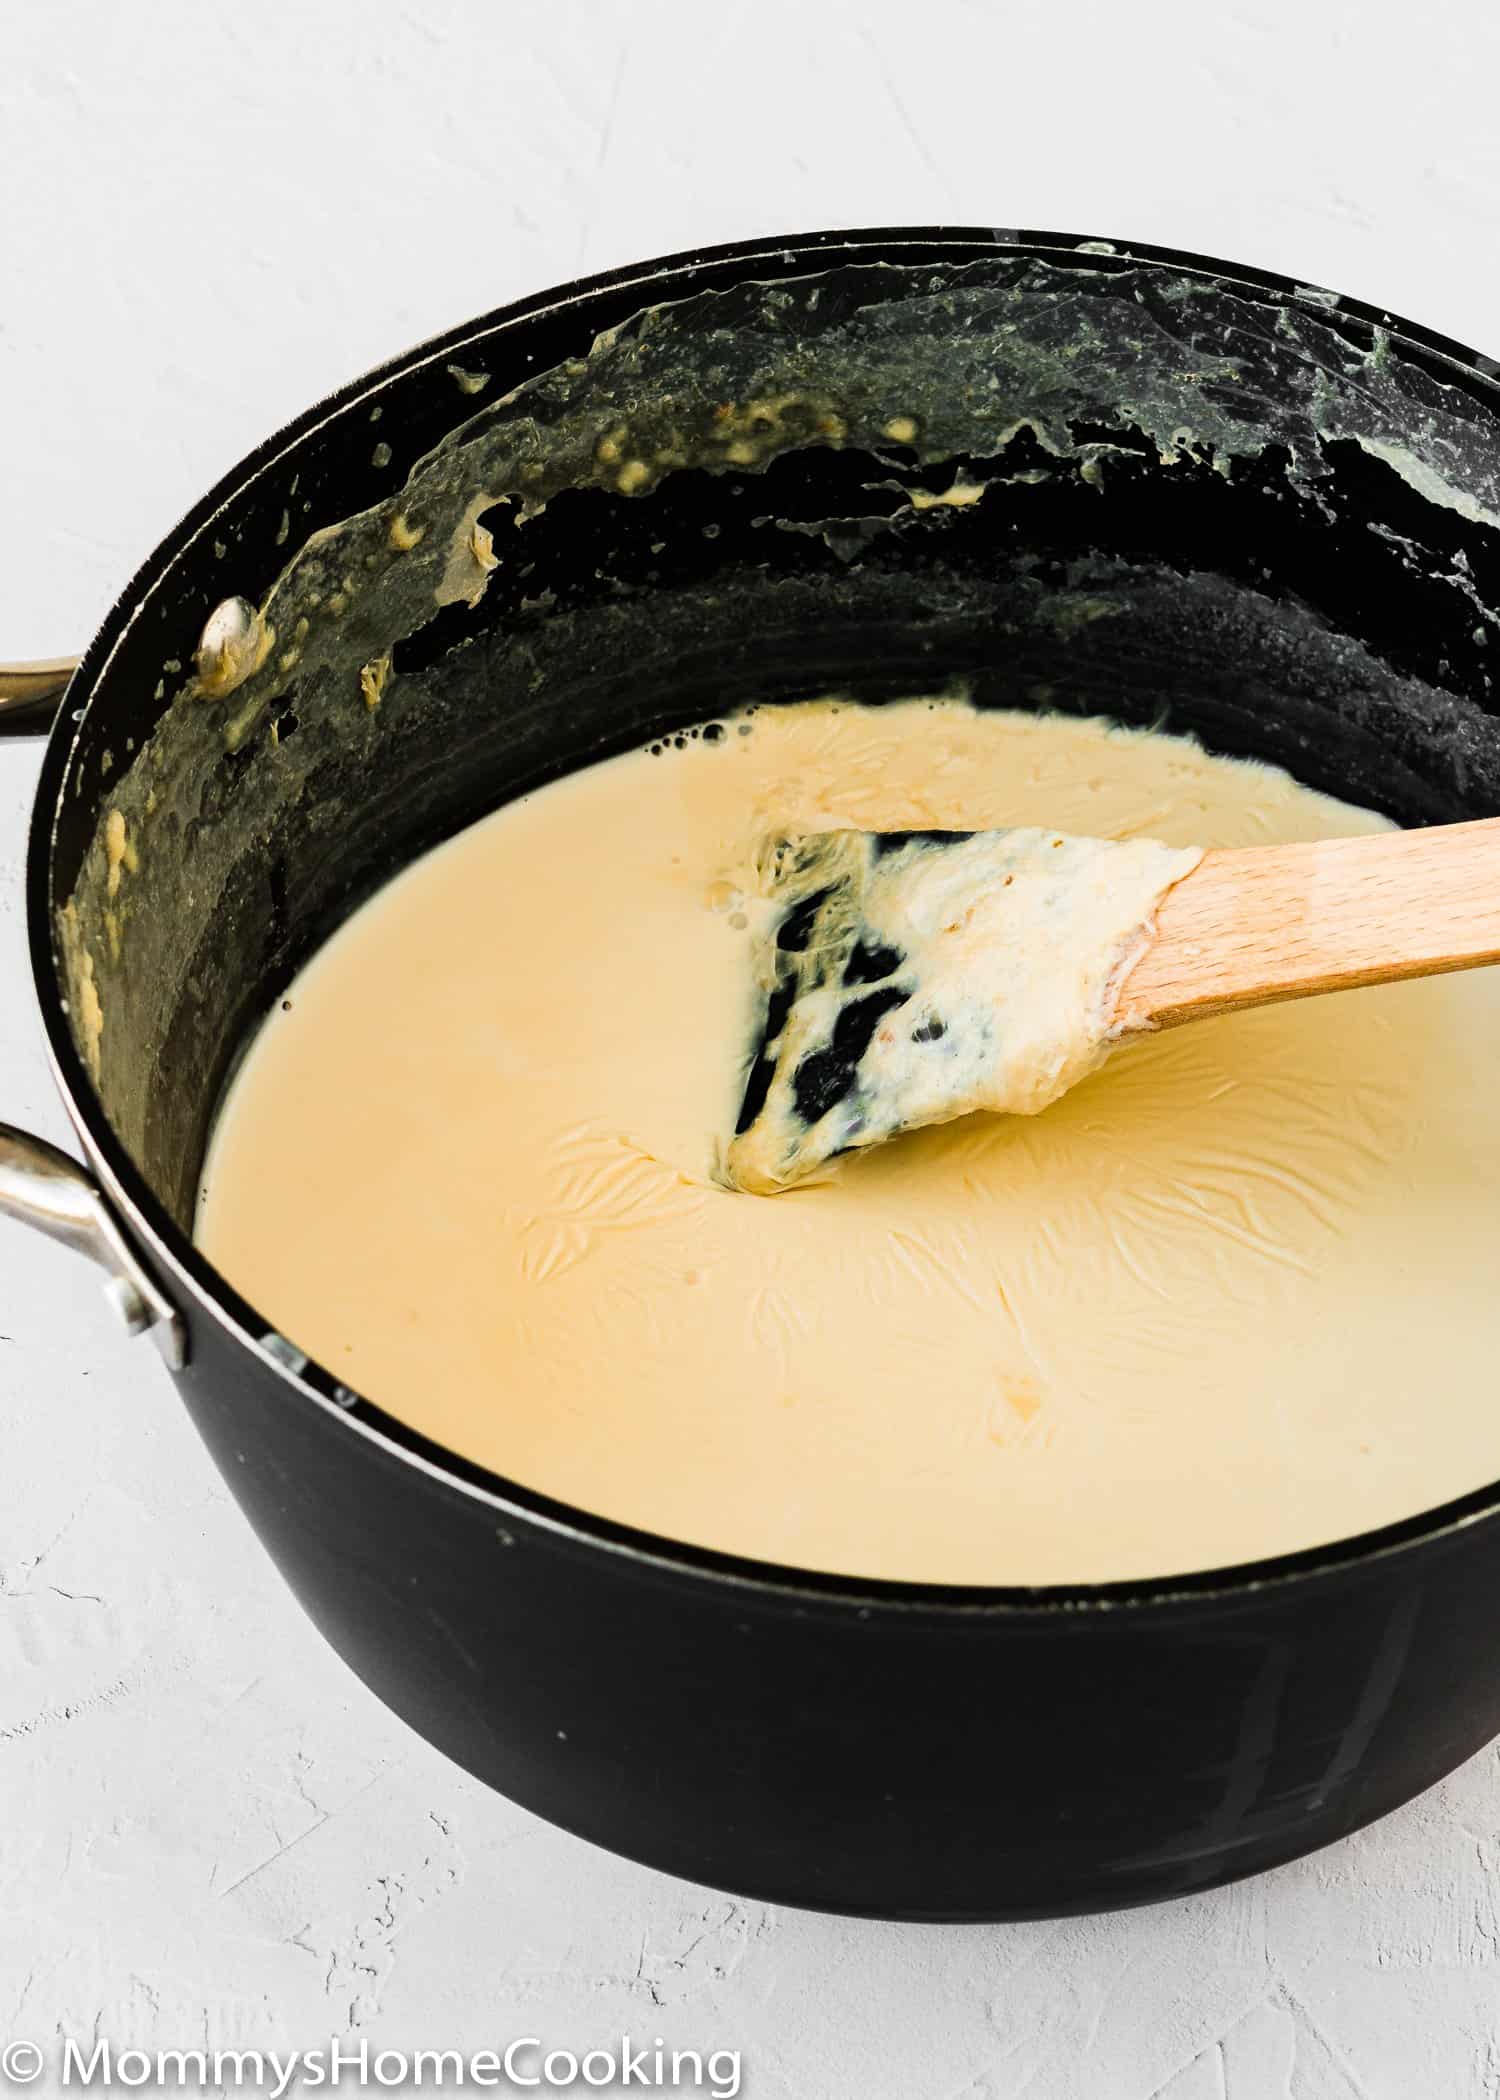
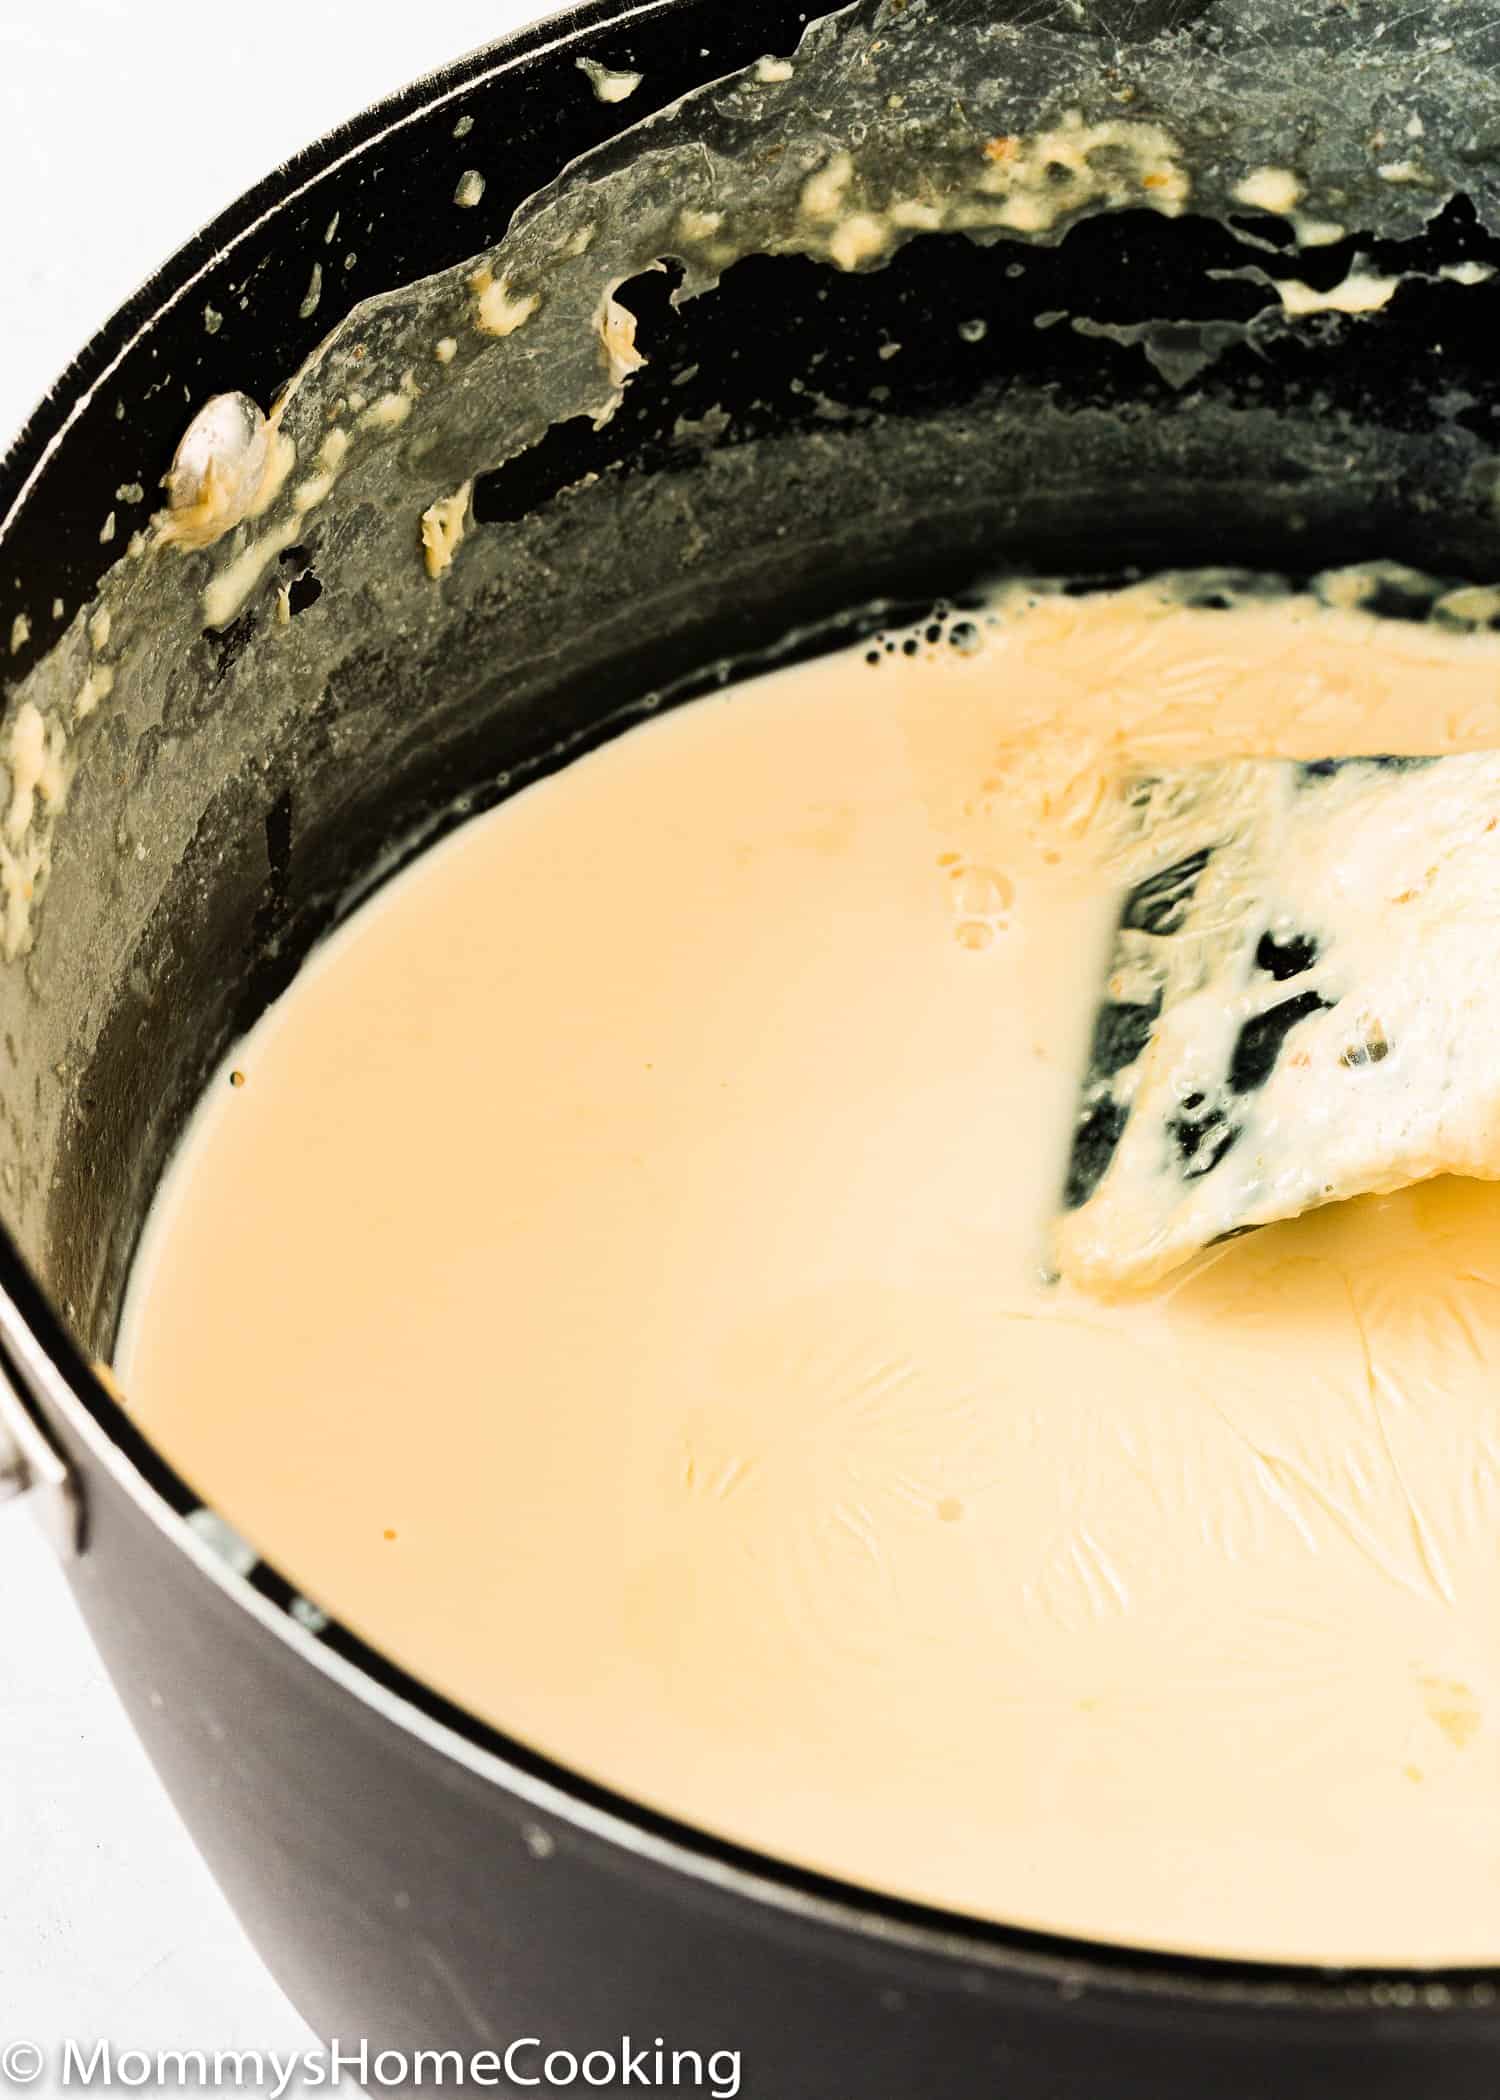
Step 2 – Simmer

Simmer the milk, occasionally whisking, being sure not to let it boil, for around a half-hour or until the correct consistency is reached.
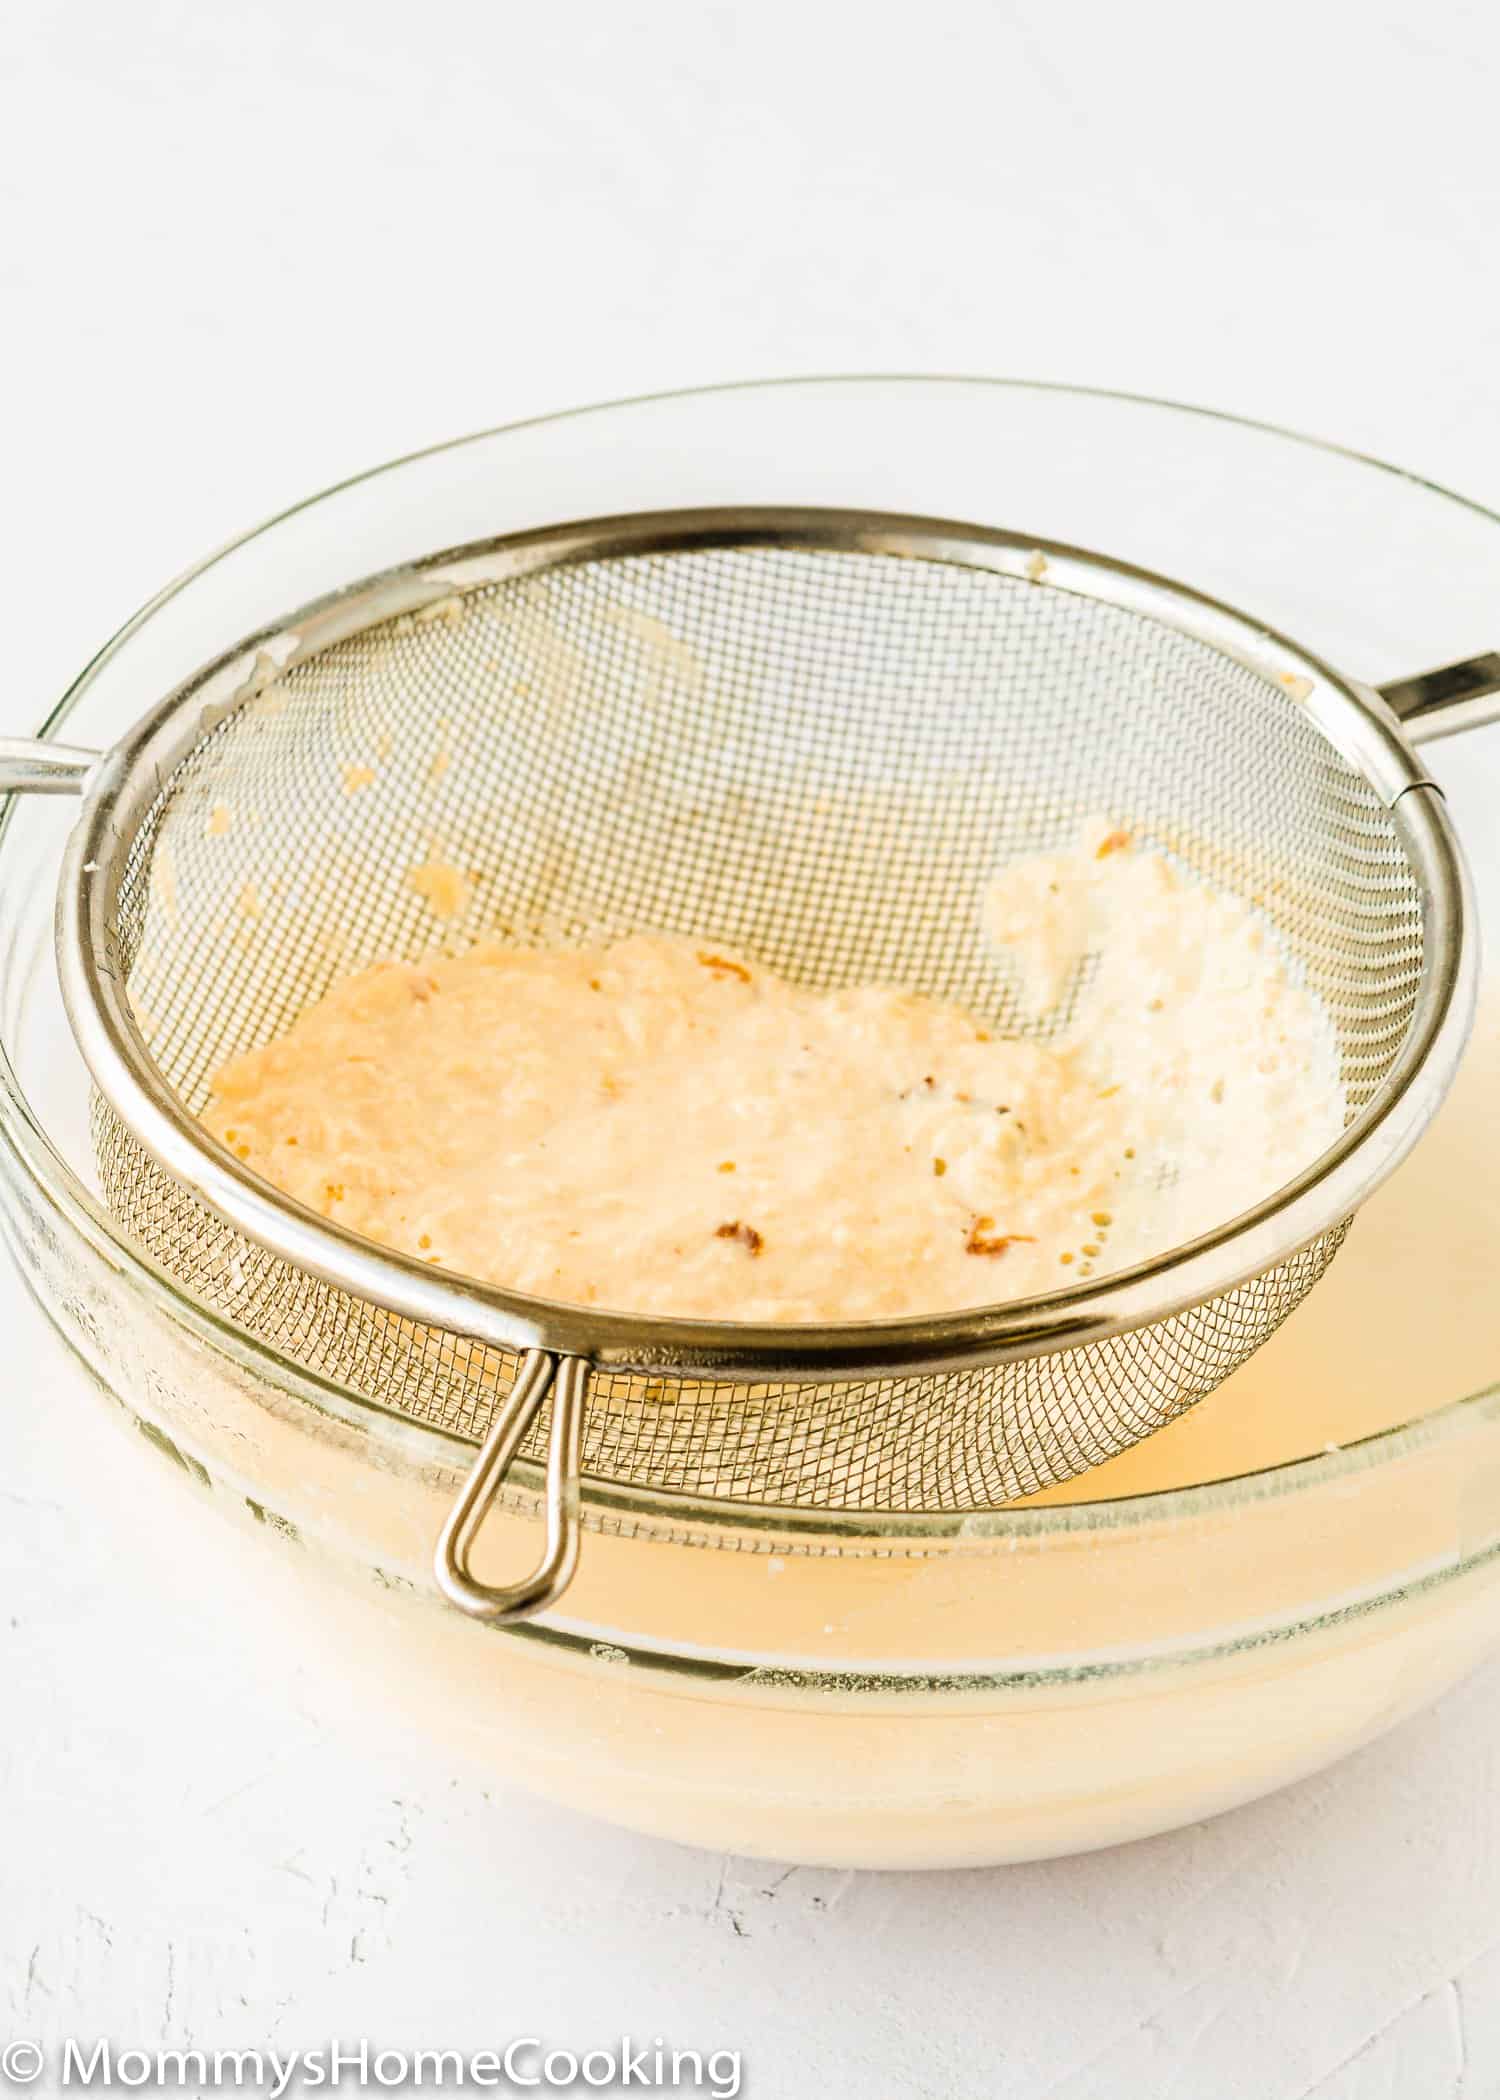
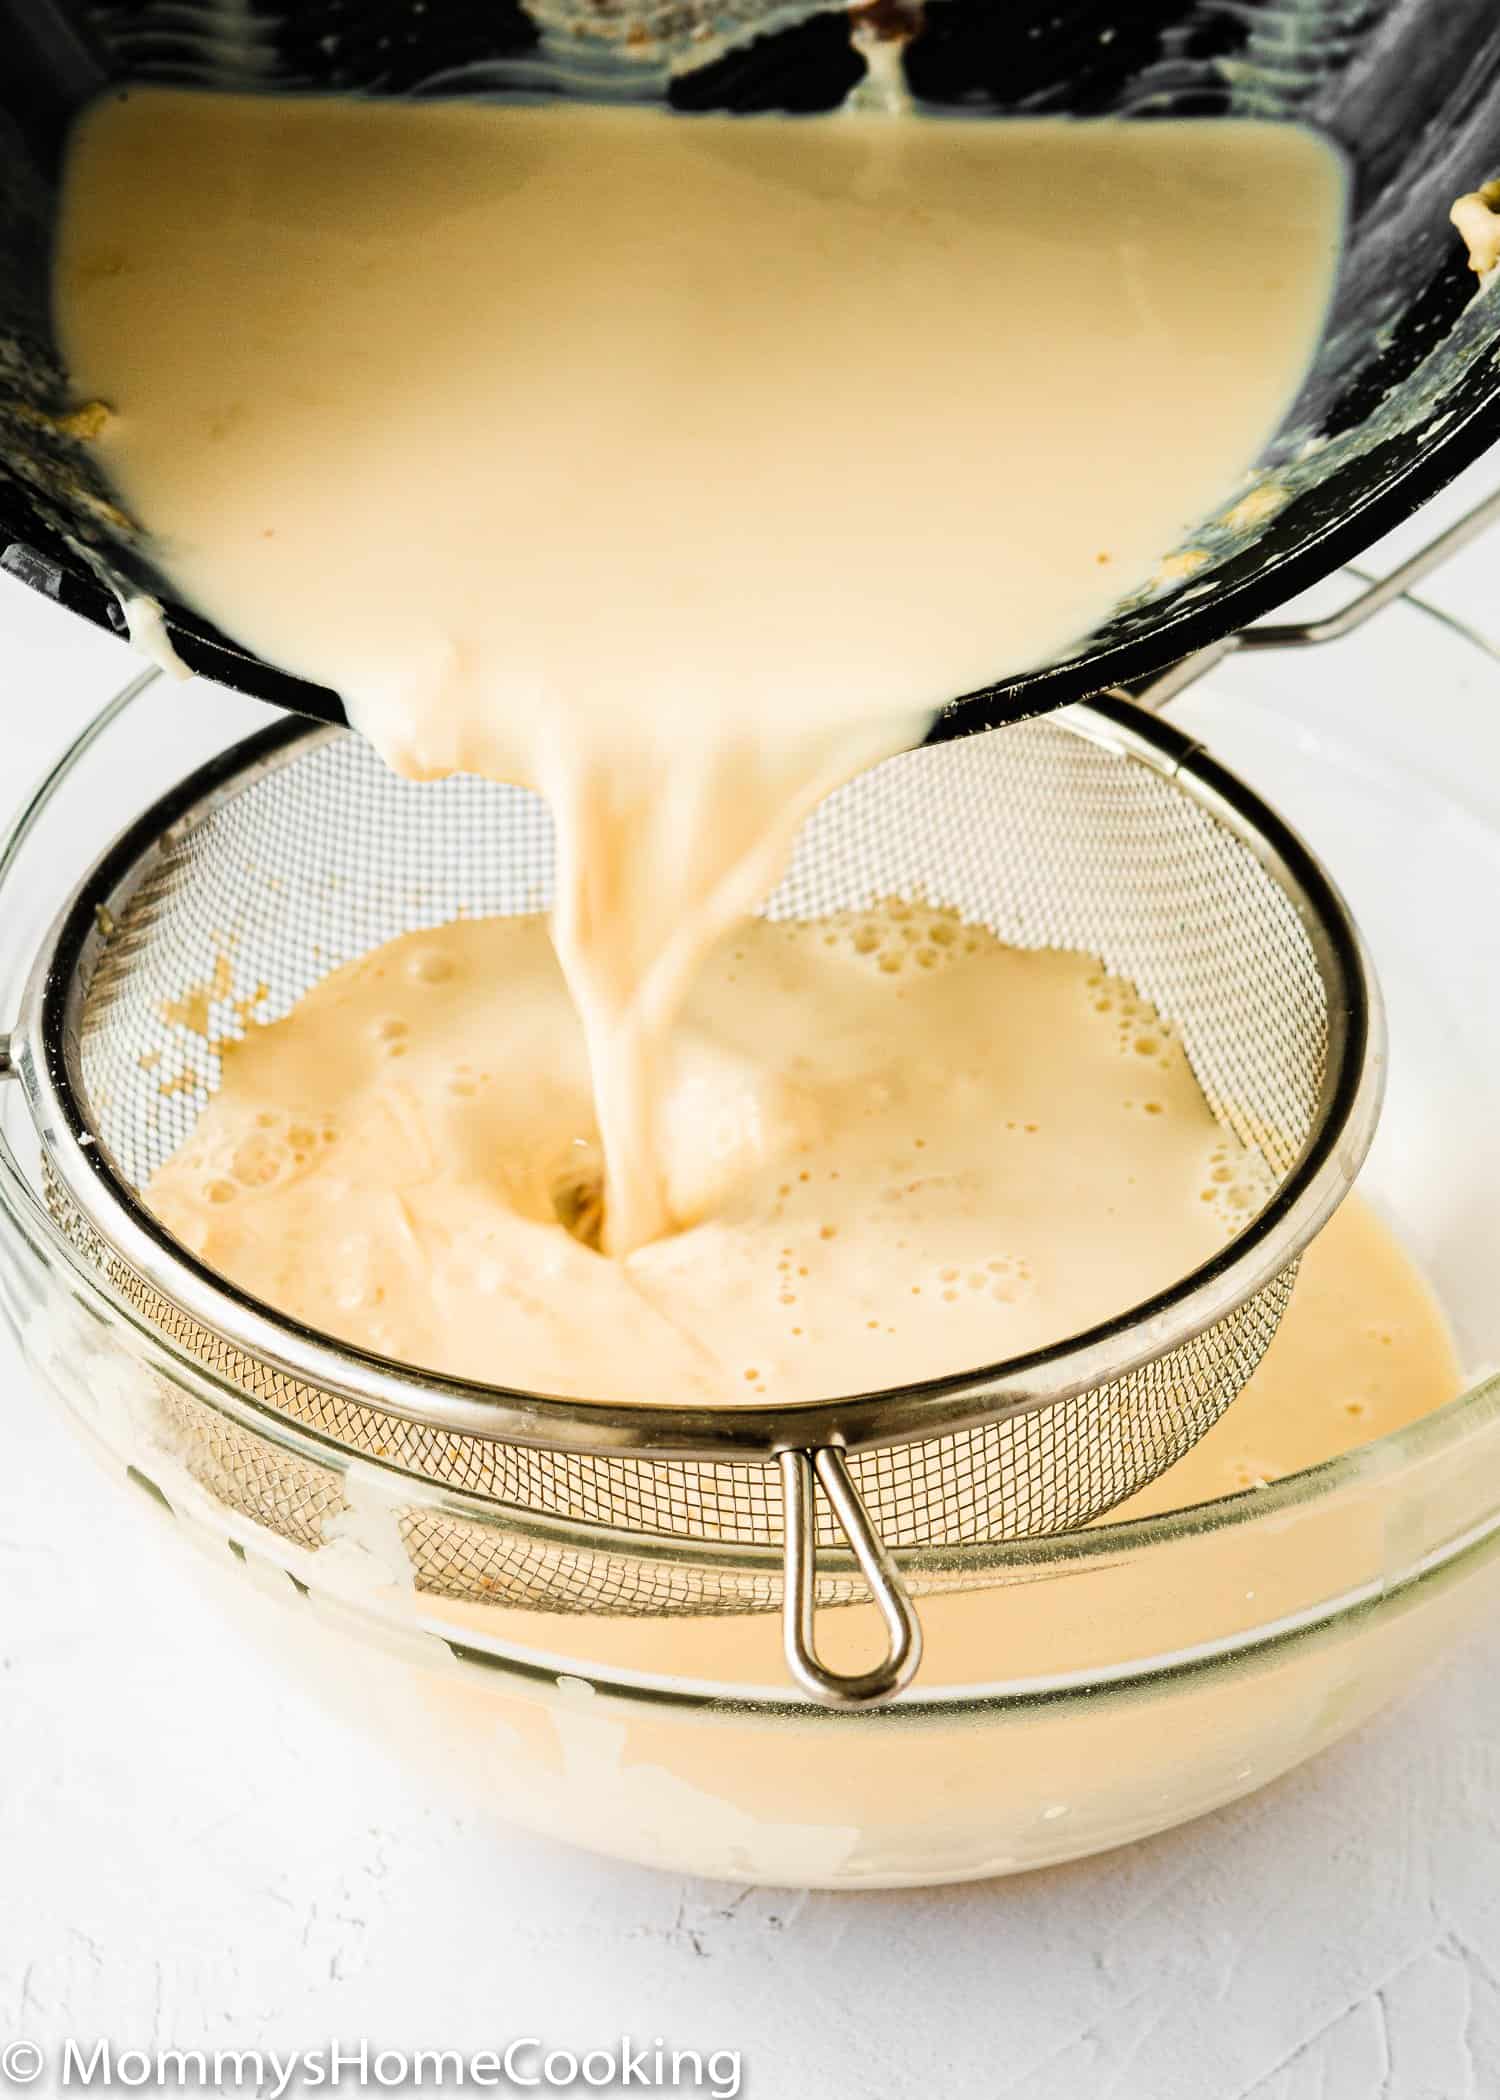
Step 3 – Strain the Milk

Separate the skin or curls from the finished evaporated milk using a sieve.
Step 4 – Cool

Let the homemade evaporated milk completely cool before storing it in the refrigerator.
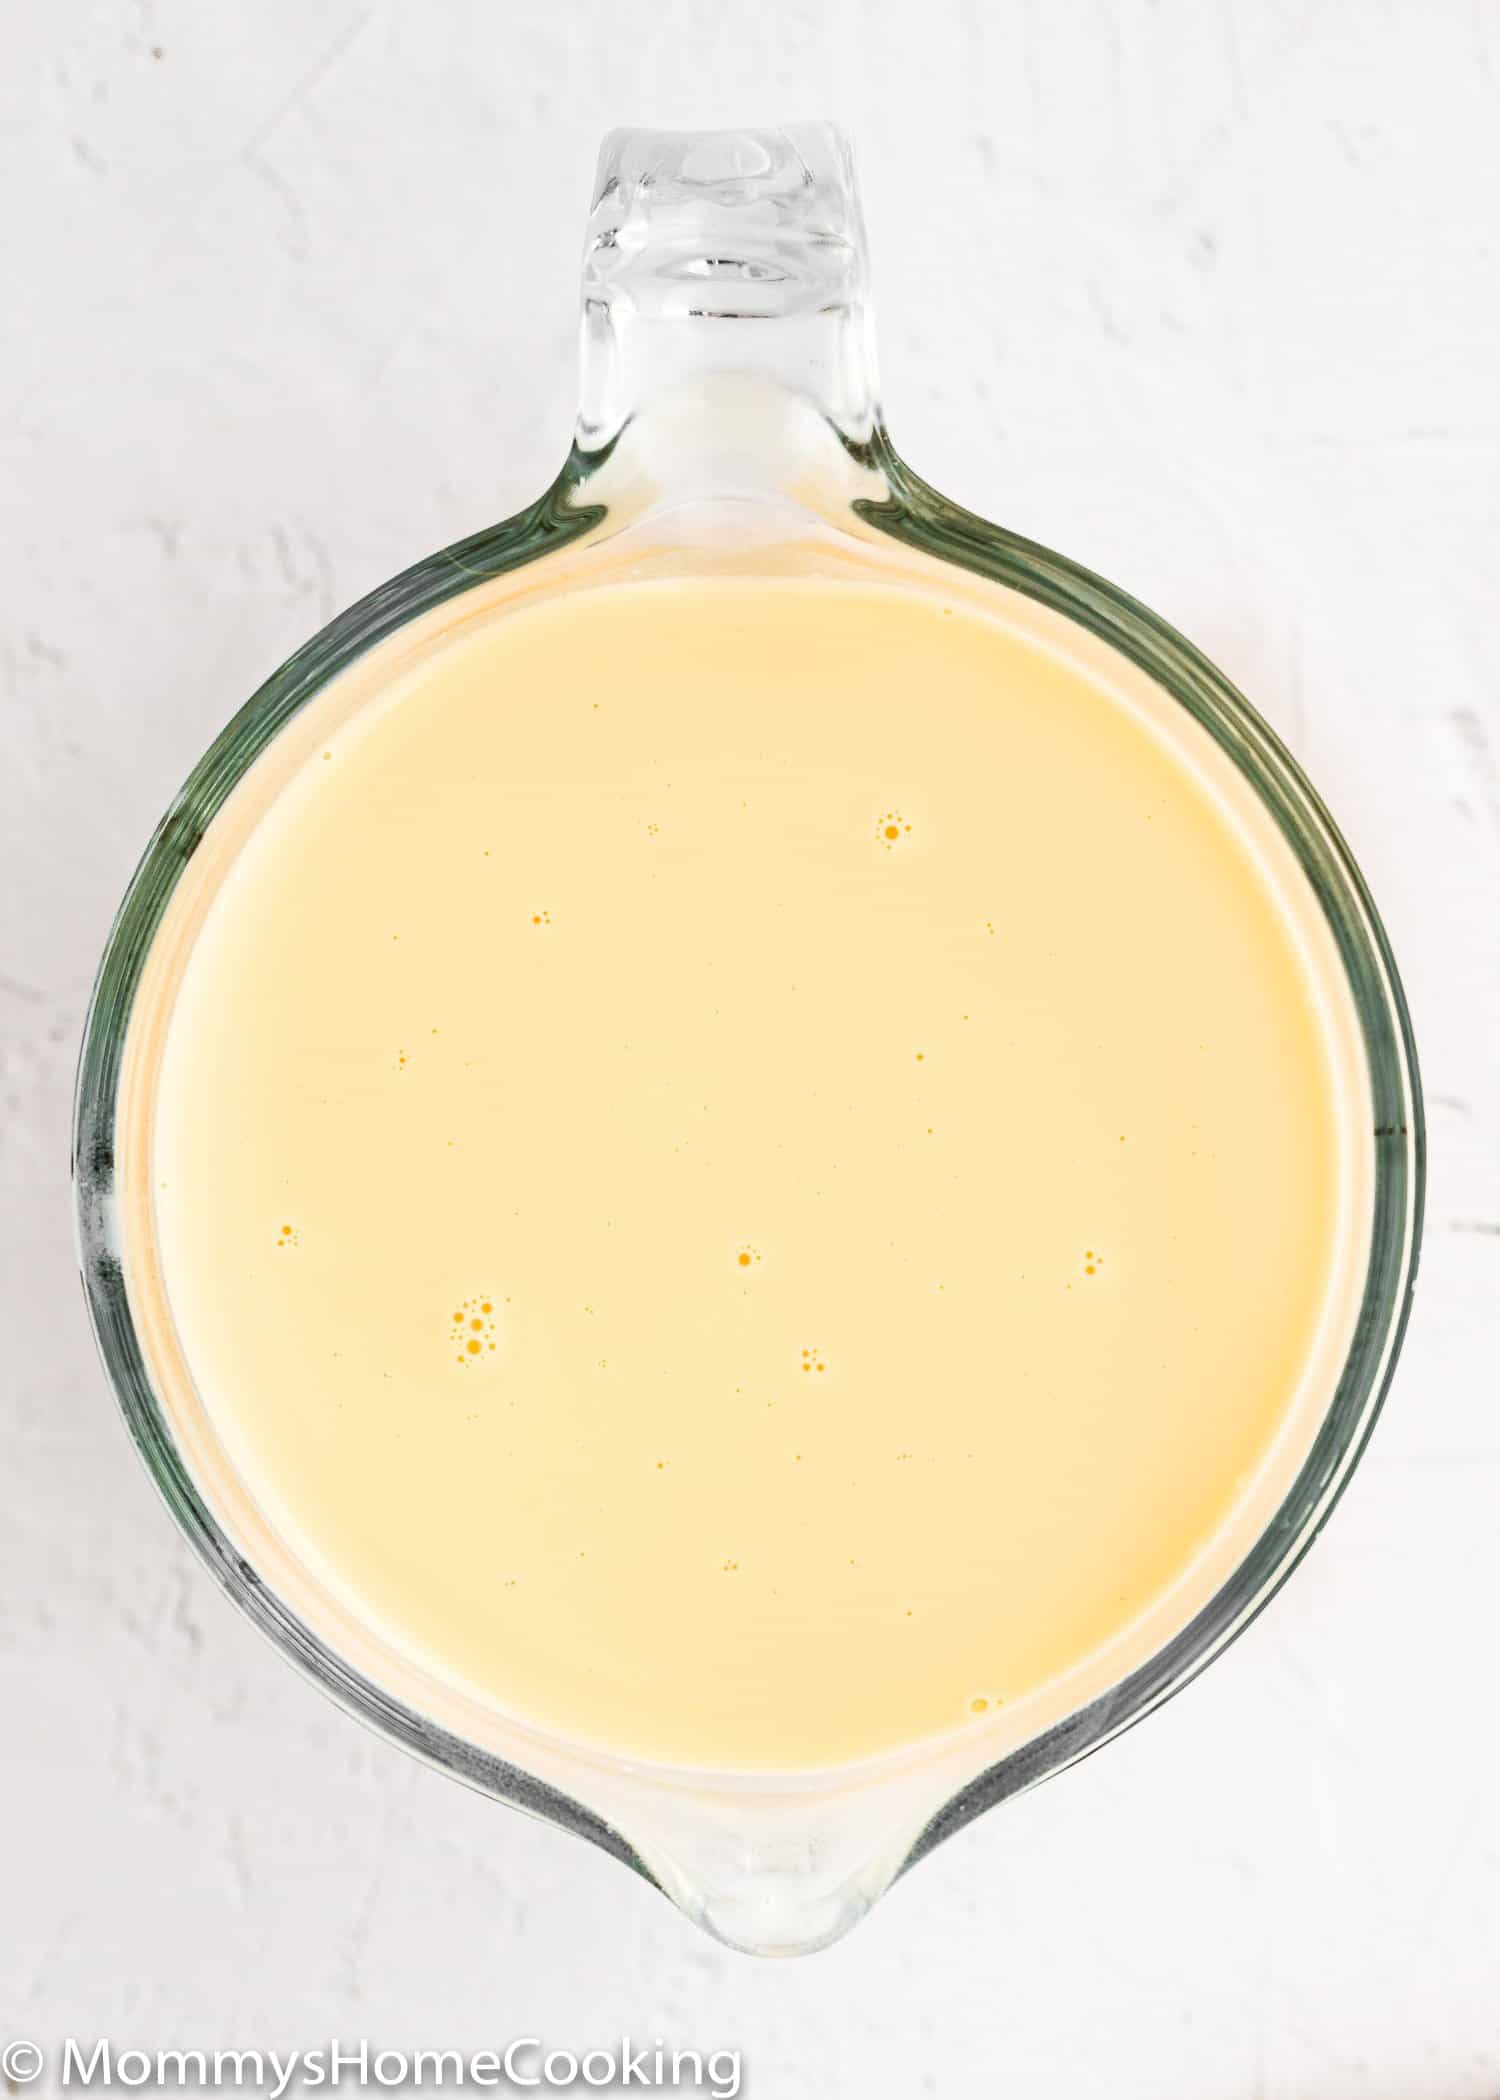
a large measuring cup with evaporated milk made at home.

Make Evaporated Milk from Powdered Milk

I highly recommend making your own evaporated milk from fresh milk, but if you are unable to find evaporated milk or don’t have the time to make it, you can combine 1 cup (240 ml) of water with 6 tablespoons (60 g) of powdered milk. Mix well until no lumps remain and use as the recipe calls for.
Simple line drawing of a bowl with a spoon inside, centered on a dark gray background—perfect for showcasing Eggless Sugar Cookie Bites recipes.

Extra Recipe Tips For Success

  • Use a wide, heavy-bottomed pot. The more surface area, the faster the water evaporates. A wide saucepan works much better than a tall, narrow pot — you’ll shave real time off the process.
  • Never let it boil. Keep it at a gentle simmer the whole time. A rolling boil scorches the milk and changes the flavor. If you see big bubbles, lower the heat immediately.
  • Whisk it occasionally — don’t walk away. You don’t need to babysit it, but give it a stir every 5 minutes or so to make sure nothing is sticking to the bottom.
  • Watch the color, not just the clock. Every stovetop runs differently. What you’re looking for is a creamy, golden color and a noticeably thicker consistency. Start checking around the 25-minute mark, but yours might take closer to 40 minutes — that’s completely normal.
  • Always strain it. A skin will form on the surface as the milk reduces — this is normal. Pass the finished evaporated milk through a fine mesh sieve before storing or using. It takes 10 seconds and makes a big difference in texture.
  • Cool completely before using. If your evaporated milk is even slightly warm when it goes into a recipe, it can affect the texture of your final result — especially in custards and creams. Let it cool fully, then refrigerate until needed.

Storing Instructions

In the refrigerator: Once cooled completely, transfer your homemade evaporated milk to a sealed jar or airtight container and store in the fridge for up to 5 days. I love making a batch on Sunday and using it throughout the week in whatever I’m baking.

In the freezer: Yes, you can freeze homemade evaporated milk! Pour it into a freezer-safe airtight container, leaving a little room for expansion. It keeps well for up to 3 months. When you’re ready to use it, thaw it overnight in the fridge and give it a good shake or whisk before using — the texture can separate slightly during freezing, but a quick stir brings it right back together.

Store-bought cans (unopened): Keep in a cool, dry pantry away from heat and direct sunlight. Always check the expiration date.

Store-bought cans (opened): Transfer any unused evaporated milk to an airtight container and refrigerate immediately. Use within 3–4 days.

storing Homemade evaporated milk

Frequently Asked Questions

What is Evaporated Milk?

Evaporated Milk is dense, creamy, ultra-concentrated milk. Honestly, it’s exactly what it sounds like: Milk with the water evaporated out. So it’s milk with 60% less water. It is a great milk substitute for coffee creamer or in desserts, as it has a slightly caramelized flavor, which makes it sweeter than regular milk. You can purchase Evaporated Milk in most grocery stores, but it’s really easy to create at home.

What is Evaporated Milk Used For?

Some people call Evaporated Milk unsweetened condensed milk since the main difference between Evaporated Milk, and Sweetened Condensed Milk is the added sugar in Sweetened Condensed Milk. Both can be used in cooking, baking, or as a sweetener, but Evaporated Milk will add less sweetness.

Can I Use a Non-Dairy Milk?

Yes, dairy-free milk like nut milk and soy milk will work just fine.

What’s the difference between condensed and evaporated milk?

Both start as regular milk that’s been reduced, but they’re not the same thing. Evaporated milk is unsweetened — it’s just milk with 60% of the water removed. Sweetened condensed milk has sugar added during the reduction process, making it thick, syrupy, and very sweet. They are not interchangeable in most recipes, so always check which one the recipe calls for.

How do you make 1 cup of evaporated milk?

Start with 2 cups (480 ml) of milk. Simmer over medium-low heat, whisking occasionally, until the volume is reduced by half — about 30 to 40 minutes. Strain through a fine mesh sieve and cool completely. Makes 1 cup.

How do I Substitute Evaporated Milk?

If you are unable to find evaporated milk or don’t have the time to make it, you can combine 1 cup (240 ml) of water with 6 tablespoons (60 g) of powdered milk. Mix well until no lumps remain and use as the recipe calls for.

How do I know when my evaporated milk is done?

Two things to look for: the volume should be roughly half of what you started with, and the color should shift from bright white to a creamy, slightly golden color. You can also dip a spoon in — evaporated milk should coat the spoon lightly. If it’s still watery and bright white, keep simmering.

Can I freeze evaporated milk?

Yes! Pour it into a freezer-safe airtight container, leaving a little room for expansion, and freeze for up to 3 months. Thaw overnight in the refrigerator and whisk well before using. The texture may separate slightly during freezing — that’s normal and a quick stir fixes it.

Can I use evaporated milk in coffee?

Absolutely — and it’s delicious. Evaporated milk adds a rich, creamy, slightly sweet flavor to coffee that regular milk can’t match. It’s the base of a classic café con leche. Start with a splash and adjust to taste.

Can I make evaporated milk with oat milk or other dairy-free milks?

Yes! Oat milk and soy milk both work well and reduce nicely. Coconut milk works too but will add a coconut flavor. Almond milk is thinner and doesn’t reduce as smoothly, so I’d use oat or soy first. Keep in mind that dairy-free versions will have a slightly different flavor and consistency than whole milk evaporated milk.

How do I make evaporated milk from powdered milk?

If you’re in a pinch, combine 1 cup (240 ml) of warm water with 6 tablespoons (60 g) of powdered milk. Whisk until fully dissolved with no lumps. This works as a quick substitute in most recipes, though it won’t have the same depth of flavor as the stovetop version.

What can I substitute for evaporated milk in a recipe?

If you don’t have evaporated milk and don’t have time to make it, the closest substitute is ¾ cup whole milk + ¼ cup heavy cream. This won’t have the same caramelized depth of flavor, but it will give you a similar richness and consistency in most recipes.

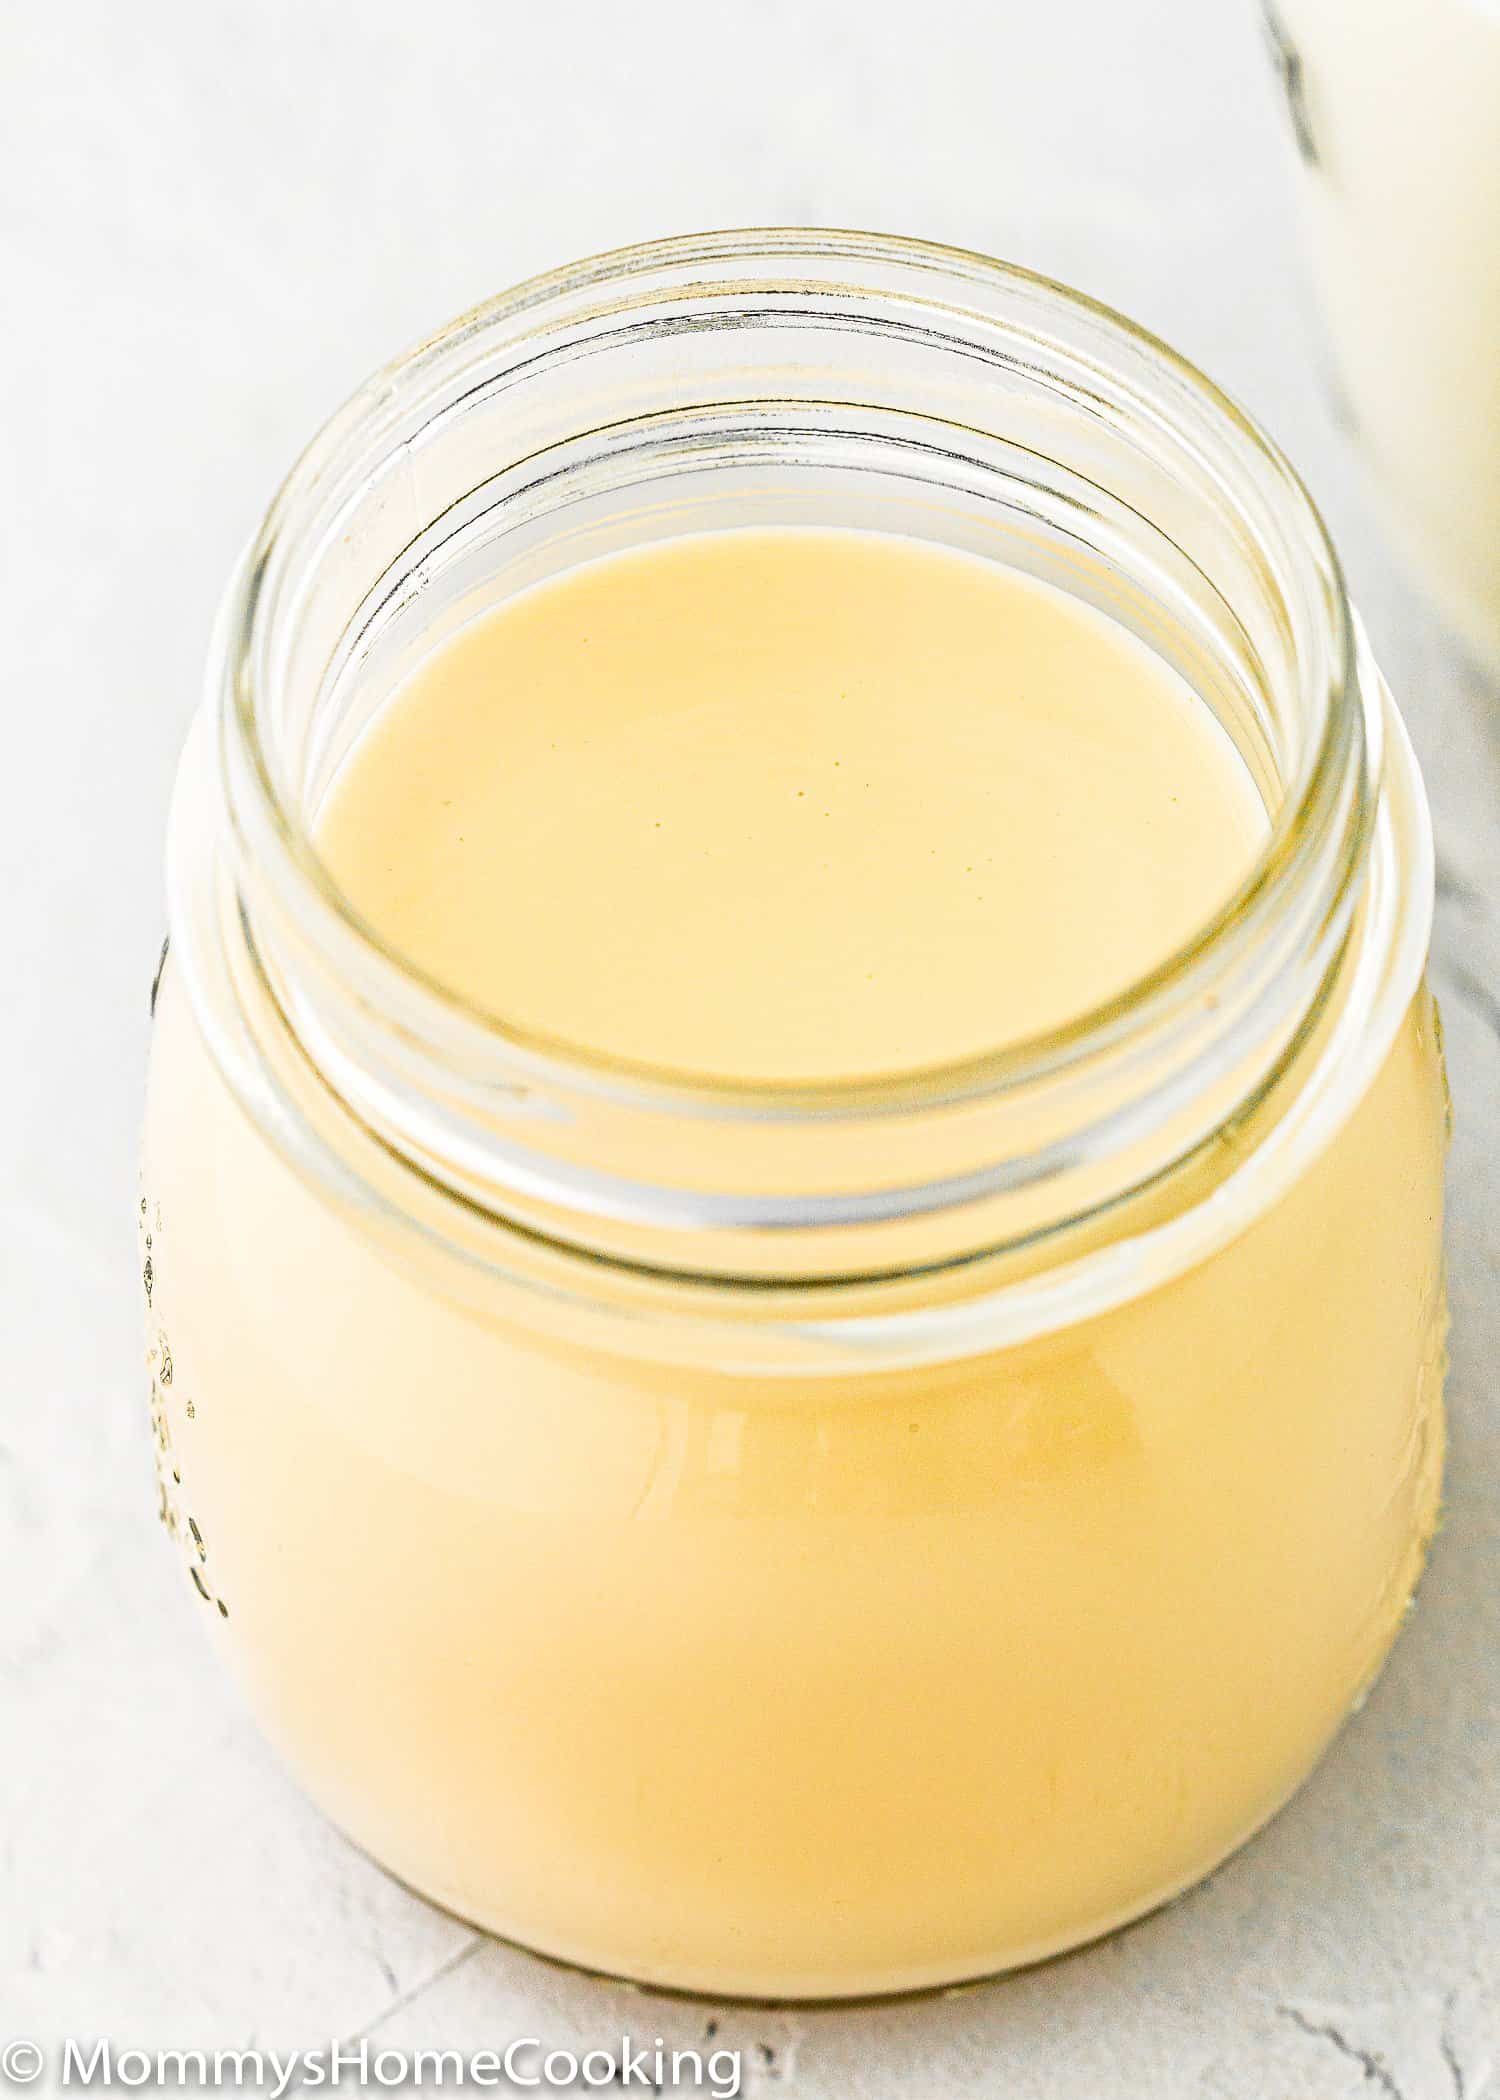
Homemade evaporated milk in a mason jar

❤️ Love what you see? Subscribe to Mommy’s Home Cooking email list, so you’ll never miss a recipe! Follow along on Instagram, Pinterest, and Facebook for more fun! 
Recipe Card

Homemade evaporated milk in a jar

How to Make Evaporated Milk

Oriana Romero
Homemade Evaporated Milk is thick, creamy, and naturally sweet — made with just one ingredient and ready in about 40 minutes. All you need is a pot and a sieve, no fancy equipment required. This is the ingredient I reach for most in my egg-free baking, and once you make it at home, you'll always want a jar in your fridge.
4.86 from 14 votes
Prep Time 2 minutes
Cook Time 40 minutes
Total Time 42 minutes
Servings 1 cup

Important

• For best results, I highly recommend using a kitchen scale to measure the ingredients.

Ingredients
 

  • 2 cups (480 ml) full-fat milk

Instructions
 

  • Heat the milk: Pour the milk into a medium, heavy-bottomed saucepan. Place over medium heat until you see small bubbles beginning to form around the edges — do not let it come to a full boil.
    milk being poured into a pot
  • Simmer and reduce: Reduce the heat to medium-low and simmer, whisking occasionally, for 30–40 minutes. You're looking for the milk to reduce by half — it will shift from bright white to a creamy, golden color and coat the back of a spoon lightly when it's ready. Never let it boil; keep it at a steady, gentle simmer throughout.
    homemade evaporated milk into a pot
  • Strain and cool: Once reduced, pour the milk through a fine mesh strainer into a clean jar or container to remove any skin that may form. Set aside to cool completely before using or refrigerating.
    evaporated milk being strained
Oriana’s Notes
 
Allergen Quick-Reference: This recipe contains dairy (milk). Watch carefully: dairy-free milk alternatives — results and flavor will vary by type. Always check labels on: plant-based milks (some contain added allergens). Fish and shellfish: not an ingredient in this recipe
 
Store: Store covered in the refrigerator for up to 5 days.
 
Every stovetop runs differently — start checking at the 25-minute mark and keep going until the color and consistency look right. The finished milk should be creamy in color and noticeably thicker than when you started.
 
Non-Dairy Milk: Oat milk and soy milk work well and reduce nicely. Coconut milk works but adds a coconut flavor. Almond milk is thinner and doesn’t reduce as smoothly.
 
Pro Tips:
  • Use a wide, heavy-bottomed pot. More surface area means faster evaporation — a wide saucepan works much better than a tall, narrow one.
  • Never let it boil. Boiling scorches the milk and changes the flavor. If you see large bubbles, lower the heat immediately and stir.
  • Cool completely before using. Warm evaporated milk can affect the texture of your final recipe — especially in custards and creams. Let it cool fully, then refrigerate until needed.
 
 
I appreciate your feedback, and it helps others, too! Recipe reviews on the website are extremely valuable to other readers online. So, please don’t forget to give it a 5-star rating below.

Nutrition

Calories: 298kcalCarbohydrates: 23gProtein: 15gFat: 16gSaturated Fat: 9gSodium: 210mgSugar: 25g

Nutrition information provided is an estimate and will vary based on cooking methods and brands of ingredients used.

Share your Creations!Tag @mommyshomecooking on Instagram and hashtag it #mommyshomecooking or Join my Private Facebook Group
Course Condiments
Cuisine American
Calories 298
Keyword buttermilk easy evaporated how to

Eggless Baking Frequently Asked Questions

You’ve asked, and I’ve answered! Read on for a handful of answers to the most frequently asked questions about eggless baking.

Originally posted in February 2021, the post content was edited to add more helpful information, with no change to the recipe in May 2022.  

More Tutorials You’ll Love!

More Recipes To Explore!

4.86 from 14 votes (10 ratings without comment)

Leave a Reply

Your email address will not be published. Required fields are marked *

Recipe Rating


This site uses Akismet to reduce spam. Learn how your comment data is processed.

22 Comments

  1. 5 stars
    We’ve always bought canned evaporated milk. A family member now has to follow a low phosphate diet due to CKD, and the canned kind contains diphosphate as an stabiliser (fine for ordinary folks, not good for them).

    I made this last night and they liked it so much they drank it about two gulps 😀 Much rejoicing! I spend a lot of time adapting recipes, and it as really lovely to find something that was so straight forward.

    – I used whole milk as suggested and although looking in the pan it didn’t look especially creamy, once seived it was and tasted like the standard stuff in a tin, only better!
    – It took double the time stated, but I think this was very much caused by me and my electric hob (goodness they’re a pain!), where it’s tricky to get things to simmer as opposed to boil.
    – Another recipe suggested using a wide shallow suacepan to help with evaporation. In in reality this just led to more milk turning to skin, so your smaller saucepan is probably a much better idea.

    Looking forward to making more! Another thing we thought had to be off the menu is back on which when you have a limited range of foods is a joy 🙂

    1. Hello Clare! Thank you so much for sharing this. It truly means a lot to hear that this helped bring something “back on the menu” for your family. When food restrictions start taking away familiar comforts, finding a simple replacement that actually works can feel huge. I also really appreciate you sharing your notes and experience with the process — especially about the saucepan and simmering. Electric hobs can definitely make gentle simmering tricky, so the longer cooking time makes complete sense. And I had to smile at the “two gulps” part 😀 That’s probably the best review possible! Wishing you and your family many more happy cooking wins ahead.

  2. I love your recipes and eggless fudgy brownies are a hit within family and work.
    Can I make evaporated milk with semi skim milk and milk powder to make up the fat in the full fat milk.

    1. Hello Nimita! Thank you so much for the kind words! 😊 I’m so happy to hear that the eggless fudgy brownies are a hit with your family and at work – that’s awesome! As for making evaporated milk, yes, you can use semi-skim milk and milk powder to make up for the fat in full-fat milk. However, I personally prefer my method of simmering whole milk until it’s reduced – it gives a richer flavor and texture. Find details here > How to Make Evaporated Milk Hope that helps!

  3. 5 stars
    My husband adores Banana Pudding but the last time I made it I couldn’t have any between my egg and milk allergies, now he’ll have to fight me for it. haha However, I am extremely lazy and since I have to make my own milk anyway instead of spending all that time evaporating it I’m just going to use half the water as I do when making nut creme.

    1. Hello Laurel! Thank you for sharing your thoughts! 😂 I love your sense of humor about the banana pudding—sounds like it’s going to be a delicious battle for sure! You can also use canned evaporated milk. I like this one > https://amzn.to/3BZikFn (affi link). I hope you both enjoy every bite! Happy baking!

  4. 5 stars
    How does this recipe scale? If I need 4 cups of evaporated milk for a potluck recipe, would I start with 8 cups of milk? Will the cook time still be 40 minutes?

    1. Hello Lorna! Great question! Scaling up recipes can be a bit tricky. For 4 cups of evaporated milk, you’ll need 8 cup of regular milk. However, keep in mind that when you increase the quantity, the cooking time can change. If you’re making a larger batch, it might take longer to cook through. Cook until milk has reduced and turned a creamy color, pass it through a sieve to remove any curled, it may form. Set aside to cool completely. Hope this helps!

    1. Hello Cheryl! No liking eggs is more common than you think. I hope my recipes inspire you to continue baking. Please make sure to reach out if you have any questions or special requests. I am happy to help!

    1. Hello Lydia! Yes, you can make a big batch and freeze it in small portions. To thaw, leave your container of evaporated milk in the refrigerator overnight; just make sure you blend it up afterward. Hope that helps!

  5. I was wondering if I could do this in the oven instead of the stovetop. Have you tried doing it in the oven at like 180-200F with convection to help with evaporation? Thanks

  6. I’m so glad you posted this recipe. It’s so simple & easy, I don’t know why I hadn’t thought of it myself. I am Lactose Intolerant but I do use dairy in my cooking & baking. I have often looked for Lactose Free condensed milk products but there just aren’t any that I’ve found. I wonder if I can use Lactose Free, Whole Milk to make this condensed milk?? Any thoughts? Thanks so much for all you do!

    1. Hello Lisa! I have used La Lechera Lactose-free condensed milk, and it’s really good. Sometimes Walmart carries it; if you are not able to find it in your local grocery store, try online (amazon > https://amzn.to/3dF97ng ) . You can definitely make your own with lactose-free milk though. xo

    1. Hello Denise! You can, but it won’t be as rich and creamy as the one made with whole milk. If you have the chance, I recommend using whole milk. Thanks for your interest in my recipe. Please come back and let me know how you like it =)