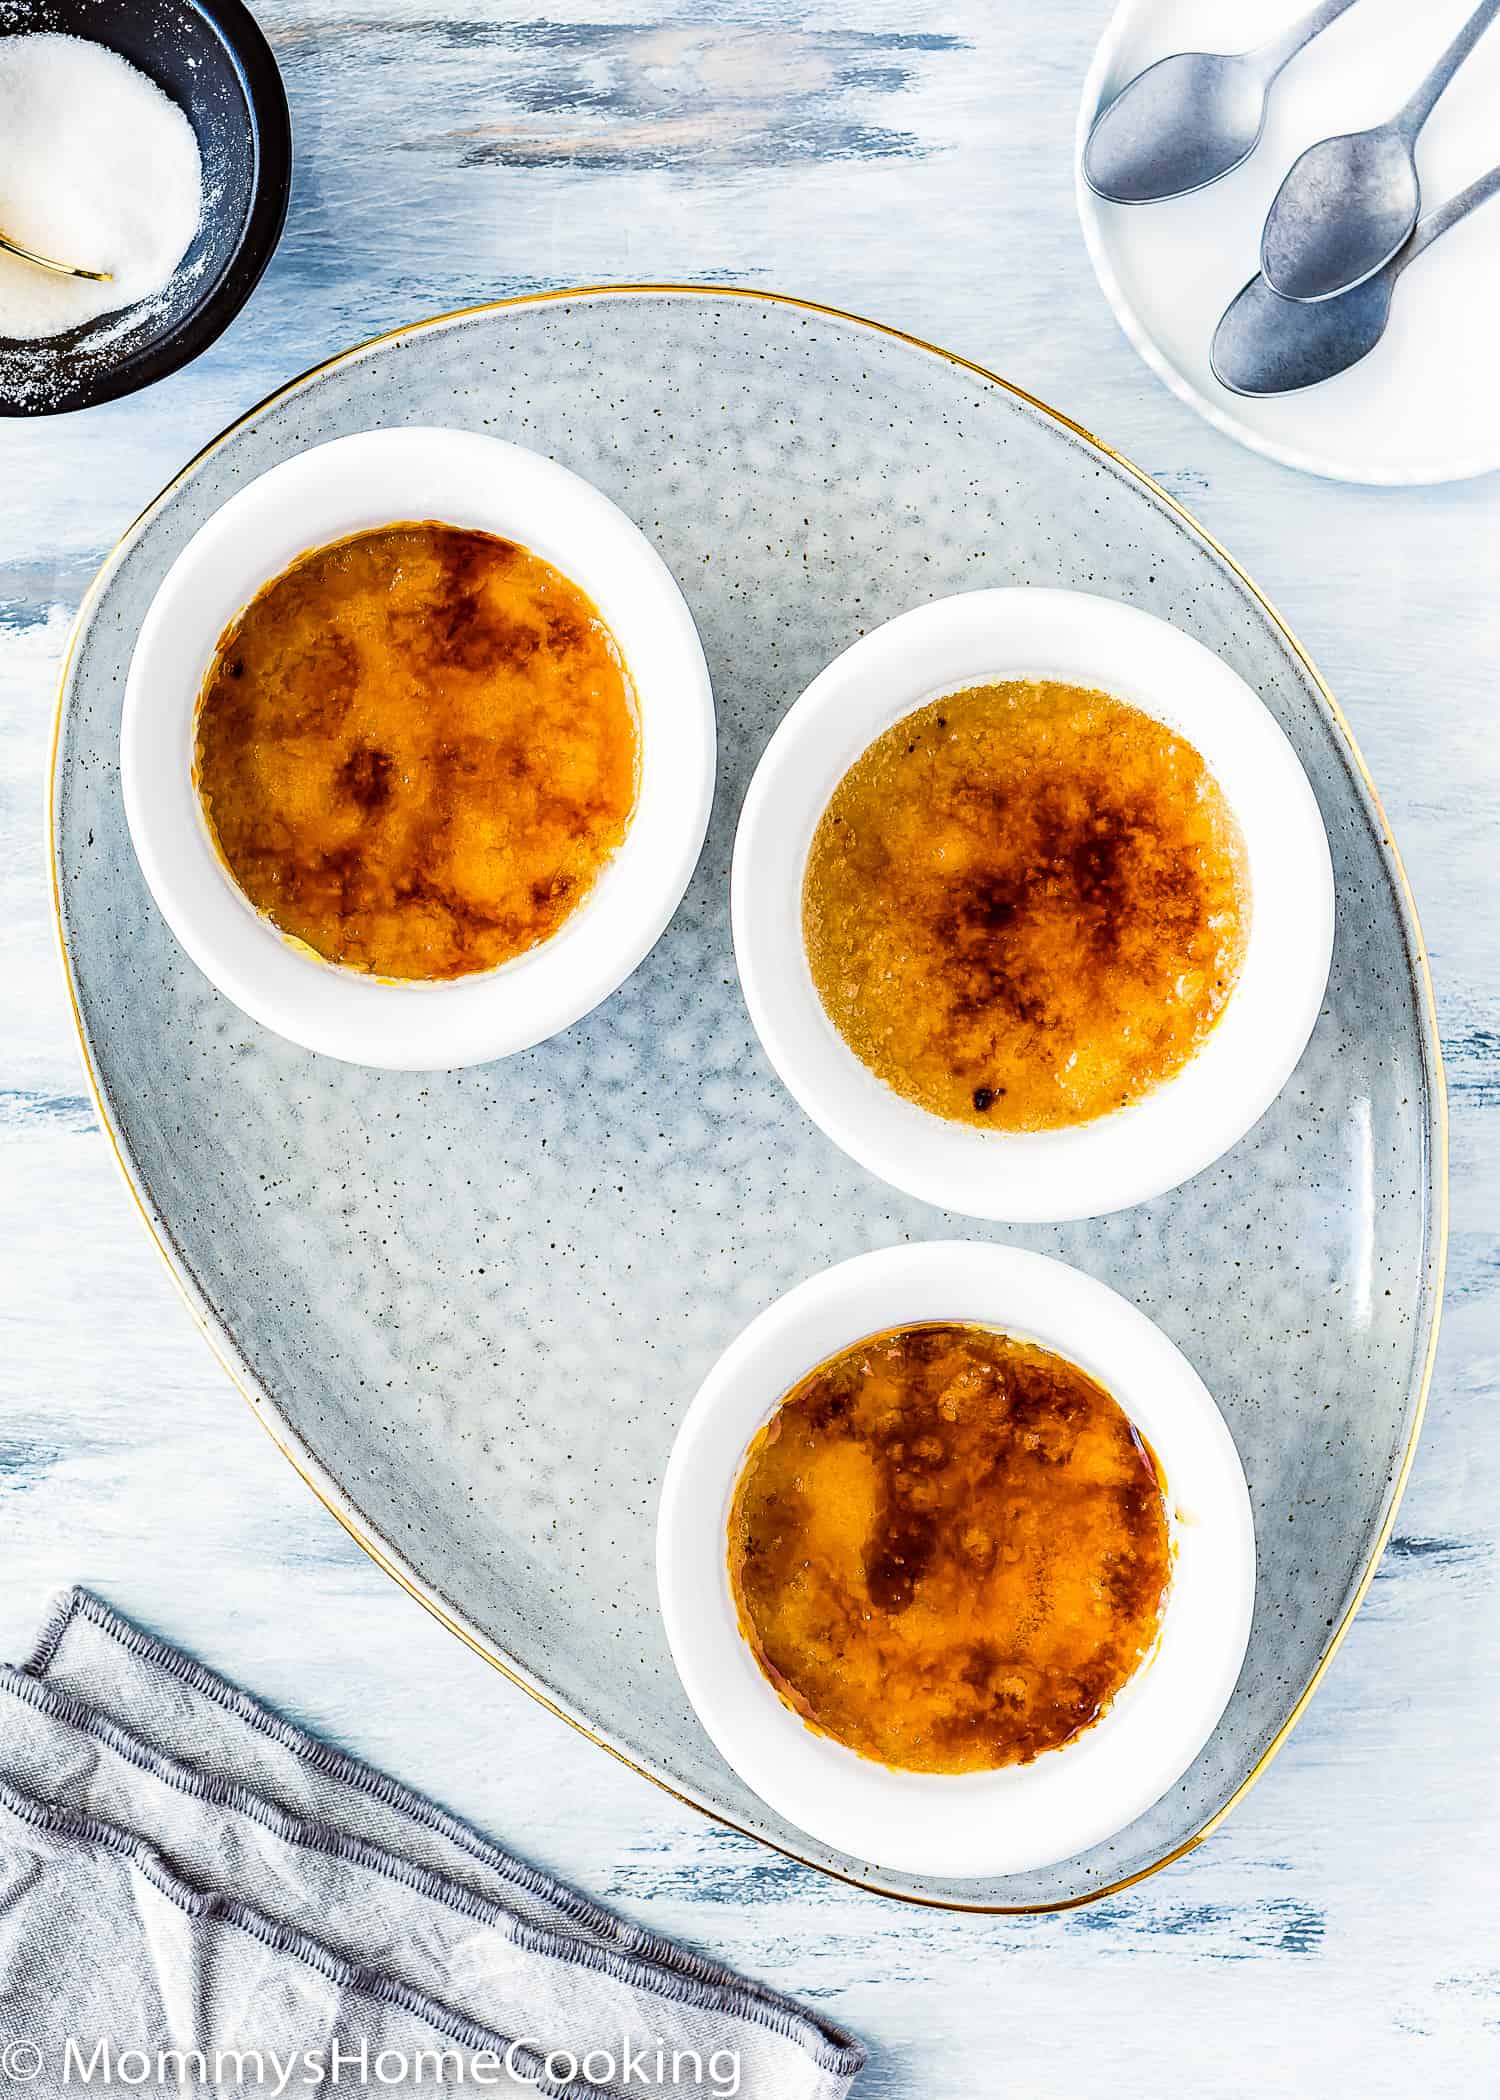
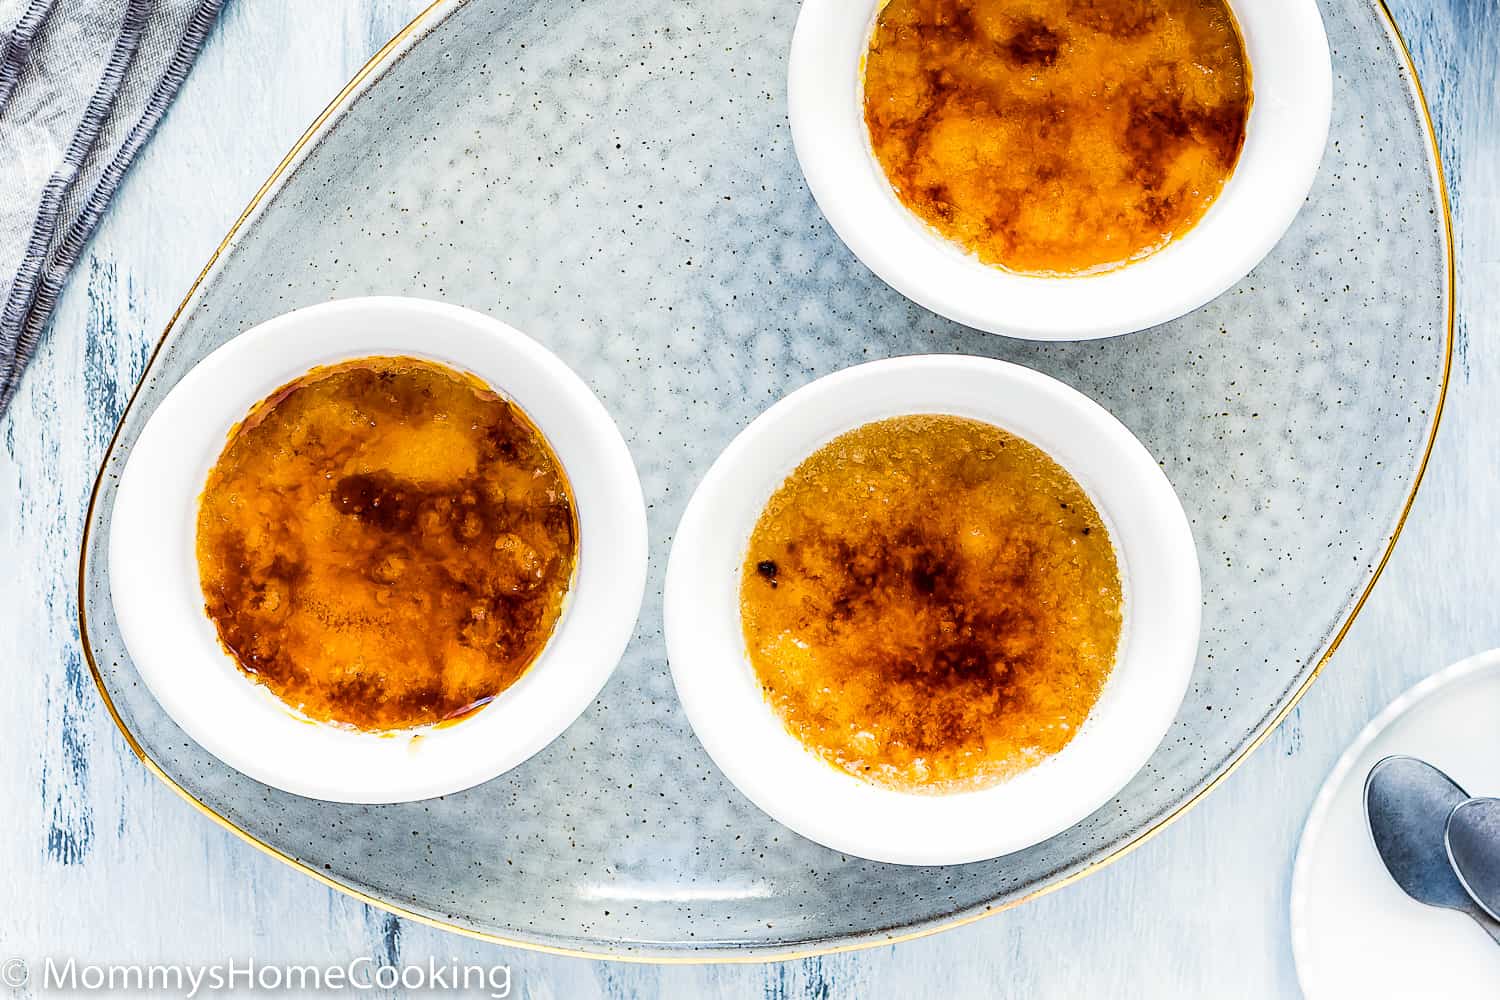
These Easy Eggless Crème Brûlée are silky smooth, rich, and elegant! Made with simple ingredients, these easy no-bake desserts are perfect for serving guests. The recipe includes step-by-step photos and lots of tips.
Easy Eggless Crème Brûlée Recipe Highlights
I promise that making Eggless Crème Brûlée is easier than you think! While crème brûlée seems like a fancy and difficult dessert, it’s actually pretty easy to make, with just a few simple ingredients and very little prep time.
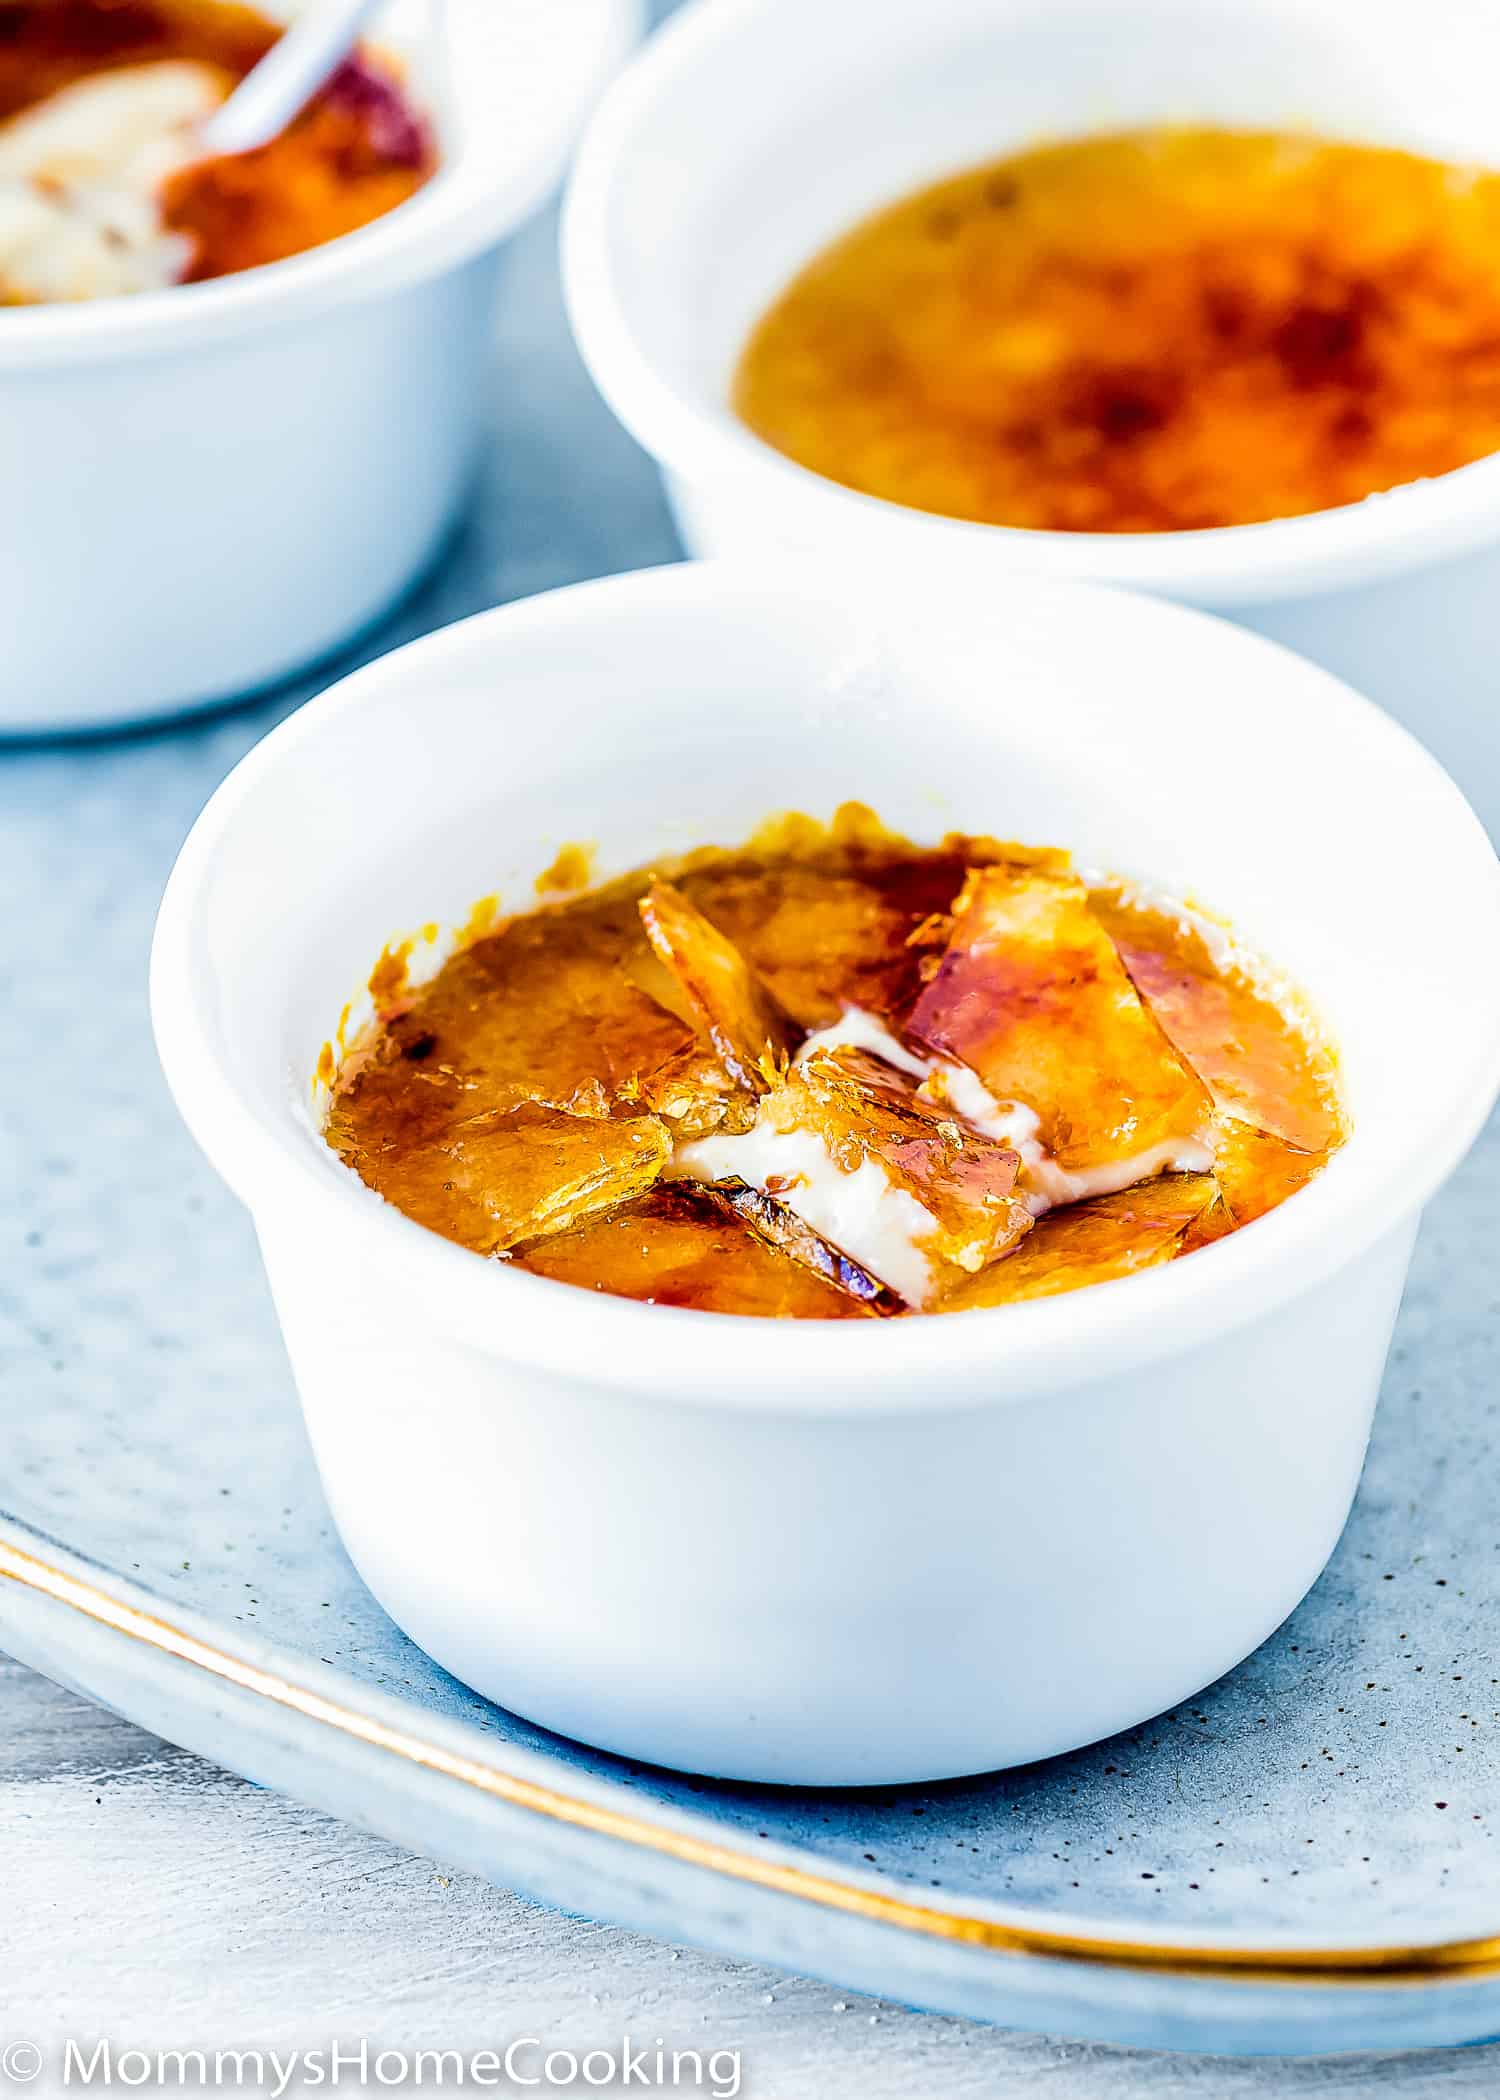
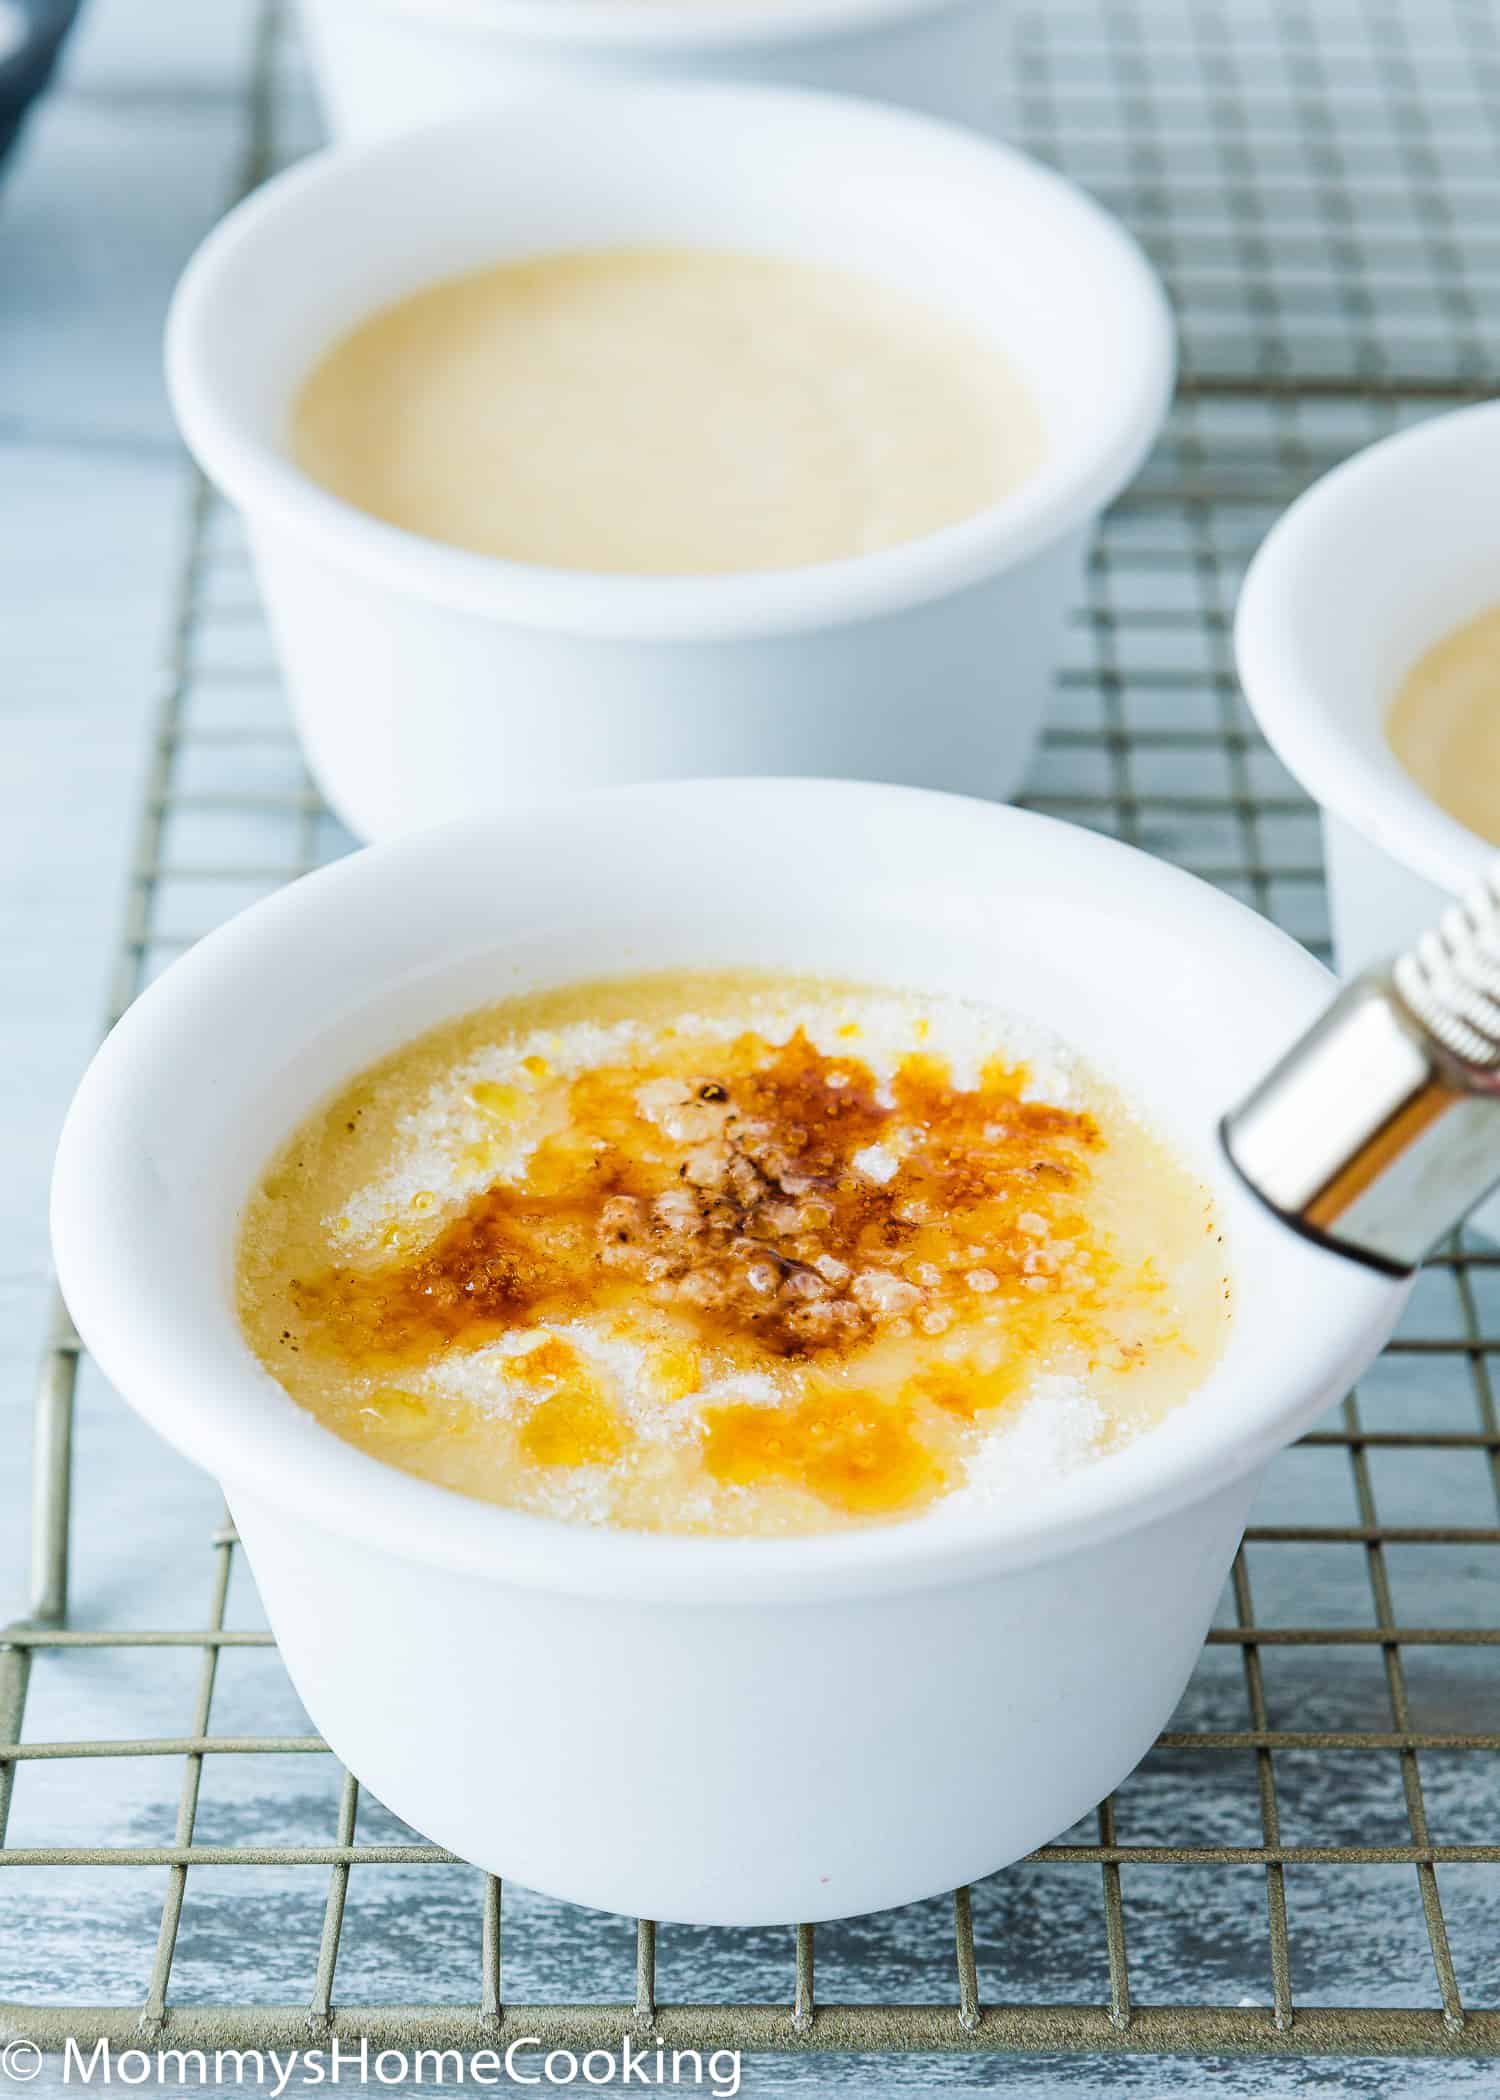
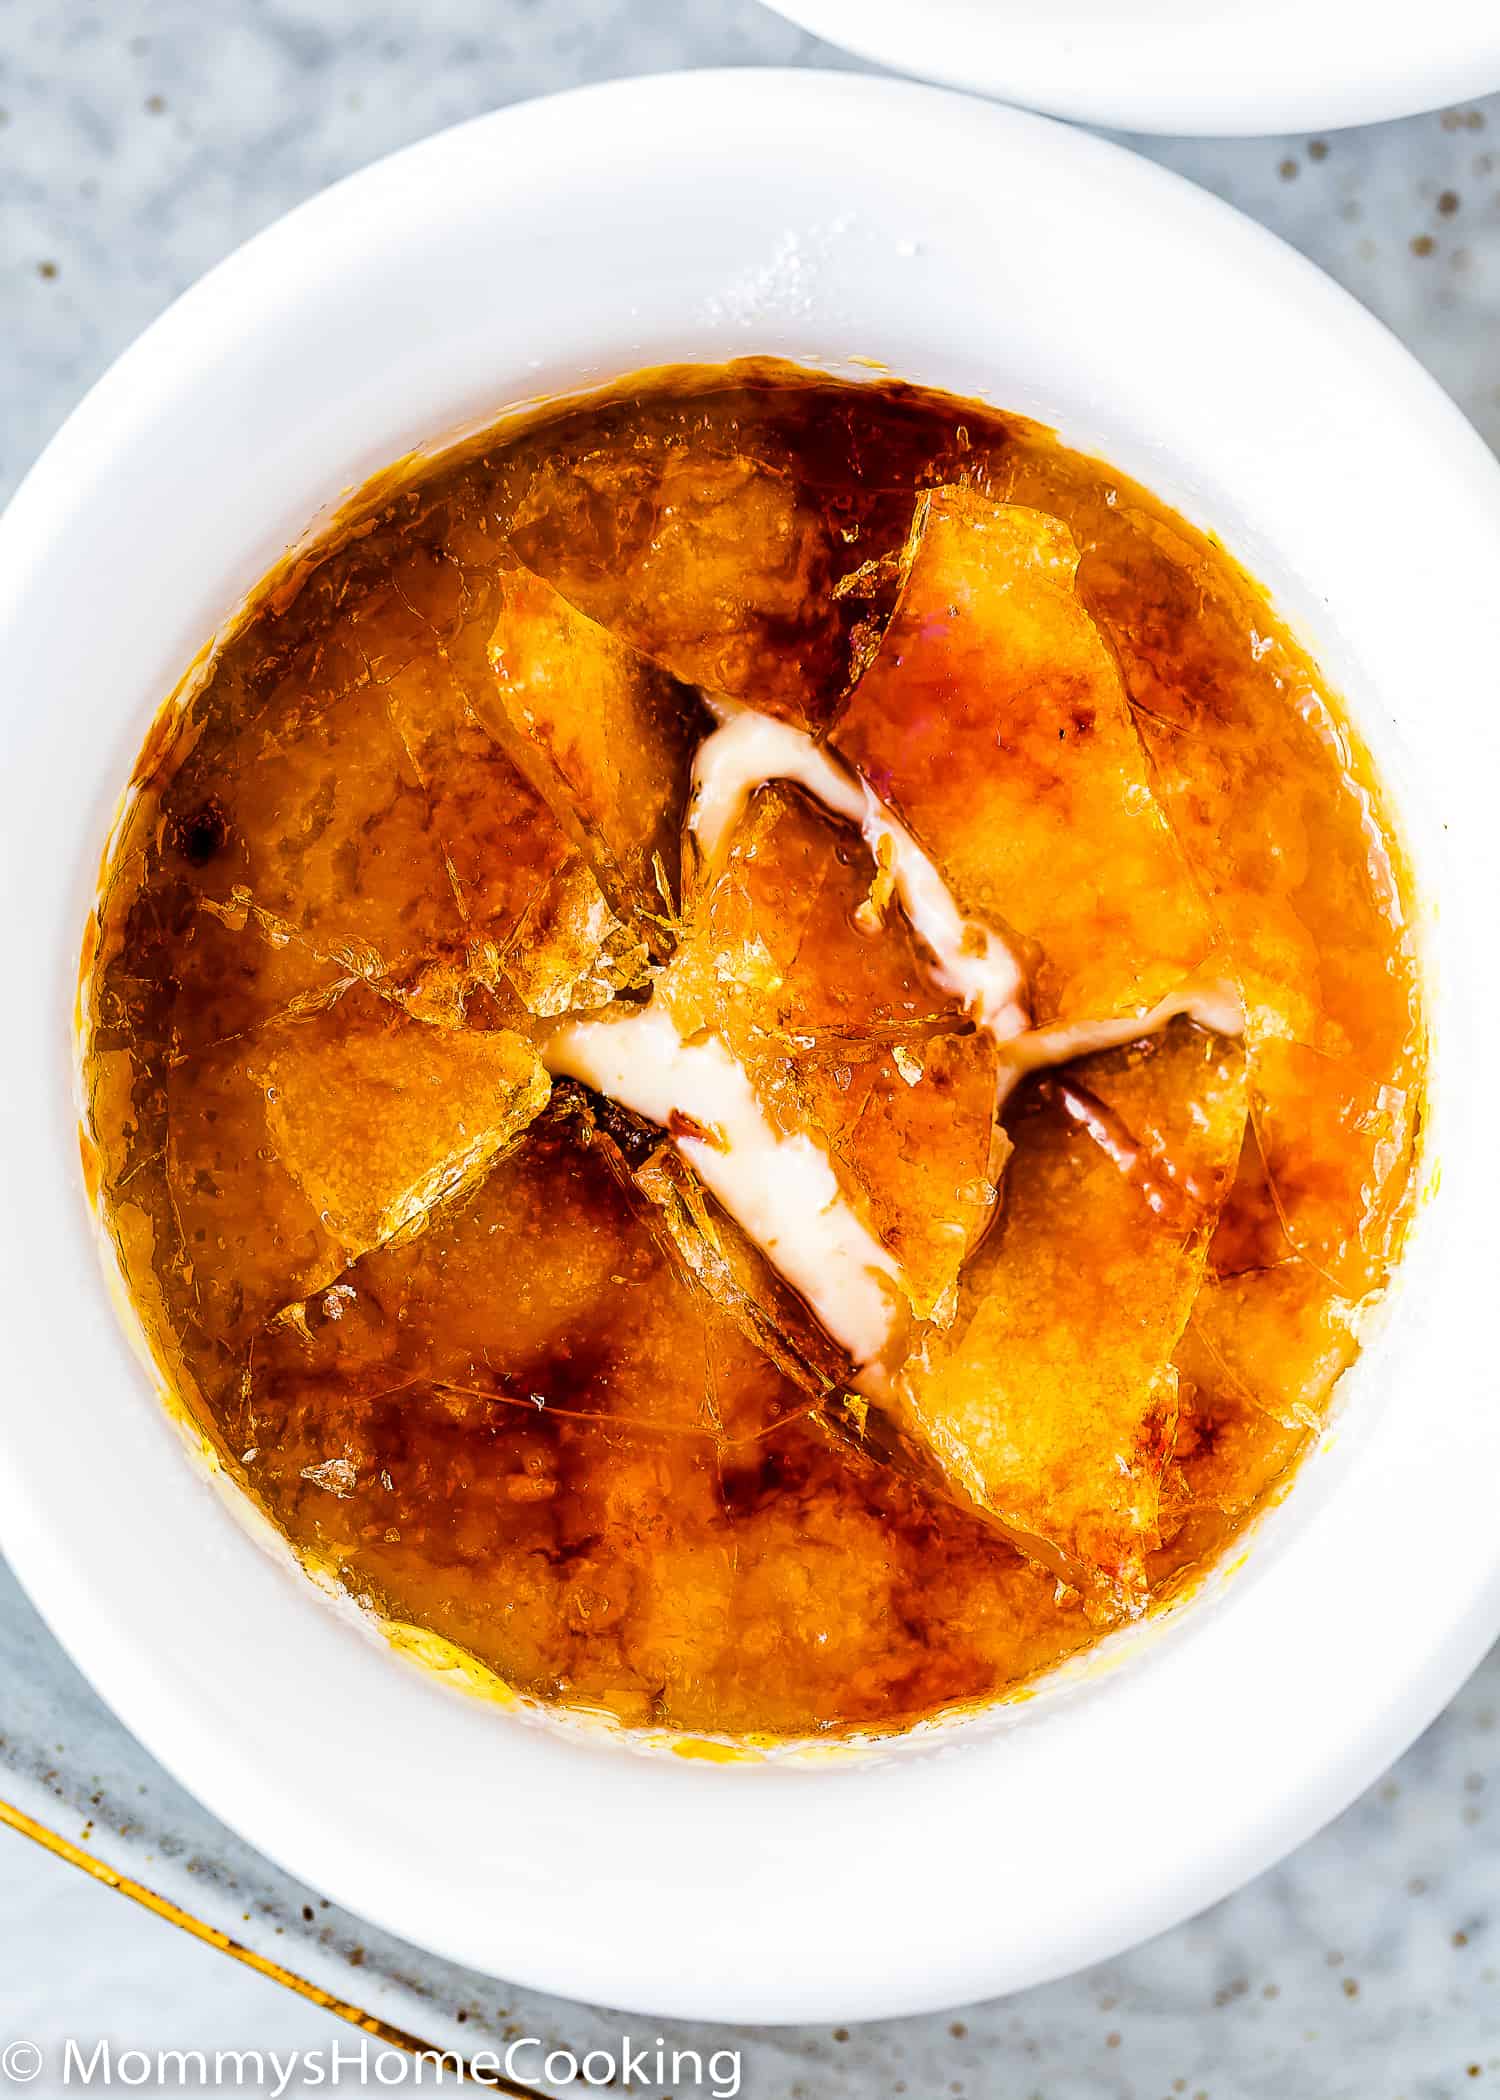
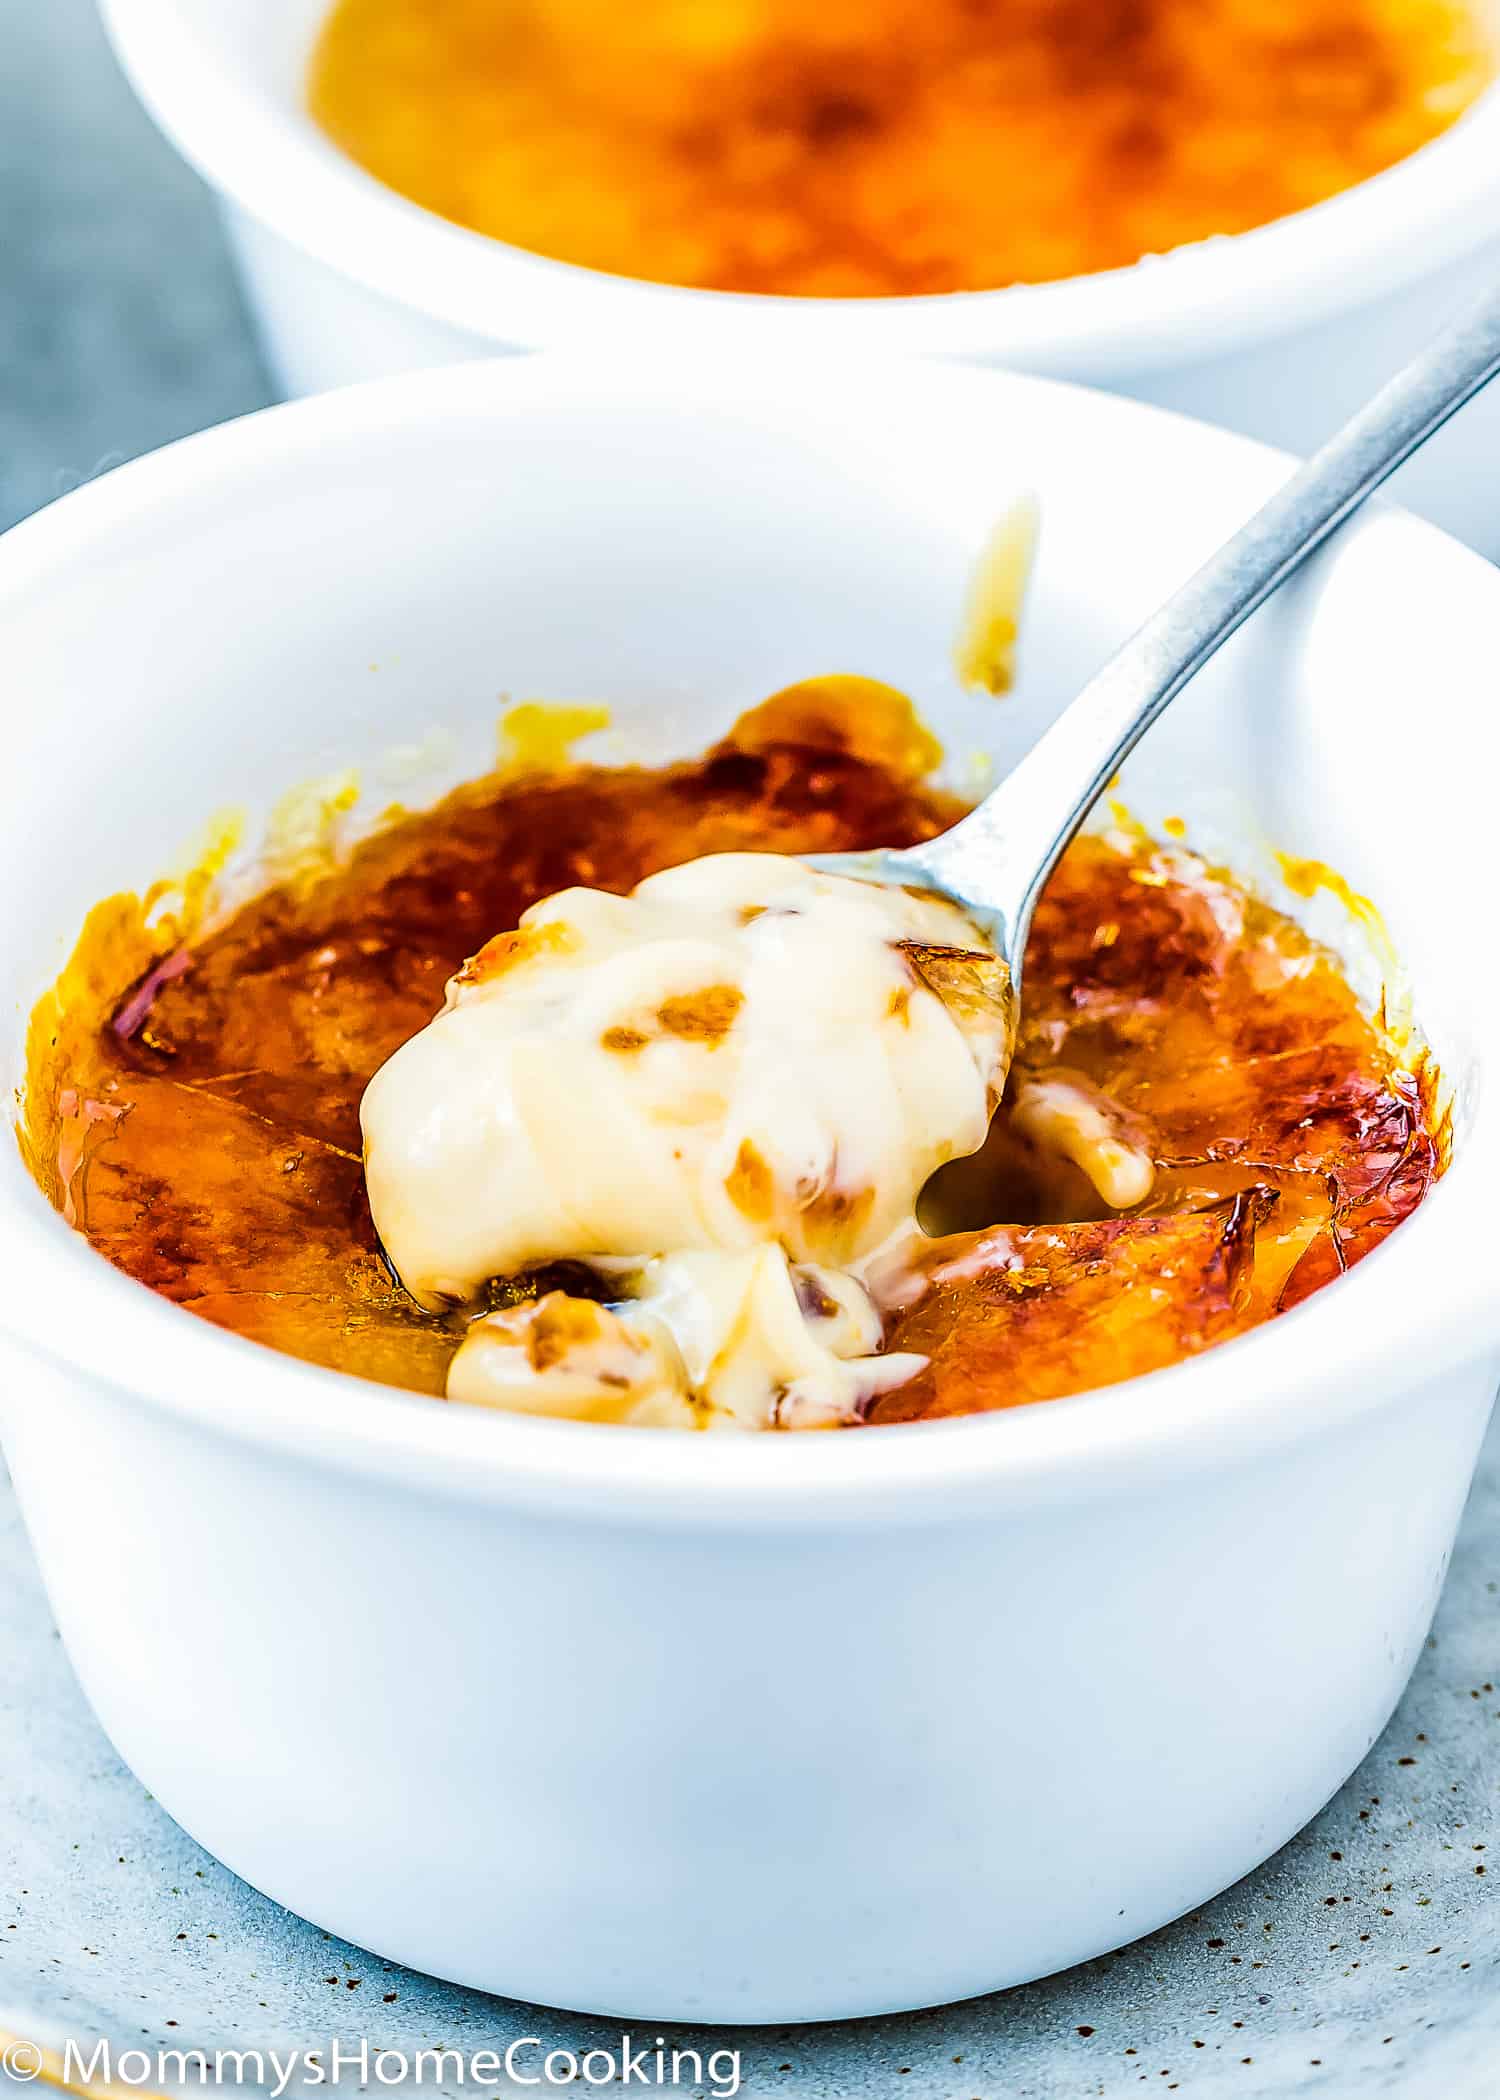
This Crème Brûlée (French for “burnt cream”) is a creamy, pudding-like dessert with a brittle top of melted sugar that cracks when you gently tap it with a spoon. Irresistible….right?
One of the things I love about Creme Brûlée is that you can make it a few hours or even a few days in advance and finish off the topping just before you’re ready to serve. Plus, no water bath is needed since it’s a no-bake dessert.
These Egg-Free Crème Brûlée are silky smooth, rich, and elegant! Your guests would be wowed by this delicious and perfect sweet treat.
If you like custard desserts you’ll love my The Best Eggless Banana Pudding Recipe, Easy Eggless Coconut Cream Pie (from scratch), and Eggless Fruit Tart.
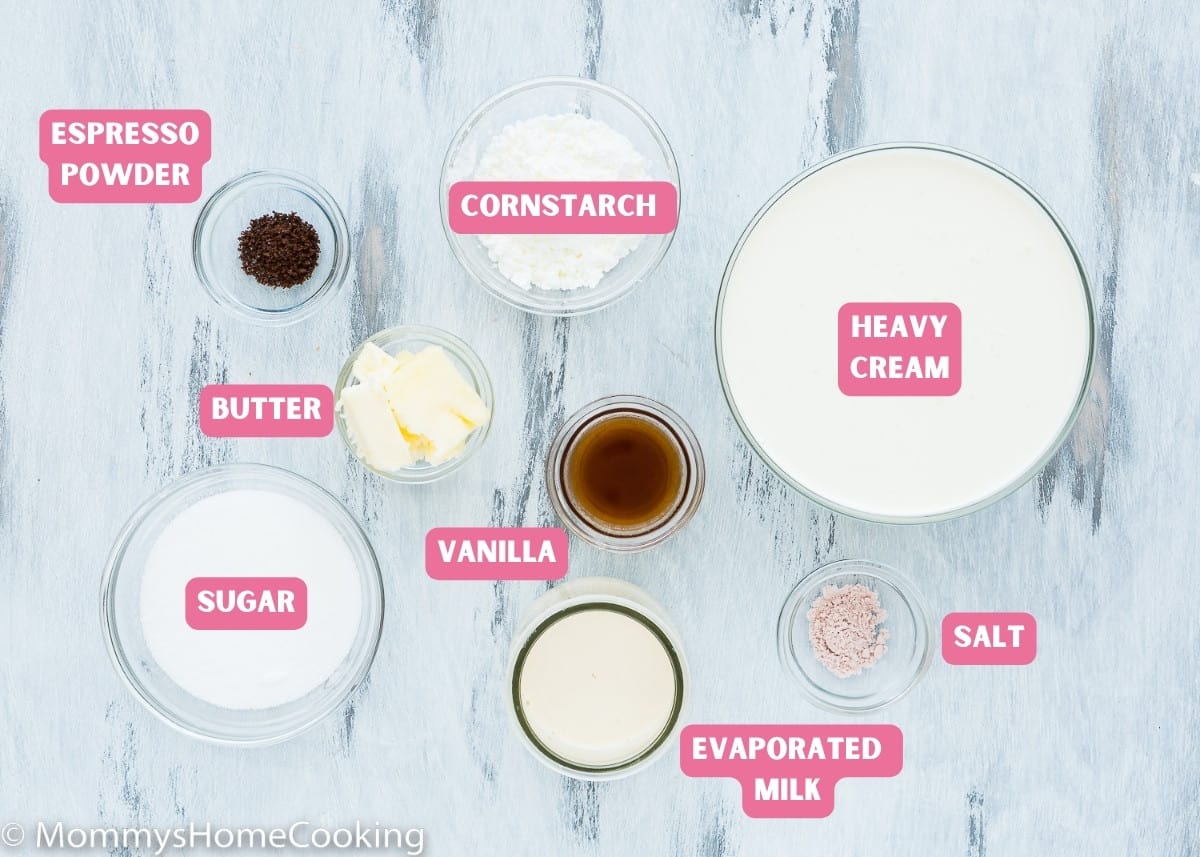
Ingredients You’ll Need
Please check the recipe card at the bottom of the post for exact quantities and instructions (scroll down).
Ingredients Notes & Substitutions
- Sugar: Regular white granulated sugar o caster sugar.
- Cornstarch: You can substitute for potato starch 1:1.
- Salt: When making custards, I like to use black salt, which tastes and smells like hard-boiled egg yolks. This salt is used in many vegan/eggless recipes to mimic the flavor of the eggs. It can be found in gourmet grocery stores or online on Amazon. You don’t have black salt? No problem! Just use regular salt. The pastry cream won’t have an eggy flavor but will be still delicious regardless. When using regular salt, I prefer kosher or sea salt. If you only have table salt handy, I recommend reducing the amount to half.
- Evaporated milk: You don’t have evaporated milk? No problem!! Check out my post about How to Make Evaporated Milk at home.
- Heavy cream: Make sure it has at least 35% of fat content.
- Espresso powder: This is optional but recommended.
- Vanilla extract: For optimal flavor, reach for pure vanilla instead of imitation. Even better, try homemade vanilla extract!
- Butter: I prefer to use unsalted butter, but if you only have salted butter handy, you can use it. In this case, skip the salt called in the recipe.
Step By Step Recipe Photo Tutorial
Please check the recipe card at the bottom of the post for exact quantities and instructions (scroll down).
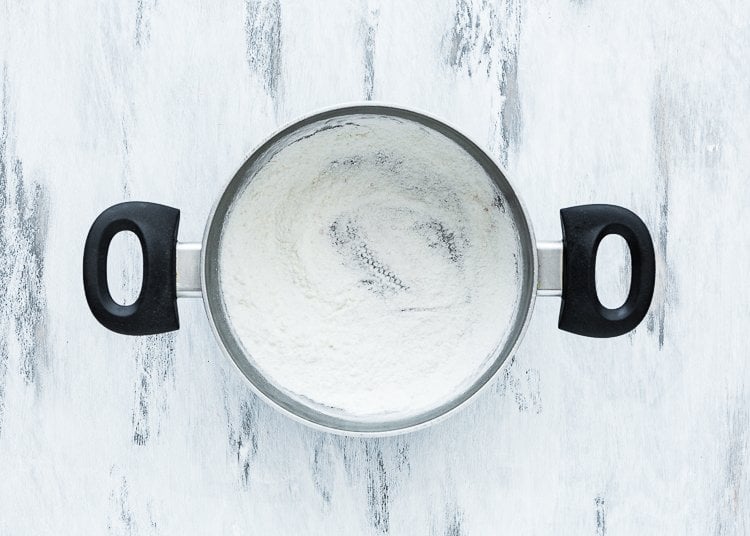
1 – Whisk sugar, cornstarch, and salt in a medium saucepan.
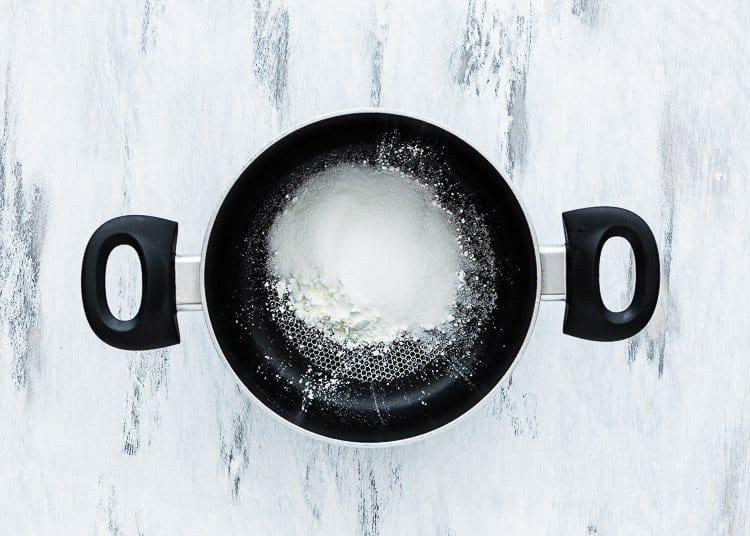
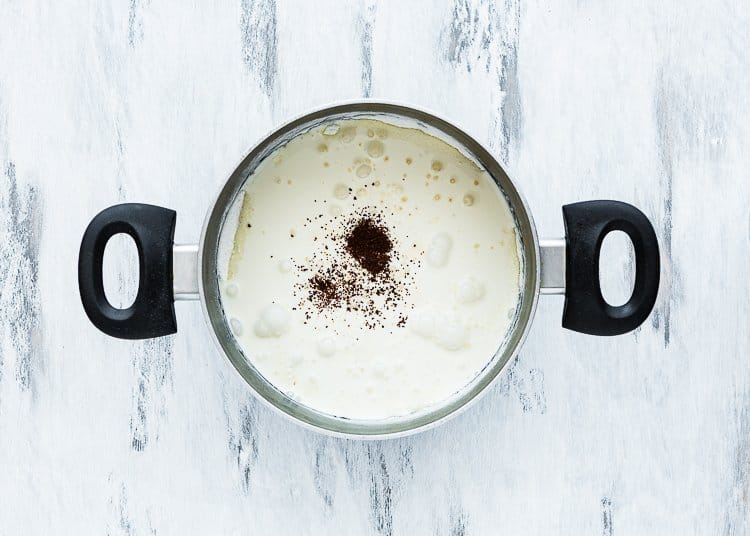
2 – Add evaporated milk, heavy cream, and espresso powder (if using); mix to combine.
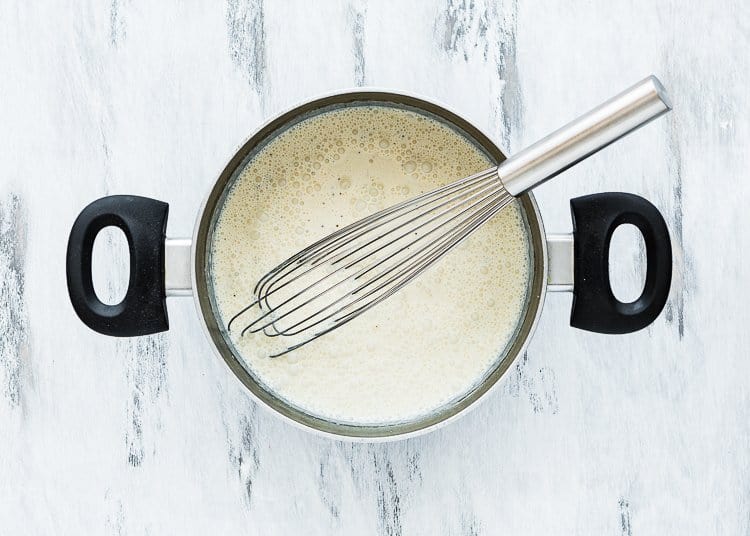
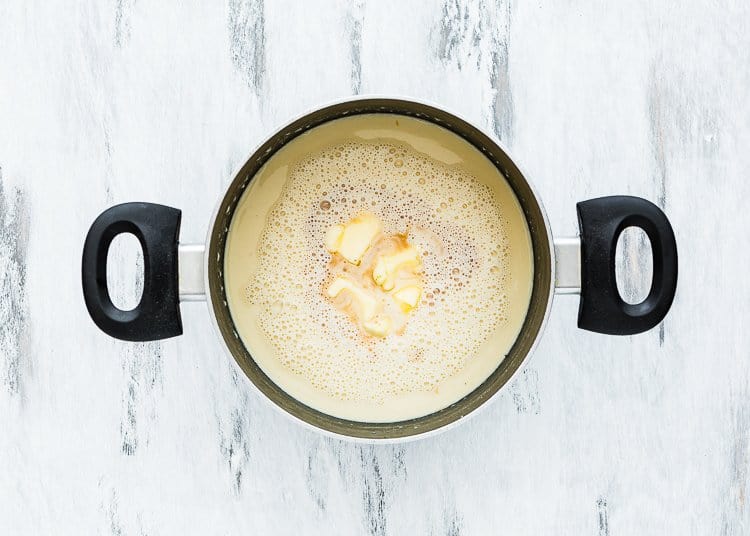
3 – Turn heat on to medium-low heat. Start stirring constantly; as soon as it begins to simmer, keep stirring, and let it thicken a little, about 2 minutes. Do not let it boil; just simmer gently. Remove from heat. Stir in the vanilla extract and butter.
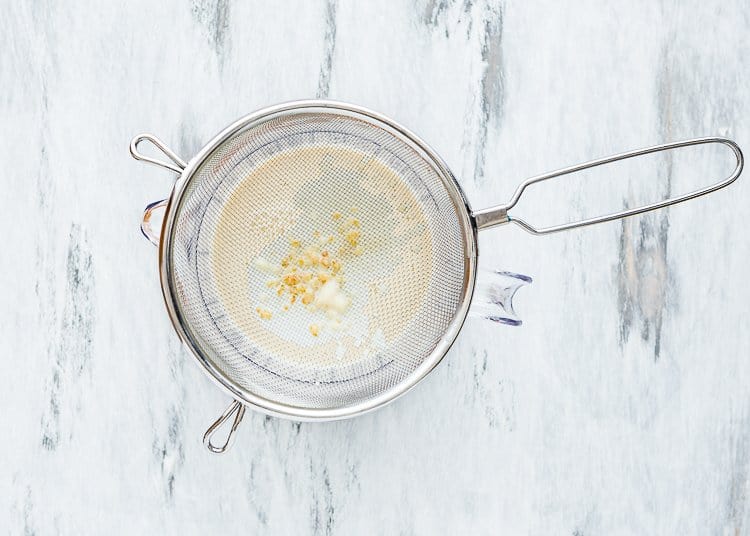
4 – Strain mixture through a fine strainer.
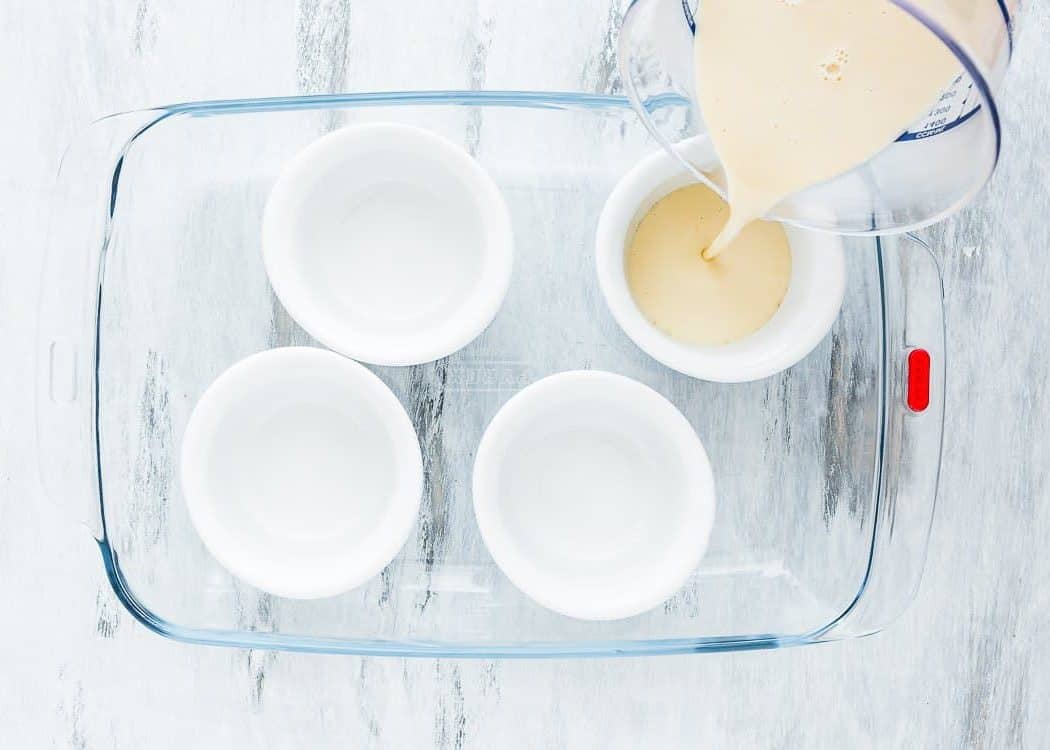
5 – Divide the mixture between the ramekins. Let them cool.
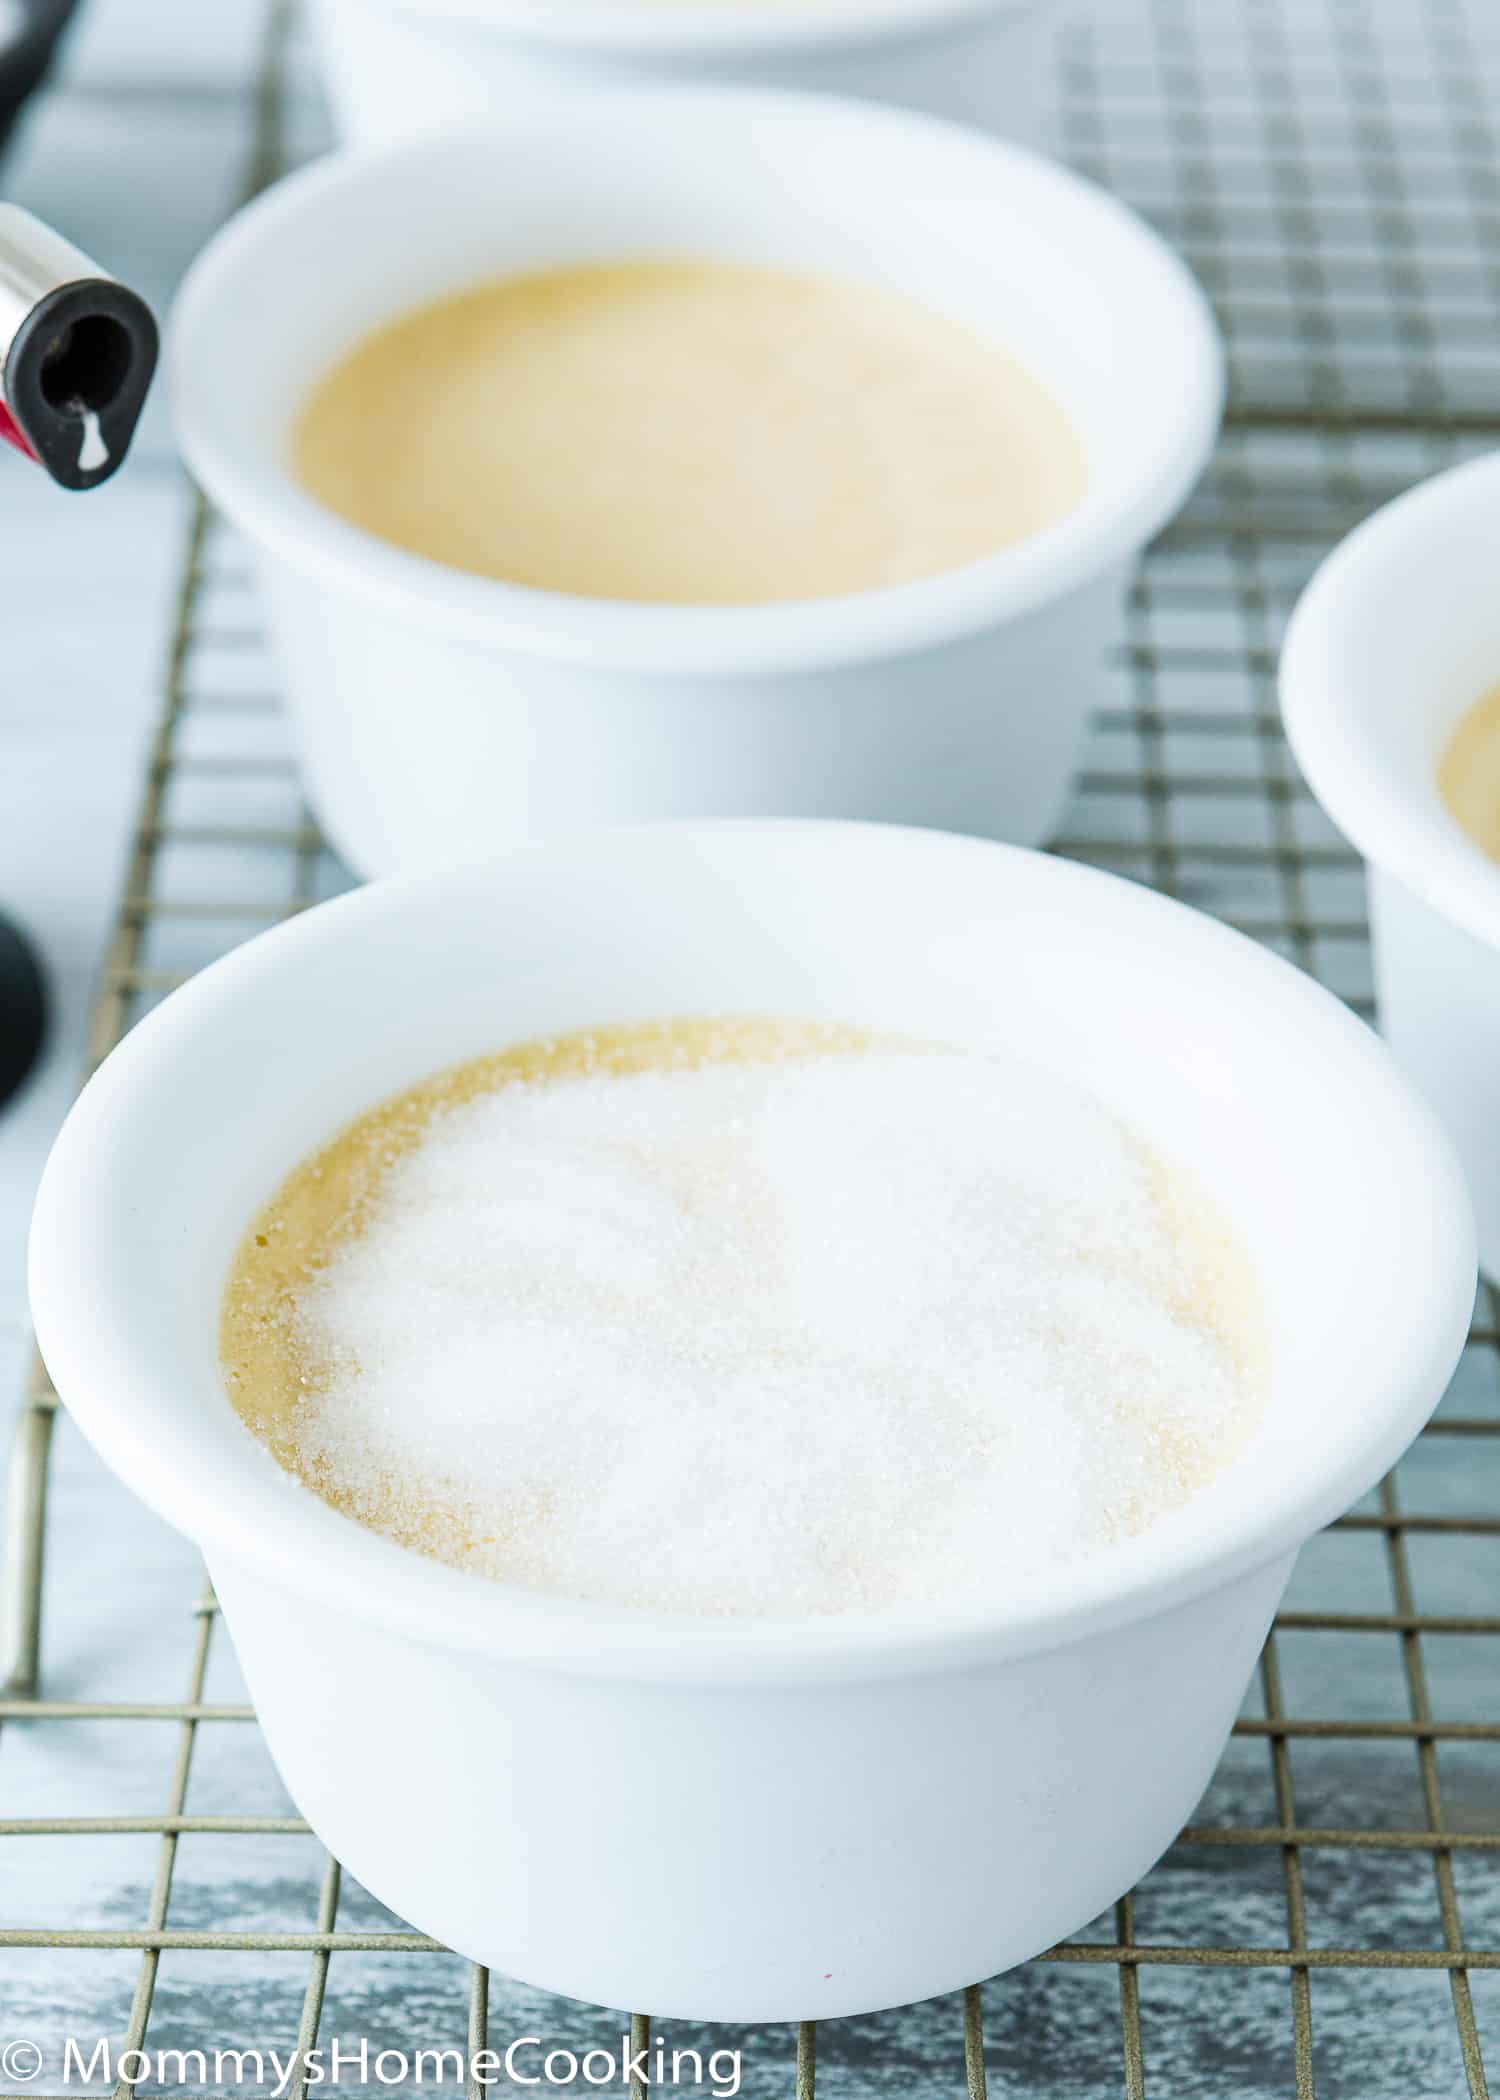
6 – When ready to serve, sprinkle a thin layer of granulated sugar all over the surface of the chilled crème Brûlée. Caramelize the sugar with a kitchen torch just before serving.
Eggless Crème Brûlée Without Ramekins
No kitchen ramekins? No problem! Use a large wide ceramic or glass dish. It might take longer to completely cool in the refrigerator.
Eggless Crème Brûlée Without Torch
No kitchen torch? No problem! Place the ramekins in the oven 2 to 3 inches from the heat source. Turn on the broiler. Cook until sugar melts and browns or even blackens a bit; depending on the oven, it could take about 3-5 minutes. I highly recommend keeping a close eye on it because they can burn in a flash.
Pro Tip: If using the broiler, be sure to let the custard set for several hours in the refrigerator before brûléeing the top; otherwise, you’ll end up with a soupy dessert.
Tips To Make Eggless Crème Brûlée
Since we are not using eggs the mixture won’t be as yellow as the classic version. If you want your eggless crème Brulee to be yellow-ish, add a couple of drops of yellow food coloring; of course, this is totally optional.
If you don’t have ramekins, use a large wide ceramic or glass dish.
Let the eggless Crème Brulee refrigerate overnight in the refrigerator before serving.
When ready to caramelize the tops, make sure to cover the entire surface with a thin layer of granulated sugar, with no exposed custard. Since the cooled custard could curdle with the heat.
If you don’t have a kitchen torch, place ramekins in a broiler 2 to 3 inches from the heat source. Turn on the broiler. Cook until sugar melts and browns or even blackens a bit, about 3-5 minutes. I highly recommend keeping a close eye on it because they can burn in a flash.
If using the broiler, be sure to let the custard set for several hours in the refrigerator before brûléeing the top; otherwise, you’ll end up with a soupy dessert.
Frequently Asked Questions
Crème Brûlée, French for u0022burnt cream”, is a creamy, pudding-like dessert with a brittle top of melted sugar that cracks when you gently tap it with a spoon.
Yes, you can! This egg-free version of creme brulee uses starch to thicken the custard and evaporated milk to add richness. It’s delicious and super easy to make since it does not require a water bath or baking time.
Absolutely! Place the ramekins in the oven 2 to 3 inches from the heat source. Turn on the broiler. Cook until sugar melts and browns or even blackens a bit; depending on the oven, it could take about 3-5 minutes. I highly recommend keeping a close eye on it because they can burn in a flash.
Yes, you can!
Yes, you can omit the coffee. Personally, I think the coffee adds an extra layer of flavor that makes the creme brulee super delicious. The custard doesn’t necessarily taste like coffee, it’s more like a subtle touch.
In my opinion, shallow ramekins are the best, so the custard sets easily, and there is more surface area for the caramelized sugar. I suggest these oval ramekins.
Probably the custard didn’t have the right consistency. This could happen because 1) heating the custard mixture too fast, which doesn’t give the sugar the chance to melt properly, or 2) simply not cooking the mixture for long enough. It takes time, but make sure the custard is thickened before you remove it from the heat. It should be thick enough that it coats the back of a spoon before you remove it from the heat.
Make Ahead Eggless Crème Brûlée
This is the perfect make-ahead dessert! You can make the mixture, chill completely, then wrap with plastic wrap and store for a few hours or up to 3 days before finishing and serving.
Storing Instructions
Wrap tightly with plastic wrap and refrigerate for up to 3 days. I highly recommend caramelizing the sugar on top just before serving.
More Eggless Dessert Recipes You’ll Love!
- Best Eggless Cheesecake
- Easy Eggless Lemon Bars
- Easy Eggless Key Lime Pie
- Easy Eggless Pastry Cream
- Easy Mango Panna Cotta
- more recipes…
❤️ Love what you see? JOIN my Private Baking Club. Also, SUBSCRIBE to Mommy’s Home Cooking, so you’ll never miss a recipe! And FOLLOW along on Instagram, Pinterest, and Facebook for more fun!
Easy Eggless Crème Brûlée
Ingredients
- 1/3 cup (75 g) granulated sugar
- 3 tablespoons (30 g) cornstarch
- ¼ teaspoon black salt (see notes)
- 3 tablespoons (45 ml) evaporated milk
- 1 3/4 cup (420 ml) heavy cream
- 1/4 teaspoon instant espresso powder (optional but recommended)
- 1 teaspoon (5 ml) pure vanilla extract
- 1 tablespoon (14 g) unsalted butter
Instructions
- Whisk sugar, cornstarch, and black salt in a medium saucepan.
- Add evaporated milk, heavy cream, and espresso powder (if using); mix to combine.
- Turn heat on to medium-low heat. Start stirring constantly, as soon as it begins to simmer, reduce heat to low and keep stirring; let the mixture thicken, for about 2 – 3 minutes. Do not let it boil, just simmering gently. Keep a close eye on it because the mixture can burn in a flash. Remove from heat. Stir in the vanilla extract and butter. NOTE: Make sure the custard is thickened before you remove it from the heat. It should be thick enough that it coats the back of a spoon before you remove it from the heat.
- Divide mixture between ramekins. NOTE: I used 4 (6oz) ramekins.
- Place on a wire rack to cool for 2 hours. Place in the refrigerator, loosely covered, and chill for at least 6 hours, preferably overnight, and up to 3 days.
- When ready to serve, sprinkle a thin layer of granulated sugar all over the surface of the chilled Crème Brûlée. Caramelize the sugar with a kitchen torch just before serving. NOTE: if you don't have a kitchen torch, place ramekins in a broiler 2 to 3 inches from heat source. Turn on the broiler. Cook until sugar melts and browns or even blackens a bit, about 3-5 minutes. Be careful because they can burn fast.
- Since we are not using eggs the mixture won’t be as yellow as the classic version. If you want your eggless crème Brulee to be yellow-ish add a couple of drops of yellow food coloring; of course, this is totally optional.
- If you don’t have ramekins, use a large wide ceramic or glass dish.
- Let the eggless Crème Brulee refrigerate overnight in the refrigerator before serving.
- When ready to caramelize the tops, make sure to cover the entire surface with a thin layer of granulated sugar, with no exposed custard. Since the cooled custard could curdle with the heat.
- If you don’t have a kitchen torch, place ramekins in a broiler 2 to 3 inches from the heat source. Turn on the broiler. Cook until sugar melts and browns or even blackens a bit, about 3-5 minutes. I highly recommend keeping a close eye on it because they can burn in a flash.
- If using the broiler, be sure to let the custard set for several hours in the refrigerator before brûléeing the top; otherwise, you’ll end up with a soupy dessert.
Nutrition
Originally posted in May 2020, the post content was edited to add more helpful information, with no change to the recipe in July 2022.
