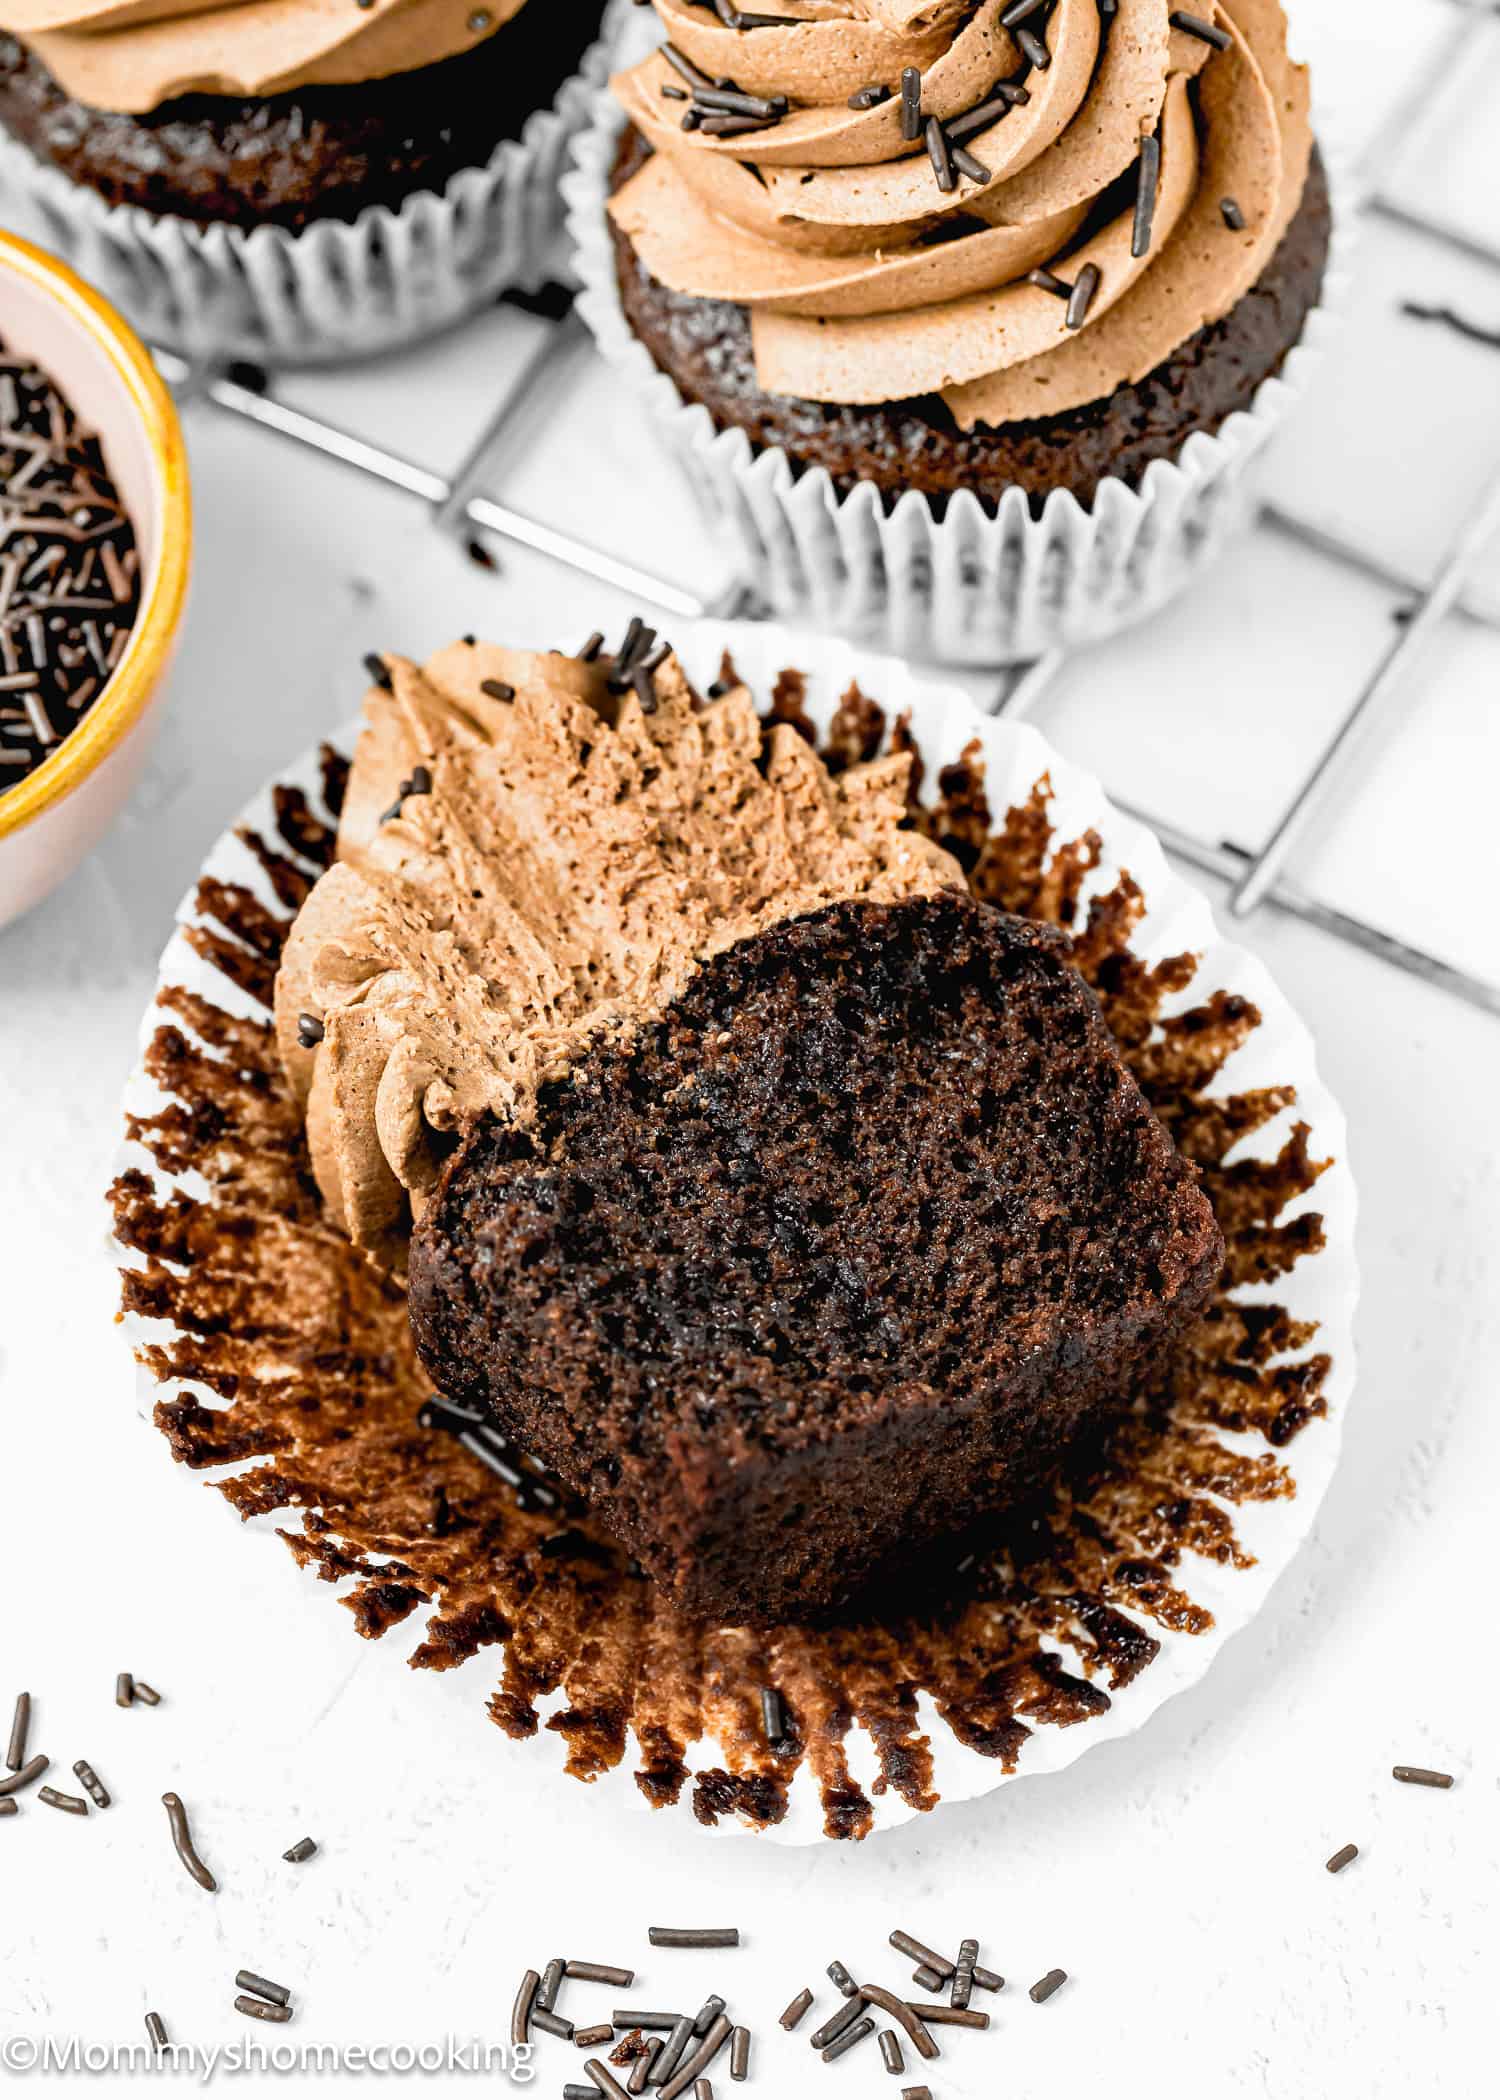
These Easy Chocolate Cupcakes are rich, moist, and bursting with chocolatey goodness. They’re also dairy-free, egg-free, and vegan-friendly. They’re a breeze to make, requiring just two bowls and a whisk—no mixer needed!
Chocolate Heaven: Quick & Easy Vegan Chocolate Cupcakes Recipe
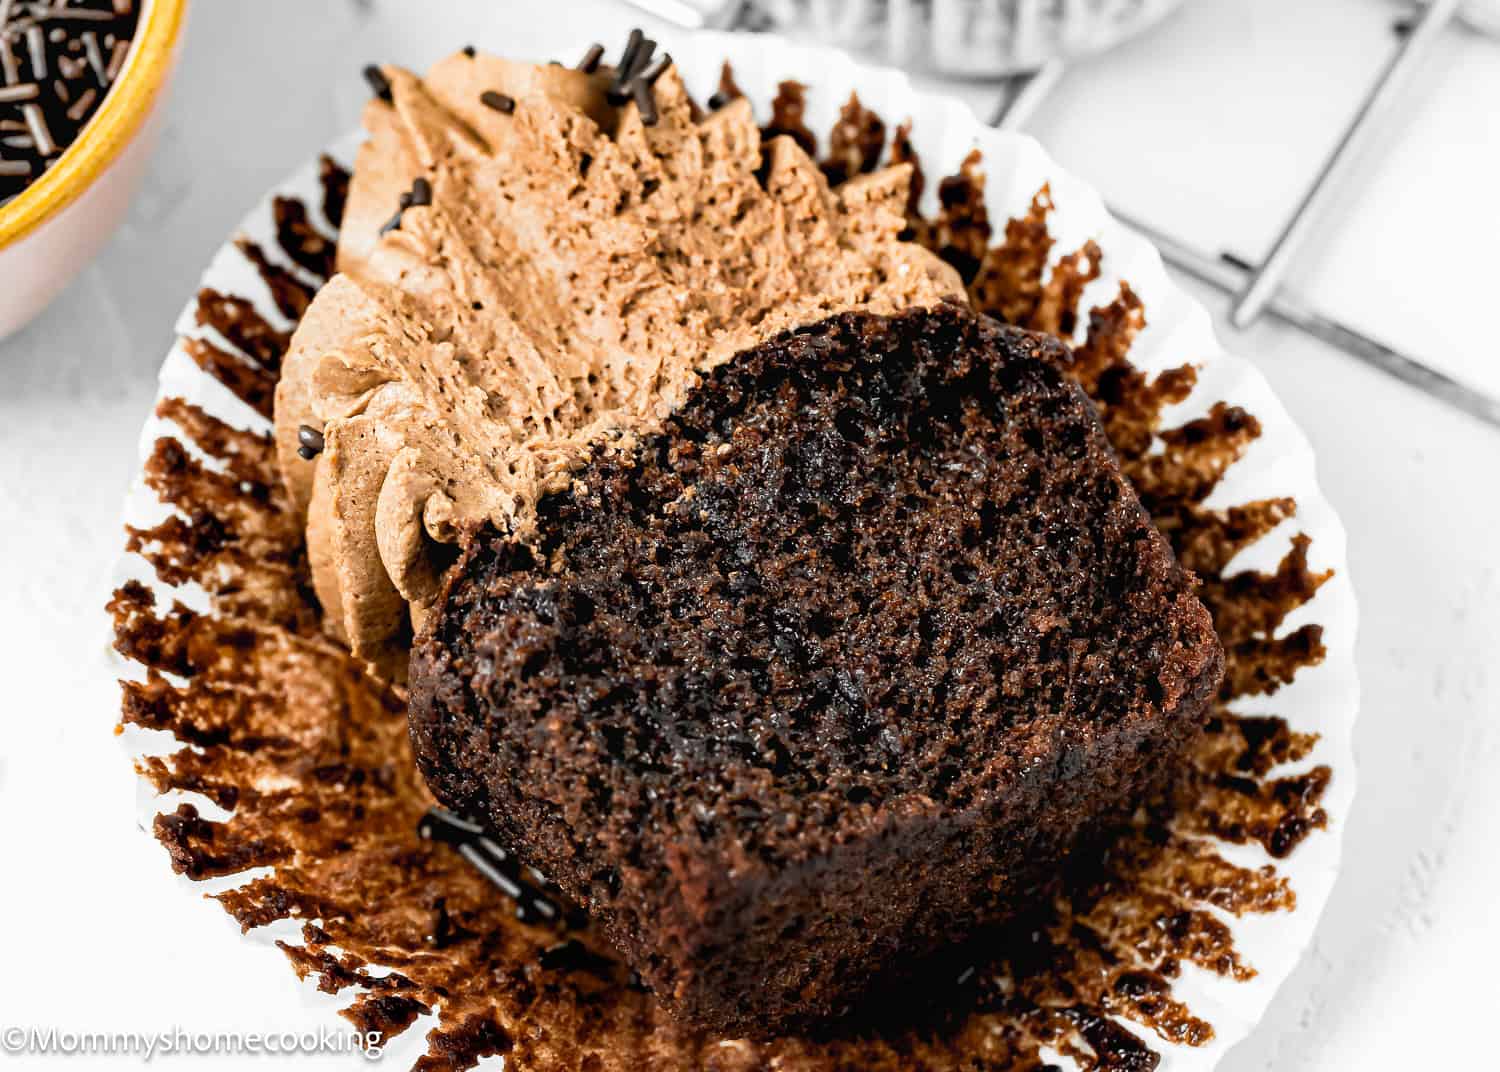
These Easy Vegan Chocolate Cupcakes are super moist, wonderfully fluffy, and packed with that irresistible chocolatey goodness we crave.
Plus, these cupcakes are egg-free, dairy-free, and vegan-friendly, so everyone can enjoy them. Whether you’re baking for a vegan friend, someone with food allergies, or just want a healthier option, these cupcakes have got you covered. They are made with pantry staples (no applesauce) you probably already have on hand.
Whether you’re celebrating a birthday, hosting a party, bringing a treat for your kid’s class, or just craving something sweet, these cupcakes are the perfect choice. They’re versatile enough to suit any occasion and sure to put a smile on everyone’s face.
Food Allergy Friendly Cupcakes To The Rescue!
As a mom with a highly allergic kid, navigating social events can feel like walking through a minefield of possible food triggers. But let me tell you about my lifesaver: Frozen Cupcakes. They’ve been an absolute game-changer for me and my daughter.
I whip up a batch ahead of time and pop them in the freezer so they’re always ready for school parties, birthdays, you name it. Social events used to stress me out, but my daughter never feels left out, thanks to these cupcakes (and my vanilla ones). I jazz them up with sprinkles, chocolate chips, you name it, and they steal the show every time!
What To Love About This Recipe
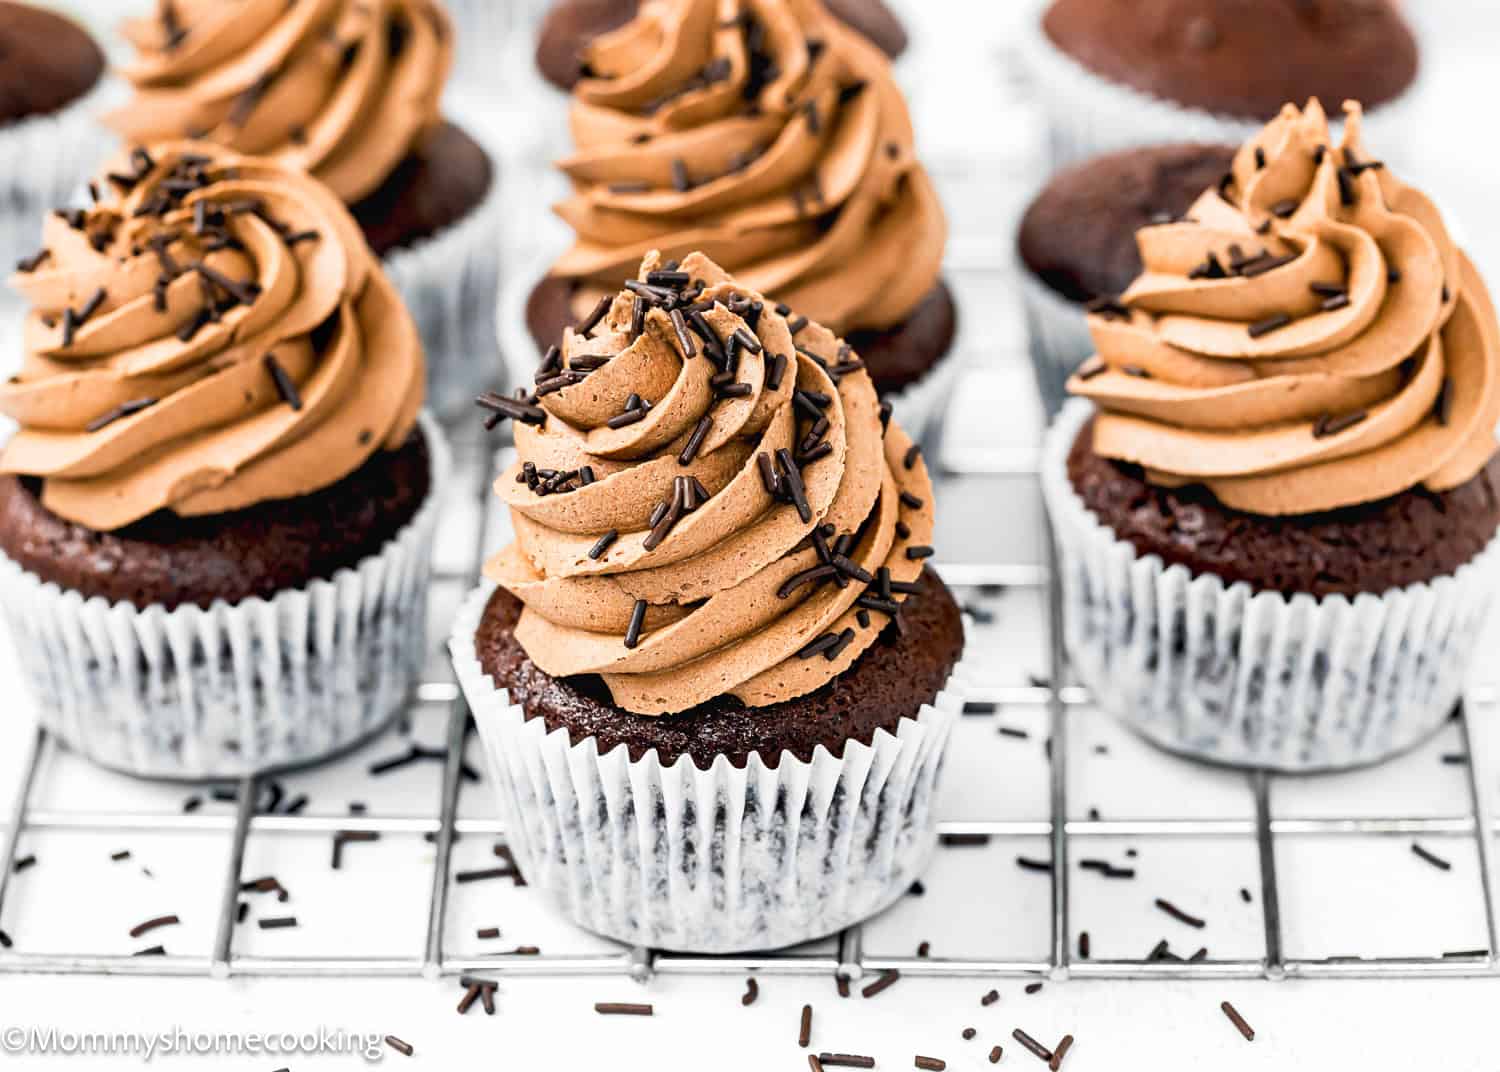
Easy to make – With just two bowls and a whisk, you can whip up a batch in no time. It’s all about simplicity without sacrificing flavor.
Made with Everyday Ingredients – Forget complicated recipes with a laundry list of ingredients. These cupcakes require pantry staples you likely already have on hand, making them perfect for spontaneous baking urges.
Perfect for Everyone – Whether you’re vegan, allergic to eggs, or avoiding dairy, these cupcakes are here to satisfy your sweet tooth. They’re made without eggs or dairy products but still deliver on taste and texture.
Dreamy Texture & Flavor – One bite into these cupcakes will greet you with a moist and fluffy texture complemented by the intense flavor of cocoa. It’s chocolate heaven in every bite!
Fun for Any Occasion – Whether you’re celebrating a birthday, bringing treats to your kid’s class, hosting a party, or just craving something sweet, these cupcakes are the perfect choice. They’re versatile enough to suit any occasion.
Ingredients You’ll Need, Substitutions & Notes
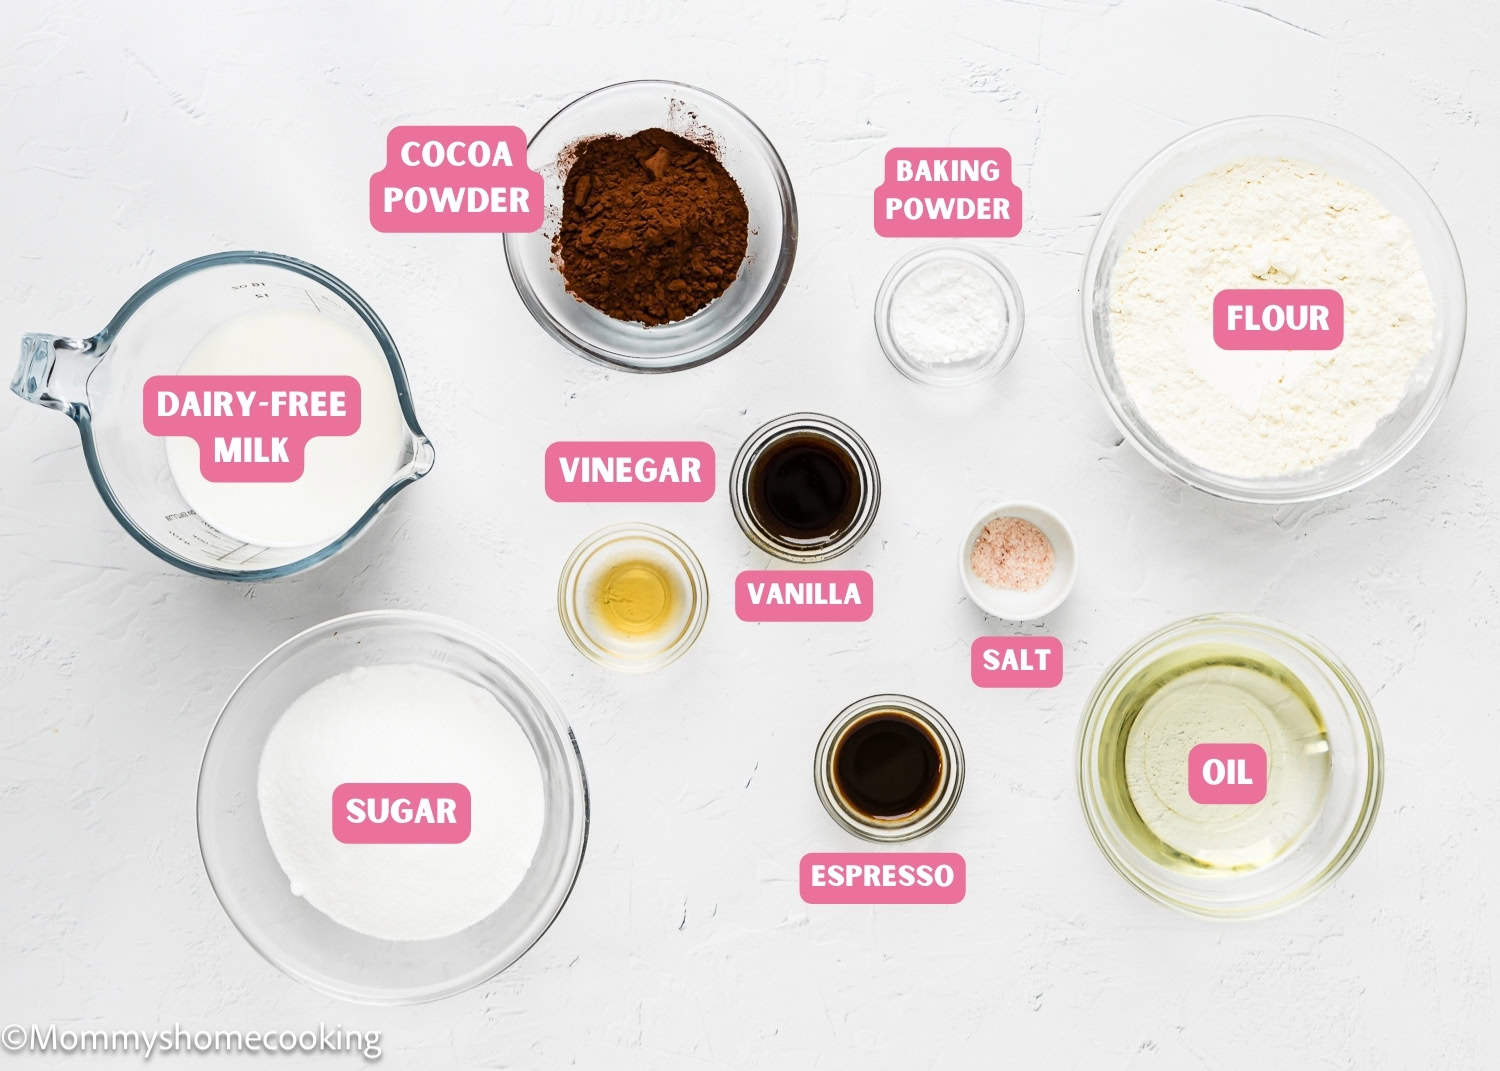
Please check the recipe card at the bottom of the post for exact quantities and detailed instructions (scroll down).
- All-purpose flour: Provides structure and texture to the cupcakes. Make sure to measure accurately. In my opinion, a kitchen scale is the best way to measure your ingredients.
- Cocoa Powder: Adds rich chocolate flavor and that signature dark color. I like to use unsweetened natural cocoa powder instead of Dutch-processed because it’s more acidic and reacts with baking powder, allowing your baked goods to rise; this is especially important in egg-free baking.
- Granulated sugar: Regular white granulated sugar or caster sugar. I do not recommend reducing the amount of sugar or changing the type of sugar, as it will change the texture of the cupcakes.
- Baking powder: Acts as a leavening agent, helping the cupcakes rise. Make sure it’s not expired or too old. To avoid a chemical aftertaste, use baking powder that is labeled aluminum-free. I usually use the Clabber Girl brand, and though the ingredients state aluminum, I’ve never noticed an aluminum aftertaste.
- Salt: Balances the sweetness and enhances the flavor. I prefer kosher or sea salt. If you only have table salt handy, I recommend reducing the amount to half.
- Dairy-free milk: Any non-dairy milk works great here. I recommend a neutral-tasting milk like soy or oat milk.
- Vinegar: Adds acidity, reacting with the baking powder to create lift and fluffiness in the cupcakes. You can use apple cider vinegar or white vinegar.
- Pure vanilla extract: Infuses the cupcakes with delicious vanilla flavor. Reach for pure vanilla instead of imitation for optimal flavor. Even better, try homemade vanilla extract!
- Neutral-tasting oil: Provides moisture to the cupcakes. Choose a neutral-tasting oil like vegetable or canola oil.
- Espresso powder: This is optional, but I recommend its addition because it enhances the chocolate flavor. Adding a little bit will make things taste more “chocolatey” without giving a coffee flavor. Alternatively, you can also add two teaspoons of strong coffee instead.
Process Overview: How To Make Chocolate Cupcakes Without Egg and Dairy Step-by-Step
Please check the recipe card at the bottom of the post for exact quantities and detailed instructions (scroll down).
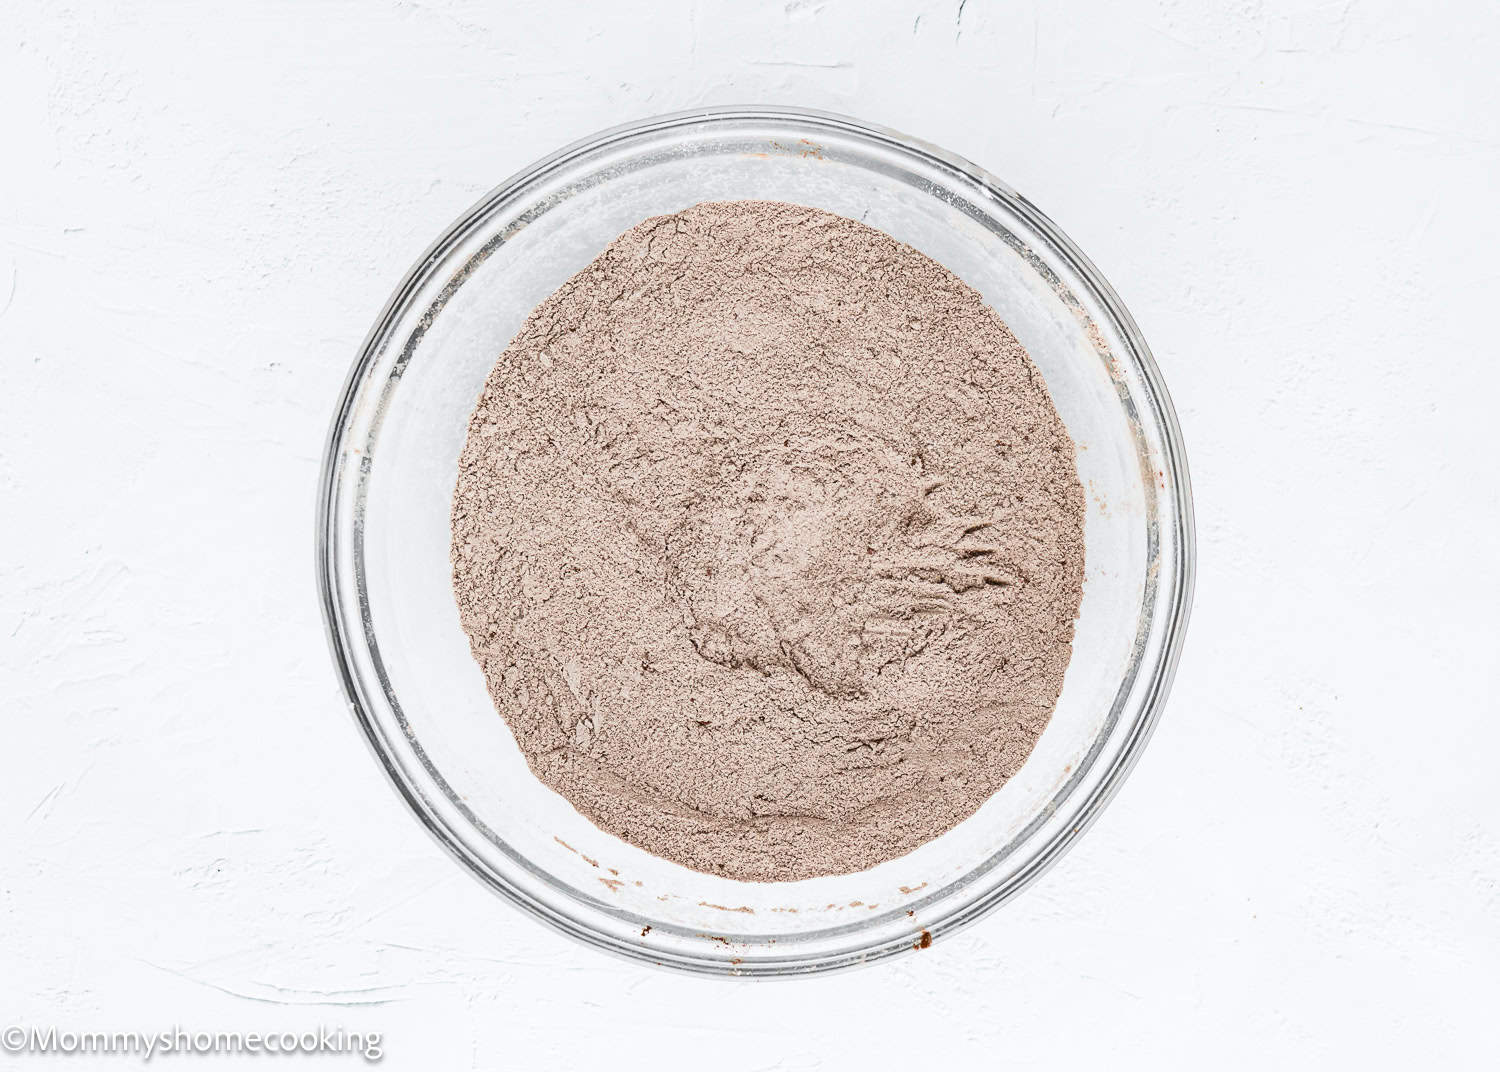
Step 1 – Mix Dry Ingredients
Whisk together flour, cocoa powder, sugar, baking powder, and salt in a large bowl. Set aside.
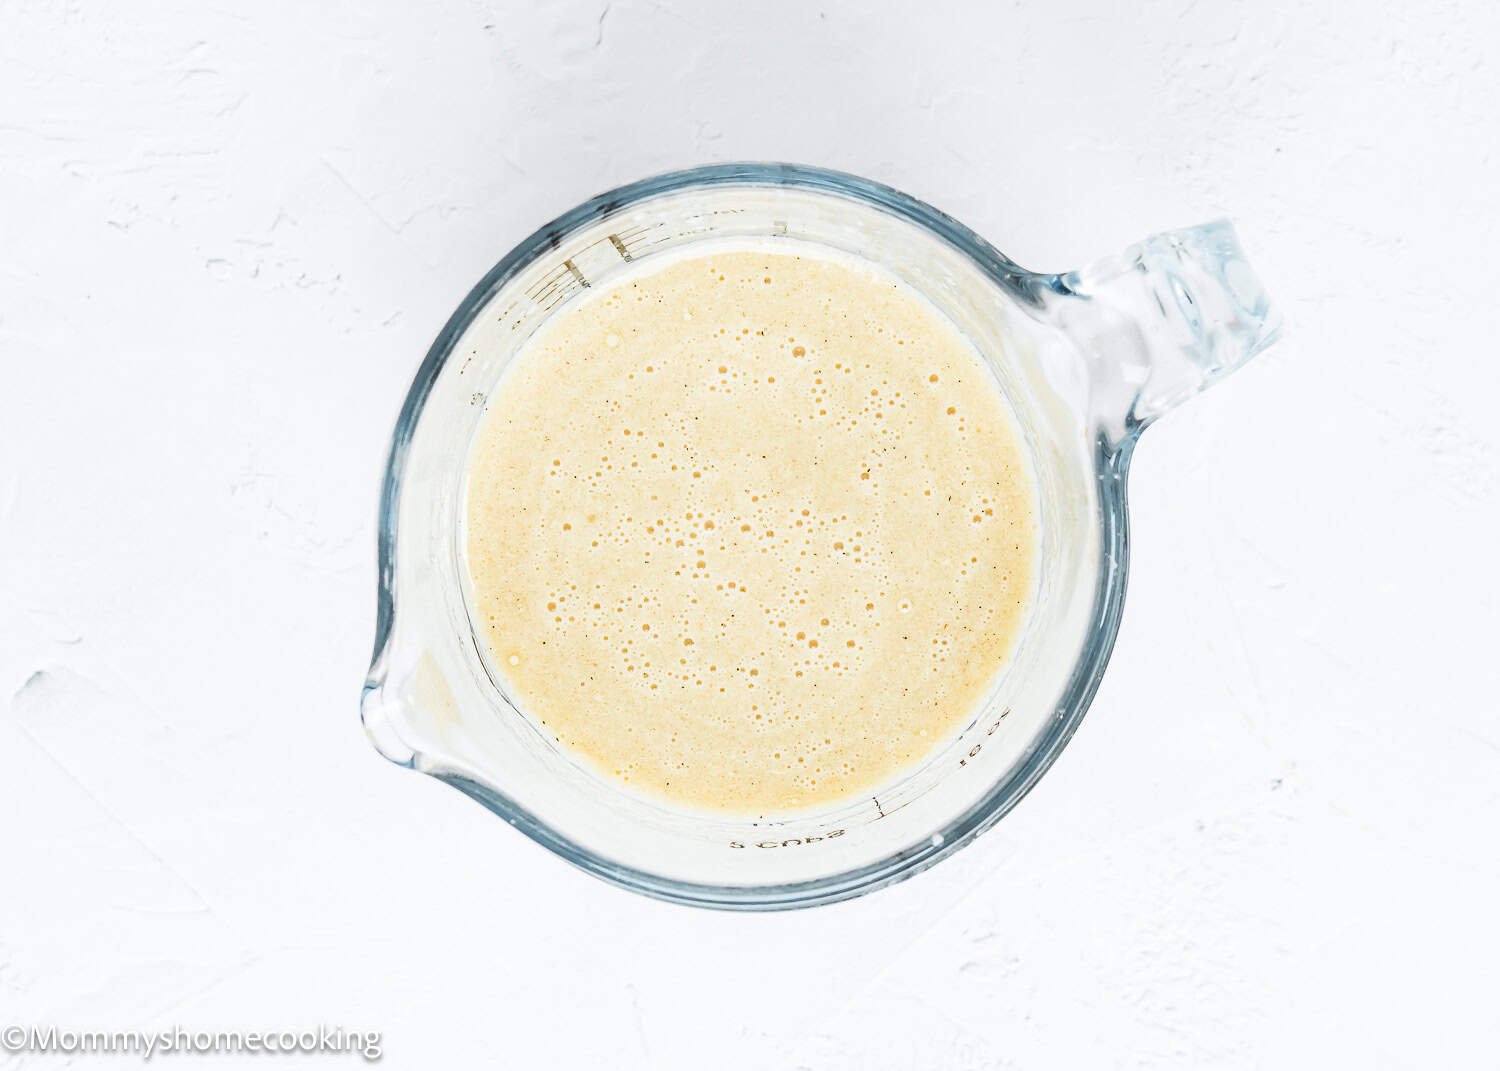
Step 2 – Whisk Wet Ingredients
Whisk together milk, vinegar, vanilla, oil, and espresso powder in a mixing bowl.
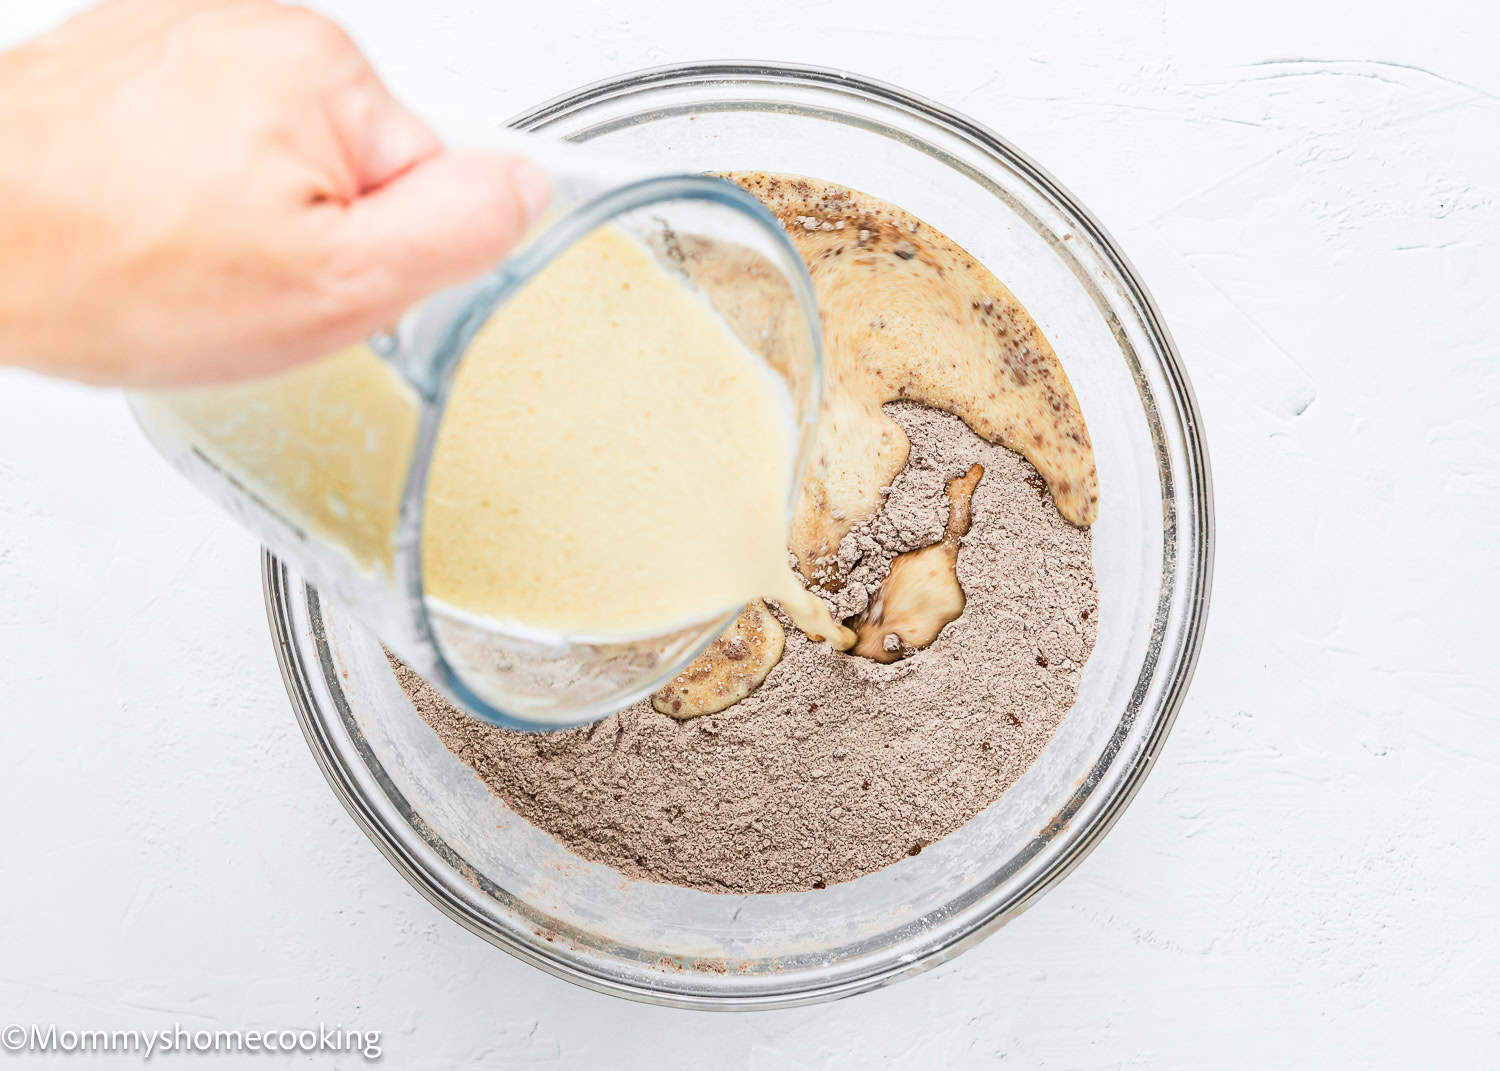
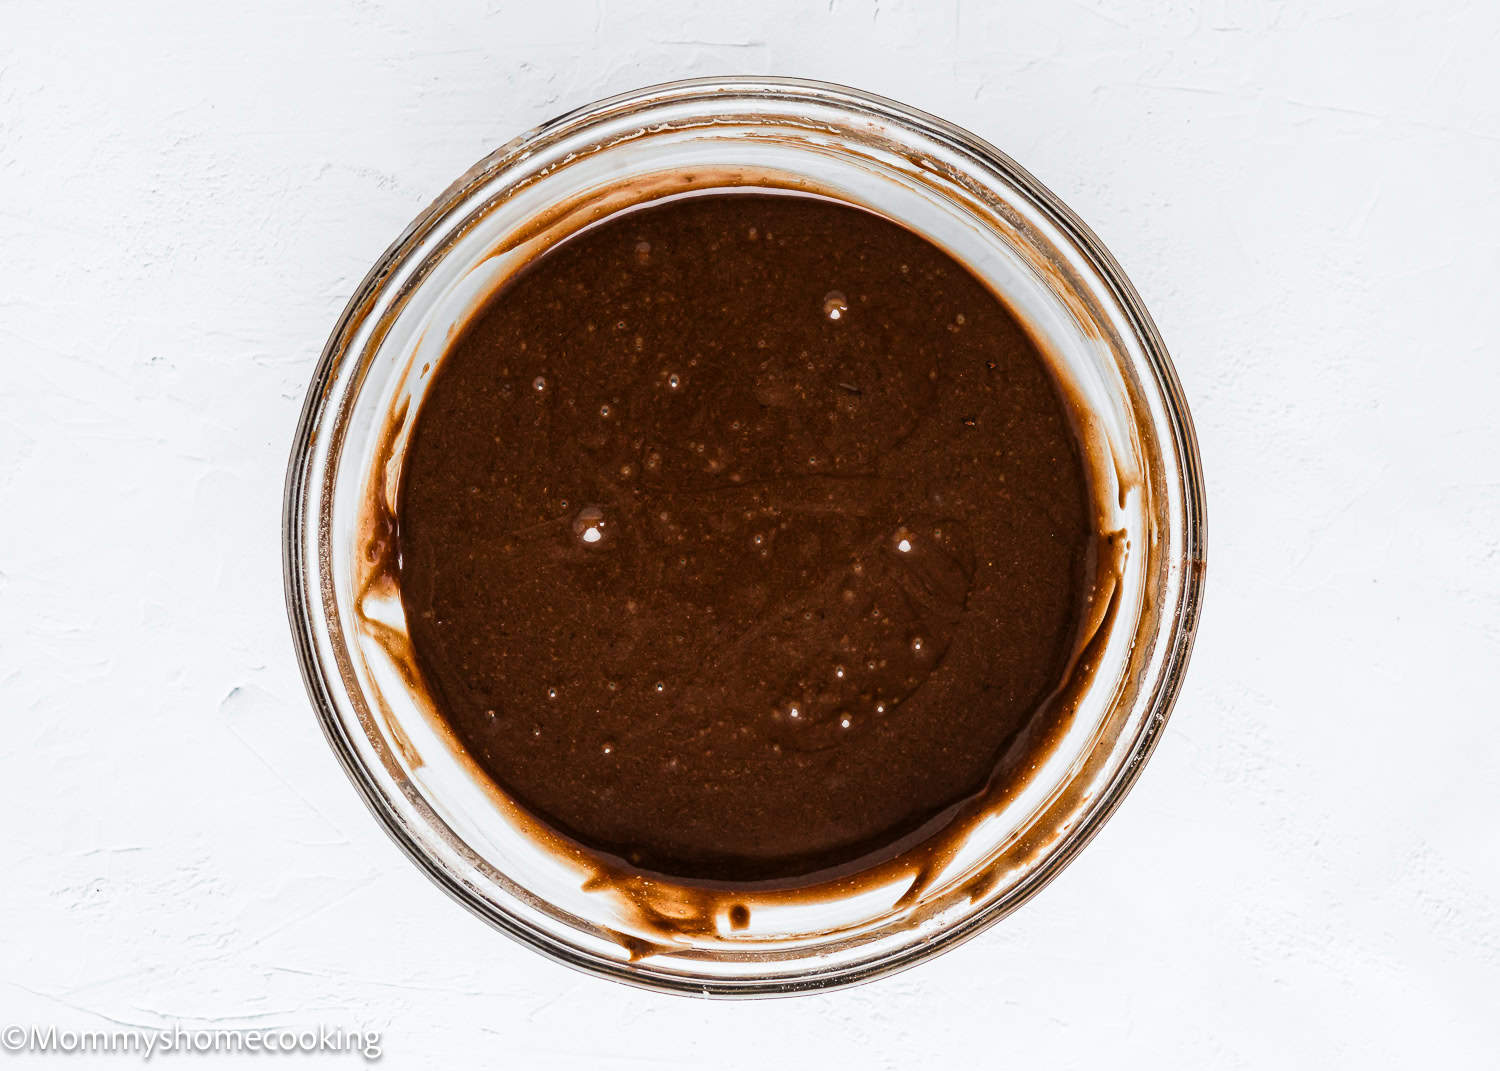
Step 3 – Combine Dry & Wet Ingredients
Add wet ingredients to the drying ingredients; mix and combine.
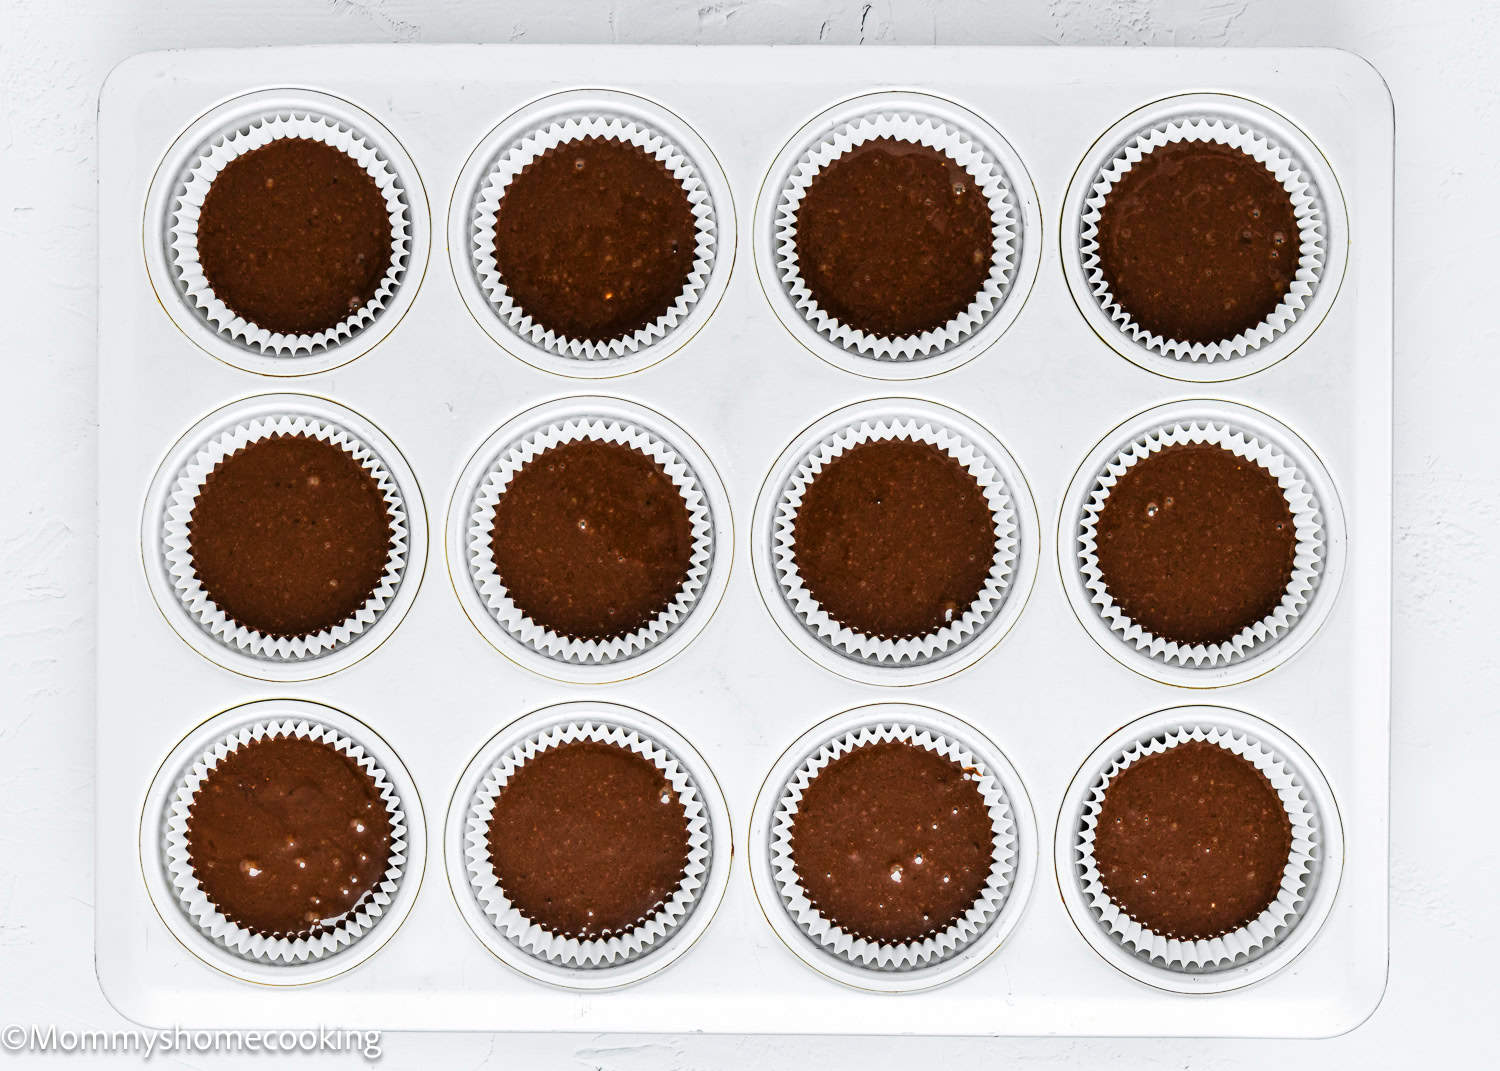
Step 4 – Pour Batter into Baking Pan
Fill cupcake liners with the batter about two-thirds full.
Step 5 – Bake
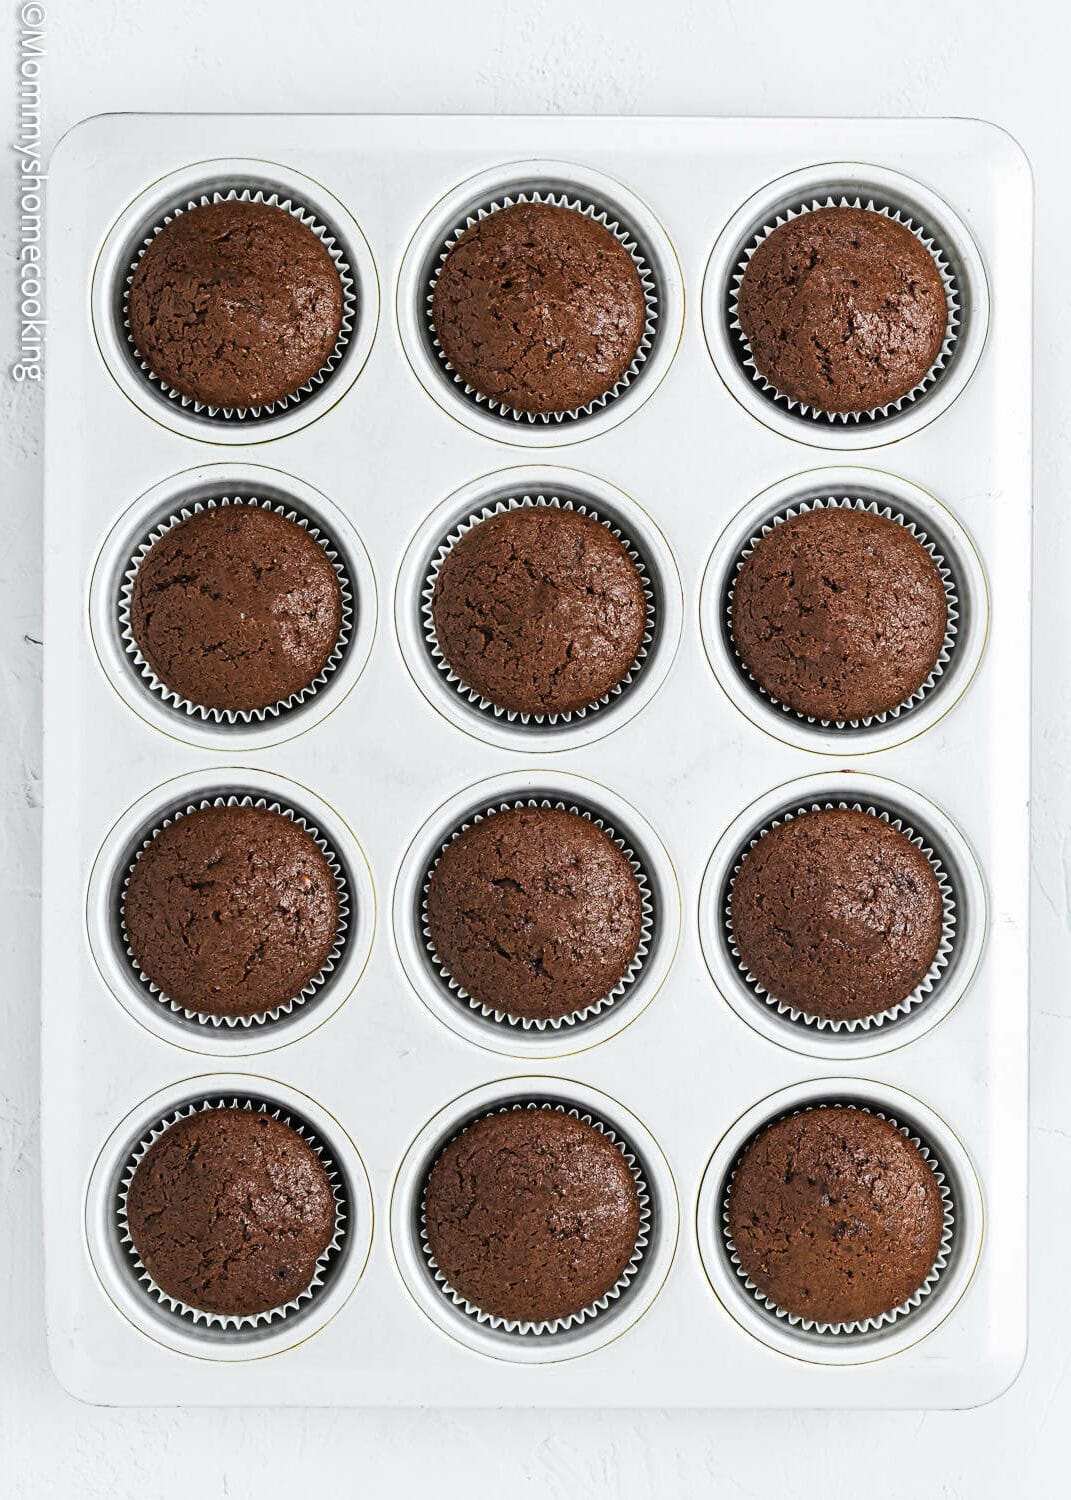
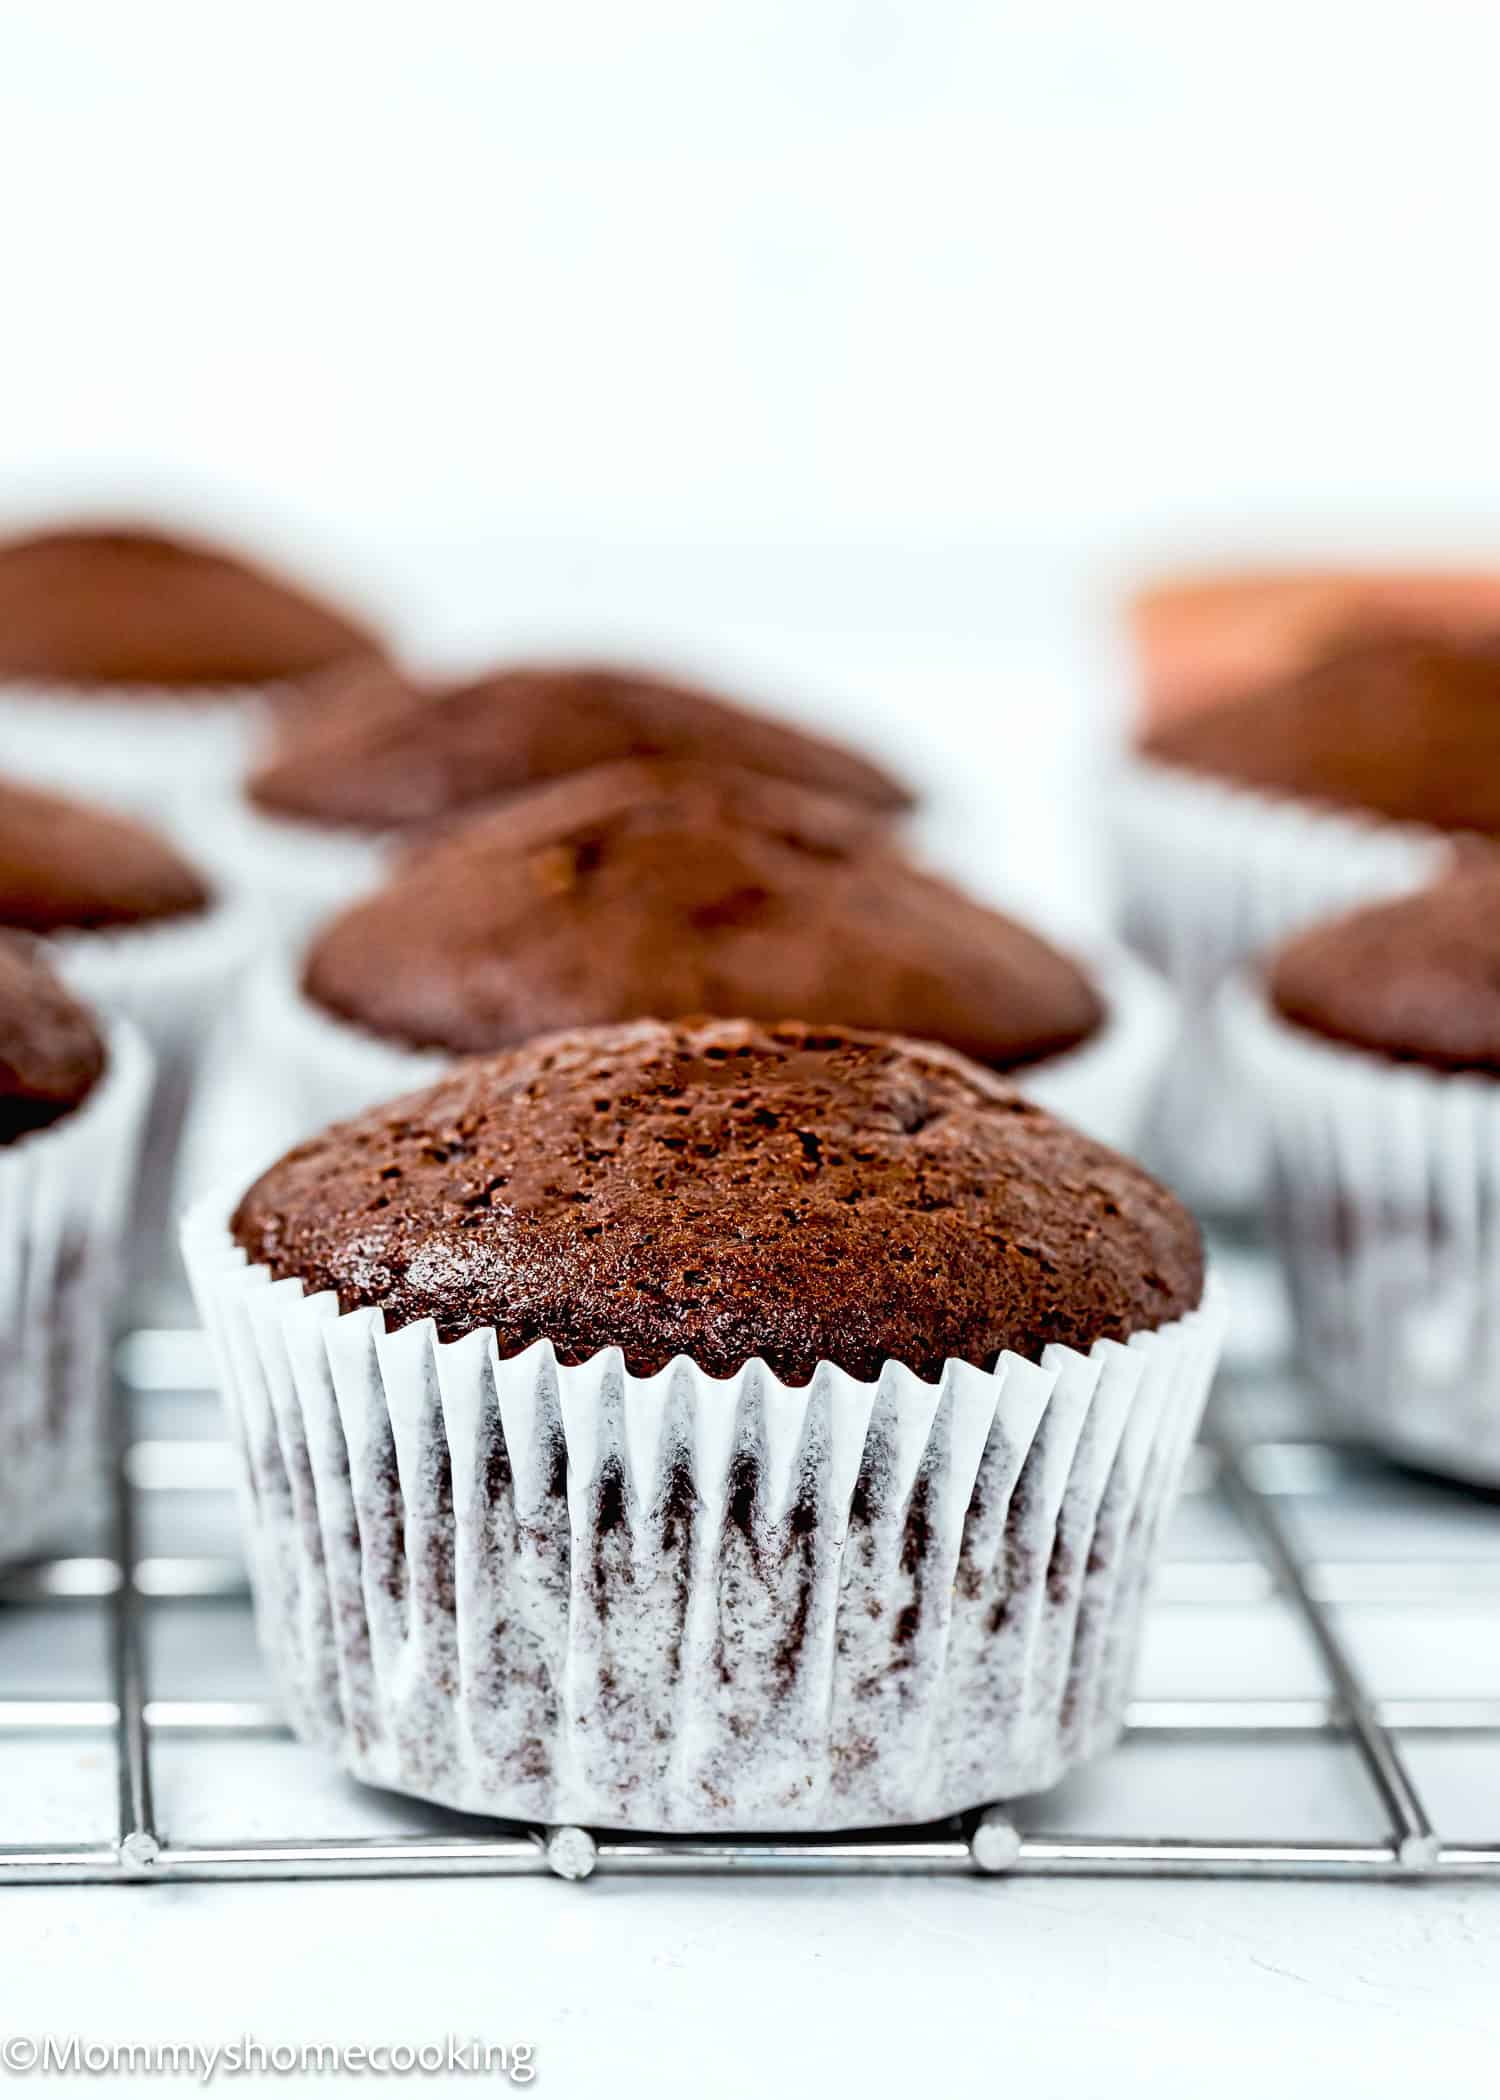
Bake for 20 – 24 minutes, or until a toothpick inserted in the center comes out clean. Cool pan on wire racks for 5 minutes, then remove cupcakes from pan, place them back on the rack, and cool to room temperature before frosting, about 1 hour.
Step 5 – Decorate
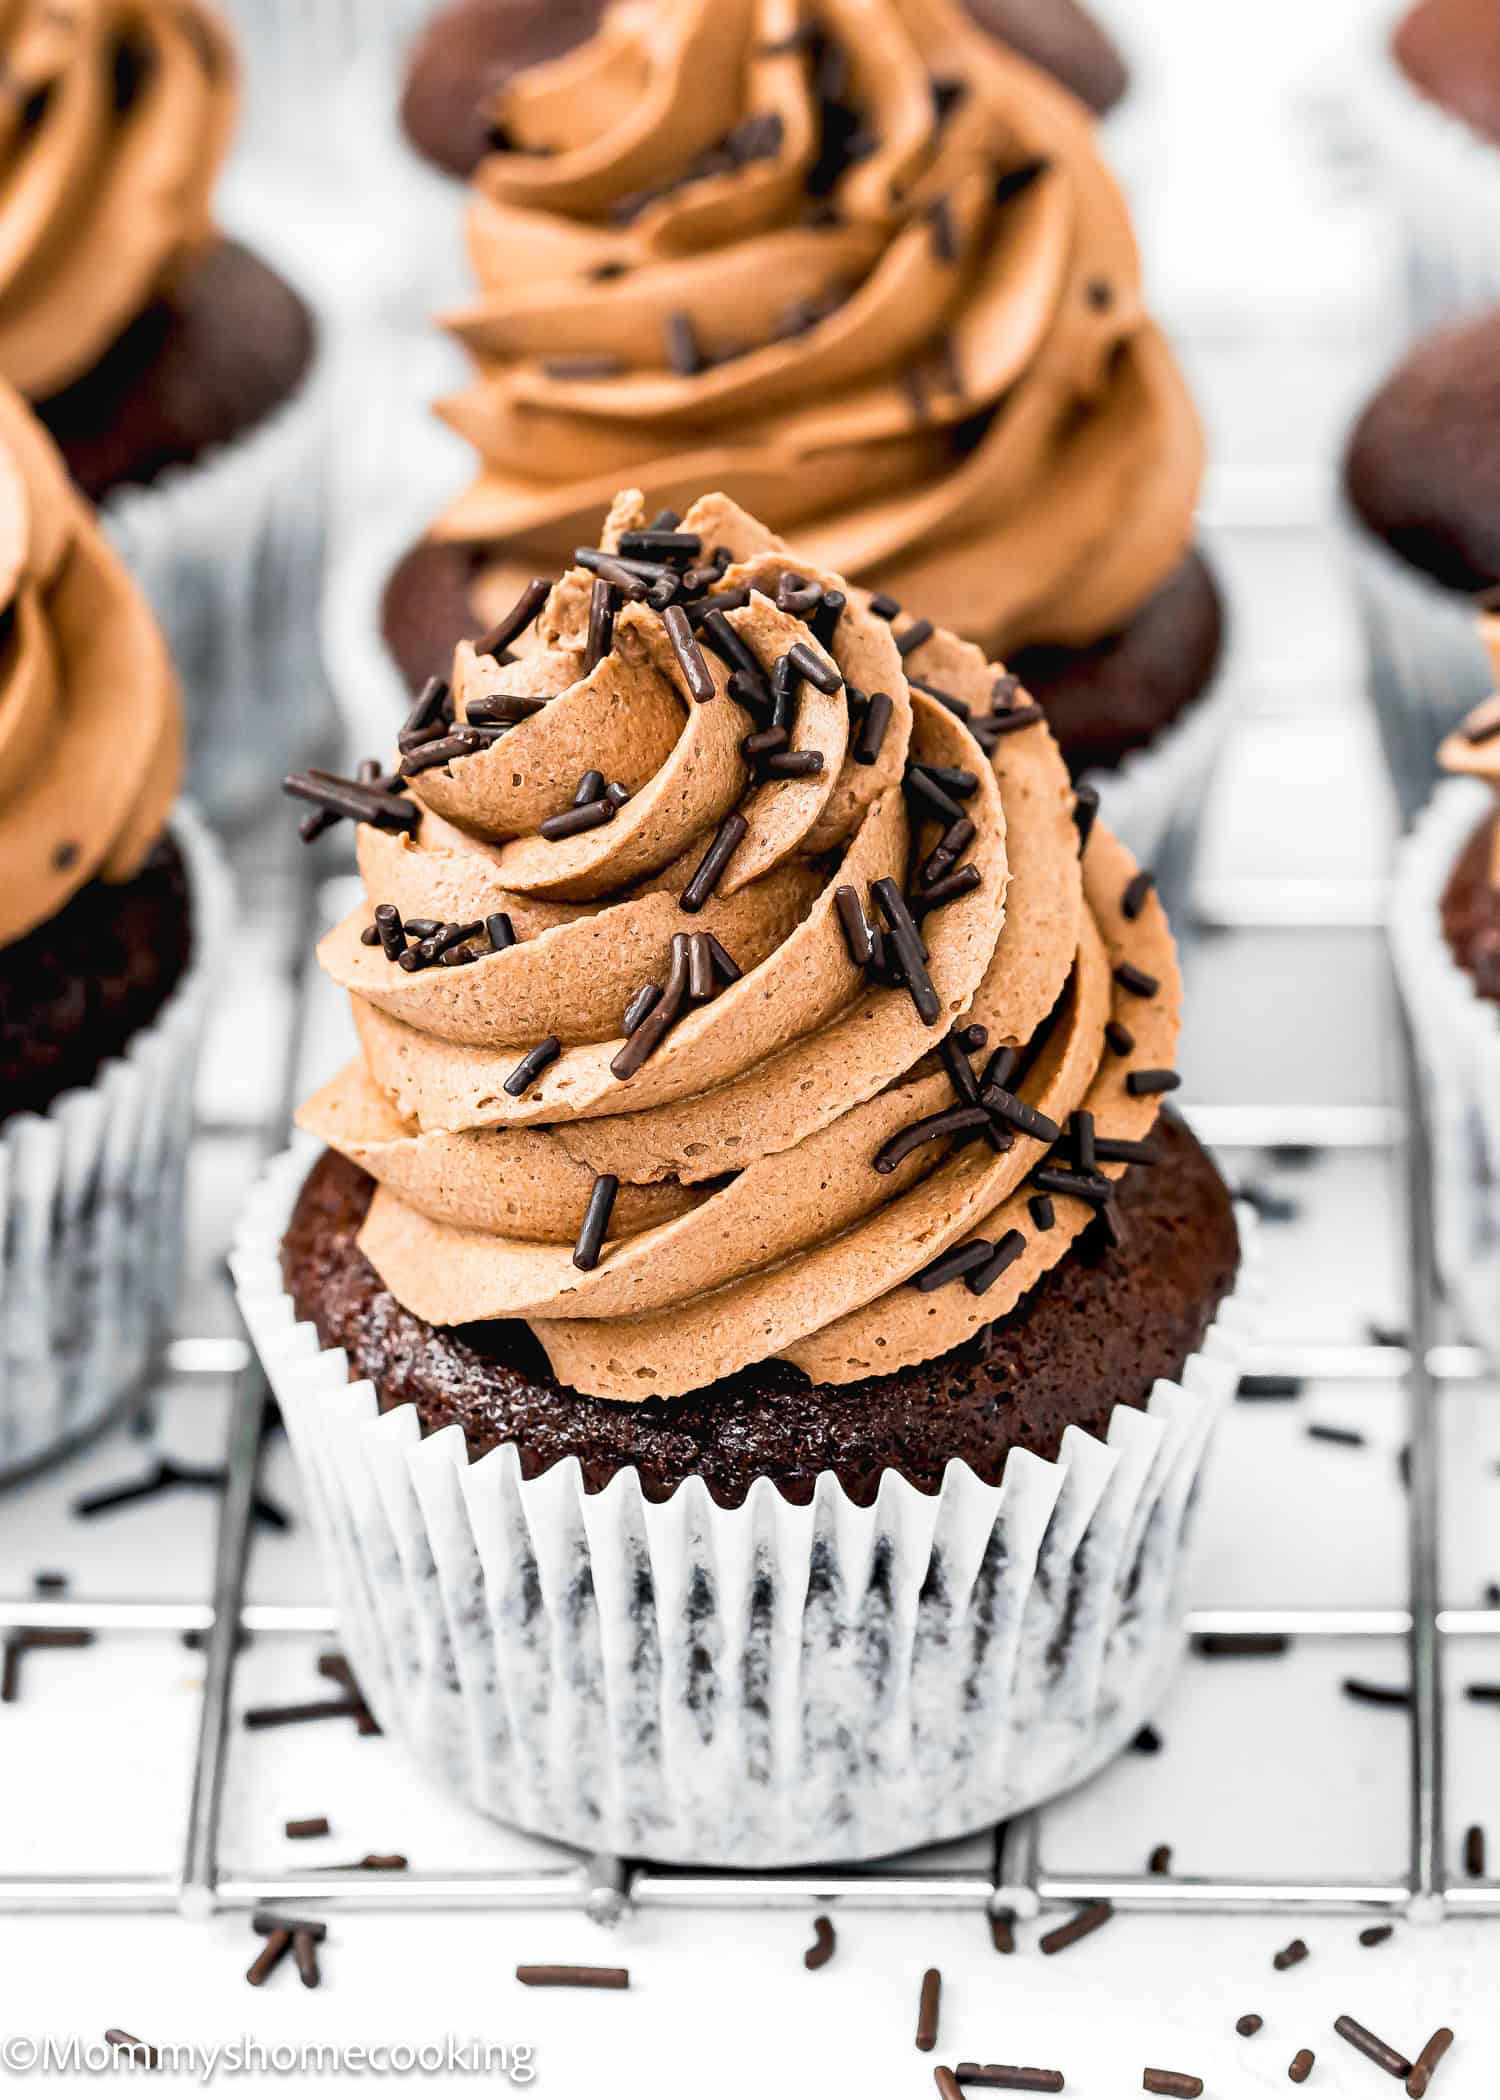
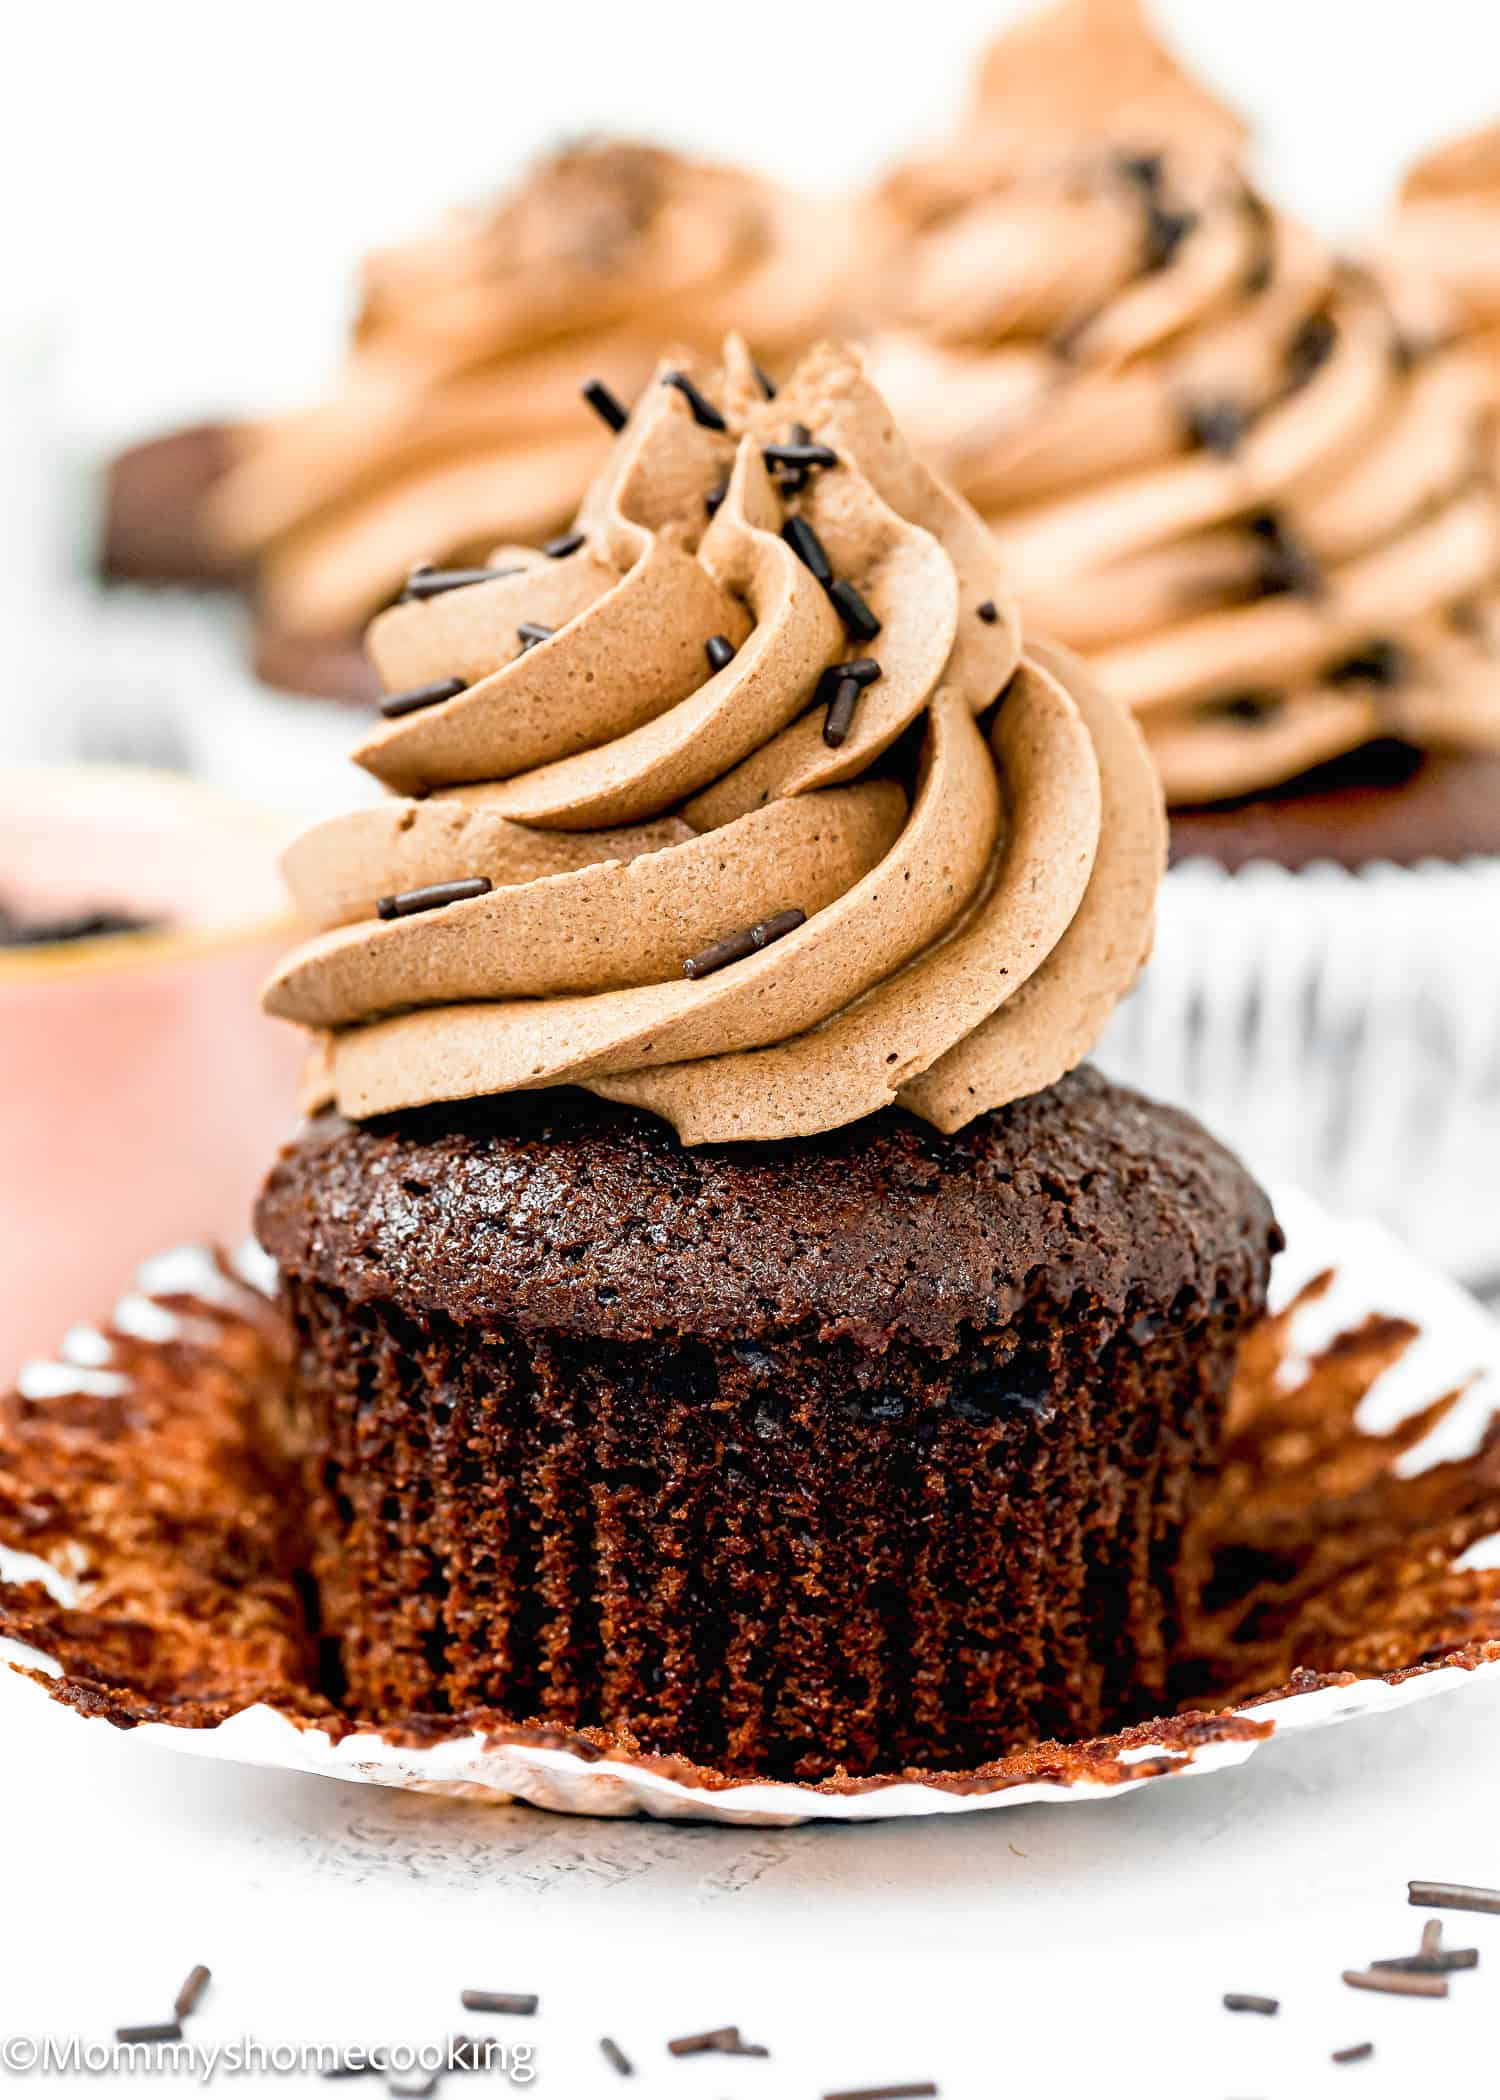
Decorating cupcakes is fun and a great way to add a personal touch. This time, I decorated the cupcakes with my favorite Chocolate frosting and chocolate jimmies. The only change I made to my frosting recipe was using dairy-free butter and dairy-free chocolate. But feel free to use your other decoration ideas to create your own unique cupcakes!
Recipe Tips
- Measure the ingredients correctly. I highly recommend using a kitchen scale.
- Make sure to sift the flour and cocoa to avoid any lumps in the batter.
- Preheat the oven for at least 15 minutes before you start, giving it plenty of time to reach the ideal recipe temperature.
- Don’t overmix the batter. Instead, mix just until the ingredients are evenly distributed throughout.
- Use a cookie scoop to evenly distribute the batter into the cupcake liners for uniform cupcakes.
- Fill the cupcake liners 3/4 full. If you overfill the liners, they won’t rise properly.
- Bake the cupcakes as soon as the batter is ready.
- Don’t open the oven door until the cupcakes have set. Leave the oven closed until the minimum time is stated in the recipe.
- Know your oven! Every oven is different, so baking times must always be taken with a grain of salt. Oven thermostats can be wildly off, affecting baking time, so keep an eye on yours. The cupcakes are done when a toothpick inserted in the center comes out clean.
- Allow the cupcakes to cool completely before frosting to prevent the frosting from melting.
Food Allergy Swaps
Gluten-Free: Use a gluten-free, all-purpose flour blend. Look for a gluten-free flour blend specifically formulated for baking, as it will have the right combination of flours and starches to mimic the texture of wheat flour. My favorite is Better Batter Original Blend.
Variations & Additions
- Experiment with different flavored extracts like almond or peppermint for a unique twist.
- Add chopped nuts or Oreos to the batter for a fun and festive touch.
- Mini Cupcakes – Fill mini liners only halfway and bake for 10-12 minutes at 350° F (180° C).
Storing and Freezing Instructions
Store: Frosted cupcakes can be stored at room temperature for up to 1 day or in the refrigerator for up to 3 days. Unfrosted cupcakes can be stored at room temperature for up to 3 days or frozen for up to 2 months; defrost at room temperature before frosting and serving. However, if refrigerated or frozen, the cupcakes lose some of their fluffiness.
Freeze: Let cupcakes cool completely before freezing. Then, wrap the unfrosted cupcakes individually in plastic wrap and freeze them for up to two months. I recommend adding the frosting right before serving for the best taste. Thaw at room temperature before frosting and serving.
Frequently Asked Questions
Yes, you can use a gluten-free all-purpose flour blend if you have a gluten allergy or intolerance.
Yes, you can use any neutral-tasting oil, such as vegetable or canola oil.
Yes, you can use either apple cider vinegar or white vinegar in this recipe. They both work equally well.
Absolutely, but I highly recommend keeping it in for that extra depth of flavor.
Yes, you can use dairy milk if you’re not vegan, have a dairy allergy, or are lactose intolerant.
You can bake the cupcakes 1 day in advance. Keep cupcakes covered tightly at room temperature and frost the day of serving.
More Cupcakes Recipes You’ll Love!
- Easy Fluffy Vanilla Cupcakes (Dairy-Free, Egg-Free, Vegan)
- Easy Eggless Red Velvet Cupcakes
- Eggless Carrot Cake Cupcakes
- Easy Eggless Oreo Cupcakes
- Browse more recipes…
❤️ Love what you see? JOIN my Private Baking Club. Also, SUBSCRIBE to Mommy’s Home Cooking, so you’ll never miss a recipe! And FOLLOW along on Instagram, Pinterest, and Facebook for more fun!
Recipe Card 📖
Easy Vegan Chocolate Cupcakes
Equipment
Ingredients
- 1 ½ cup (210 g) all-purpose flour sifted
- 5 tablespoons (37 g) cocoa powder sifted
- 1 cup + 2 tablespoons (225 g) granulated sugar
- 1 ½ teaspoon (6 g) baking powder
- ½ teaspoons (2 g) salt
- 1 cup + 2 tablespoons (270 ml) milk (non-dairy or dairy milk work)
- 2 teaspoons (10 ml) vinegar
- 1/3 cup (80 ml) neutral-tasting oil
- 2 teaspoons (10 ml) vanilla
- 1 teaspoon espresso powder (optional)
Instructions
- Preheat oven to 350º F (180º C). Line a 12- cupcake pan with cupcake liners.
- In a large bowl, whisk together flour, cocoa powder, sugar, baking powder, and salt. Set aside.
- In a mixing bowl, whisk together milk, vinegar, vanilla, oil and espresso powder.
- Add wet ingredients to the dry ingredients; mix to combine.
- Fill cupcake liners with the batter about two-thirds full.
- Bake for 20 – 24 minutes, or until a toothpick inserted in the center comes out clean. Cool pan on wire racks for 5 minutes, then remove cupcakes from pan, place them back on the rack, and cool to room temperature before frosting, about 1 hour.
- Decorate as your heart desires. I used chocolate frosting and chocolate jimmies.
- Gluten-Free: Use a gluten-free, all-purpose flour blend. Look for a gluten-free flour blend specifically formulated for baking, as it will have the right combination of flours and starches to mimic the texture of wheat flour. My favorite is Better Batter Original Blend.
- Experiment with different flavored extracts like almond or peppermint for a unique twist.
- Add chopped nuts or Oreos to the batter for a fun and festive touch.
- Mini Cupcakes – Fill mini liners only halfway and bake for 10-12 minutes at 350° F (180° C).
- Measure the ingredients correctly. I highly recommend using a kitchen scale.
- Make sure to sift the flour and cocoa to avoid any lumps in the batter.
- Preheat the oven for at least 15 minutes before you start to give it plenty of time to reach the ideal recipe temperature.
- Don’t overmix the batter. Instead, mix just until the ingredients are evenly distributed throughout.
- Use a cookie scoop to evenly distribute the batter into the cupcake liners for uniform cupcakes.
- Fill the cupcake liners 3/4 full. If you overfill the liners, they won’t rise properly.
- Bake the cupcakes as soon as the batter is ready.
- Don’t open the oven door until the cupcakes have set. Leave the oven closed until the minimum time is stated in the recipe.
- Every oven is different, so baking times must always be taken with a grain of salt. Oven thermostats can be wildly off, affecting baking time, so keep an eye on yours. The cupcakes are done when a toothpick inserted in the center comes out clean.
- Allow the cupcakes to cool completely before frosting to prevent the frosting from melting.

Leave a Reply