
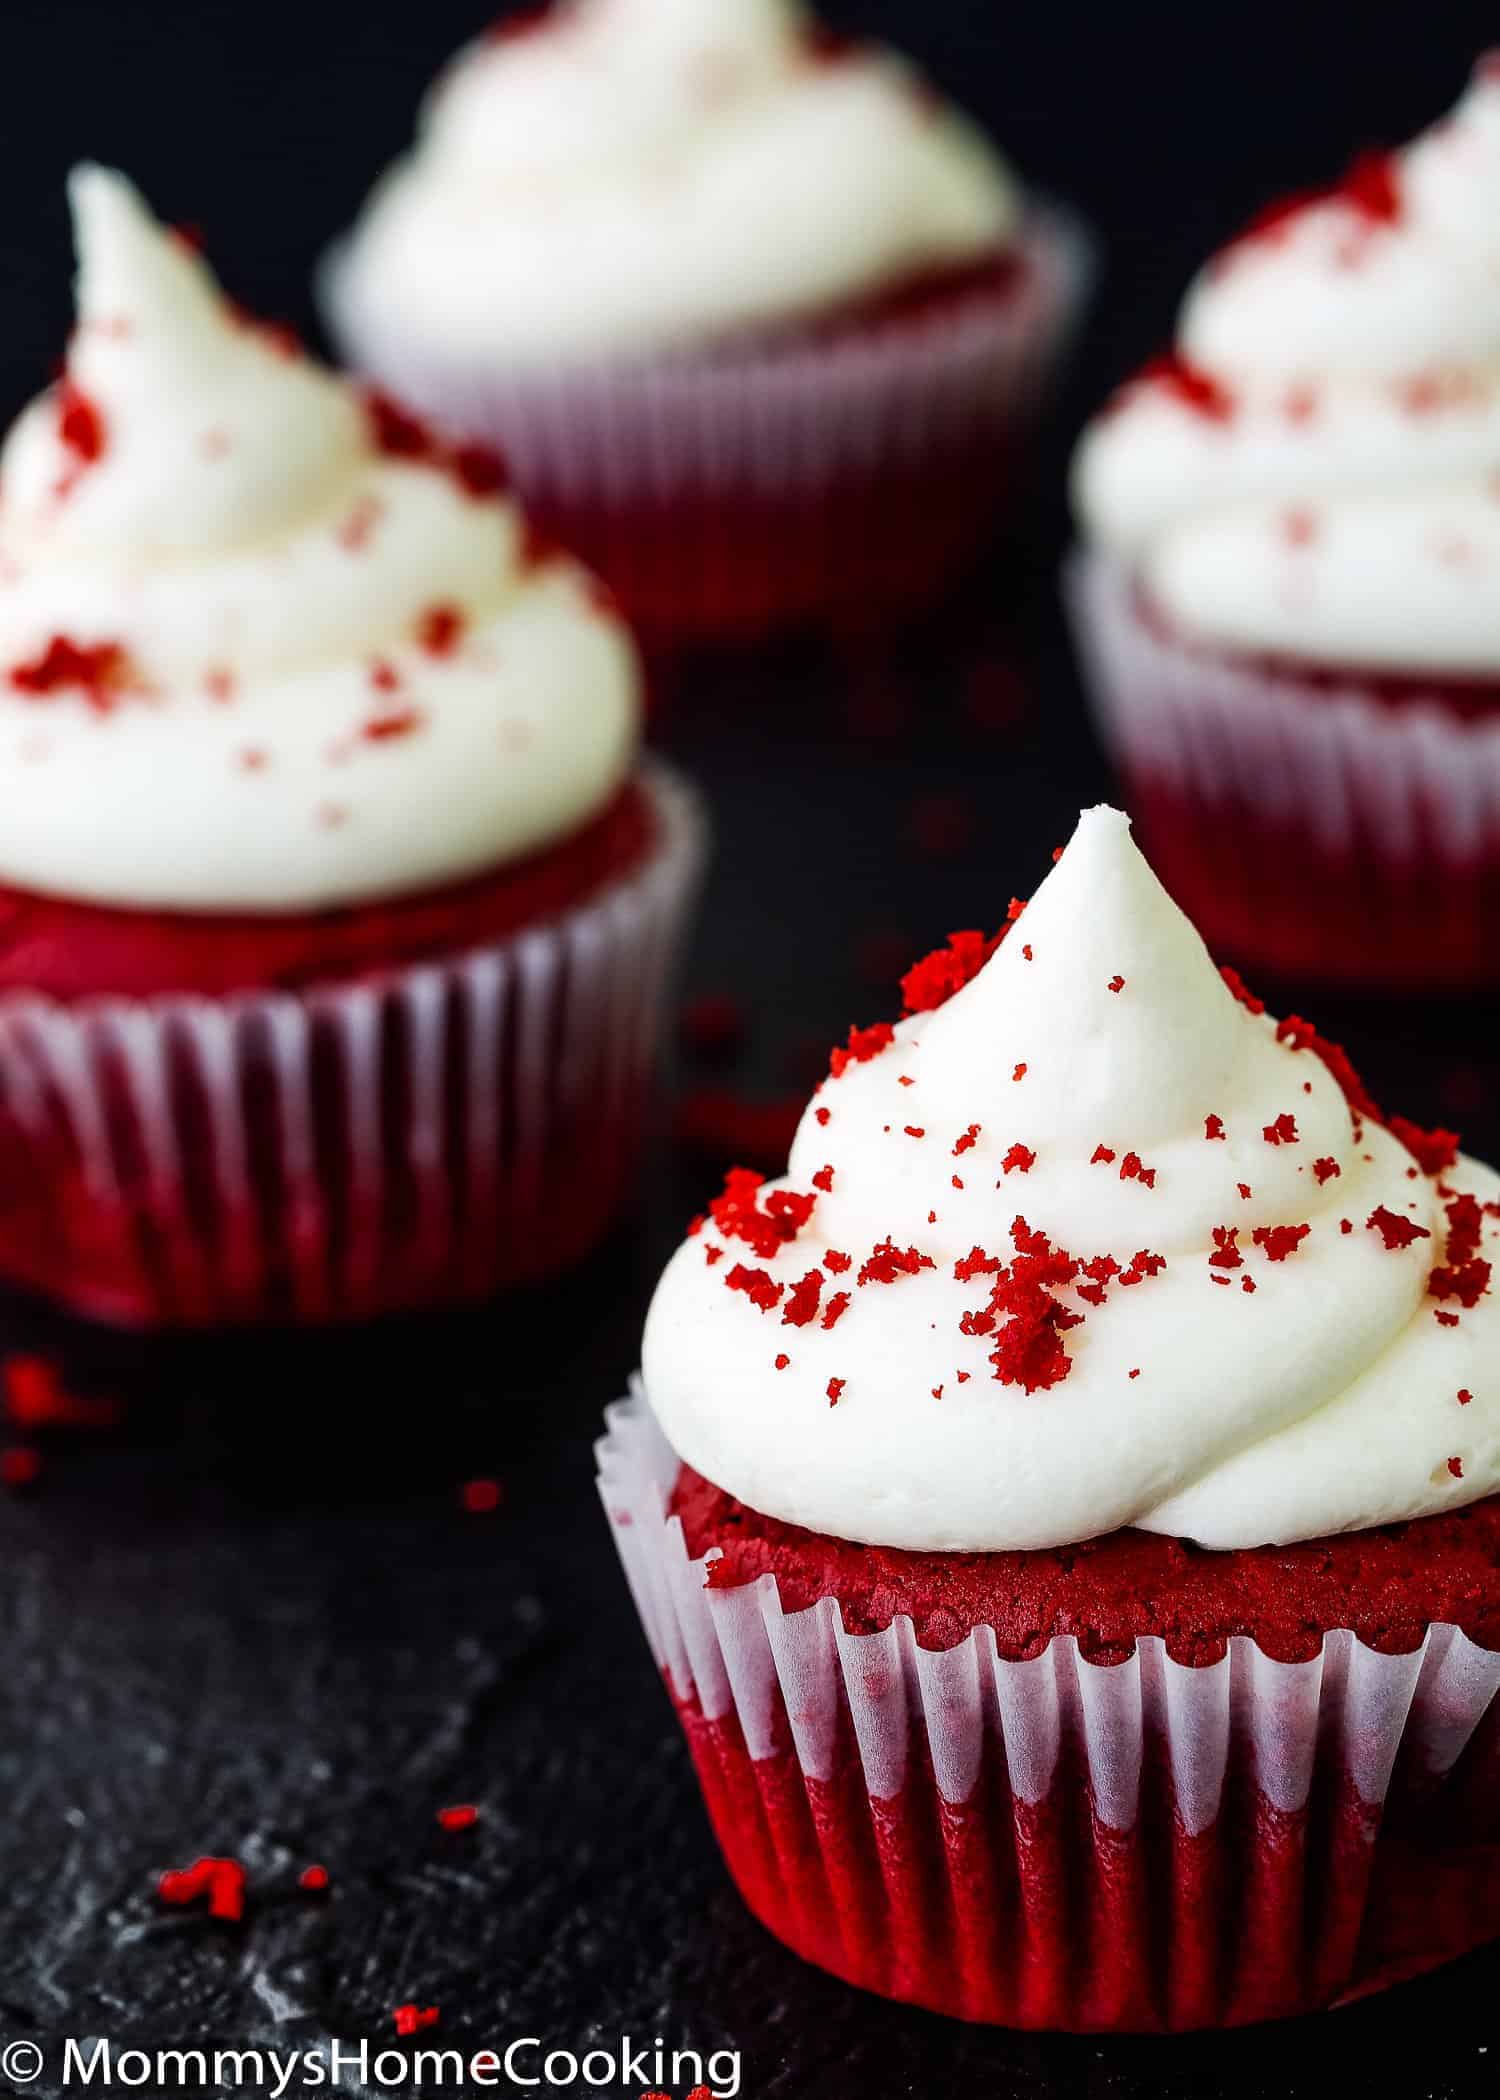
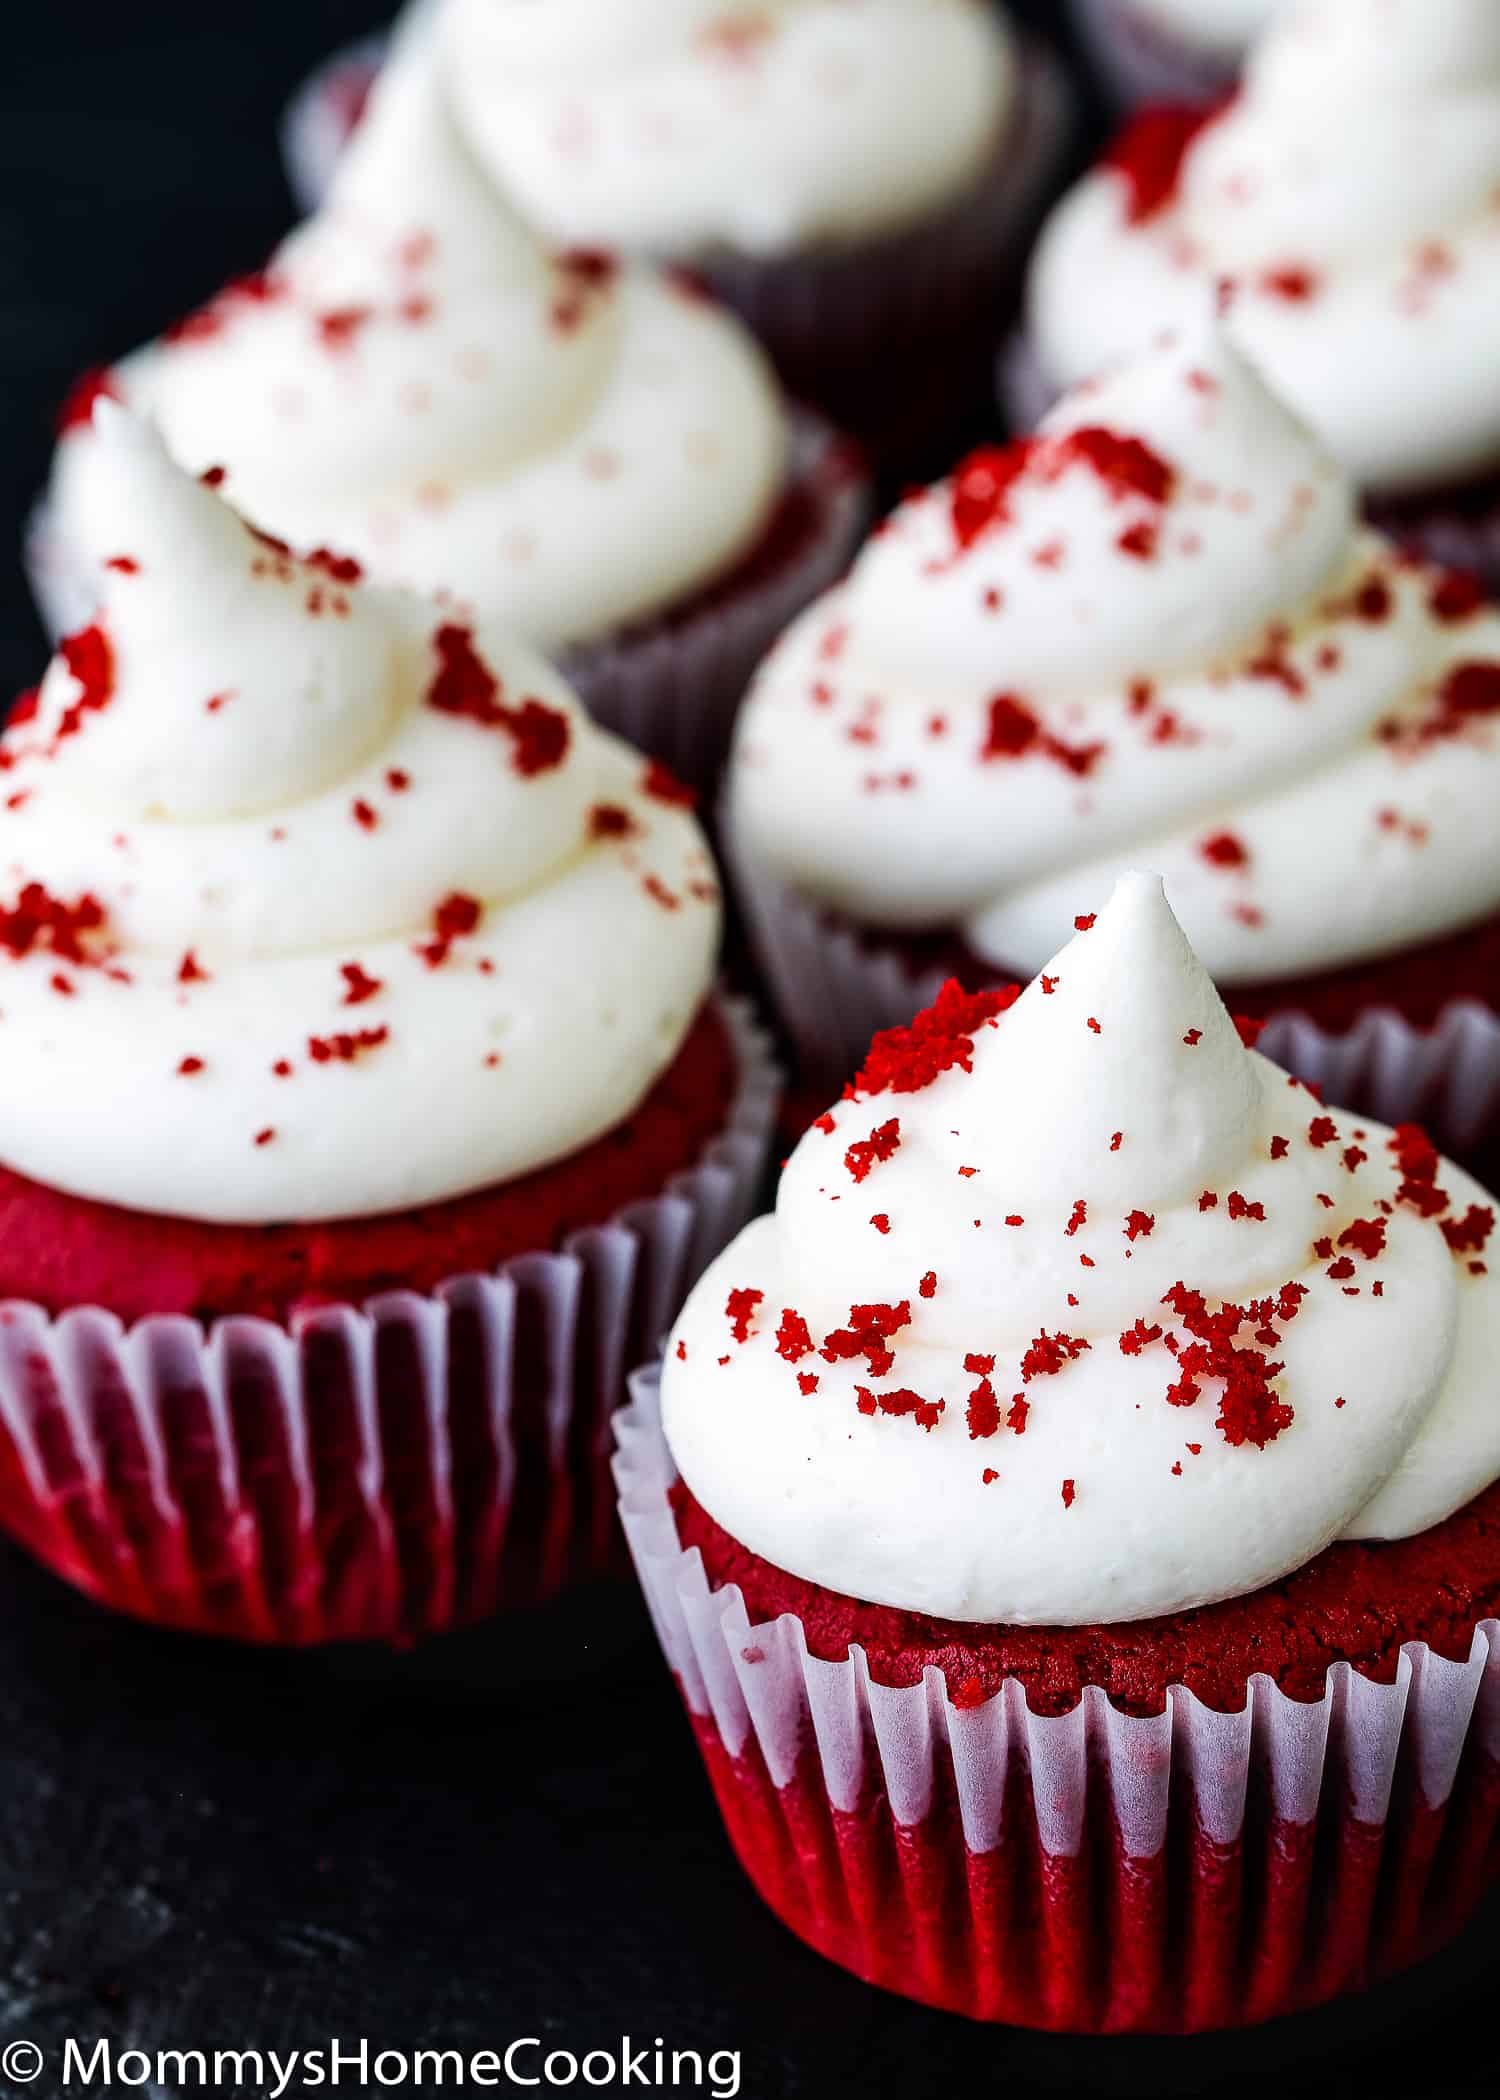
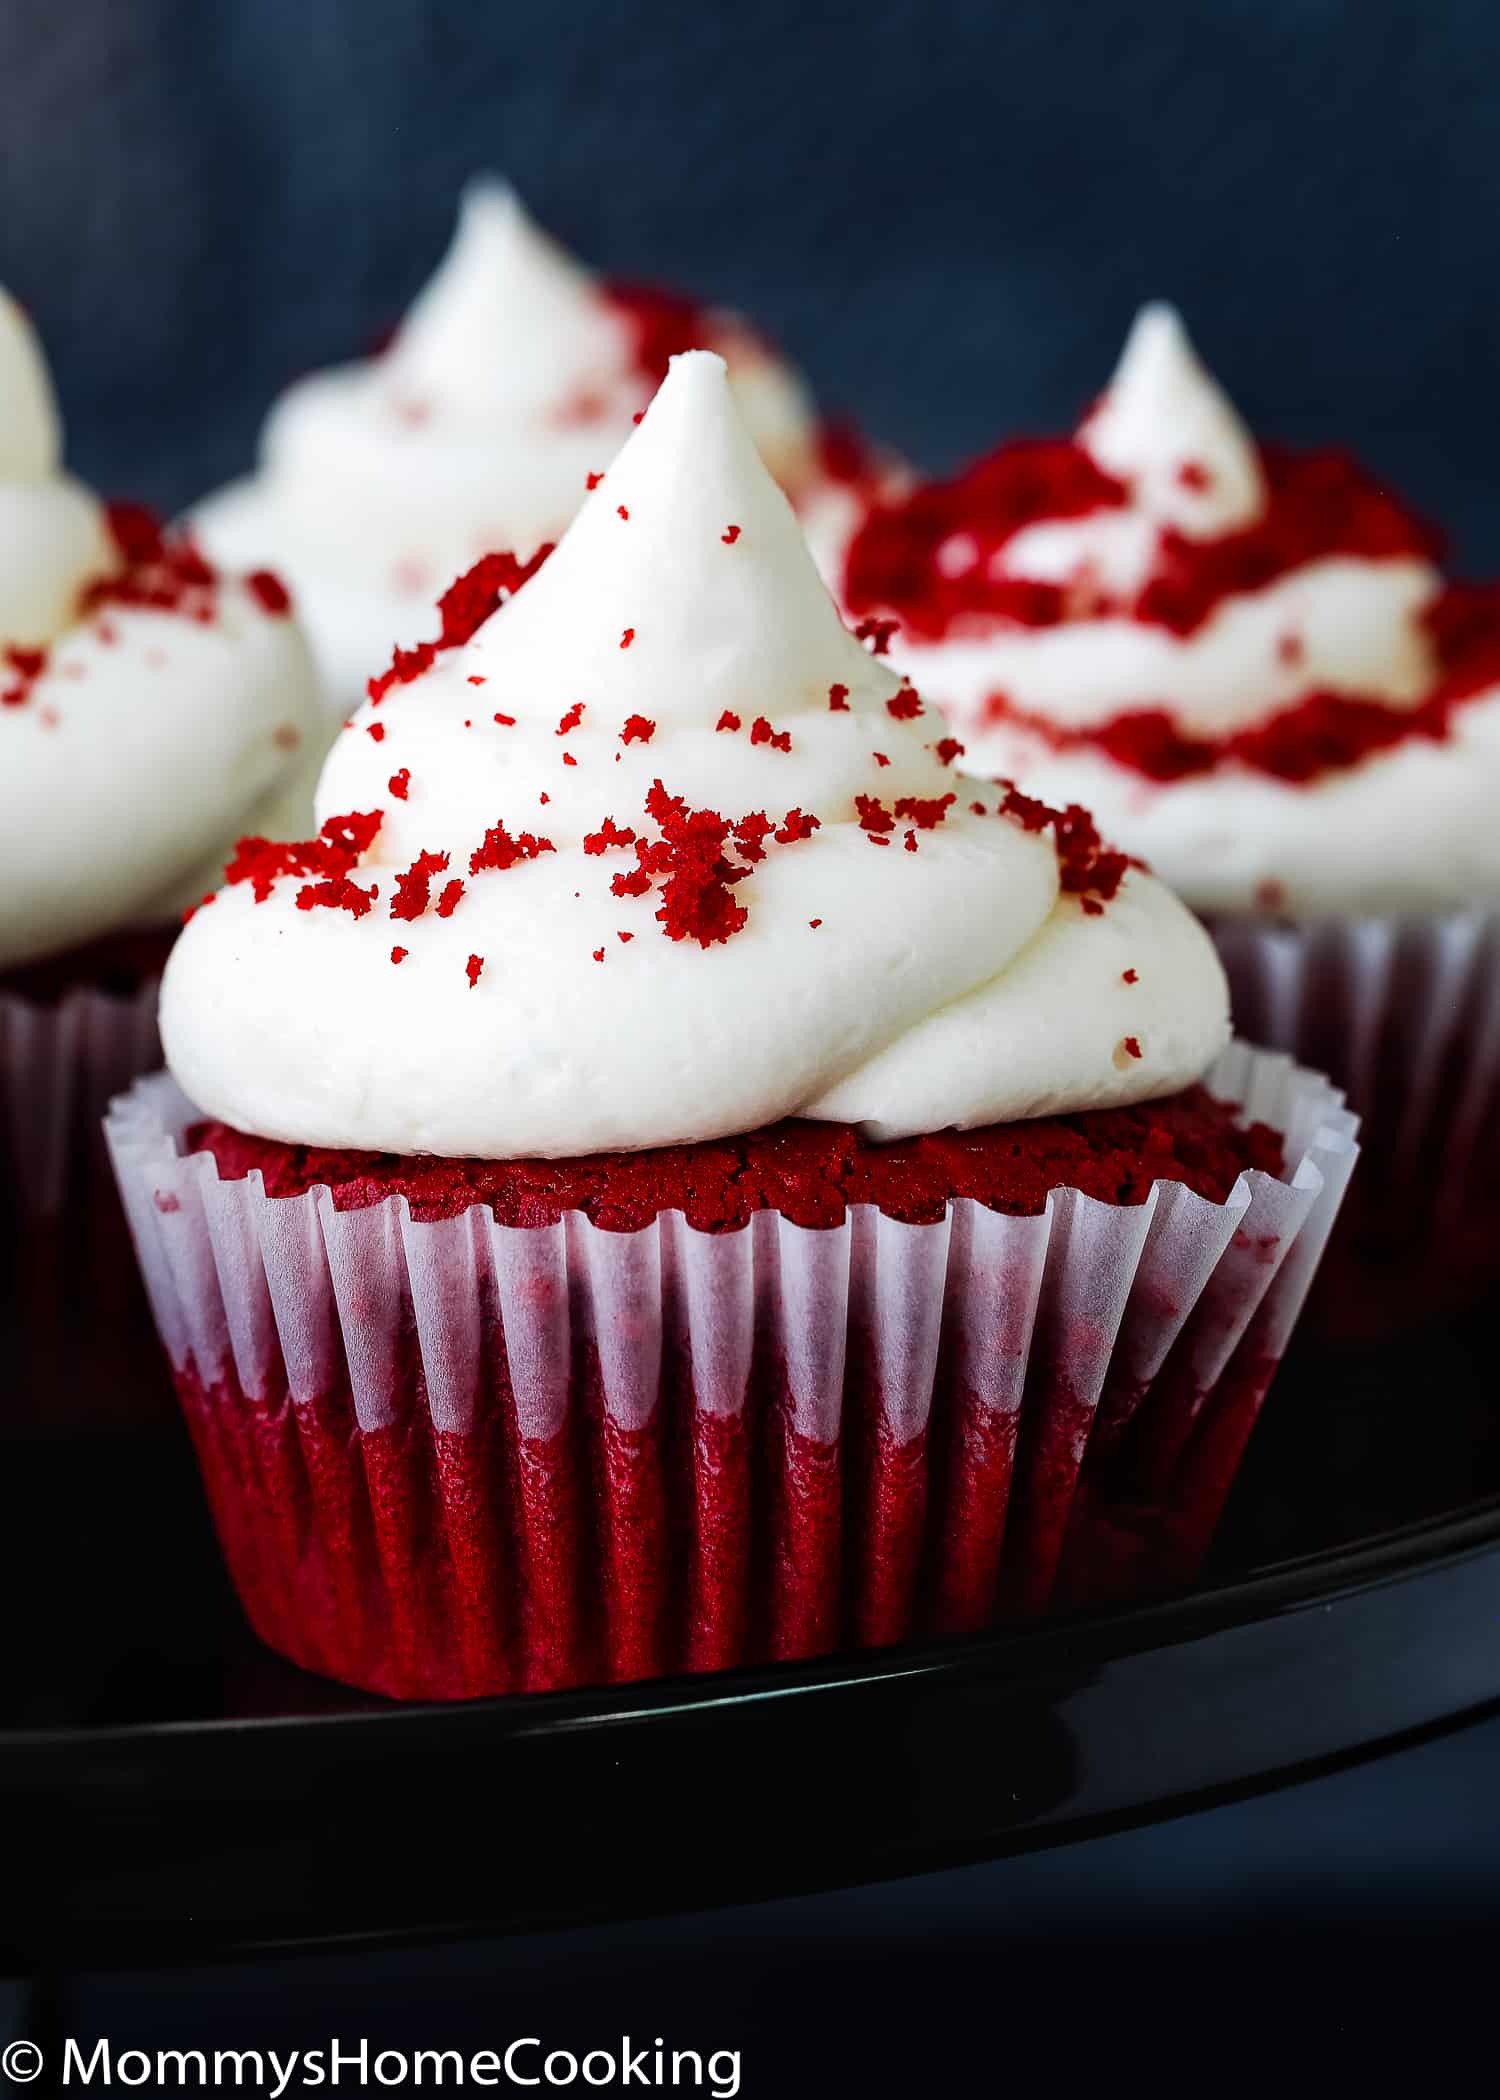
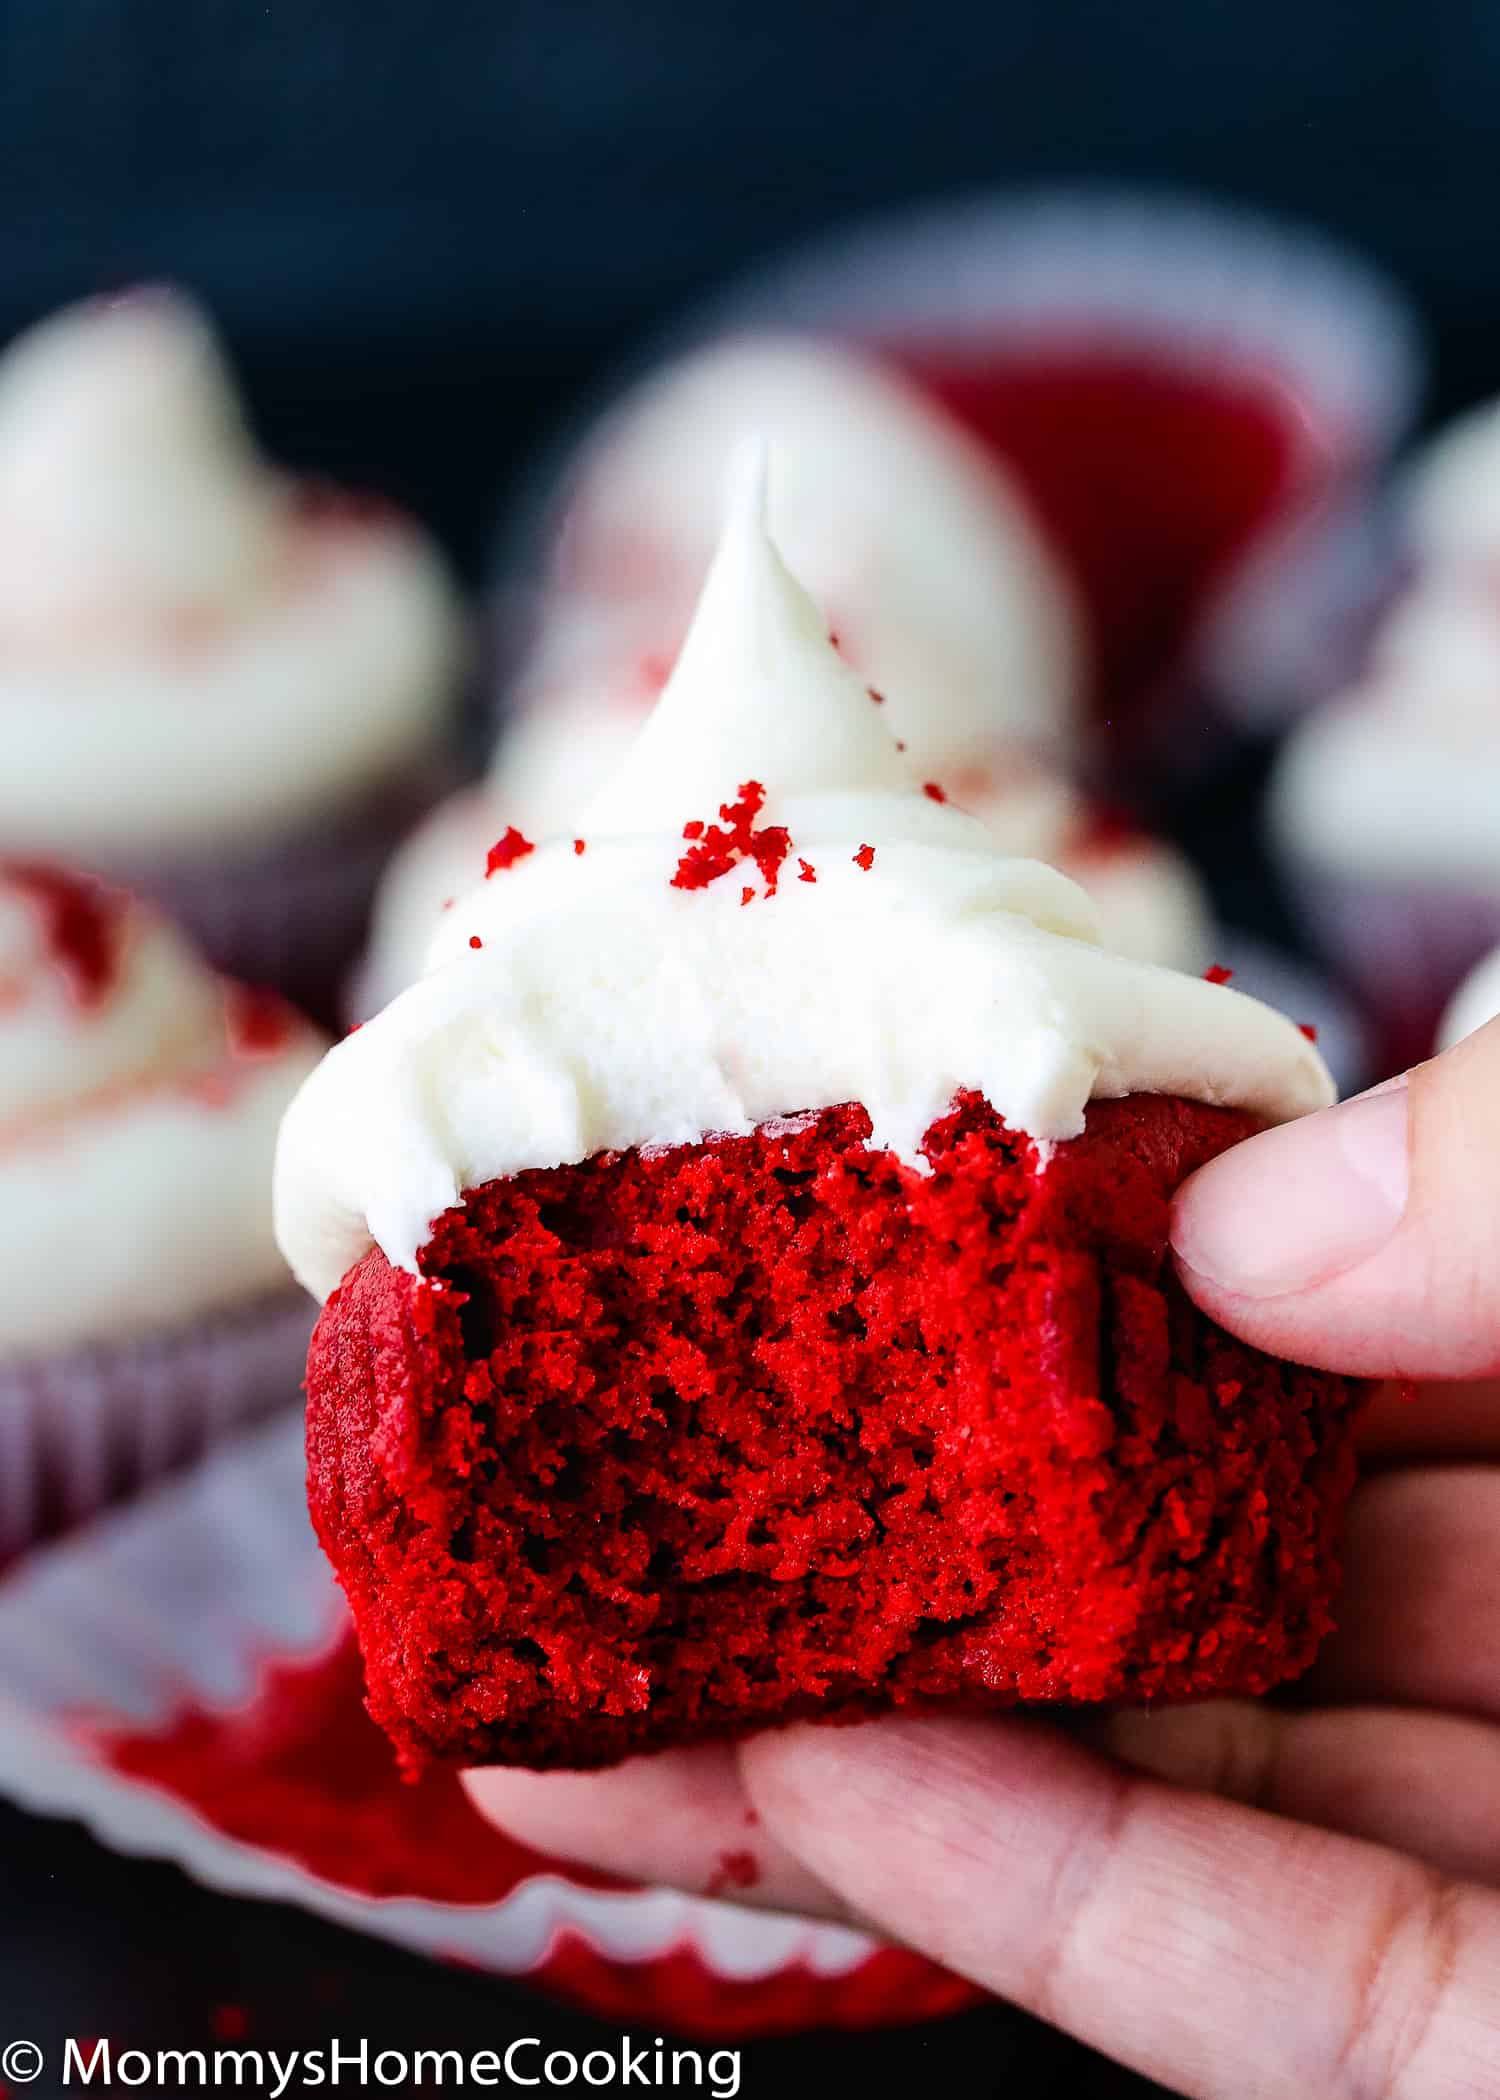
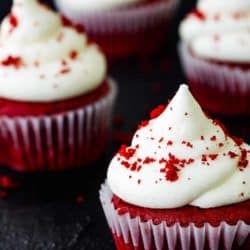
These Easy Eggless Red Velvet Cupcakes are tender, light, moist, and delicious all at once!! They are super easy to whip up for your next get-together. Perfect for parties and celebrations. The recipe includes step-by-step photos and lots of tips.
Easy Eggless Red Velvet Cupcakes Recipe Highlights
If you’re on the hunt for the most delicious and Easy Eggless Red Velvet Cupcake recipe in the universe, look no further, you have found it right here, right now.
These cupcakes are wonderfully tender, light, and moist all at once!! They’re the kind of cupcakes that cause joy as you sink your teeth into one. Plus, they’re super easy to make with simple ingredients.
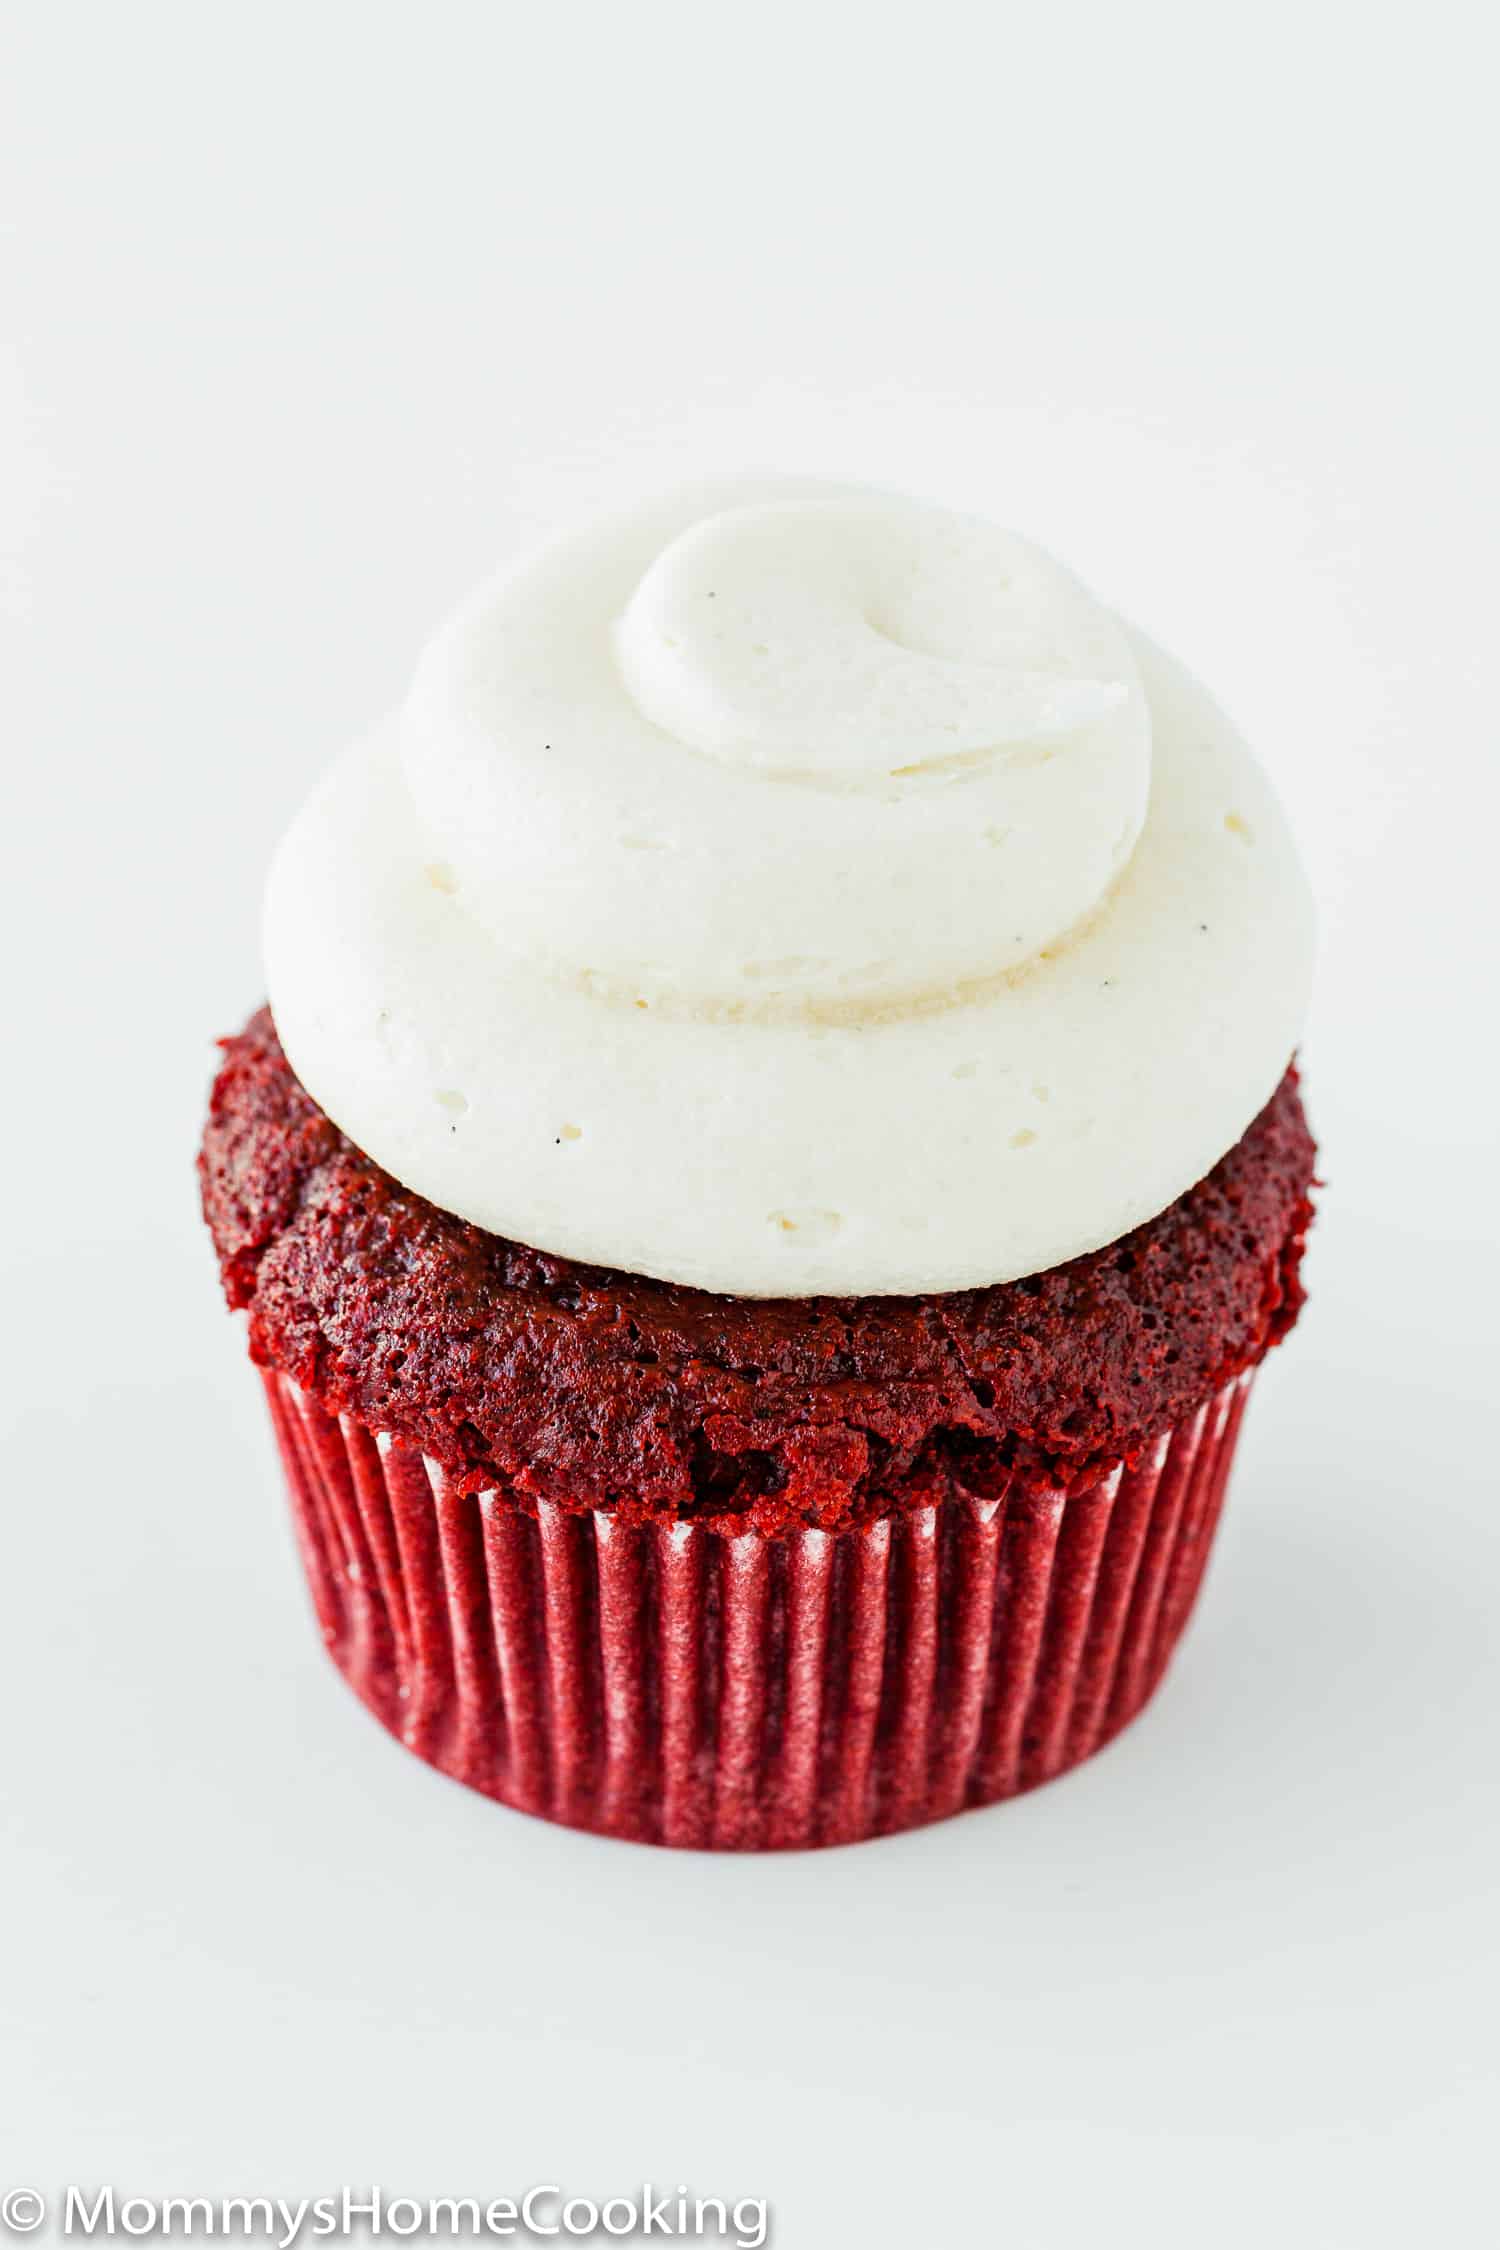
I generously frosted these with my favorite cream cheese frosting, which pairs beautifully with red velvet and adds some vibrancy to these cupcakes.

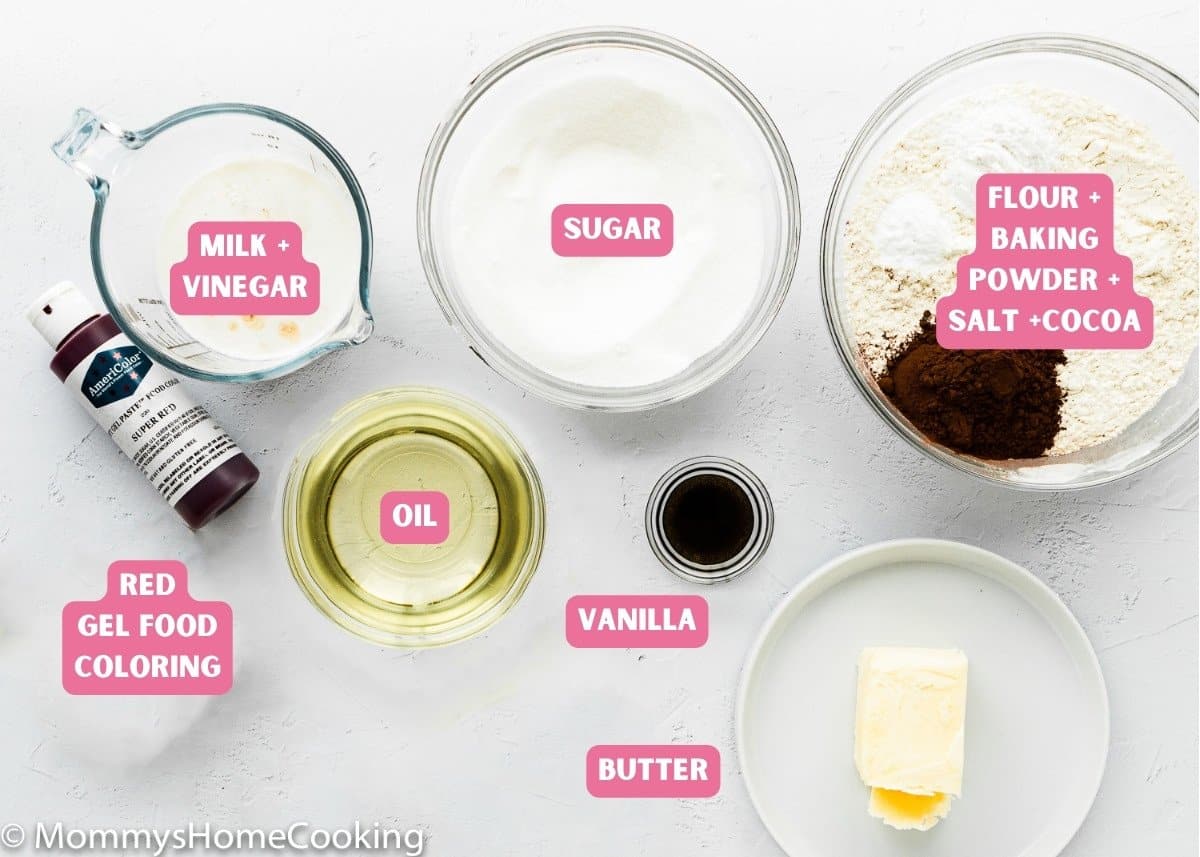
Ingredients You’ll Need
Please check the recipe card at the bottom of the post for exact quantities and detailed instructions (scroll down).
Ingredients Notes & Substitutions
Please check the recipe card at the bottom of the post for exact quantities and detailed instructions (scroll down).
- Flour: Standard all-purpose flour works best here, skip the cake flour, bread flour and wheat flour.
- Baking powder: Make sure it’s not expired or too old.
- Salt: I prefer kosher or sea salt. If you only have table salt handy, I recommend reducing the amount to half.
- Unsweetened cocoa powder: I like to use unsweetened natural cocoa powder instead of Dutch-processed, because it’s more acidic and reacts with baking soda, allowing your baked goods to rise. Also, note that the recipe calls for natural cocoa powder, not the Dutch process. These cocoa powders are not interchangeable. The acidity in natural cocoa powder activates the baking soda in the recipe and causes the batter to rise in the oven. Dutch-process cocoa powder has been treated with an alkali to neutralize its acidity and is therefore not acidic enough to activate the baking soda.
- Milk: For baking, I like to use whole milk. However, you can use any milk you have handy.
- Vinegar: You can use apple cider vinegar or white vinegar.
- Butter: I prefer to use unsalted butter, but if you only have salted butter handy, you can use it. In this case, skip the salt called in the recipe.
- Sugar: Regular white granulated sugar o caster sugar.
- Oil: Vegetable or canola oil – Or any light-tasting oil of your preference.
- Vanilla extract: For optimal flavor, reach for pure vanilla instead of imitation. Even better, try homemade vanilla extract!
- Red food color: Gel food coloring has a higher concentration of color than liquid coloring, meaning that you can use less to reach the color you want. This also means that you are not adding extra liquid to the recipe. I mostly use AmeriColor gel food coloring. The amount of color you need to add depends on the brand of food color you are using. I used around one teaspoon.
Step By Step Recipe Photo Tutorial
Please check the recipe card at the bottom of the post for exact quantities and detailed instructions (scroll down).
1 – Preheat the oven to 350º F (180º C). Line a cupcake pan with cupcake liners.
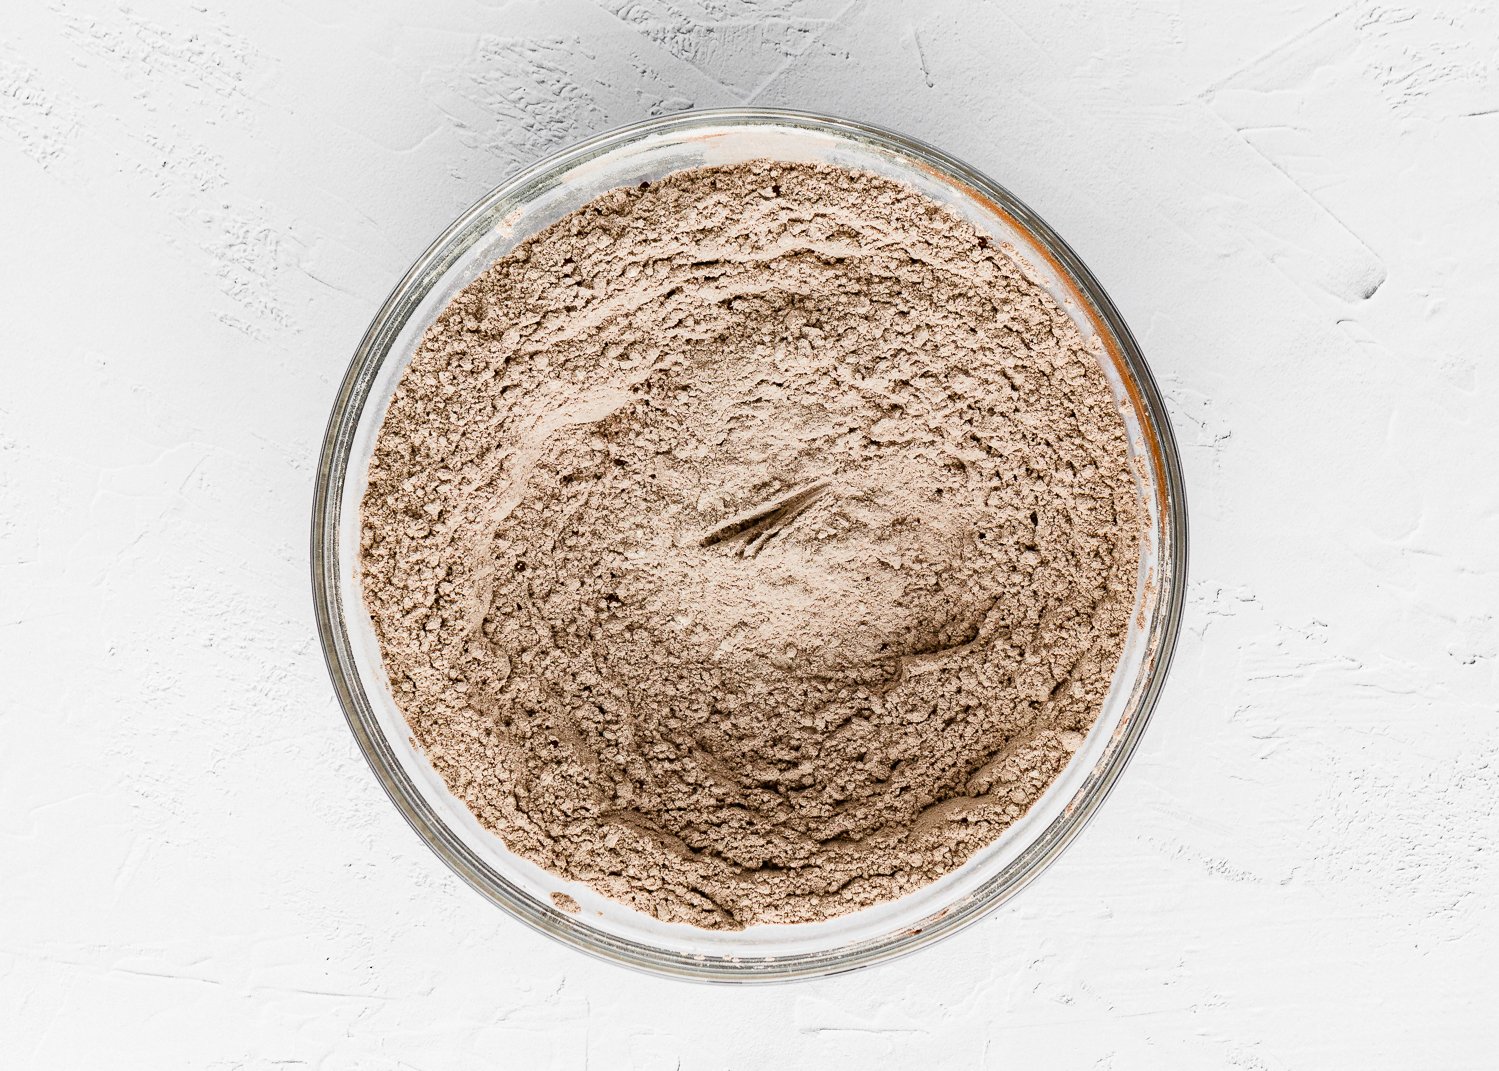
2 – Combine flour, baking powder, salt, and cocoa powder in a bowl. Set aside.
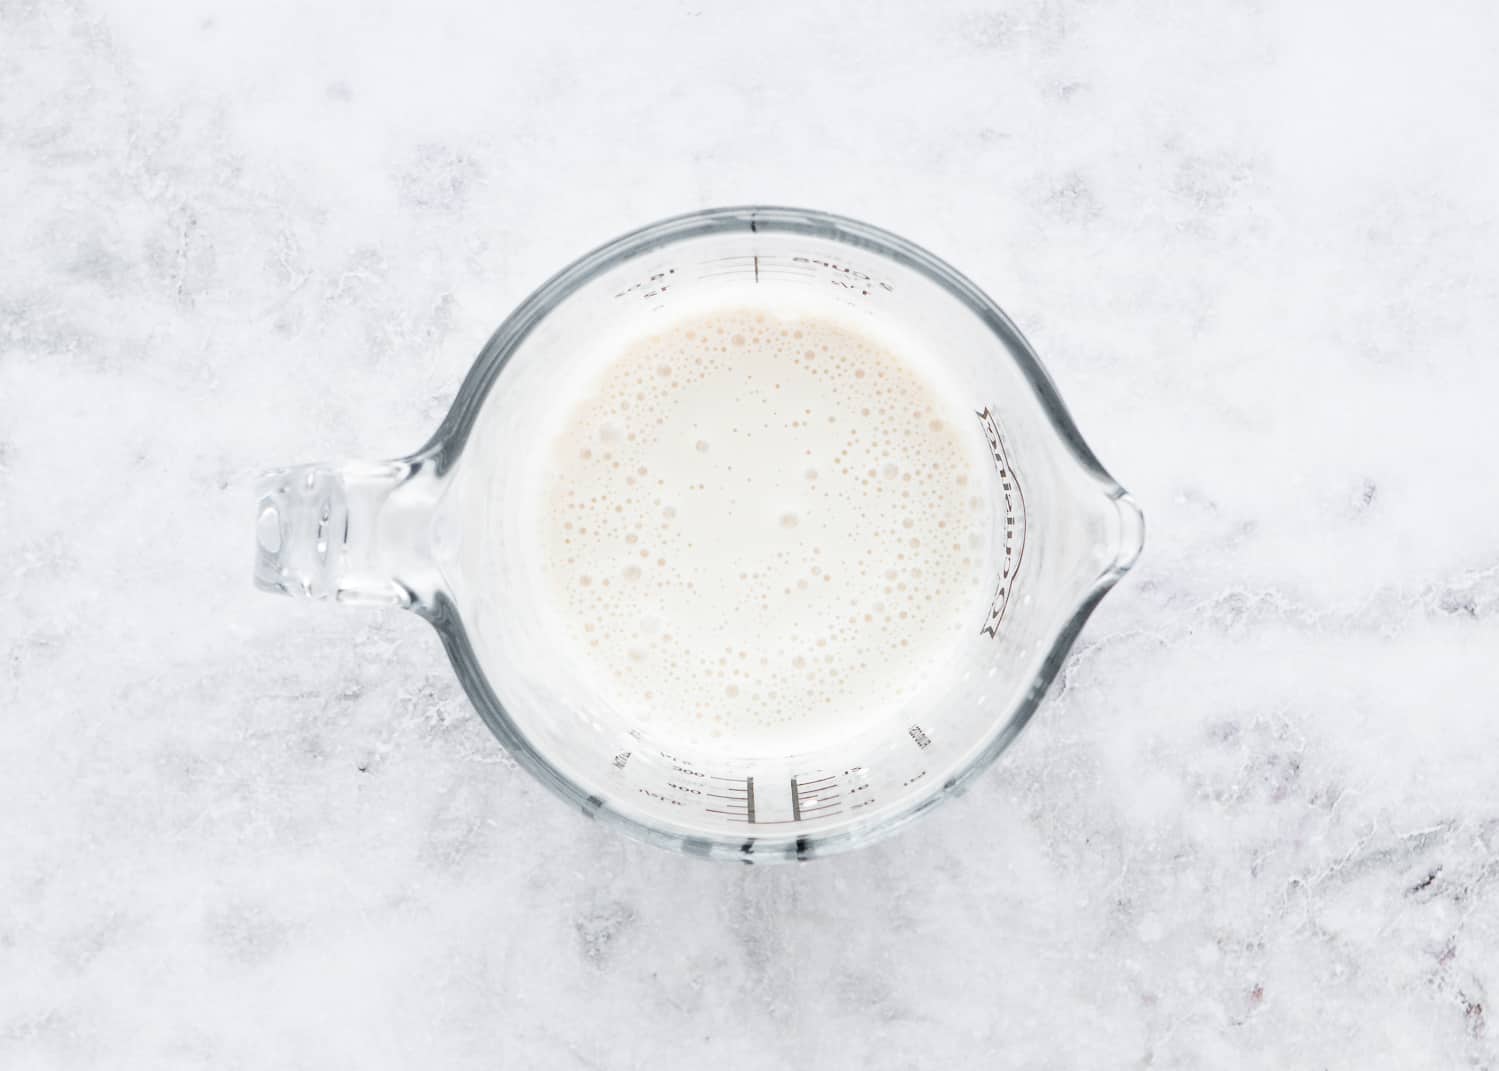
3 – In a mixing bowl or liquid measuring cup, combine milk and vinegar.
4 – Cream butter and sugar creamy and pale on medium-high speed, about 3 – 4 minutes. Then add oil and vanilla; continue beating to combine, about 1 minute. Turn the mixer to low and add the flour mixture in three batches, alternating with milk mixture, beginning and ending with the flour mixture; beat until just combined, about 30 – 45 seconds. Add the food coloring and mix until just combined. Do not overmix.
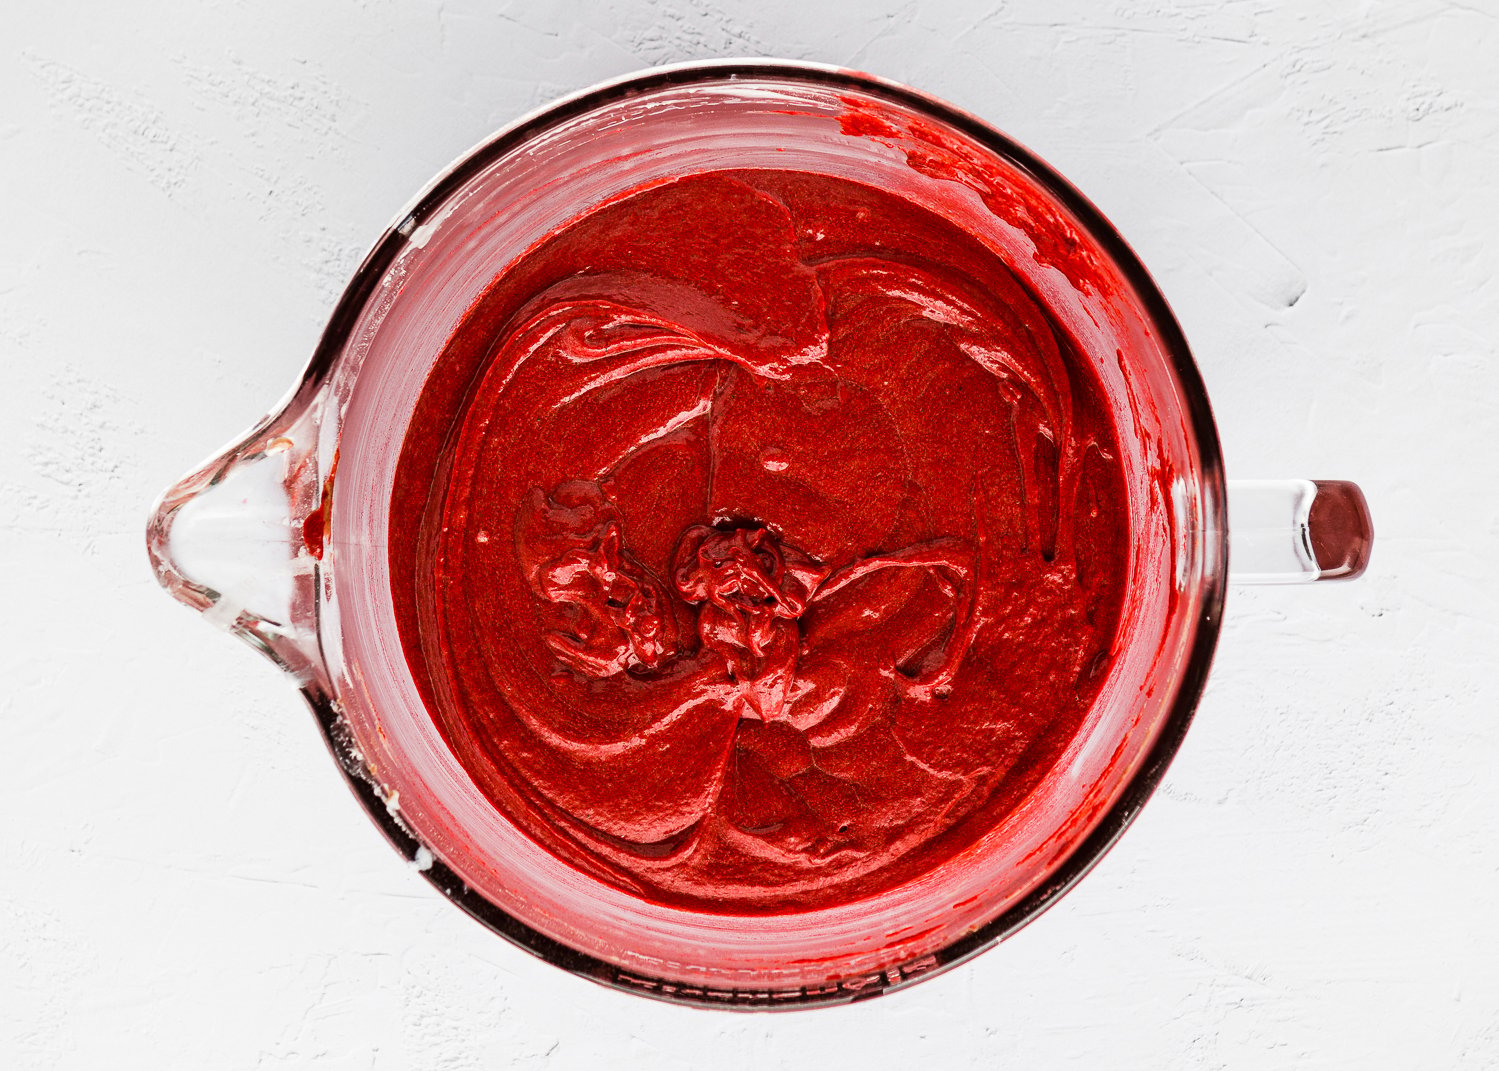
Divide batter evenly among liners, about 3/4 full each.
Bake for 18 – 22 minutes on the same shelf, or until a toothpick inserted into the center comes out clean. Cool pan on wire racks for 5 minutes, then remove cupcakes from pan, place back on the rack, and cool to room temperature before frosting, about 1 hour.

Eggless Cupcakes Baking Tips
Measure the ingredients correctly. I highly recommend using a kitchen scale.
Preheat the oven at least 15 minutes before you get started to give it plenty of time to reach the ideal recipe temperature.
Right temperature butter is KEY! Softened butter should easily bend without breaking and will give slightly when pressed. If your finger sinks into the butter and looks oily, it’s way too soft.
Don’t overmix the batter. Instead, mix just until you’ve evenly distributed the ingredients throughout the batter.
Fill the cupcake liners 3/4 full. If you overfill the liners, they won’t rise properly.
Bake the cupcakes as soon as the batter is ready.
Don’t open the oven door until the cupcakes have set. Leave the oven closed until the minimum time stated in the recipe.
Every oven is different, so baking times always have to be taken with a grain of salt. Oven thermostats can be wildly off, and that will all affect baking time, so keep an eye on yours. The cupcakes are done when a toothpick inserted in the center comes out clean.
Frequently Asked Questions
The best way to make cupcakes without eggs is to find the right combination of leavening agents, such as baking powder and/or baking soda, and acids, such as vinegar, lemon juice, buttermilk, yogurt, sour cream, etc. When leaveners and acids are combined, they react and produce gas (bubbles) that will make the cupcake fluffy.
Cupcakes can be made one day in advance, covered, and stored at room temperature. Frosting can also be made one day in advance, covered, and stored in the refrigerator until ready to use.
Yes, if you want to make these cupcakes in a mini cupcake tin instead of a regular tin, use mini paper liners and bake them for around 10-12 minutes. Check the cupcakes for about 10 minutes. You can test for doneness by sticking a toothpick in the center of a cupcake. If it comes out clean, they are done.
Gel food coloring has a higher concentration of color than liquid coloring, meaning that you can use less to reach the color you want. This also means that you are not adding extra liquid to the recipe. I mostly use AmeriColor gel food coloring.
Adapt This Recipe to Other Food Allergies
This recipe is egg- and nut-free, but you can adapt it to other food allergies.
Gluten-Free
Substitute all-purpose flour for 1-to-1 Gluten-Free flour mix. My favorite brand is Better Batter Original All Purpose Flour Blend. Cup4Cup will also work fine, but the texture will be slightly different.
Dairy-Free
Use your favorite plant-based, dairy-free, or vegan butter and milk. Make sure to use an unflavored, unsweetened variety of non-dairy milk. Soy and oat milk have the best consistency and very neutral flavors. My favorite dairy-free butter brands for baking are:
Storing & Freezing Instructions
Store
Unfrosted cupcakes can be stored at room temperature for 3 days. Frosted cupcakes can be stored in the refrigerator for up to 5 days.
Freeze
Unfrosted cupcakes can be frozen for up to 2-3 months. Follow these steps:
- Let cupcakes cool COMPLETELY.
- Wrap cupcakes tightly in plastic wrap.
- Place individually wrapped cupcakes in a plastic double zipper quart freezer bag.
To defrost, unwrap cupcakes and bring them to room temperature. Frost to your liking.
More Egg-Free Cupcake Recipes You’ll Love!
- Eggless Vanilla Cupcakes
- Easy Eggless Oreo Cupcakes
- Eggless Funfetti Cupcakes
- Eggless Chocolate Cupcakes
- Browse more recipes…
❤️ Love what you see? JOIN my Private Baking Club. Also, SUBSCRIBE to Mommy’s Home Cooking, so you’ll never miss a recipe! And FOLLOW along on Instagram, Pinterest, and Facebook for more fun!
Easy Eggless Red Velvet Cupcakes
Equipment
Ingredients
Cupcakes:
- 1 ¾ cups (245 g) all-purpose flour
- 2 teaspoons baking powder
- 1/2 teaspoon salt
- ¼ cup (30 g) unsweetened cocoa powder
- 1 cup (240 ml) whole milk (you can substitute with any plant milk you like)
- 1 tablespoon (15 ml) apple cider vinegar
- 1/2 cup (115 g) unsalted butter, softened (1 stick)
- 1 cup (200 g) granulated sugar
- 1 tablespoon (15 ml) vegetable or canola oil
- 1 teaspoon (5 ml) pure vanilla extract
- 2 teaspoons (10 ml) red food color (see notes)
Cream Cheese Frosting:
- 8 oz (226 g)cream cheese, softened
- 1 cup (230 g) unsalted butter, softened
- 1/4 teaspoon salt
- 2 teaspoons (10 ml) pure vanilla extract
- 4 cups (480 g) confectioners' sugar, more if needed
Instructions
Cupcakes:
- Preheat the oven to 350º F (180º C). Line a cupcake pan with cupcake liners.
- Combine flour, baking powder, salt, and cocoa powder in a bowl. Set aside.
- In a mixing bowl or liquid measuring cup, combine milk and vinegar. Set aside.
- Using an electric hand mixer or a stand mixer, beat butter until creamy and pale on medium-high speed, about 3 – 4 minutes. Add the sugar and beat on high speed for 2 minutes until creamed and pale, scraping down the sides and up the bottom of the bowl with a rubber spatula as needed. Then add oil and vanilla; continue beating to combine, about 1 minute.
- Turn the mixer to low and add the flour mixture in three batches, alternating with milk mixture, beginning and ending with the flour mixture; beat until just combined, about 30 – 45 seconds. Add the food coloring and mix until just combined. Do not overmix.
- Divide batter evenly among liners, about 3/4 full each.
- Bake for 18 – 22 minutes on the same shelf, or until a toothpick inserted into the center comes out clean. Cool pan on wire racks for 5 minutes, then remove cupcakes from pan, place back on the rack, and cool to room temperature before frosting, about 1 hour.
Frosting:
- In a large bowl, beat with an electric mixer the softened cream cheese and butter on medium speed for 2 minutes, scraping the bowl occasionally, until smooth and creamy.
- Stir in salt and vanilla; mix to incorporate. Then stir in confectioners' sugar; beat on low speed for 1 minute, then increase the speed to medium-high and beat for 4 – 5 minutes until the frosting is smooth, fluffy, and spreadable, scraping down the bowl once or twice. If the frosting is too thick, add one tablespoon of milk. If it's too thin, you can add more confectioners' sugar.
Decorate:
- Spread or pipe frosting evenly on cupcakes. Enjoy!
- Measure the ingredients correctly. I highly recommend using a kitchen scale.
- Preheat the oven at least 15 minutes before you get started to give it plenty of time to reach the ideal recipe temperature.
- Right temperature butter is KEY! Softened butter should easily bend without breaking and will give slightly when pressed. If your finger sinks into the butter and looks oily, it’s way too soft.
- Don’t overmix the batter. Instead, mix just until you’ve evenly distributed the ingredients throughout the batter.
- Fill the cupcake liners 3/4 full. If you overfill the liners, they won’t rise properly.
- Bake the cupcakes as soon as the batter is ready.
- Don’t open the oven door until the cupcakes have set. Leave the oven closed until the minimum time stated in the recipe.
- Every oven is different, so baking times always have to be taken with a grain of salt. Oven thermostats can be wildly off, and that will all affect baking time, so keep an eye on yours. The cupcakes are done when a toothpick inserted in the center comes out clean.
Nutrition
Eggless Baking Frequently Asked Questions
You’ve asked, and I’ve answered! Read on for a handful of answers to the most frequently asked questions about eggless baking.
Originally posted in February 2018, the post content was edited to add more helpful information, no change to the recipe in June 2022.
