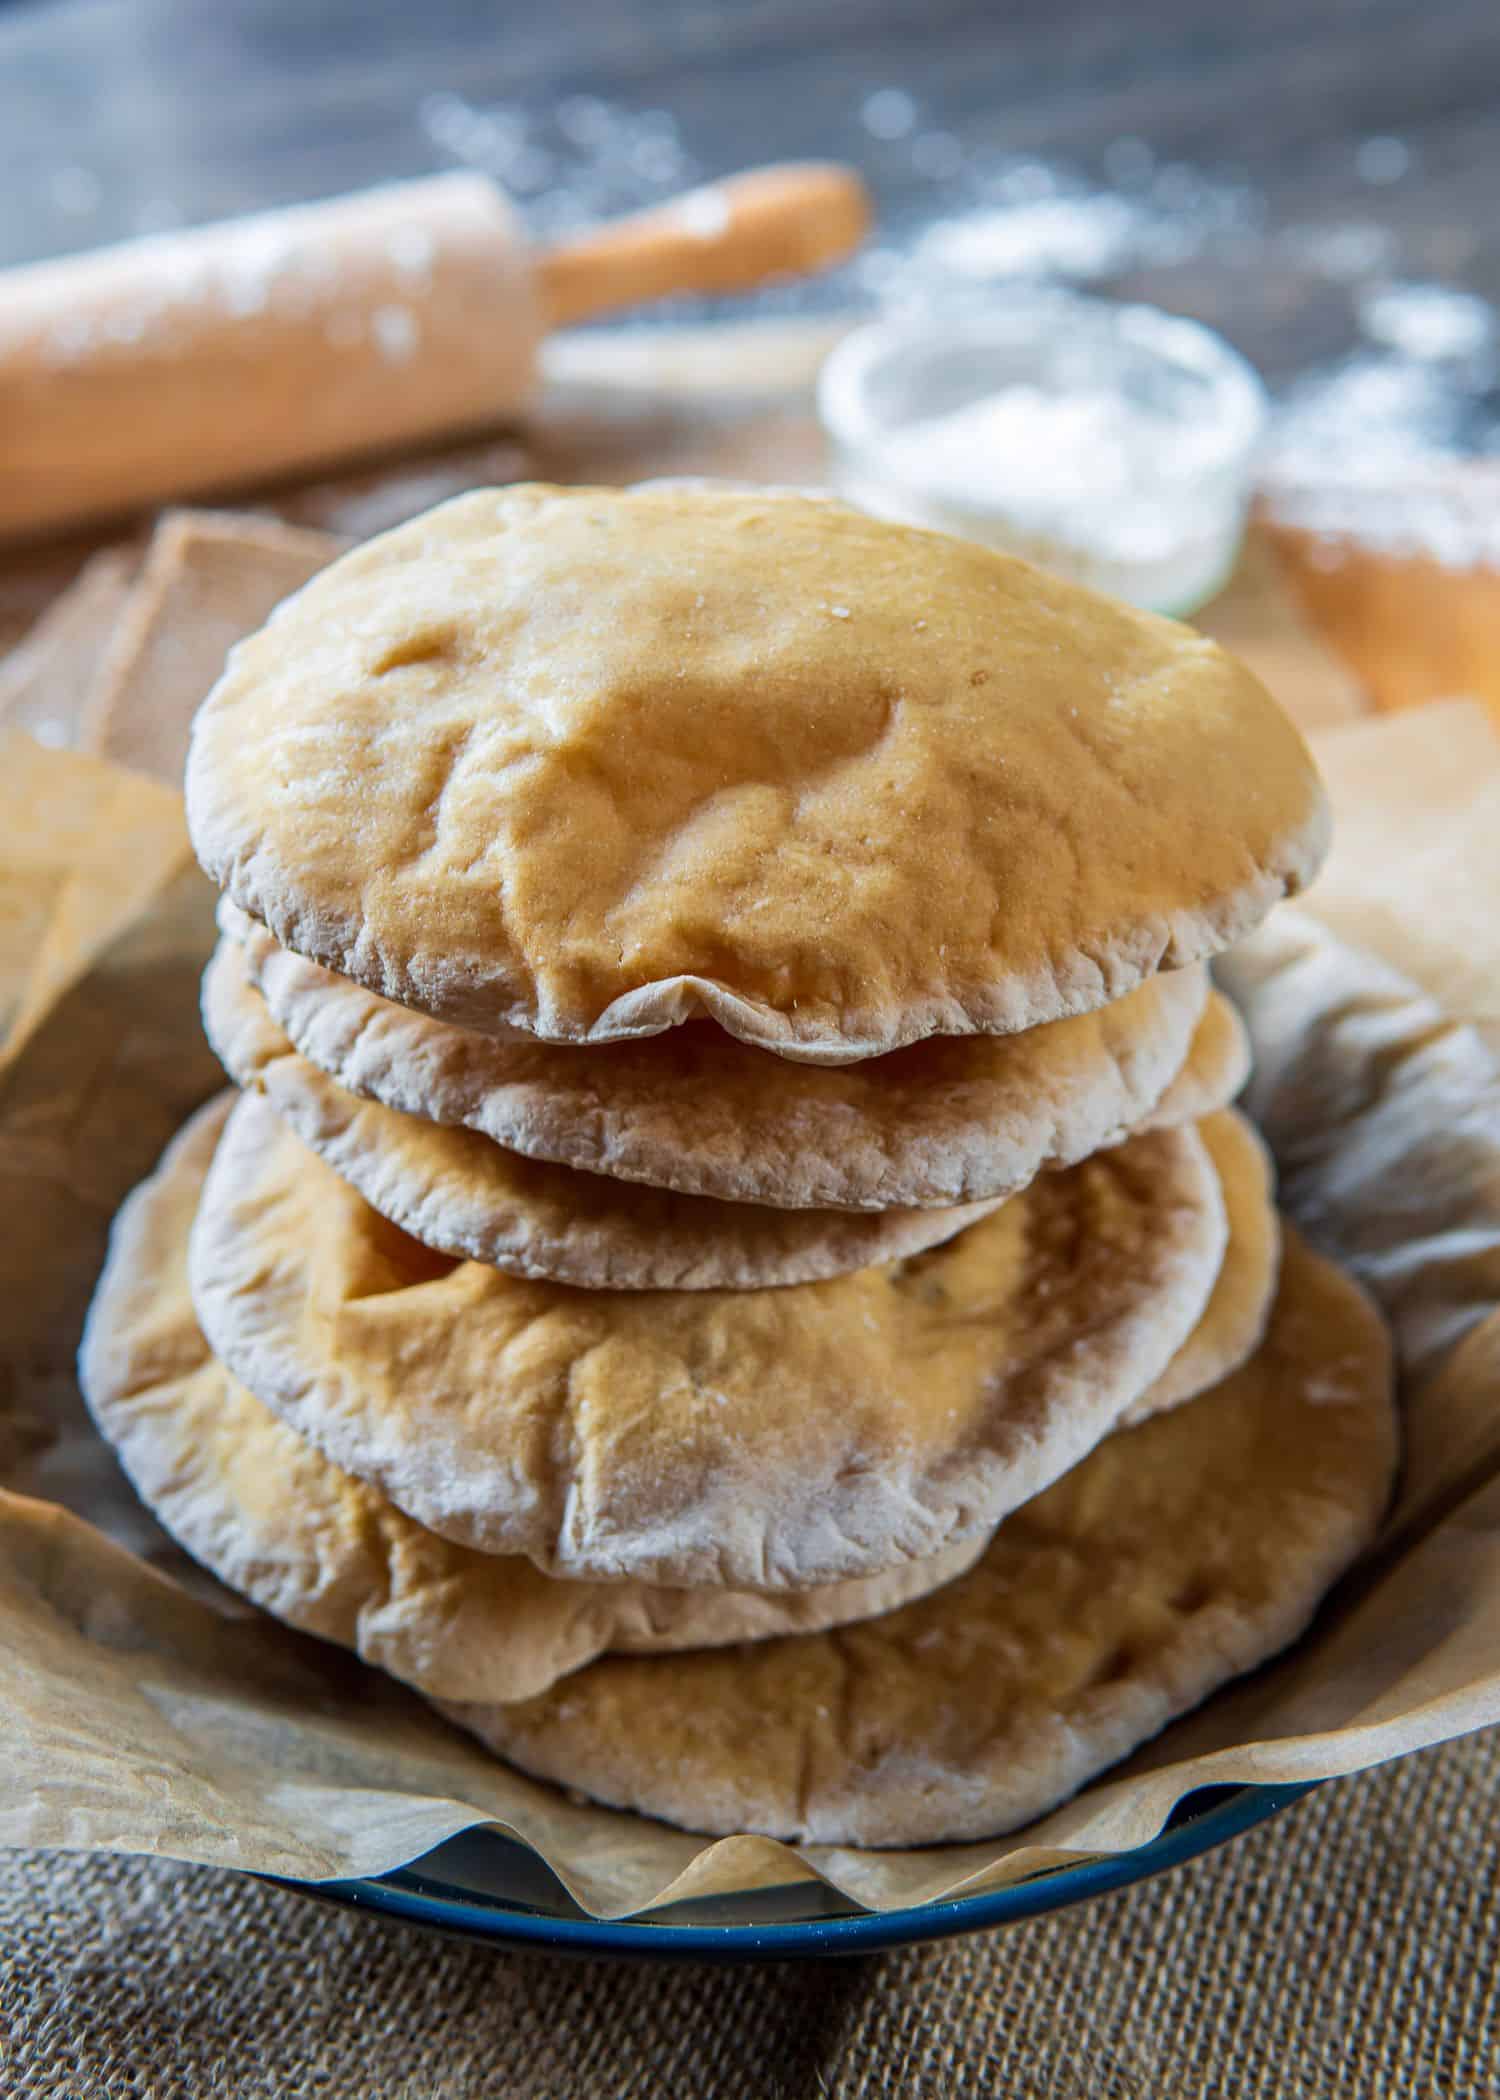
Opa! Whether you follow the Mediterranean diet or not, you’re going to love this pita pocket recipe–not to mention the ingredients you need are probably already in your pantry. These pita pockets are neater to eat, less bread-heavy, simple to create, and can be more easily stuffed.

Recipe Highlights
This pita pocket recipe stems from fragrant pita bread. This easy recipe has transformed traditional pita bread into pita pockets! These pita pockets can also be arranged more attractively on a plate, with room left over for your favorite sides. So move over, pita bread… Pita pockets are the way to go!
- You’ll love how fast and easy this recipe is to make. Pita bread simply doesn’t get any easier than this.
- They are made with simple ingredients and baked instead of being oiled or fried.
- You can bake left-over pitas a second time, then break them into chips and use them for dipping into creamy sides like hummus or a thick soup.
- Make a batch in advance and store them in the freezer. A quick oven refresher will bring them back to their original state.
Pita Pocket Ingredients & Notes
Please check the recipe card at the bottom of the post for exact quantities and detailed instructions (scroll down).
- Bread Flour: We recommend bread flour for this recipe because of its higher gluten content compared to All Purpose flour. This extra gluten will allow the pitas to loft in the oven without breaking. However, you can also use all-purpose flour in a blind.
- Salt: We love fine sea salt or kosher salt in all our breads. If you have only table salt available, we suggest adding half of the amount specified in the recipe.
- Yeast: We recommend using instant yeast because it does not require proofing and the additional time that proofing requires. Instant yeast can be simply mixed with the dry ingredients.
- Honey: Yeast needs a little sugar to activate in the oven, so we use wholesome honey instead of processed white granulated sugar.
- Olive oil: It wouldn’t be Mediterranean without a little olive oil! Our preference is always Extra Virgin Olive Oil (EVOO for short), but whatever blend is in your pantry will work.
Process Overview: How to Make Pita Pockets Step By Step
Please check the recipe card at the bottom of the post for exact quantities and detailed instructions (scroll down).
- Mix dry ingredients.
Mix flour, salt, and yeast in a bowl using your stand mixer or a whisk.
- Add wet ingredients, then knead gently.
Add honey and warm water, then turn the dough out onto a smooth surface. Knead gently while working in a little olive oil.
- Let the dough proof.
Set the dough to rise in a warm, draft-free location.
- Portion the dough.
After the dough has risen, portion it into equal-sized balls.
- Shape and bake the pitas.
Roll each ball into a circle, then bake, fill, and enjoy.
Mediterranean-Style Pita Pockets Tips & Tricks
If the dough feels dry, add up to 2 tablespoons more of the warm water. Don’t add too much extra water since you’ll be moistening the dough later with olive oil.
While it’s rare, yeast can expire, even if it is stored in the refrigerator. To check your yeast, simply mix it in a separate bowl with the honey and warm water, but not the salt. Wait 3–5 minutes to see if frothing begins. If the mixture does not froth, you will need to replace your yeast and try again. You can go ahead and use the mixture you just made, though, if you do see frothing.
Make sure the water is very warm (roughly 100°–110°F / 37º-43º C) since warm water is essential for activating the yeast.
Use a rolling pin rather than your hands to roll out the dough.
Serve with your favorite sides to create a fun, build-your-own dining experience.
Storing & Freezing Instructions
Pita bread is best enjoyed fresh out of the oven, but you can store this pita bread in a plastic bag at room temperature for 2–3 days.
You may also freeze these pitas to enjoy later. Stack the pitas in a reusable container, or wrap them in plastic wrap and over-wrap them in foil before sliding them into a freezer bag and freezing. Pitas may be frozen for up to 2 months. Warm up in a medium-heated oven from frozen.
Frequently Asked Questions
All pita breads are circular and made from simple ingredients, but Greek pita bread is flat and rolled around fillings instead of being stuffed with them. Pita pockets bake with a large air bubble that never deflates. They can then be cut in half vertically and each half stuffed with delicious fillings. No matter how you like your pita bread, it’s a homemade delicacy that can’t be beaten!
Like Greek pita bread, gyro bread is traditionally flat and rolled around fillings instead of being stuffed with them.
The list is endless! Any type of Mediterranean or Middle Eastern food is delicious in a pita pocket. Think grilled lamb, grilled beef kebabs, or even goat! Add a spicy sauce and plenty of lettuce, diced tomato, and chopped onion. Maybe falafel with garlic or tahini sauce strikes your fancy? Perfect! Or, go vegetarian and stuff these pitas with grilled vegetables and tabbouleh salad. Almost anything works!
Traditional North American sandwich fillings are also delicious in a pita. Try roast chicken or pretty much any leftovers from your fridge.
If you’re serving pitas as an appetizer, traditional sides for dipping include hummus, baba ganoush, tzatziki , and tabbouleh or Easy & Tasty Couscous Salad.
More Ways to Use Your Pita Pockets!
- Dip your pitas into this delicious Easy Mustard Hummus.
- An avocado sauce will complement just about any Mediterranean or North American filling: Easy Avocado Sauce.
- Try this Easy Tzatziki Sauce or Greek Yogurt Sauce
- Let this chicken recipe bubble away in your slow cooker before serving it with your pitas: Slow Cooker Tequila Barbeque Chicken.
- Whip up some falafel and pop the balls into a pita along with some tabbouleh salad or microgreens and tzatziki: Easy Falafel Salad Bowls.
❤️ Love what you see? JOIN my Private Baking Club. Also, SUBSCRIBE to Mommy’s Home Cooking, so you’ll never miss a recipe! And FOLLOW along on Instagram, Pinterest, and Facebook for more fun!
Recipe Card 📖

Mediterranean-Style Pita Pockets
Ingredients
- 4 ¼ cups (595 g) bread flour or all-purpose flour
- 1 1/2 teaspoon (6 g) kosher salt
- 3 teaspoons (10 g) instant yeast
- 1 teaspoon (5 ml) honey
- 1 ½ cups (360 ml) lukewarm water (100°–110°F / 37º-43º C)
- 4 teaspoons (20 ml) olive oil
Instructions
- Spray the surface of a large bowl with cooking spray and set aside.
- In the large bowl, mix together the flour, salt, and yeast. Add the honey, lukewarm water, and oil then mix again until a shaggy dough forms. You can also do this step in your stand mixer if you prefer. PRO TIP: If the dough feels dry, add up to 2 tablespoons more of the warm water.
- Turn the dough onto a lightly floured work surface and knead lightly for a couple of minutes. Cover and let the dough rest for 5 minutes, then continue to knead for another 6 – 8 minutes until smooth. When the dough is smooth and elastic, place it in the prepared bowl and turn to coat. Cover the bowl with plastic wrap and let the dough rise for 1 hour, or until the dough rises to double its size, in a warm, draft-free spot.
- Preheat your oven to 425º F (218º C) and place a heavy-duty baking pan on the middle rack to heat.
- When the dough has finished rising, knead 5–8 times to restore its texture, then divide into 8 equal portions and shape them into balls. Cover with a towel and leave them for 10 minutes or so to rest.
- Working in batches, roll each portion with a rolling pin into a 6”–7” circle (about 1/4 inch thick) on a lightly floured work surface. Carefully place the flattened dough onto the hot baking stone or baking sheet in the oven. Note: Depending on the side of your baking sheet, you might be able to fit 2 or 3 pitas.
- Bake for 2 – 3 minutes on one side, then carefully turn the pita over to bake for 1 minute on the other side using a pair of tongs. The pita will puff nicely and should be ready. Remove from the oven and cover the baked pitas with a clean towel. Bake the rest of the pitas.
- Cover all your baked pitas with a clean towel while you get your filling ready. Slice in half to fill and serve.
- Your pitas will be puffy delights, but just reduce the yeast if you want them to be the flatter Greek pita bread style that can be rolled around ingredients instead of being stuffed with them.
- While it’s rare, yeast can expire, even if it is stored in the refrigerator. To check your yeast, simply mix it in a separate bowl with the honey and warm water, but not the salt. Wait 3–5 minutes to see if frothing begins. If the mixture does not froth, you will need to replace your yeast and try again. You can go ahead and use the mixture you just made, though, if you do see frothing.
- Make sure the water is very warm (100°–110°F / 37º-43º C), since warm water is essential to activate the yeast.
- Use a rolling pin rather than your hands to roll out the dough.
- Serve with fillings on the side to create a fun, build-your-own dining experience.

Leave a Reply