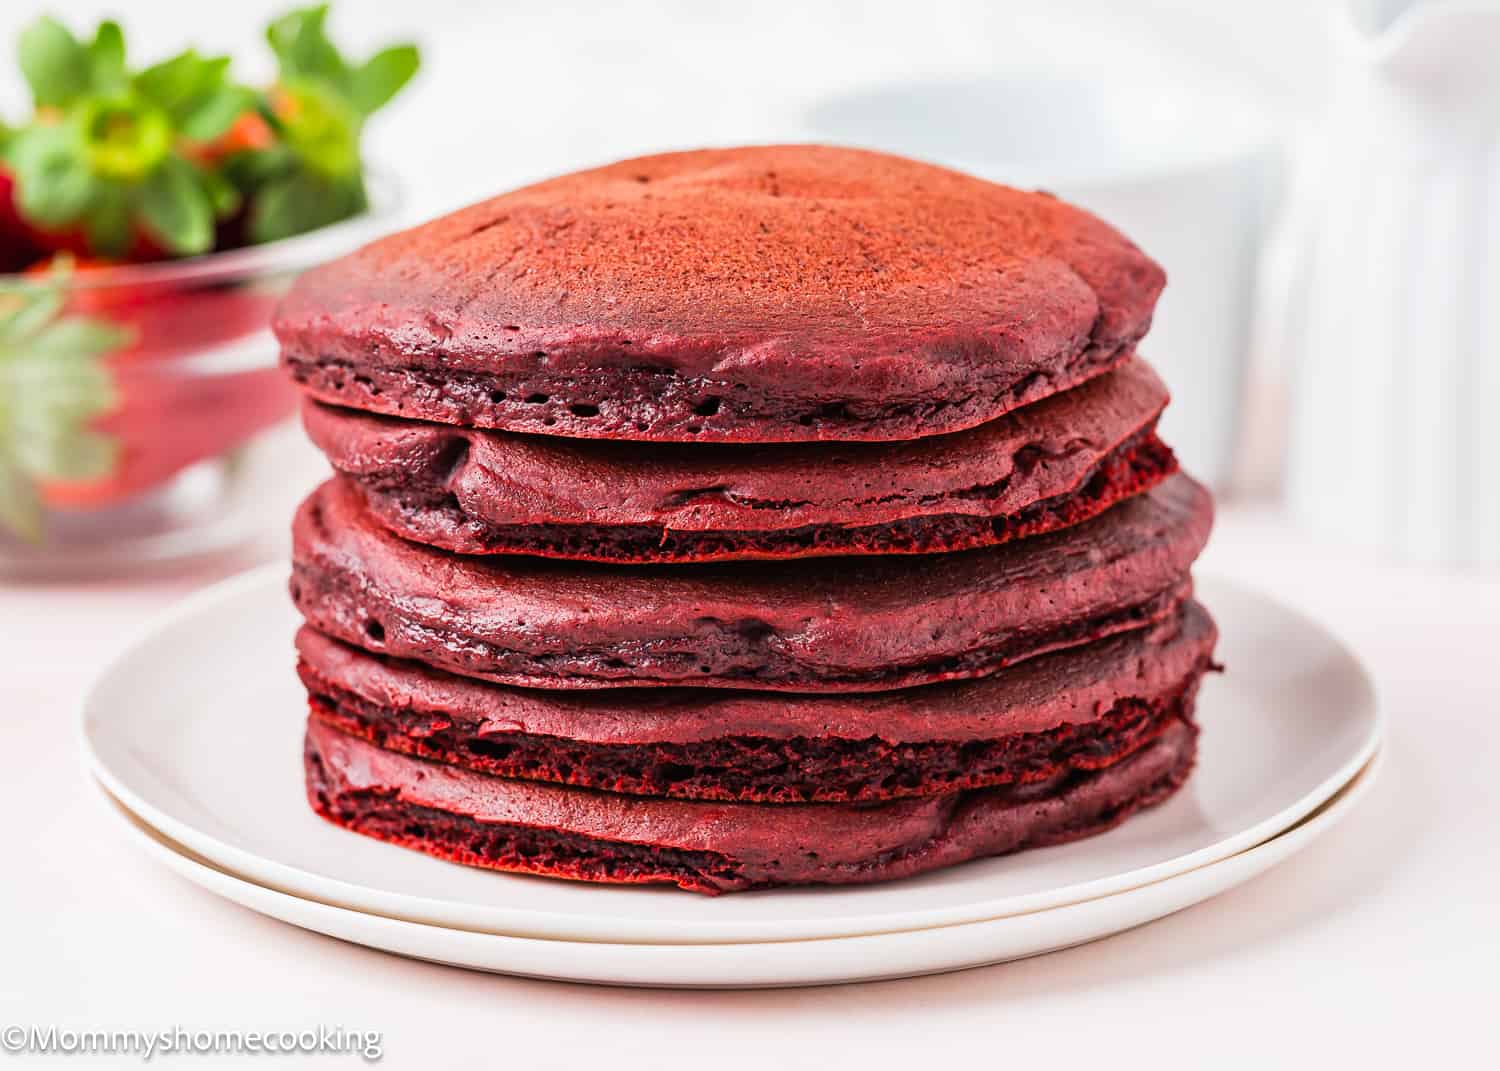
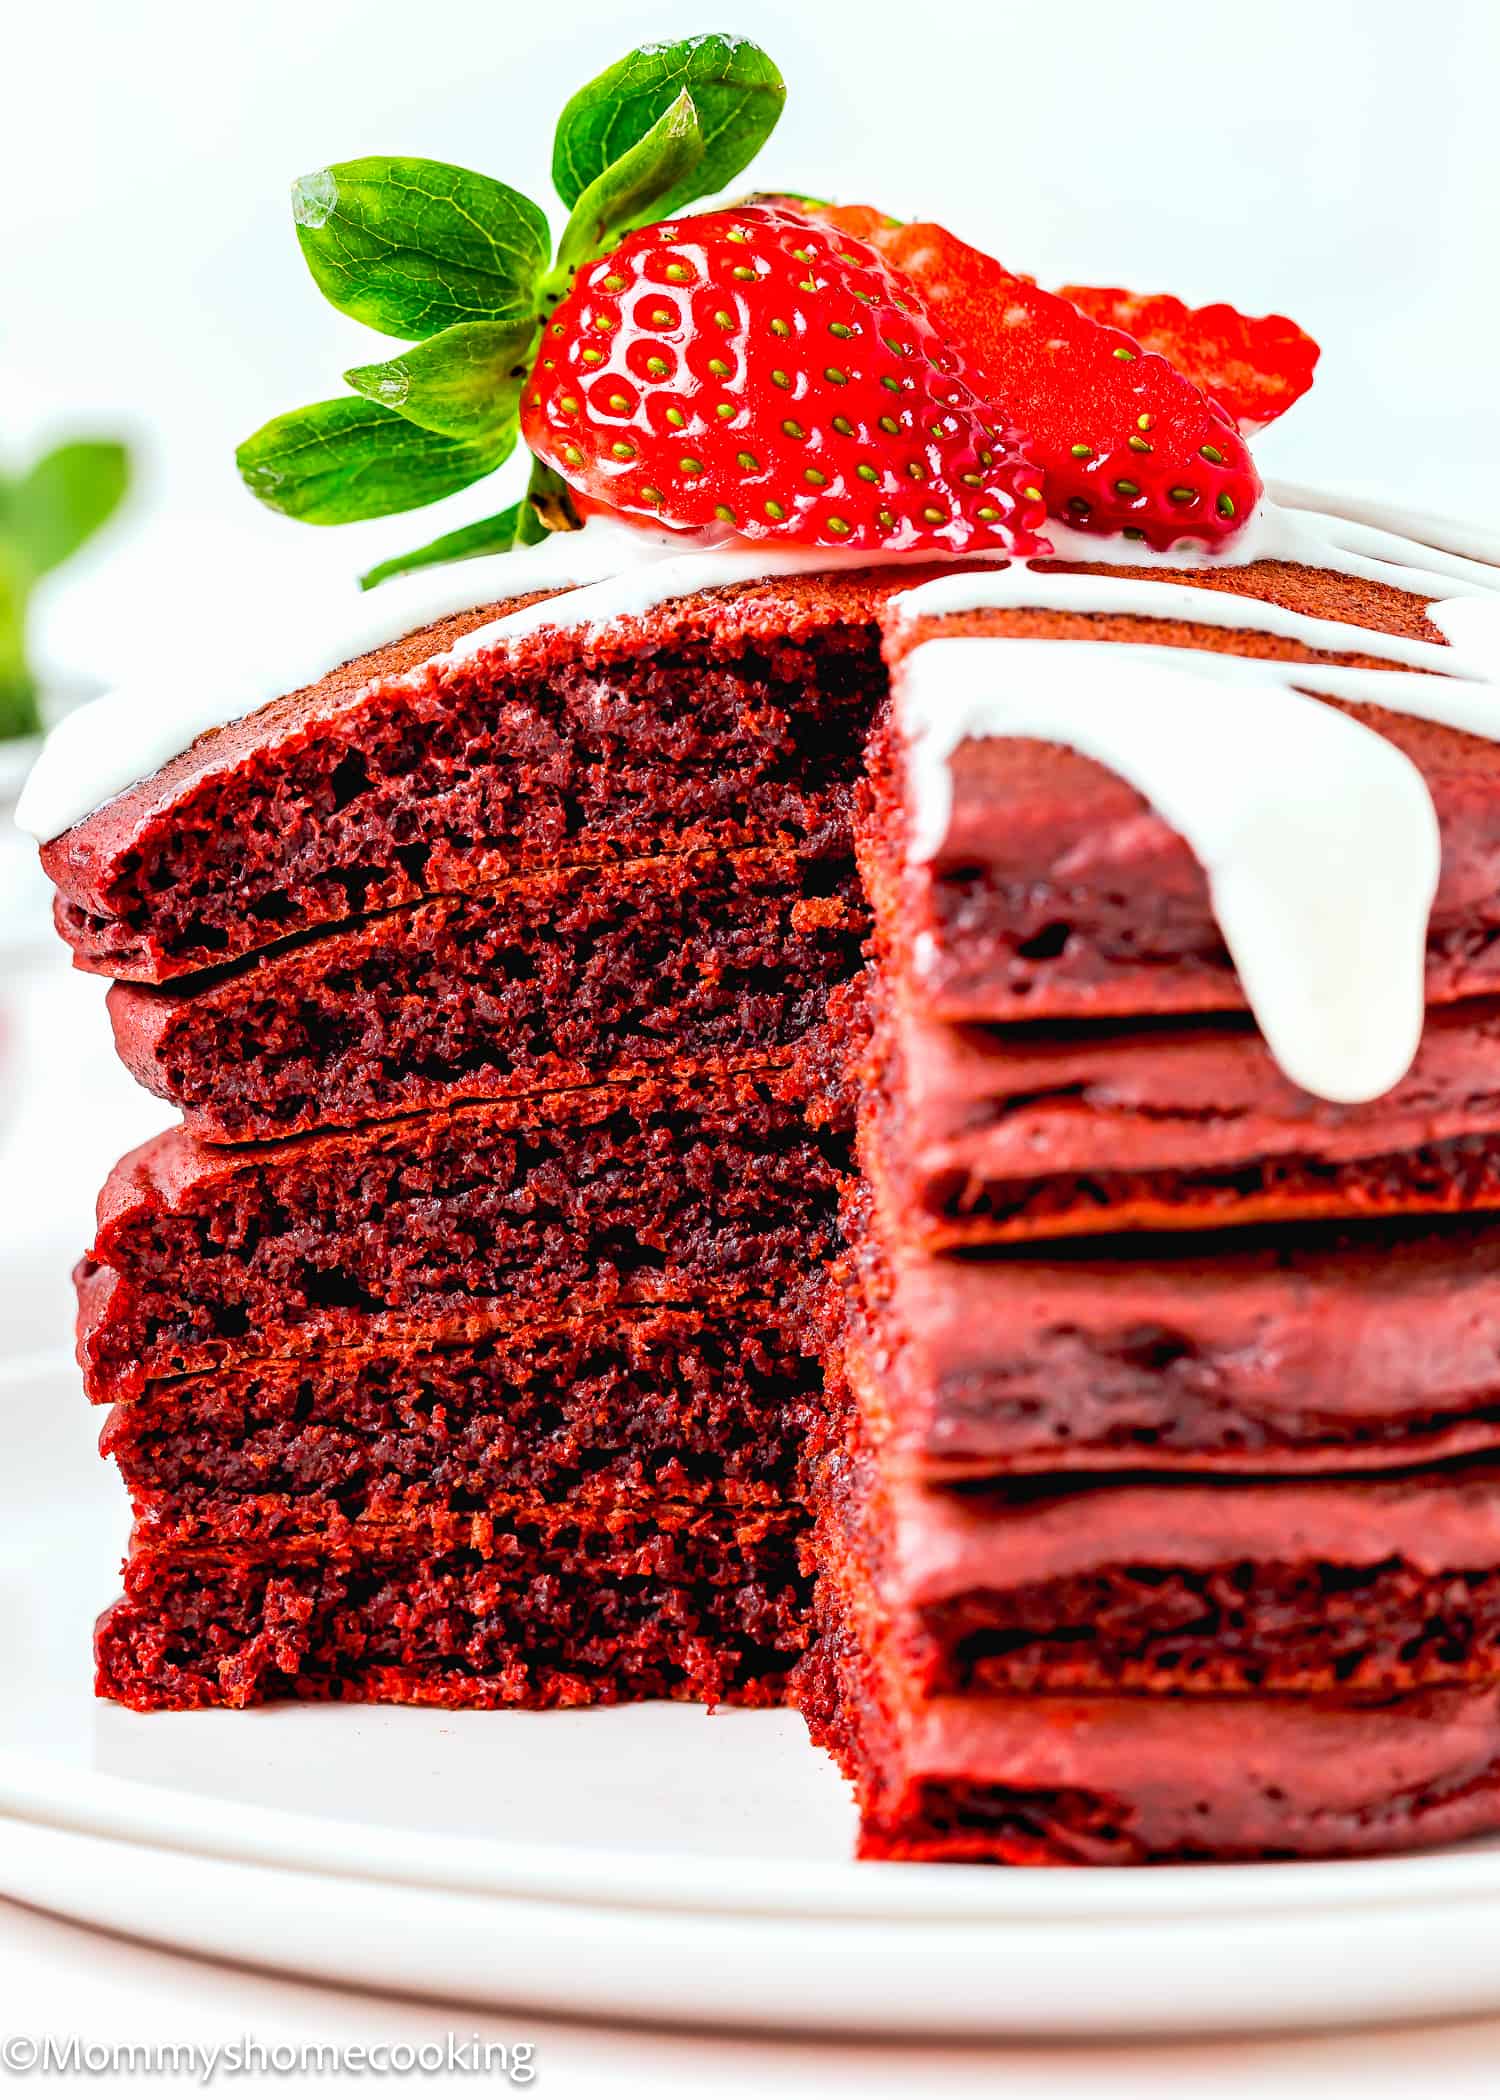
These Fluffy Red Velvet Pancakes (No Eggs) are as delicious as they are cute! Made in a flash with just a few pantry staples, these festive pancakes will for sure bring a smile to your loved ones’ faces! So get ready to indulge in pancake perfection! They’re egg-free, and with just simple adaptations, they can be made dairy and/or gluten-free (instructions included)
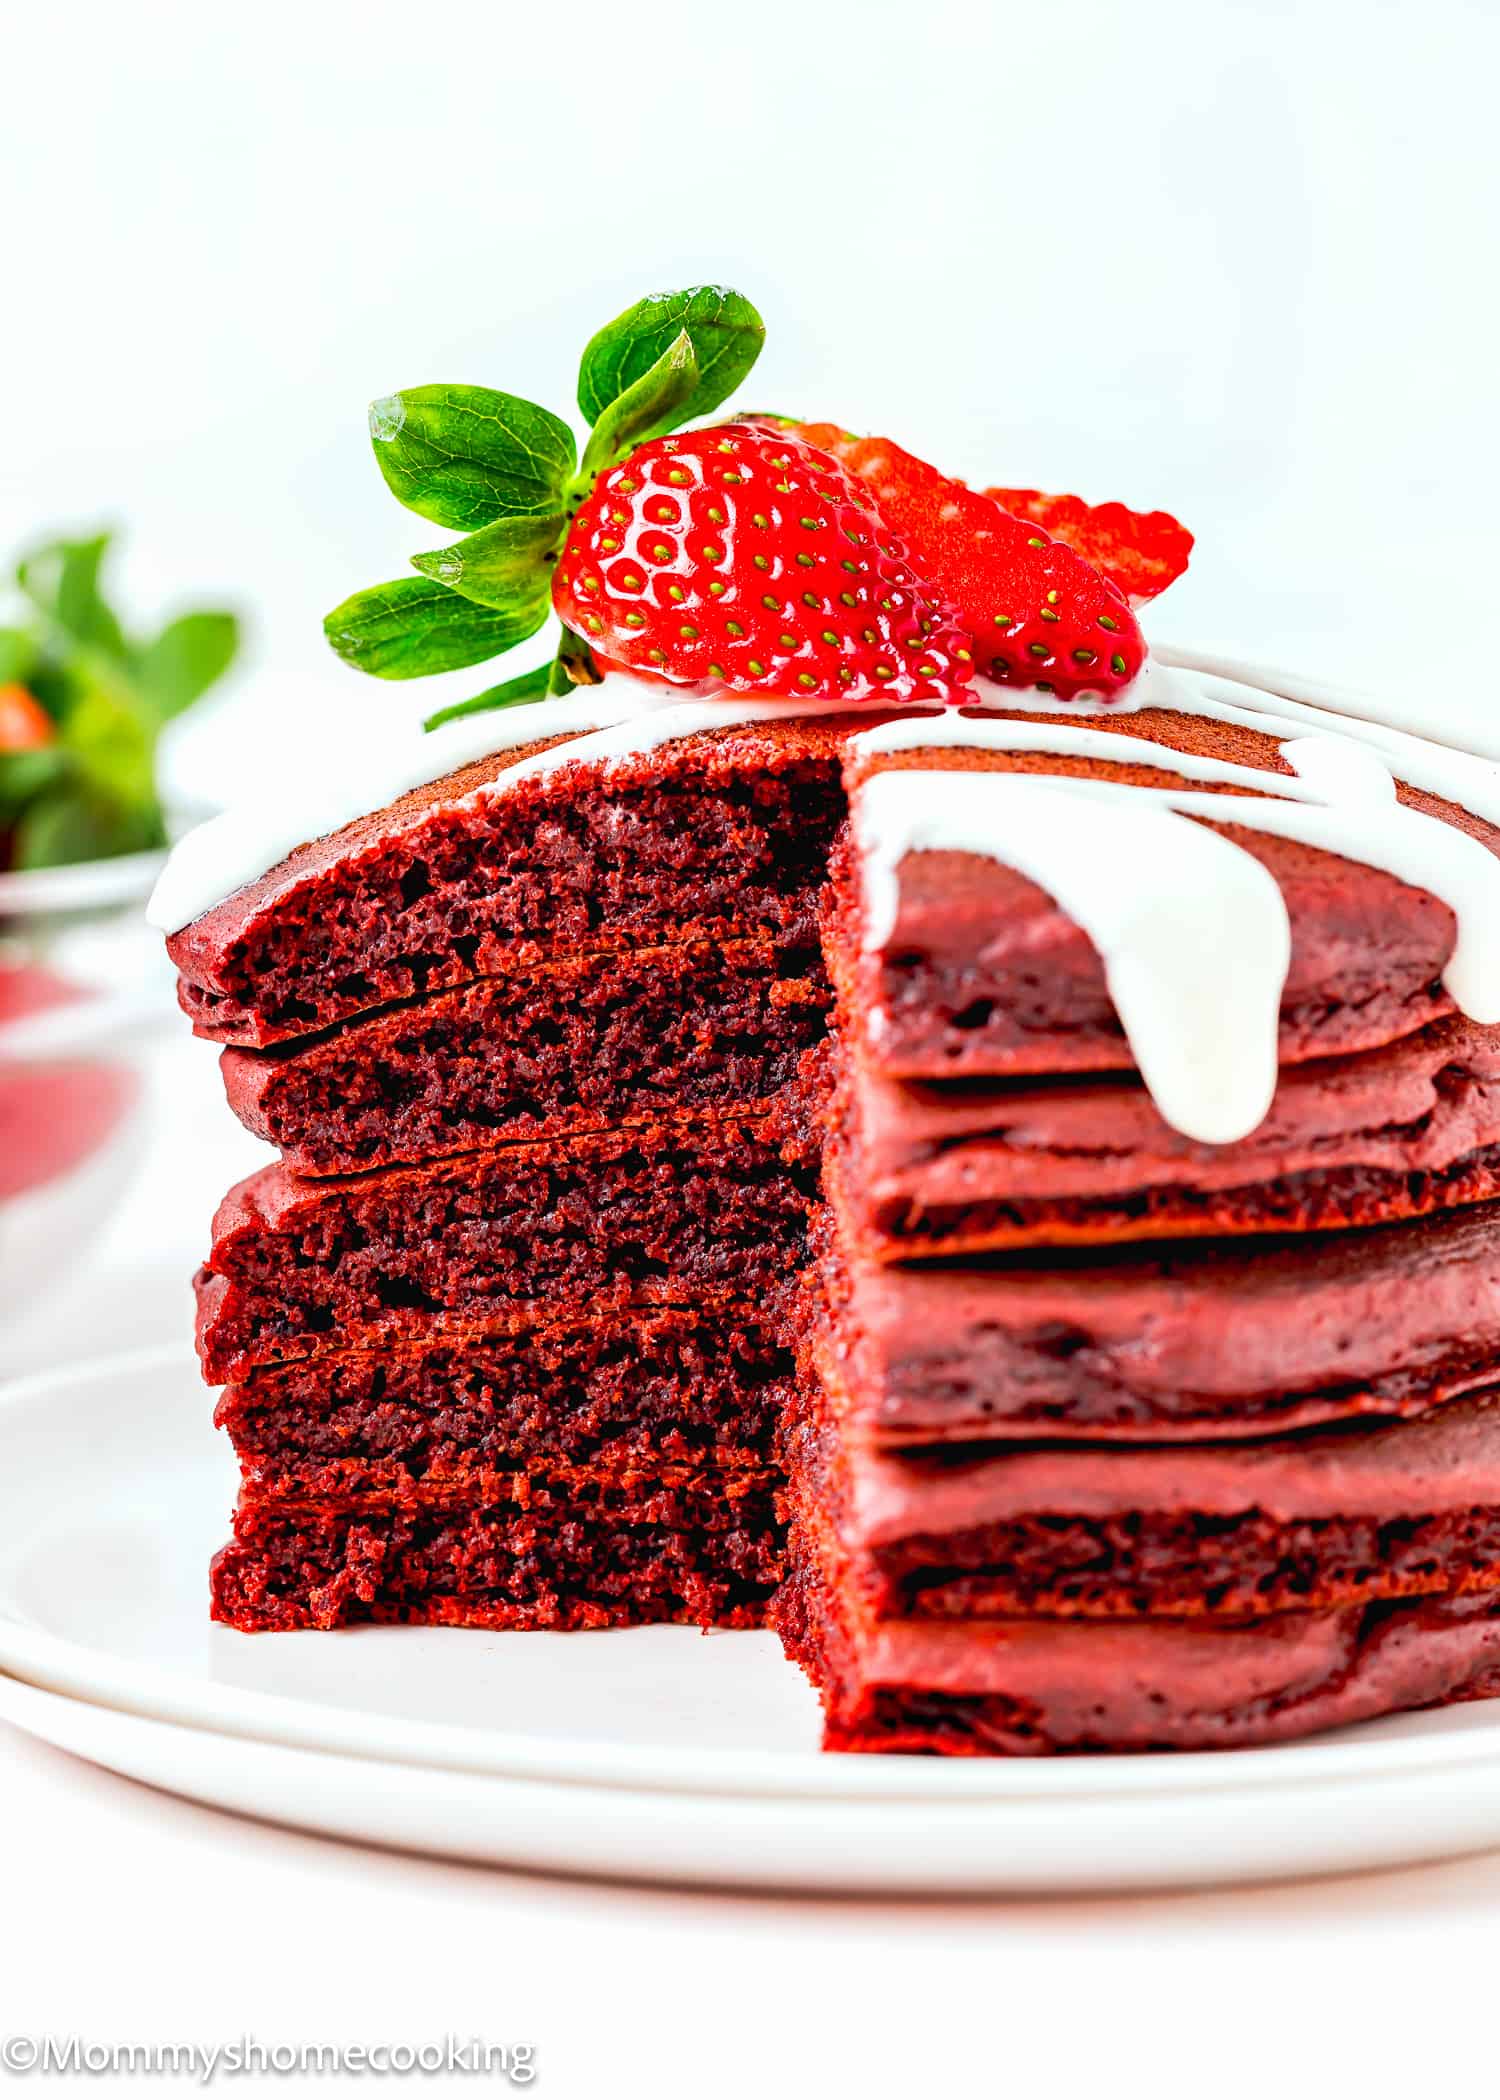
Irresistible Red Velvet Pancakes Recipe for Special Moments!
Whether it’s Valentine’s Day, Christmas morning, or just a special occasion to celebrate, these vibrant, beautiful, and Fluffy Red Velvet Pancakes are sure to dazzle your taste buds and bring a smile to your face. And the best part? They’re incredibly easy and quick to make, requiring only simple ingredients that you probably already have in your pantry.
Plus, they’re completely egg-free, and with a few simple adjustments, you can easily make them dairy-free, gluten-free, or both (instructions provided below).
With these Fluffy Red Velvet Pancakes, every day feels like a celebration. So grab your spatula, whip up a batch, and get ready to indulge in pancake perfection!
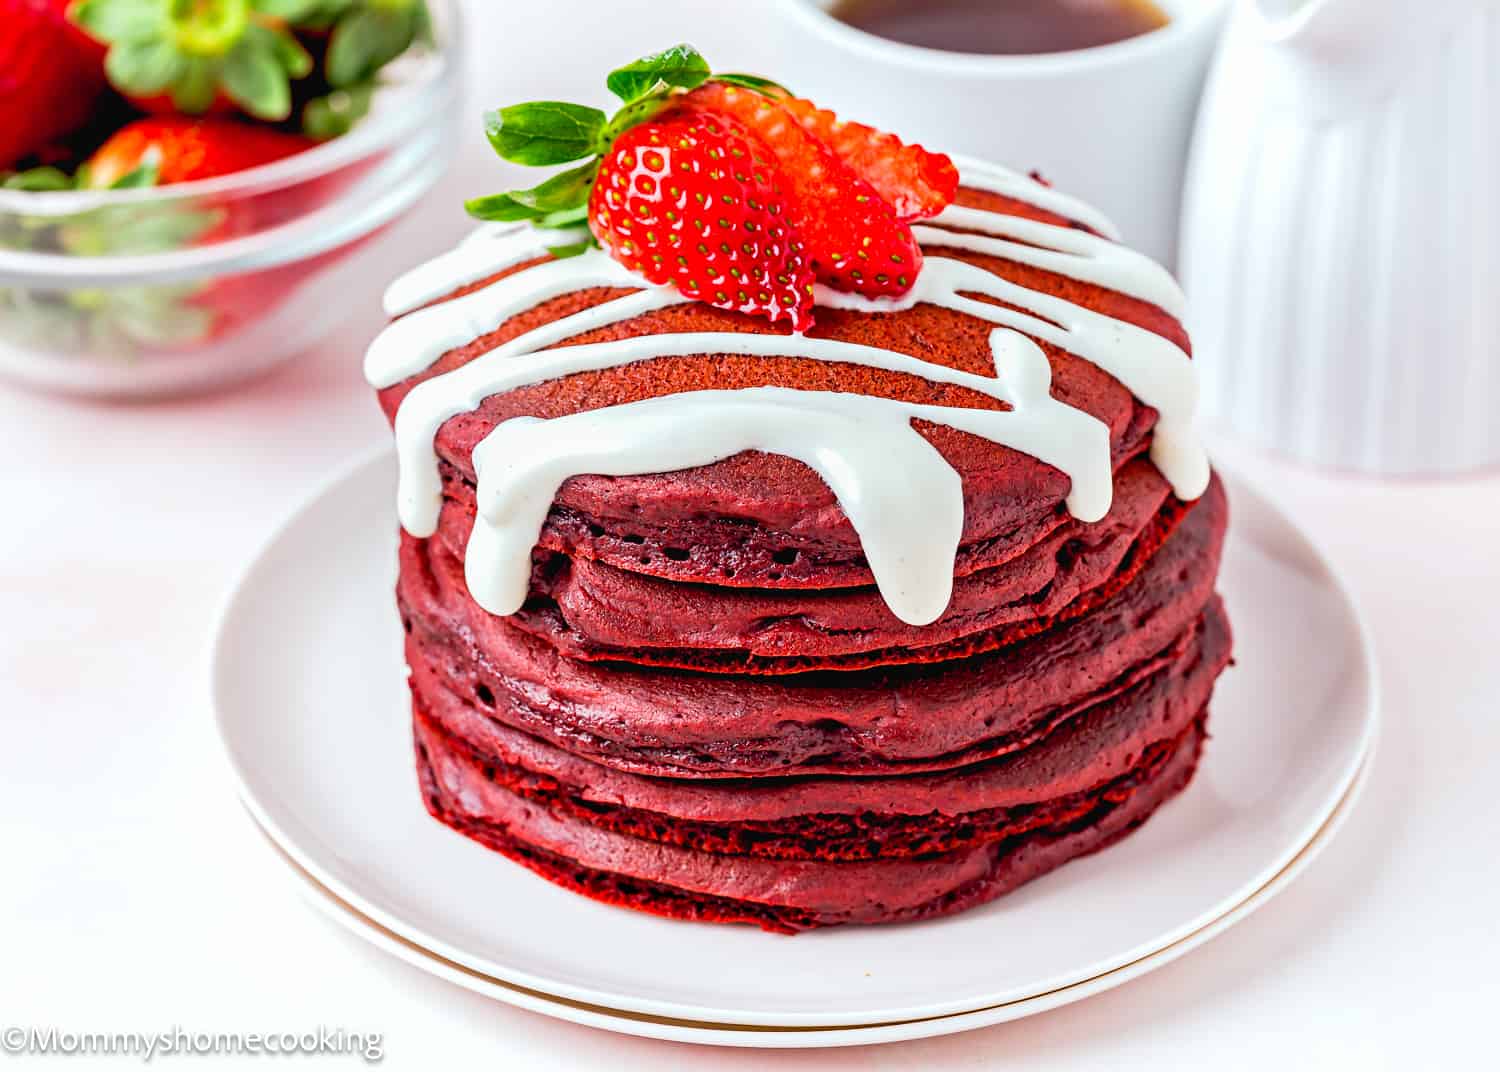
What To Love About This Recipe
- Easy and Quick to Make: With just a few simple steps, you’ll have a stack of fluffy red velvet goodness ready to devour in no time.
- Only Simple Ingredients: Forget complicated shopping lists! All you need are basic pantry staples.
- Fluffy Texture: These pancakes are the epitome of fluffy perfection. With the right combination of ingredients and techniques, each bite melts in your mouth with a cloud-like softness that will leave you craving more.
- Delicious Taste: Rich cocoa flavor, hints of vanilla, and a sweet touch make these pancakes irresistible. Whether enjoyed plain or topped with your favorite syrup and toppings, they’re guaranteed to satisfy your sweet tooth.
- Perfect for Valentine’s Day, Christmas, or Any Special Occasion: Share the love with your friends and family by serving up a batch of these red velvet pancakes on special occasions. Their vibrant color and delectable taste are sure to make any moment feel extra special.
Ingredients You’ll Need, Substitutions & Notes
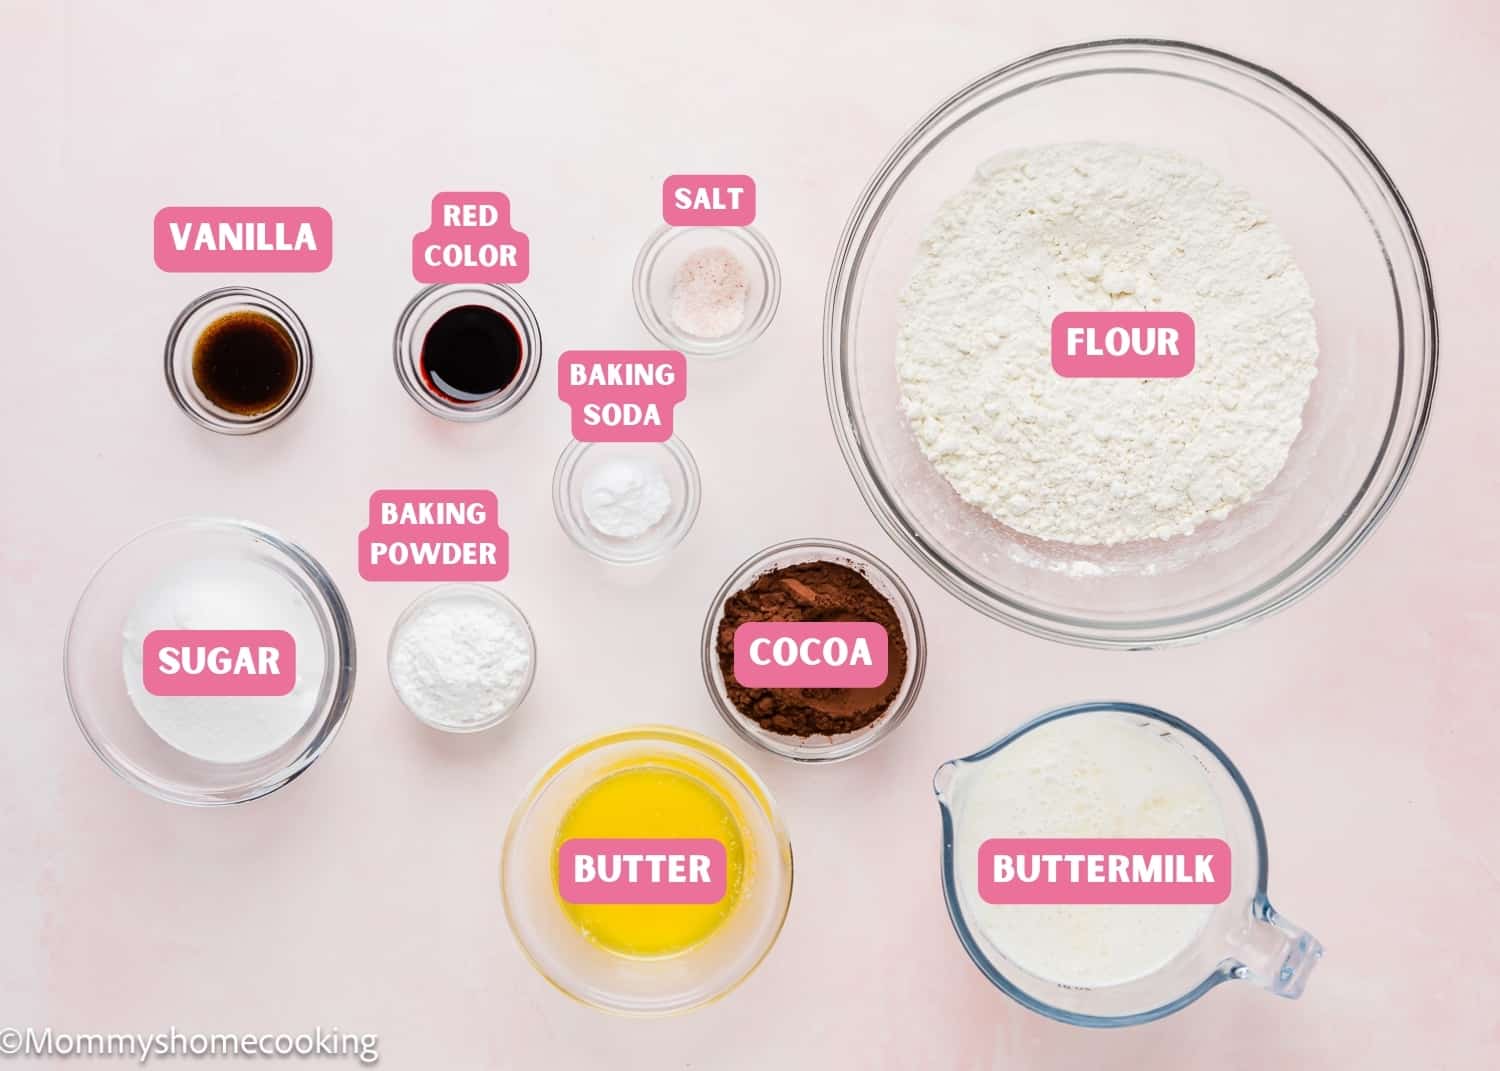
Please check the recipe card at the bottom of the post for exact quantities and detailed instructions (scroll down).
- All-Purpose Flour: Provides the base for the pancake batter, giving it structure and substance. Make sure to measure accurately. In my opinion, a kitchen scale is the best way to measure your ingredients.
- Cocoa Powder: Adds rich chocolate flavor and gives the pancakes their signature red velvet hue. I like to use unsweetened natural cocoa powder instead of Dutch-processed because it’s more acidic and reacts with baking soda, allowing your baked goods to rise; this is especially important in egg-free baking.
- Granulated Sugar: Sweetens the pancakes and enhances their flavor. I do not recommend reducing the amount of sugar or changing the type of sugar, as it will change the texture of the pancakes.
- Baking Powder and Baking Soda: Leavening agents that help the pancakes rise and achieve their fluffy texture. Make sure they’re not expired or too old. To avoid a chemical aftertaste, use baking powder that is labeled aluminum-free. I usually use the Clabber Girl brand, and though the ingredients state aluminum, I’ve never noticed an aluminum aftertaste.
- Salt: Balances the sweetness and enhances the overall flavor of the pancakes. I prefer kosher or sea salt. If you only have table salt handy, I recommend reducing the amount to half.
- Buttermilk: Adds moisture and tanginess to the batter, contributing to the pancakes’ tender crumb. You don’t have buttermilk? No problem!! Check out my recipe for Easy Homemade Buttermilk Substitute [Video].
- Unsalted Butter: Adds richness and flavor to the pancakes, making them irresistibly decadent. I prefer to use unsalted butter, but if you only have salted butter handy, you can use it. In this case, skip the salt called in the recipe.
- Vanilla Extract: Enhances the flavor profile of the pancakes with its warm and aromatic notes. Reach for pure vanilla instead of imitation for optimal flavor. Even better, try homemade vanilla extract! If you are looking for non-alcoholic vanilla flavoring, I recommend Simply Organic Vanilla Flavoring.
- Red Gel Food Coloring: Gives the pancakes their vibrant red hue without watering down the batter. The amount of food coloring will depend on the concentration of the food coloring you are using. I recommend using gel or paste food colors since they are highly concentrated, and you’ll end up using less.
Process Overview: How To Make Red Velvet Pancakes Step-by-Step
Please check the recipe card at the bottom of the post for exact quantities and detailed instructions (scroll down).
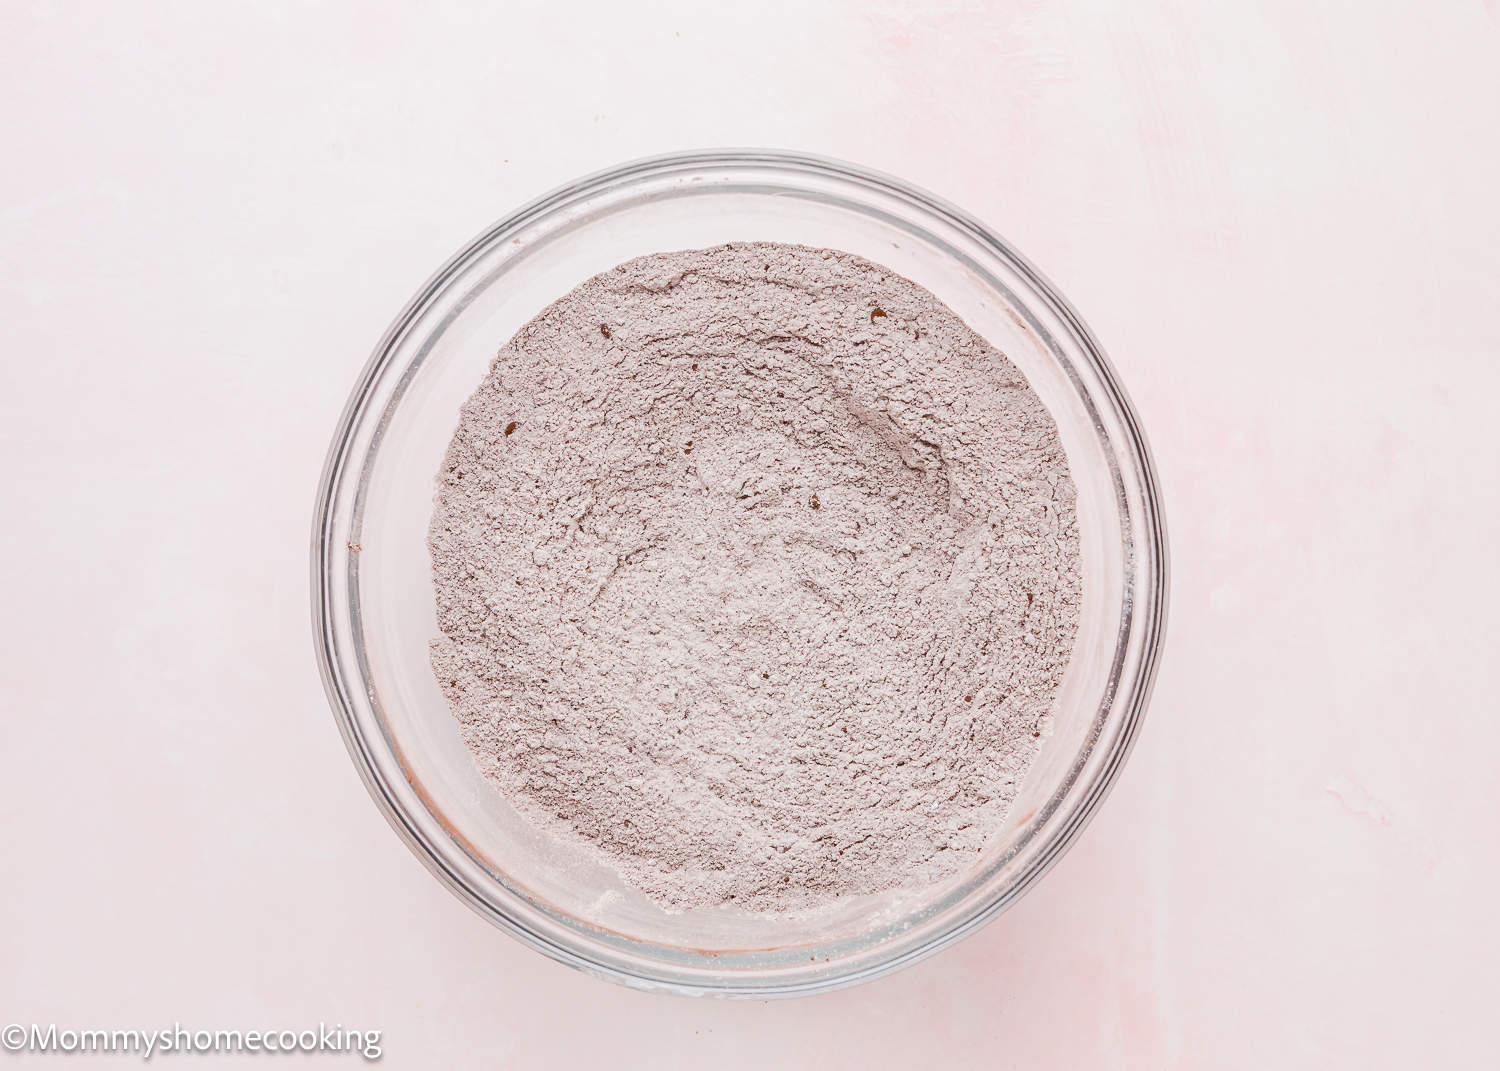
Step 1 – Mix Dry Ingredients
Combine the flour, cocoa powder, sugar, baking powder, baking soda, and salt in a medium bowl and stir using a balloon whisk to combine.
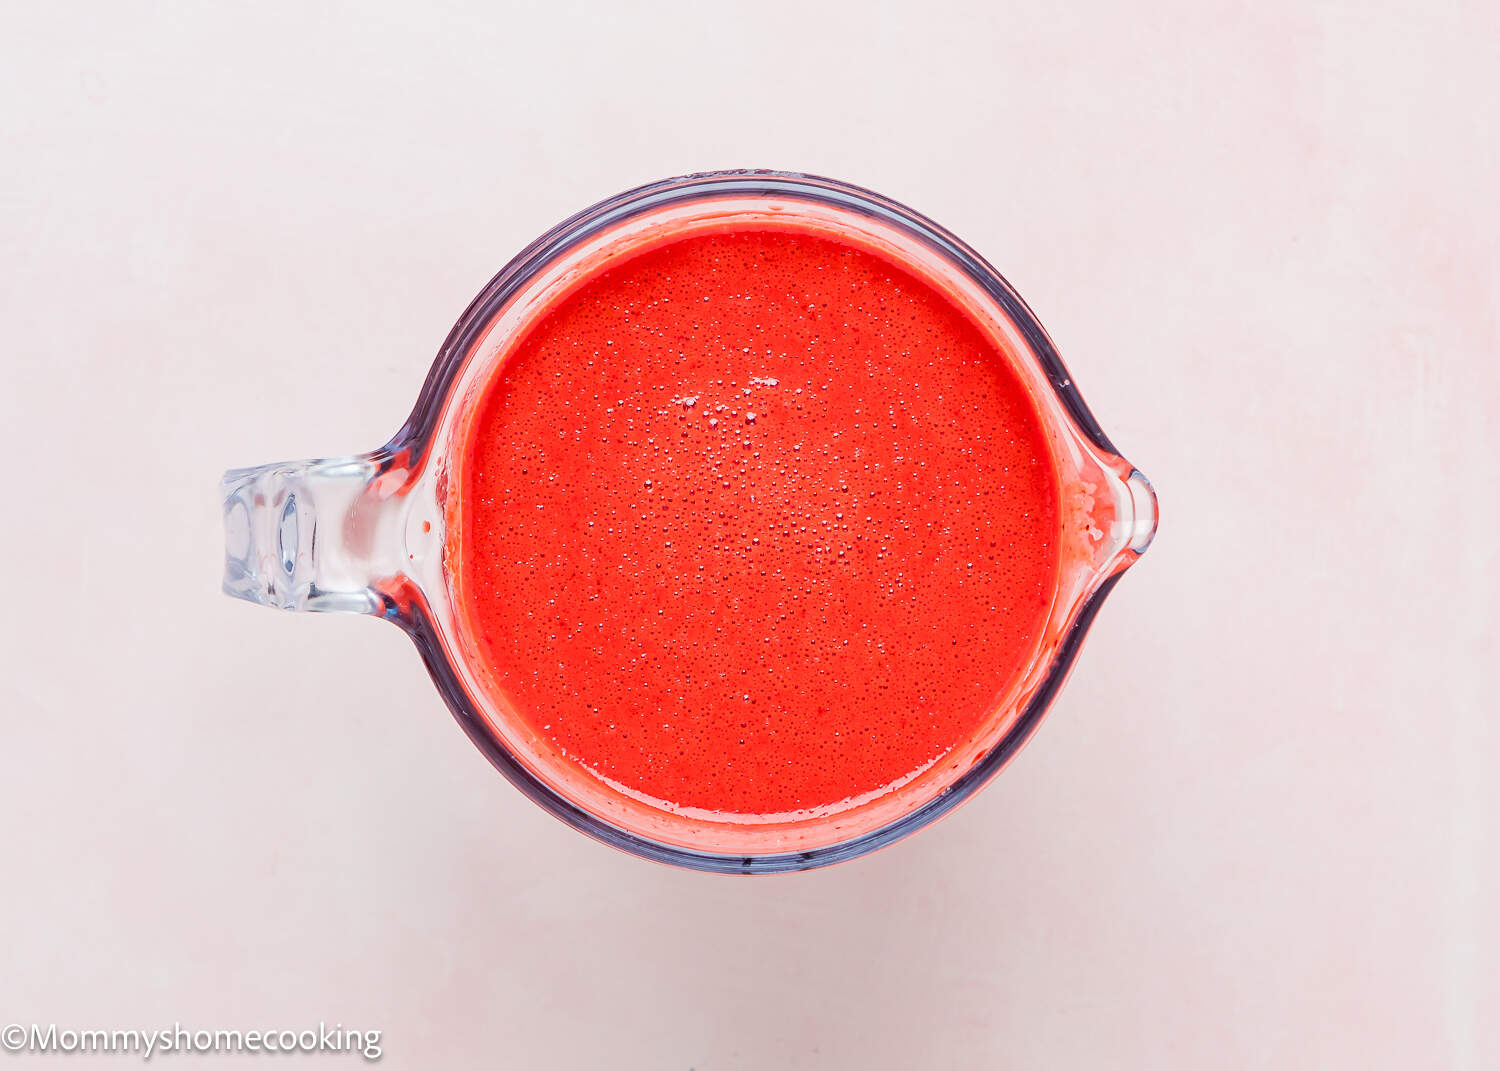
Step 2 – Stir Wet Ingredient
In another bowl, combine buttermilk, melted butter, vanilla, and red color; mix until smooth and the red color is evenly distributed.
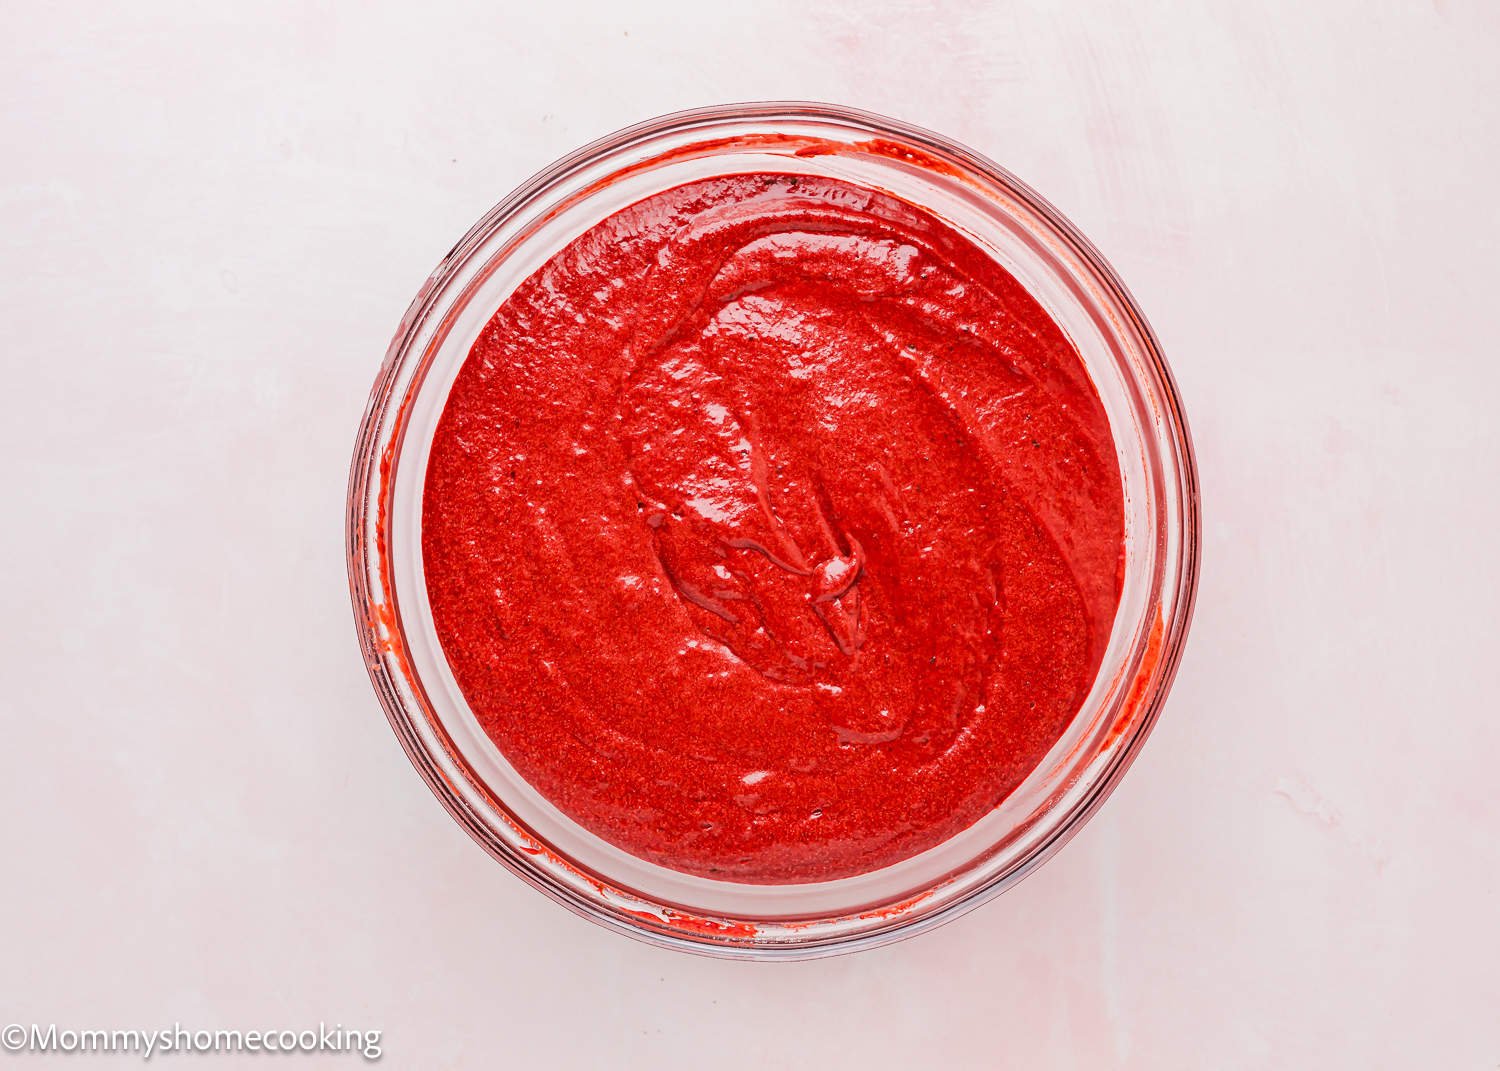
Step 3 – Combine Dry and Wet Ingredients
Add the wet ingredient to the dry ingredient. Mix to combine. Let the batter rest for 5 -10 minutes.
Step 4 – Cook and Enjoy!
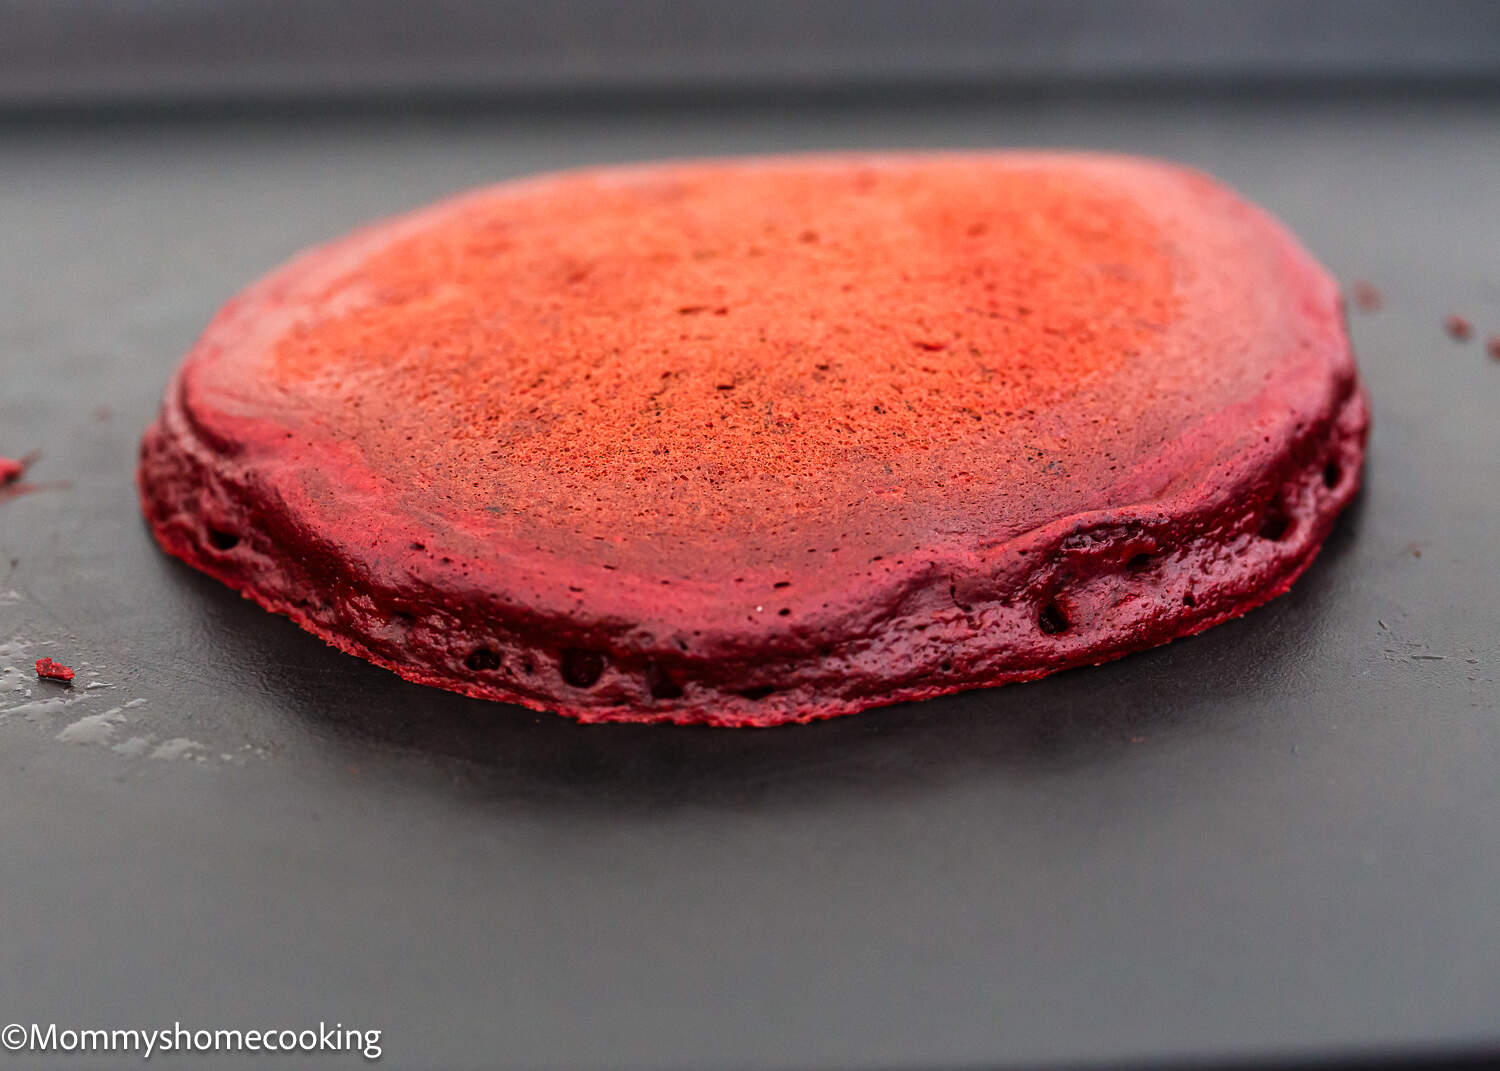
Heat a medium non-stick frying pan over medium-low heat. Lightly spray with butter.
Pour a 1/4 cupful of batter into the pan. Cook for 1-2 minutes or until bubbles rise to the surface and the base is golden brown. Use a spatula to turn and cook the other side until golden brown and cooked through. Transfer to a plate and repeat with the remaining batter to make the rest of the pancakes.
Recipe Tips
- Measure the ingredients correctly. I highly recommend using a kitchen scale to avoid using too much flour. This prevents you from ending up with dense pancakes.
- Sift Dry Ingredients: To ensure a smooth batter and even distribution of ingredients, sift the flour, cocoa powder, sugar, baking powder, baking soda, and salt together before adding the wet ingredients.
- Use Room Temperature Ingredients: Allow the buttermilk and melted butter to come to room temperature before adding them to the batter. This helps prevent the butter from solidifying and ensures a smooth, well-mixed batter.
- Don’t Overmix: Be careful not to overmix the batter, as this can result in tough pancakes. Mix until the ingredients are just combined, with a few lumps remaining.
- Cook over Medium Heat: Preheat your skillet or griddle over medium heat and lightly grease it with butter or cooking spray to prevent the pancakes from sticking and ensure even cooking.
- Wiping down the skillet between batches will help avoid burning bits of butter on your pancakes.
Variations & Additions
- Chocolate Chips: Sprinkle chocolate chips onto the pancakes as they cook for a gooey, chocolatey surprise.
- Whipped Cream: Finish off the pancakes with a generous swirl of whipped cream for added indulgence.
- Buttermilk Substitute: If you don’t have buttermilk on hand, you can make a substitute by combining one cup of milk with one tablespoon of lemon juice or vinegar. Let the mixture sit for 5 minutes before using.
- Dairy-Free: Replace the buttermilk with your favorite plant-based milk and use vegan butter instead of regular butter to make dairy-free or vegan-friendly pancakes.
- Gluten-Free Option: Use a gluten-free all-purpose flour blend in place of regular flour to make gluten-free pancakes.
Five Serving Suggestions
- Cream Cheese Topping (our fave ❤️): For an extra decadent treat, spread a layer of cream cheese frosting between each pancake and on top of the stack. The creamy tanginess of the frosting pairs beautifully with the chocolatey richness of the pancakes, creating a luscious and irresistible combination.
- Classic Syrup and Butter: Keep it simple and traditional by serving your pancakes with a generous drizzle of maple syrup and a pat of butter. The syrup’s sweetness and the butter’s richness perfectly complement the indulgent flavor of the pancakes.
- Fresh Berries and Whipped Cream: Add a pop of freshness and a touch of elegance to your pancakes with a medley of fresh berries such as strawberries, raspberries, and blueberries. Finish them off with a dollop of whipped cream for a light and airy contrast to the rich flavors of the pancakes.
- Chocolate Ganache: Indulge your chocolate cravings by drizzling your pancakes with a silky smooth chocolate ganache. The decadent ganache adds an extra layer of richness and intensity to the pancakes, making them truly irresistible for chocolate lovers.
- Nutella and Banana Slices: For a deliciously indulgent twist, spread a layer of Nutella between each pancake and top them with thinly sliced bananas. The creamy Nutella and the sweet, creamy bananas create a heavenly combination that’s sure to satisfy your sweet tooth.
Storing and Freezing Instructions
Store: Store in an airtight container in the refrigerator for up to 5 days. You can keep pancakes in the freezer for as long as three months.
Freeze: Wrap the cooled pancakes in wax paper and then stack them all in a gallon-size freezer bag. Close the bag and make sure to squeeze out as much air as possible to prevent freezer burn.
Reheat: Remove the pancakes from the freezer and let them stand at room temperature for 5 minutes.
- Oven: cover with tinfoil and heat in a preheated oven for 6-8 minutes or until warm.
- Microwave: Wrap a pancake in a damp paper towel and microwave for 30 -40 secs, turning once or until heated through.
Frequently Asked Questions
I do not recommend that since the leavening agents will lose their effectiveness with time.
While the red food coloring adds to the pancakes’ visual appeal, you can omit it if you prefer. The pancakes will still taste delicious, albeit without the vibrant red color.
You don’t have buttermilk? NO problem!! To make 1 cup of buttermilk substitute, combine 1 cup of whole milk (or any milk you like) and 1 tablespoon of apple cider vinegar, white vinegar, or lemon juice. Let the mixture stand at room temperature for 5 to 8 minutes. When it is ready, the milk will be slightly thickened, and you will see small curdled bits. What the video here!
More Pancakes Recipes You’ll Love!
- Fluffy Eggless Pancakes [Video]
- Eggless Lemon Ricotta Pancakes
- Easy Eggless Sheet-Pan Pancakes
- Easy Eggless Blueberry Pancakes
- Easy Eggless Chocolate Chip Pancakes
- Browse more recipes…
❤️ Love what you see? JOIN my Private Baking Club. Also, SUBSCRIBE to Mommy’s Home Cooking, so you’ll never miss a recipe! And FOLLOW along on Instagram, Pinterest, and Facebook for more fun!
Recipe Card 📖
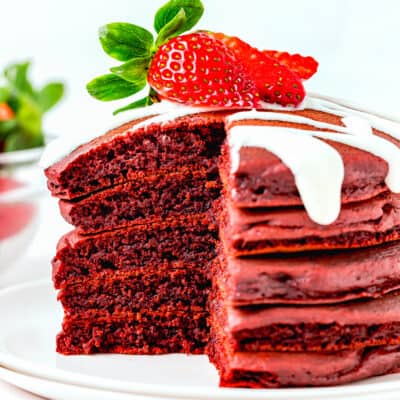
Red Velvet Pancakes (No Eggs)
Ingredients
- 2/3 cup + 3 tablespoons (120 g) all-purpose flour
- 2 tablespoons (15 g) cocoa powder
- 1/4 cup (50 g) granulated sugar
- 3 teaspoons (12 g) baking powder
- 1/2 teaspoon (3 g) baking soda
- 1/4 teaspoon (1 g) salt
- 1 cup (240 ml) buttermilk (see notes)
- 2 tablespoons (30 g) unsalted butter melted
- 1 teaspoon (5 ml) pure vanilla extract
- 1/2 teaspoon (2.5 ml) red gel food coloring
Cream Cheese Topping
- 6 oz (168 g) cream cheese softened
- 6 tablespoons (84 g) butter softened
- 2 cups (240 g) powdered sugar
- 1/3 cup (80 ml) milk plus more if desired
- 1/2 teaspoon pure vanilla extract
Instructions
- Combine the flour, cocoa powder, sugar, baking powder, baking soda, and salt in a medium bowl and stir using a balloon whisk to combine.
- In another bowl, combine buttermilk, melted butter, vanilla, and red color; mix until smooth and the red color is evenly distributed.
- Add the wet ingredient to the dry ingredient. Mix to combine. Let the batter rest for 5 -10 minutes.
- Heat a medium non-stick frying pan over medium-low heat. Lightly spray with butter.
- Pour a 1/4-cupful of batter into the pan. Cook for 1-2 minutes or until bubbles rise to the surface and the base is golden brown. Use a spatula to turn and cook the other side until golden brown and cooked through. Transfer to a plate and repeat with the remaining batter to make the rest of the pancakes.
Cream Cheese Topping:
- In a mixing bowl, using an electric hand mixer on medium speed, beat together cream cheese and butter until well combined and fluffy, about 2 minutes. Add powdered sugar, milk, and vanilla and mix about 1 minute until well combined. Tip: you can add additional milk to thin the topping if desired. Store in an airtight container in refrigerator.
- Oven: cover with tinfoil and heat in a preheated oven for 6-8 minutes or until warm.
- Microwave: Wrap a pancake in a damp paper towel and microwave for 30 -40 secs, turning once or until heated through.
- Measure the ingredients correctly. I highly recommend using a kitchen scale to avoid using too much flour. This prevents you from ending up with dense pancakes.
- Sift Dry Ingredients: To ensure a smooth batter and even distribution of ingredients, sift the flour, cocoa powder, sugar, baking powder, baking soda, and salt together before adding the wet ingredients.
- Use Room Temperature Ingredients: Allow the buttermilk and melted butter to come to room temperature before adding them to the batter. This helps prevent the butter from solidifying and ensures a smooth, well-mixed batter.
- Don’t Overmix: Be careful not to overmix the batter, as this can result in tough pancakes. Mix until the ingredients are just combined, with a few lumps remaining.
- Cook over Medium Heat: Preheat your skillet or griddle over medium heat and lightly grease it with butter or cooking spray to prevent the pancakes from sticking and ensure even cooking.
- Wiping down the skillet between batches will help avoid burning bits of butter on your pancakes.
- Chocolate Chips: Sprinkle chocolate chips onto the pancakes as they cook for a gooey, chocolatey surprise.
- Whipped Cream: Finish off the pancakes with a generous swirl of whipped cream for added indulgence.
- Buttermilk Substitute: If you don’t have buttermilk on hand, you can make a substitute by combining 1 cup of milk (any milk you like) with 1 tablespoon of lemon juice or vinegar. Let the mixture sit for 5 minutes before using.
- Dairy-Free: Replace the buttermilk with your favorite plant-based milk and use vegan butter instead of regular butter to make dairy-free or vegan-friendly pancakes.
- Gluten-Free Option: Use a gluten-free all-purpose flour blend in place of regular flour to make gluten-free pancakes.

Leave a Reply