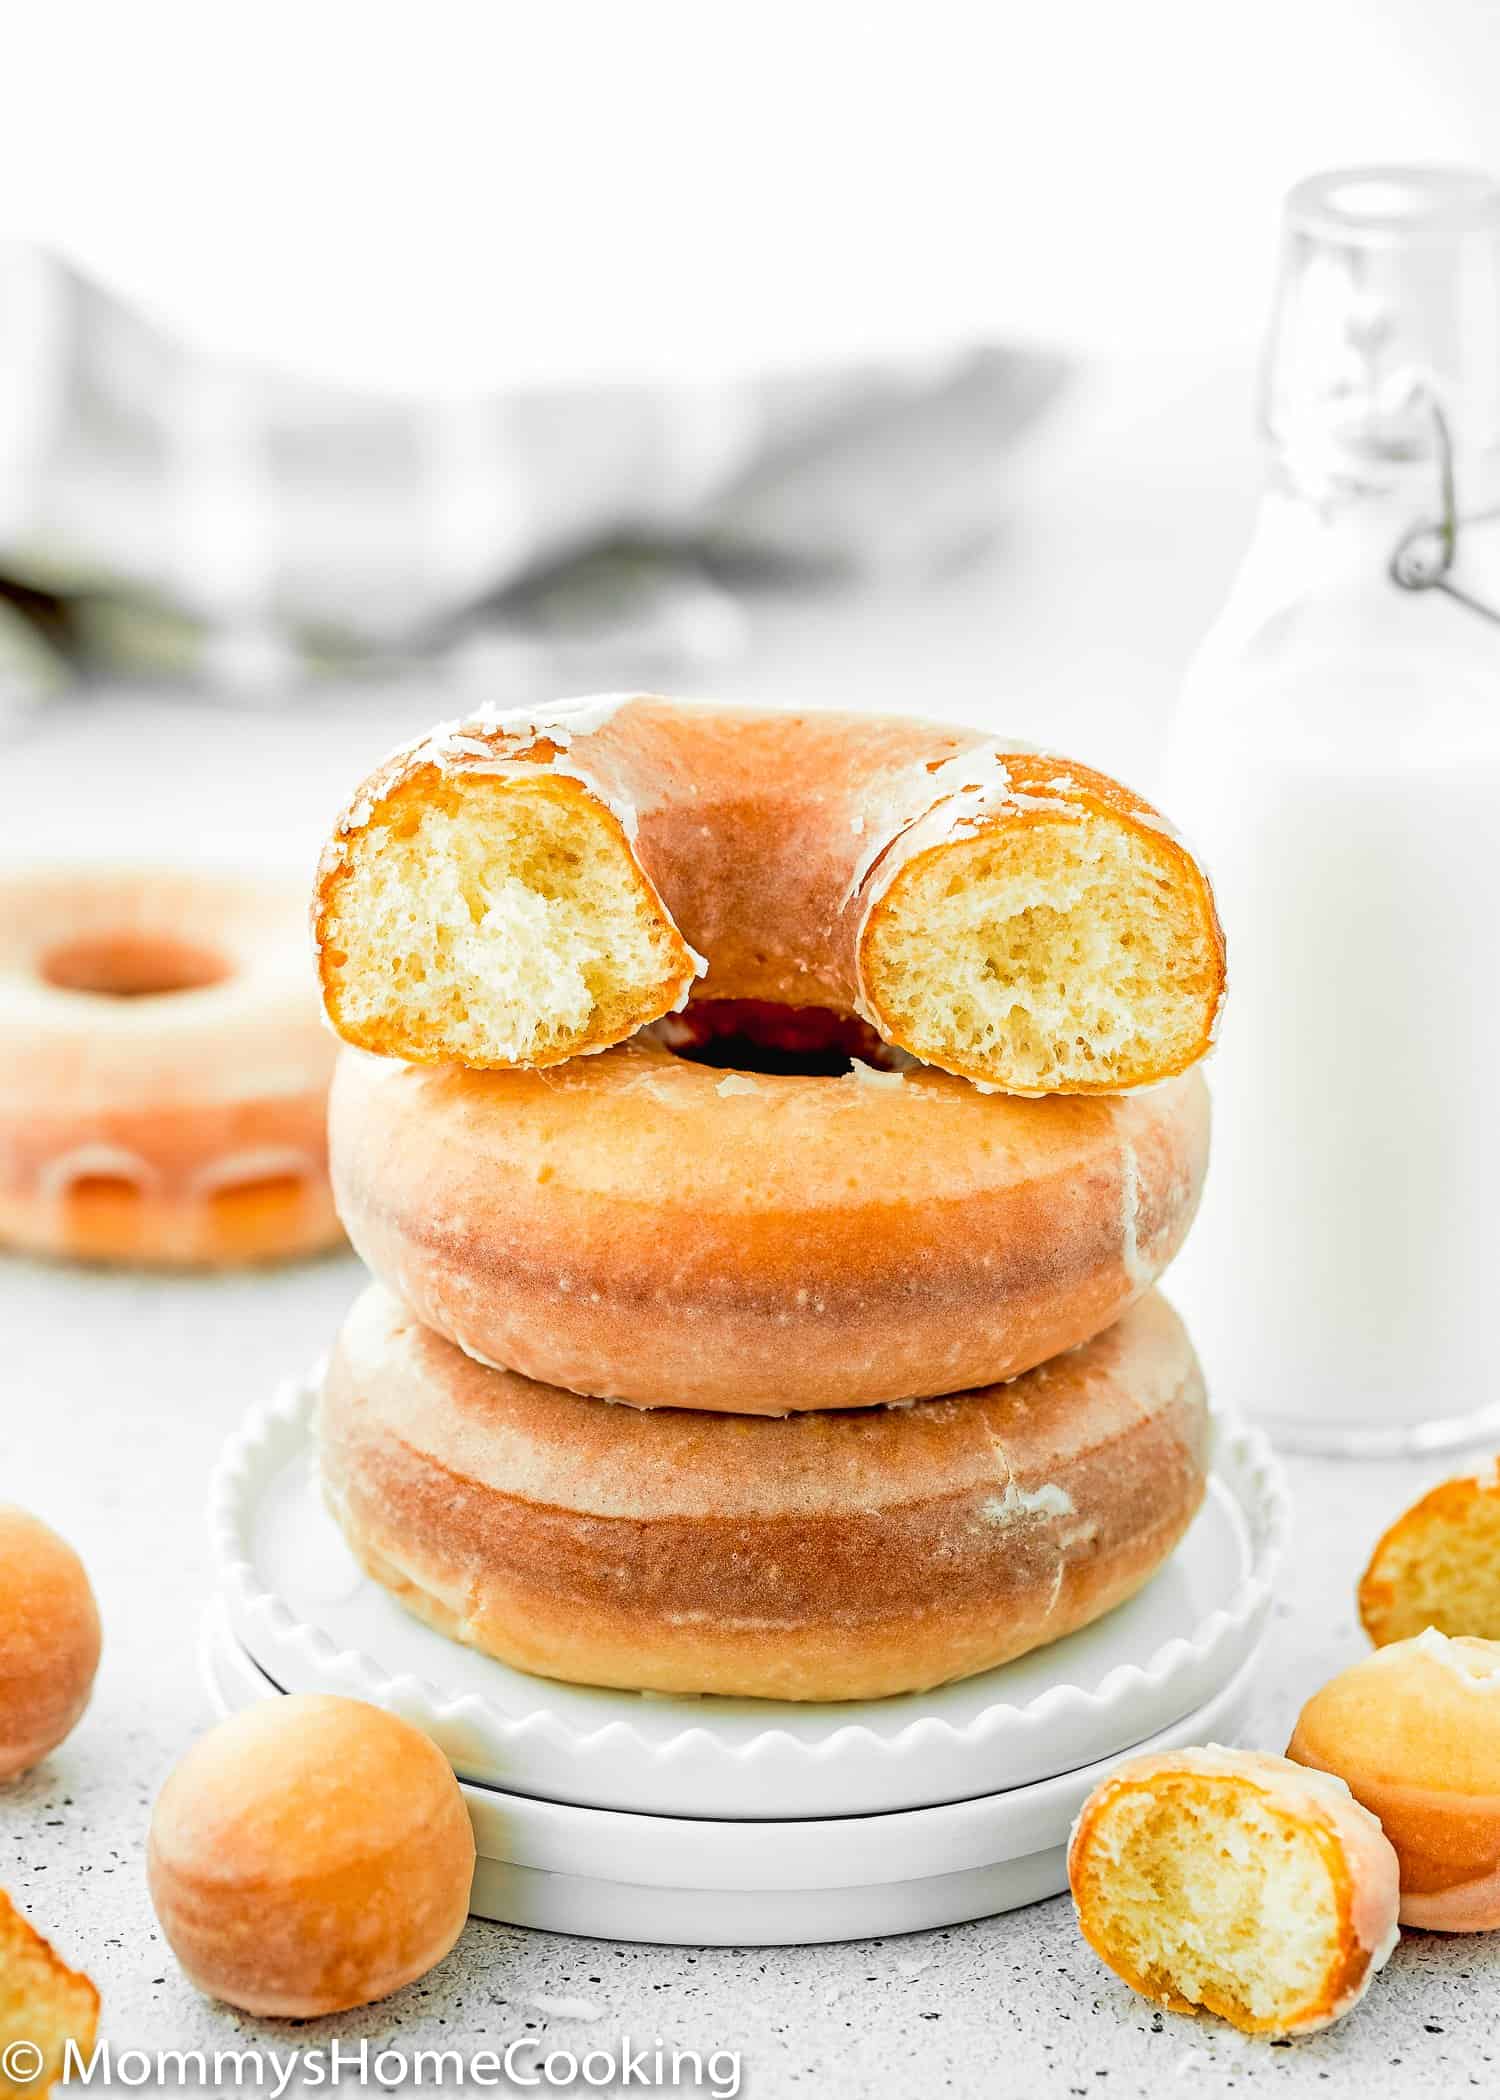
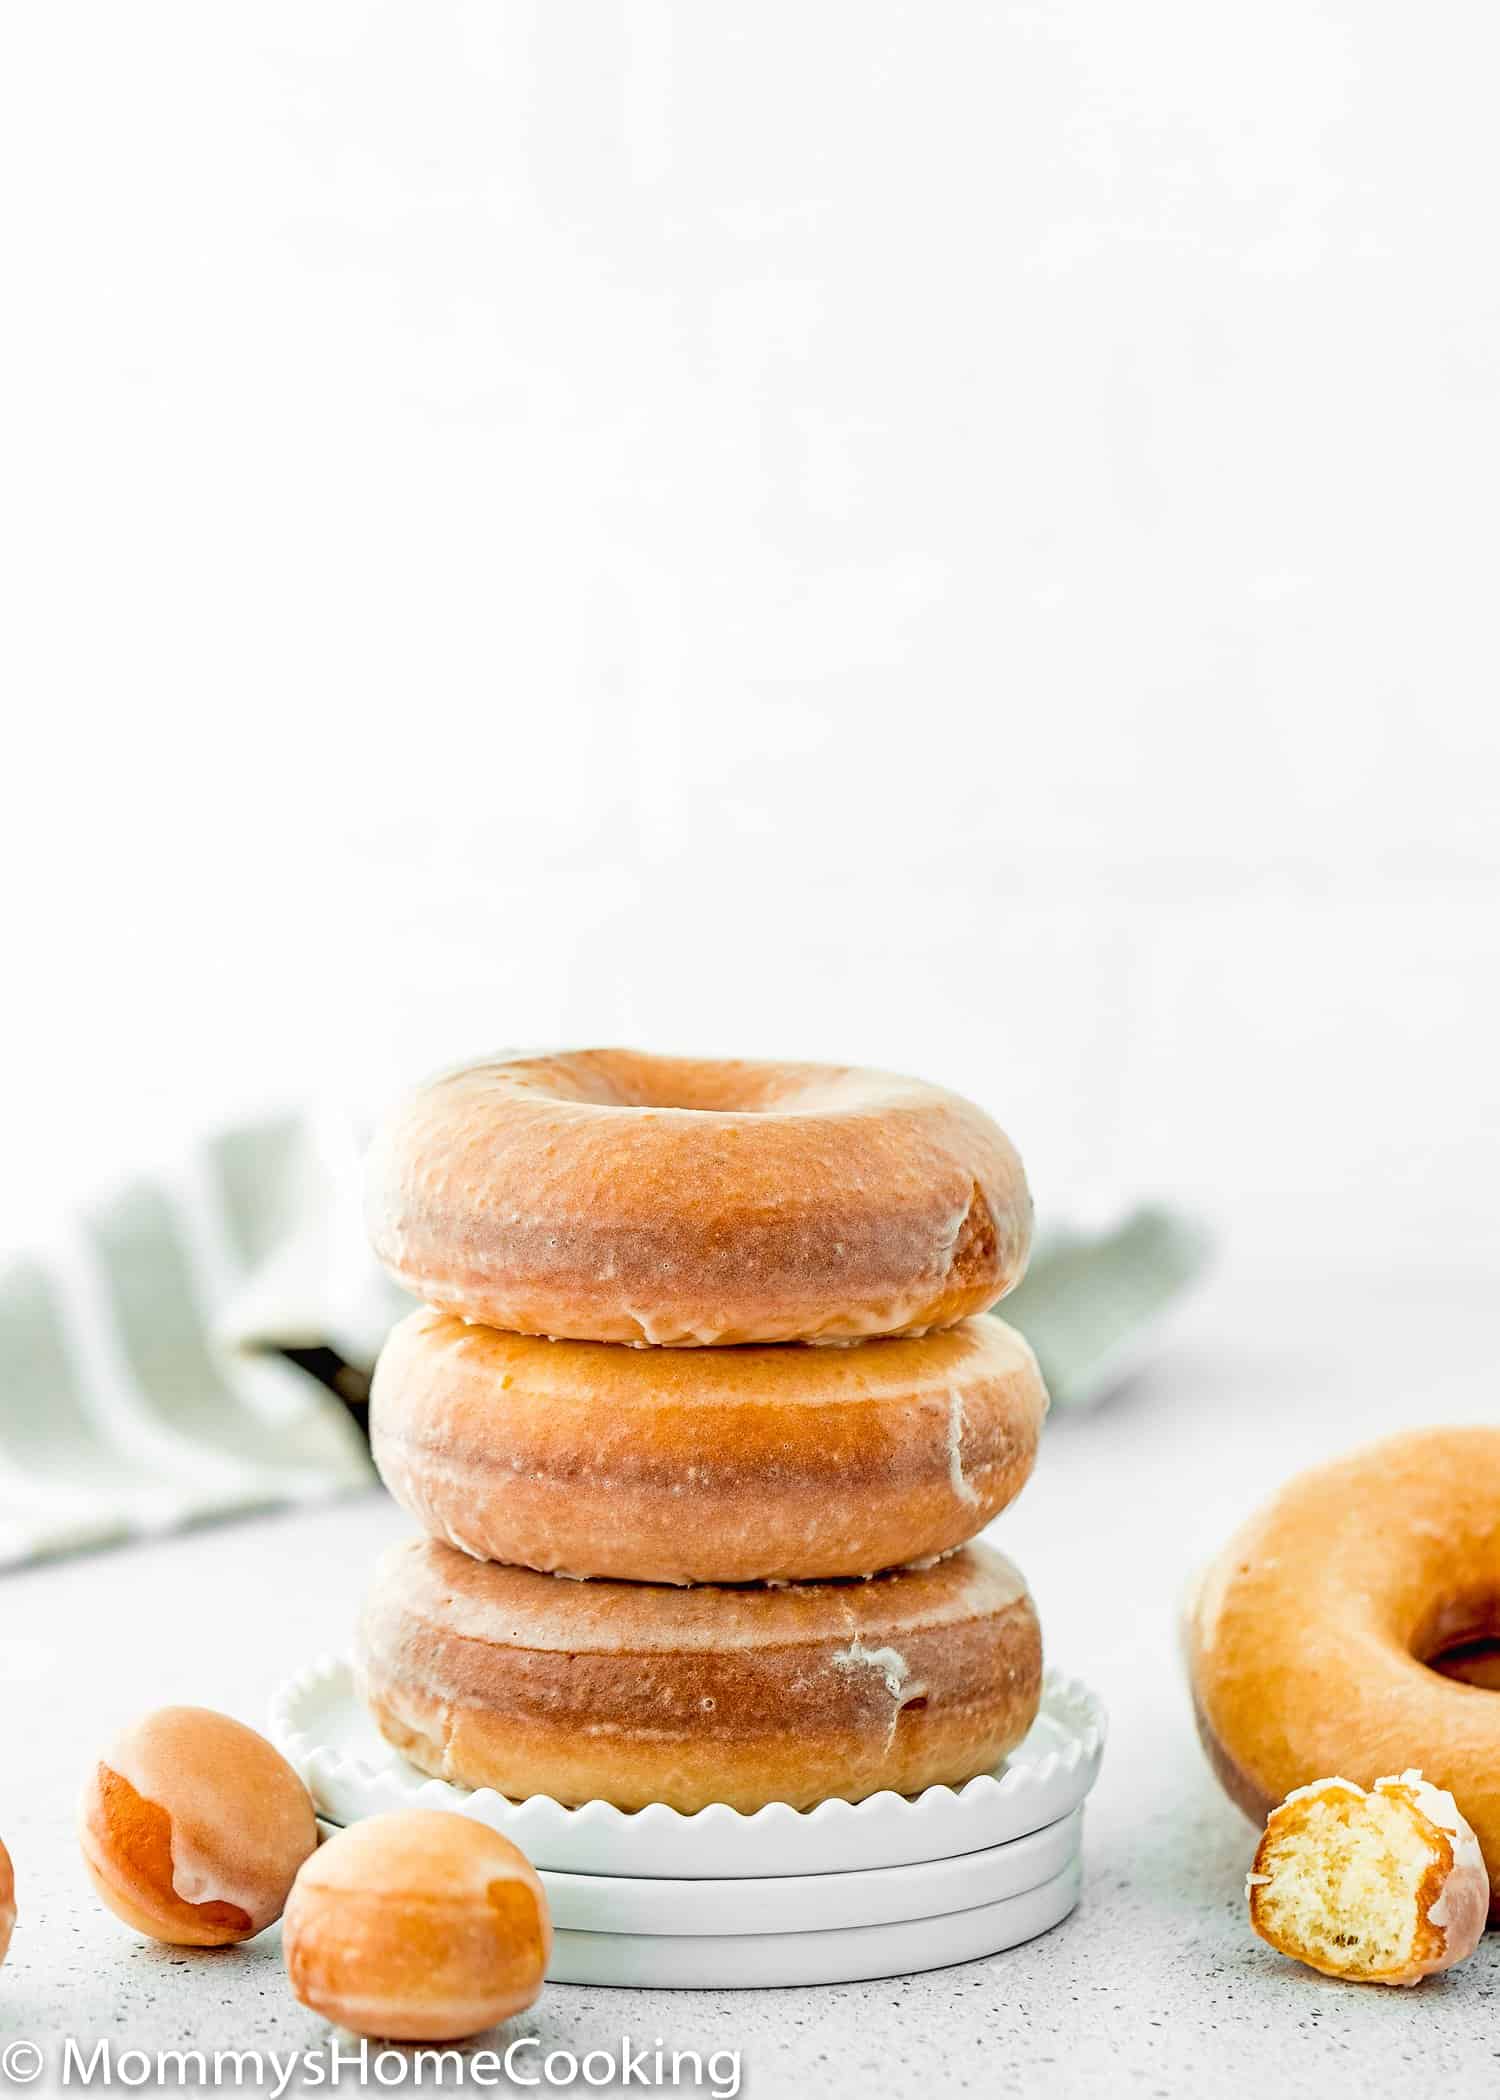
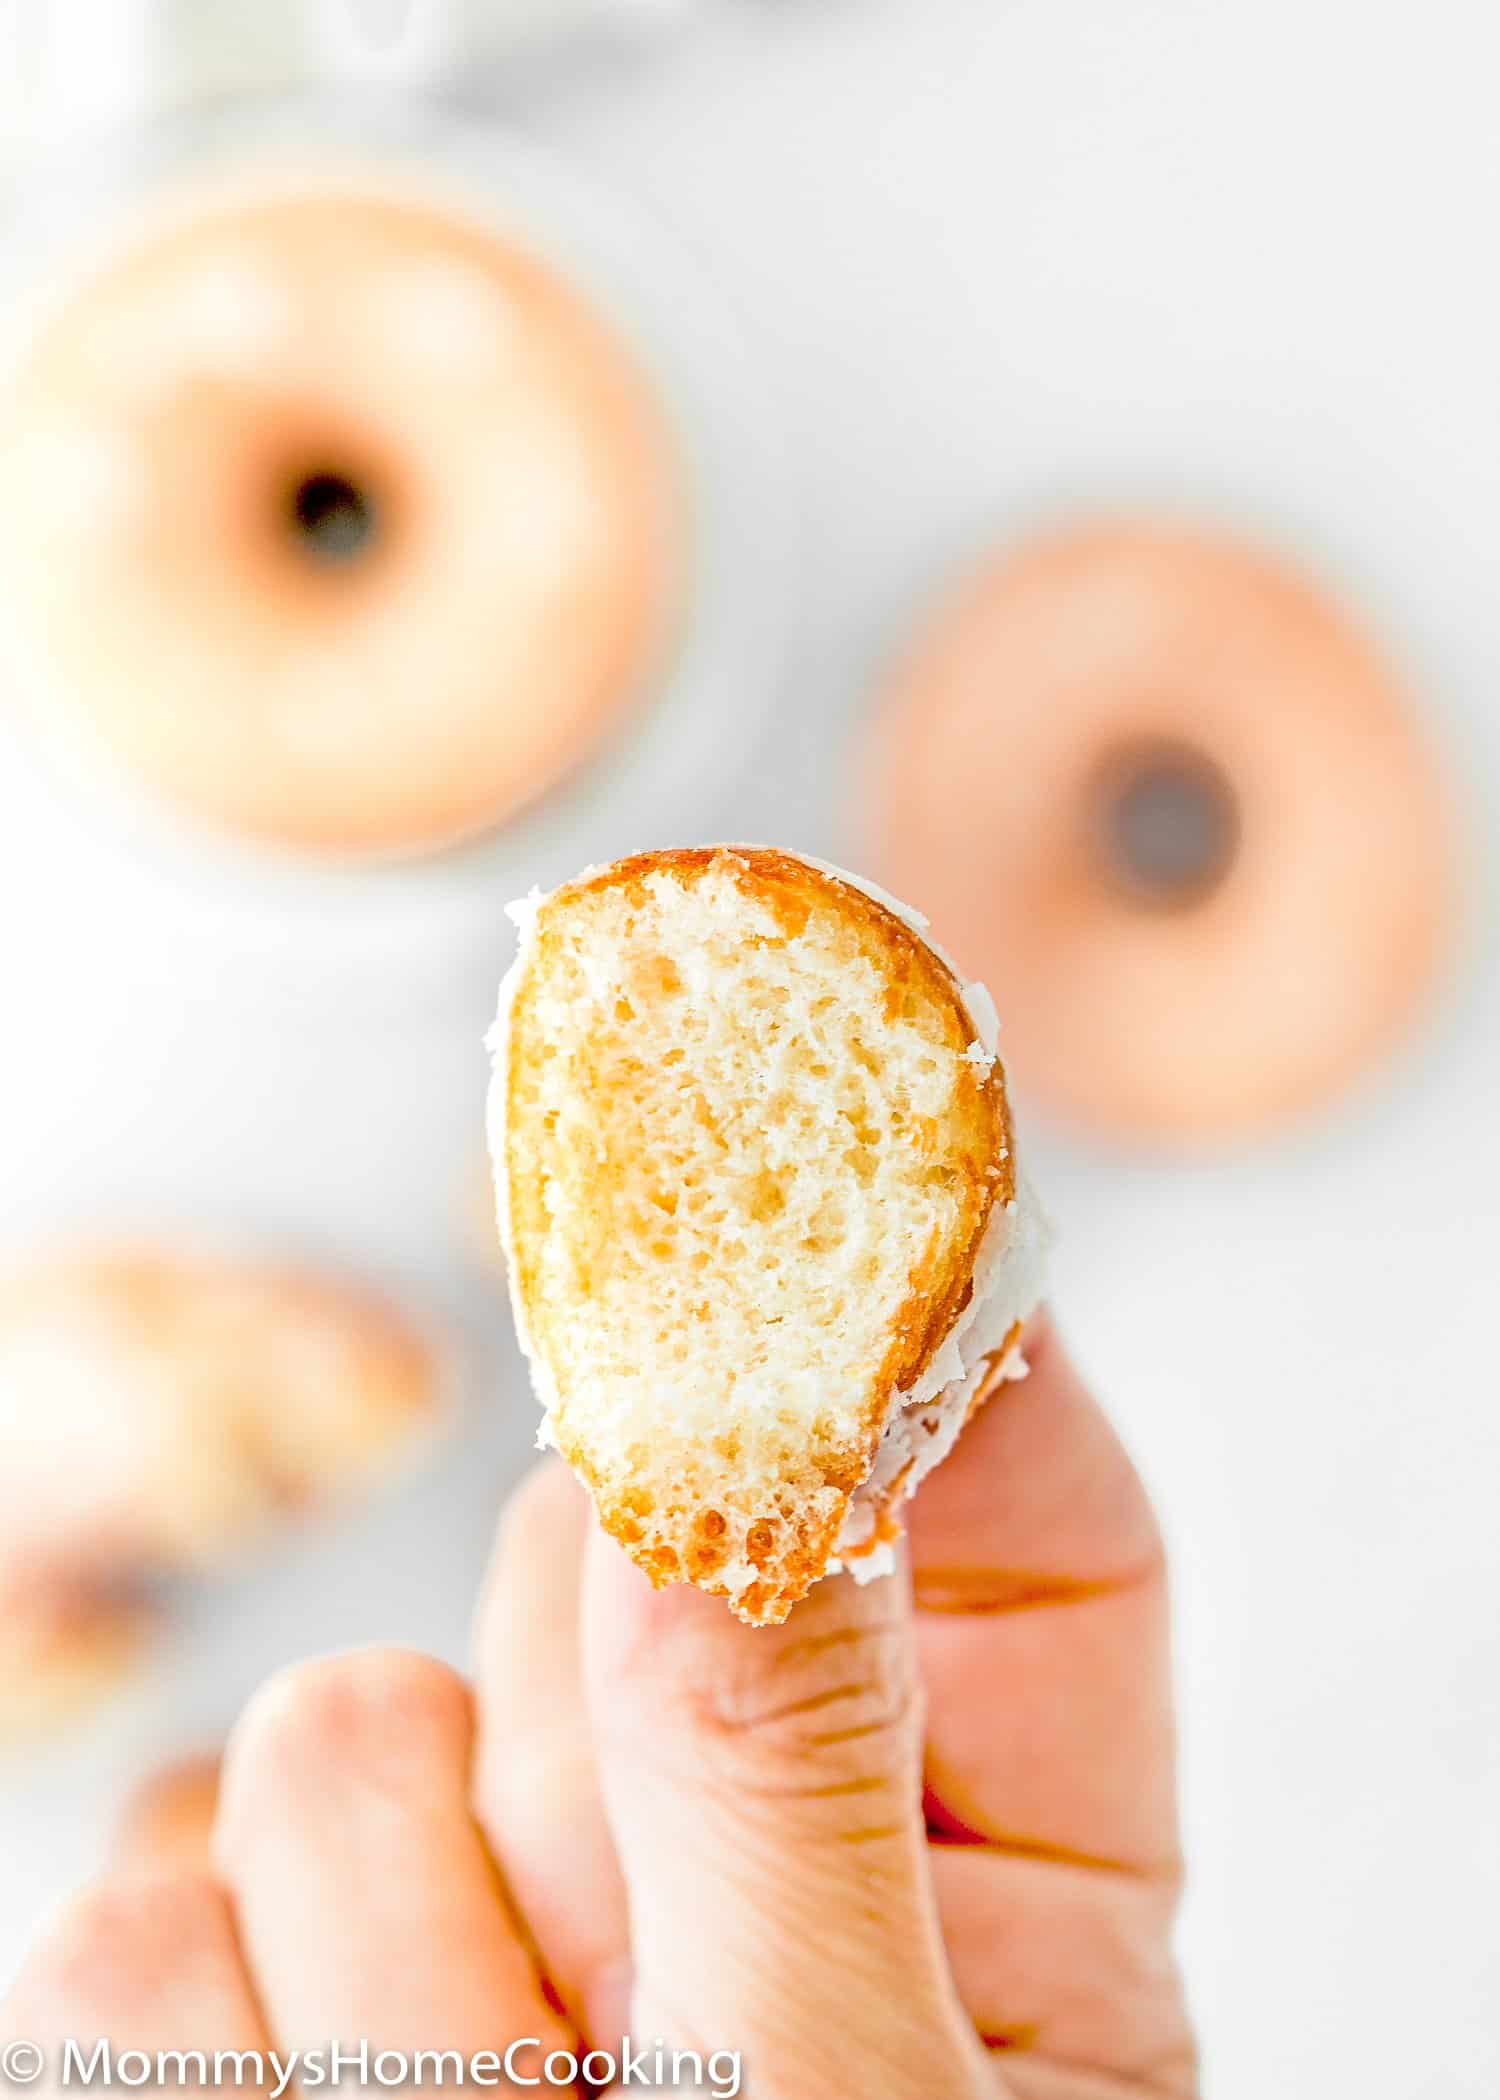
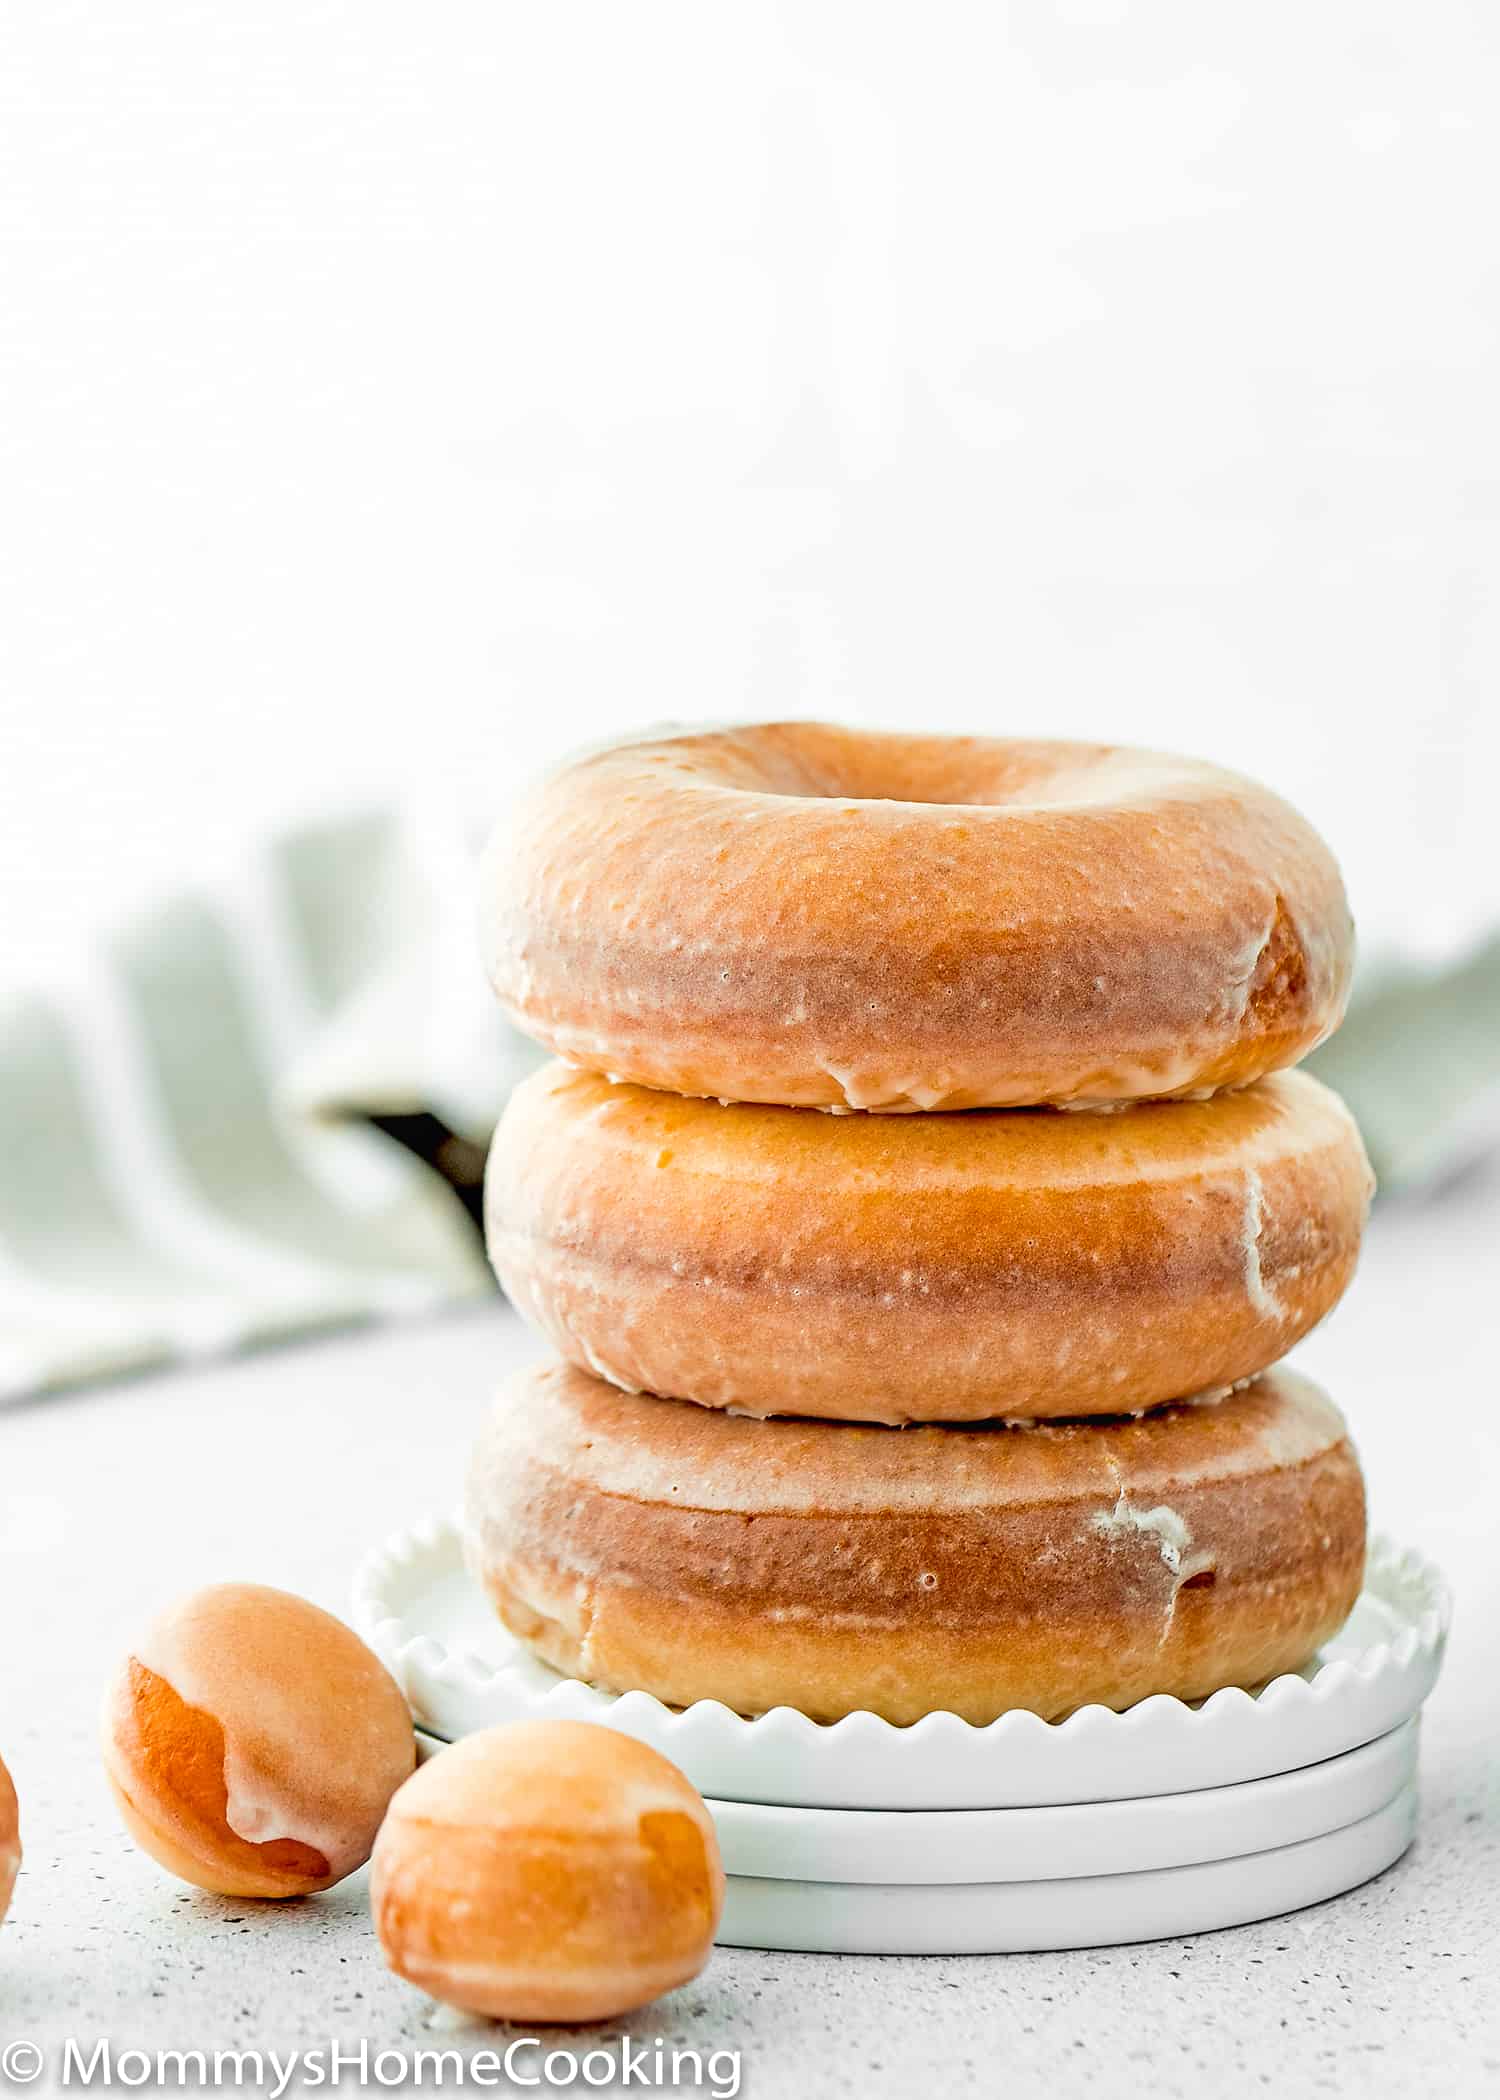
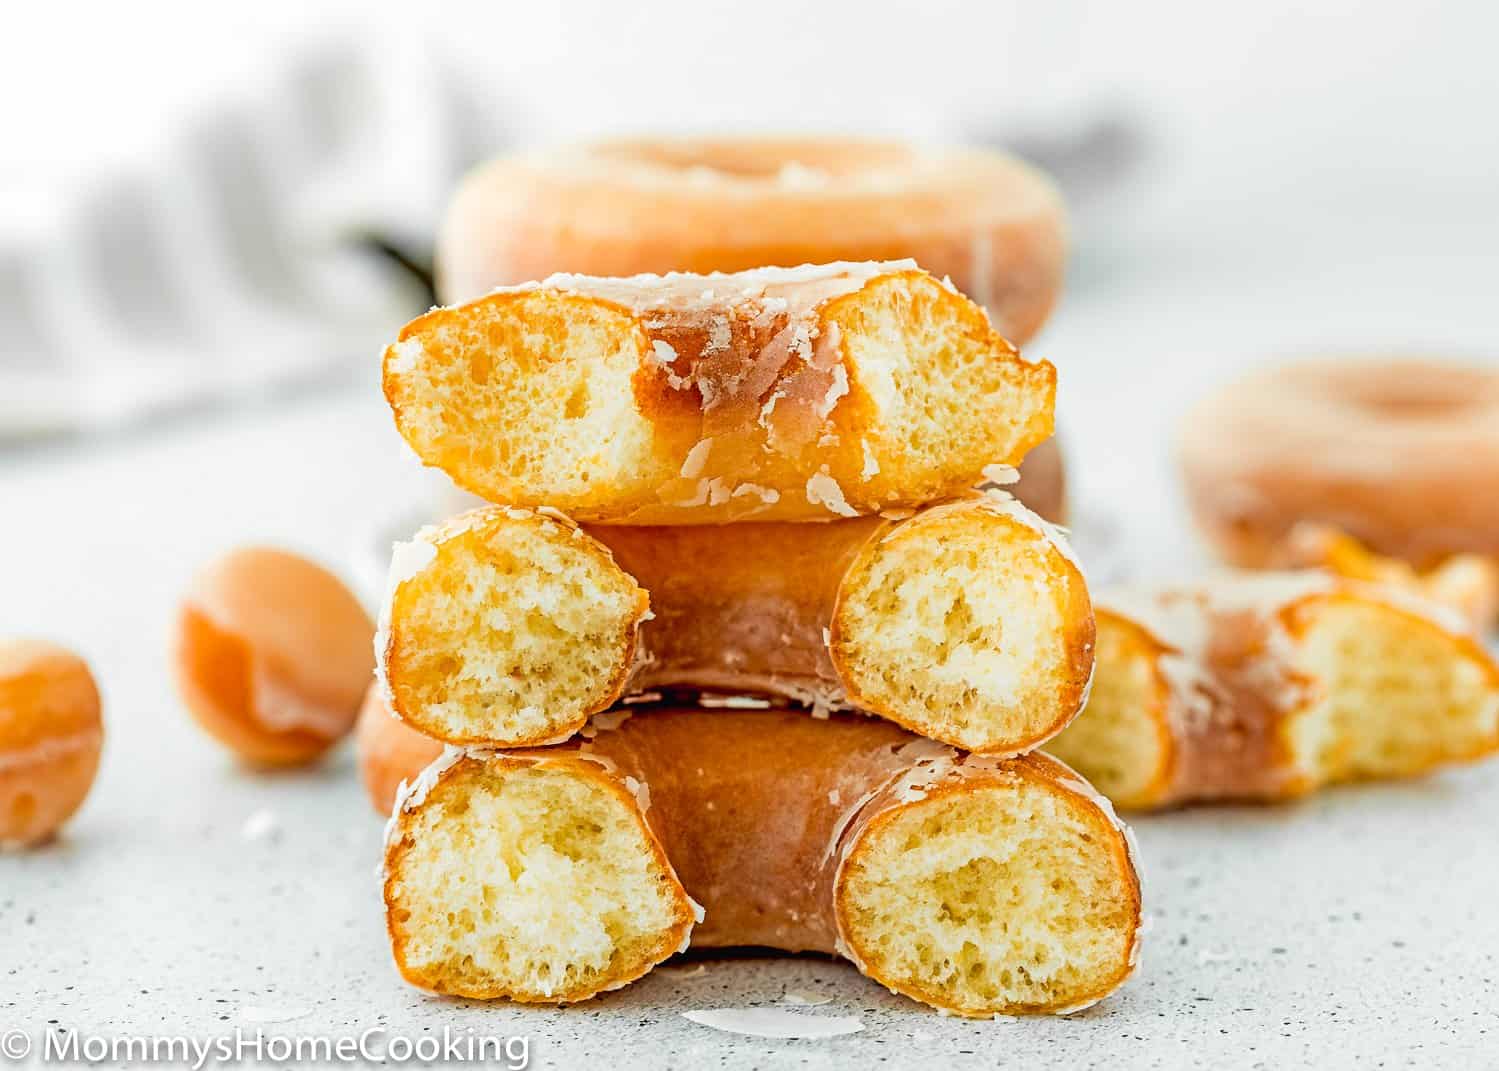
These Best Easy Eggless Yeast Donuts are pillowy soft, fluffy, and sweet! They’re easier to make than you think and taste like donuts from your favorite bakery. Step-by-Step photo tutorial included.
The Best Easy Eggless Yeast Donuts Recipe
Looking to make eggless donuts at home? Try my Easy Eggless Yeast Donuts. These homemade donuts are soft, pillowy, fluffy, and sweet. No one would believe that you made them without eggs!
Yeast donuts are my daughter’s absolute favorite. They were also one of the first things that made her feel side-lined when she was younger due to her allergies.
When she was around two years old, she wanted to have a donut so badly that I found a vegan donut store in NY, but guess what? After her first bite, she got sick. I don’t know what it was, but after that, I never trusted any store-bought “vegan” baked good anymore.
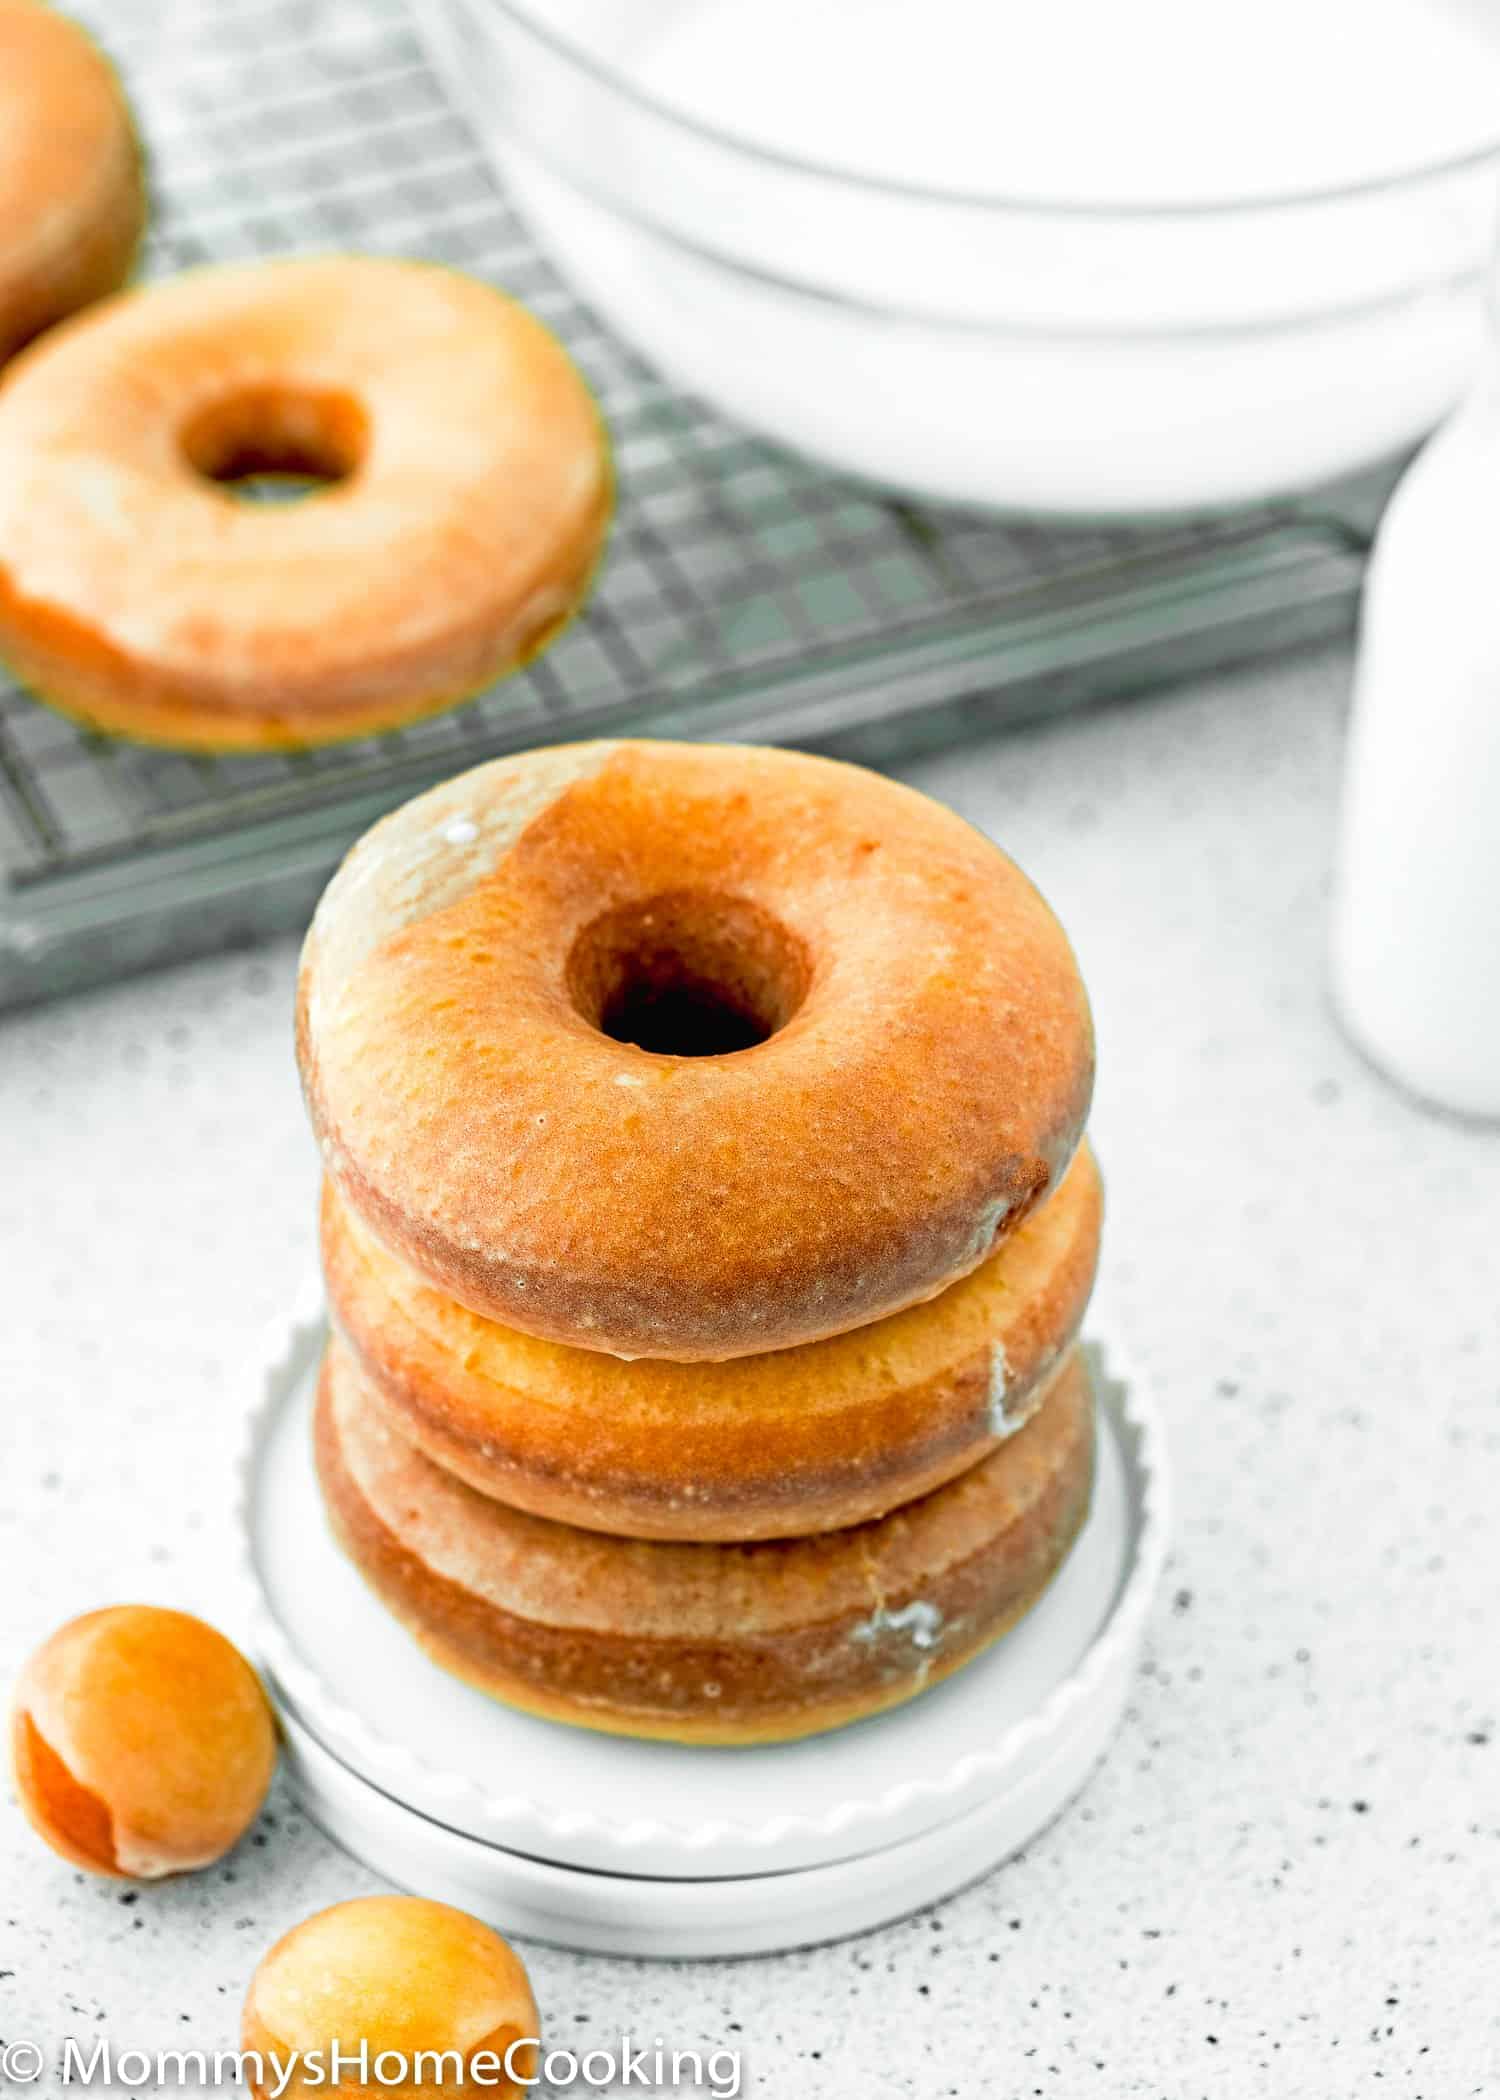
So instead, I found a way to make delicious donuts that my daughter can enjoy, too! Eggless Yeast Donuts are easier to make than you think and taste like donuts from your favorite bakery.
This is a small batch recipe, yielding only six donuts. So it is perfect for satisfying your family’s donut craving without having tons of leftovers.
Using simple ingredients, Eggless Yeast Donuts are bound to be your new favorite breakfast treat.
Eggless Yeast Donuts Recipe Highlights
- They are soft, pillowy, fluffy, and sweet.
- Taste like donuts from your favorite bakery.
- Easy to make.
- Simple ingredients.
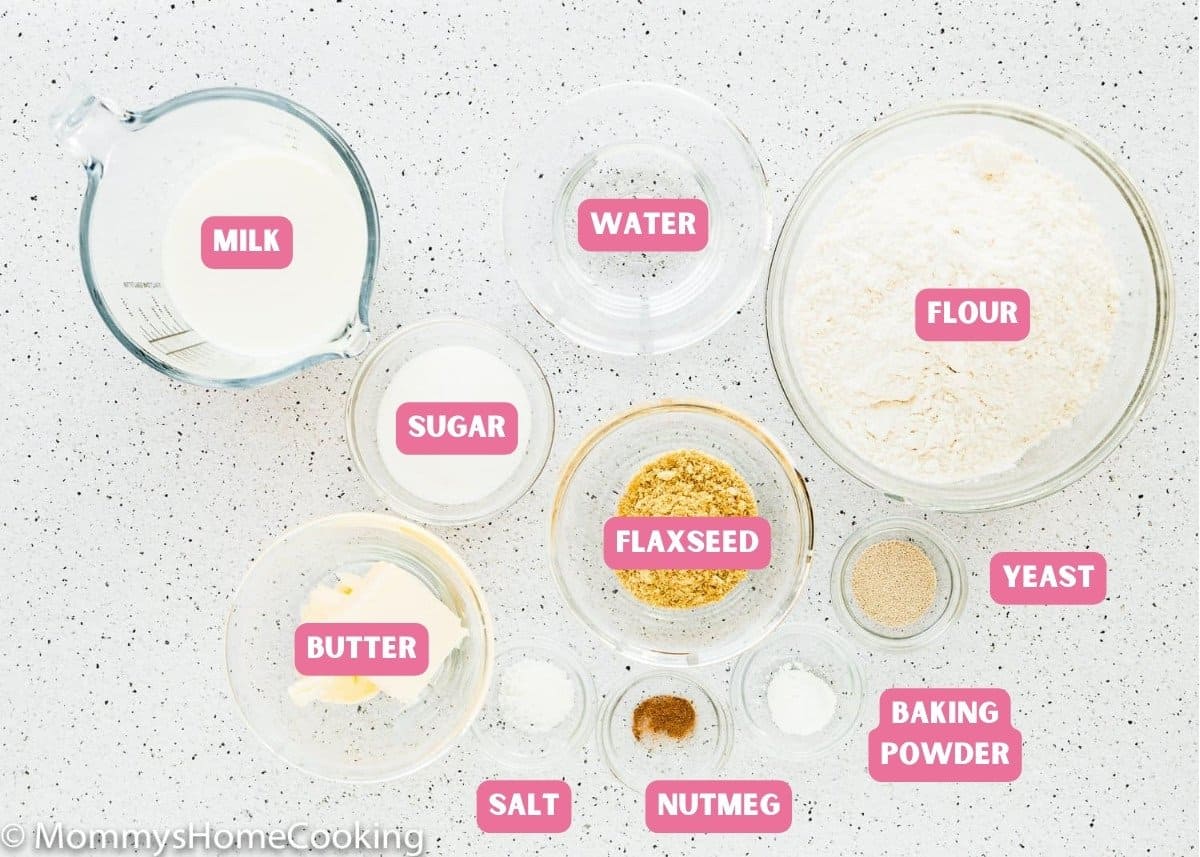
Ingredients You’ll Need
Please check the recipe card at the bottom of the post for exact quantities and detailed instructions (scroll down).
Ingredients Notes & Substitutions
- Flax Egg: To make the flax egg you’ll need golden Flaxseed Meal + water.
- Flour: Standard all-purpose flour works best here, skip the cake flour, bread flour, and wheat flour.
- Baking Powder: Make sure it’s not expired or too old.
- Instant Yeast: I like to use instant dry yeast. It allows you to add it in with all of the other ingredients at once, no proofing required. If you want the quick and easy method, I recommend sticking with instant dry yeast. If you only have active dry yeast on hand, no worries, it will still work! Active dry yeast simply requires proofing time. Warm the milk in the microwave and then add your yeast and let it dissolve and get bubbly, for about 10 minutes. . Once it has proofed it is ready to pour in and add to all of the other ingredients.
- Nutmeg: A pinch of this gives the donuts an authentic bakery flavor. If you don’t have it, simply omit it from the recipe, but I love the flavor it adds!
- Sugar: Regular white granulated sugar o caster sugar.
- Salt: I prefer kosher or sea salt. If you only have table salt handy, I recommend reducing the amount to half.
- Milk: For baking, I like to use whole milk. However, you can use any milk you have handy.
- Butter: I prefer to use unsalted butter, but if you only have salted butter handy, you can use it. In this case, skip the salt called in the recipe.
- Vegetable or Canola Oil to fry
Step By Step Recipe Photo Tutorial
Please check the recipe card at the bottom of the post for exact quantities and detailed instructions (scroll down).
1 – Prepare the Dough
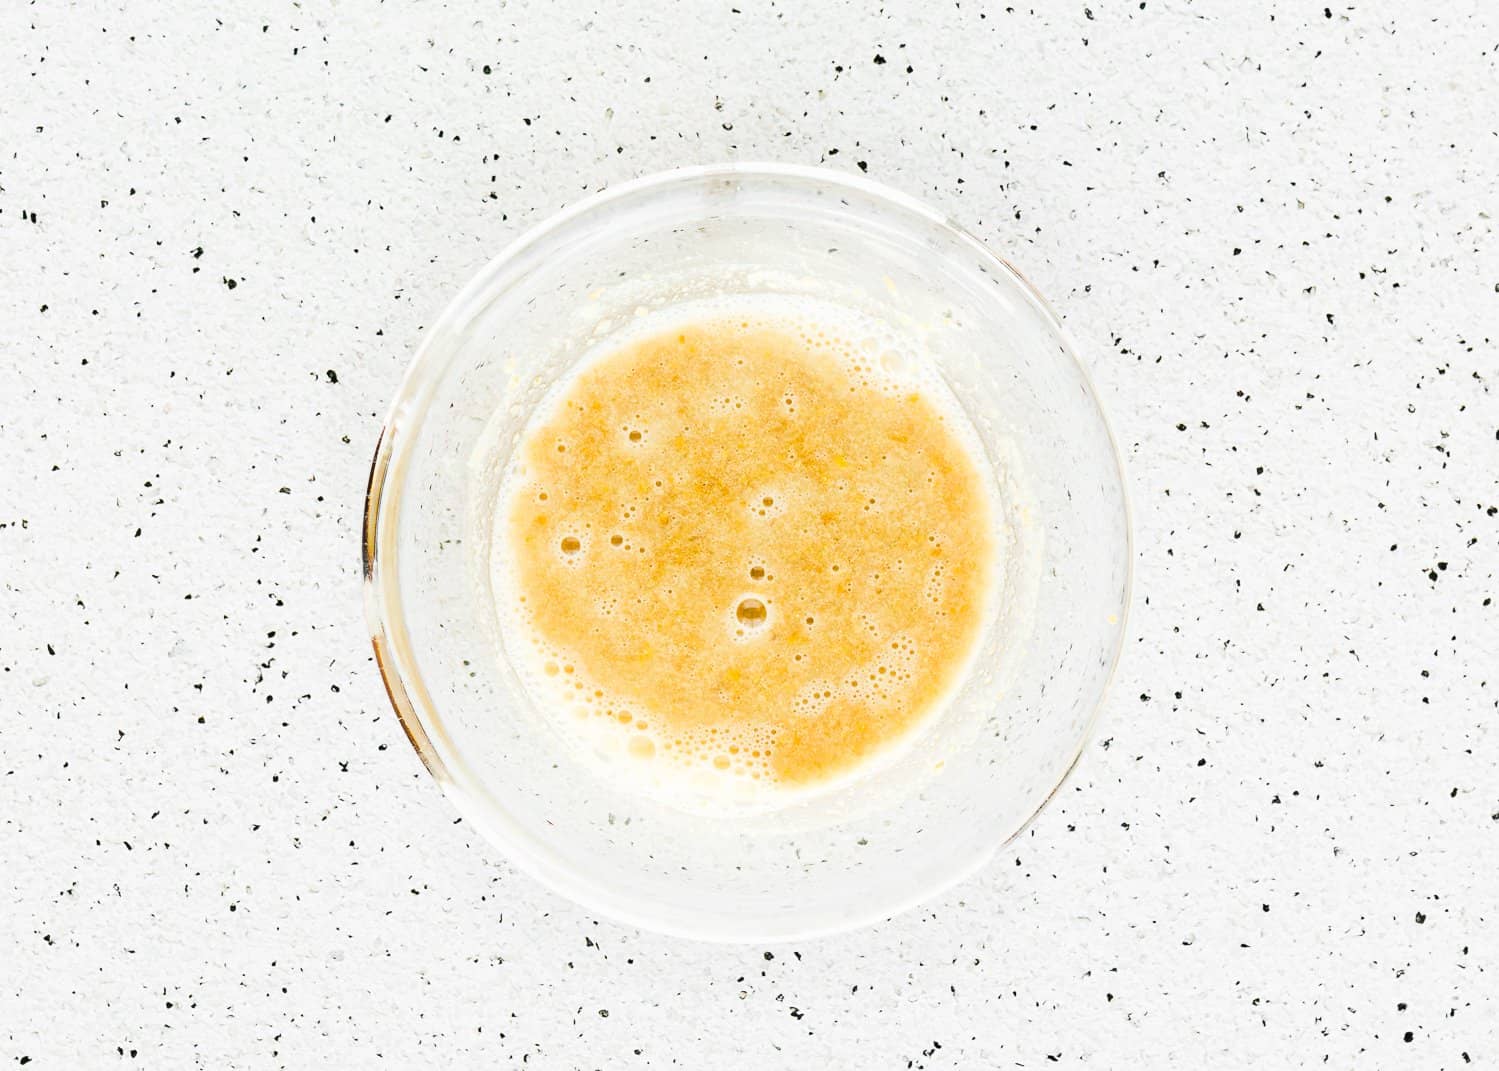
Mix golden flax meal and water in a small bowl until well combined.
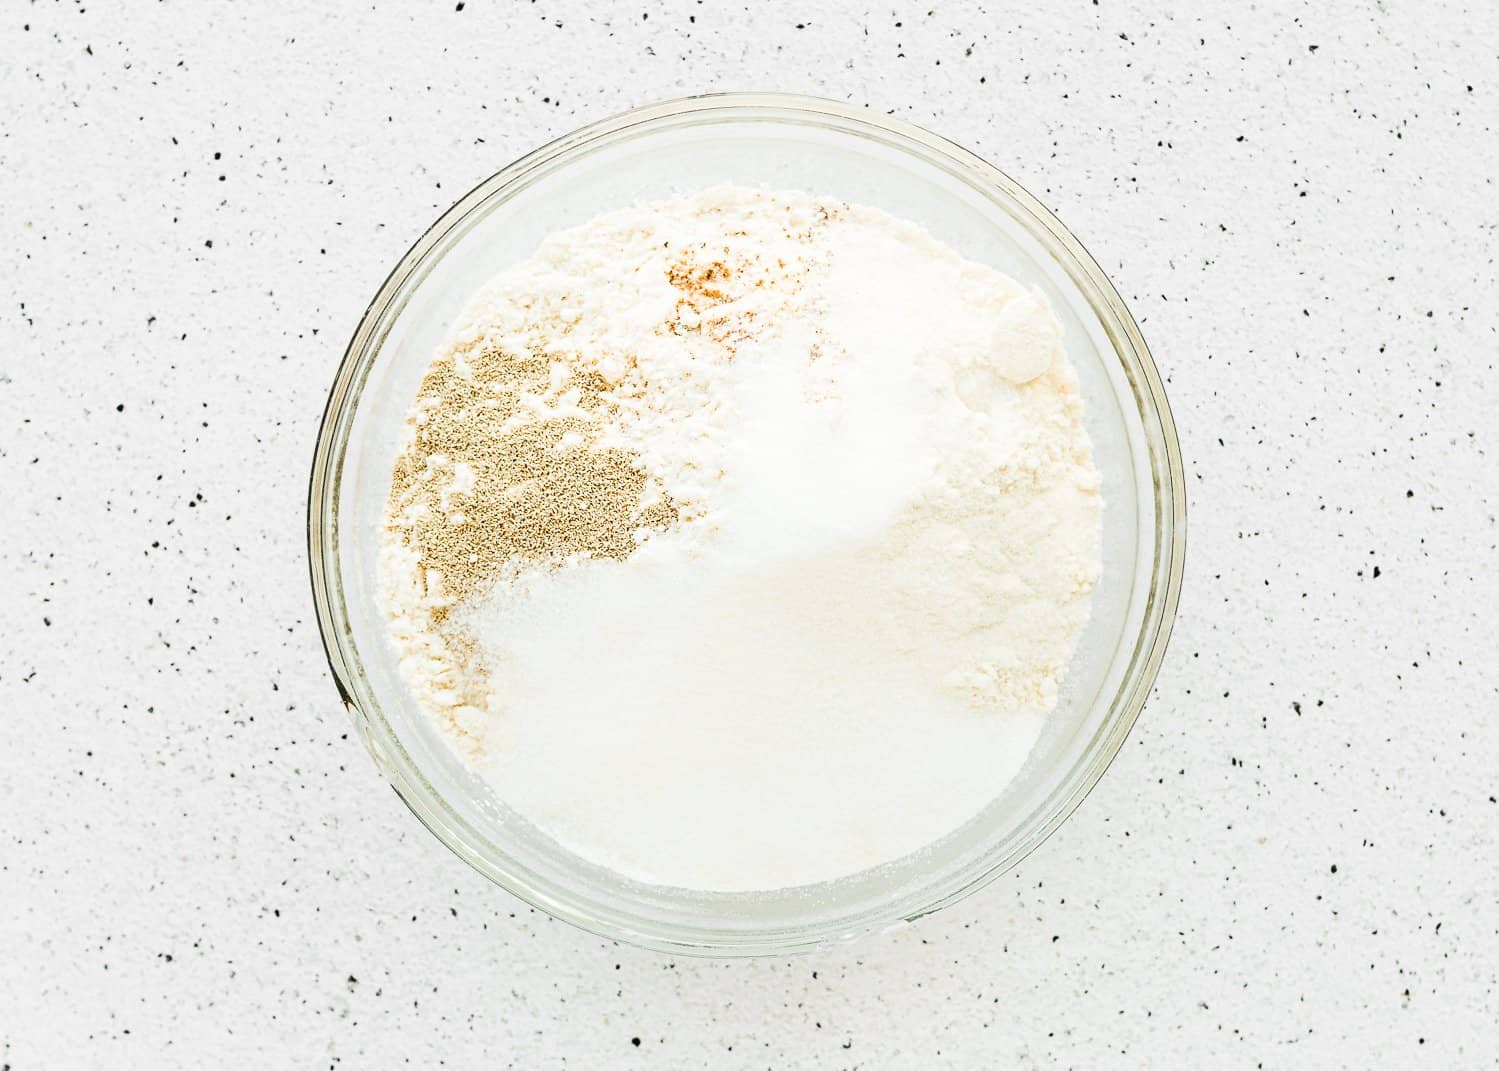
Place flour, baking powder, instant yeast, sugar, nutmeg, and salt in a large bowl. Mix to combine.
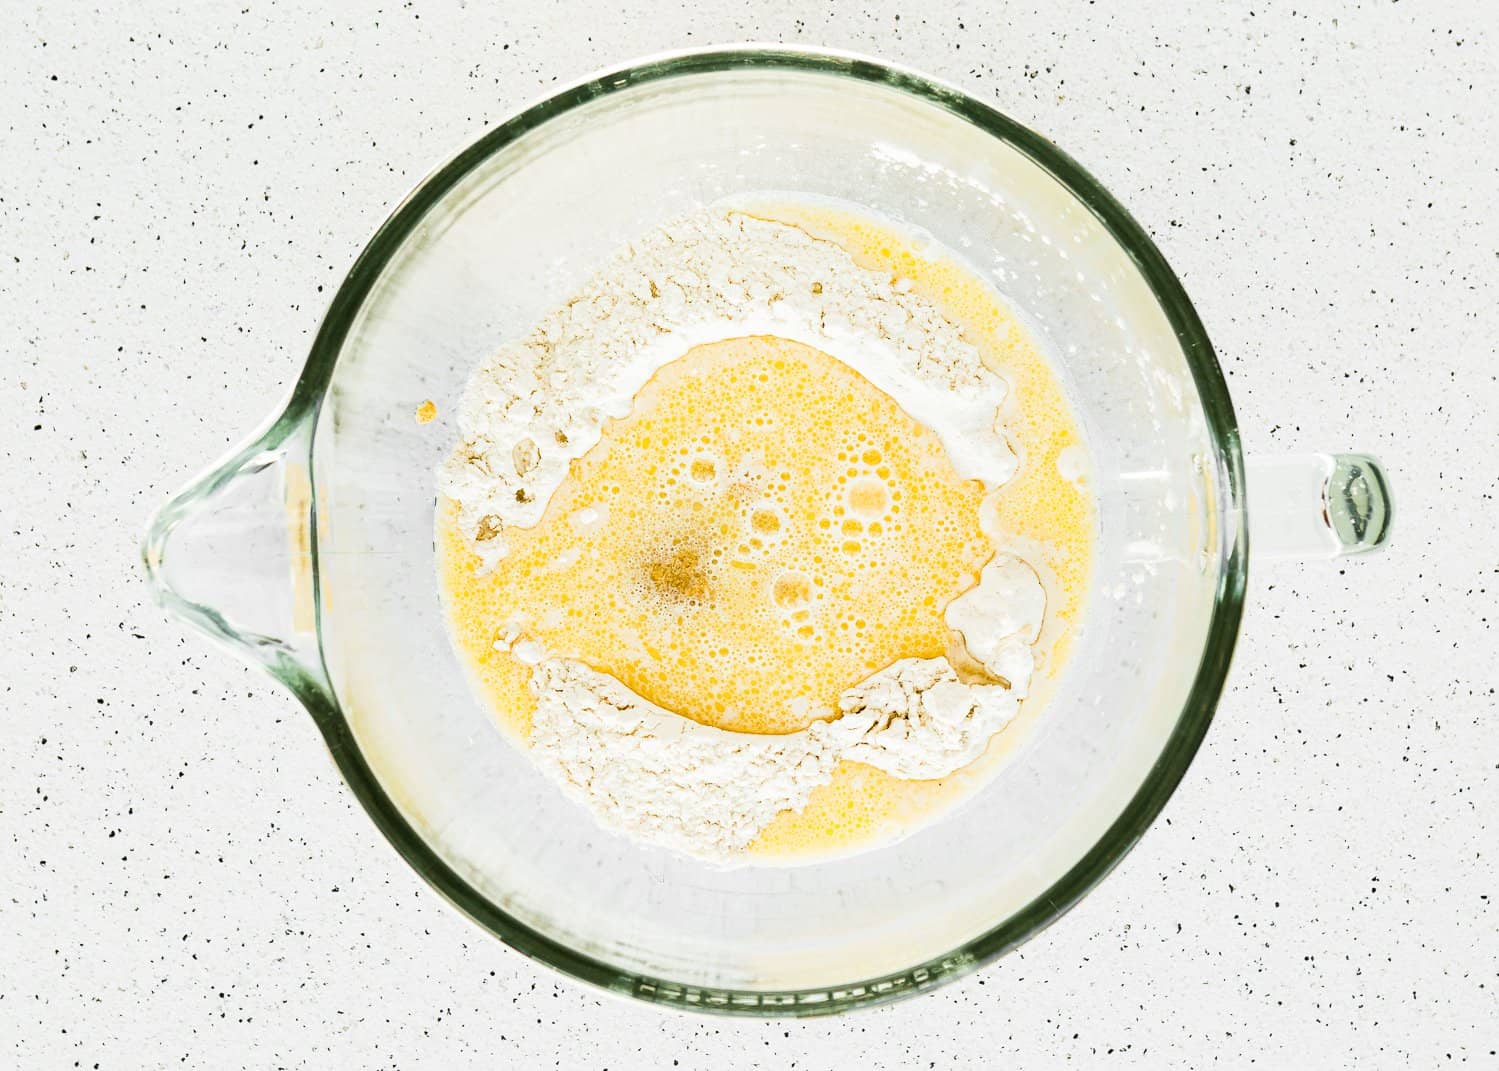
Make a well in the center of the dry ingredients, then pour in the warmed milk, butter, and the flax meal mixture. Stir on low until combined.
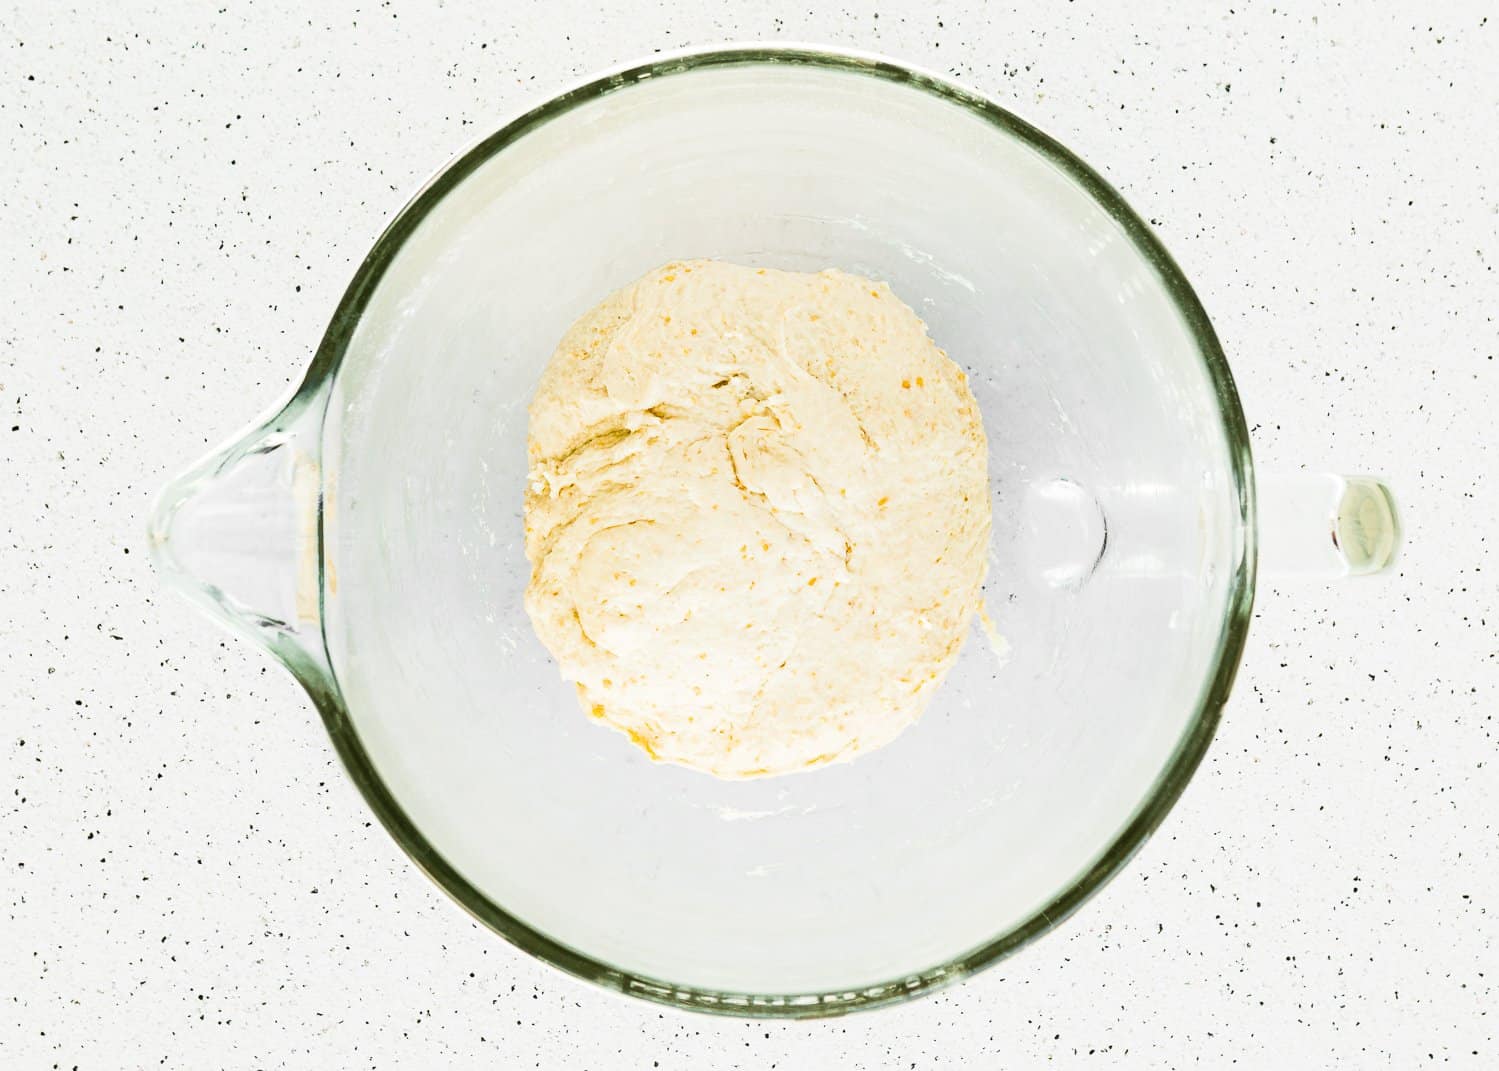
Knead until the dough pulls away from the sides of the bowl.
2 – Let the Dough Rise
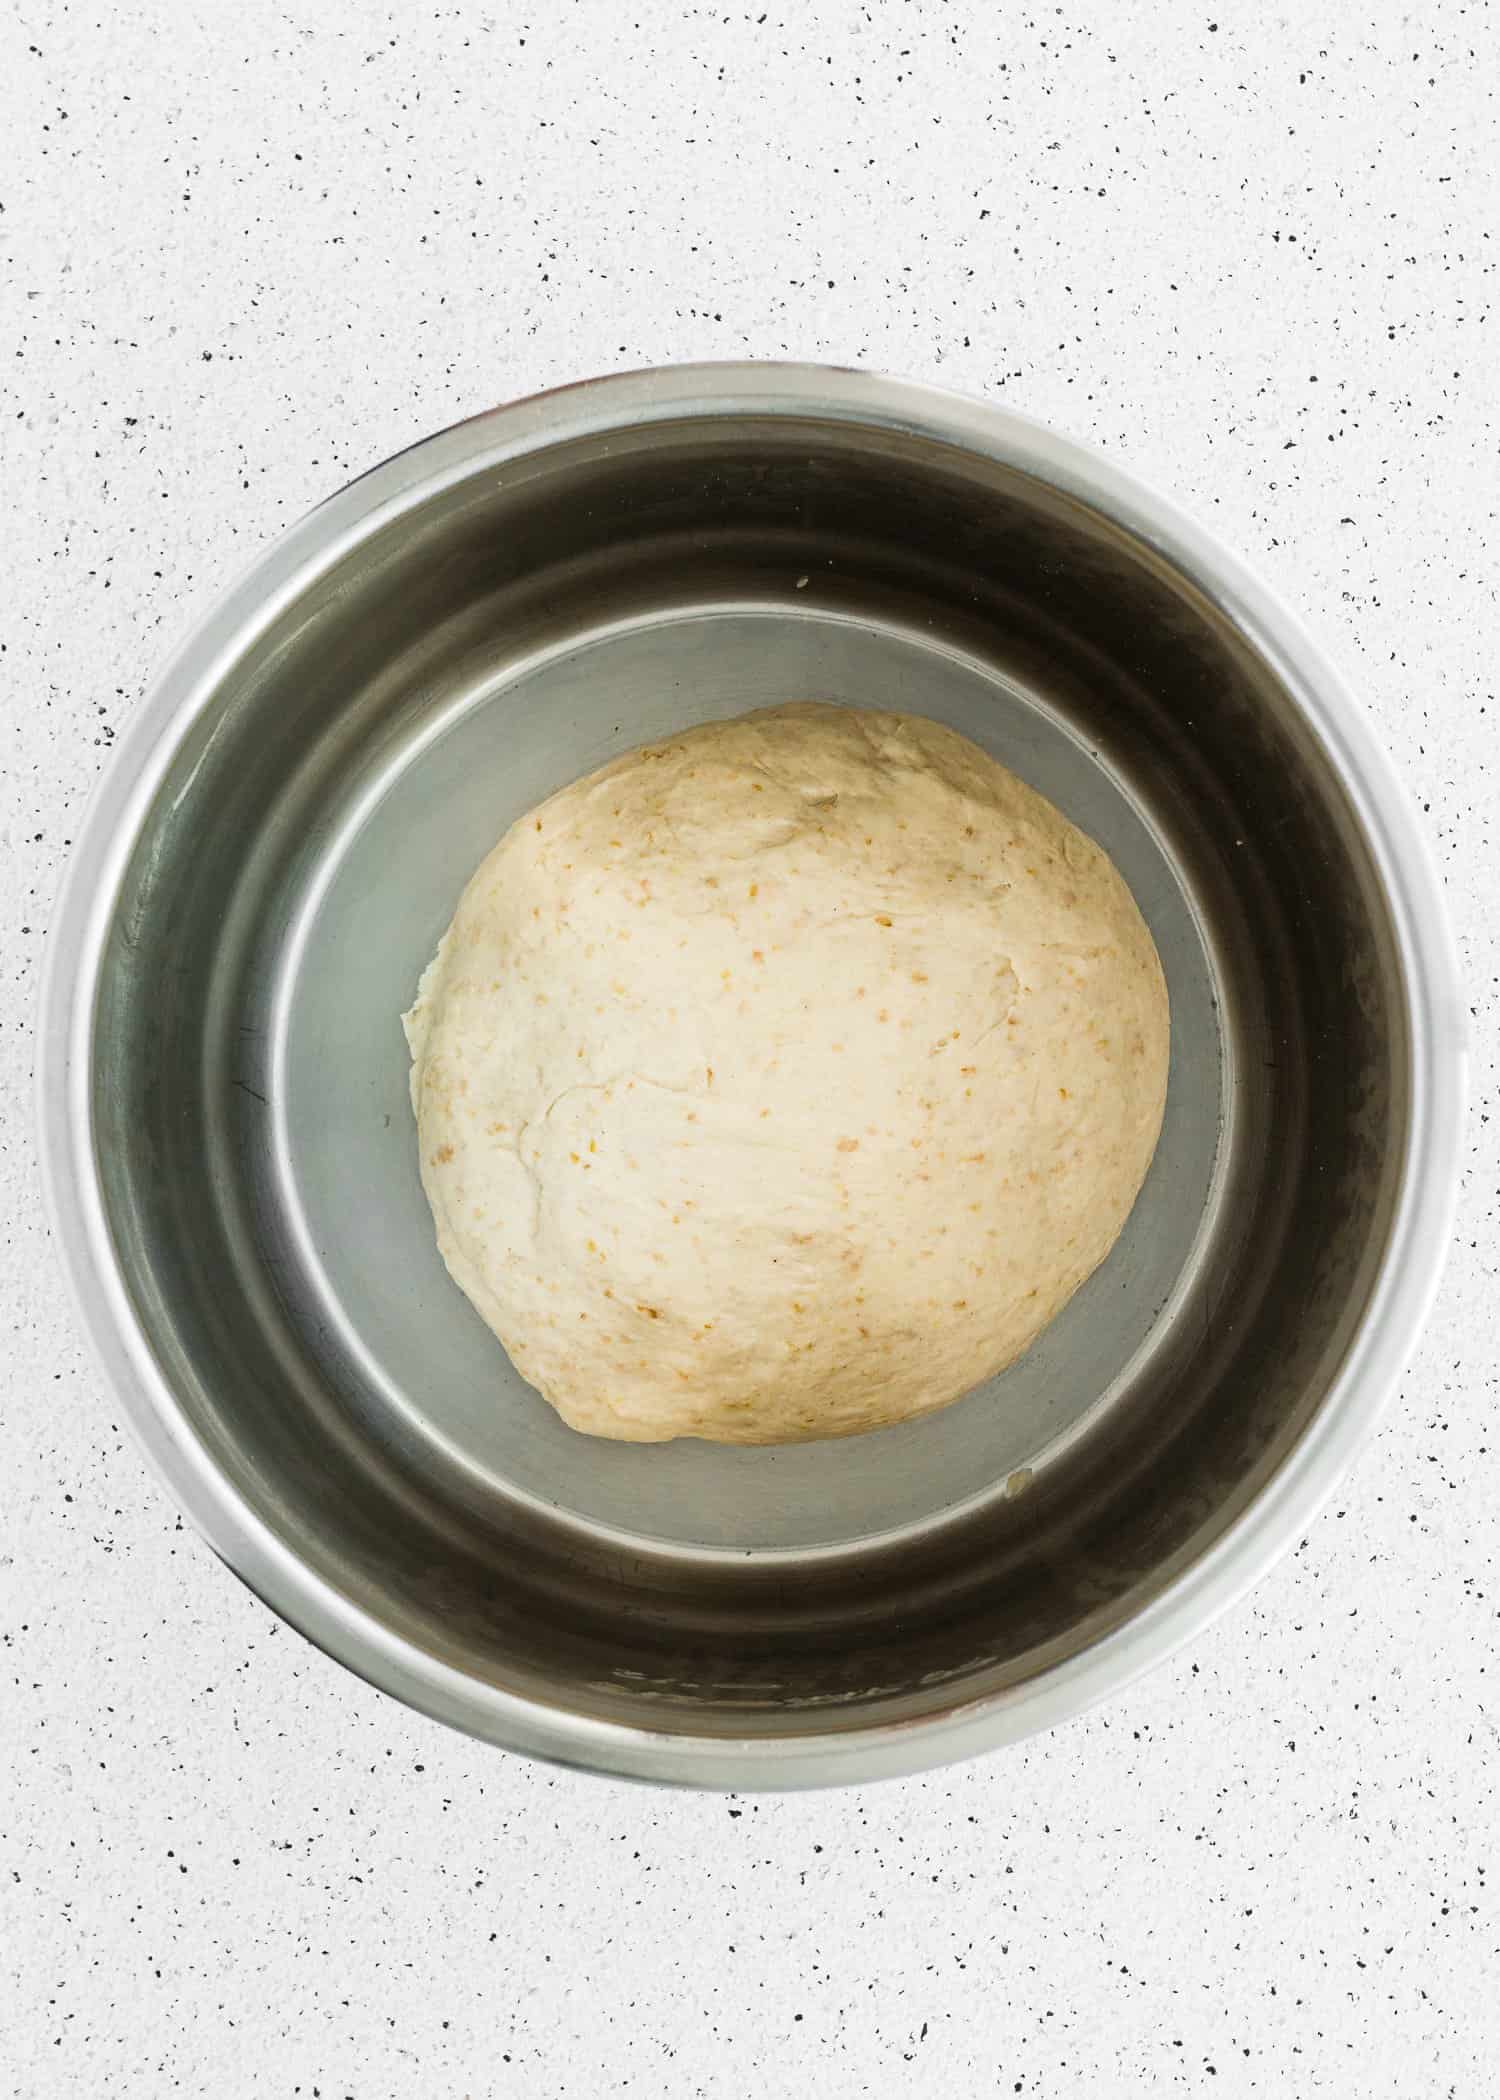
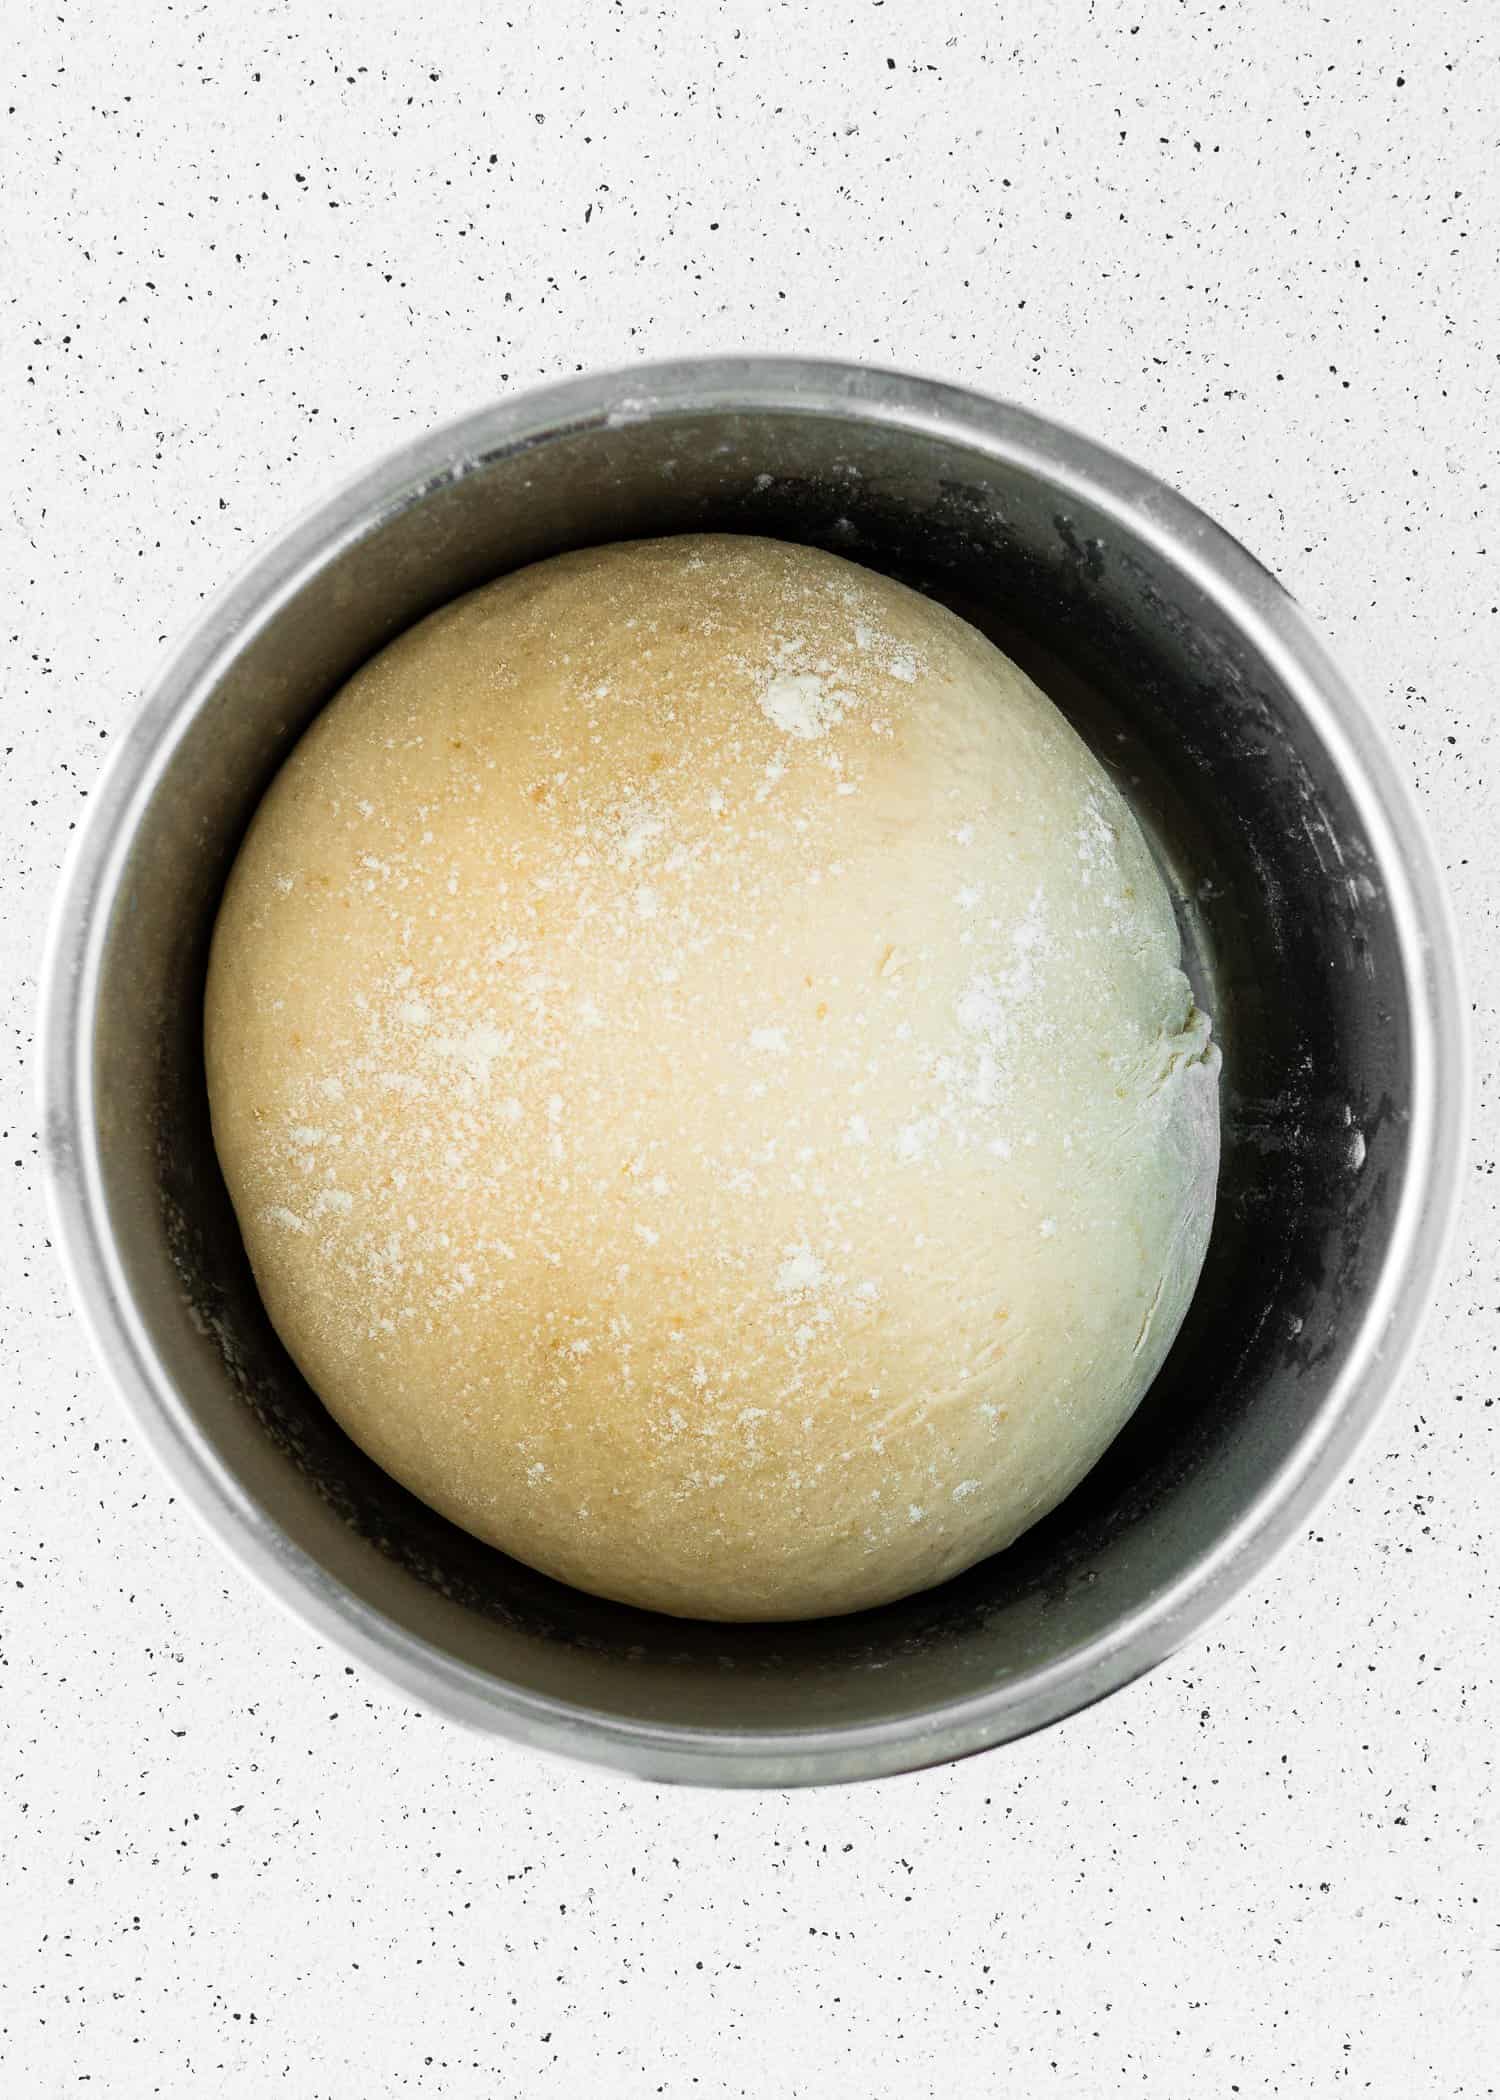
Allow the dough to rise in a relatively warm environment for 1.5-2 hours or until puffy and doubled in size.
3 – Roll & Cut into Donuts
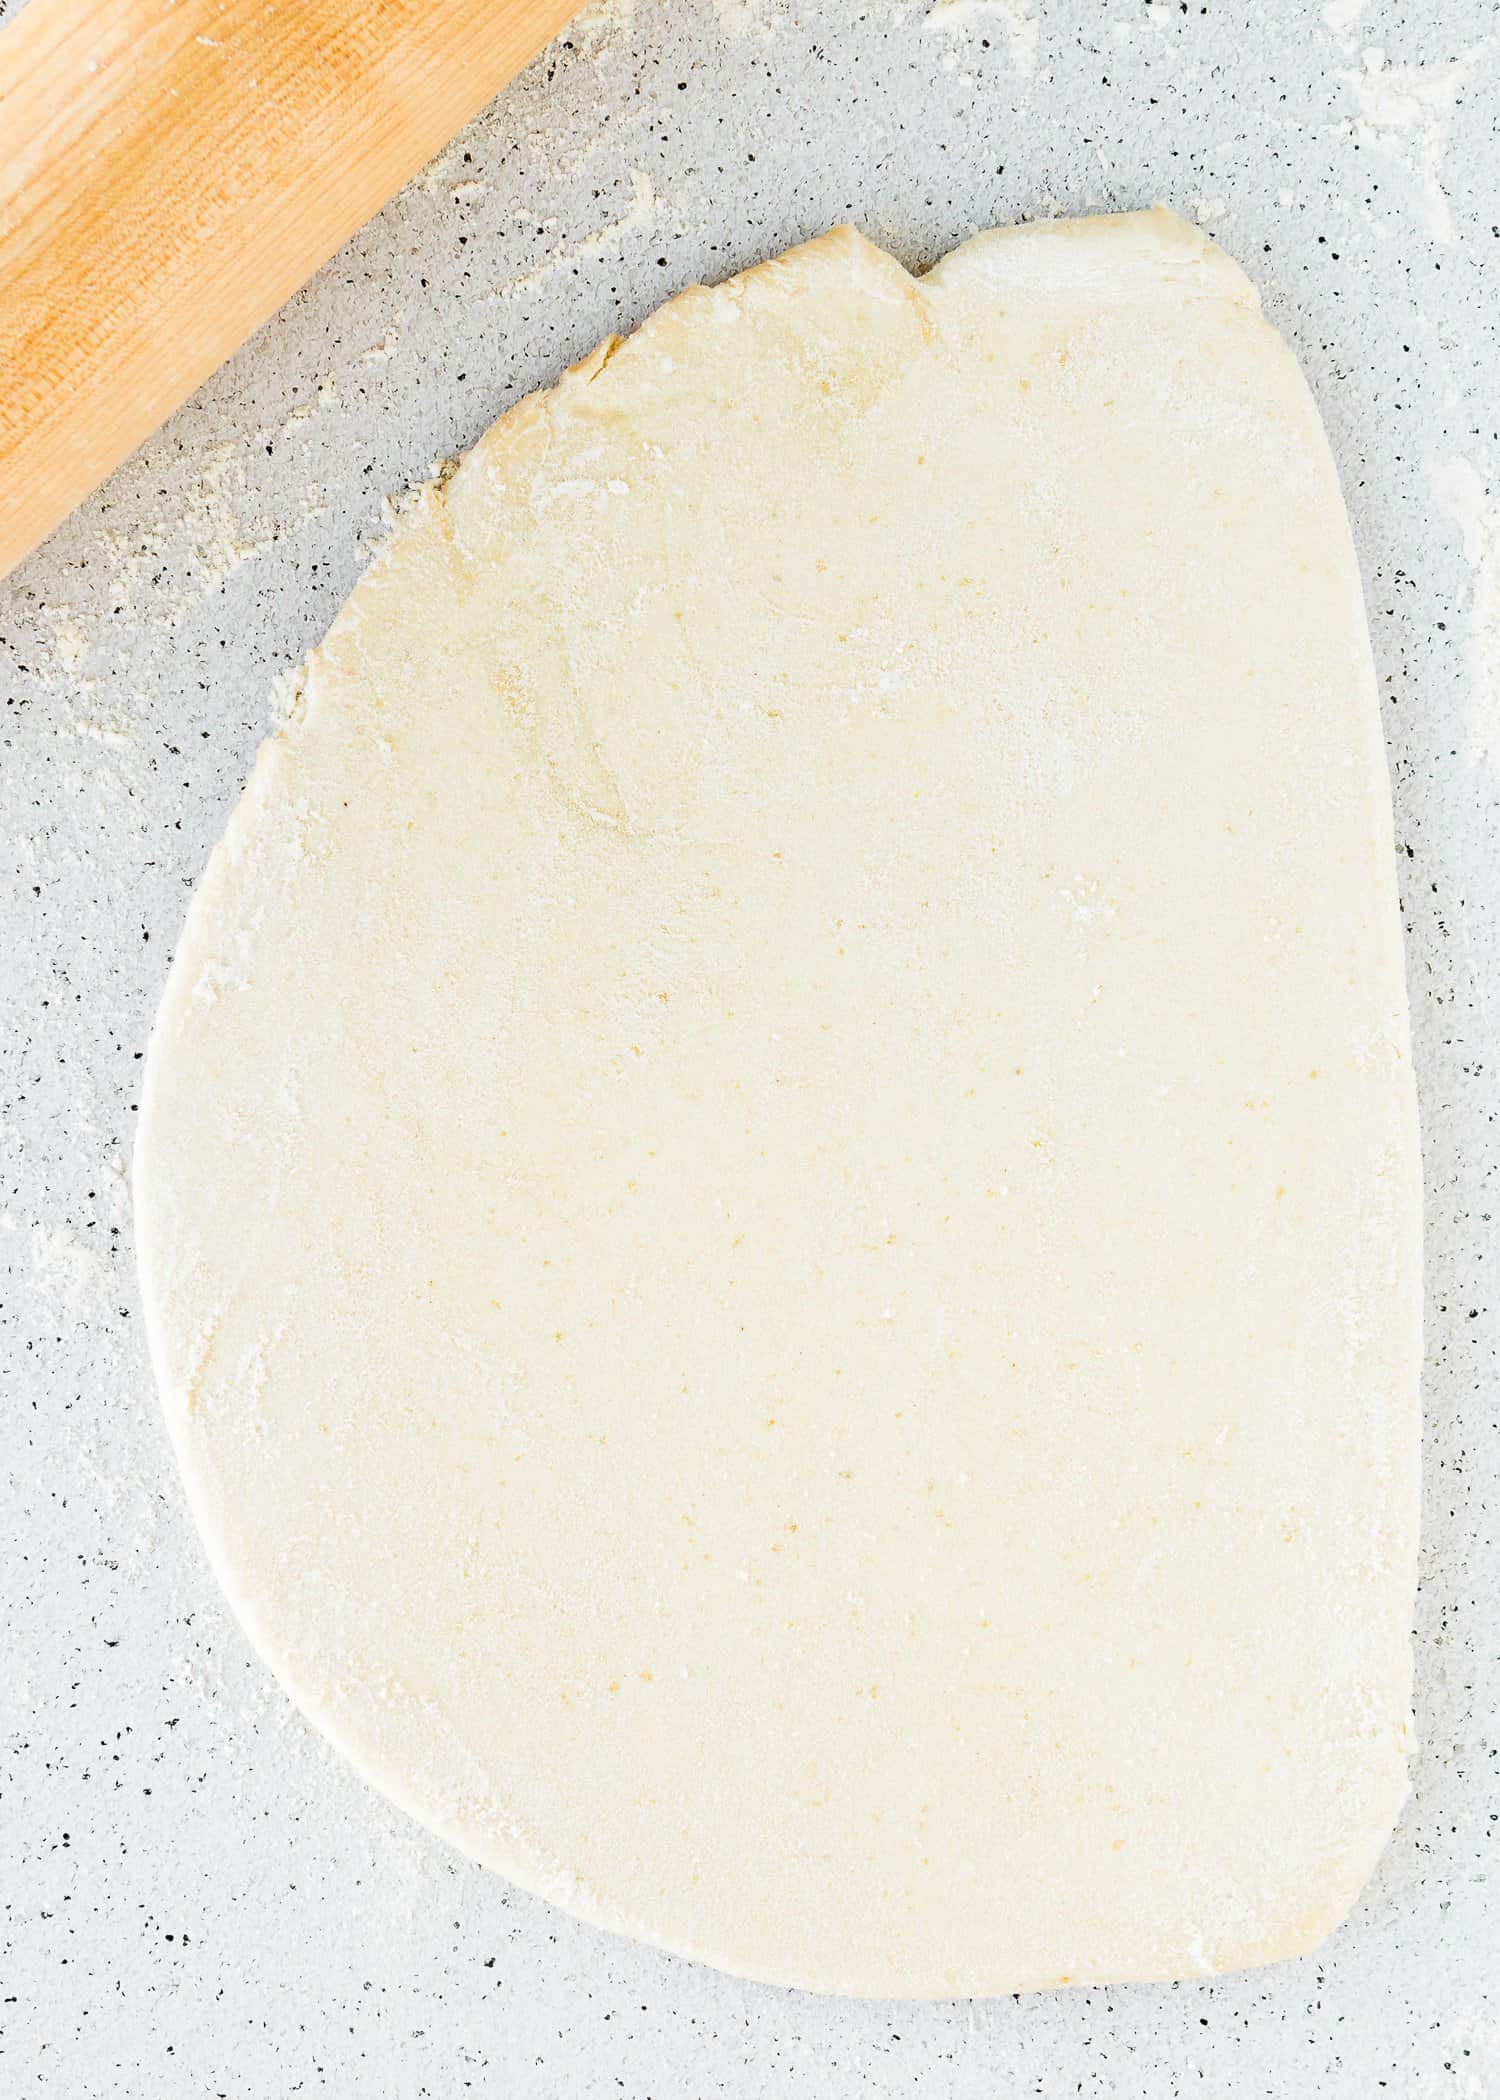
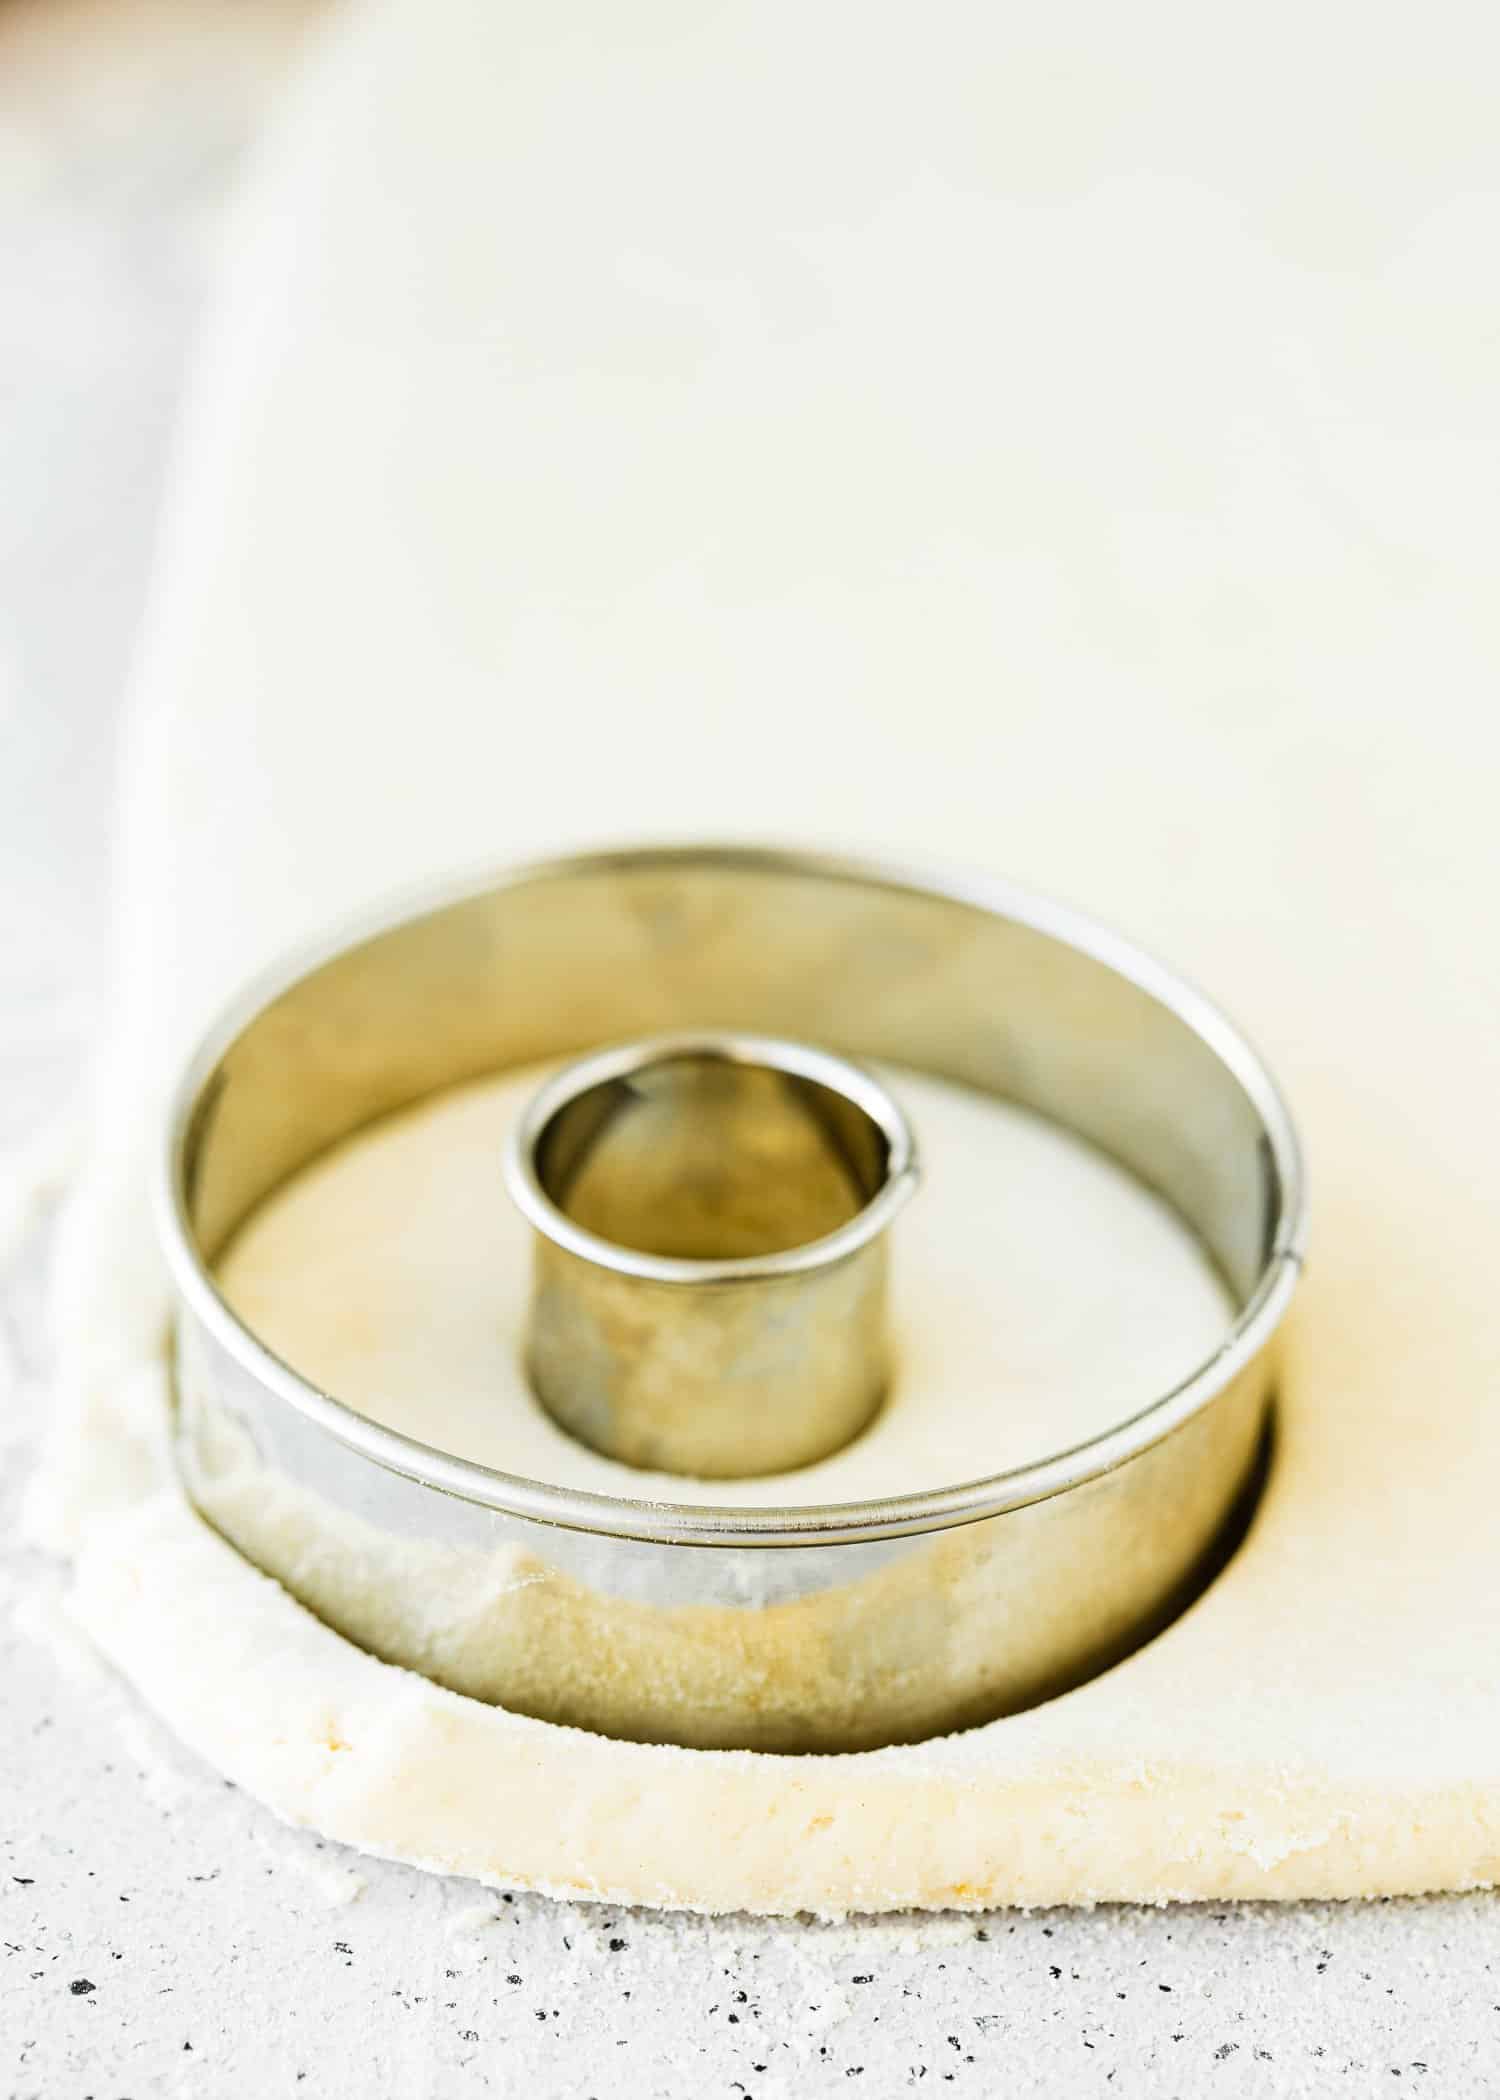
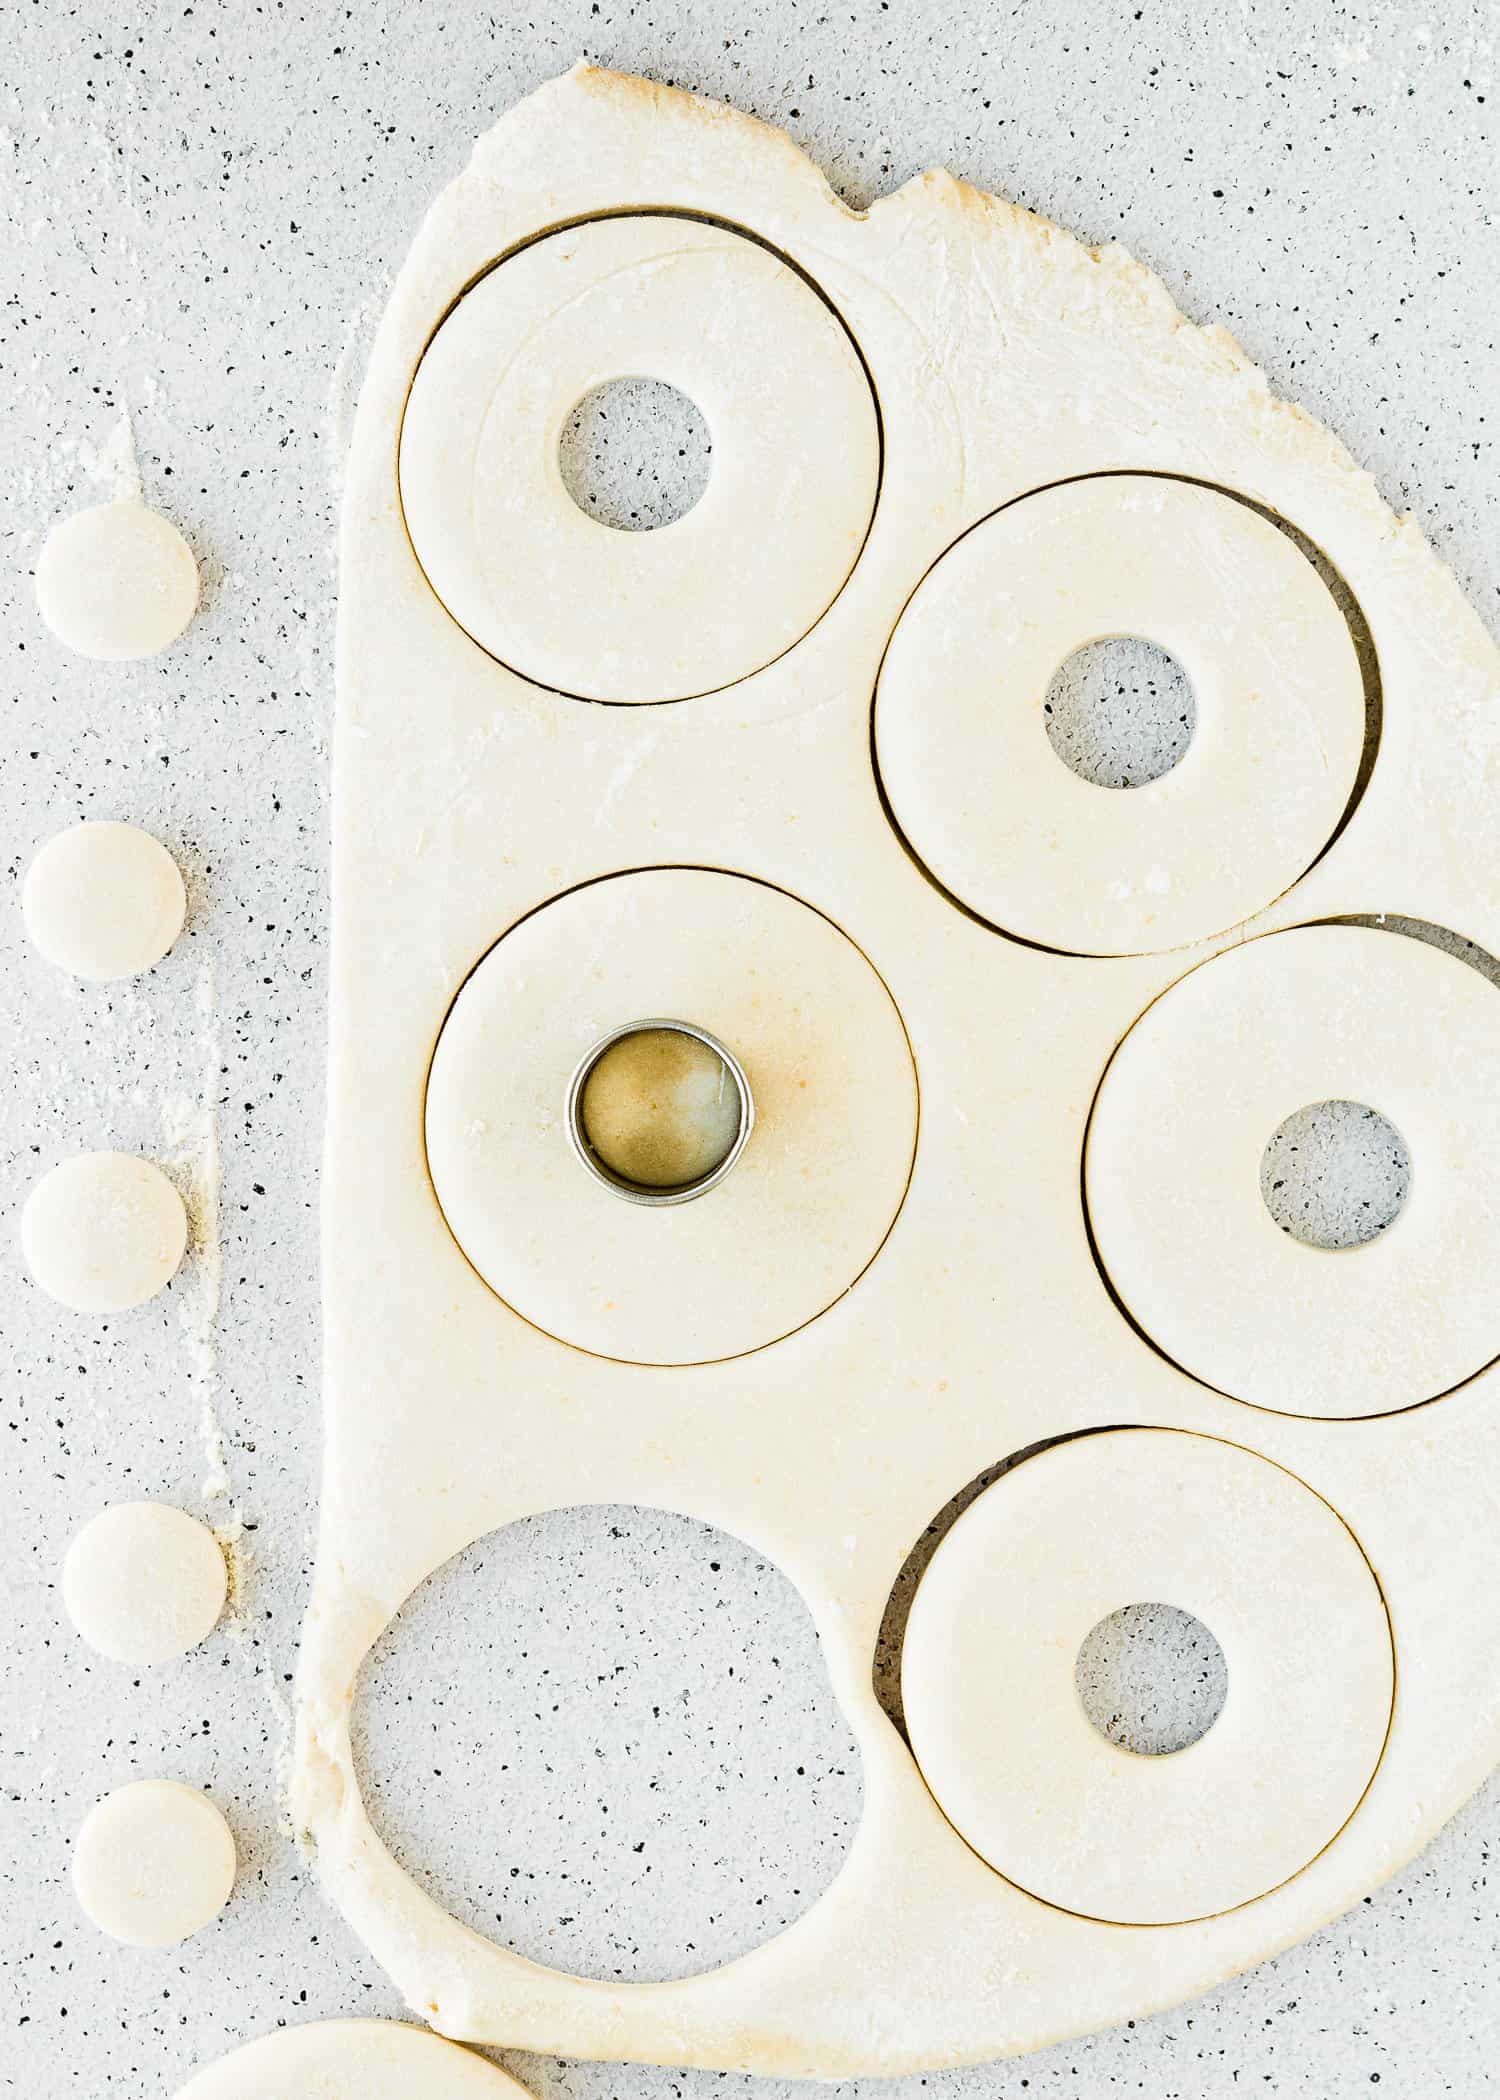
Using a rolling pin, roll the dough out until it is 1/2 inch thick. Using a 3-3.5-inch doughnut cutter, cut into 6 donuts and as many donuts holes as you can.
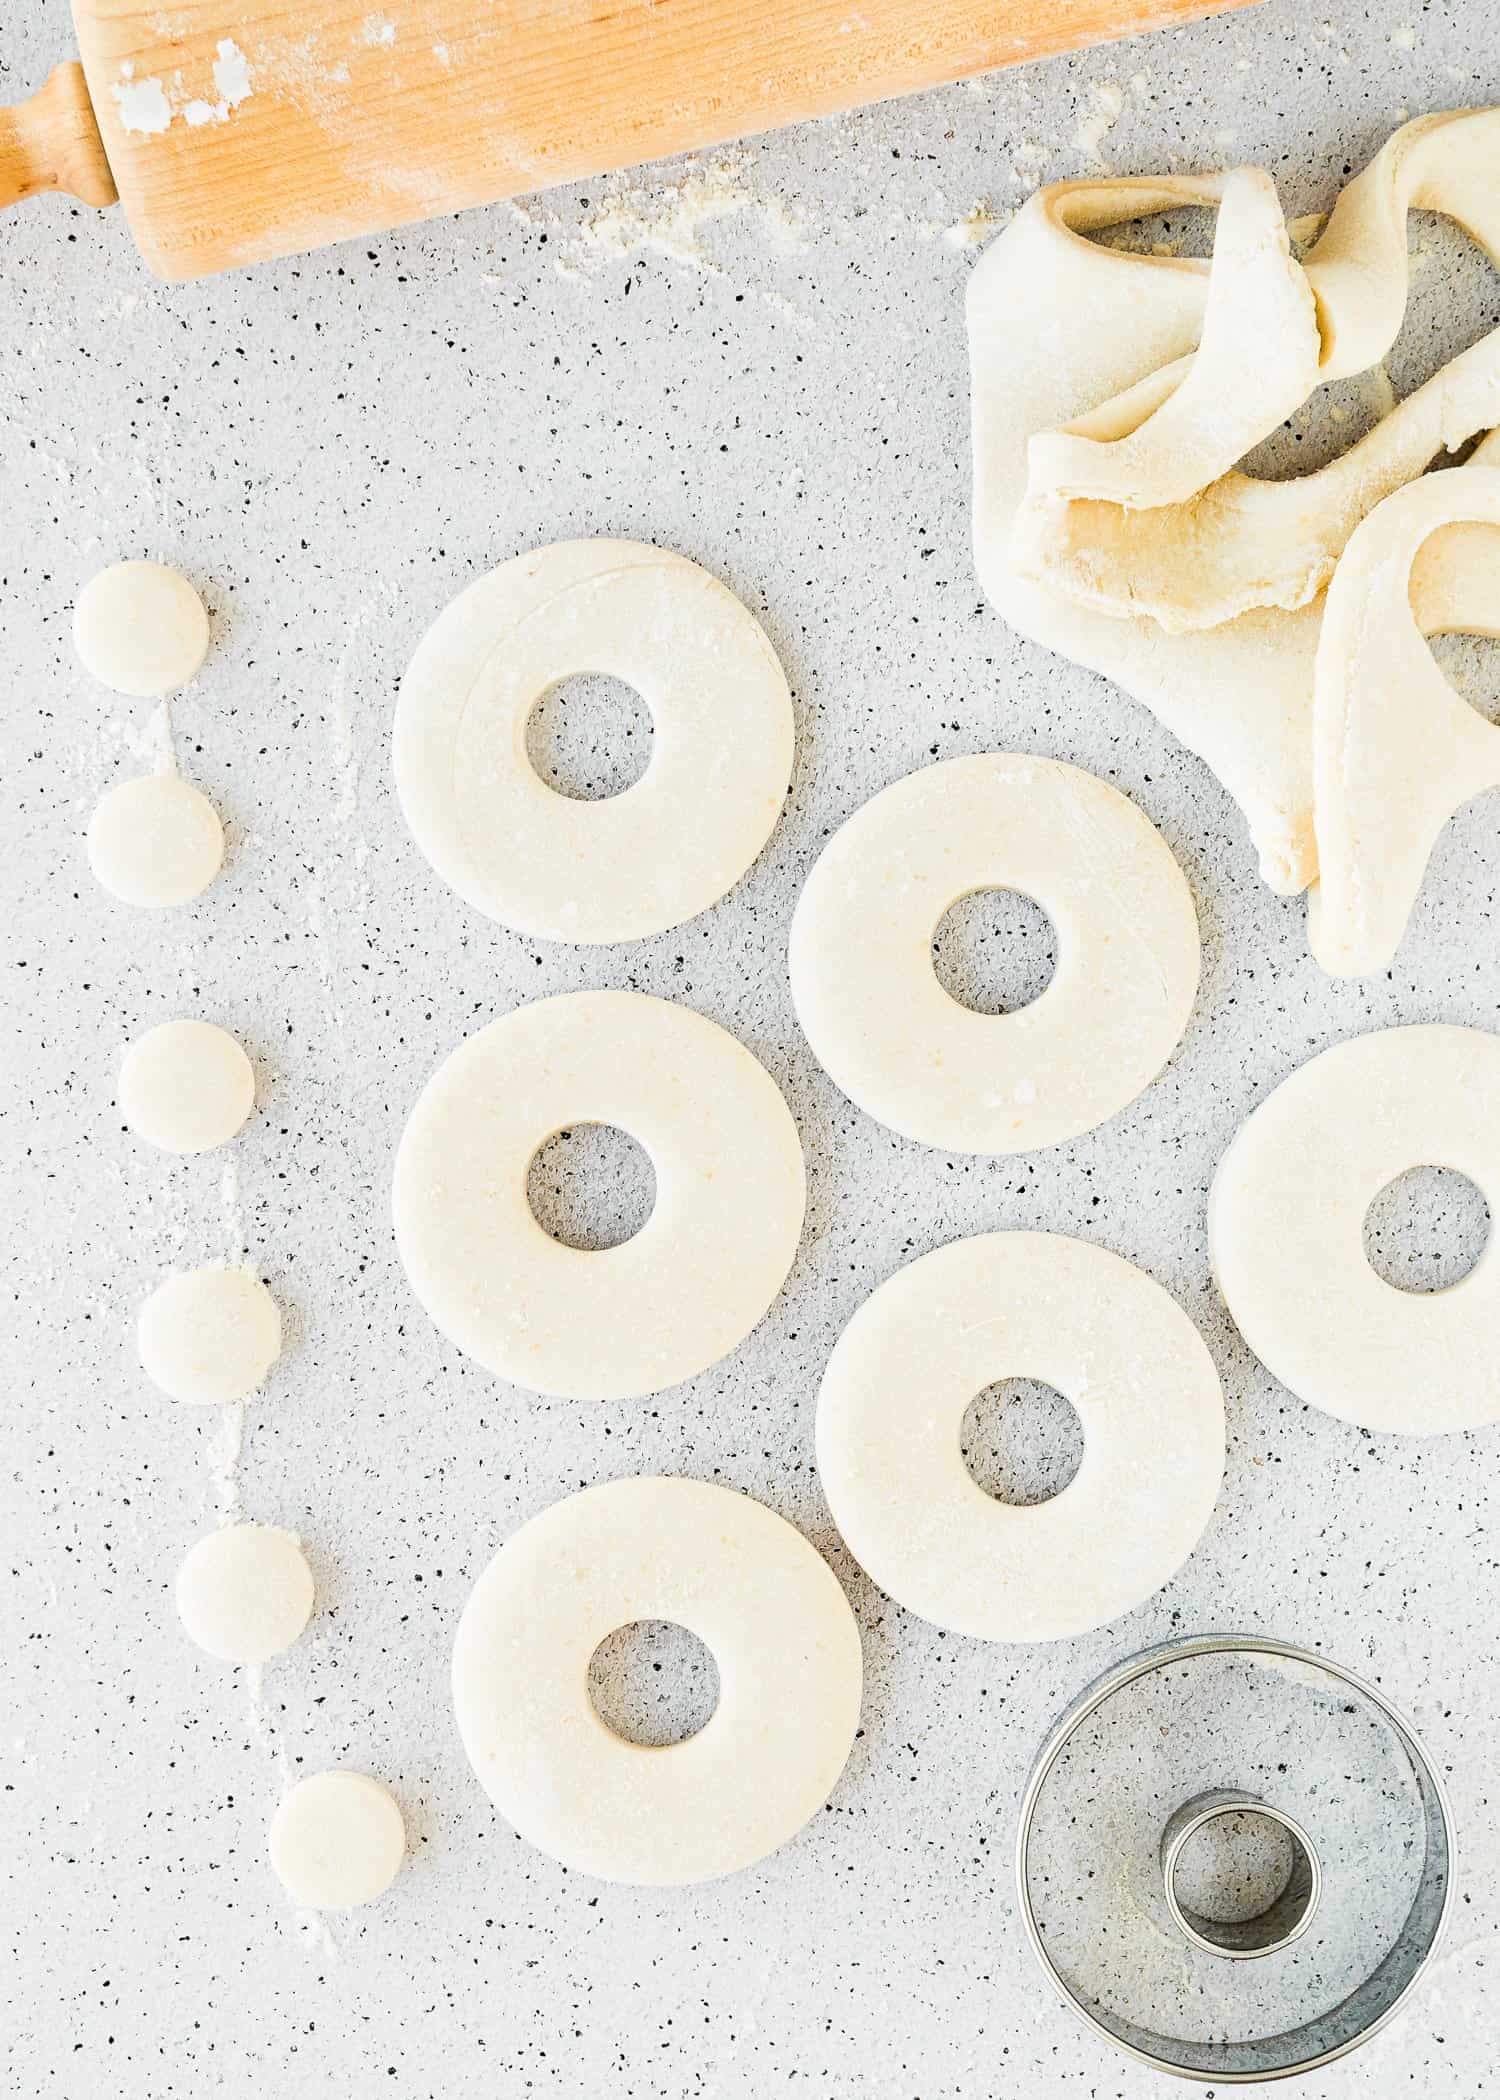
4 – Let the Cut Donuts Rise
Loosely cover with a clean kitchen towel and allow to rise for 30 – 45 minutes, or until slightly puffed.
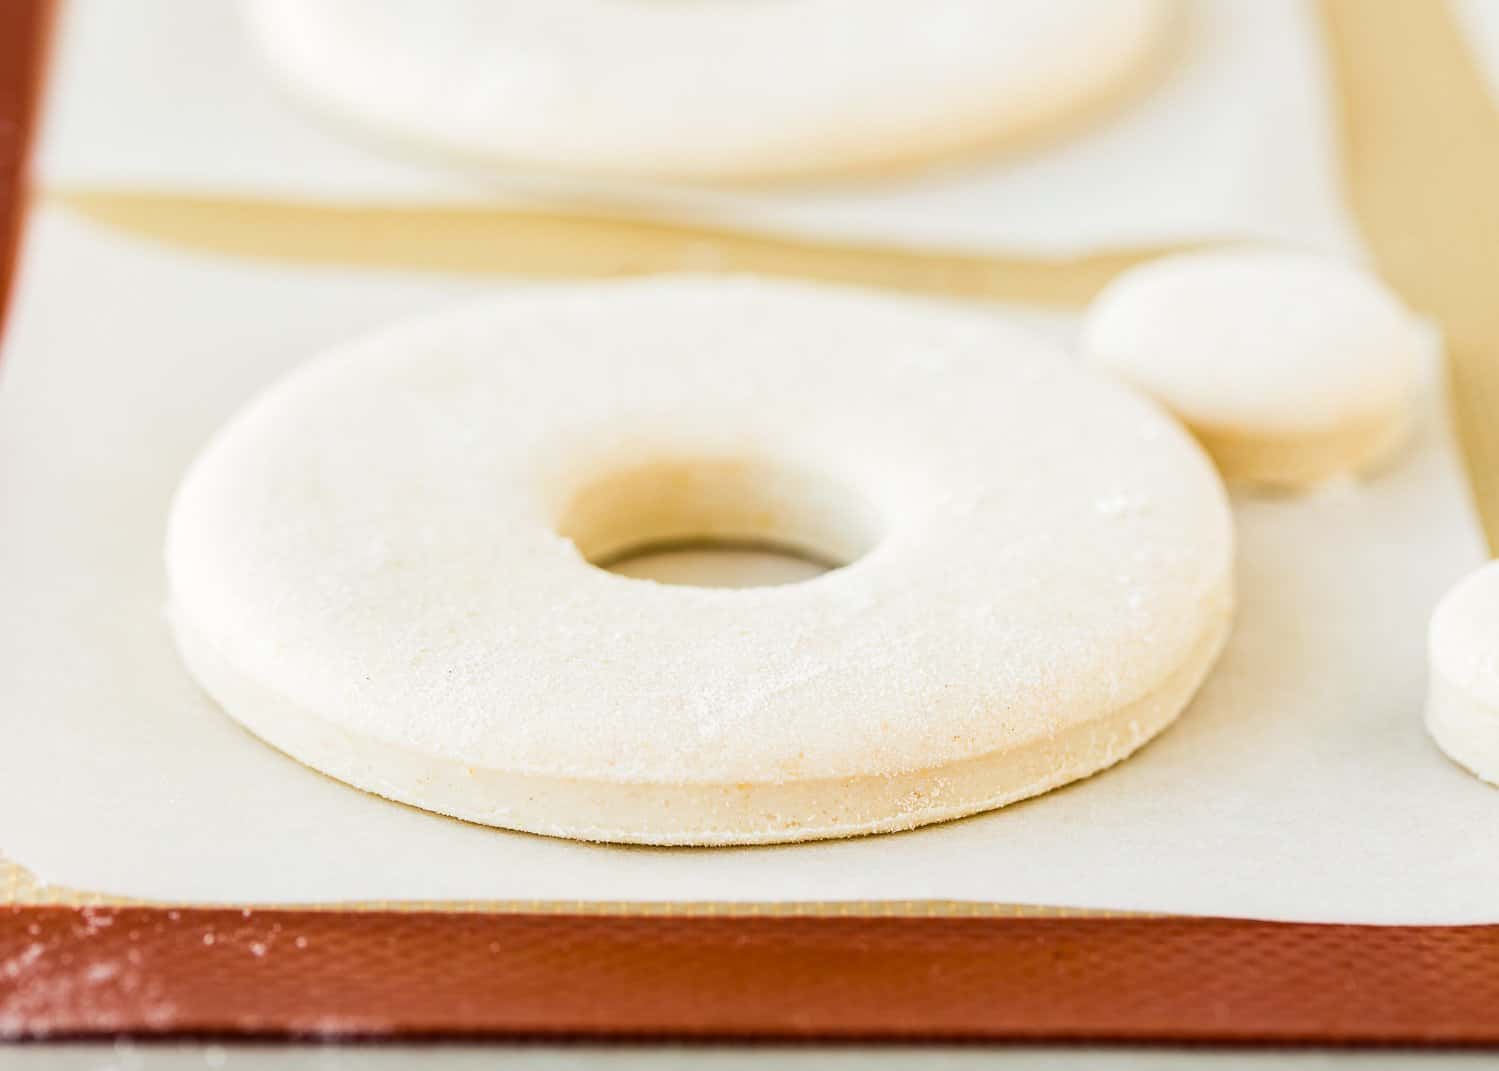
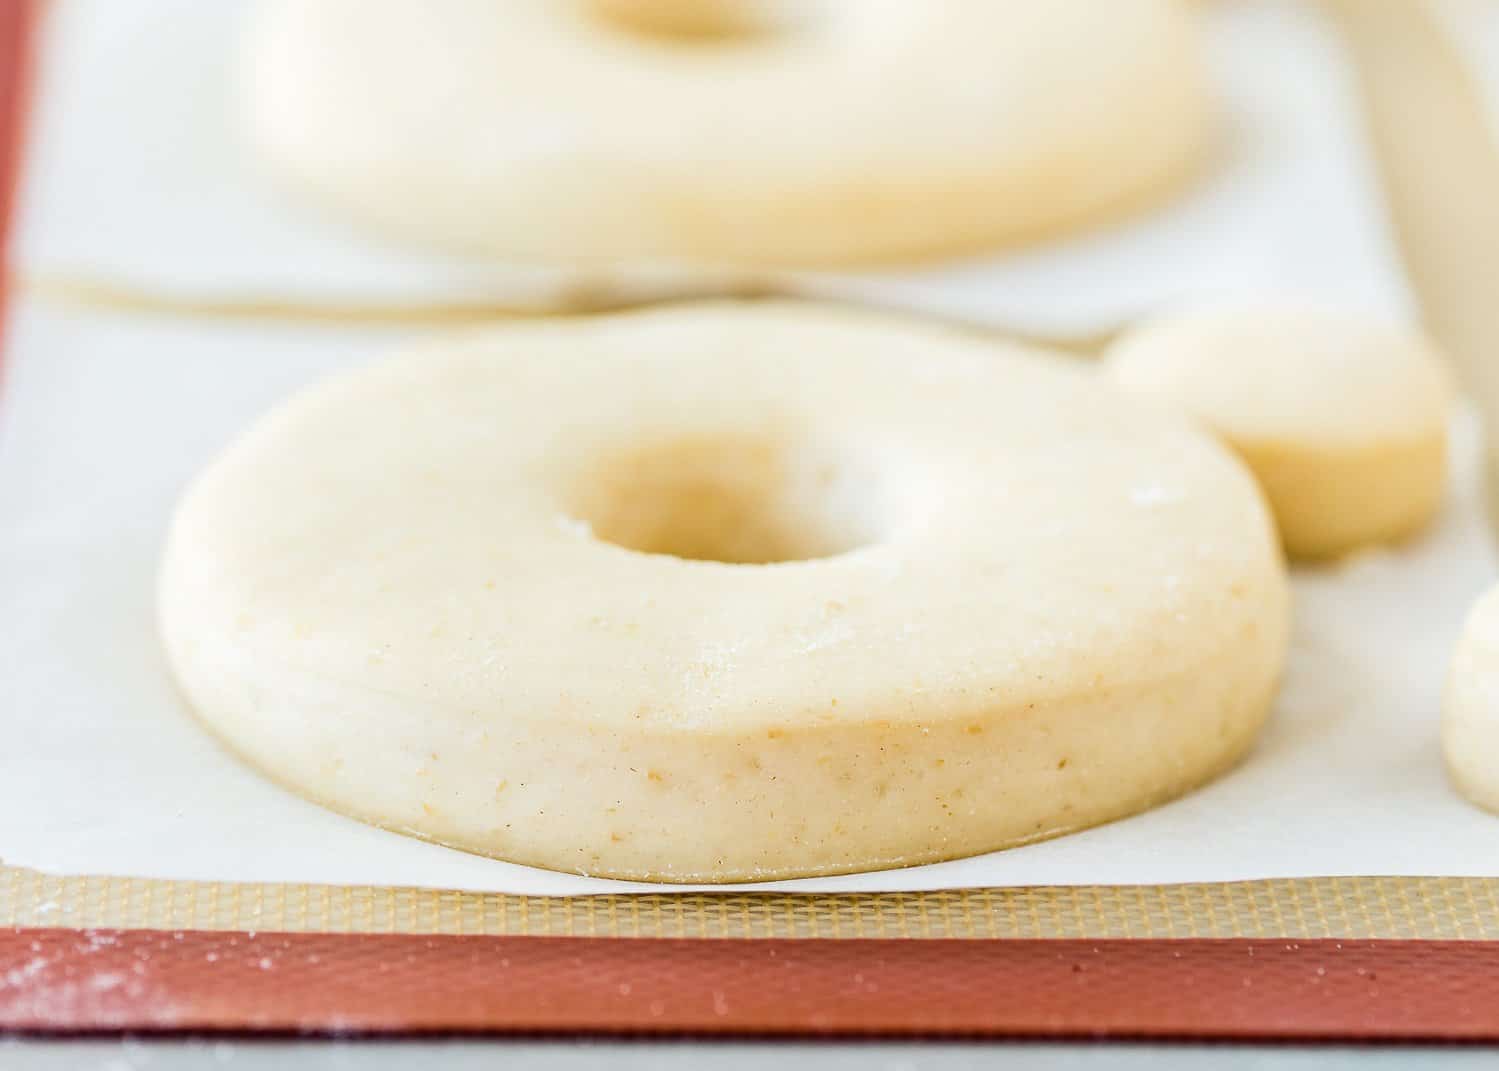
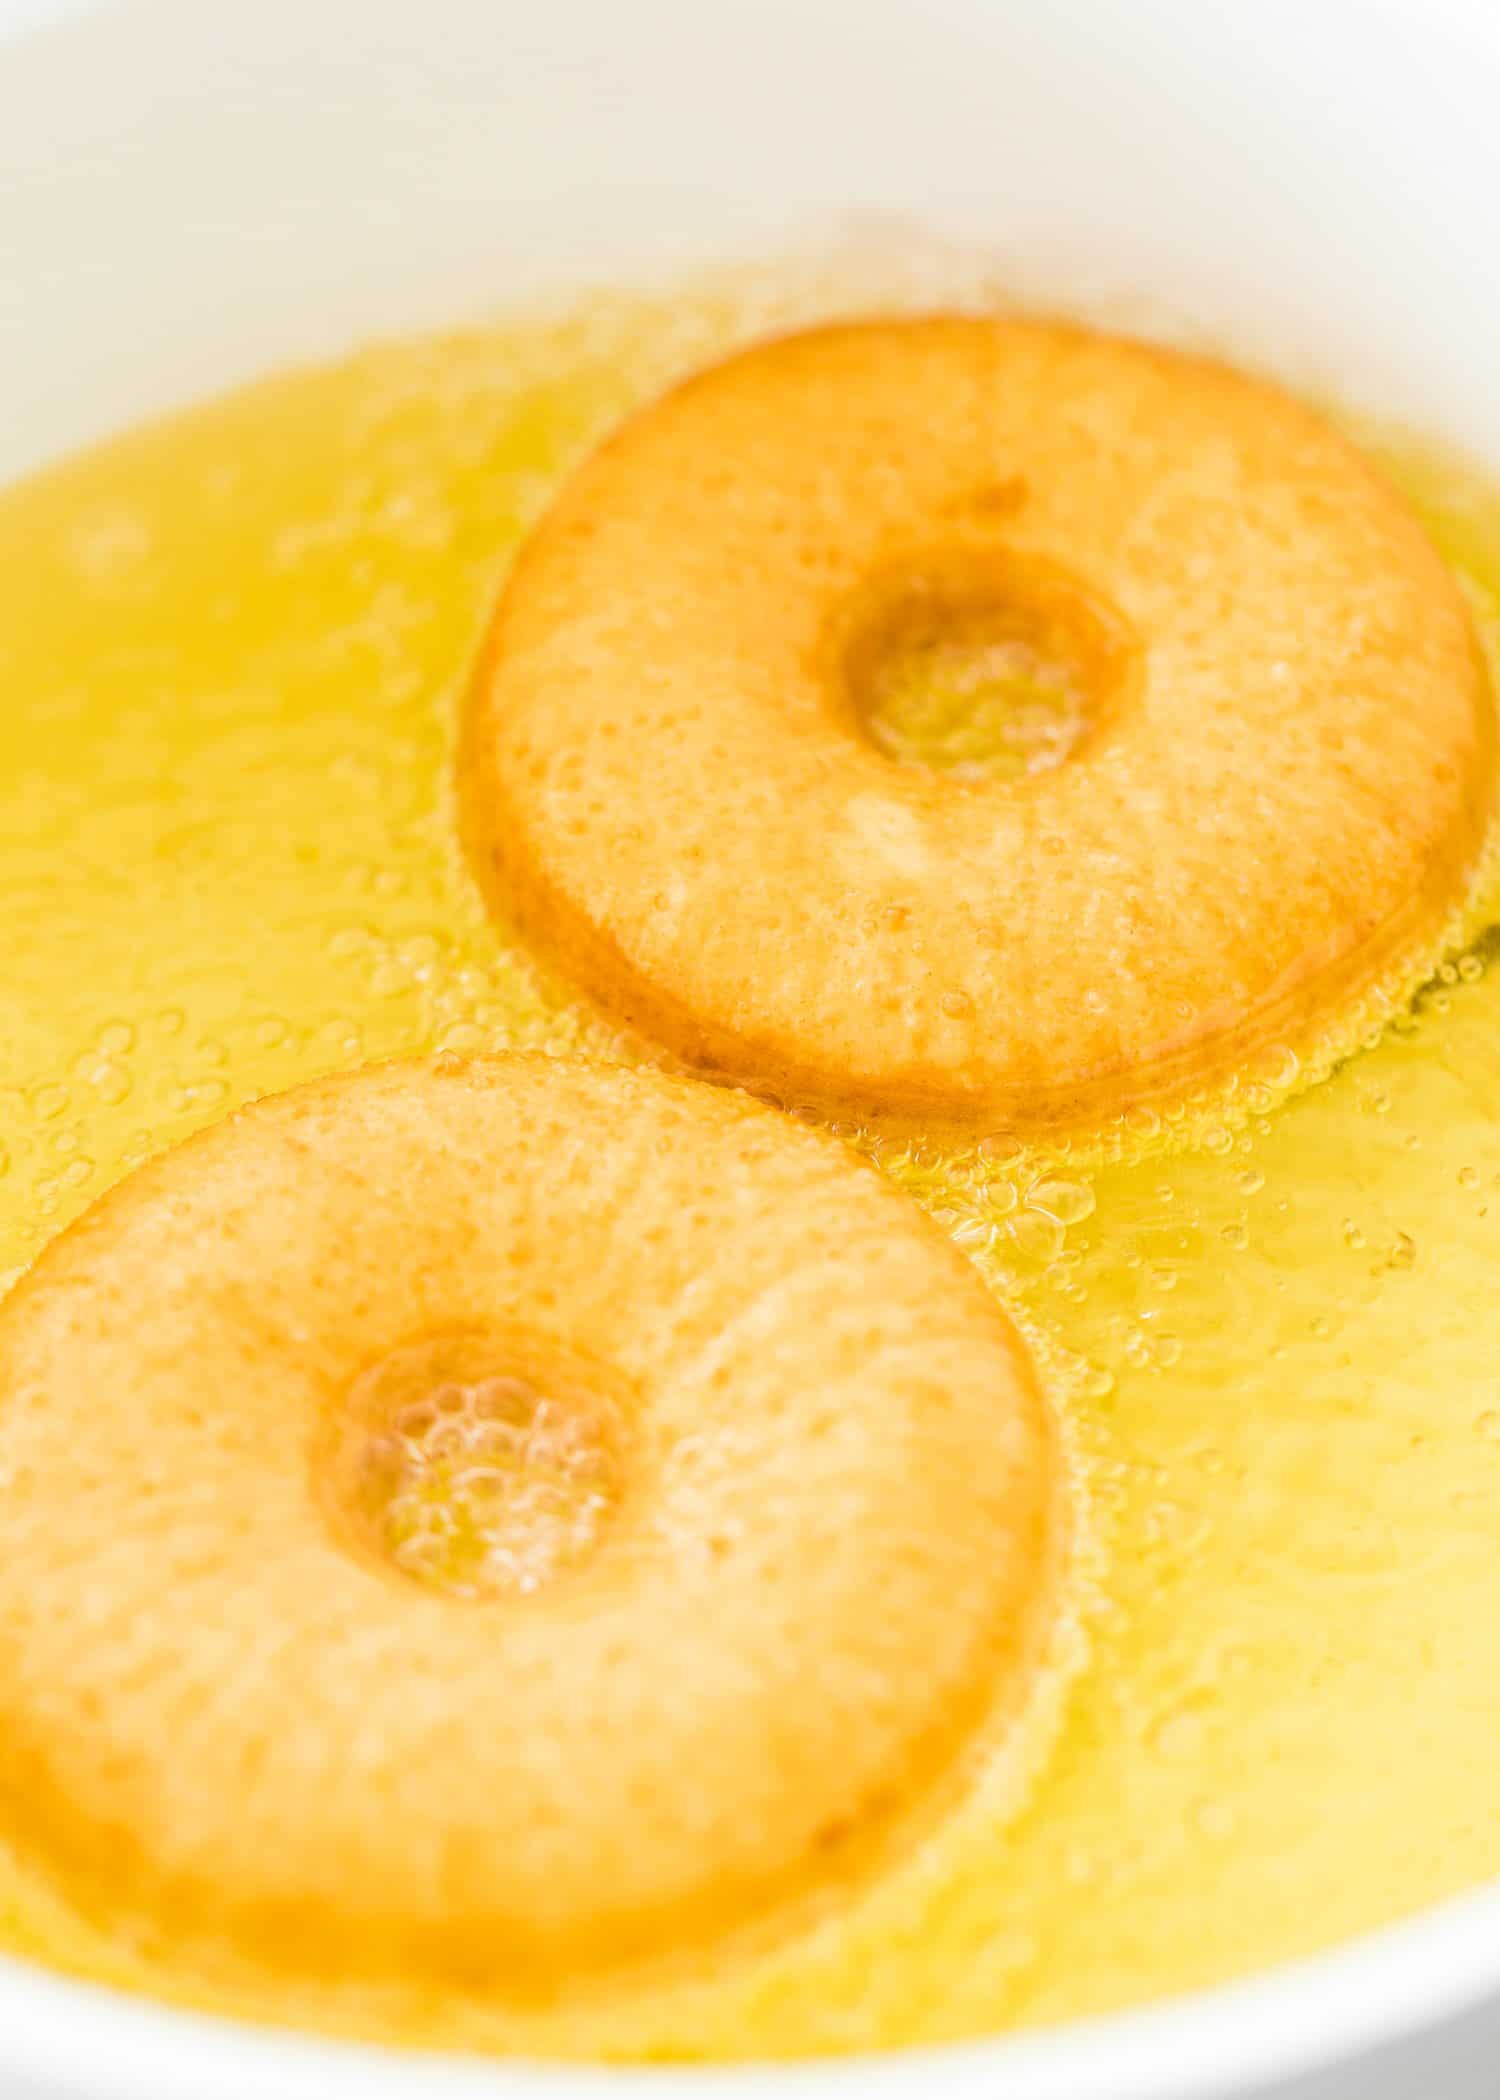
5 – Fry the Donuts
Carefully fry the donuts until they’re deep golden all over.
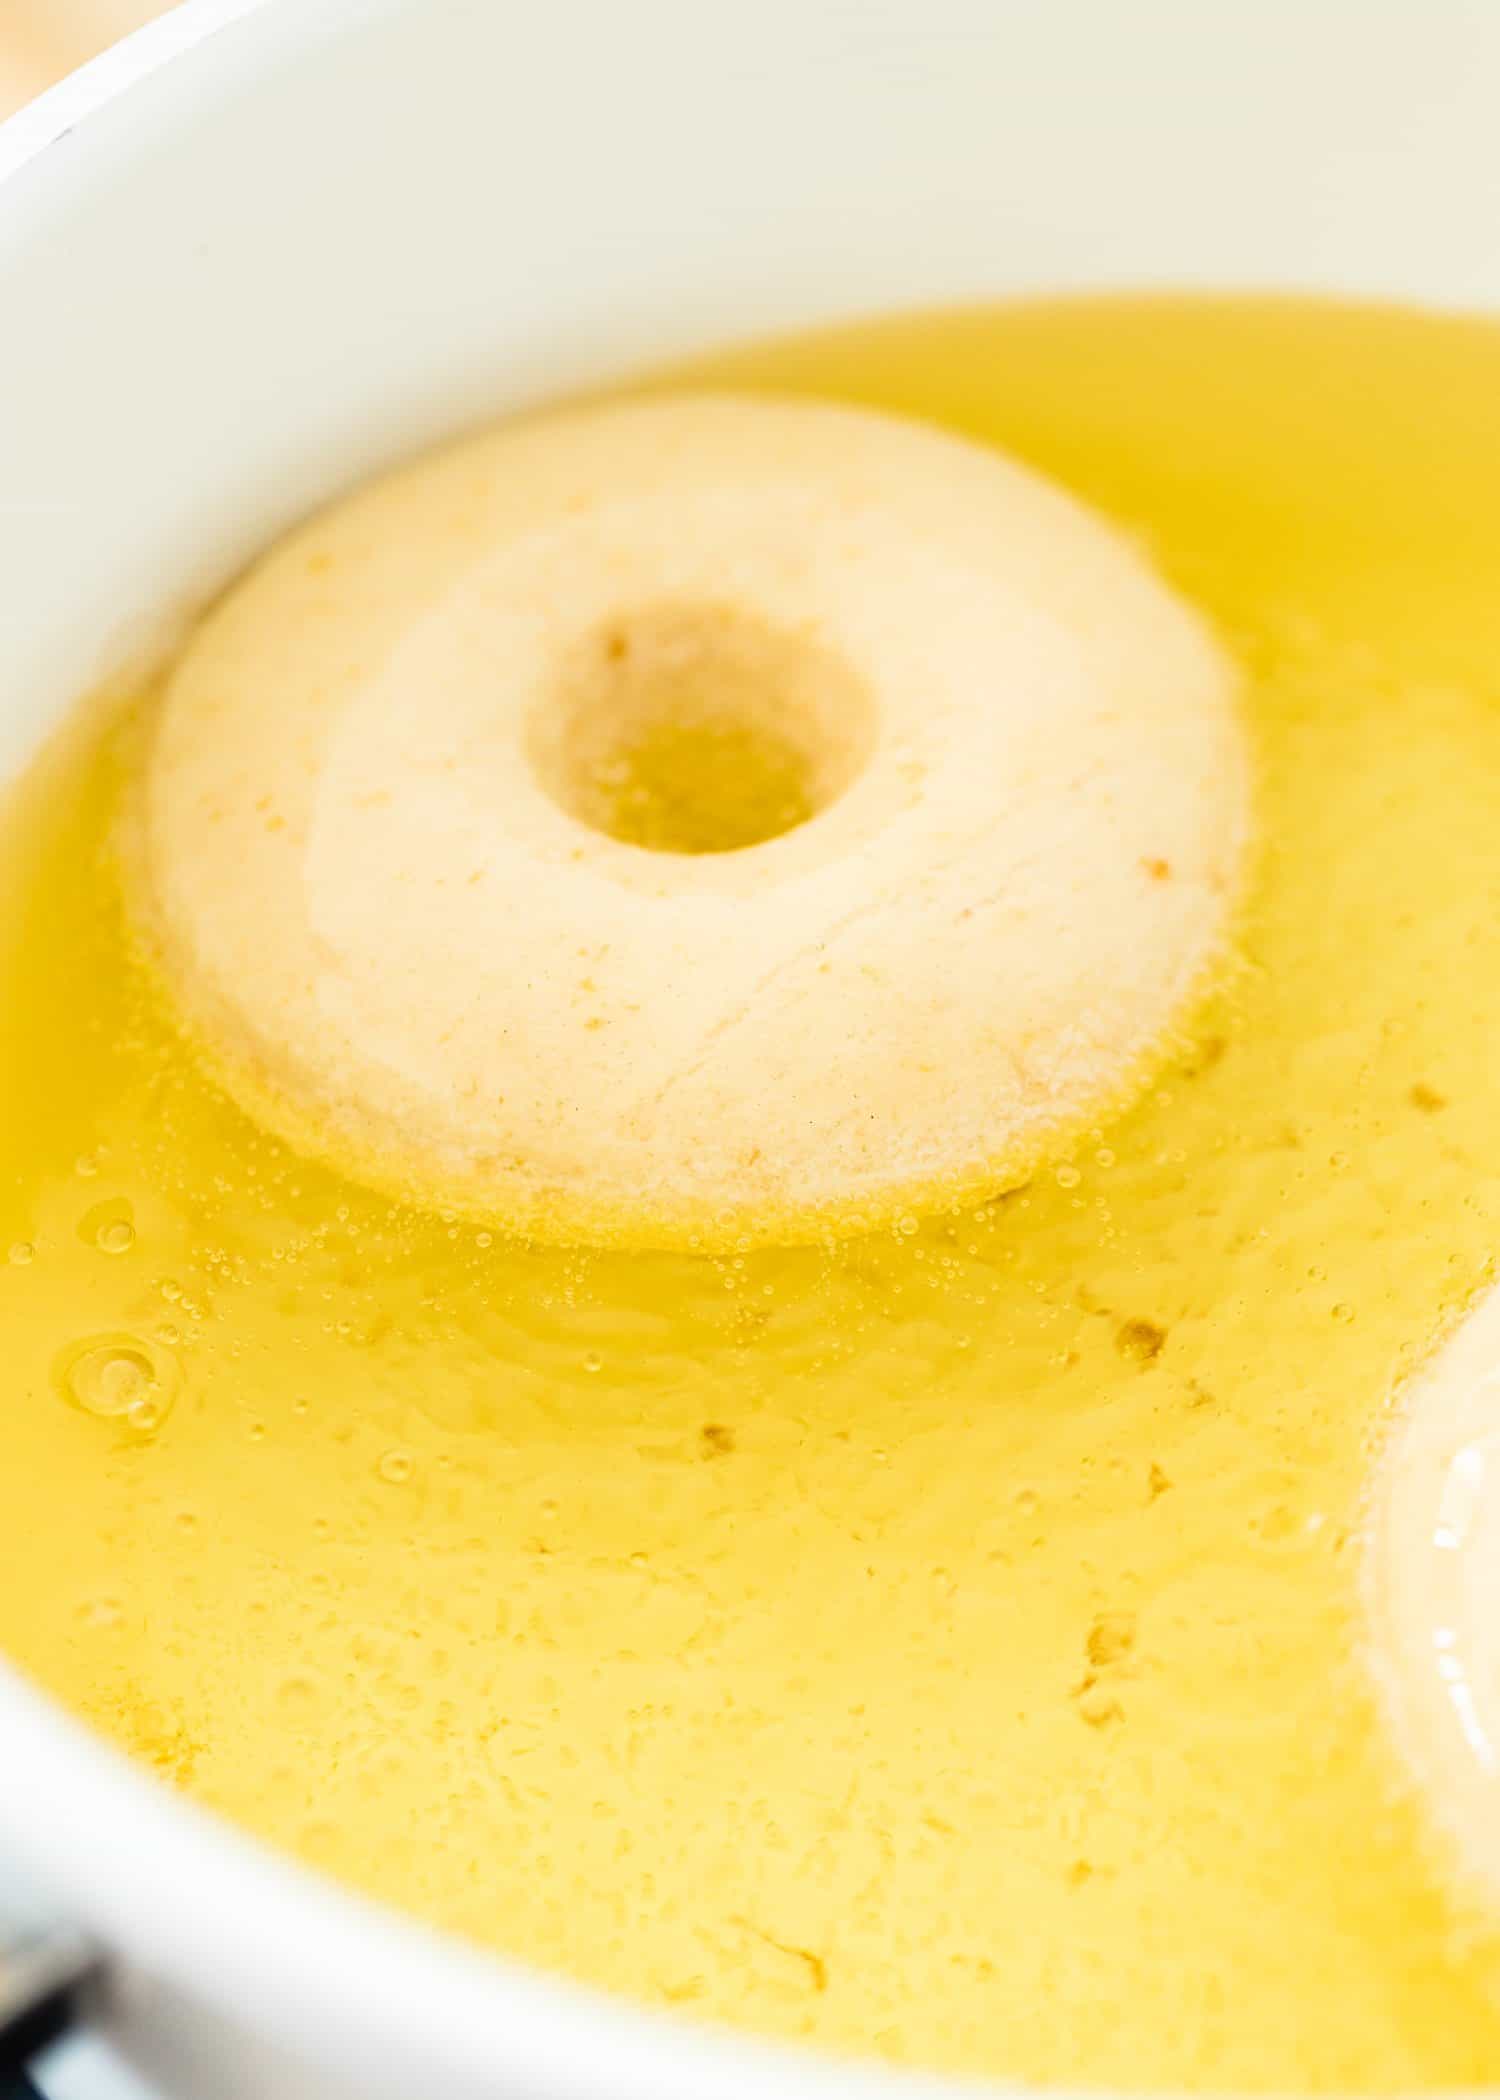
6 – Glaze
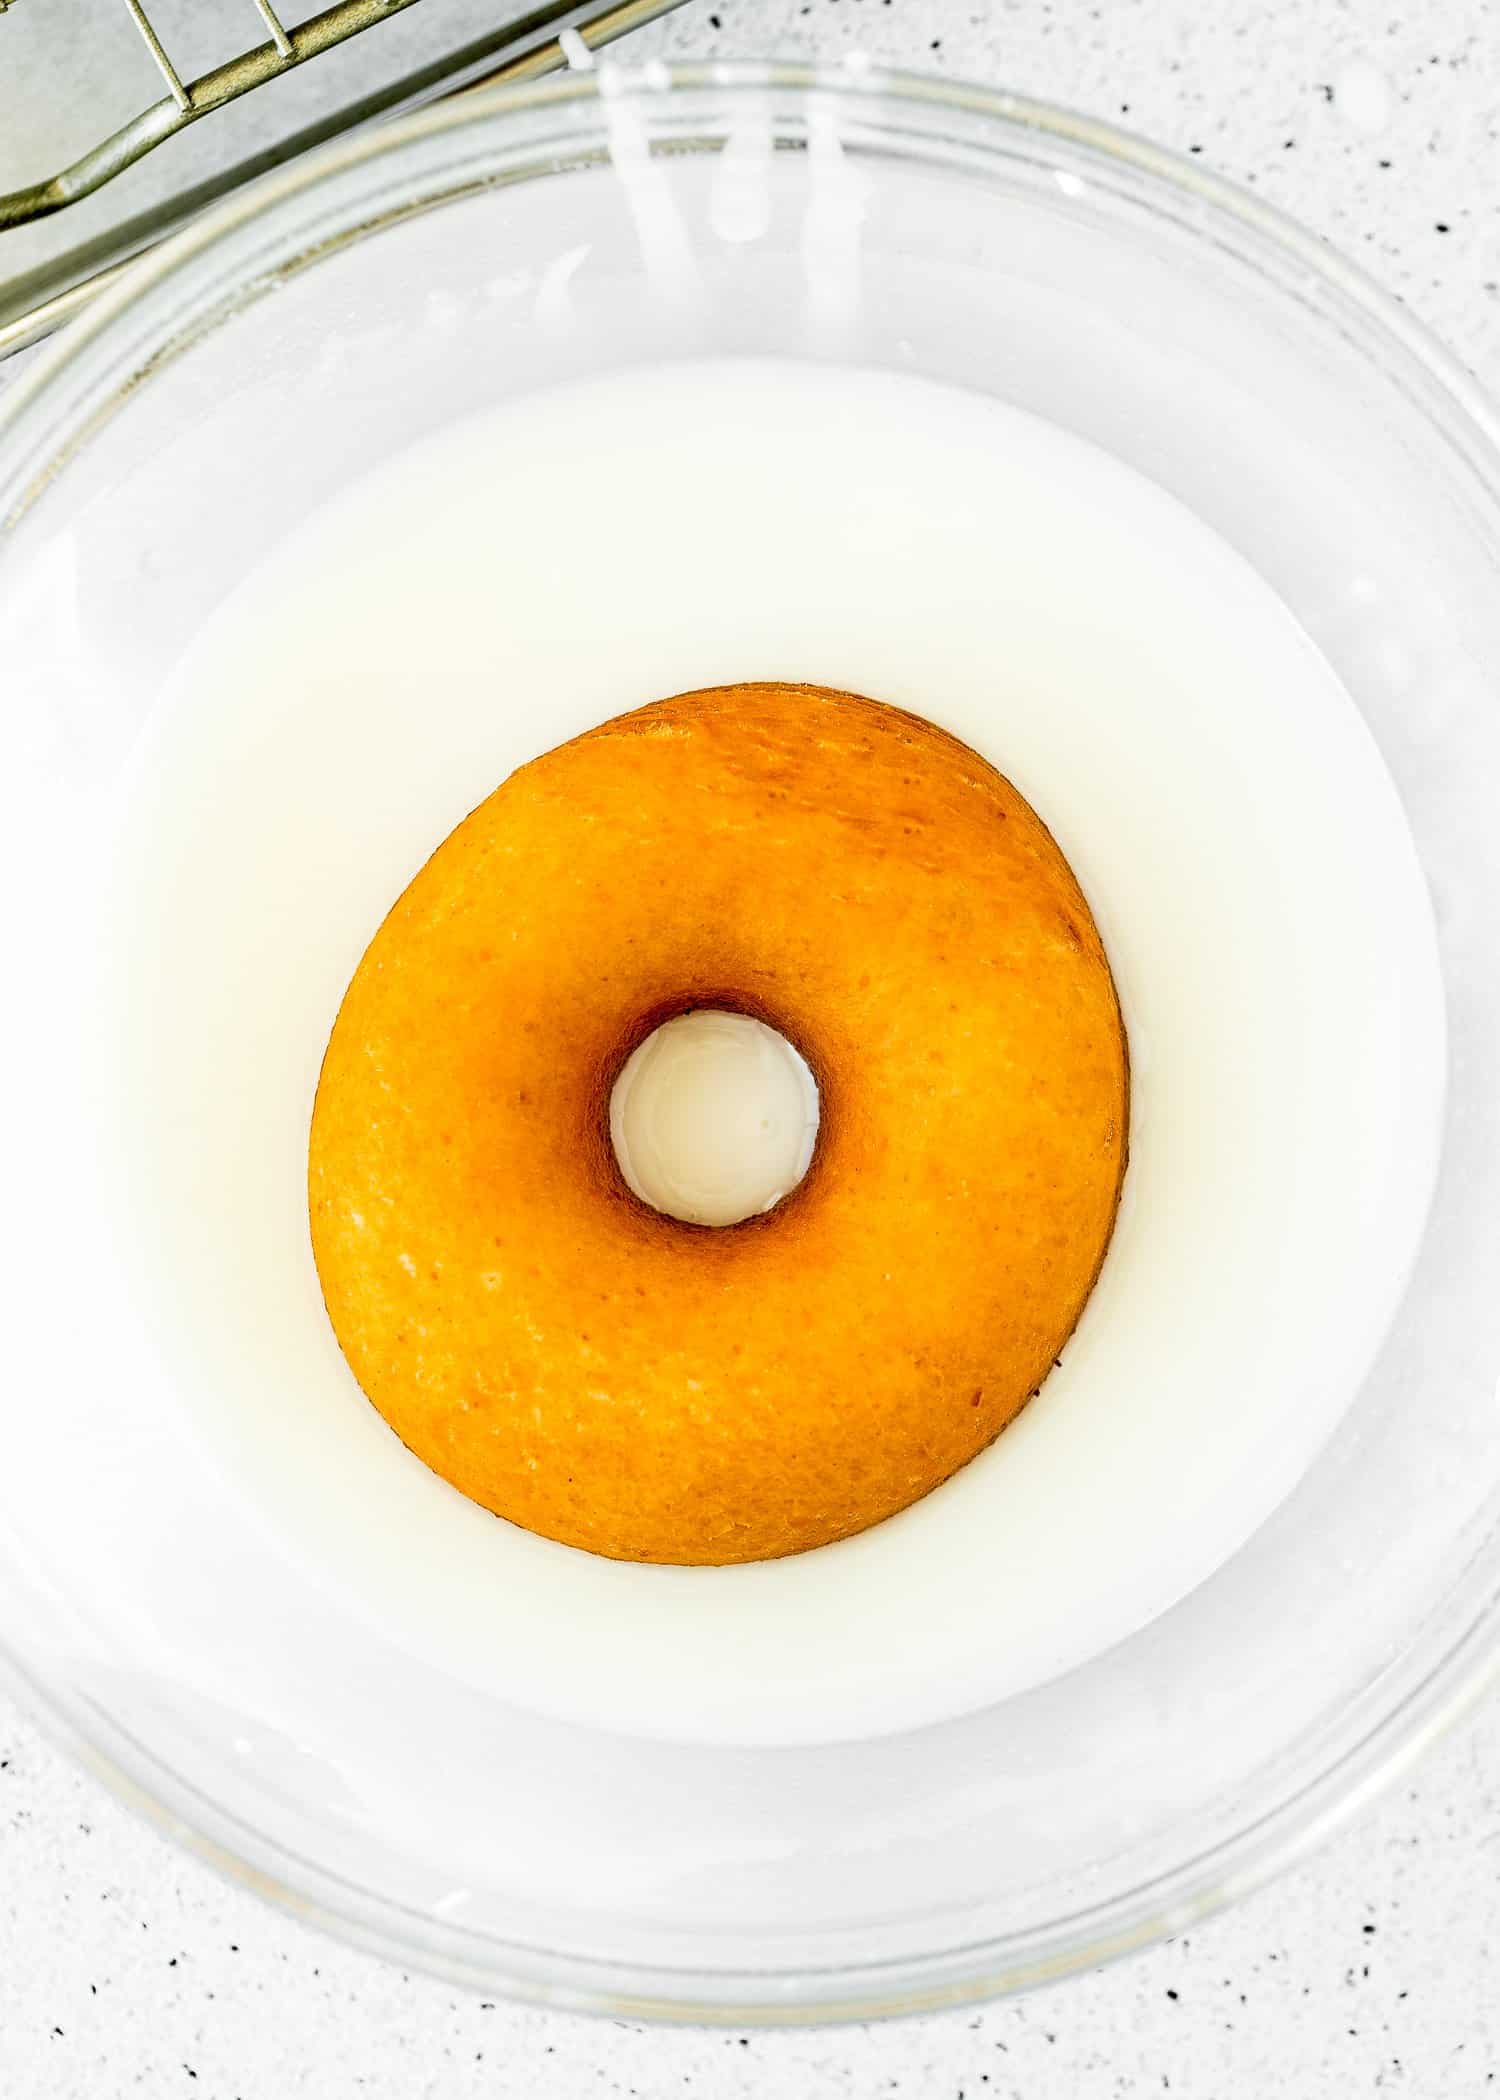
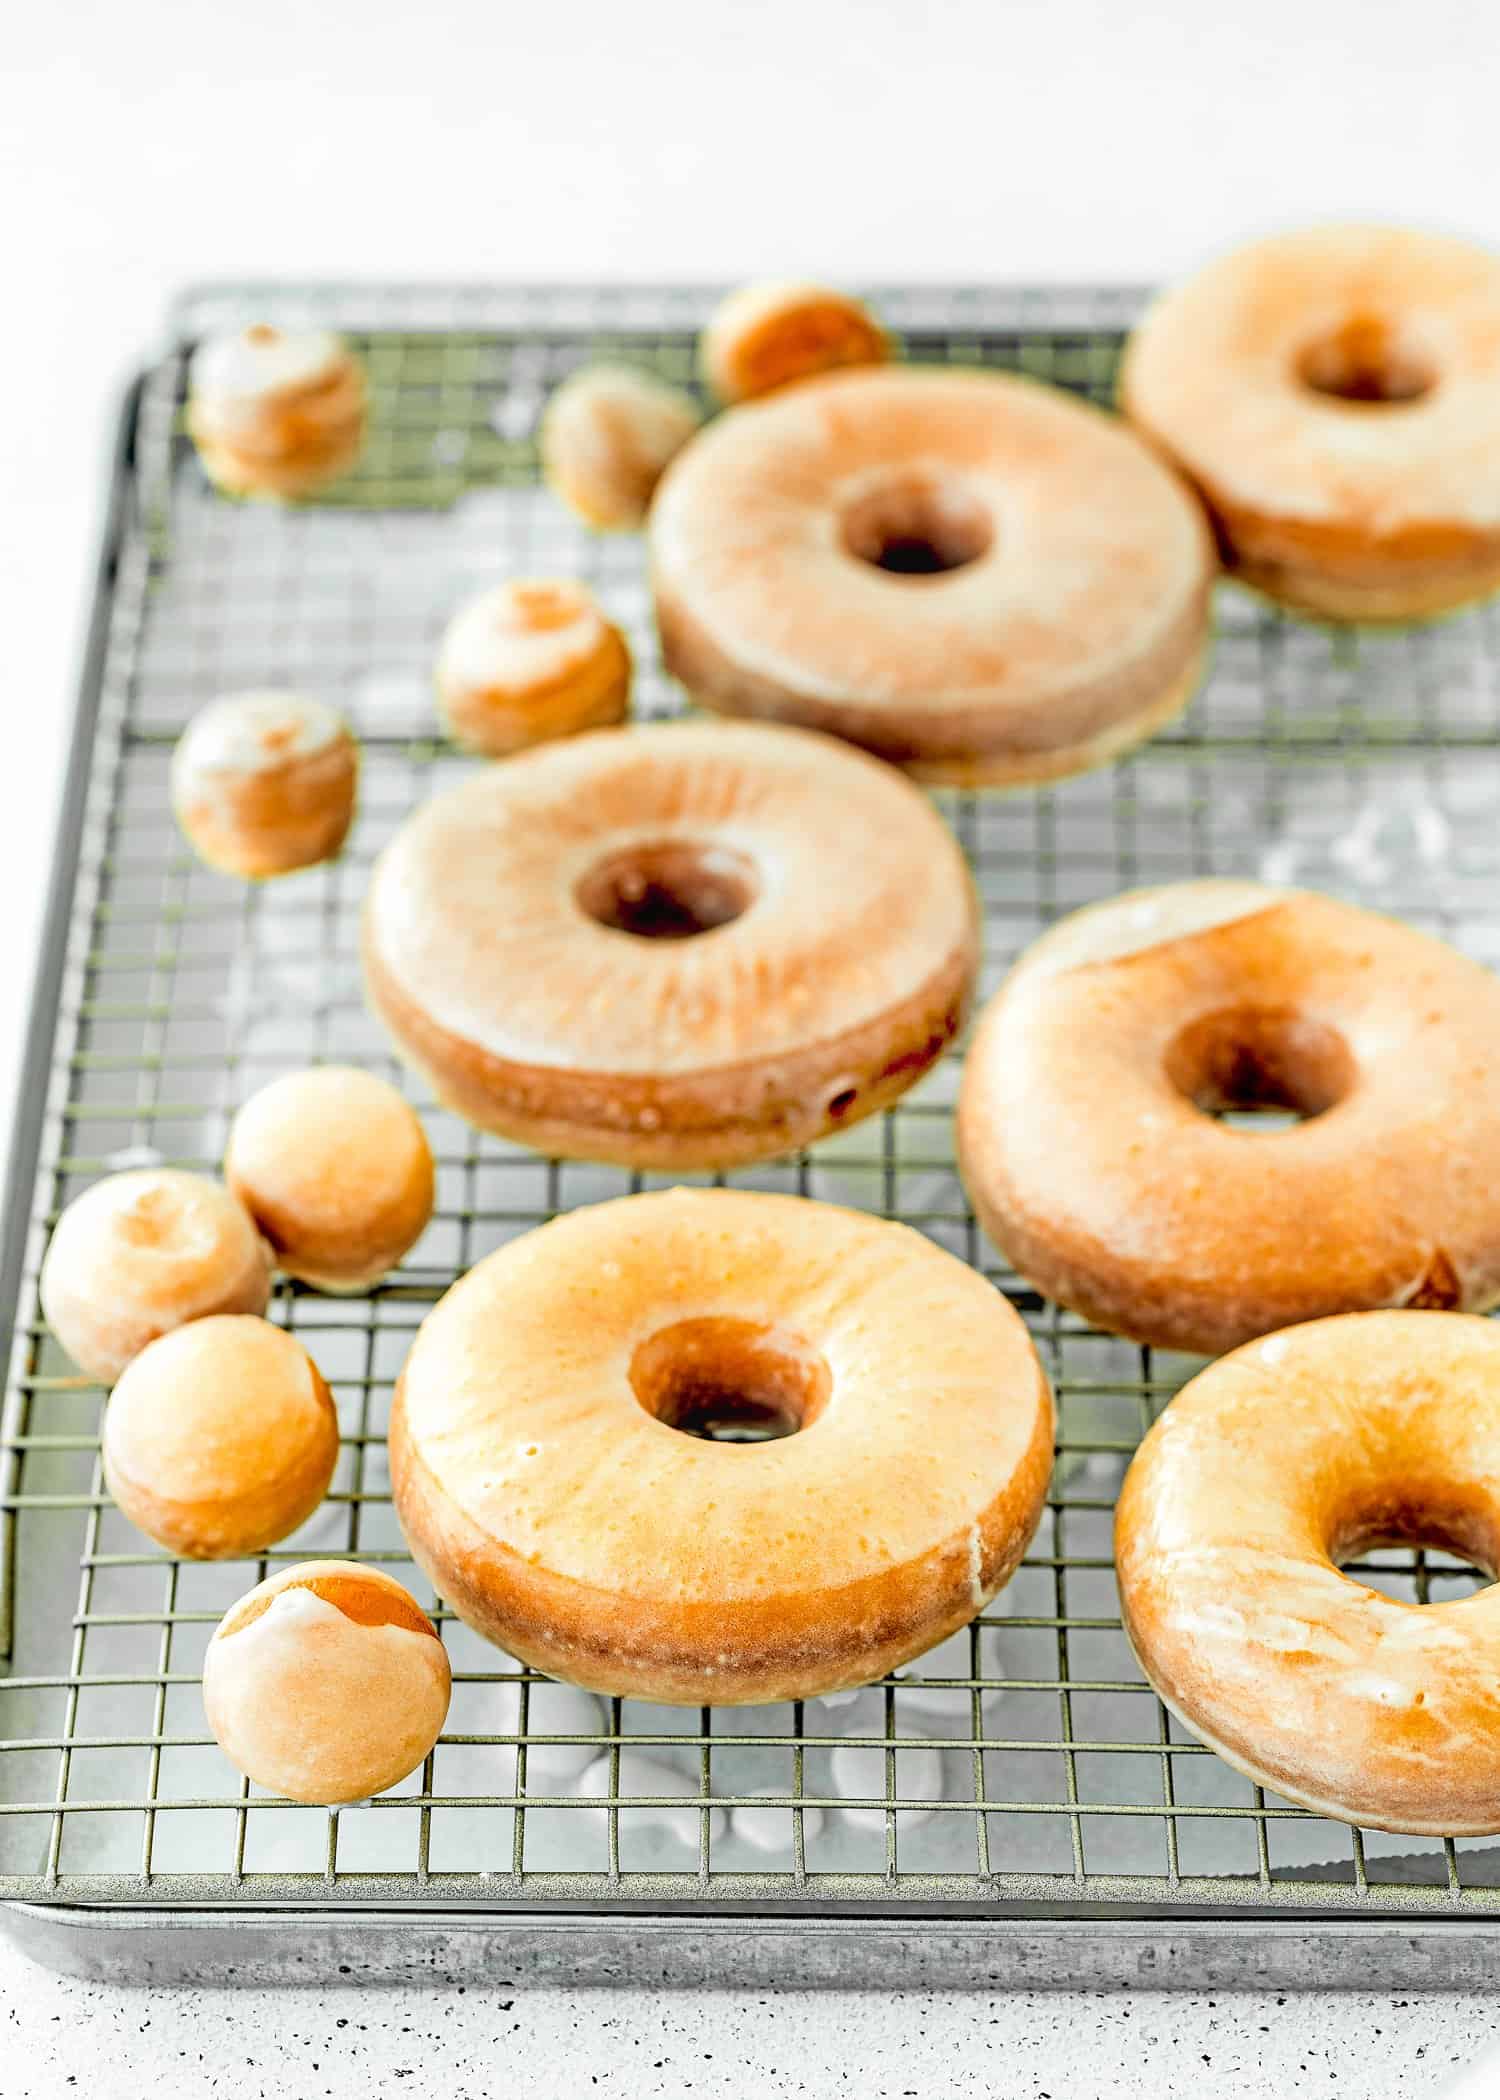
Dip each warm doughnut into the glaze, making sure to coat both sides. Place back onto a cooling rack as excess glaze drip down.
Glaze Ideas for Eggless Donuts
Donut glaze is fairly simple in concept. The traditional glaze really only requires three ingredients! Using a whisk, you’ll mix together powdered sugar, milk, and vanilla until it’s smooth. If it’s too thick, add a smidge more milk. If it’s too thin, add a little more powdered sugar. Easy peasy!
To add some variety to your donuts, try flavoring your glaze! Here are a few ideas:
- Chocolate Glaze: Add 4 tablespoons of cocoa powder to your glaze.
- Strawberry: Add 1-2 tablespoons of freeze-dried strawberry to the glaze.
- Coconut Glaze: Substitute coconut milk for regular milk in your glaze recipe. Press on toasted coconut flakes to add more flavor and texture!
- Lemon Glaze: Add lemon zest and lemon juice instead of vanilla extract.
- Maple Glaze: add maple extract instead of vanilla extract.
Overnight Instructions
Follow the recipe until you get to the first rising step. Once your dough is ready to rise in the bowl, instead of allowing your dough to rise in a warm environment, place the covered dough into the refrigerator overnight (8-12 hours). The dough will lightly rise in the refrigerator overnight.
The next morning, remove it from the refrigerator and allow it to rise in a warm environment until doubled. After your dough has risen, continue with the next step of shaping the donuts.
Recipe Tips
For best results, I recommend using a kitchen scale to measure the ingredients.
I strongly suggest using whole milk for this recipe; it will produce a moist and tender dough. You can also substitute buttermilk.
This dough needs to rise twice in a relatively warm environment. If your kitchen is not warm, heat the oven to 200º F (90º C) before you start making the recipe. When it reaches the temperature, turn it off. Voila! Now you have a warm place to put your dough to rise.
Another option for allowing your dough to rise in a warm environment is to use an Instant Pot. Allow the dough to rise in the Instant Pot for 1 hour in “yogurt mode.”
After shaping the donuts and allowing them to rise, they might be a little bit too delicate to pick up with your fingers. For this reason, I like to place each cut donut on a piece of parchment or waxed paper. This will make the process of grabbing them to fry without misshaping them a whole lot easier.
The amount of oil needed to fry the donuts will depend on how wide or tall your pot is. You want the oil to fill at least 1/3 of your pot.
When heating the oil, be sure to use a thermometer and monitor how hot your oil gets. You want to maintain a consistent 350 º F (180º C). If the oil is too hot, the outside will cook too fast, and the insides won’t be done. If the oil isn’t hot enough, your donuts won’t crisp up. So be sure to check your oil temperature throughout the frying process!
Frequently Asked Questions
Absolutely! To make filled donuts, simply cut out the dough without the hole in the center. Fry donuts until a light golden brown (it might take a bit longer than your donuts with the hole in the center). Let them cool completely, then fill by fitting a piping bag with a round pointed tip, inserting that tip halfway into your donut, and squeezing the filling inside. I love to fill mine with Egg-Free Pastry Cream and Eggless Lemon Curd.
Bread flour produces a very tough donut, so it is not recommended in this recipe.
Nope! All you need is a deep pan. I recommend using a frying thermometer to keep the oil at the right temperature. If the oil is too hot, the donuts will be golden outside but uncooked inside.
Storing & Freezing Instructions
Store: Donuts are best enjoyed the same day. Day-old doughnuts are no fun, in my opinion. However, if you have leftovers, you can store them in an airtight container at room temperature for 1-2 extra days.
Freeze: Shaped donuts can be frozen for up to 2 months. On the day you serve them, let the doughnuts thaw and rest at room temperature for about 4-5 hours. Then fry as directed.
The fried donuts can be frozen, but I honestly wouldn’t recommend it.
More Egg-Free Donut Recipes You’ll Love!
- Eggless Chocolate Donuts
- Easy Eggless Baked Donuts
- Easy Eggless Red Velvet Donuts
- Eggless Gingerbread Donuts
- Eggless Sugar Donut Muffins
- more eggless recipes…
❤️ Love what you see? JOIN my Private Baking Club. Also, SUBSCRIBE to Mommy’s Home Cooking, so you’ll never miss a recipe! And FOLLOW along on Instagram, Pinterest, and Facebook for more fun!

Best Easy Eggless Yeast Donuts
Ingredients
- 1 tablespoon (8 g) golden flaxseed meal
- 3 tablespoons (45 ml) water
- 2 cups + 2 tablespoons (300 g) all-purpose or bread flour (I use bread flour)
- 1/2 teaspoon baking powder
- 1 teaspoon (3 g) instant yeast
- 2 tablespoons (25 g) granulated sugar
- 1/2 teaspoon salt
- 2/3 cup (160 ml) whole milk
- 5 tablespoons (70 g) unsalted butter, melted
- Vegetable or canola oil for frying (see notes)
Glaze:
- 2 cups (240 g) powdered sugar
- ¼ cup (60 ml) whole milk
- 1/2 teaspoon pure vanilla extract
Instructions
Make the Dough:
- Mix golden flax meal and water in a small bowl until well combined. Let it rest for 5 – 10 minutes to thicken.
- Place flour, baking powder, instant yeast, sugar, and salt in a large bowl. Mix to combine.
- In a microwave-safe bowl, combine the milk and butter. Microwave in 30-second increments until the mixture is warmed (110° F / 43° C approx.). It takes me about 1 minute to do so. The mixture should feel warm enough, like the water for a baby bath, but not burn your finger when touch. Using a kitchen thermometer is a GREAT idea, though.
- Make a well in the center of the dry ingredients, then pour in the warmed milk-butter mixture and the flax meal mixture. Stir on low until combined.
- If using a stand mixer, knead with a dough hook on medium speed until the dough forms a soft, smooth ball, about 5 – 8 minutes. By hand, knead for about 10 minutes. If needed, add more flour, 1 tablespoon at a time, until the dough pulls away from the sides of the bowl. Don’t add too much flour, though. You want a slightly sticky dough.
First Rise:
- Lightly spray a clean bowl with cooking spray and place the dough in the bowl. Cover with plastic wrap or a clean kitchen towel. Allow the dough to rise in a relatively warm environment for 1.5-2 hours or until puffy and doubled in size. Alternatively, you can let the dough rise in the refrigerator for 8 – 12 hours. NOTE: If time permits, I highly recommend letting the dough rise in the refrigerator overnight since it will produce fluffier donuts.
Shape the Donuts:
- Once the dough has risen, remove the dough from the bowl and turn it out onto a floured surface. Knead lightly to release the air.
- Using a rolling pin, roll the dough out until it is 1/2 inch thick. Using a 3-3.5-inch doughnut cutter, cut into 6 donuts. If you can’t quite fit 6, re-roll the scraps once and cut more. NOTES: if you don't have a donuts cutter, cut with a round, sharp cookie cutter (about 3″ diameter), then make the holes with a smaller cookie cutter (about 1″ diameter), saving the holes.
Second Rise:
- Place each cut donuts, and donuts holes, on a piece of parchment or waxed paper, then place them on a cookie sheet. NOTE: This step is optional, but after shaping the donuts and allowing them to rise for a second time, they might be a little bit too delicate to pick up with your fingers. For this reason, I like to place each cut donut on a piece of parchment or waxed paper. This will make the process of grabbing them to fry without misshaping them a whole lot easier.
- Loosely cover with a clean kitchen towel and allow to rise for 30 – 45 minutes, or until slightly puffed. PRO TIP: If your kitchen is not warm, heat the oven to 200º F (90 º C) at the beginning of this step, turn off the heat, and then put the baking sheet with the cut donuts in the oven, and leave the door ajar. This way, you guarantee a warm place for the donuts to puff.
Fry the Donuts:
- About 20 minutes before the doughnuts are done rising, put the oil in a heavy-bottomed pot or Dutch oven over medium heat, and heat it to 350 º F (180º C). Also, line a large baking sheet or plate with paper towels.
- Carefully add the donuts to the hot oil, two at a time. When the bottoms are deep golden, after 45 seconds to a minute, use a slotted spoon to flip; cook until they’re deep golden all over. Transfer to the paper-towel-lined plate. Repeat with remaining donuts, adjusting the heat as needed to keep the oil at 350 º F (180º C). NOTE: I recommend using a frying thermometer to keep the oil at the right temperature. If the oil is too hot, the donuts will be golden outside but uncooked inside.
Make the Glaze:
- Whisk all of the glaze ingredients together.
- Dip each warm doughnut into the glaze, making sure to coat both sides. Place back onto a cooling rack as excess glaze drip down. After a few minutes, the glaze will set. Serve immediately.
Nutrition
Eggless Baking Frequently Asked Questions
You’ve asked, and I’ve answered! Read on for a handful of answers to the most frequently asked questions about eggless baking.
Originally posted in March 2021, the post content was edited to add more helpful information, with no change to the recipe in June 2022.
