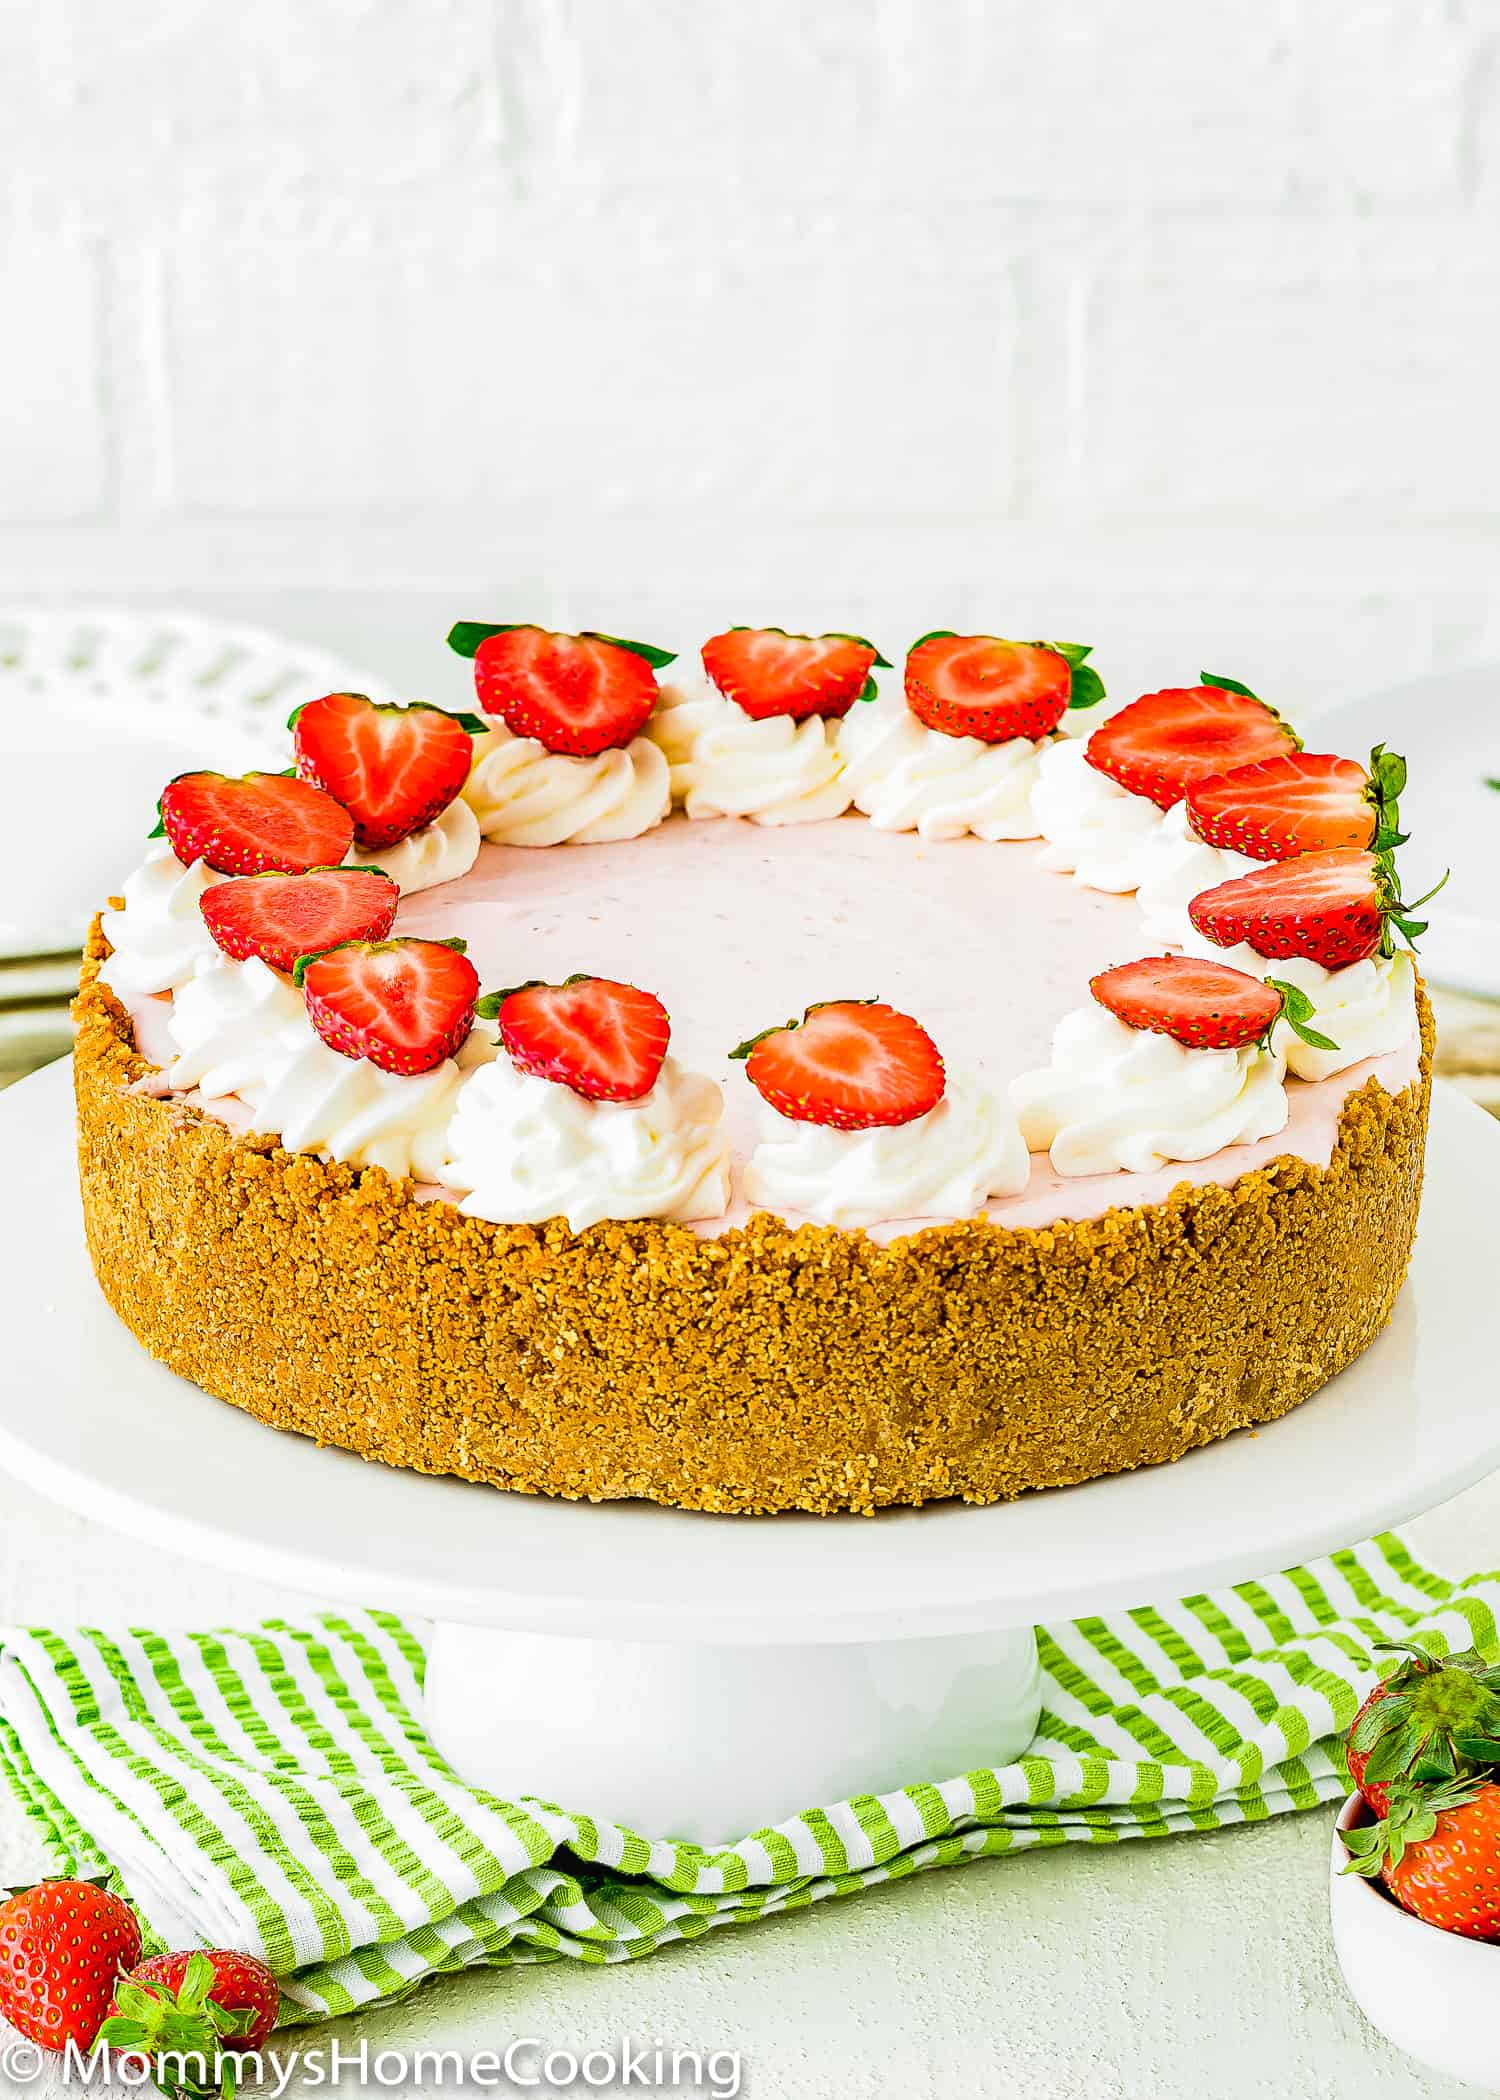
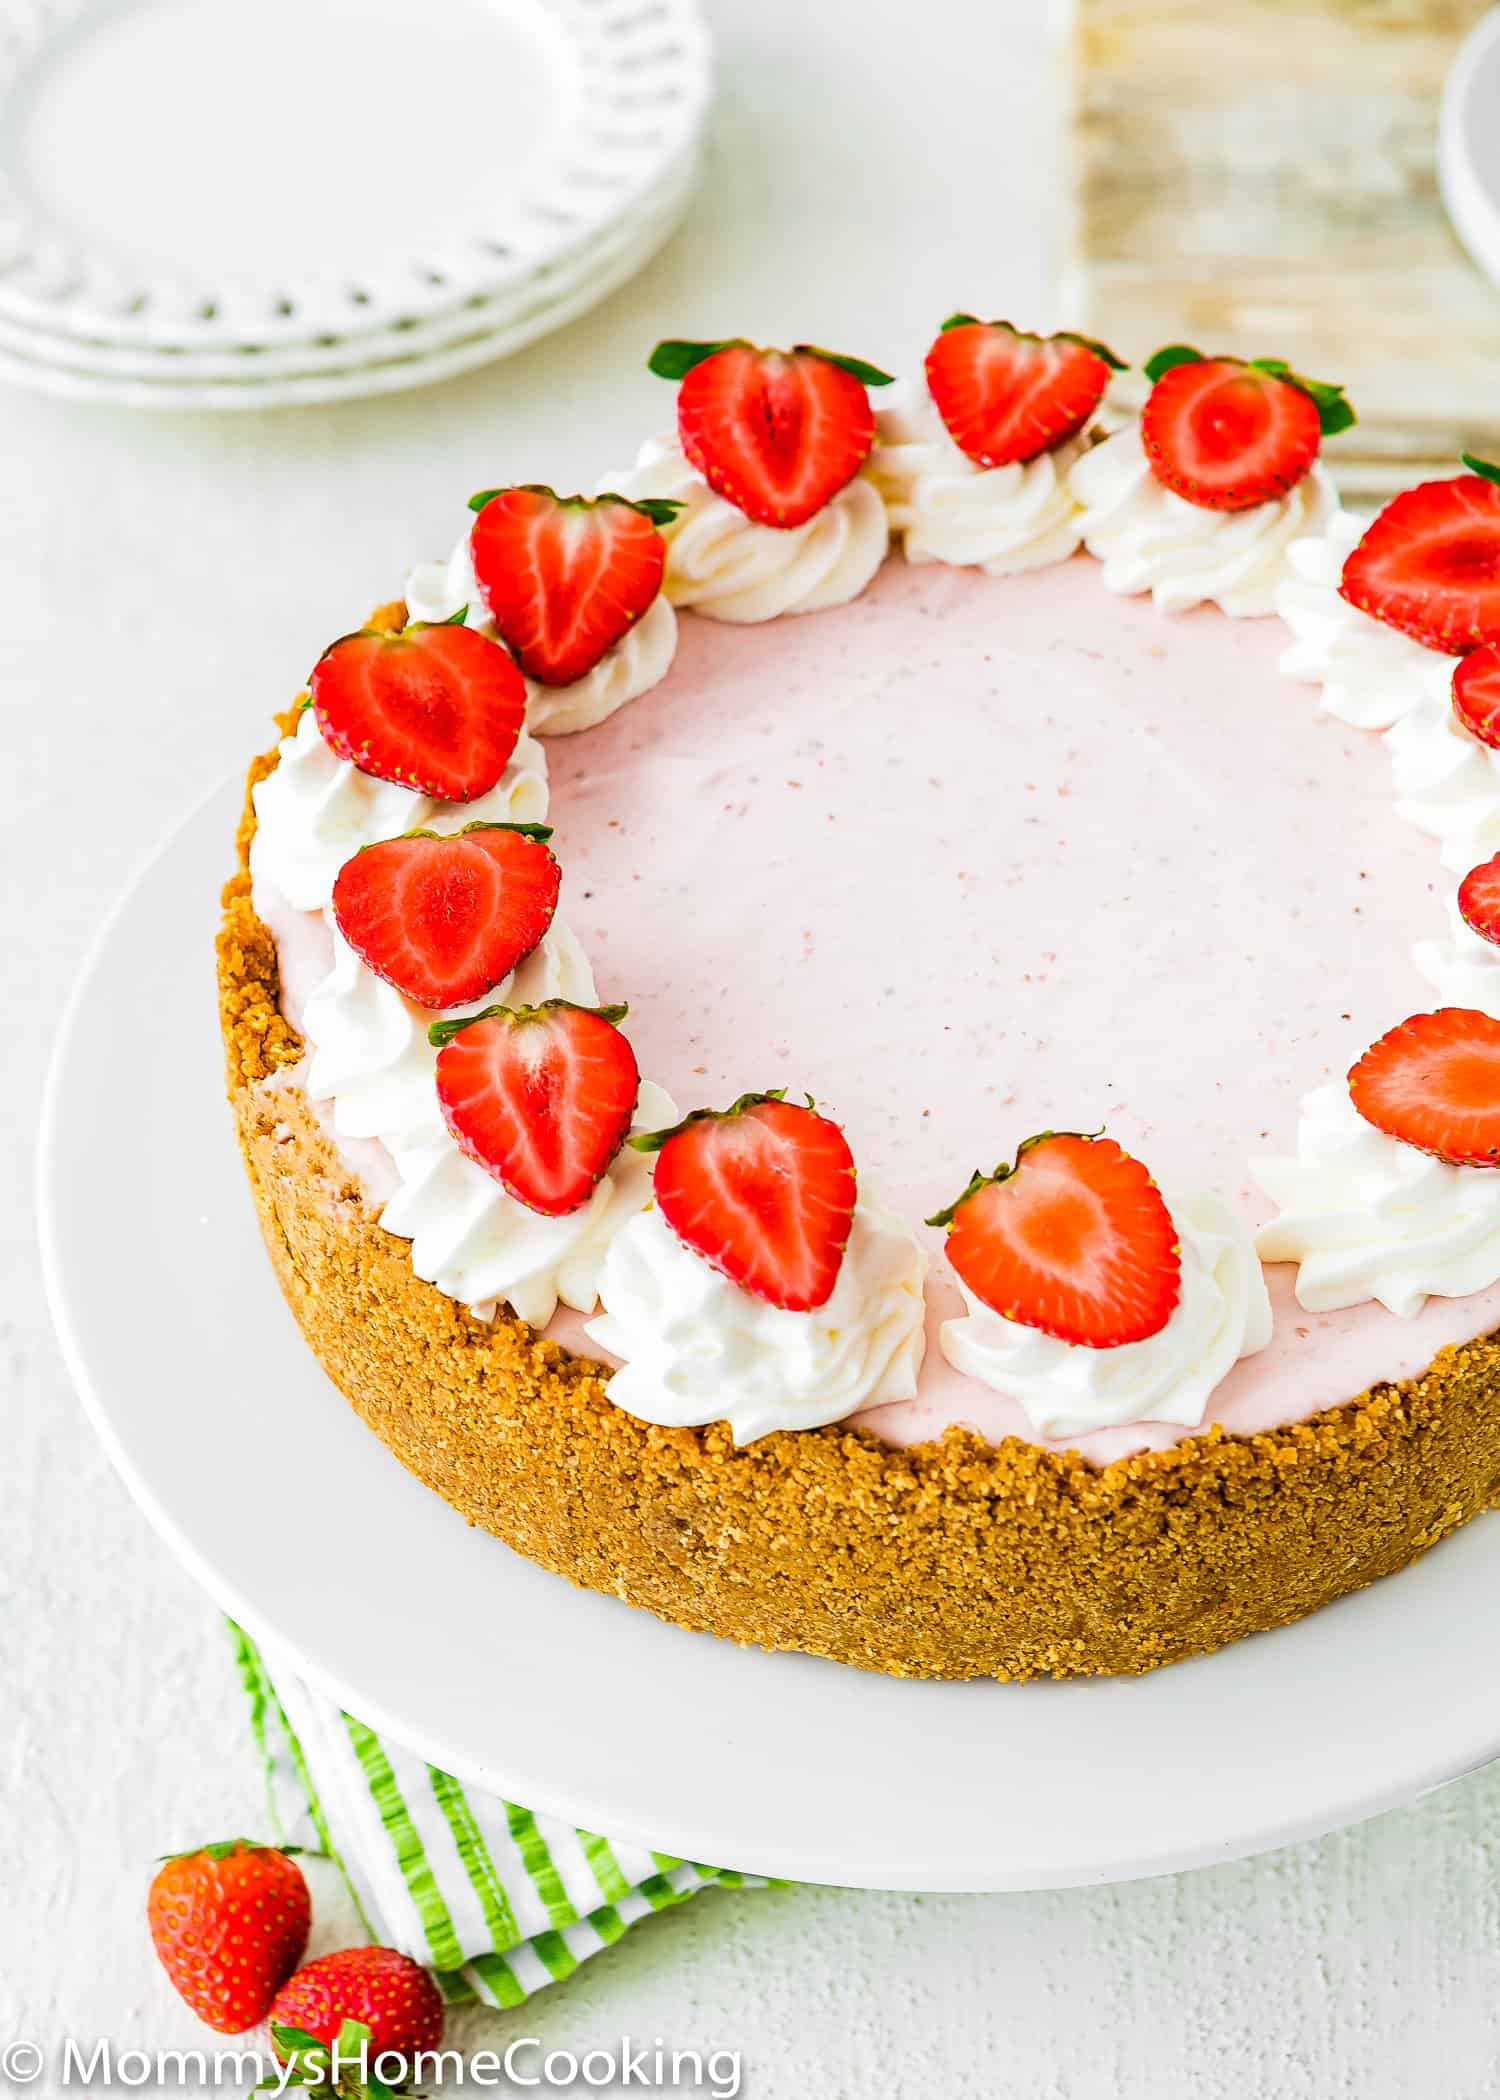
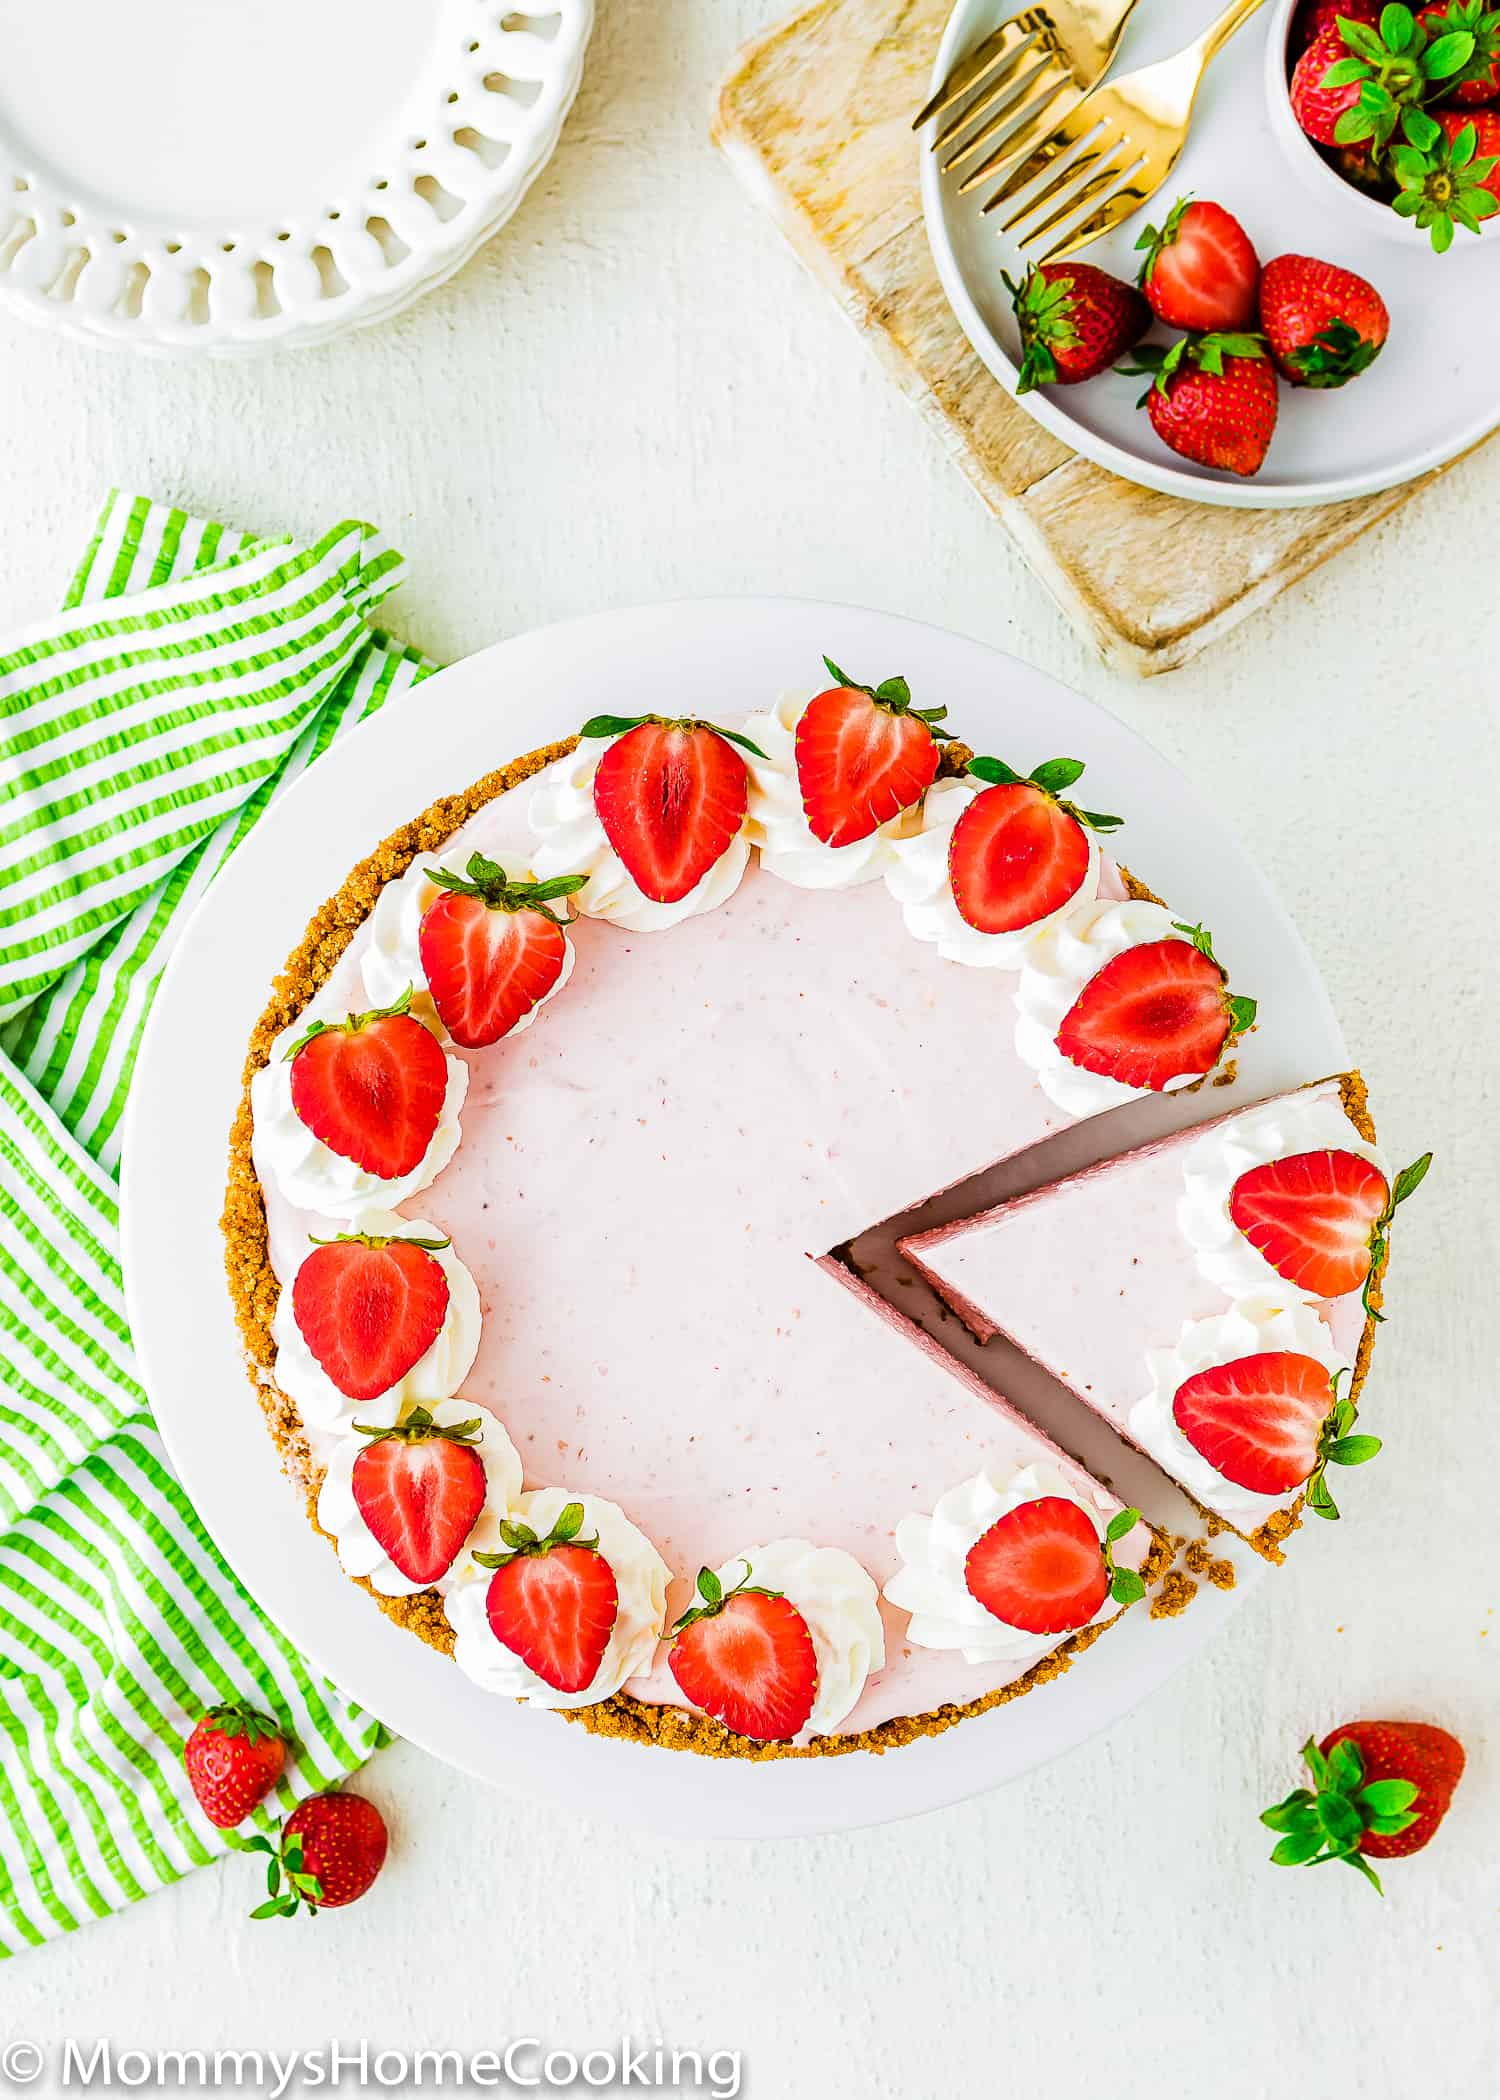
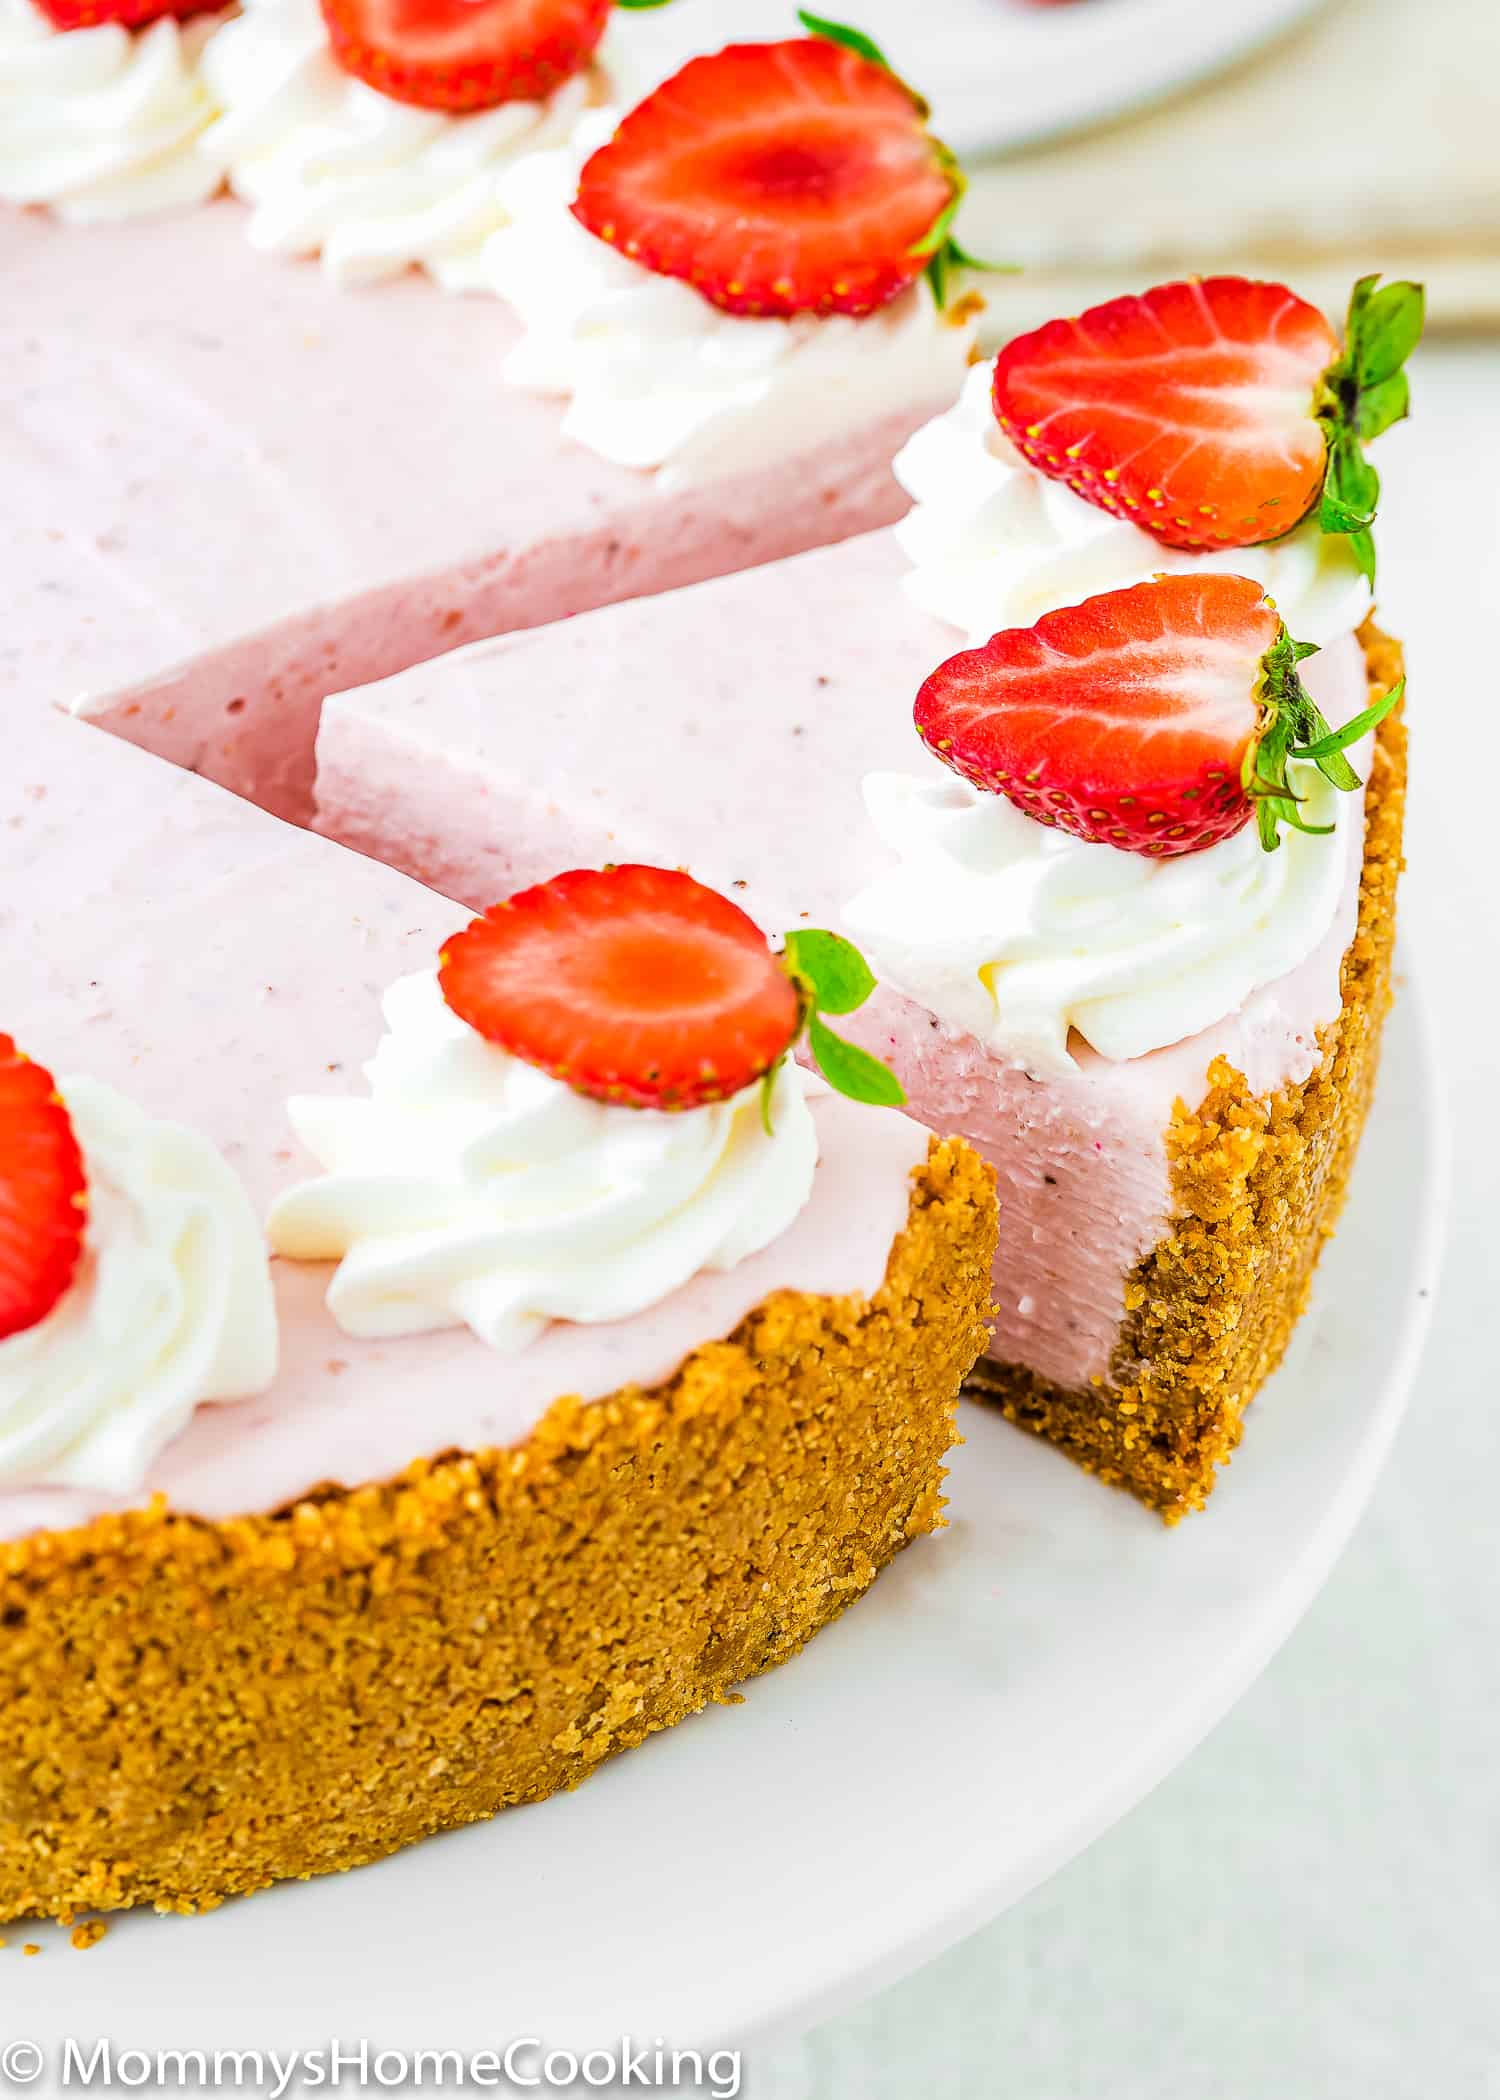
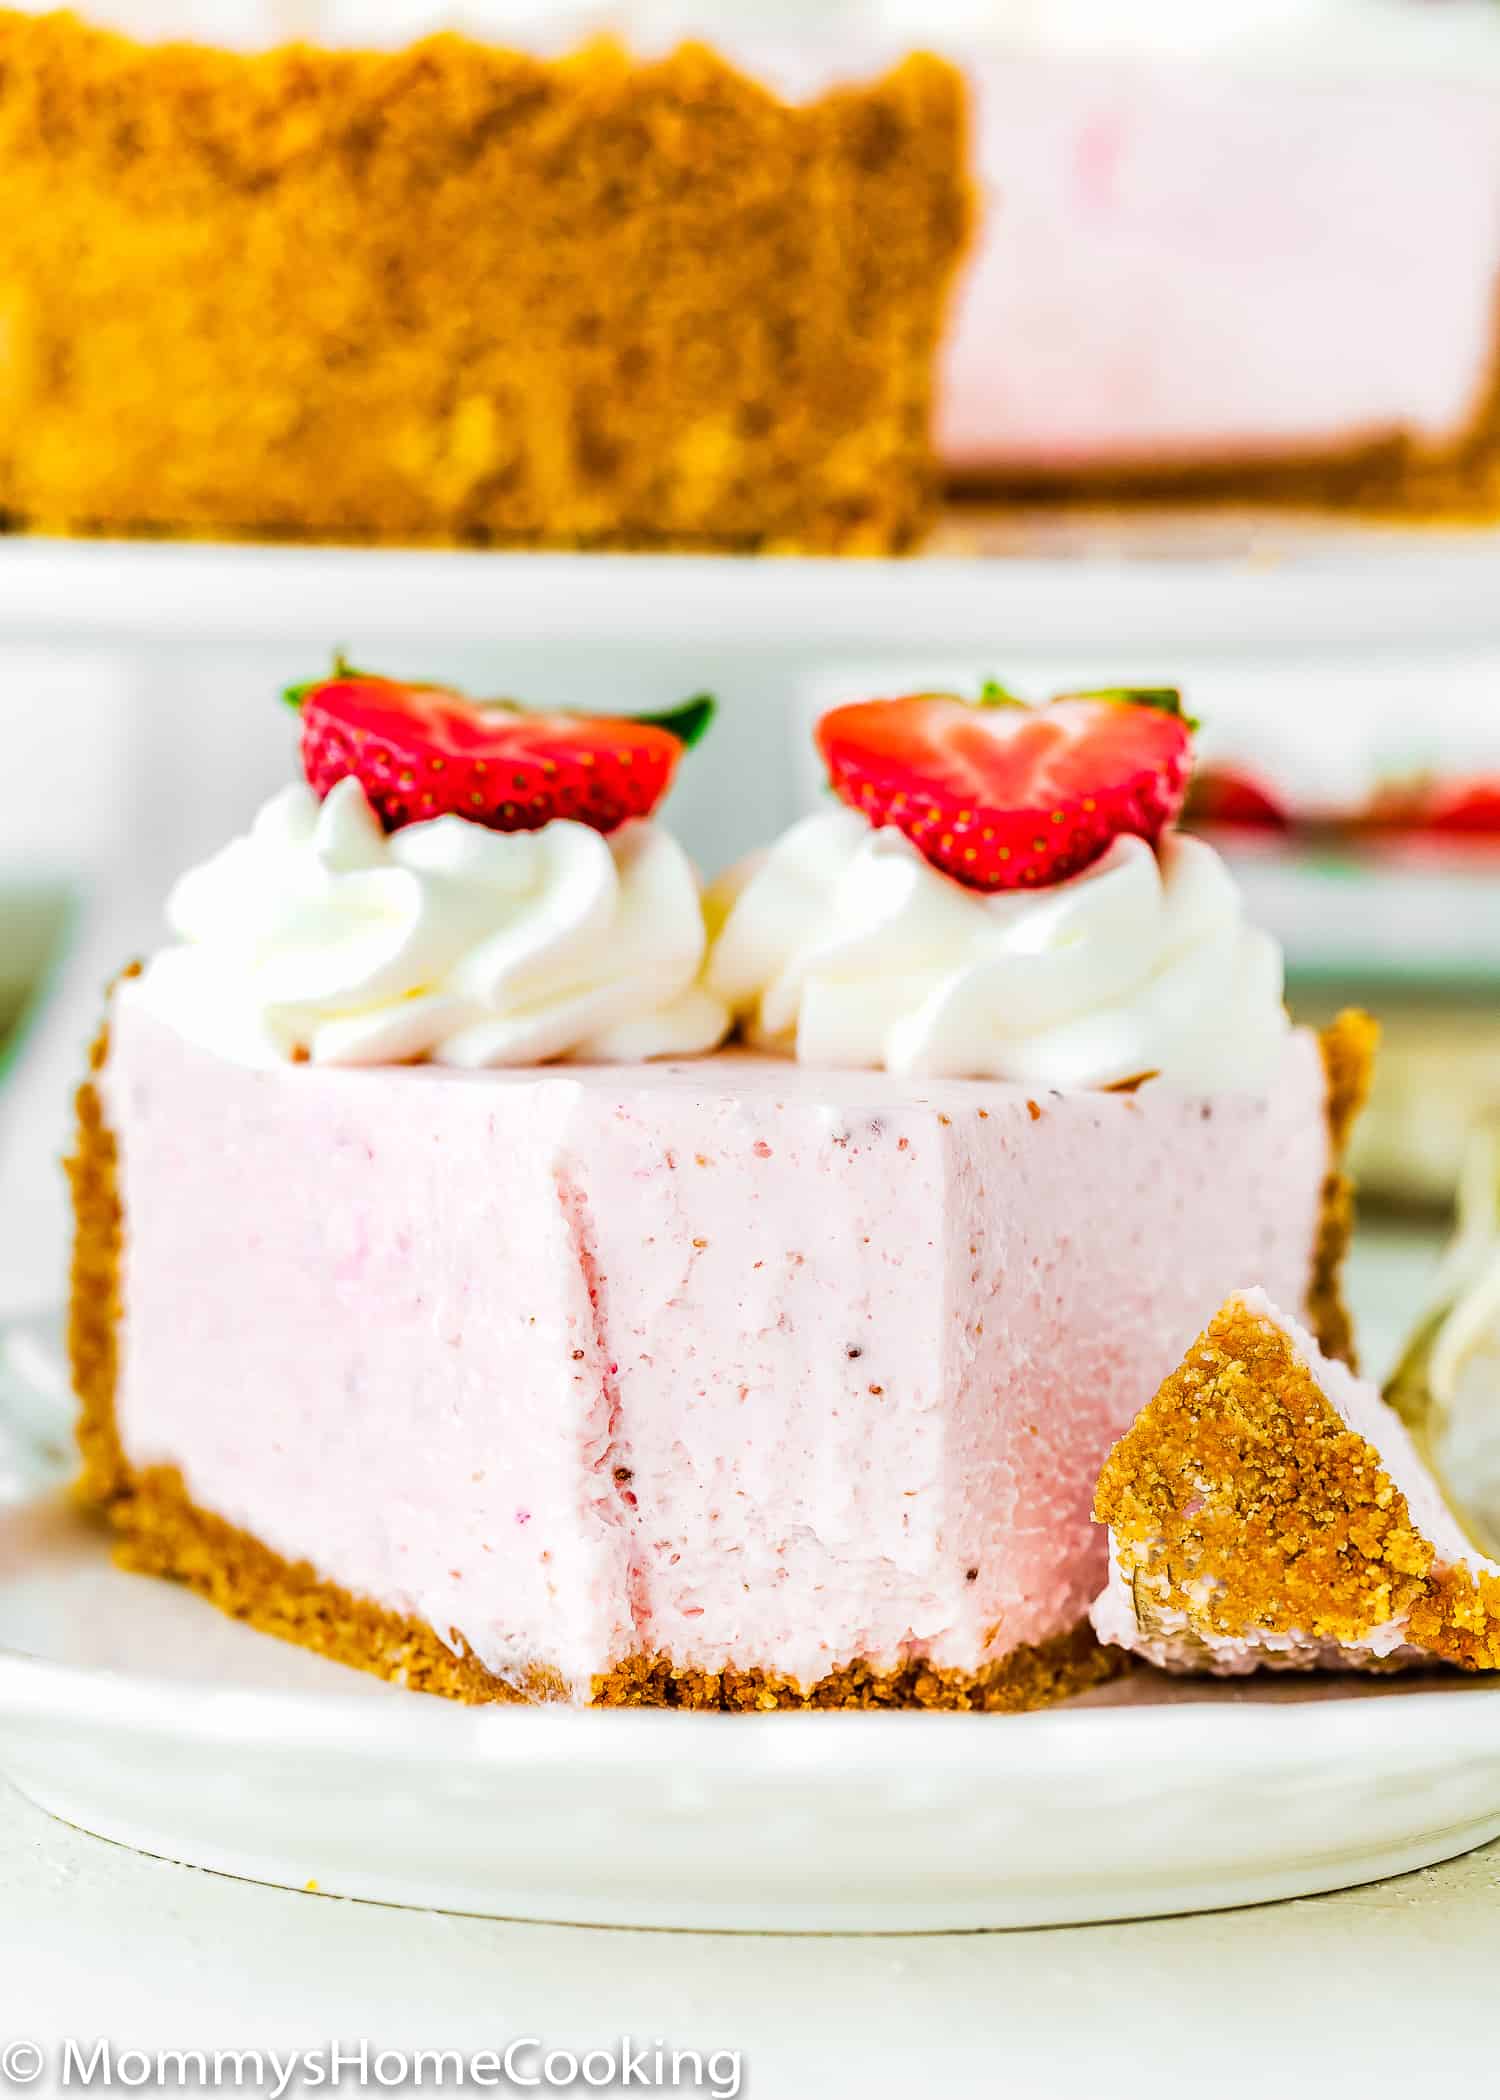
This Best No-Bake Strawberry Cheesecake is rich, creamy, sweet, and so refreshing! Its light and perfectly balanced flavor will magically melt in your mouth. The recipe includes step-by-step photos and lots of tips.
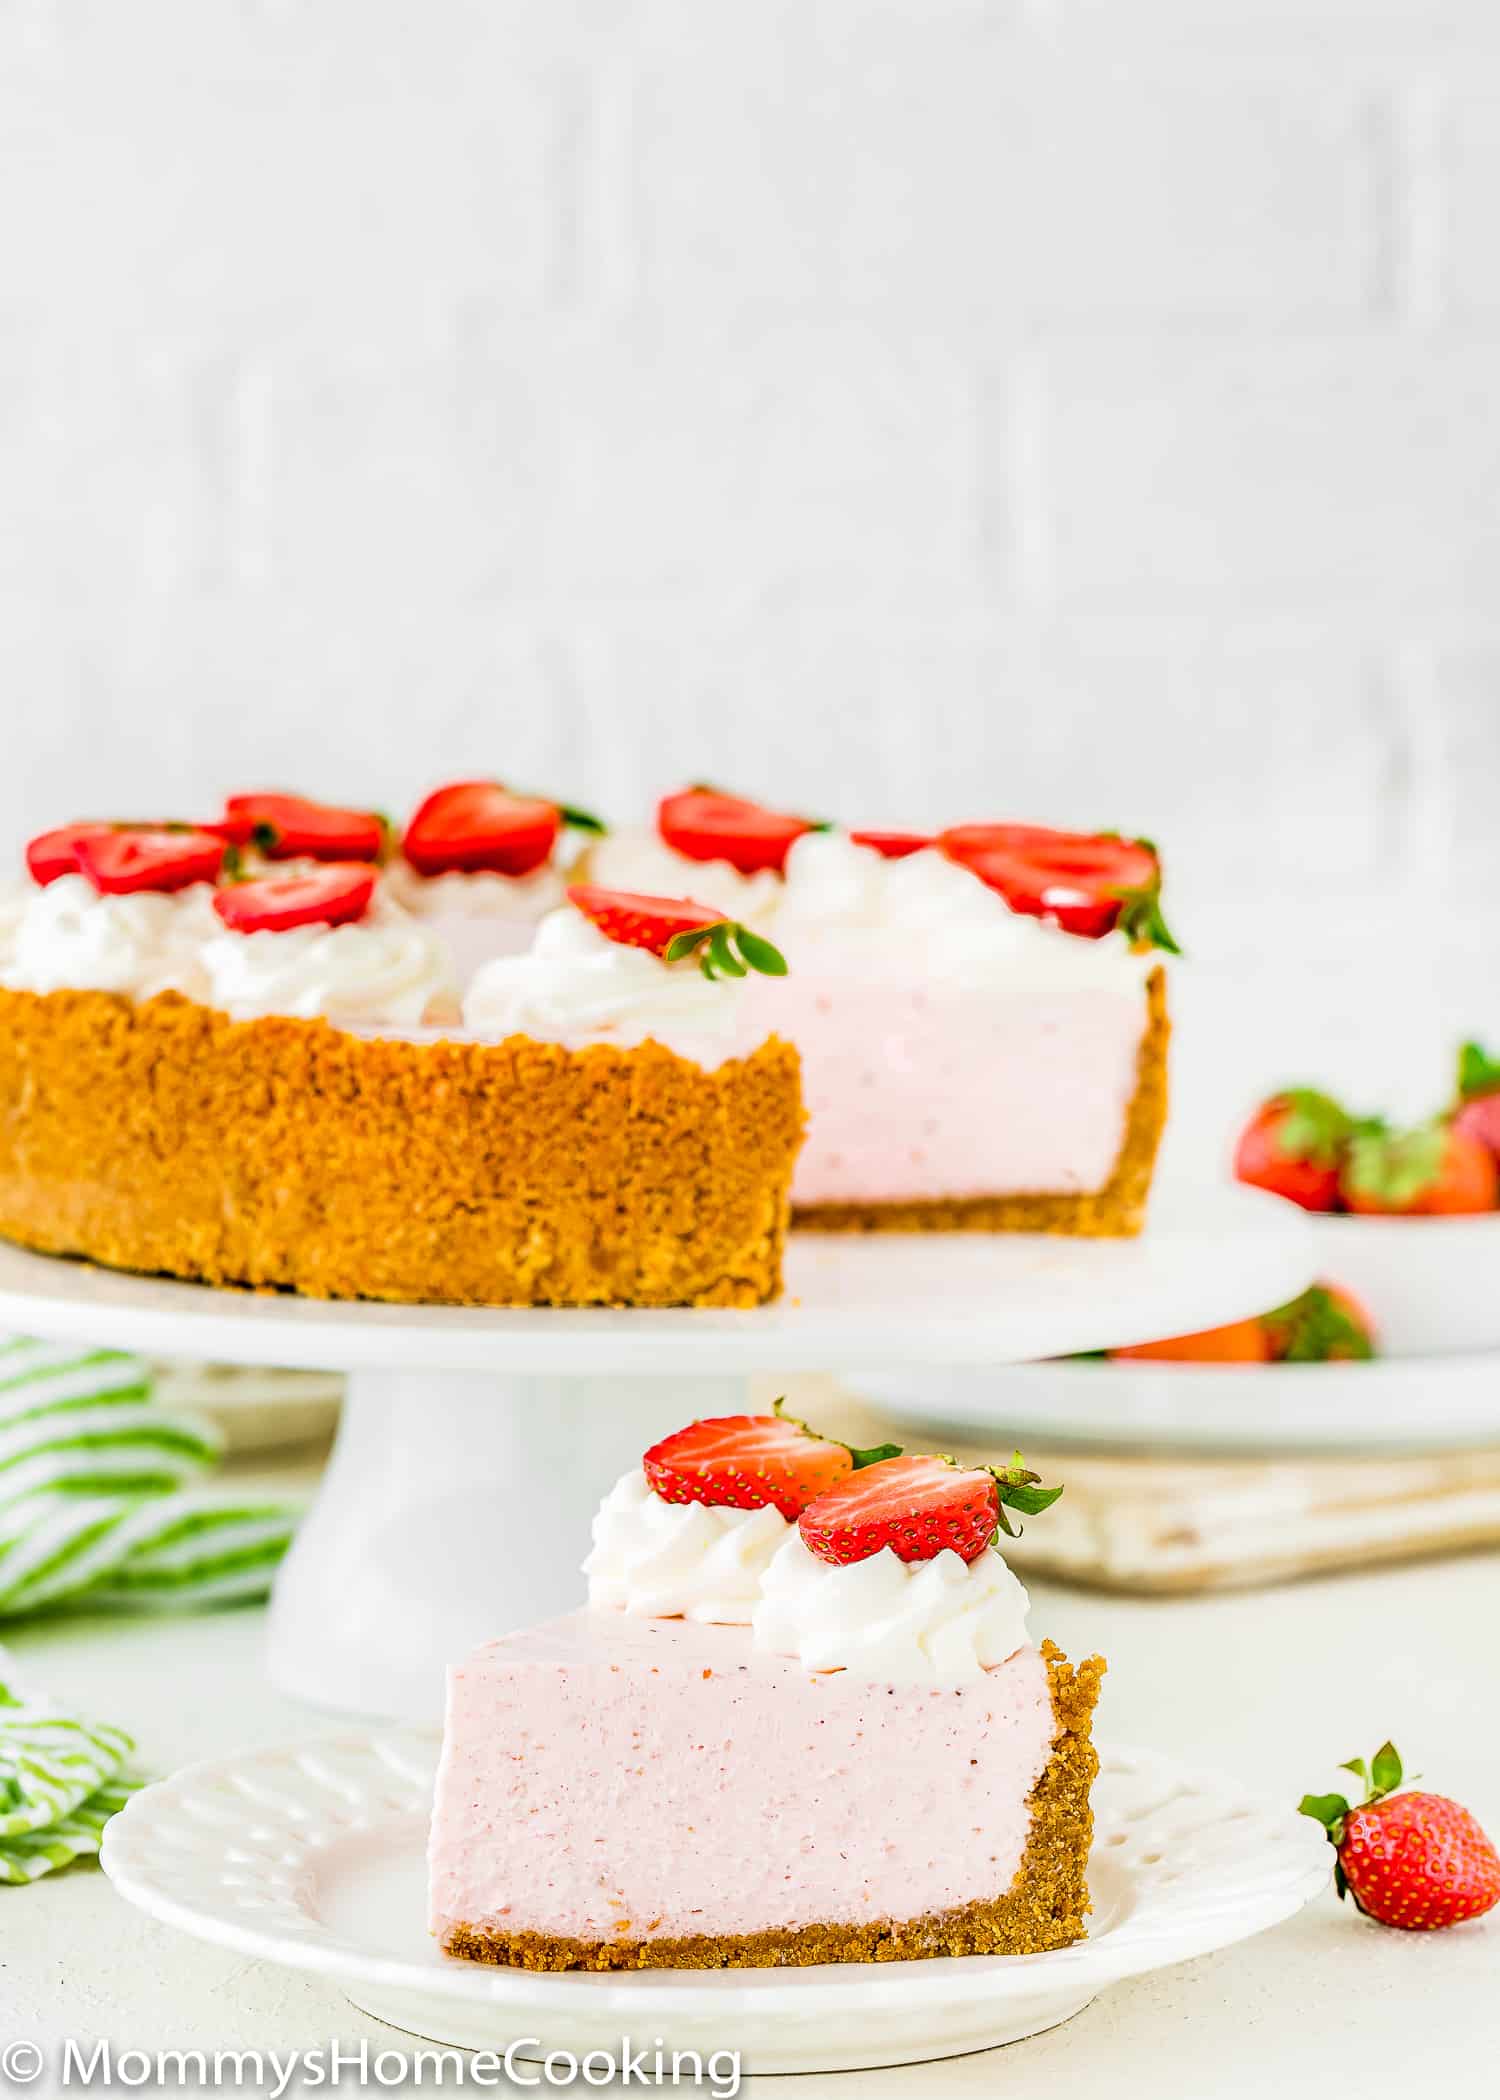
No-bake cheesecake is one of those crazy-easy desserts that everyone loves, and this No-Bake Eggless Strawberry Cheesecake is not the exception!
This No-Bake Strawberry Cheesecake with Condensed Milk is a lot easier to make than baked cheesecake. Plus, it’s fail-proof since we’re essentially cutting every single complicated step that a classic baked cheesecake requires!
It’s a mouthwatering dessert that can be easily made ahead of time; your friends and family will definitely be impressed.
This easy no-bake strawberry cheesecake with condensed milk is the best one I’ve ever tasted! It’s so simple to make and so delicious.
No-Bake Eggless Strawberry Cheesecake Recipe Highlights
- It’s rich, creamy, sweet, and tart.
- Its light and perfectly balanced flavor will magically melt in your mouth.
- Super easy to make.
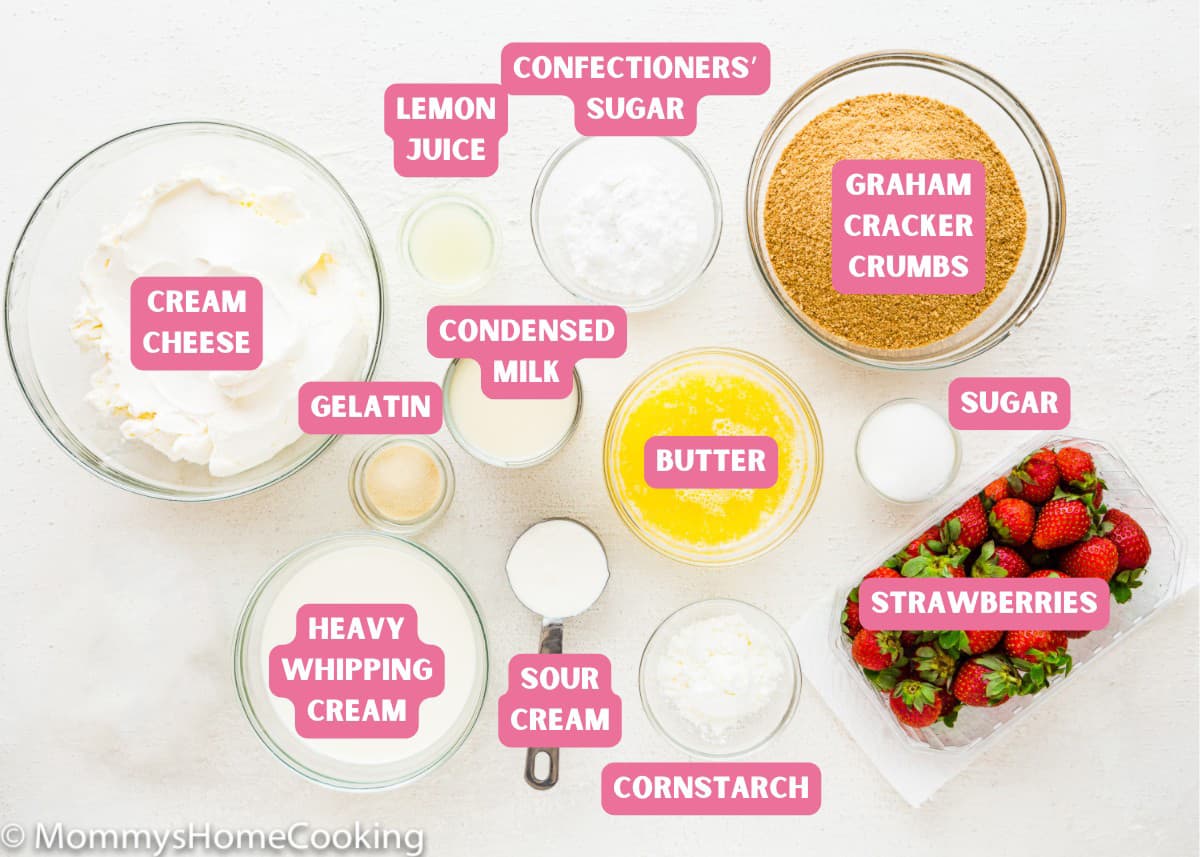
Ingredients Notes & Substitutions
Please check the recipe card at the bottom of the post for exact quantities and instructions (scroll down).
You’ll need:
Graham Cracker Crust: You can make your own crust or use a store-bought. I always make my own because it only requires three ingredients – graham crackers crumbs, granulated sugar, and unsalted butter – it’s super easy to make and it tastes 10x better. So if time allows it, I highly recommend making your own crust.
Strawberry Puree: This puree is made with fresh lemon juice, powdered gelatin, strawberries, and a bit of cornstarch. This is the same puree I use to make many eggless strawberry desserts, such as Homemade Eggless Strawberry Bundt Cake and Strawberry Buttercream.
For the Strawberry Filling you’ll need:
- Heavy whipping cream: Make sure it has at least 35% of fat content.
- Confectioners’ sugar: Also known as powdered sugar.
- Cream cheese: Be sure the cream cheese you use is the type that is in a block form. The spreadable cream cheese in a tub won’t yield the same results.
- Sour cream: You can substitute sour cream for plain regular yogurt. I recommend using the full-fat versions.
- Sweetened condensed milk: Use the full-fat version, otherwise the cheesecake won’t set properly.
Step By Step Recipe Photo Tutorial
As I mentioned above, this no-bake strawberry cheesecake recipe is very easy to make:
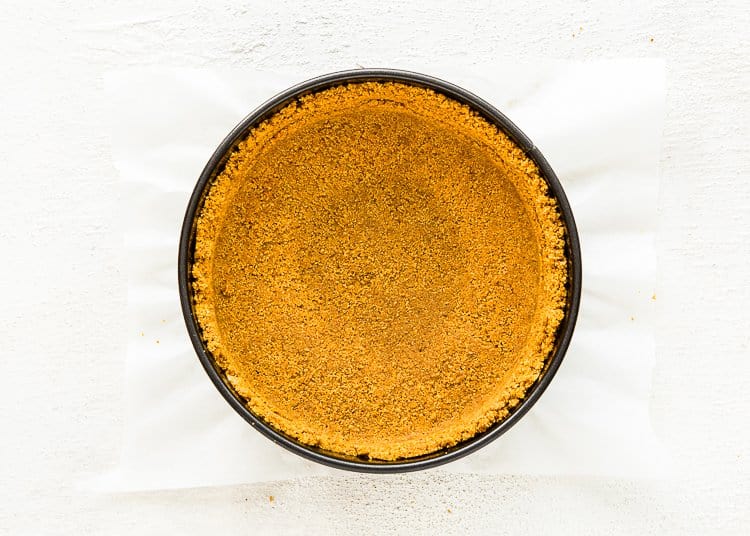
1 – Make the Crust
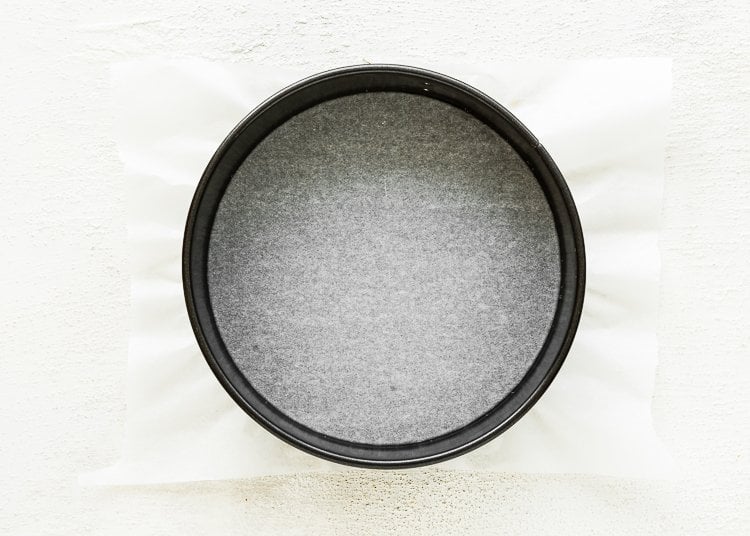
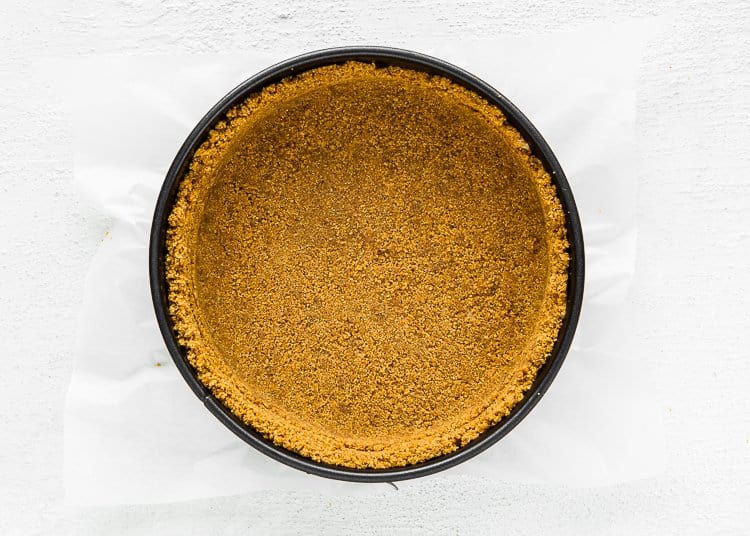
- Line a 9-inch round springform pan with parchment paper.
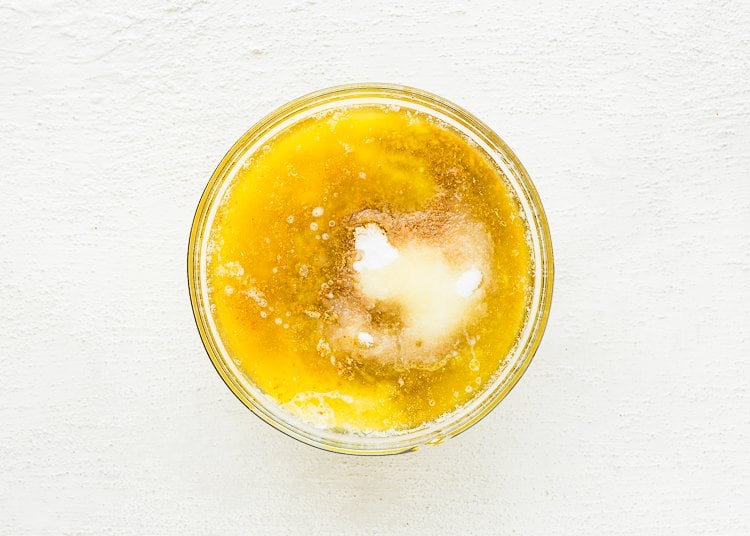
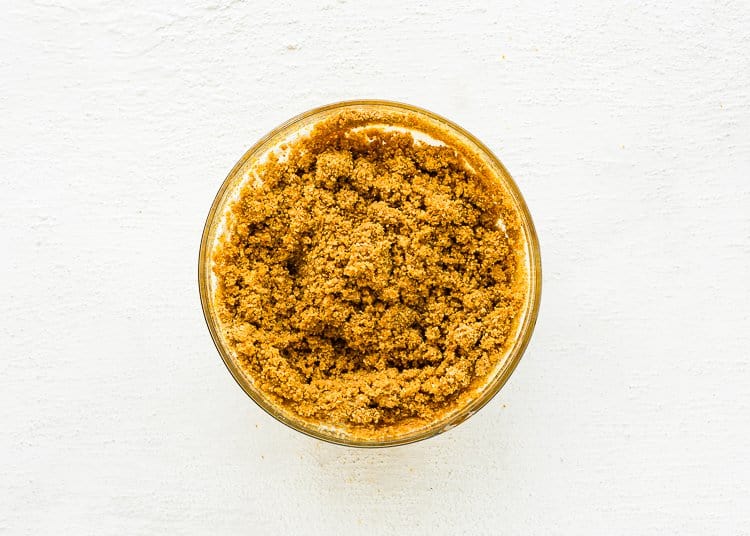
- In a medium mixing bowl, combine graham crumbs, butter, and sugar with a fork until evenly moistened.
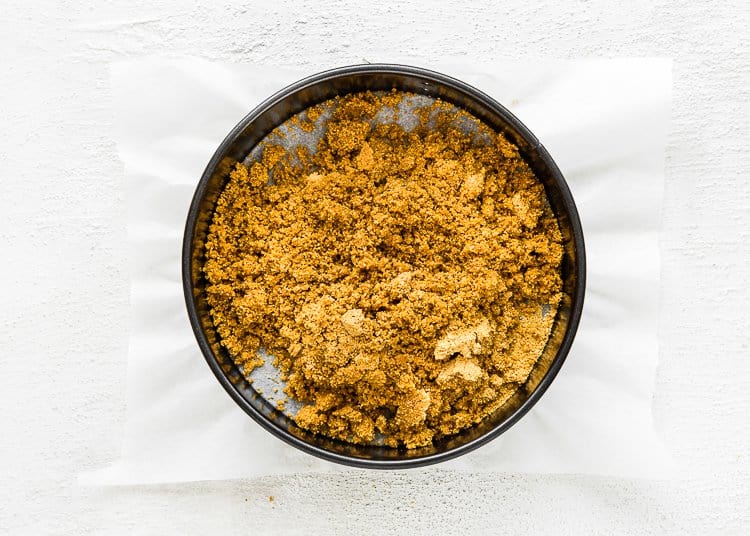
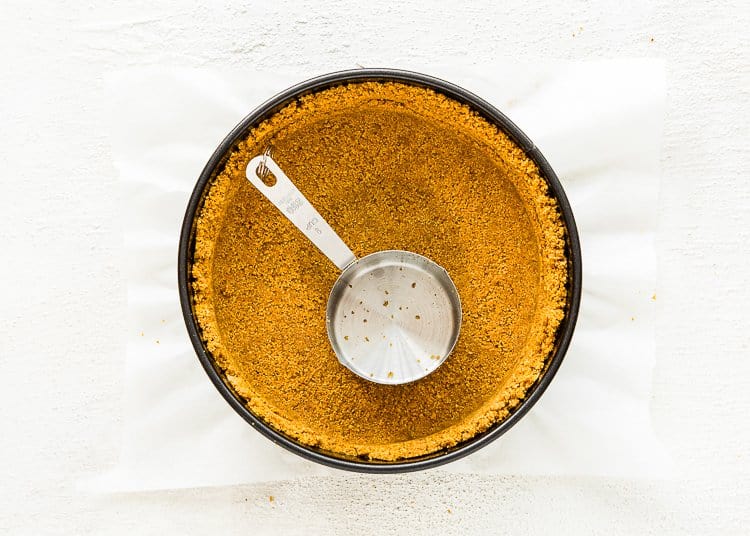
- Pour the crumbs mixture into the pan and press the crumbs down into the base and up the sides. Tip: Use the bottom of a measuring cup or glass to press down the crumbs evenly.
- Refrigerate until you make the filling.
2 – Make the Strawberry Puree
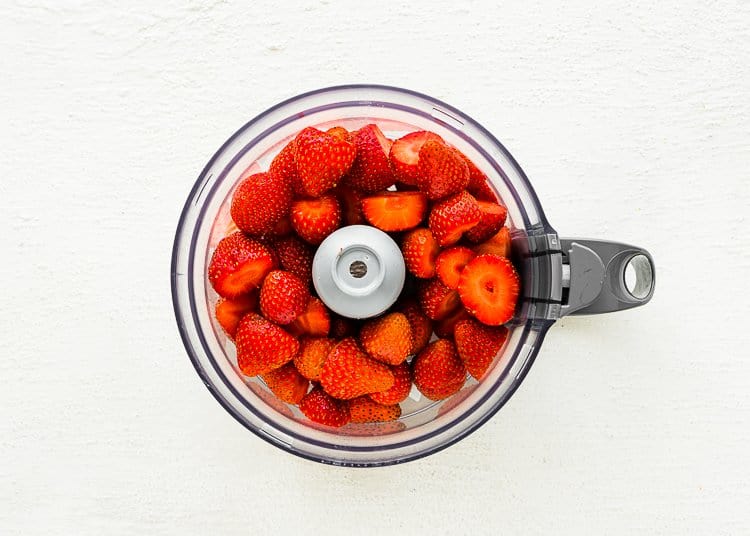
Add the strawberries to a food processor or blender and puree until smooth.
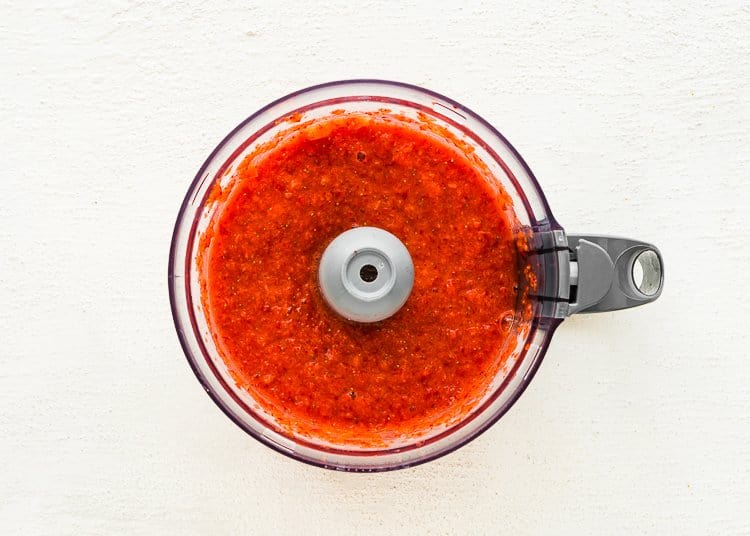
Transfer the strawberry puree to a saucepan or skillet. Add cornstarch; mix to combine. Cook over medium heat, constantly stirring until the mixture begins to thicken and bubble. Remove from heat, pour into a bowl, and set aside to cool.
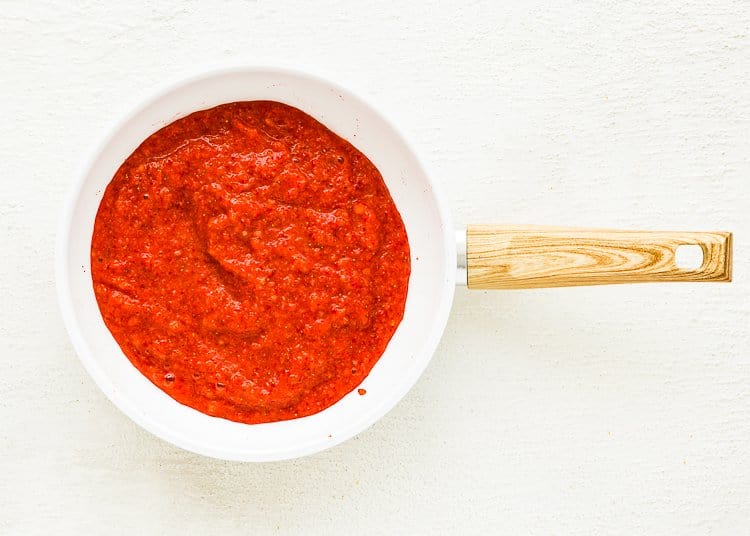
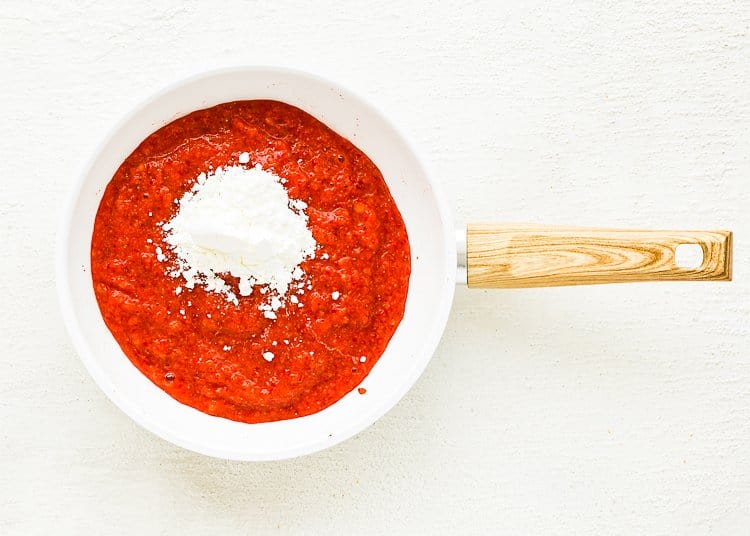
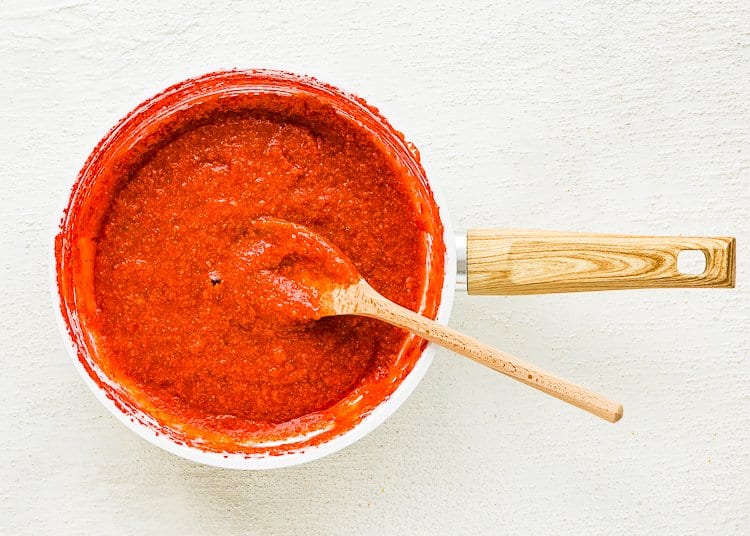
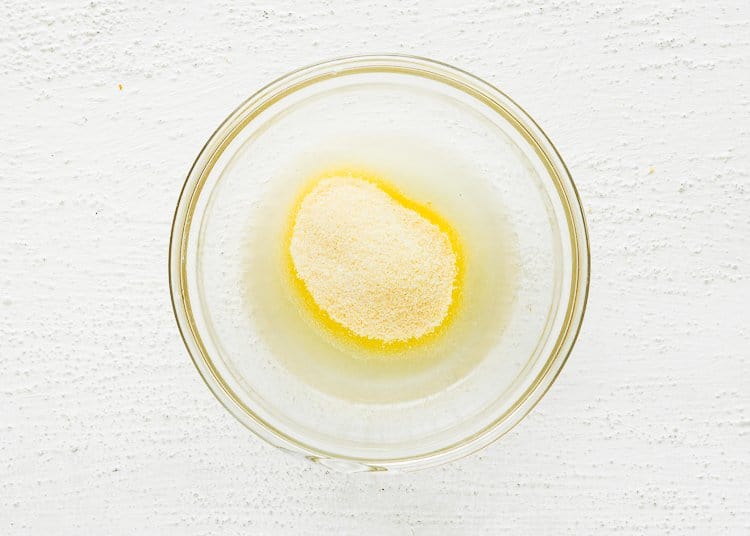
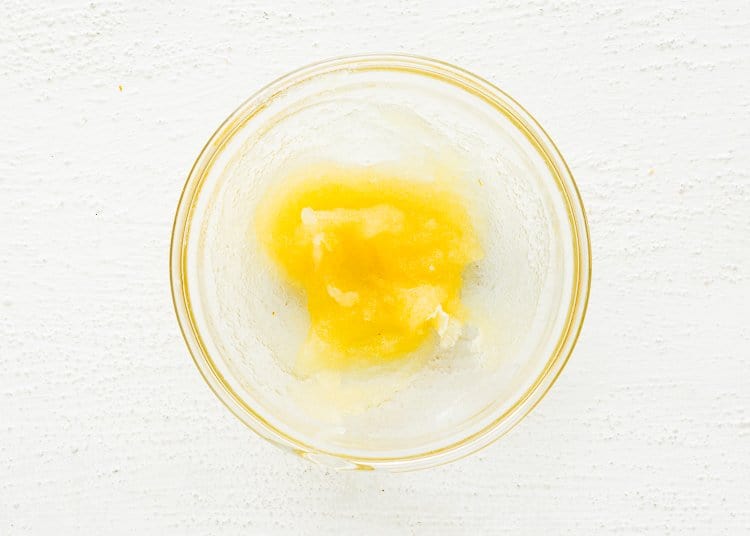
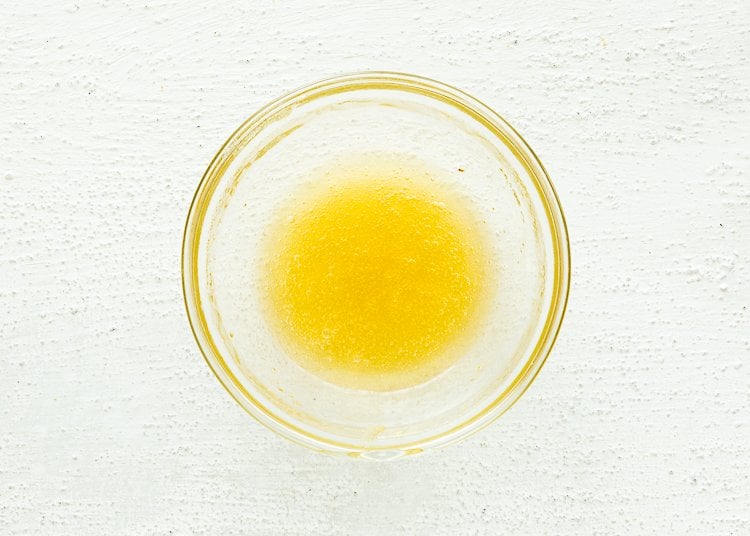
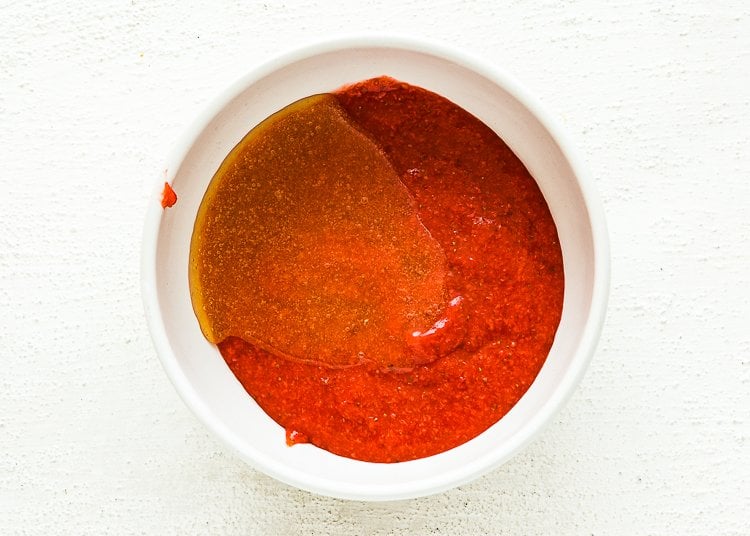
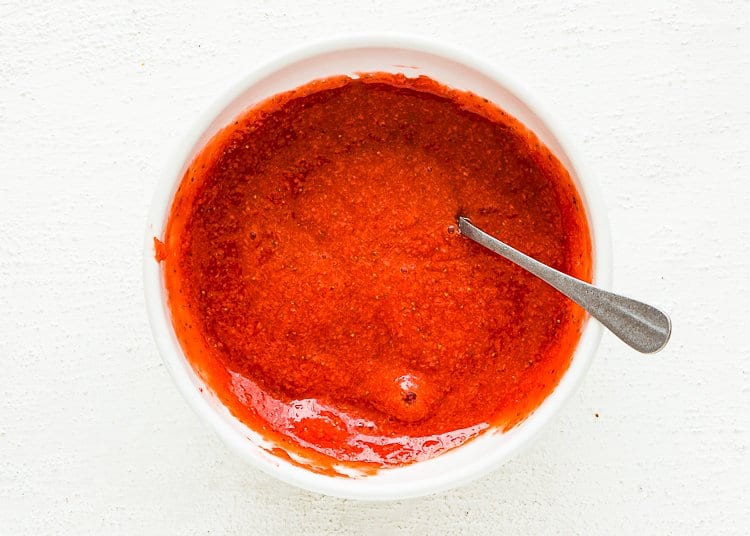
Mix the lemon juice and gelatin, and let sit for 2 – 3 minutes. When the strawberry puree is cooled (a bit warm is ok), heat the gelatin in the microwave until it’s melted and smooth. Pour the melted gelatin into the strawberry mixture and stir well to combine. Set the mixture aside to continue cooling.
3 – Make the Strawberry Filling
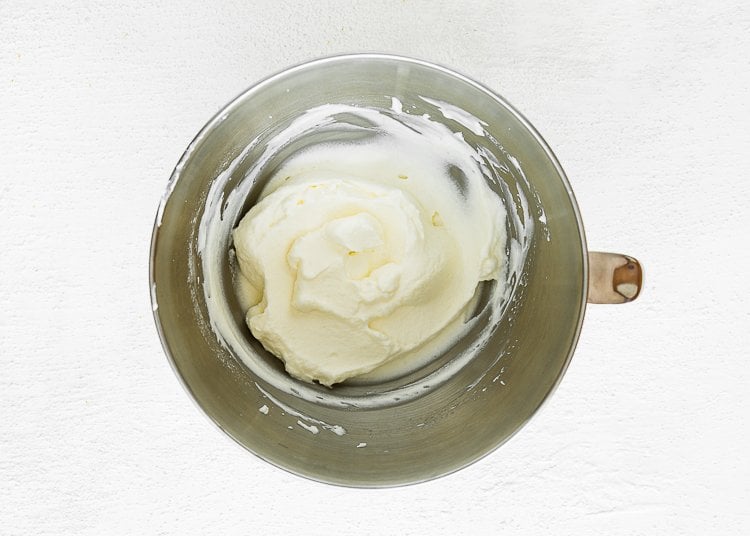
Whip cream and confectioners’ sugar with an electric mixer until stiff peaks form.
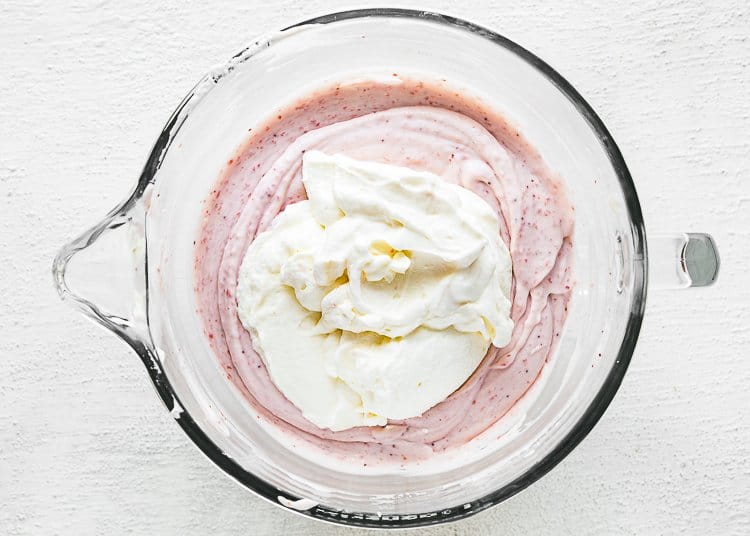
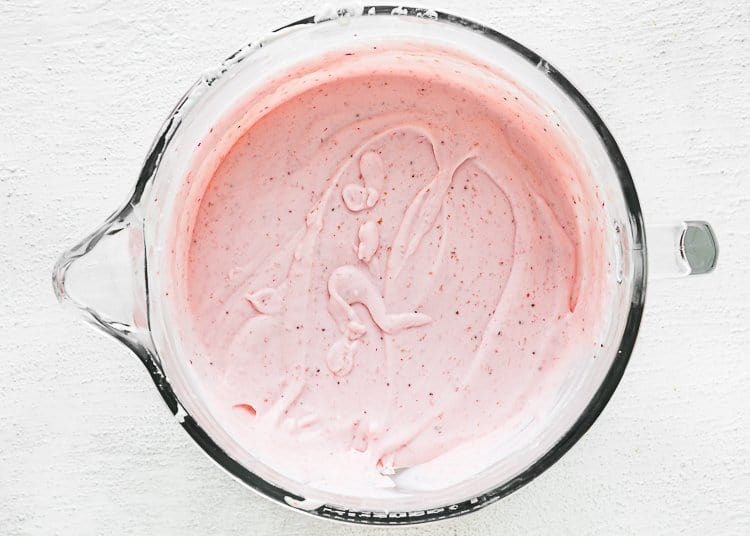
Place the cream cheese and sour cream in the bowl and beat over medium speed until smooth, creamy, and free of lumps. Beat in the condensed milk a little at a time, scraping the bottom and sides of the bowl occasionally. Add strawberry puree and continue mixing until well incorporated.
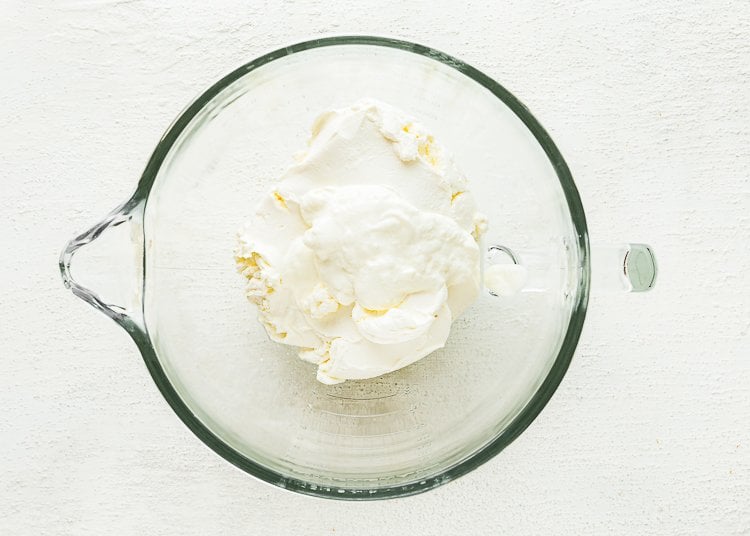
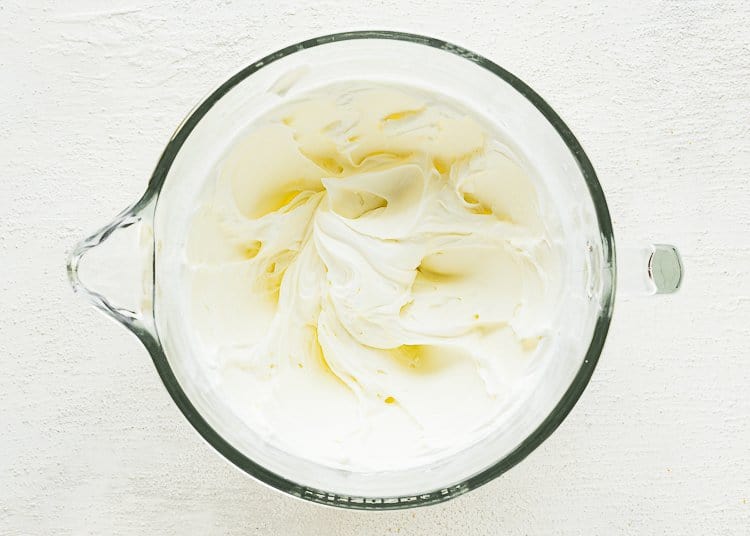
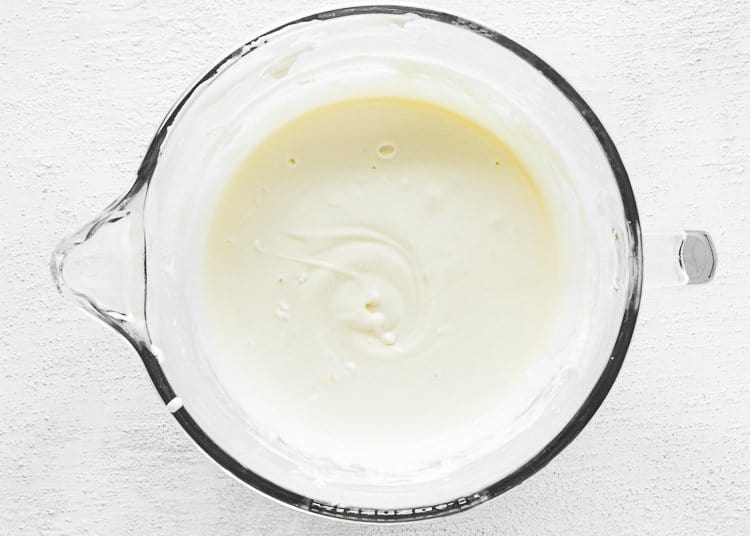
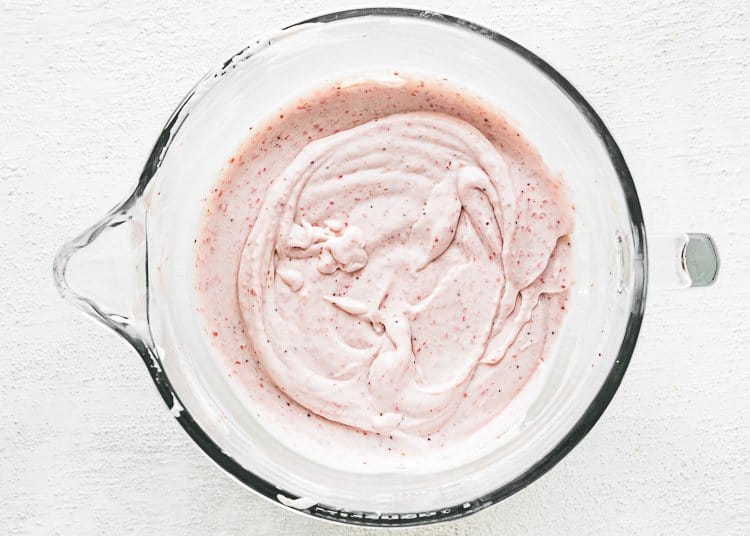
Add whipped heavy cream and gently foil in using a spatula.
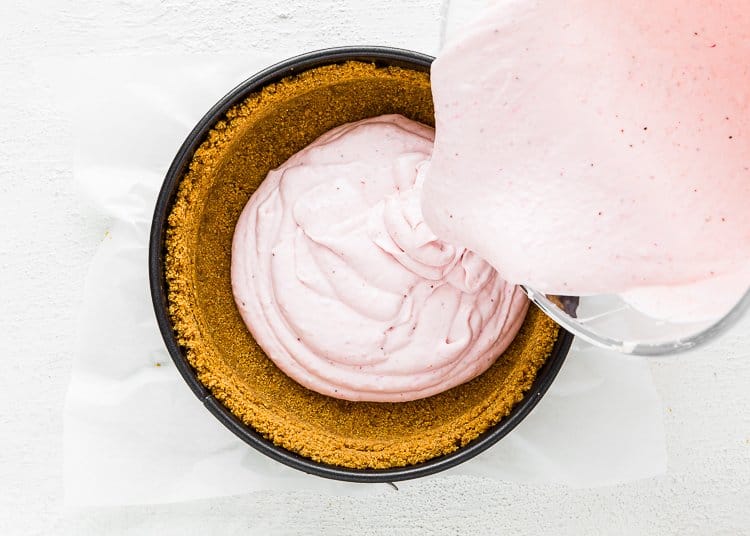
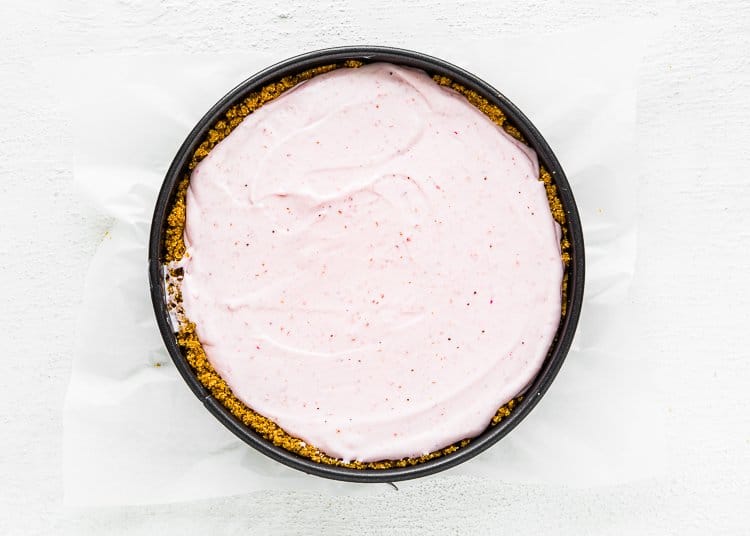
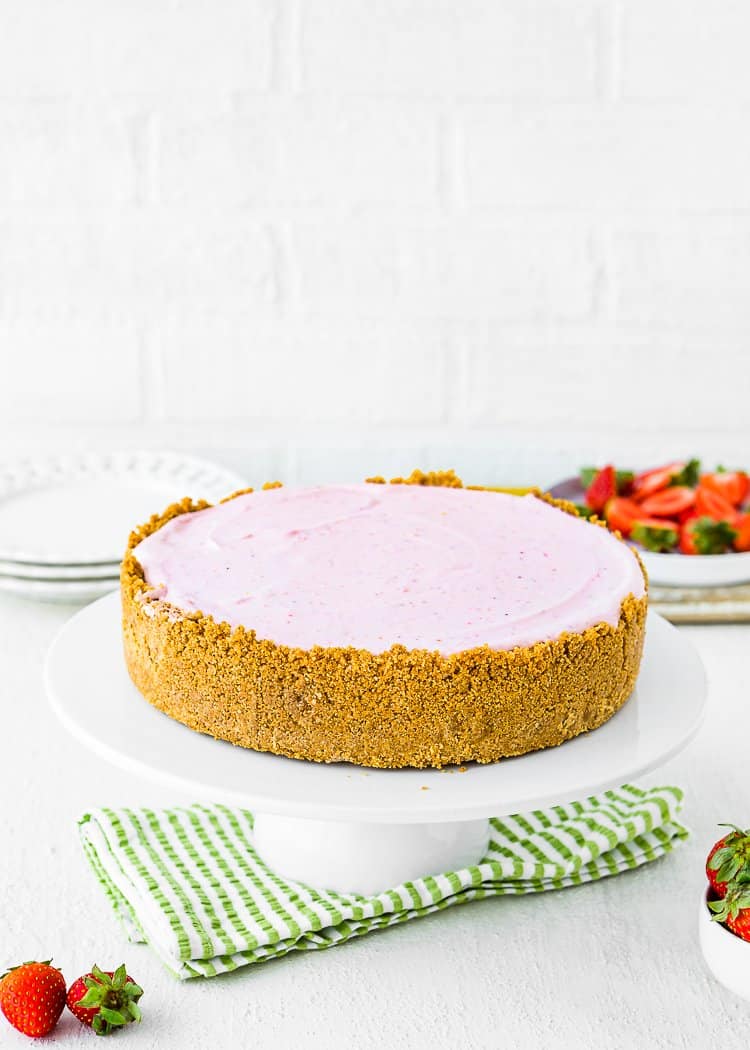
Pour the mixture over the crust; tap gently to remove any air bubbles—Smooth the top with a knife. Refrigerate until firm, at least 4-6 hours, ideally overnight.
Before unmolding, run a sharp knife between the cheesecake and the side of the pan. Next, unclasp the sides of the pan and remove the cheesecake.
Tips & Tricks To Make The Perfect No-Bake Cheesecake
Make sure that your cream cheese and sour cream are at room temperature to avoid lumps.
Do NOT use low-fat ingredients, or the cheesecake won’t set up.
Don’t skip the lemon juice. Adding lemon juice or any other acidic juice to condensed milk will thicken up the milk, making this an important step. The lemon juice thickens up the milk without any heat.
Do NOT rush the chilling time by placing the cheesecake in the freezer to set. You really need to use the refrigerator for that step; otherwise, the crust and filling will be too-hard-to-enjoy.
Frequently Asked Questions
There are a few reasons why a no-bake cheesecake didn’t set:
1 – Not following the recipe or not measuring the ingredients properly.
2 – Using low-fat ingredients, such as low-fat cream cheese or sweetened condensed milk.
3 – Not enough chilling time. Refrigerate the cheesecake for at least 4- 6 hours, but overnight is better.
Not at all! Both are delicious; however, baked and no-bake cheesecakes have completely different textures. Baked cheesecake is dense and velvety, while the no-bake cheesecake is light and airy.
In my opinion, a springform pan for this recipe is the best option. I used a 9-inch springform pan, but you could use an 8-inch or a 10-inch. A deep-dish pie plate would work, too, if you don’t plan to unmold the cheesecake.
Plain yogurt works in place of sour cream pretty well!
Yes, you can, but the filling won’t have the same tangy flavor. So I would recommend replacing it with plain yogurt if that’s an option.
Adapt This Recipe for Other Food Allergies
Gluten-Free: Use gluten-free Graham Style Crackers to make the crust.
Dairy-Free: Use dairy-free Sweetened Condensed Coconut Milk, dairy-free sour cream, and dairy-free Cream Cheese.
Make-Ahead Cheesecake
This is the perfect make-ahead dessert! You can either make the whole cheesecake 1-2 days in advance or make the crust and strawberry sauce the day before and keep them in the refrigerator until ready to use.
IMPORTANT: Remember that this dessert requires at least 4 – 6 hours of chilling so make sure to plan ahead.
Storing & Freezing Instructions
Store
No-Bake Cheesecake will last up to 5 days in the refrigerator. Be sure to either store it in an airtight container or tightly wrap the springform pan in plastic wrap when storing it.
Freeze
No-bake cheesecake is freezing-friendly! Just follow these steps:
- Chill the no-bake cheesecake as instructed (in the recipe below).
- Next, wrap the whole pan in 1 layer of plastic wrap, then 1 layer of aluminum foil.
- Freeze for up to 3 months.
Ready to eat it? Thaw in the refrigerator, then slice and serve.
PRO TIP: I don’t recommend adding any decorative whipped cream topping (or any topping) until you are ready to serve.
More Egg-Free Cheesecake Recipes You’ll Love!
- Best Eggless Cheesecake (classic baked version)
- Eggless Chocolate Cheesecake
- Easy Eggless Mini Cheesecakes
- Eggless Pumpkin Cheesecake
- Mini Greek Yogurt Strawberry Cheesecake
- Easy Instant Pot Eggless Cheesecake
❤️ Love what you see? JOIN my Private Baking Club. Also, SUBSCRIBE to Mommy’s Home Cooking, so you’ll never miss a recipe! And FOLLOW along on Instagram, Pinterest, and Facebook for more fun!
Best No-Bake Strawberry Cheesecake
Equipment
Ingredients
Crust:
- 2 ¼ cups (280 g) graham crackers crumbs
- 2 tablespoons (24 g) granulated sugar
- 10 tablespoons (140 g) unsalted butter
Strawberry Puree:
- 2 tablespoons (30 ml) fresh lemon juice
- 2 ½ teaspoons (30 ml) unflavored gelatin
- 1 lb (450 gr) fresh strawberries, washed and hulled (see notes)
- 2 ½ tablespoons (25 g) cornstarch
Strawberry Filling:
- 1 cup (240 ml) heavy whipping cream (cold)
- ¼ cup ( 30 g) confectioners’ sugar
- 24 oz (3 blocks, 8oz each – 680 g) full fat cream cheese, softened
- ¼ cup (60 g) sour cream
- 14 oz (397 g) sweetened condensed milk
Instructions
Make the Crust:
- Line a 9-inch round springform pan with parchment paper.
- In a medium mixing bowl, combine graham crumbs, butter, and sugar with a fork until evenly moistened.
- Pour the crumbs mixture into the pan and press the crumbs down into the base and up the sides. Tip: Use the bottom of a measuring cup or glass to press down the crumbs evenly.
- Refrigerate until you make the filling.
Make the Strawberry Puree:
- Mix the lemon juice and gelatin and let sit for 2 – 3 minutes.
- Add the strawberries to a food processor or blender and puree until smooth.
- Add the strawberry puree to a saucepan or skillet. Add cornstarch; mix to combine. Cook over medium heat, stirring constantly until mixture begins to thicken and bubble, about 5 to 10 minutes.
- Reduce the heat to medium-low and allow the strawberry mixture simmer for 2-3 minutes, then remove from heat, pour into a bowl, and set aside to cool. Note: After thickening the strawberry puree you will have around 3/4 cup.
- When the strawberry puree is cooled (a bit warm is ok), heat the gelatin in the microwave in 10-second increments, stirring between, until it’s melted and smooth.
- Pour the melted gelatin into the strawberry mixture and stir well to combine. Set the mixture aside to continue cooling while you work on the rest of the recipe. TIP: I like to make the strawberry puree the day before so it totally cooled when I needed.
Make the Strawberry Filling:
- In a medium bowl, whip cream and confectioners’ sugar with an electric mixer until stiff peaks form. Refrigerate until you prepare the filling.
- Place the cream cheese and sour cream in the bowl and beat over medium speed until it is smooth, creamy, and free of lumps.
- Beat in the condensed milk a little at a time, scraping the bottom and sides of the bowl occasionally.
- Add strawberry puree and continue mixing until well incorporated.
- Add whipped heavy cream and gently foil in using a spatula.
- Pour the mixture over the crust; tap gently to remove any air bubbles. Smooth the top with a knife. Cover with plastic wrap, and refrigerate until firm, at least 6 hours, ideally overnight.
- Before unmolding run a sharp knife between the cheesecake and the side of the pan. Unclasp sides of the pan and remove cheesecake.
- Chill the no-bake cheesecake as instructed (in the recipe below).
- wrap the whole pan in 1 layer of plastic wrap, then 1 layer of aluminum foil.
- Freeze for up to 3 months.
- Make sure that your cream cheese and sour cream are at room temperature to avoid lumps.
- Do NOT use low-fat ingredients, or the cheesecake won’t set up.
- Don’t skip the lemon juice. Adding lemon juice or any other acidic juice to condensed milk will thicken up the milk, making this an important step. The lemon juice thickens up the milk without any heat.
- Do NOT rush the chilling time by placing the cheesecake in the freezer to set. You really need to use the refrigerator for that step; otherwise, the crust and filling will be too-hard-to-enjoy.
- I don’t recommend adding any decorative whipped cream topping (or any topping) until you are ready to serve.
Nutrition
Originally posted in June 2020, the post content was edited to add more helpful information, with no change to the recipe in May 2022.
