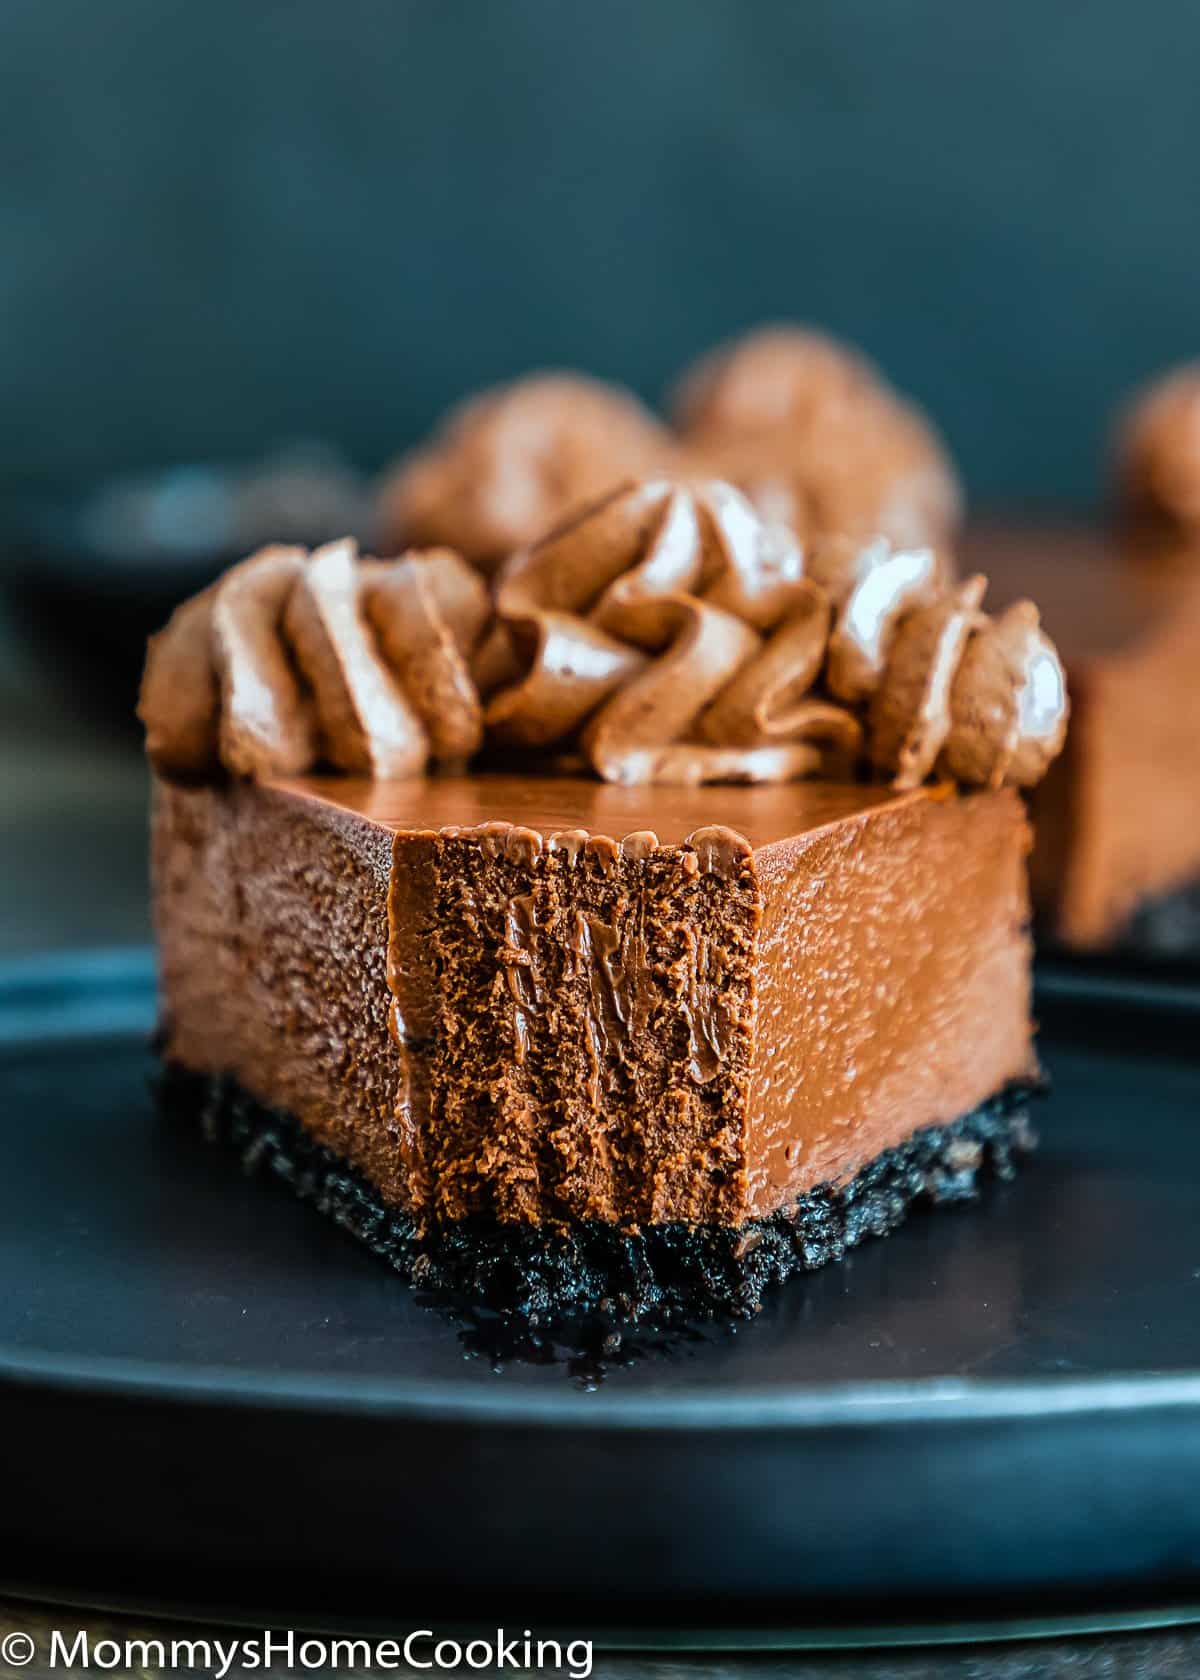
This Eggless Chocolate Cheesecake is indulgently rich and creamy! An easy, fully make-ahead dessert, that everyone will LOVE! The recipe includes step-by-step photos and lots of tips.
Eggless Chocolate Cheesecake Recipe Highlights
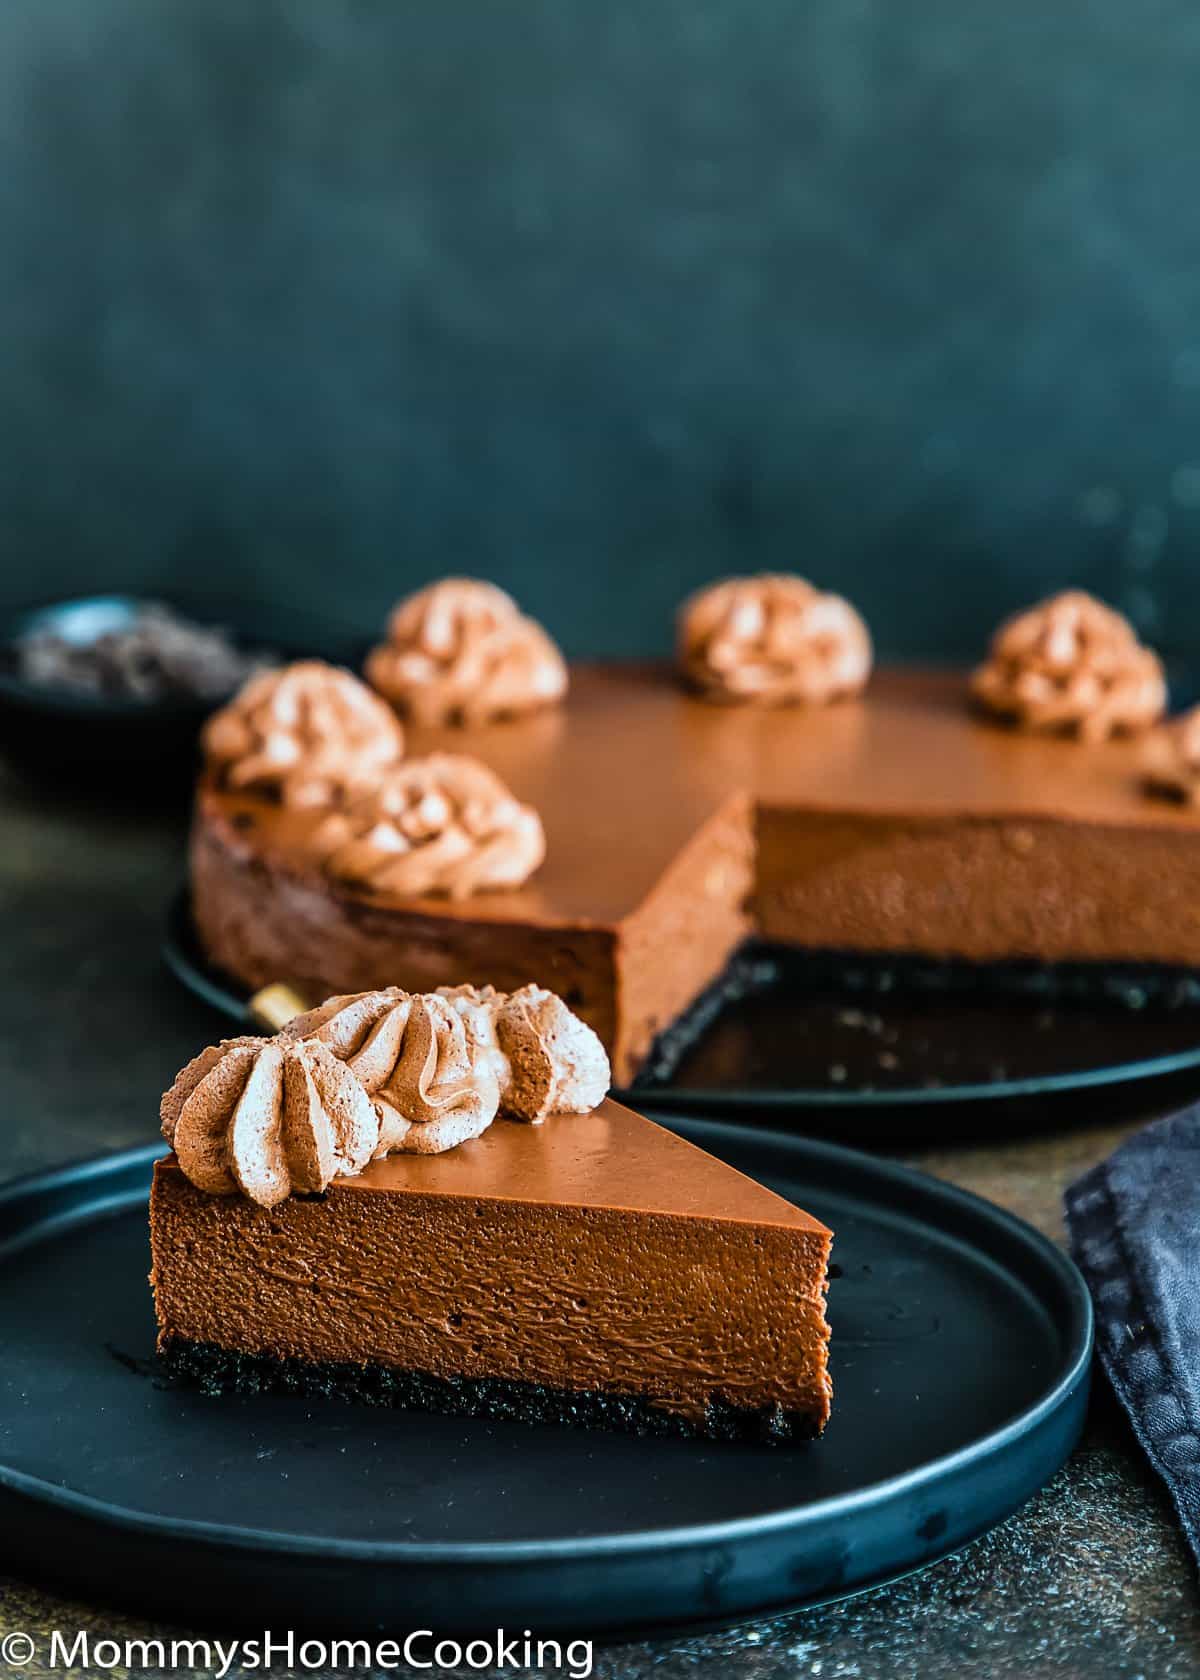
I’m thrilled to share this Eggless Chocolate Cheesecake recipe with you! I have been asked SO many times for a chocolate version of my Best Eggless Cheesecake and I have finally done it.
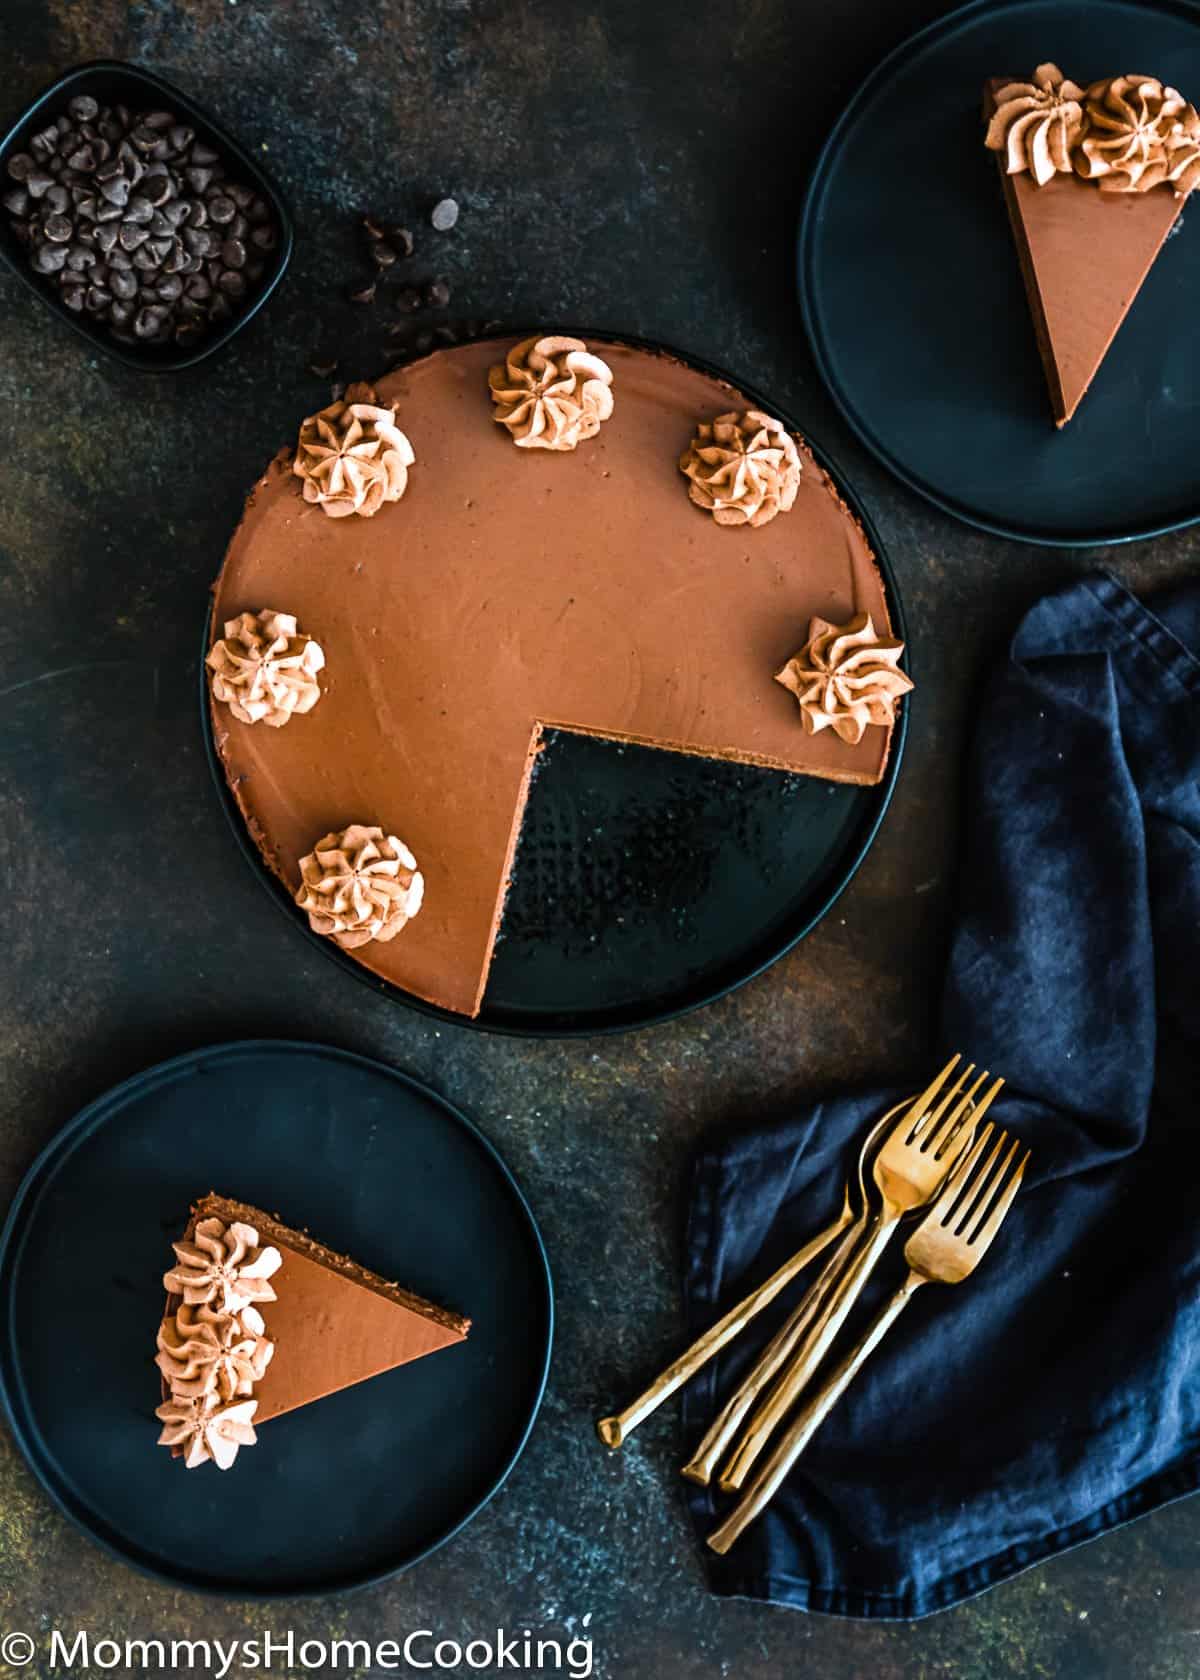
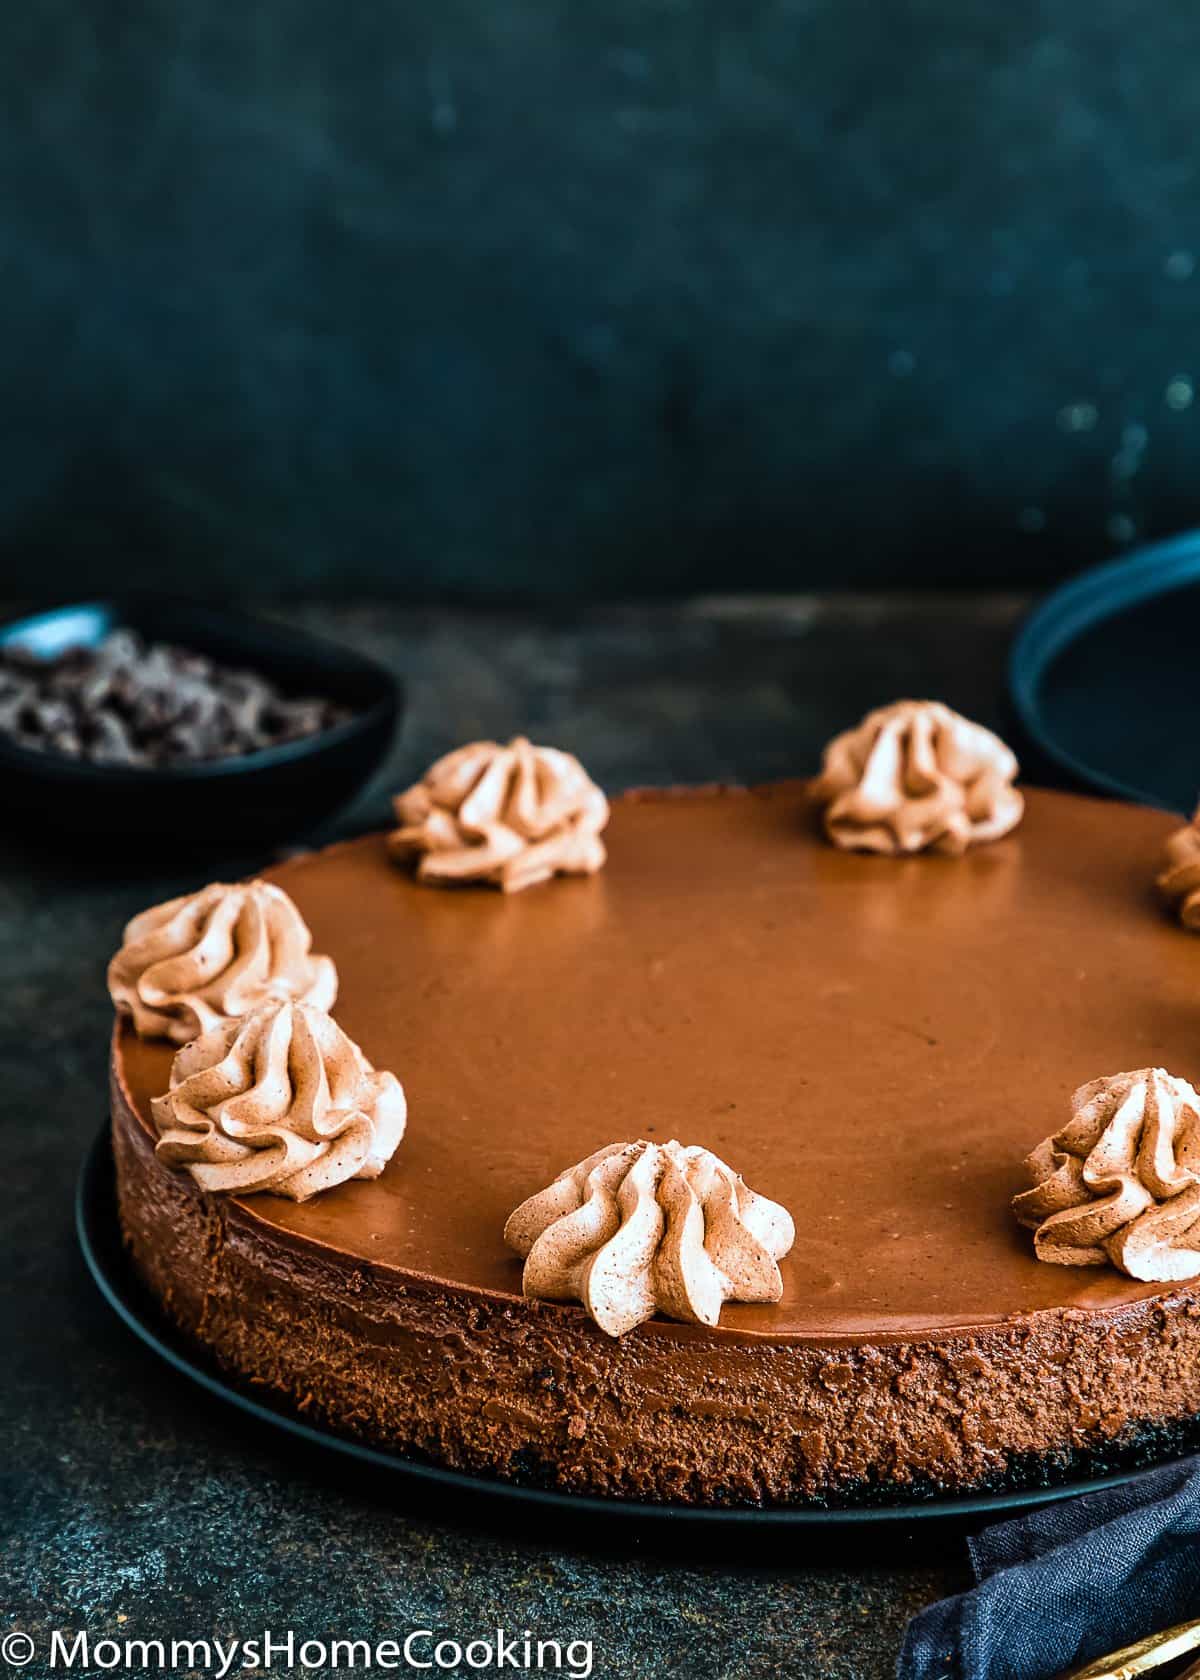
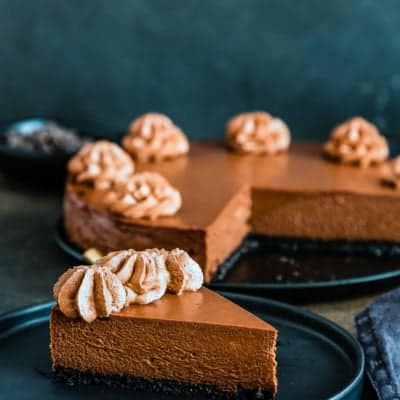
This chocolate version is baked in a thick Oreo crust and garnished with fresh chocolate whipped cream for a truly epic ending to your meal!
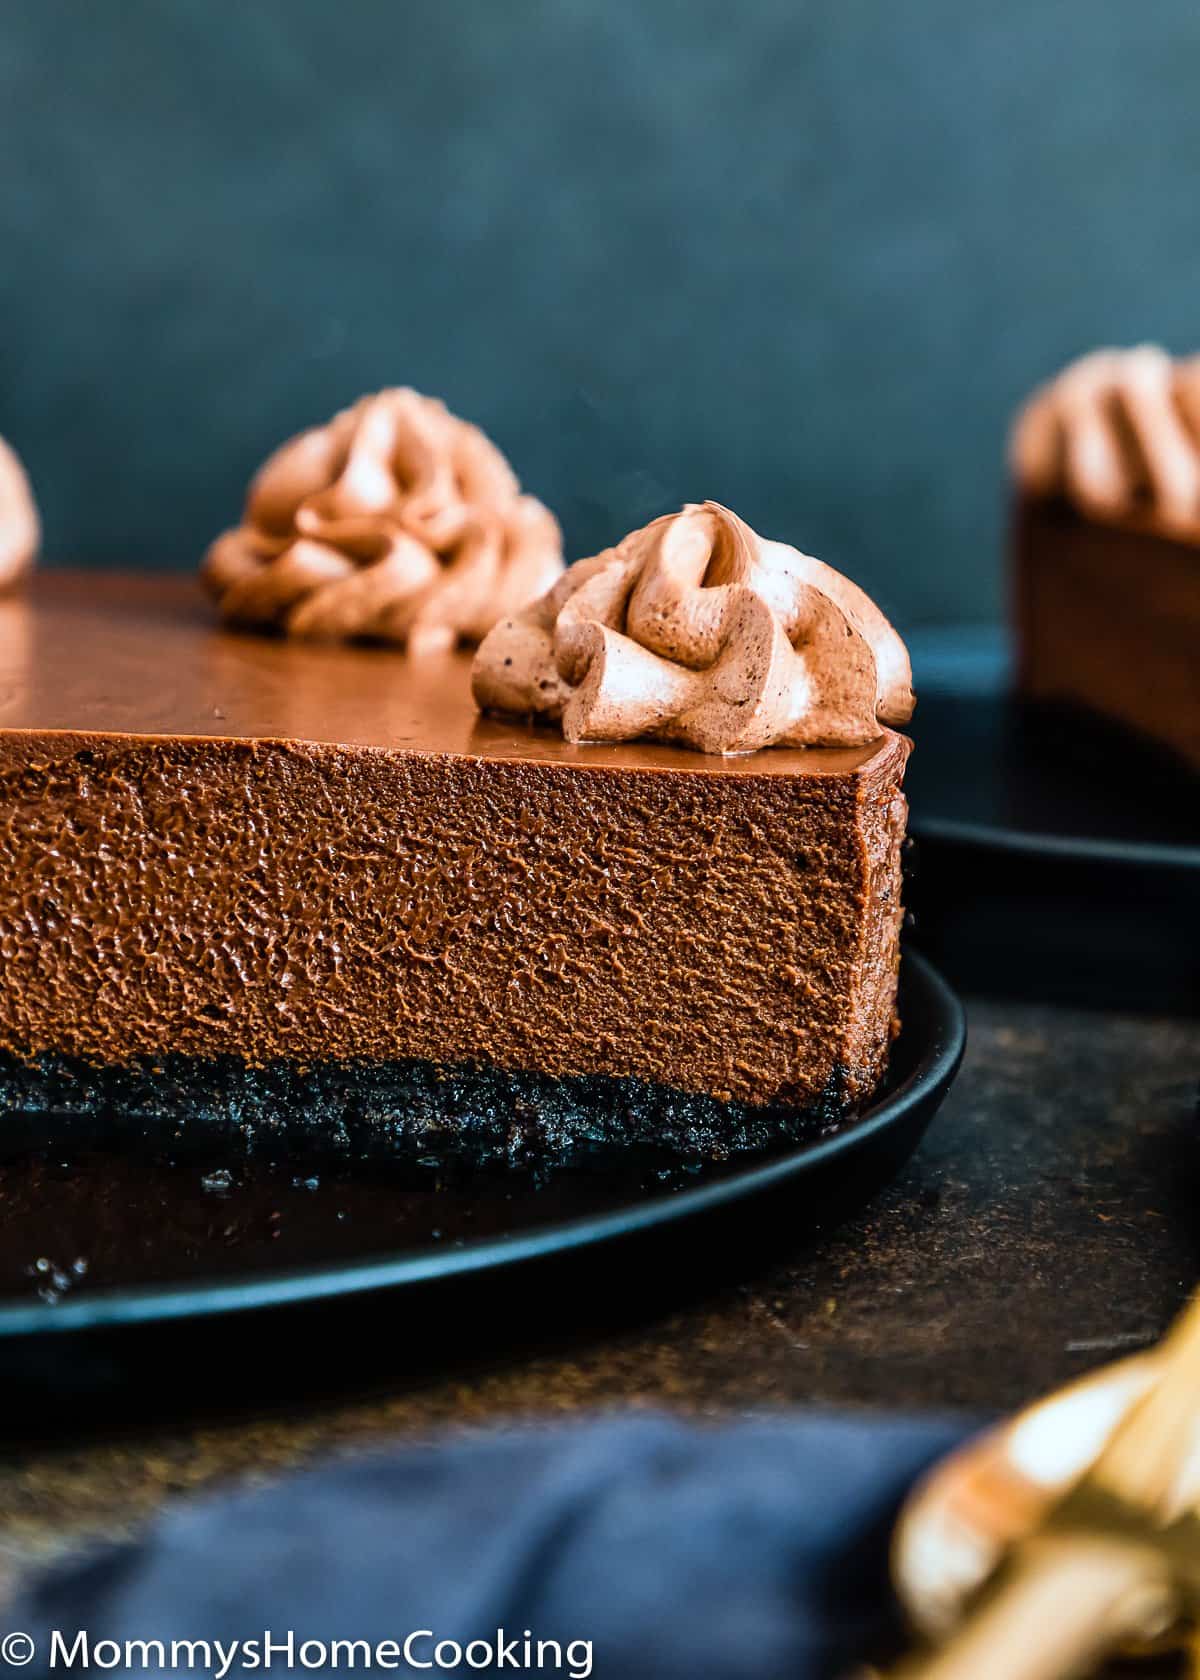
It has a luscious and creamy texture. No cracks and this cheesecake. DOES NOT sink in the center!
This is an easy, fully make-ahead dessert, that everyone will LOVE!
Ingredients You’ll Need
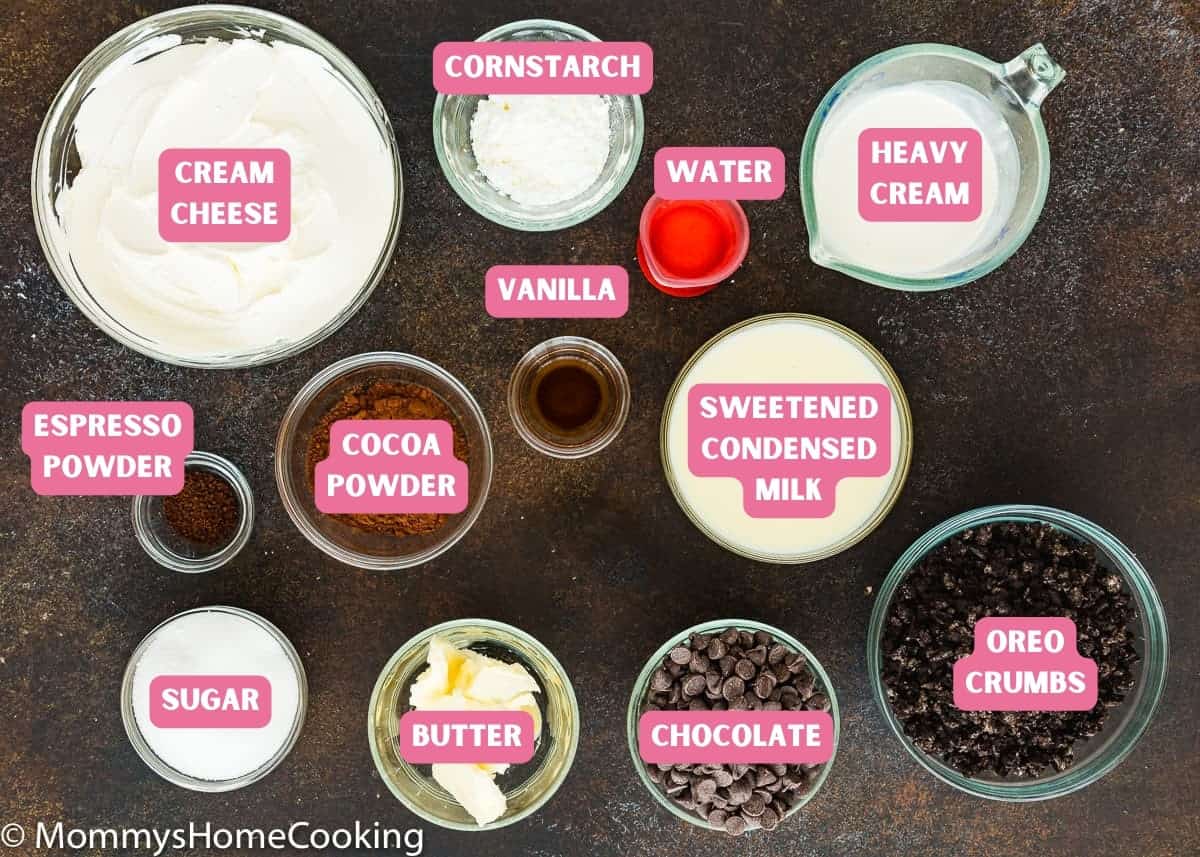
Please check the recipe card at the bottom of the post for exact quantities and instructions (scroll down).
Ingredients Notes & Substitutions
Crust: I made an Oreo crust with oreo crumbs and butter. Feel free to substitute for a graham cracker crust if that is what you prefer. You can also use a store-bought crust to save time.
For the Filling:
- Corn starch + water: This mixture will help the cheesecake to set properly.
- Heavy cream: Make sure it has at least 35% of fat content.
- Chocolate: I used semi-sweet chocolate – you can also use dark chocolate if you prefer.
- Espresso powder: This is optional, but I recommend its addition because it enhances the chocolate flavor. Adding a little bit will make things taste more “chocolatey” without giving a coffee flavor.
- Cream cheese: Use the full-fat version that comes in blocks.
- Sugar: Regular white granulated sugar o caster sugar.
- Cocoa powder: Natural cocoa powder or Dutch-processed will work for this recipe.
- Sweetened condensed milk: Use the full-fat version for better results.
- Vanilla extract: For optimal flavor, reach for pure vanilla instead of imitation. Even better, try homemade vanilla extract!
Step By Step Recipe Photo Tutorial
Please check the recipe card at the bottom of the post for exact quantities and detailed instructions (scroll down).
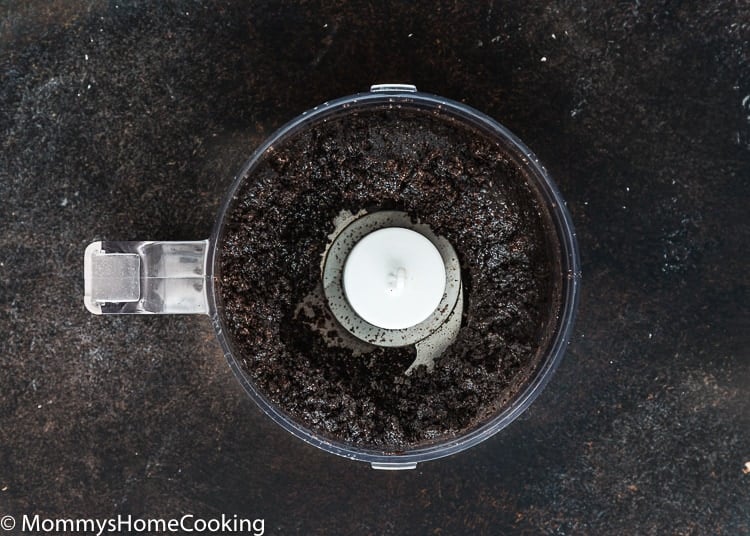
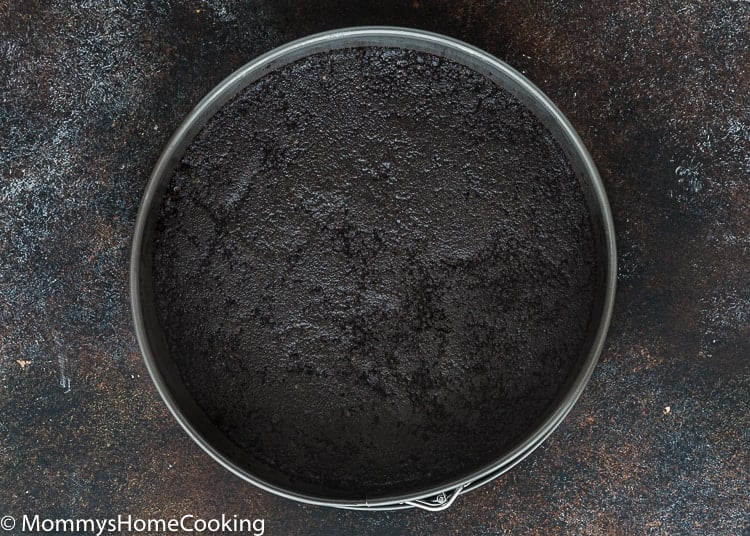
1 – Make the Crust
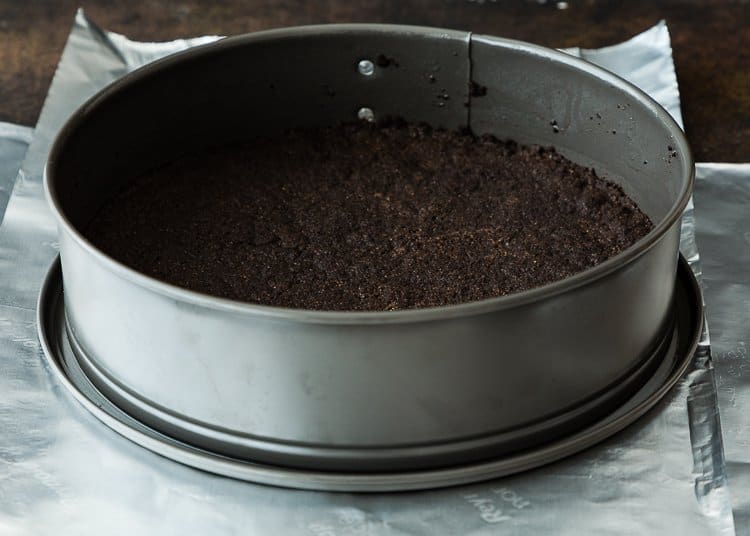
- Preheat the oven to 350º F (180º C). Lightly grease a 9-inch round springform pan.
- In a medium mixing bowl, combine the Oreo crumbs and melted butter. Pat the mixture firmly into the bottom of the prepared pan.
- Bake the crust for 10 minutes. Set the pan on a wire rack and cool the crust completely. Leave the oven on.
2 – Make the Filling
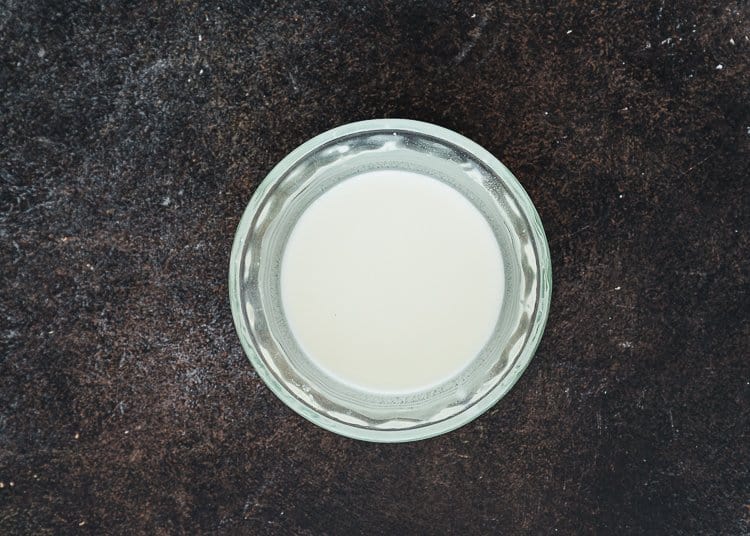
Mix cornstarch and water in a small bowl until smooth. Set aside.
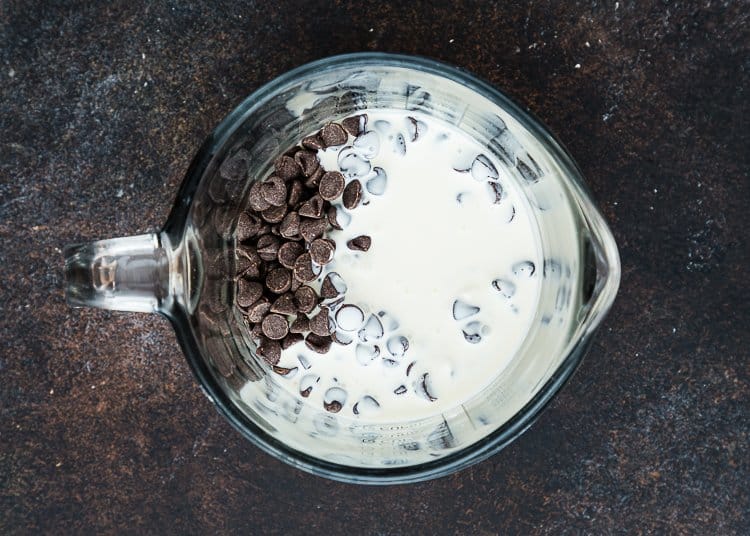
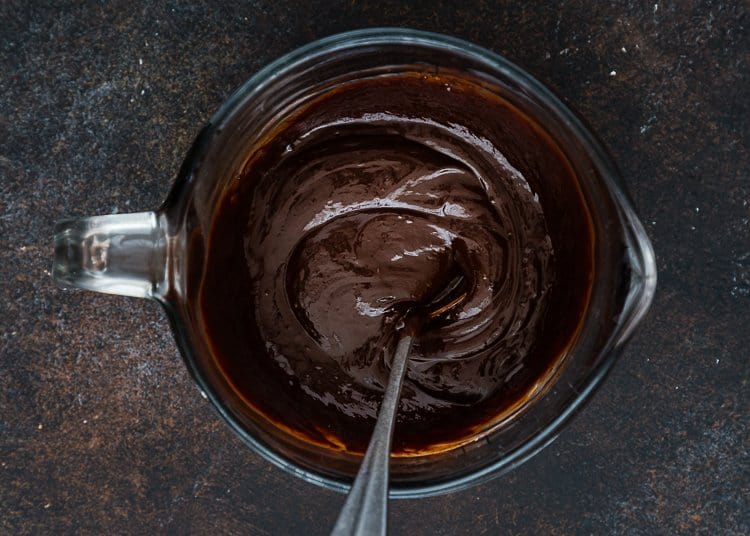
Combine the heavy cream and chocolate chips in a small saucepan or microwave-safe bowl or large cup. Heat, stirring frequently until the chips melt and the mixture is smooth. Remove from the heat, stir in the espresso powder, and set the mixture aside.
Place the cream cheese in the bowl of an electric mixer, and beat on low speed for 2-3 minutes until smooth and free of any lumps. Add sugar and cocoa powder; continue mixing until incorporated. Gradually add sweetened condensed milk and beat until creamy, for 1-2 minutes. Add vanilla extract and cornstarch mixture; beat until well incorporated.
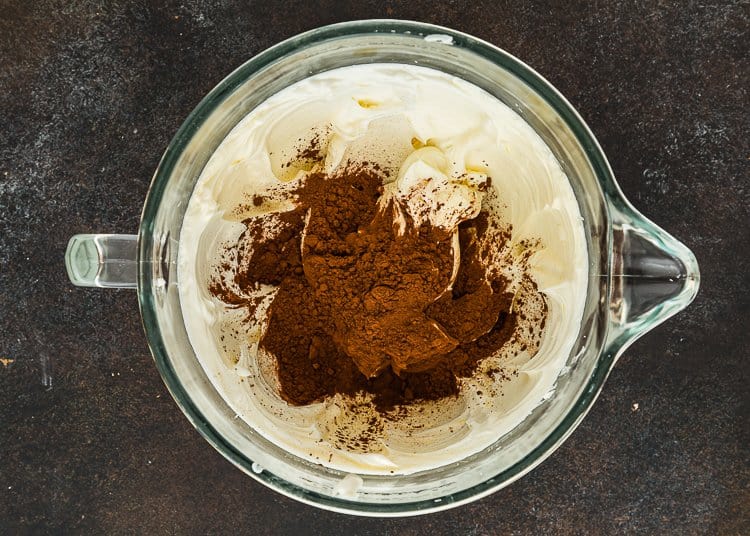
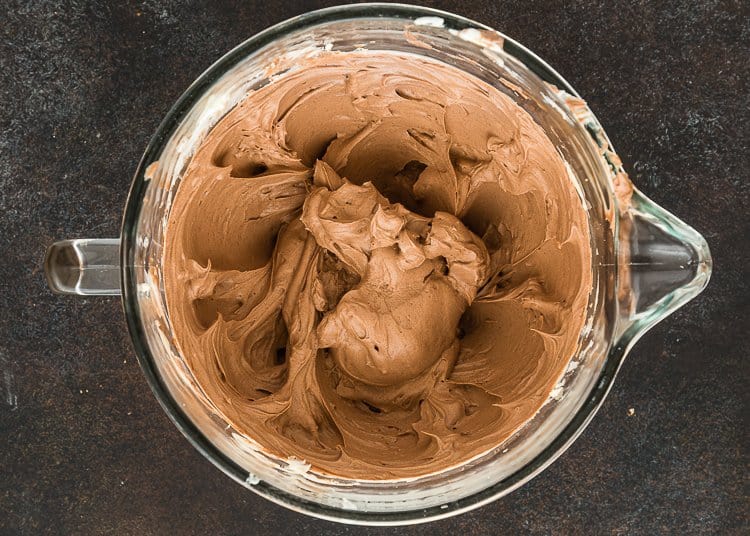
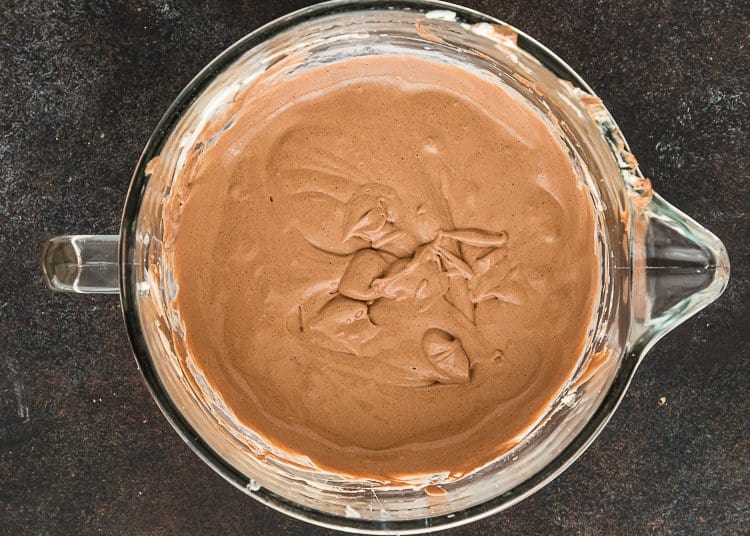
Add melted chocolate mixture; beat until well incorporated.
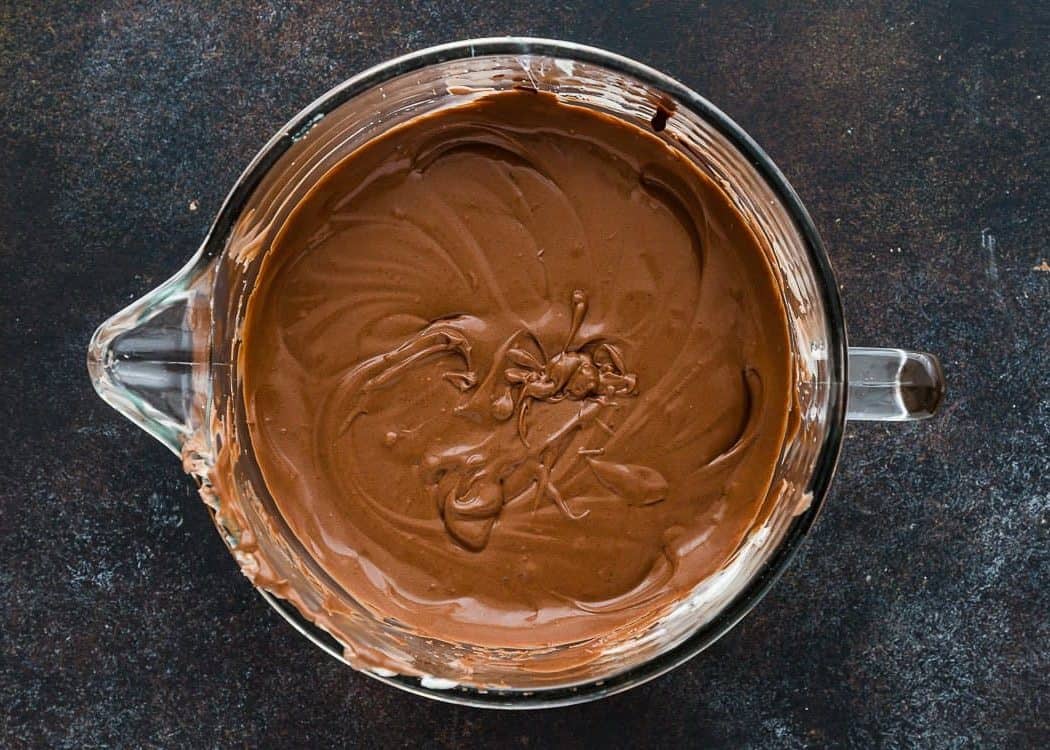
3 – Prepare the Pan
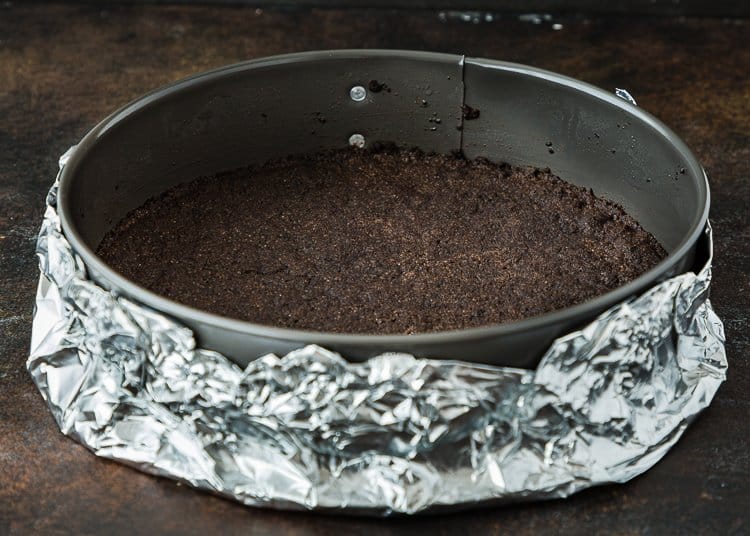
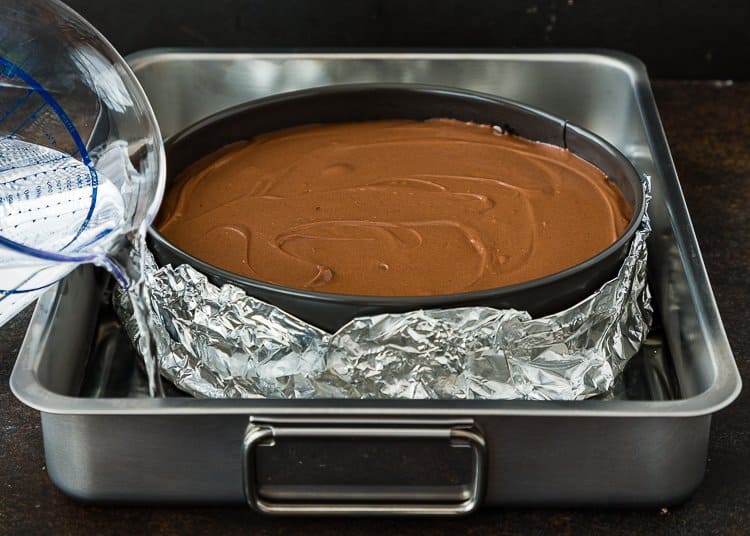
- Place the cheesecake pan on MULTIPLE LAYERS of heavy-duty aluminum foil and fold up the sides around it (this is to keep the water from seeping into the cheesecake).
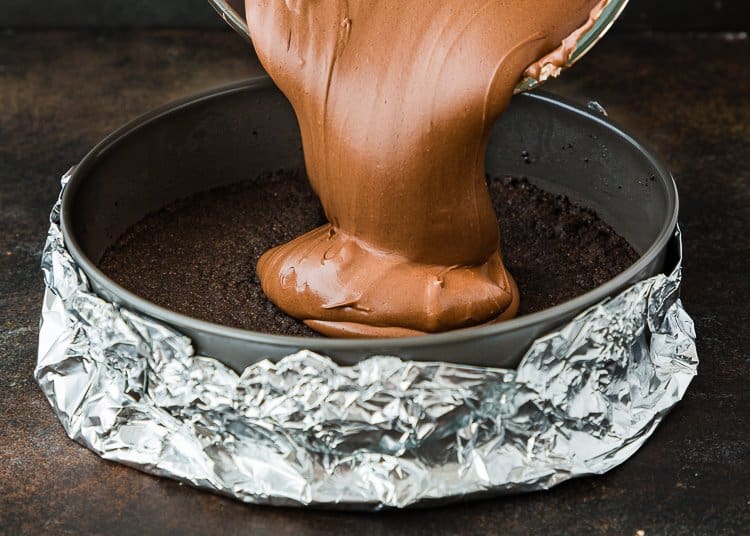
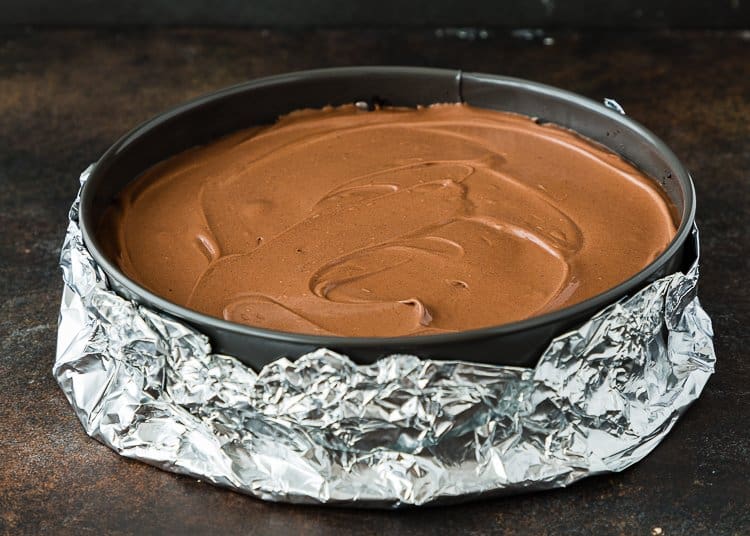
- Pour the mixture over the crust; tap gently to remove any air bubbles.
4 – Prepare the Water Bath
I promise it’s not as complicated as it sounds. All you’re doing is placing the springform pan in a roasting pan, filling it with hot water, and baking. This will help to prevent cracking and/or sinking back down as it cools.
- Boil a pot of water.
- Place the cheesecake pan inside of a large roasting pan. Carefully pour hot water into the roasting pan until the water is about halfway up the sides of the cheesecake pan.
5 – Bake
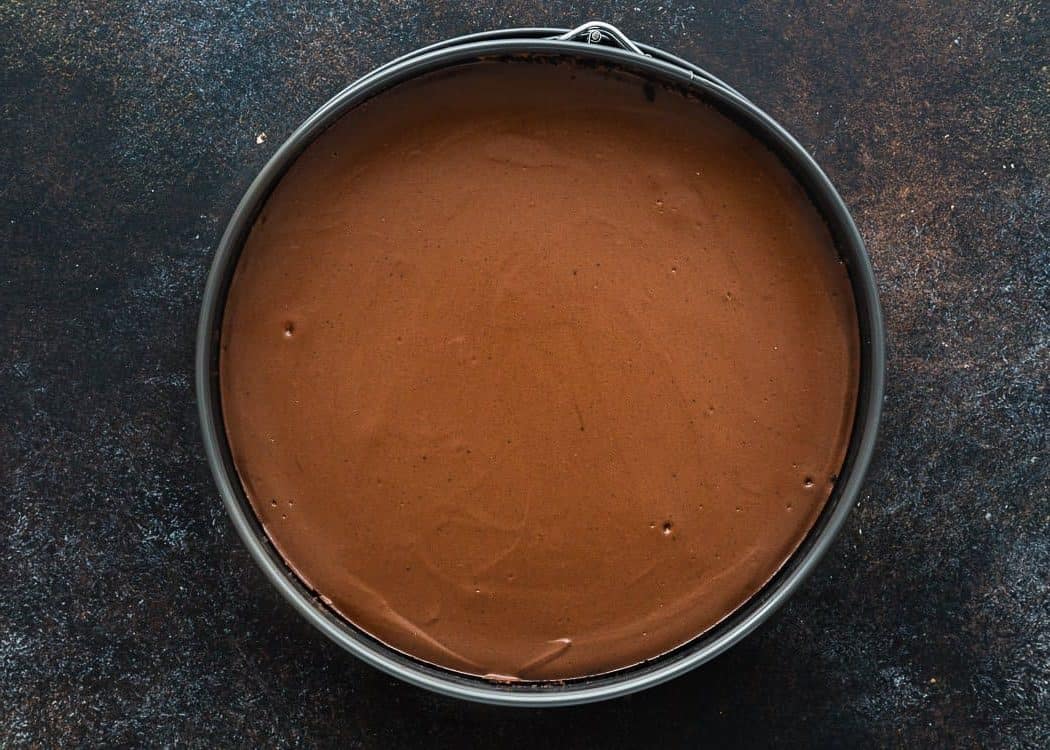
- Bake for 40 minutes or until the edges are just barely puffed. The center of the cheesecake should still wobble.
- Turn the oven off, and leave the cheesecake inside the oven for another 40 minutes (with the door closed).
6 – Chill
- Remove the cake from the oven and set it on a cooling rack to finish cooling. After 15 minutes on a wire rack, carefully run a knife between the cheesecake and the inside of the pan. Don’t remove the sides of the pan yet.
- When it’s completely cool, cover the cheesecake, and refrigerate for at least 6 hours (overnight better).
- Loosen the cheesecake from the sides of the pan by running a thin metal spatula around the inside rim. Unmold and transfer to a cake plate.
Tips & Tricks to Make The Eggless Chocolate Cheesecake
Plan ahead! Cheesecake is one of those desserts you have to plan in advance. It takes a long time to chill and set.
Make sure all your ingredients are at room temperature.
Leaky baking pans are a cheesecake’s arch-nemesis so make sure the cheesecake pan is well wrapped in multiple layers of foil. I like to line mine with a double layer of heavy-duty foil, covering the underside and coming all the way to the top.
Avoid overcooking the cheesecake or it will crack. The center of your cheesecake should still wobble when you remove it from the oven; it will continue to cook as it cools on the counter.
To prevent cracks during cooling, it’s important to loosen the cheesecake from the sides of the pan after baking. First, cool the cheesecake on a wire rack for 15 minutes. Then carefully run a knife between the cheesecake and the inside of the pan. Don’t remove the sides of the pan yet.
Frequently Asked Questions
First, make sure your cheesecake has been chilled long enough so it’s nice and firm. Open the ring of your springform pan and remover it, then run a knife along the bottom of the pan and slide the cheesecake onto a serving plate or cake stand. Sometimes I use my cake lifter to move the cheesecake to the serving plate.
You will notice that the edges are just barely puffed, but the filling is pale—you’re not looking for golden brown. Meaning, that the top of the cheesecake should no longer look glossy and wet, but overall have a more matte appearance on top. Also, the outer part of the cheesecake has to look set and the center of the cheesecake has to be a little jiggly still, but not look too liquidy.
You can absolutely make a cheesecake without a traditional water bath. Keep in mind if you skip the water bath you take the risk of overbaking the cheesecake and having a less silky texture. Also, the edges will brown. If possible, I recommend doing the water bath.
I recommend using good quality chocolate. I like to use semi-sweet chocolate, but you could also get away with using dark chocolate in a pinch. It will depend on how intense you want the cheesecake to be…It’s totally up to you!
Storing & Freezing Instructions
Store
Store covered in the refrigerator, for up to 5 days.
Freeze
Cheesecake can be frozen for up to 3 months.
- Cool the cheesecake on the counter before freezing. No need to chill it in the refrigerator.
- Remove the outer rim from the springform pan. Wrap the cheesecake with the bottom of the pan with a few layers of plastic wrap, then a final layer of aluminum foil.
- Freeze for up to 3 months.
Thaw
Thaw your frozen cheesecake overnight in the refrigerator before serving.
More Egg-Free Cheesecake Recipes You’ll Love!
- Best Eggless Cheesecake
- Easy Eggless Mini Cheesecakes
- Eggless Pumpkin Cheesecake
- Mini Greek Yogurt Strawberry Cheesecake
- Easy Instant Pot Eggless Cheesecake
- Eggless Lemon Blueberry Cheesecake Bars
- Browse more recipes…
❤️ Love what you see? JOIN my Private Baking Club. Also, SUBSCRIBE to Mommy’s Home Cooking, so you’ll never miss a recipe! And FOLLOW along on Instagram, Pinterest, and Facebook for more fun!
Eggless Chocolate Cheesecake
Equipment
Ingredients
Crust:
- 1 ½ cups (200 g) Oreo crumbs (about 24-26 Oreos)
- 3 tablespoons (42 g) butter, melted
Filling:
- 3 tablespoons (30 g) cornstarch
- 3 tablespoons (45 ml) water
- ¾ cup (180 ml) heavy cream
- 1 – 1 ½ cups (180 – 270 g) semi-sweet chocolate (see notes)
- 1 teaspoon instant espresso powder
- 24 oz (678 g) full fat cream cheese ( 3- 8oz blocks)
- ½ cup (100 g) granulated sugar
- ¼ cup (28 g) natural unsweetened cocoa powder
- 14 oz (397 g) sweetened condensed milk
- 1 teaspoon pure vanilla extract
Instructions
Make the Crust:
- Preheat oven to 350º F (180º C). Lightly grease 9-inch round springform pan.
- In a medium mixing bowl, combine the Oreo crumbs and melted butter. Pat the mixture firmly into the bottom of the prepared pan.
- Bake the crust for 10 minutes. Set the pan on a wire rack and cool the crust completely. Leave the oven on.
Make the Filling:
- Mix cornstarch and water in a small bowl until smooth. Set aside.
- Combine the heavy cream and chopped chocolate in a small microwave-safe bowl or cup. Heat in 30-second bursts, stirring after each burst until the chocolate has melted, and the mixture is smooth. Stir in the espresso powder and set the mixture aside.
- Place the cream cheese in the bowl of an electric mixer, beat on low speed for 2-3 minutes until smooth and free of any lumps. Add sugar and cocoa powder; continue mixing until incorporated. Gradually add sweetened condensed milk and beat until creamy, for 1-2 minutes. Add vanilla extract and cornstarch mixture; beat until well incorporated.
- Add melted chocolate mixture; beat until well incorporated.
- Pour the mixture over the cooled crust; tap gently to remove any air bubbles.
Prepare The Pan and Water Bath:
- Place the cheesecake springform pan on MULTIPLE LAYERS of heavy-duty aluminum foil and fold up the sides around it (this is to keep the water from seeping into the cheesecake). Place the springform pan in a large roasting pan. Pour hot water into the roasting pan until the water is about halfway up the sides of the cheesecake pan.
Bake:
- Bake for 40 minutes or until the edges are just barely puffed. The center of the cheesecake should still wobble when you remove it from the oven. Turn the oven off and leave the cheesecake inside the oven for another 40 minutes (with the door closed). Remove the cheesecake from the oven and set it on a cooling rack to finish cooling. After 15 minutes on a wire rack, carefully run a knife between the cheesecake and the inside of the pan. Don’t remove the sides of the pan yet.
- When the cheesecake is completely cool at room temperature, cover it with foil or plastic wrap, and refrigerate for at least 6 hours (overnight better).
- When ready to serve, loosen the cheesecake from the sides of the pan by running a thin metal spatula around the inside rim. Unmold and transfer to a serving plate.
- Cool the cheesecake on the counter before freezing. No need to chill it in the refrigerator.
- Remove the outer rim from the springform pan. Wrap the cheesecake (with the bottom of the pan) with a few layers of plastic wrap, then a final layer of aluminum foil.
- Freeze for up to 3 months.
- Plan ahead! Cheesecake is one of those desserts you have to plan in advance. It takes a long time to chill and set.
- Make sure all your ingredients are at room temperature.
- Leaky baking pans are a cheesecake’s arch-nemesis so make sure the cheesecake pan is well wrapped in multiple layers of foil. I like to line mine with a double layer of heavy-duty foil, covering the underside and coming all the way to the top.
- Avoid overcooking the cheesecake or it will crack. The center of your cheesecake should still wobble when you remove it from the oven; it will continue to cook as it cools on the counter.
- To prevent cracks during cooling, it’s important to loosen the cheesecake from the sides of the pan after baking. First, cool the cheesecake on a wire rack for 15 minutes. Then carefully run a knife between the cheesecake and the inside of the pan. Don’t remove the sides of the pan yet.
Nutrition
Eggless Baking Frequently Asked Questions
You’ve asked, and I’ve answered! Read on for a handful of answers to the most frequently asked questions about eggless baking.
Originally posted in March 2020, the post content was edited to add more helpful information, with no change to the recipe in June 2022.
