
These Easy Eggless Biscuits are buttery, soft, and flaky! With just 5 ingredients and in less than 30 minutes, you can have fresh, warm biscuits on the table. The recipe includes step-by-step photos and lots of tips.
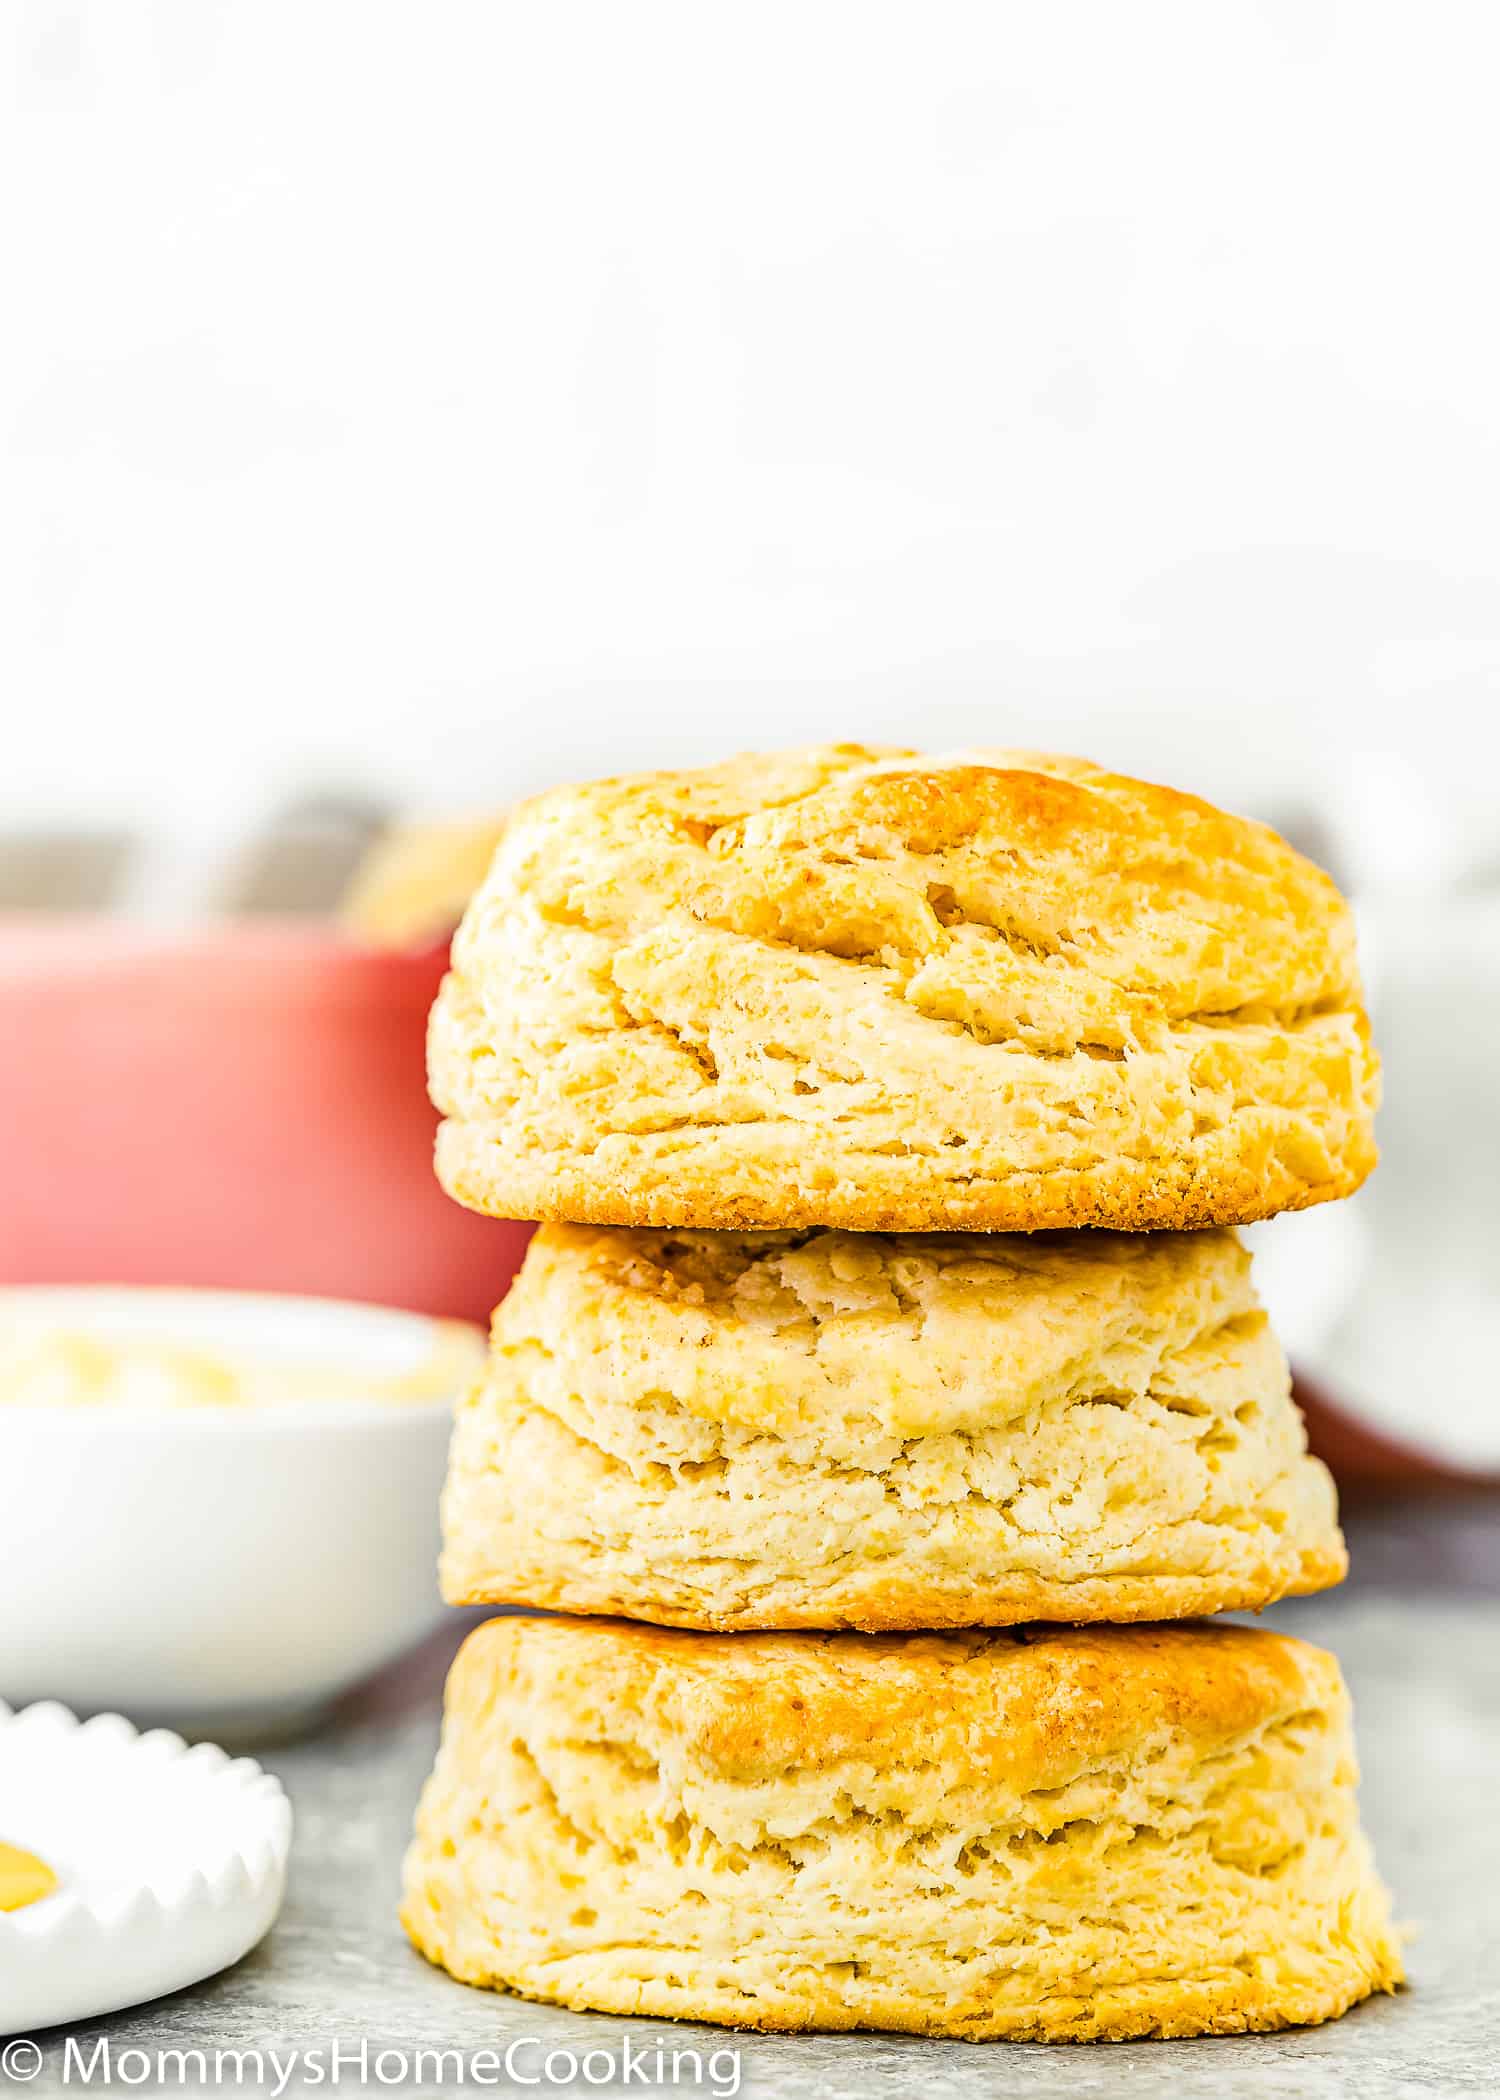
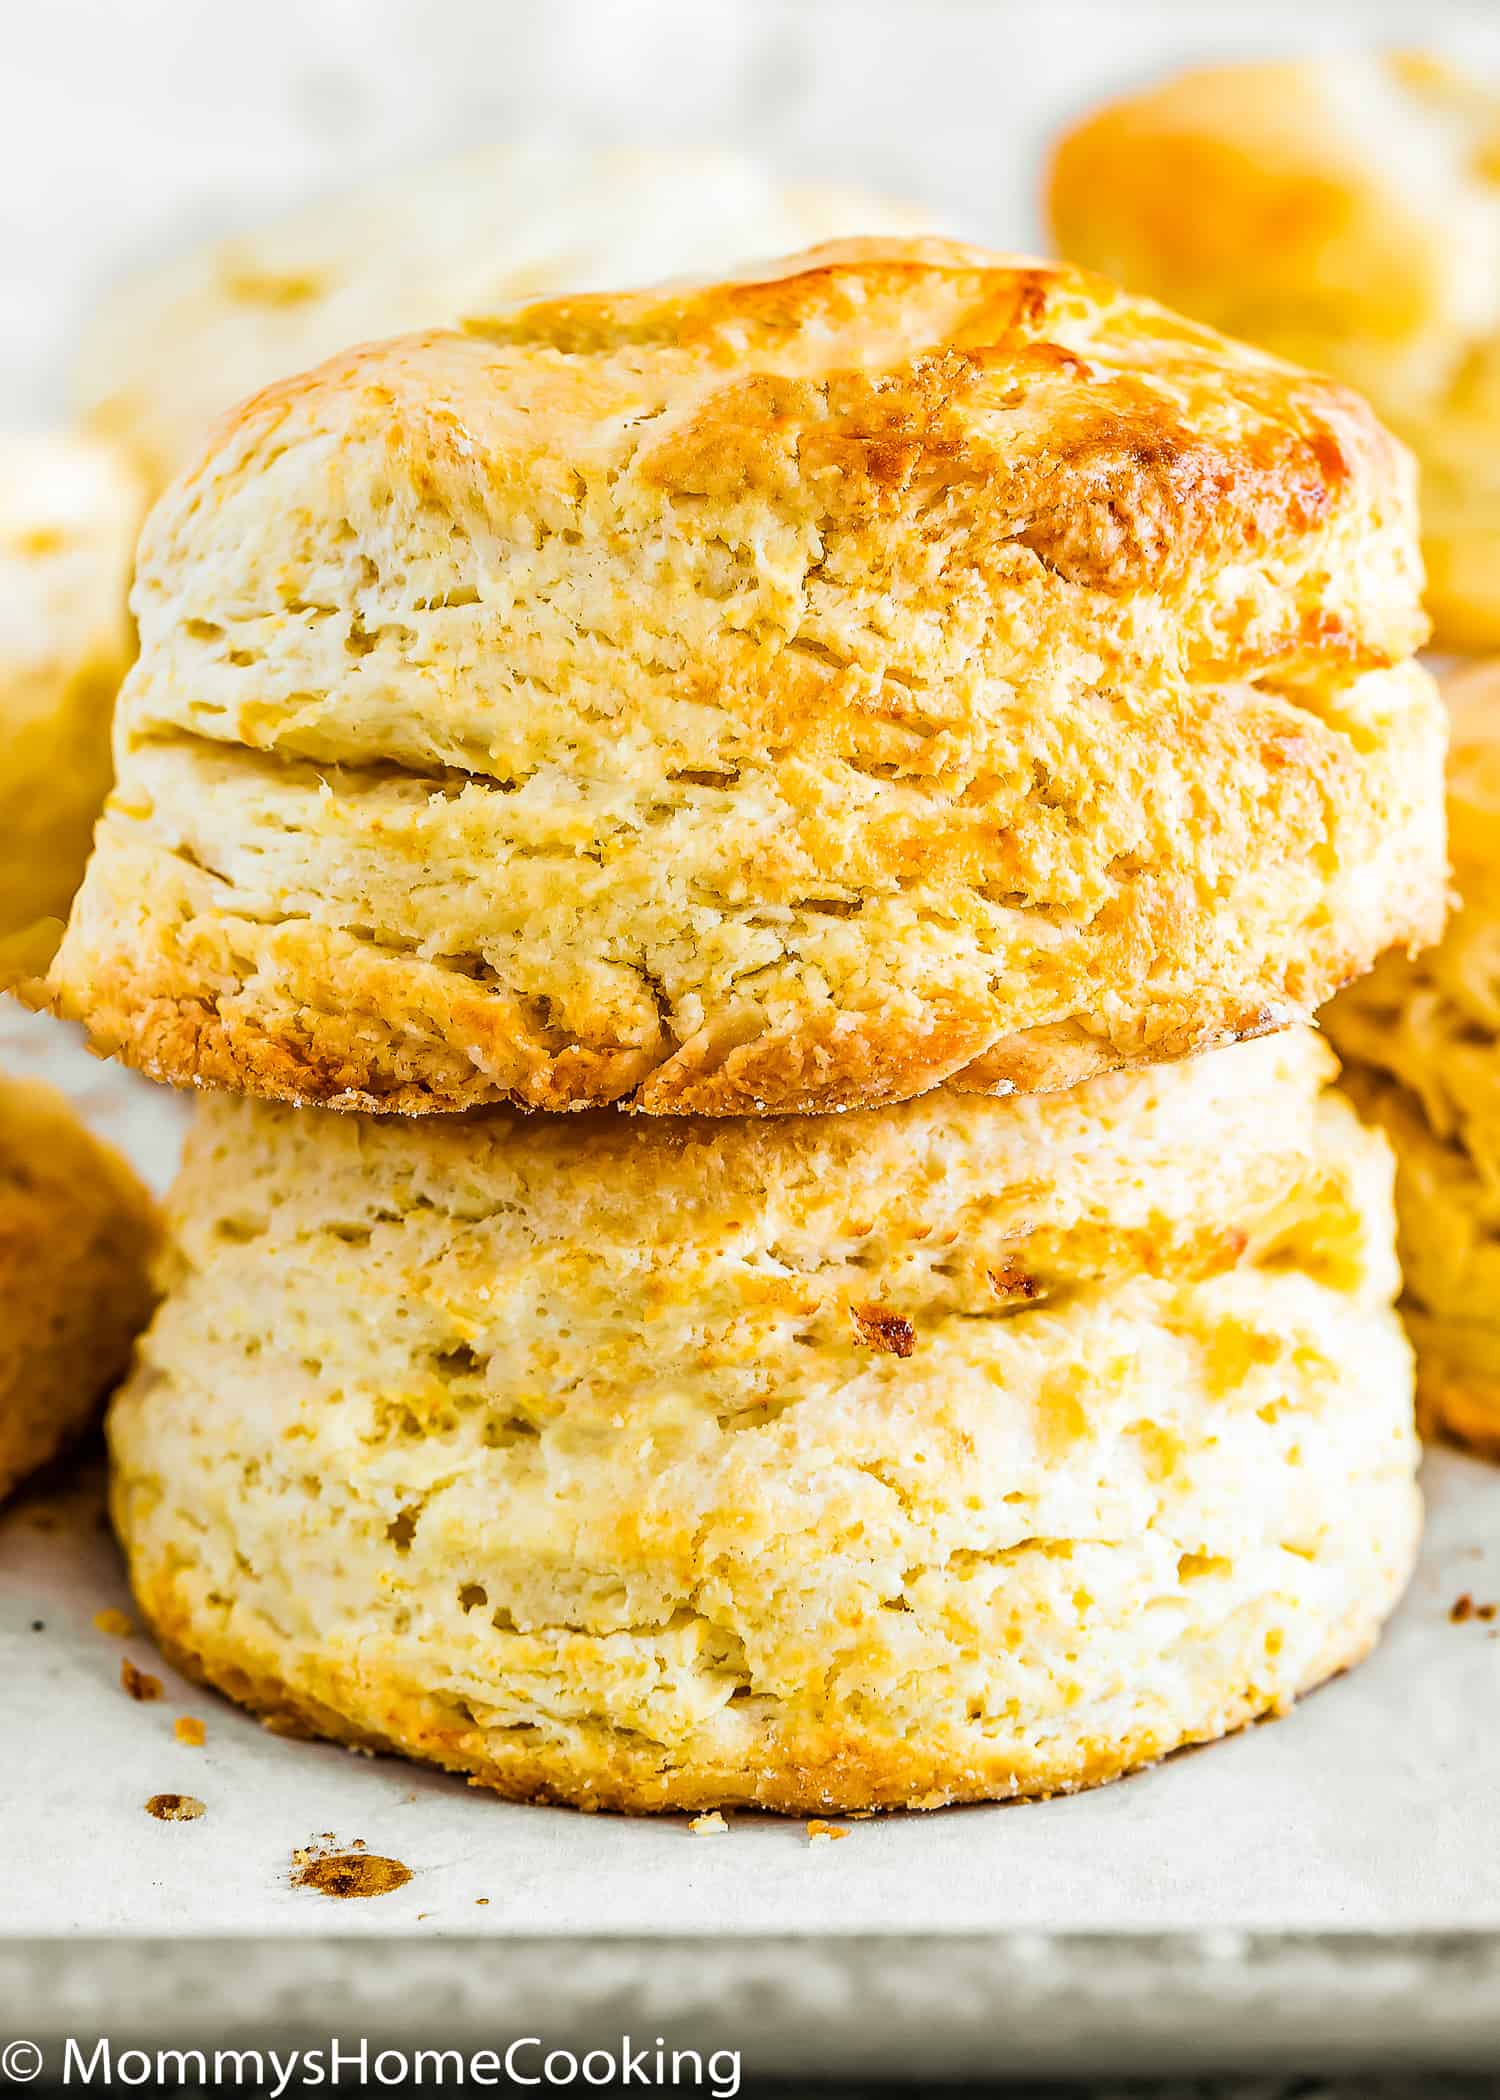
This is the only homemade Easy Eggless Biscuits recipe you’ll ever need. These turn out flaky, perfectly tender, and deliciously buttery every time! And let’s be honest, who doesn’t love a warm from the oven, buttery biscuit?? It’s comfort food at its best.
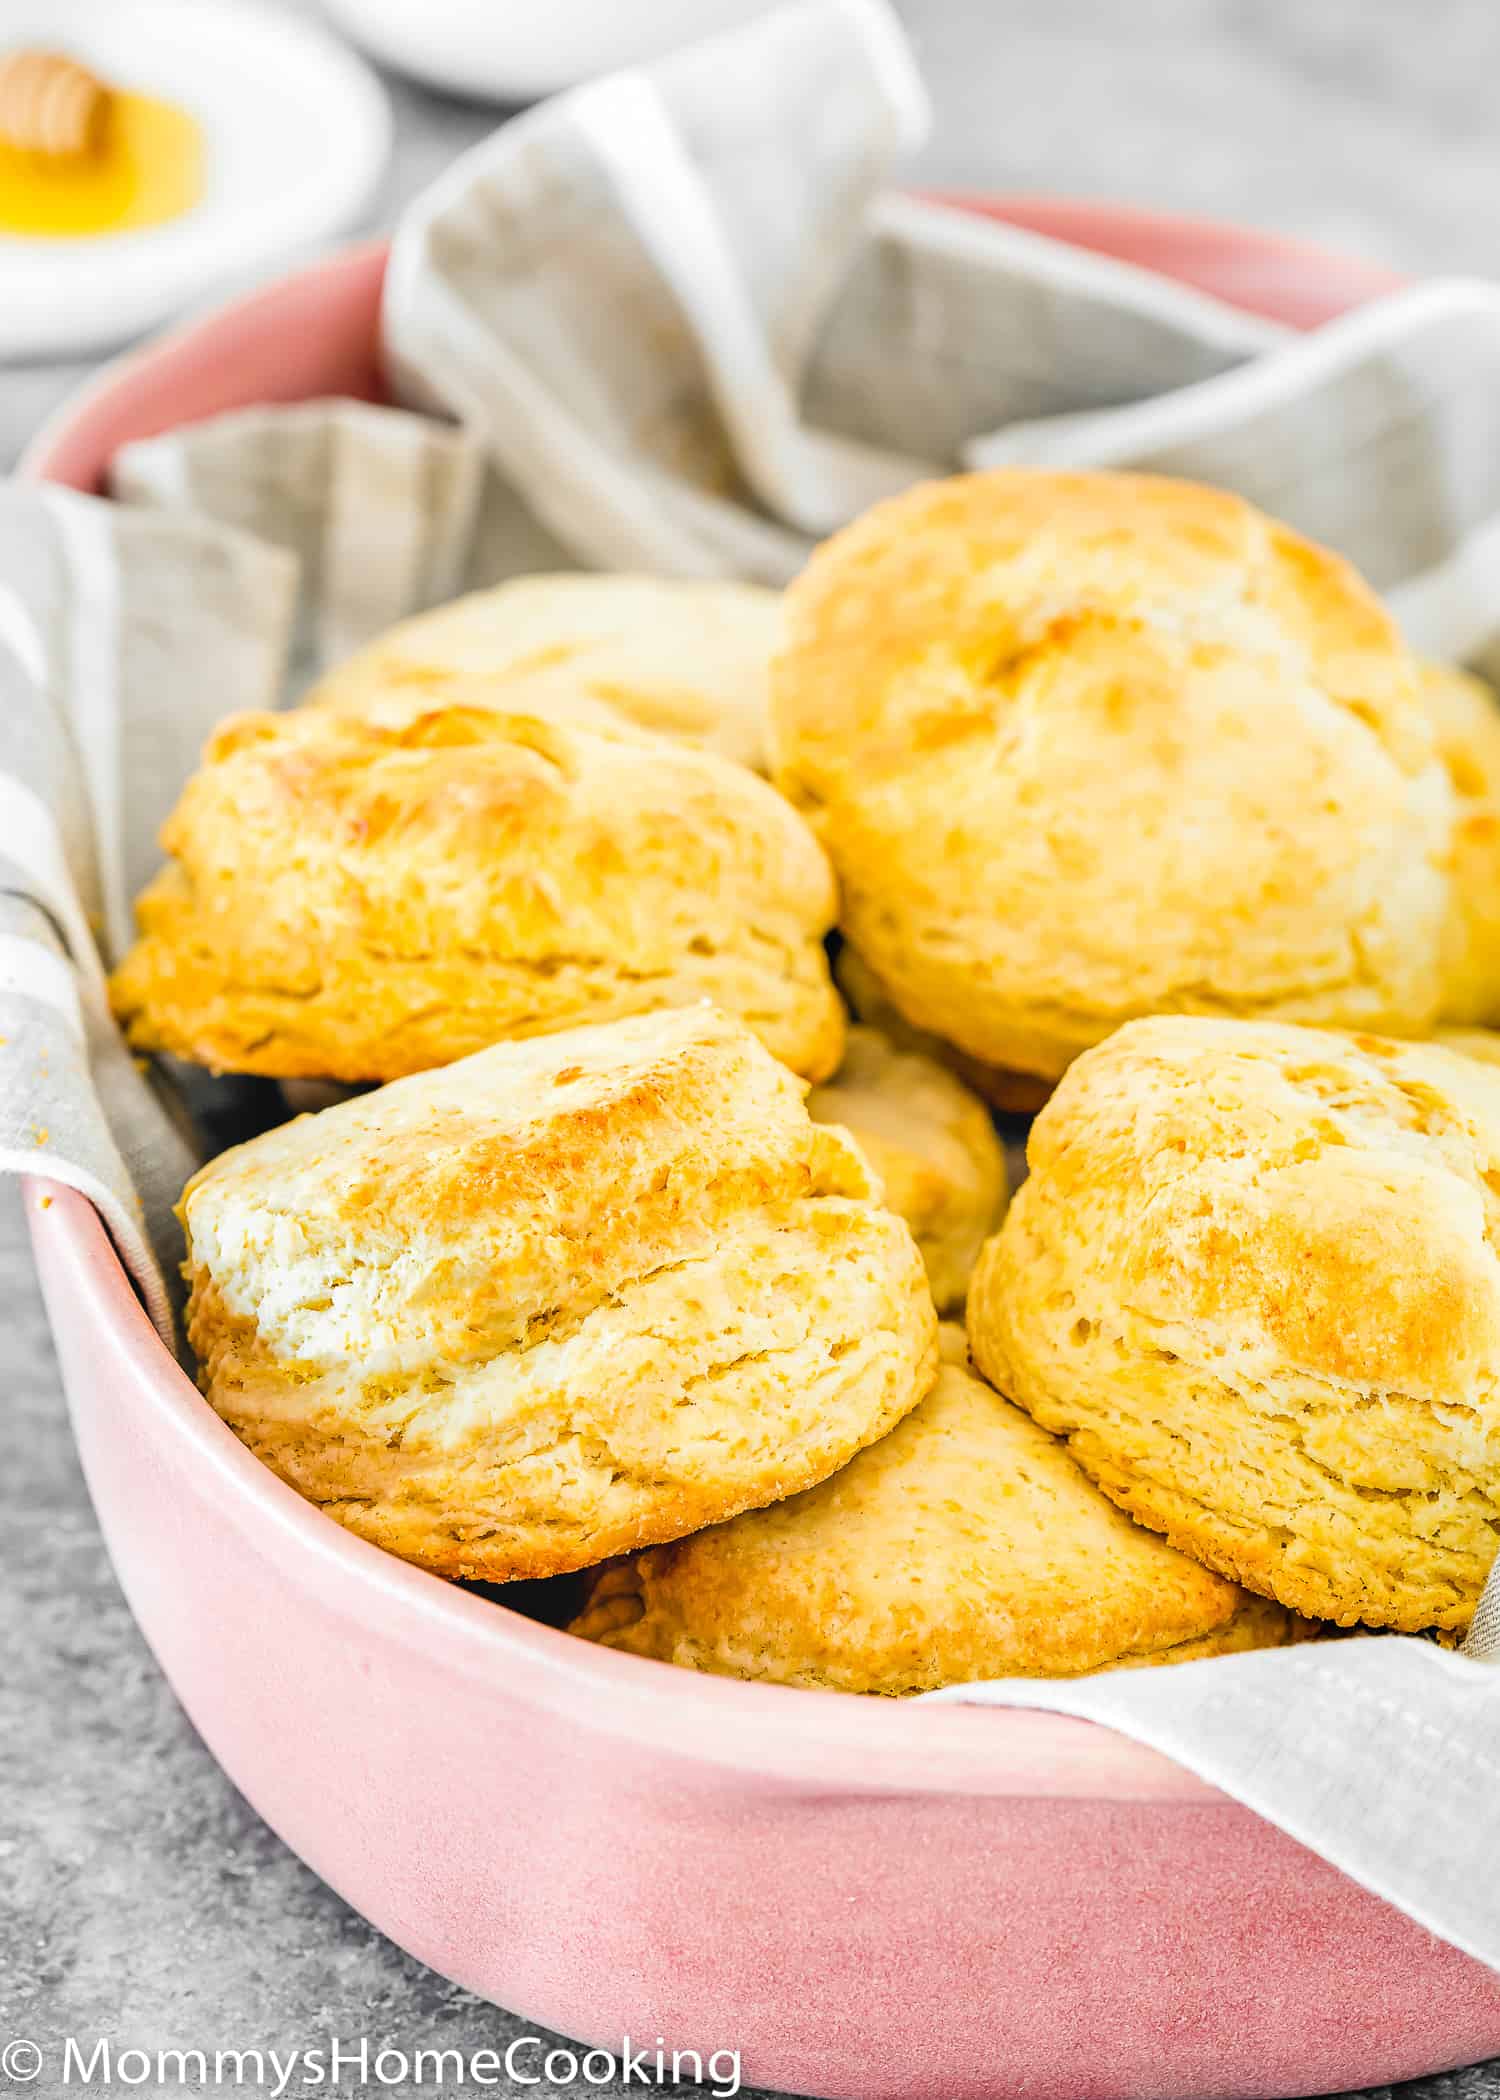
Mix together just a few simple ingredients, that I bet you already have on hand, and in less than 30 minutes, you can have fresh, made-from-scratch, warm biscuits on the table.
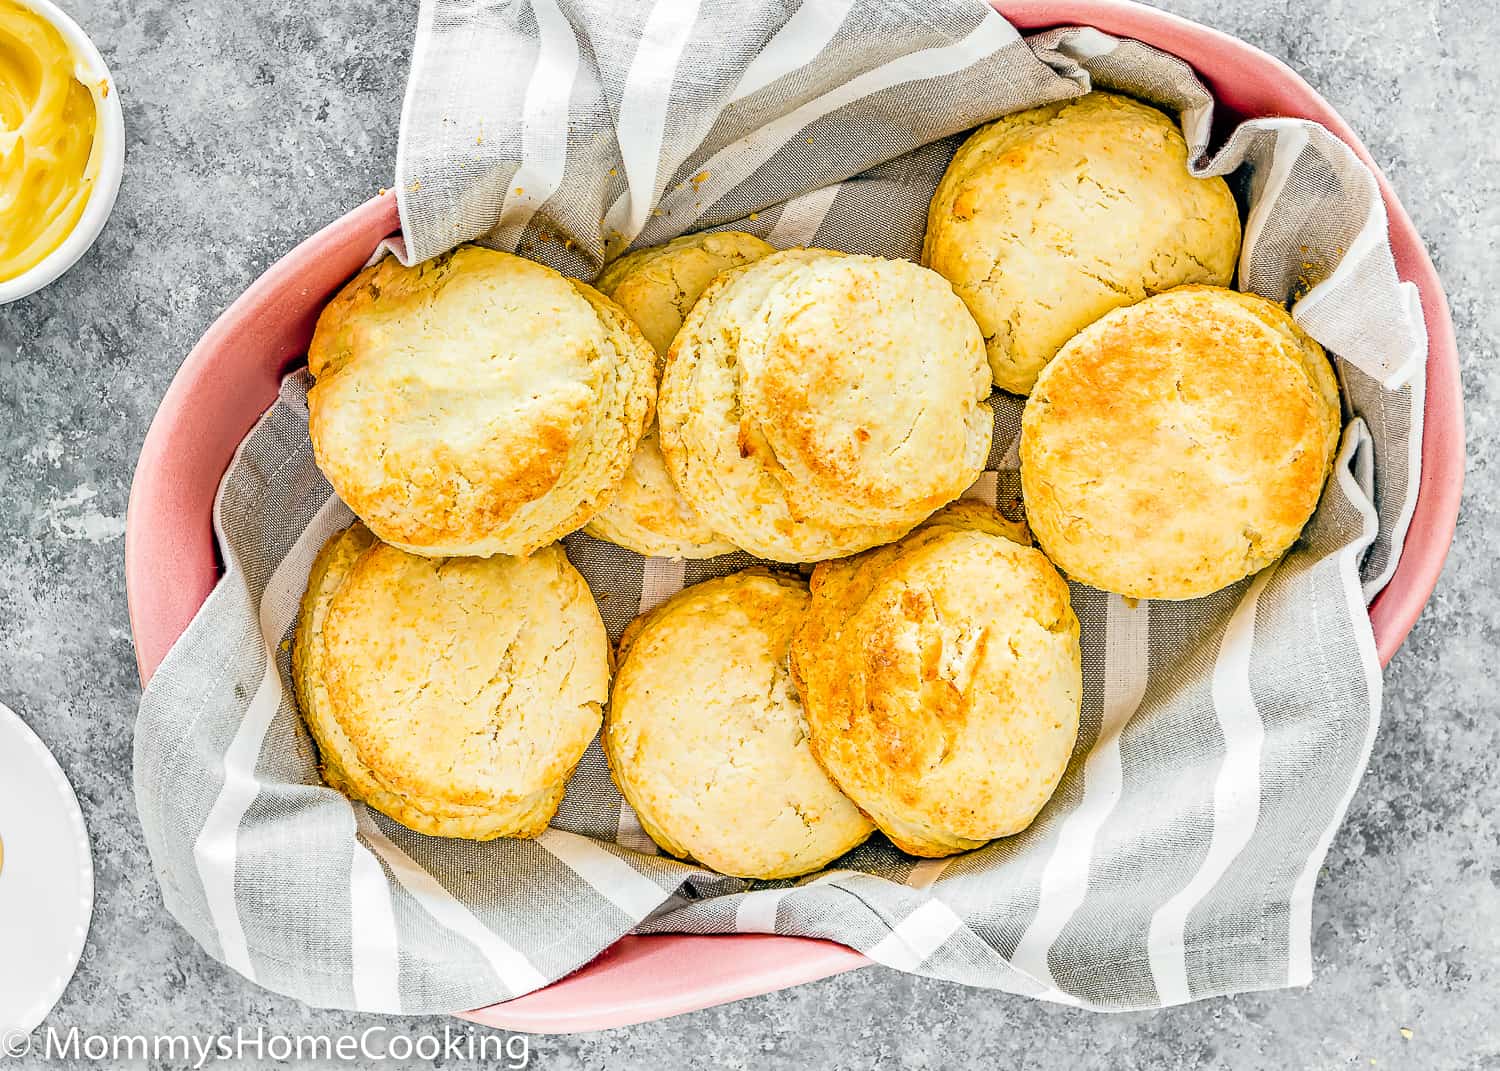
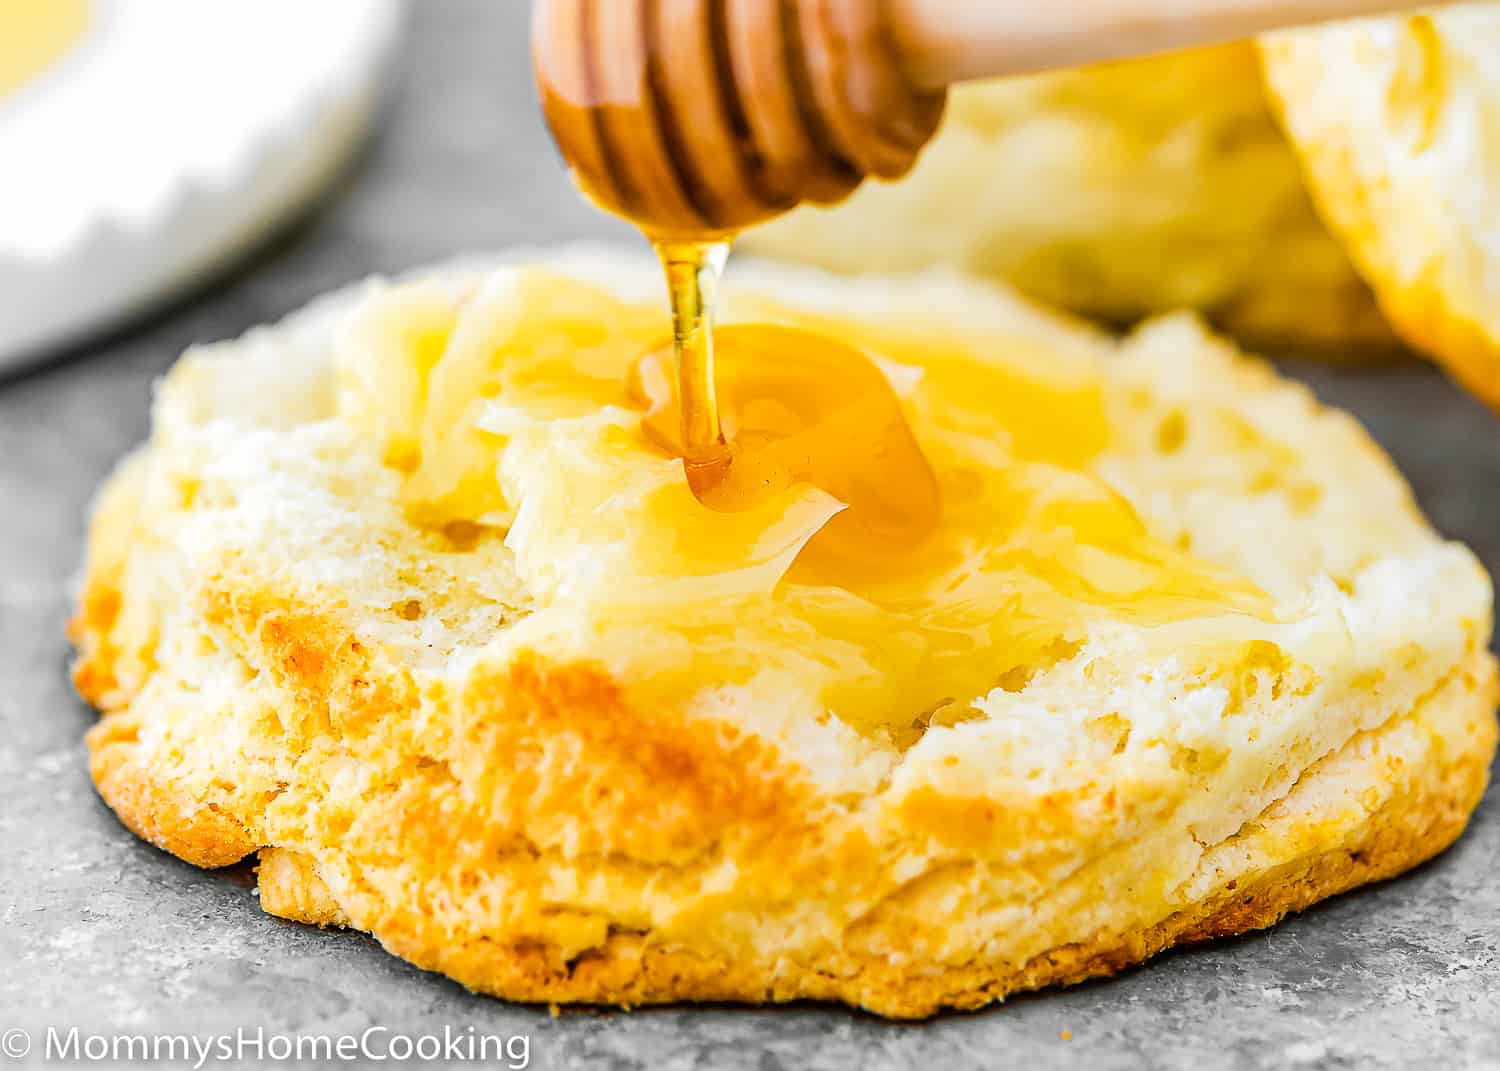
Once you start making homemade biscuits, you’ll never look back. This eggless recipe will be so handy, I make them all the time. They taste amazing. Plus, they are perfect for breakfast, brunch, and dinner sides or served with butter and honey, jam, and a cup of afternoon tea or coffee.
Eggless Biscuits Recipe Highlights
- Flaky, perfectly tender, and deliciously buttery.
- Super easy to make.
- Made with simple ingredients.
- Ready in less than 30 minutes.
- Perfect for breakfast, brunch, or dinner sides.
Ingredients You’ll Need
Please check the recipe card at the bottom of the post for exact quantities and instructions (scroll down).
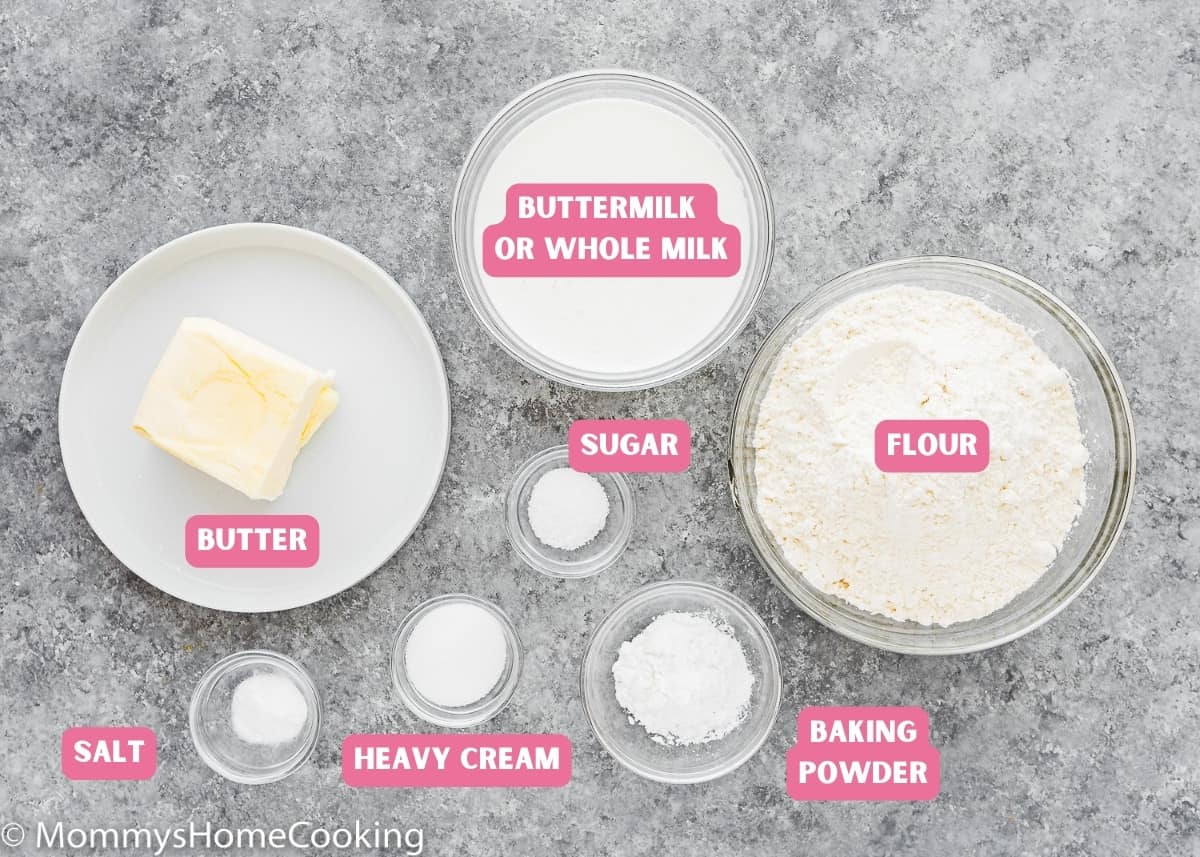
Ingredients Notes & Substitutions
- Flour: Plain all-purpose flour works best here; skip the cake flour, bread flour, and wheat flour.
- Baking powder: Make sure it’s not expired or too old. To avoid a chemical aftertaste, make sure your baking powder is labeled aluminum-free. I usually use the Clabber Girl brand, and though the ingredients state aluminum, I’ve never noticed an aluminum aftertaste.
- Sugar: Regular white granulated sugar or caster sugar.
- Salt: I prefer kosher or sea salt. If you only have table salt handy, I recommend reducing the amount to half.
- Butter: I use unsalted butter, but if you only have salted butter handy, you can use it. In this case, skip the salt called in the recipe.
- Buttermilk: You don’t have buttermilk? No problem!! Check out my recipe for Easy Homemade Buttermilk Substitute [Video]. You can also use whole milk.
- Heavy cream (to brush the tops): This is optional but highly recommended. It helps achieve a slightly crispier and golden top crust. If heavy cream is not available, you can also brush the tops with buttermilk.
Step By Step Recipe Photo Tutorial
Please check the recipe card at the bottom of the post for exact quantities and instructions (scroll down).
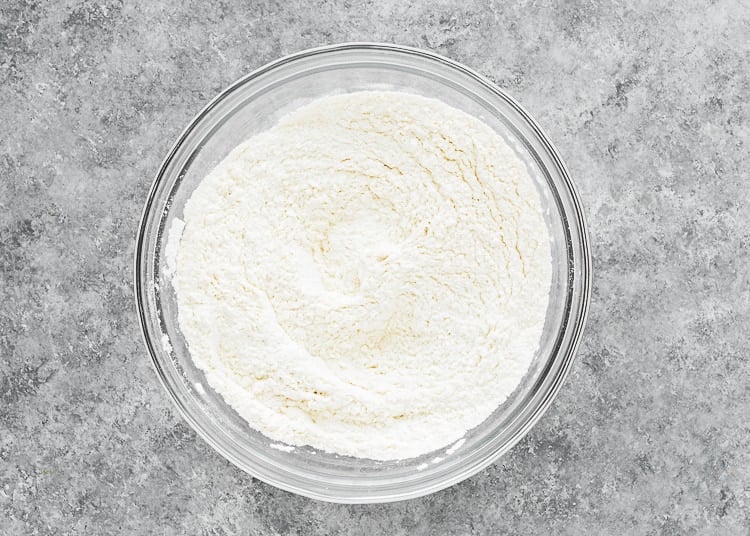
1 – Mix dry ingredients in a large bowl.
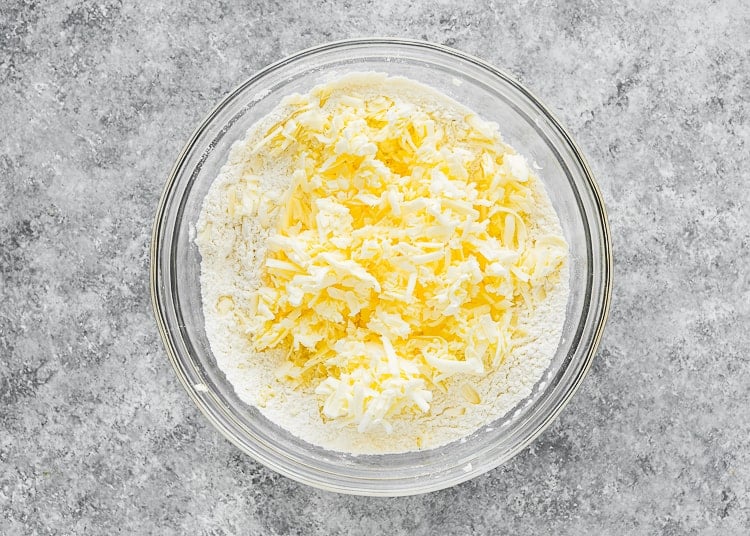
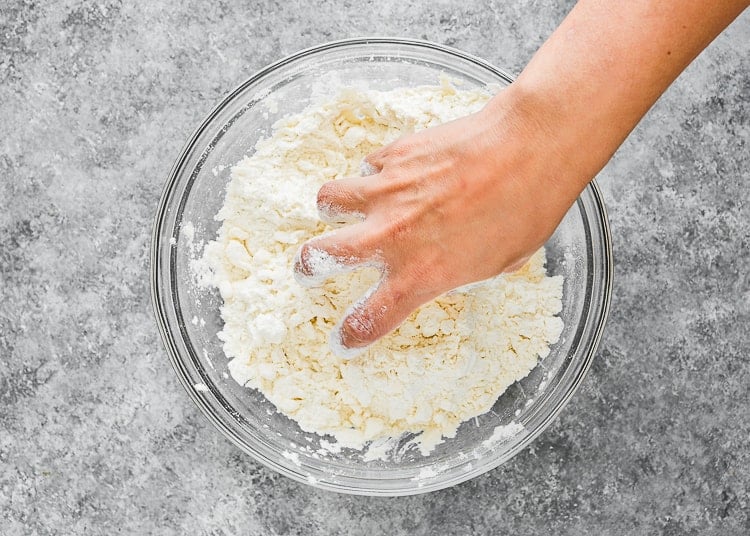
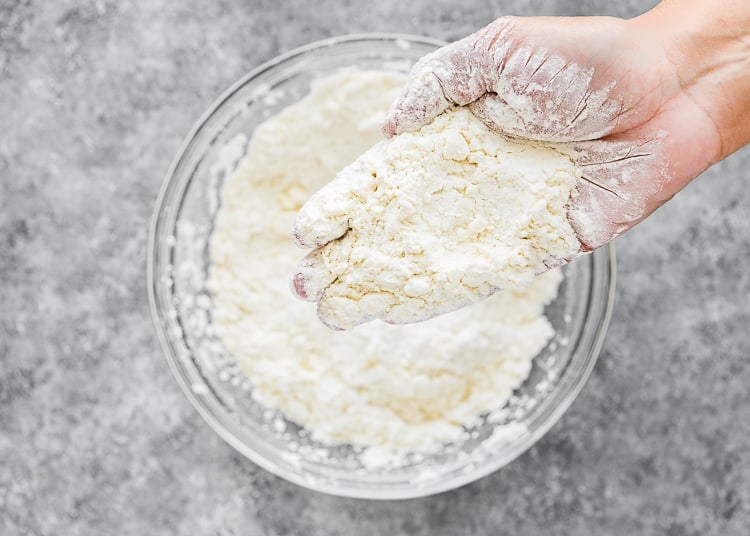
2 – Add cold butter. Cut butter into the flour until the mixture resembles coarse crumbs.
3 – Stir in buttermilk and mix with a fork until the ingredients are combined.
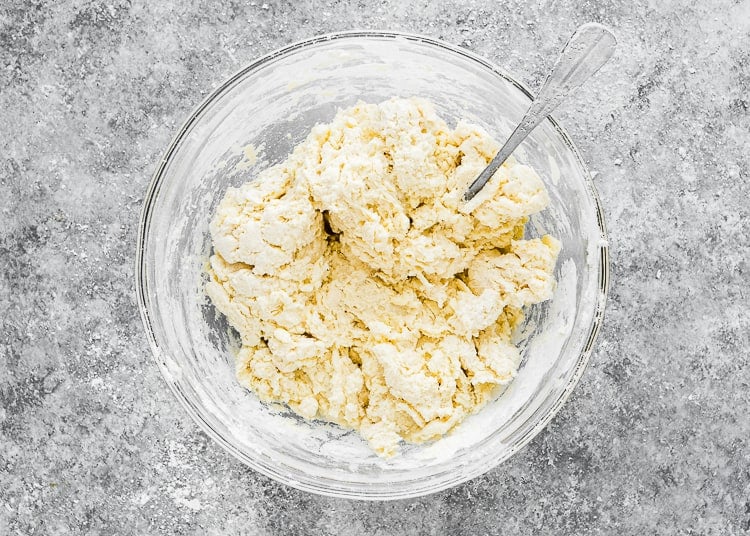
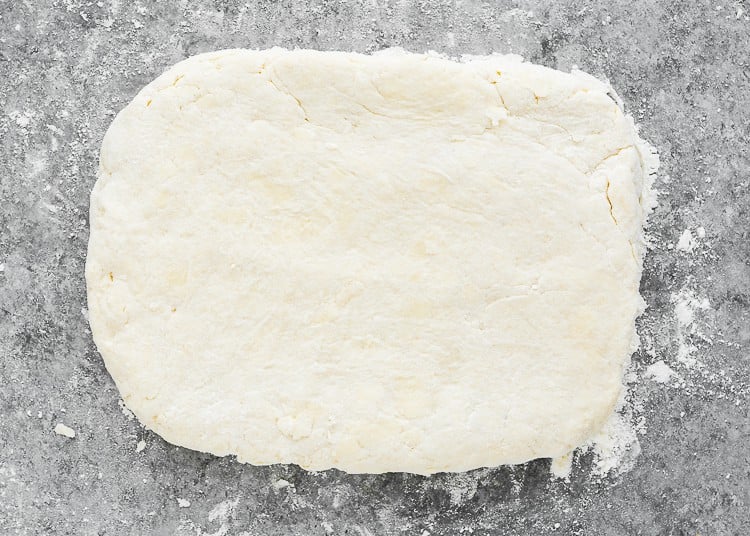
4 – Bring the dough together with your hands. The dough should be about 3/4 inch thick.
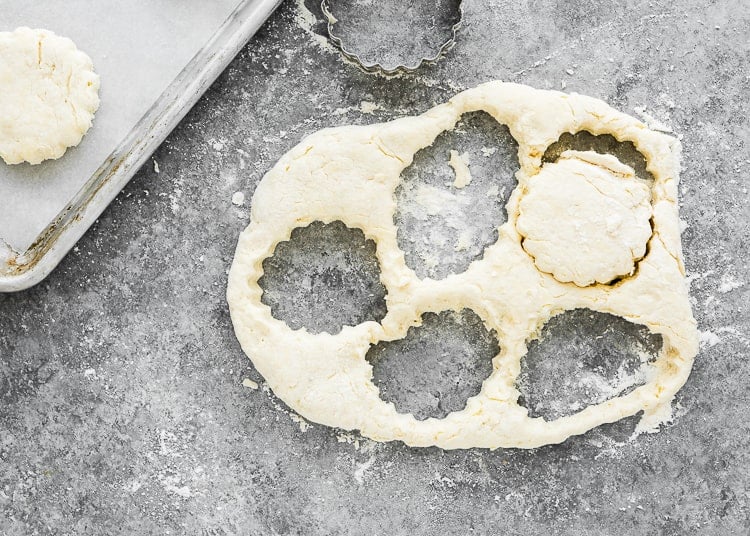
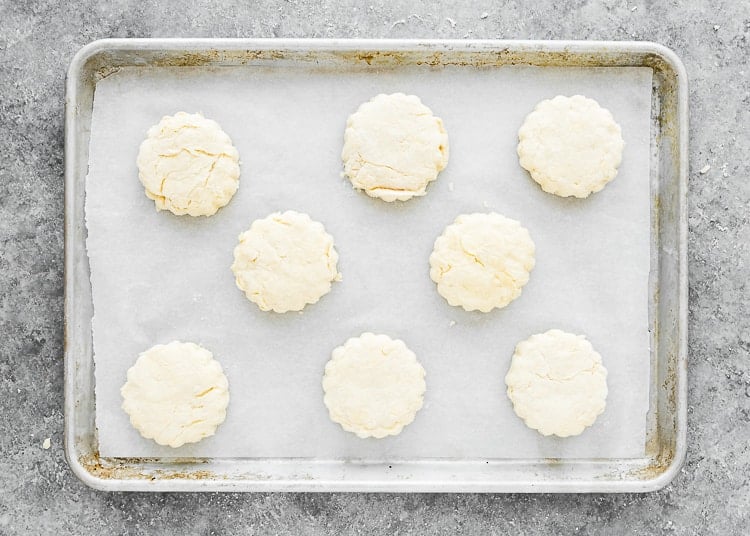
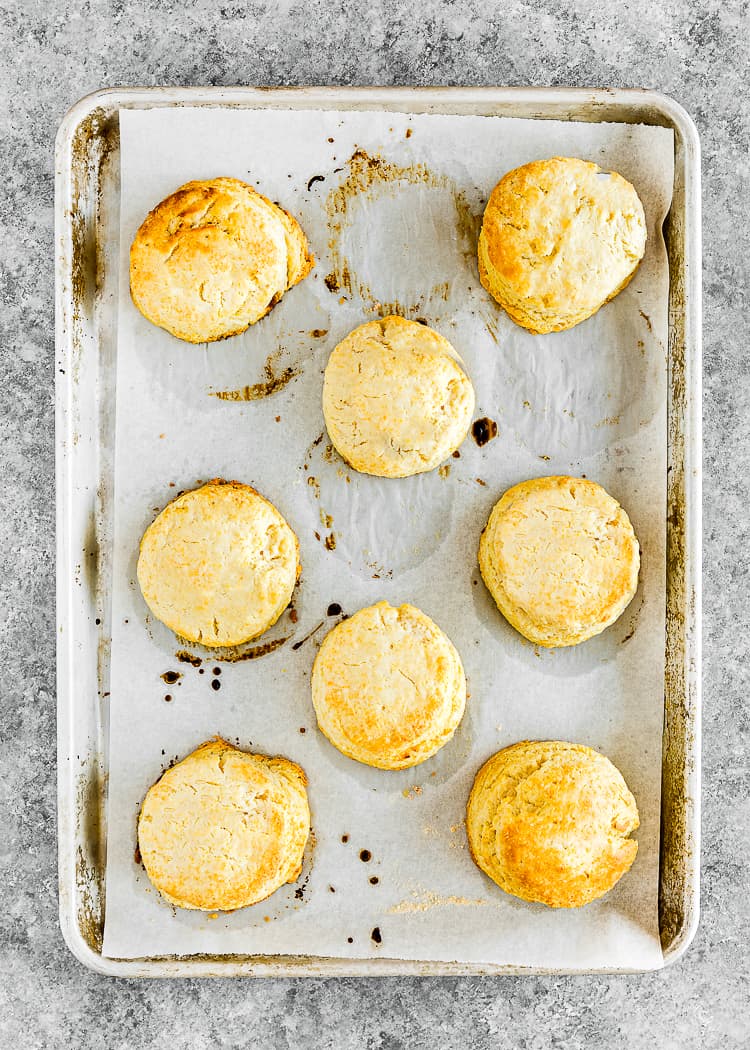
5 – Cut out the biscuits with a cookie cutter, or even glass. Place them on a baking tray, and then, if time allows, refrigerate them in the fridge for a few minutes. If you don’t feel like rolling and cutting, check out my BEST Drop Biscuits (Easy & Fail-Proof) recipe.
6 – Brush the top with heavy cream and bake in the preheated oven.

Tips & Tricks to Make Eggless Biscuits
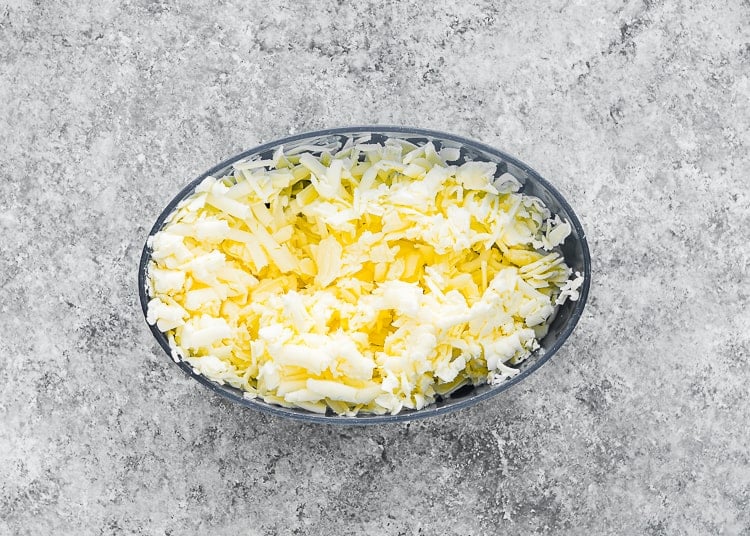
Make sure your butter and buttermilk are SUPER COLD! For best results, chill your butter in the freezer for 10-20 minutes before beginning this recipe. Then, use a box grater to grate the butter before combining it with your dry ingredients.
Do not overwork the dough.
After the dough comes together, fold it over itself 4-6 times to create those wonderful flaky layers we all love in biscuits.
Do not use a rolling pin to roll the dough out; use your hands.
Refrigerate the cut biscuits 15-30 minutes before baking; this short chill will help them maintain their shape while baking.
Arrange the biscuits closer together on the baking sheet, this will help them rise higher and straighter. If you like a crisp biscuit, space them at least 1″ apart on the baking sheet so the oven’s heat can circulate better to crisp them up.
Frequently Asked Questions
Arrange the biscuits closer together on the baking sheet; this will help them rise higher and straighter; make sure the sides are touching. As they bake, they will cling to each other, rising bigger and taller. Also, make sure that your oven is hot; this will help biscuits bake and rise better.
Store any leftover biscuits, well wrapped, at room temperature for up to 3 days or in the refrigerator for up to 5 days. Freeze for longer storage.
Cover the biscuits with plastic wrap, then place them in the freezer for several hours until they are completely frozen. Once frozen, you can place all the biscuits into a resealable bag and store them in the freezer for up to two months. When ready to eat, bake as instructed, adding an extra 3-5 minutes to the baking time.
Cover the biscuits with plastic wrap. Place all the biscuits into a resealable bag and store them in the freezer for up to two months. To reheat, preheat your oven to 350º F and reheat the frozen biscuits for about 10-12 minutes.
Storing & Freezing Instructions
Store any leftover biscuits, well wrapped, at room temperature for up to 5 days.
Freeze
Unbaked Biscuits. Cover the biscuits with plastic wrap, then place them in the freezer for several hours until they are completely frozen. Once frozen, you can place all the biscuits into a resealable bag and store them in the freezer for up to two months. When ready to eat, bake as instructed, adding an extra 3-5 minutes to the baking time.
Baked Biscuits. Cover the biscuits with plastic wrap. Place all the biscuits into a resealable bag and store them in the freezer for up to two months. To reheat, preheat your oven to 350º F and reheat the frozen biscuits for about 10-12 minutes.
Reheat
Oven. Biscuits are always best when they’re rewarmed before serving. To reheat refrigerated biscuits, preheat your oven to 350º F. Reheat the frozen biscuits for about 5 – 7 minutes. If the biscuits are frozen, preheat your oven to 350º F. Reheat them in the oven for about 10 – 12 minutes.
Microwave. You can also reheat them in the microwave. To do so, wrap the biscuit in a damp paper towel. Place it on a microwave-safe plate. Set the timer for 20 seconds and microwave. Check the biscuits and microwave for another 10 or 15 seconds or so until heated through.
More Egg-Free Bread Recipes You’ll Love!
- BEST Drop Biscuits (Easy & Fail-Proof)
- Eggless Honey Whole Wheat Rolls
- Eggless Homemade Hawaiian Rolls
- Easy Eggless Cinnamon Rolls
- Soft No-Knead Eggless Dinner Rolls
- BEST Eggless Cornbread
- Homemade Flatbread
- Eggless Easter Hot Cross Buns
- Browse more recipes…
❤️ Love what you see? JOIN my Private Baking Club. Also, SUBSCRIBE to Mommy’s Home Cooking, so you’ll never miss a recipe! And FOLLOW along on Instagram, Pinterest, and Facebook for more fun!

Easy Eggless Biscuits
Ingredients
- 3 cups (375 g) all-purpose flour
- 4 1/2 teaspoons (18 g) baking powder
- 1 tablespoon (12 g) granulated sugar
- 1 teaspoon salt
- 9 tablespoons (135 g) unsalted very cold butter (For best results, chill your butter in the freezer for 10-20 minutes before beginning this recipe)
- 1 1/4 cup (265 ml) cold buttermilk or whole milk
- Heavy cream to brush the tops (optional)
Instructions
- Preheat oven to 425º F (218º C). Line a cookie sheet with nonstick parchment paper. Set aside.
- Combine flour, baking powder, sugar, and salt in a large bowl and mix well. Set aside.
- Use a pastry cutter to cut cold butter into the flour mixture, until the mixture resembles coarse crumbs. Note: you want to see small, pea-sized pieces of butter throughout the dough. If you don't have a pastry cutter use your finger.
- Add in the buttermilk and mix with a fork until the ingredients are combined. The dough will be sticky. You should be able to see the butter pieces in the dough.
- Transfer your biscuit dough to a well-floured surface and use your hands to gently work the dough together. If the dough is too sticky, add flour, 1 tablespoon at the time, until it is manageable.
- Once the dough is consistent, fold in half over itself and use your hands to gently flatten layers together. Rotate the dough 90 degrees and fold in half again, repeating this step 6 times but taking care to not overwork the dough.
- Gently pat out the dough some more, so that the rectangle is roughly 10 inches by 6 inches. The dough should be about 3/4 inch thick. Cut dough into biscuits using a floured glass or biscuit cutter. Do not twist cutter when cutting; this crimps the edges of the biscuit and impedes its rise.
- Place biscuits on a cookie sheet. If time allows, refrigerate the biscuits for 15-20 minutes, this short chill will help them maintain their shape while baking. This is totally optional, if you are in a rush, go ahead to the next step.
- Brush the top of the biscuits with heavy cream, to enhance browning (optional). Bake until golden brown, approximately 10 to 15 minutes.
- Make sure your butter and buttermilk are SUPER COLD! For best results, chill your butter in the freezer for 10-20 minutes before beginning this recipe.
- Do not overwork the dough.
- After the dough comes together, fold it over itself 4-6 times to create those wonderful flaky layers we all love in biscuits.
- Do not use a rolling pin to roll the dough out; use your hands.
- Refrigerate the cut biscuits 15-30 minutes before baking, this short chill will help them maintain their shape while baking.
- Arrange the biscuits closer together on the baking sheet, this will help them rise higher and straighter. If you like a crisp biscuit, space them at least 1″ apart on the baking sheet so the oven’s heat can circulate better to crisp them up.
Nutrition
Originally posted in May 2020, the post content was edited to add more helpful information, with no change to the recipe in August 2022.
Hello from Scotland! Just made these and they were great 🙂 normally I’m hopeless at baking but gave these a trial run before trying with my 5 yr old later in the week. Came out fantastic. Thank you!
Mike
Hello Mike! I am so glad you liked this recipe. I hope you have fun making them again with your kid. Thanks so much for trying my recipe and taking the time to come back and let me know!
Hi,
I found that it was less sweet, so would it make a difference if i increase the sugar?
Hello Sakshi! These biscuits are not supposed to be sweet. You can increase the sugar by 10% but keep in mind that the texture might be different. Thanks for your interest in my recipe. Please come back and let me know how you like it =)
Oriana, you’ve made our Christmas wonderful! I’ve
got a house full of cookies, cake, breads and muffins, thanks to you! The biscuits came out as perfectly as all of your other recipes I’ve tried. My loved ones with food allergies got to eat everything-thank you thank you thank you!!
Hello Melissa! Your message means the world to me. It has been a long journey trying to learn how to bake without eggs, I am still learning. I feel so happy when I receive comments, messages and emails from people like you that enjoy my eggless recipes. I hope my recipes inspire you to continue baking. Please make sure to reach out if you have any questions or special requests. I am happy to help! 🙂 Stay safe and take care of yourself and your loved ones. Happy 2021! xo,
Yes.. this recipe is so good and easy to make. Thank you for sharing your knowledge.
Hello Gloria! I’m glad you found it easy to make. Thanks so much for your feedback and for trying my recipe. xo