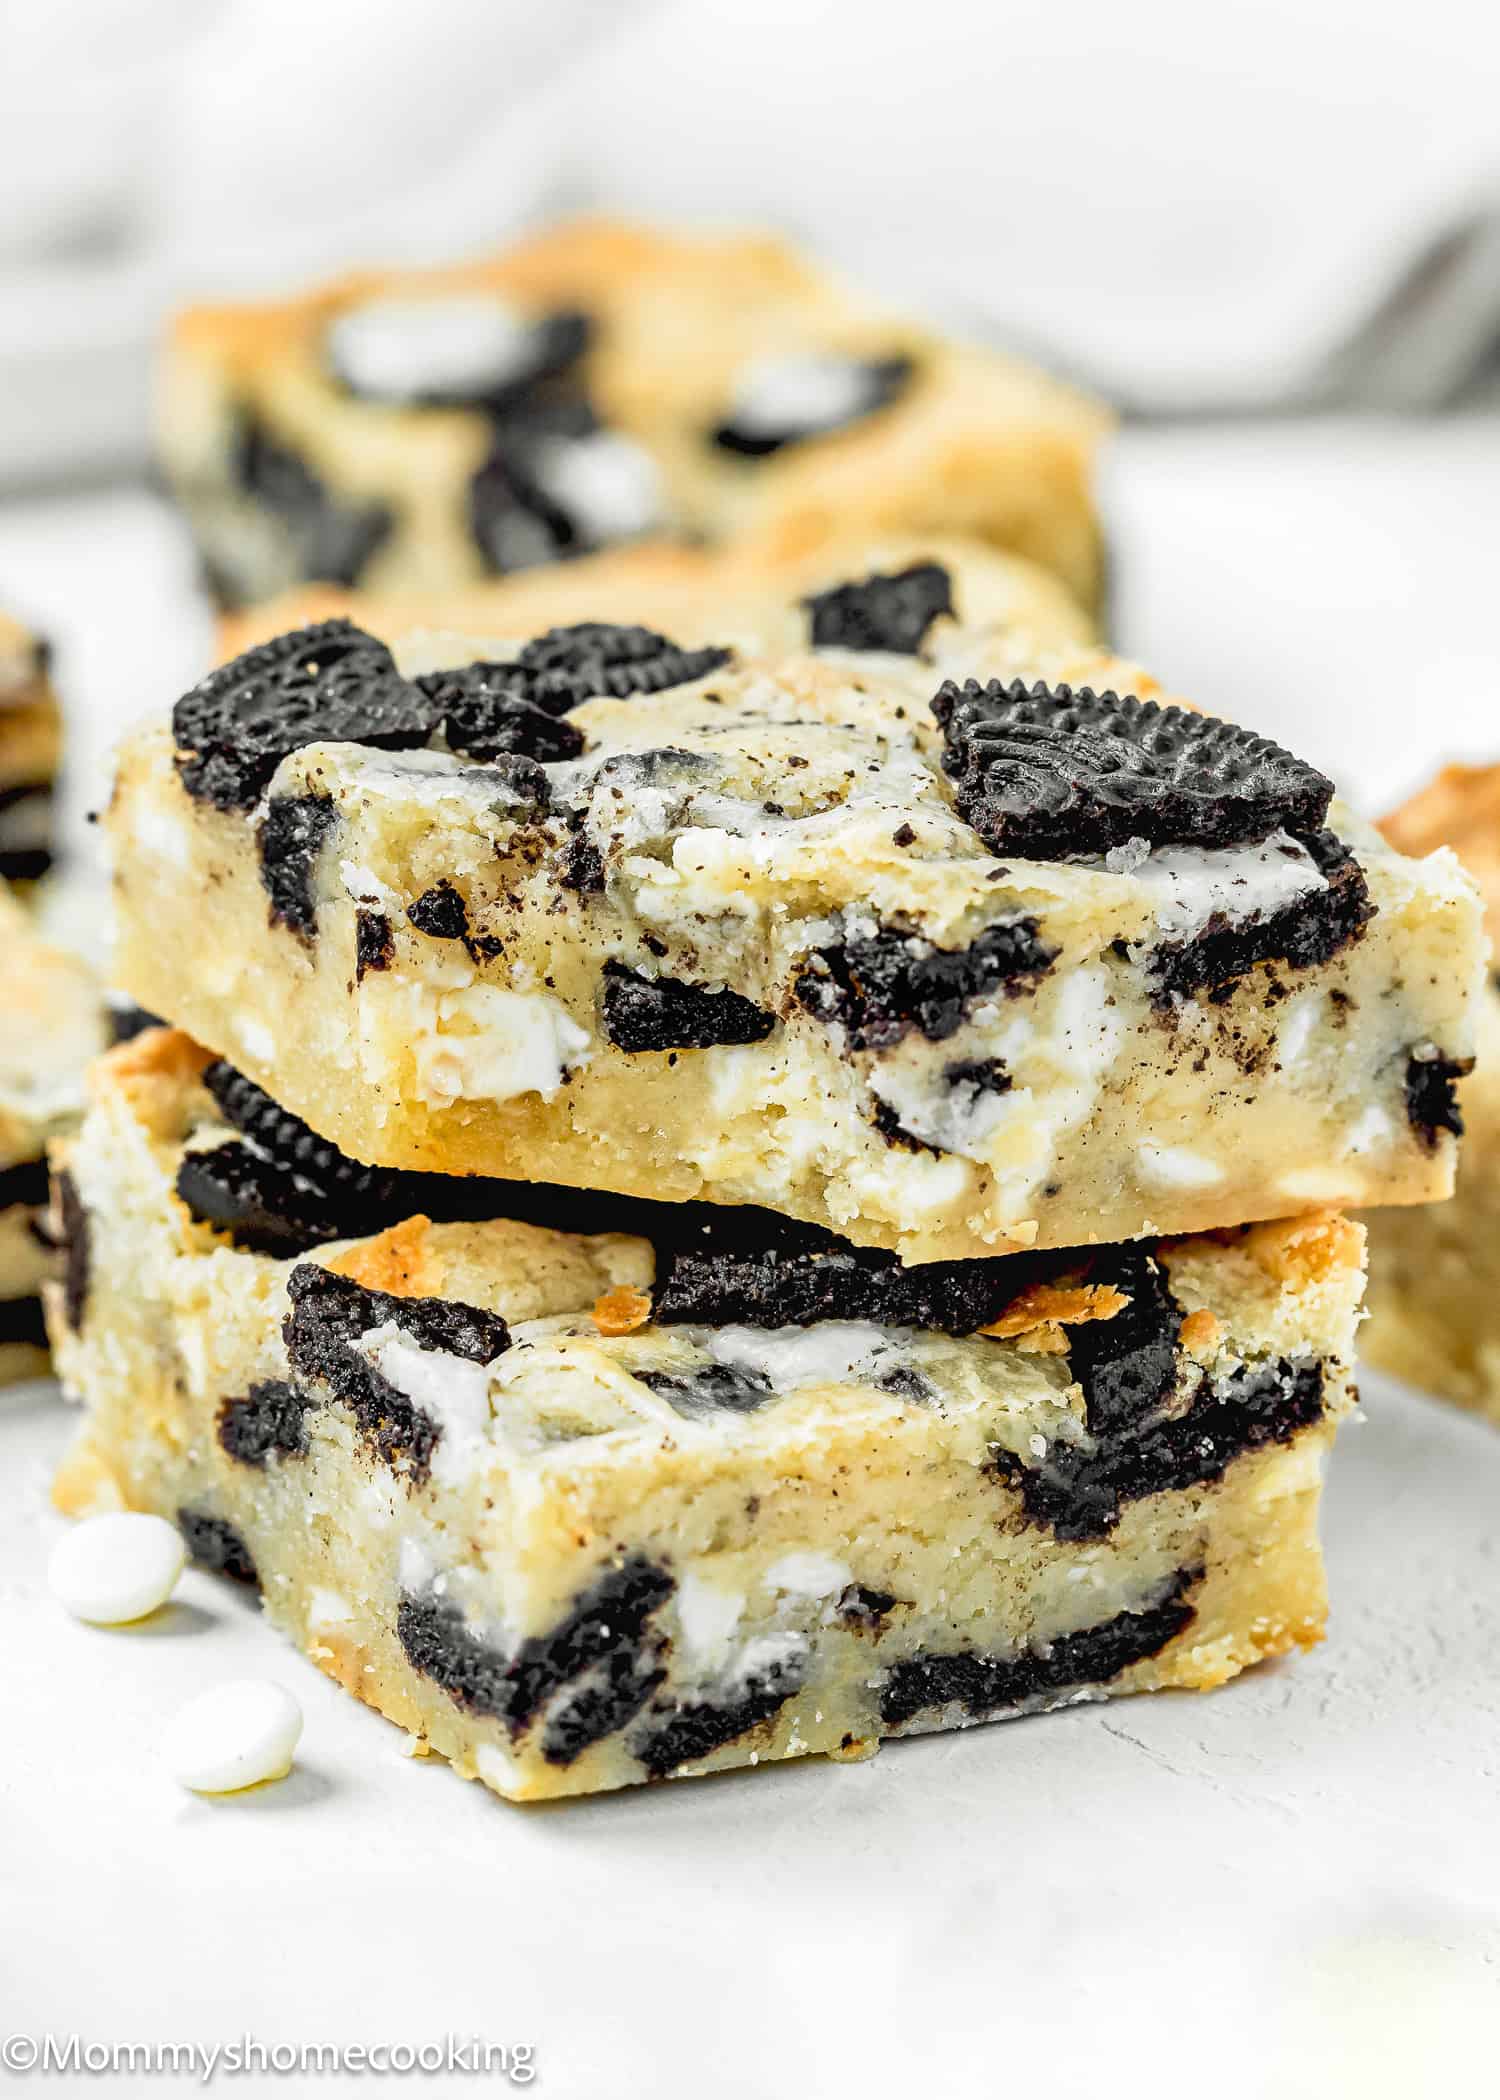
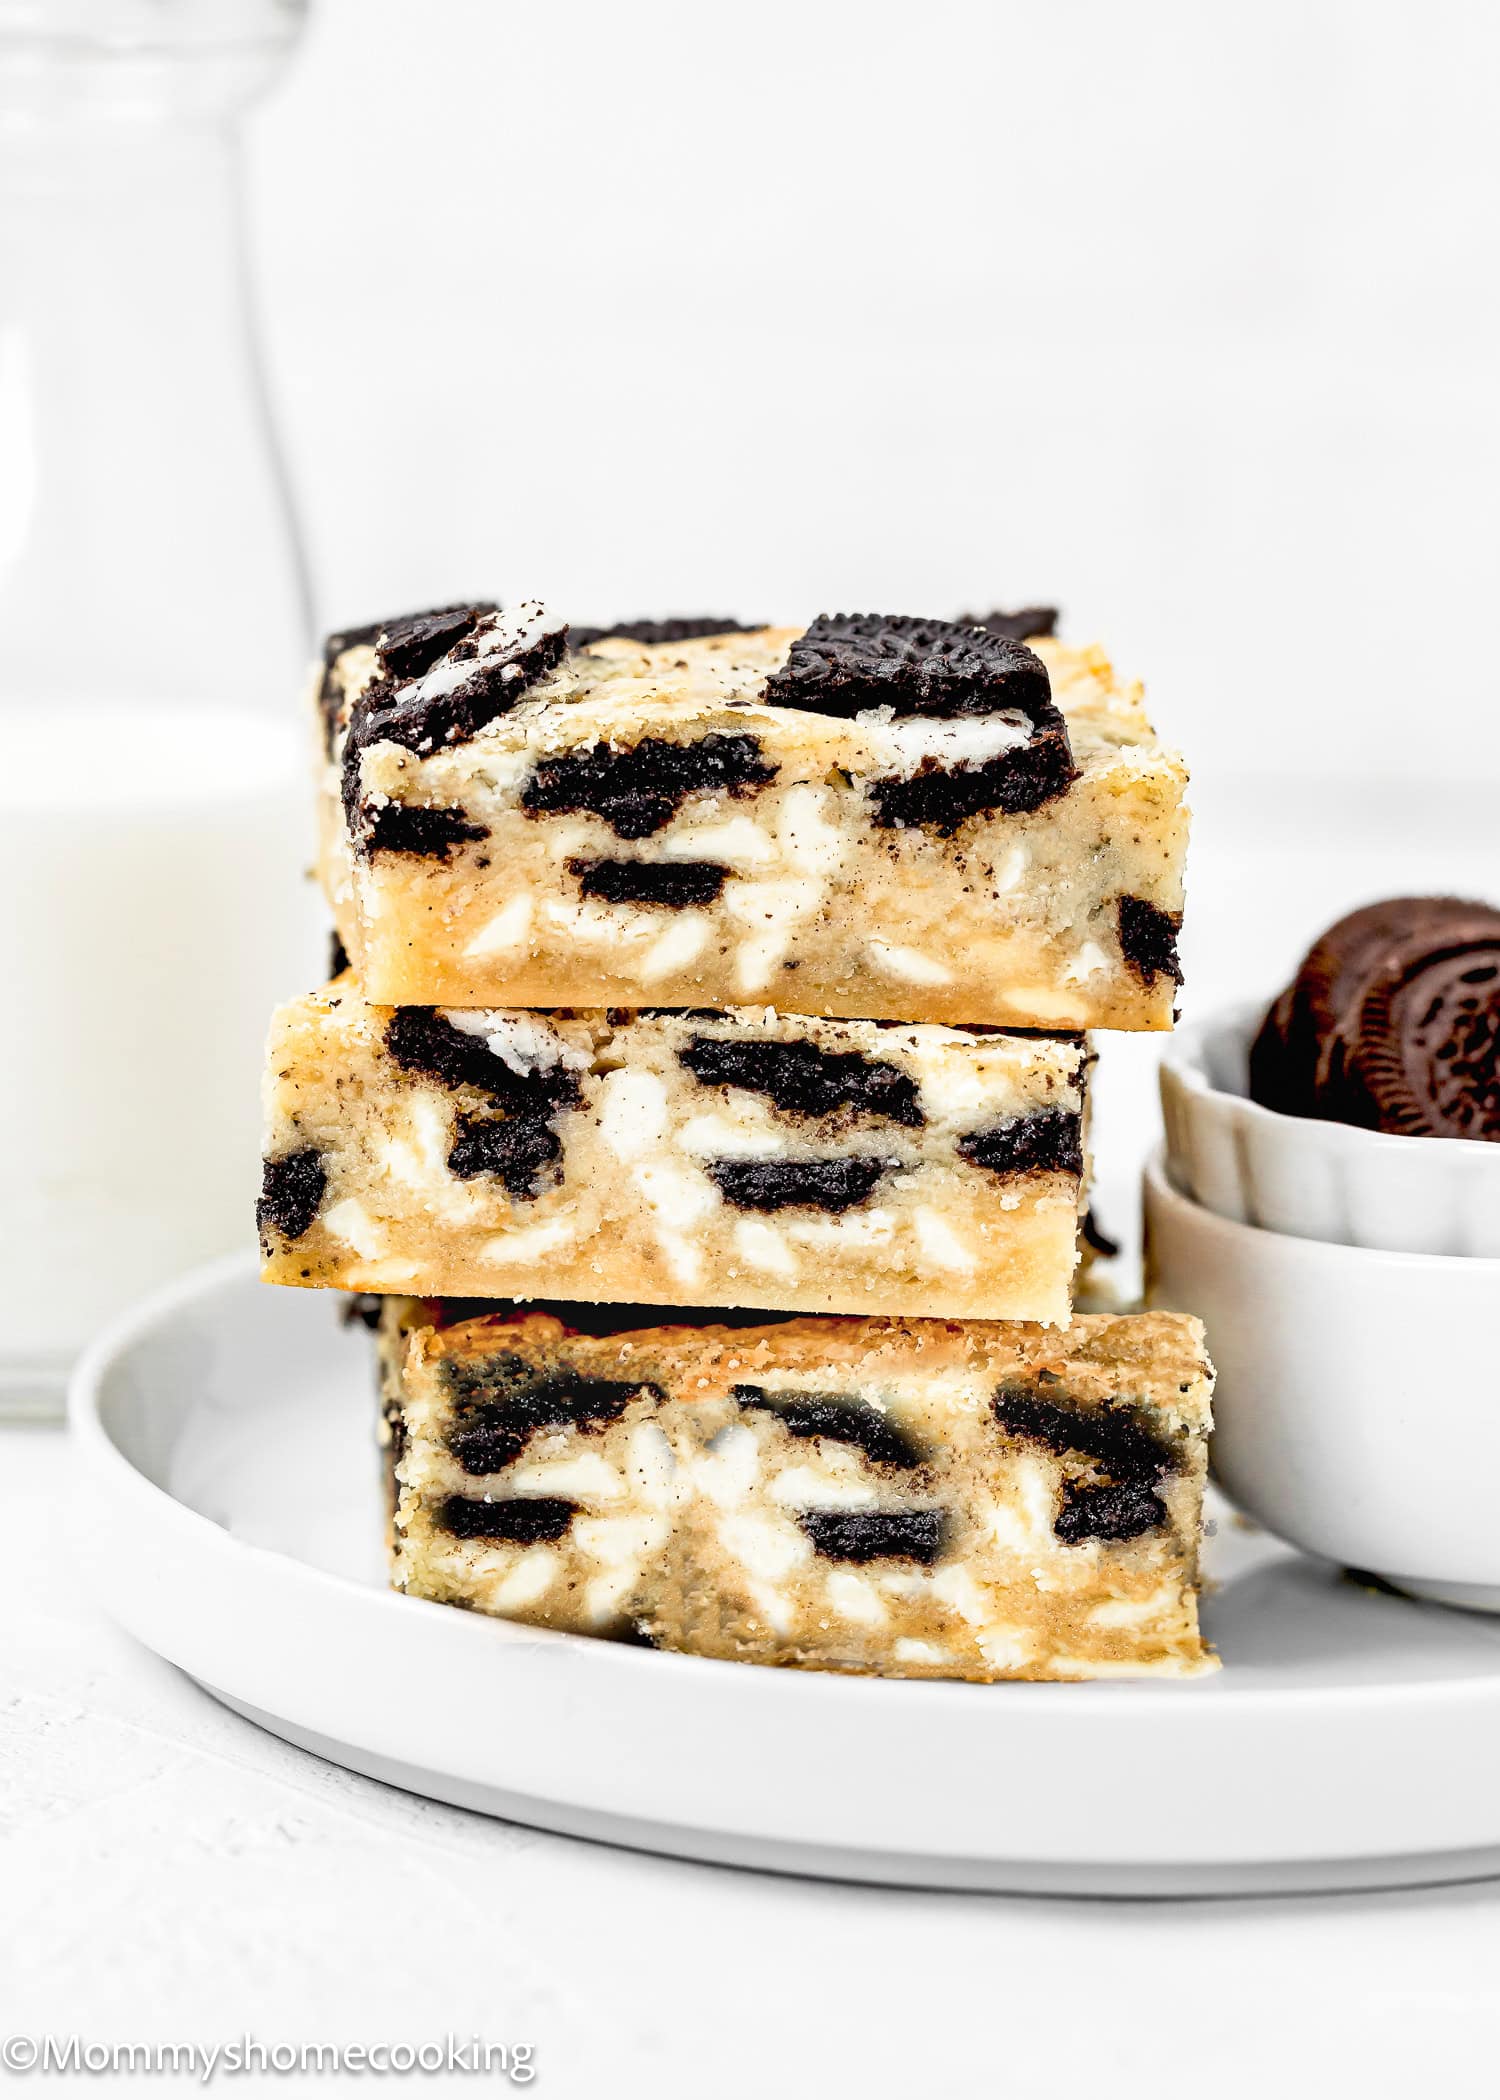
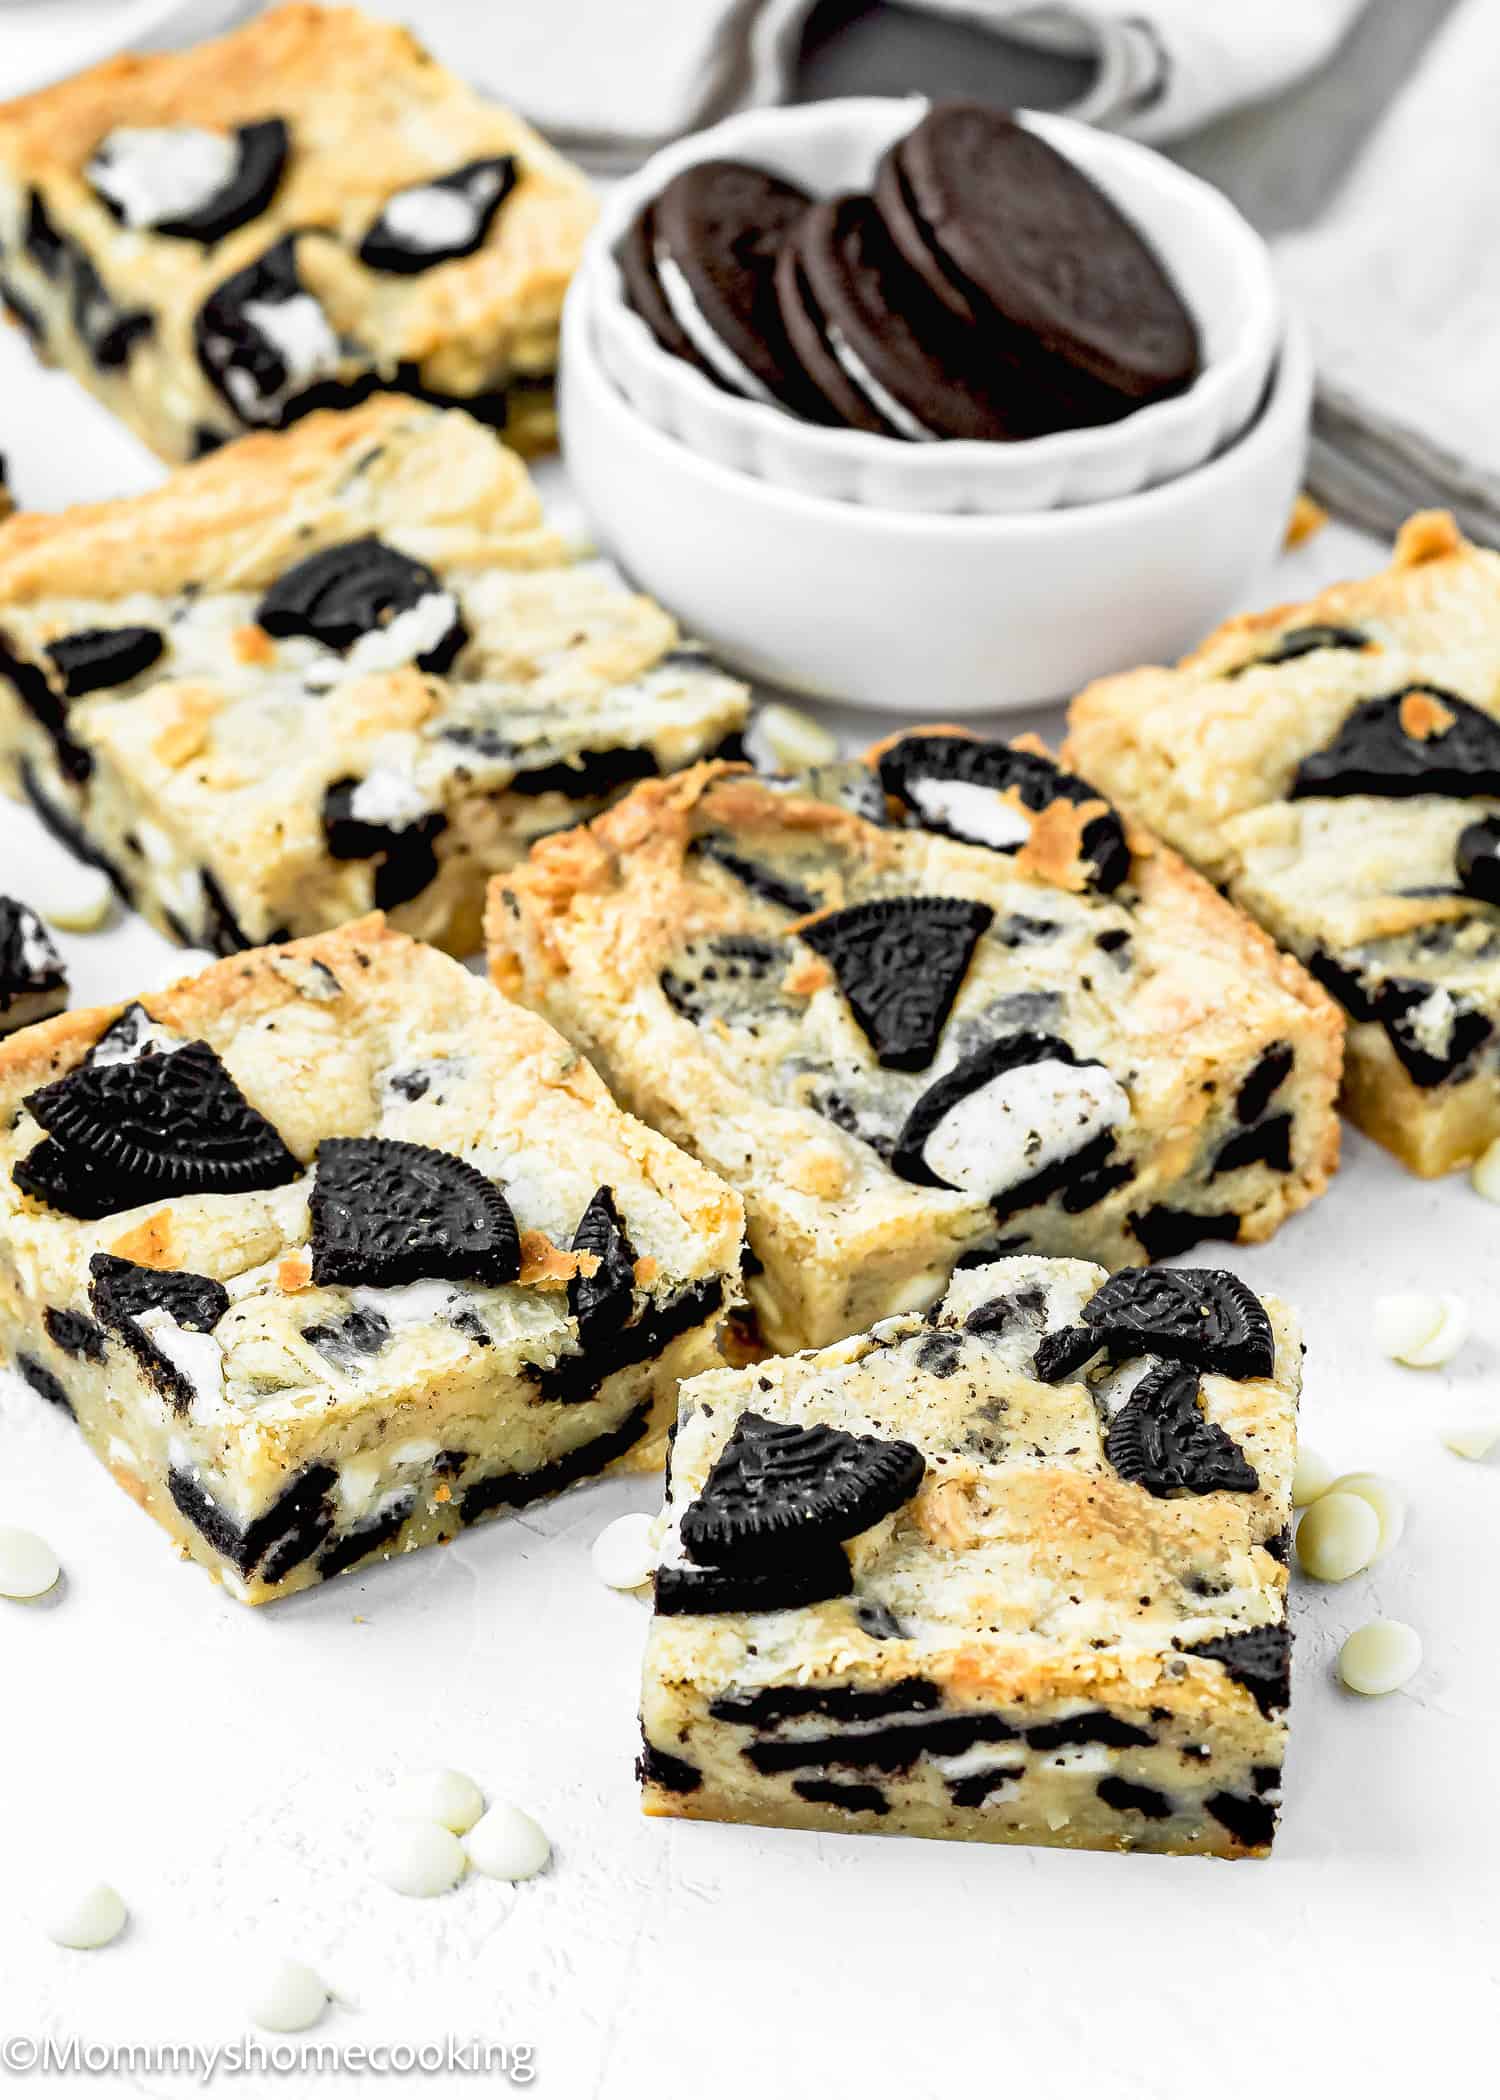
These Easy Oreo Blondies (Egg-Free) are soft, chewy, and chock full of Oreo cookies with crisp edges and gooey centers. Easy to make, irresistibly delicious, and sure to please a crowd.
Make These Egg-Free Orep Blondies in a Snap!
If you’re searching for a dessert that’s easy to make, irresistibly delicious, and sure to please a crowd, look no further than these Easy Oreo Blondies. Made with just a handful of simple ingredients, these blondies are egg-free, meaning they’re perfect for anyone with egg allergies or intolerance.
The flavor of these blondies is out of this world! They’re sweet, buttery, and oh-so-indulgent, with just a hint of caramelized goodness that’ll have you return for more.
What Are Blondies?
Blondies are like the cool, laid-back cousin of brownies! While brownies are known for their rich, chocolatey flavor, blondies are all about the sweet, buttery goodness. They have a soft, chewy texture with a sweet, buttery flavor and a slightly caramelized flavor.
What To Love About This Recipe
Easy and Fun to Make: Making these Oreo Blondies is like a fun baking adventure! It’s simple, straightforward, and doesn’t require any fancy techniques.
Minimal Ingredients, Maximum Flavor: With just a handful of basic ingredients you probably already have in your pantry, you can create simple, straightforward, and oh-so-satisfying blondies.
Perfect for Everyone: Whether you’re baking for friends, family, or just yourself, these blondies are a guaranteed crowd-pleaser. Plus, they’re egg-free, so they’re ideal for anyone with egg allergies or intolerance. These blondies prove you don’t need eggs to create a mouthwatering dessert.
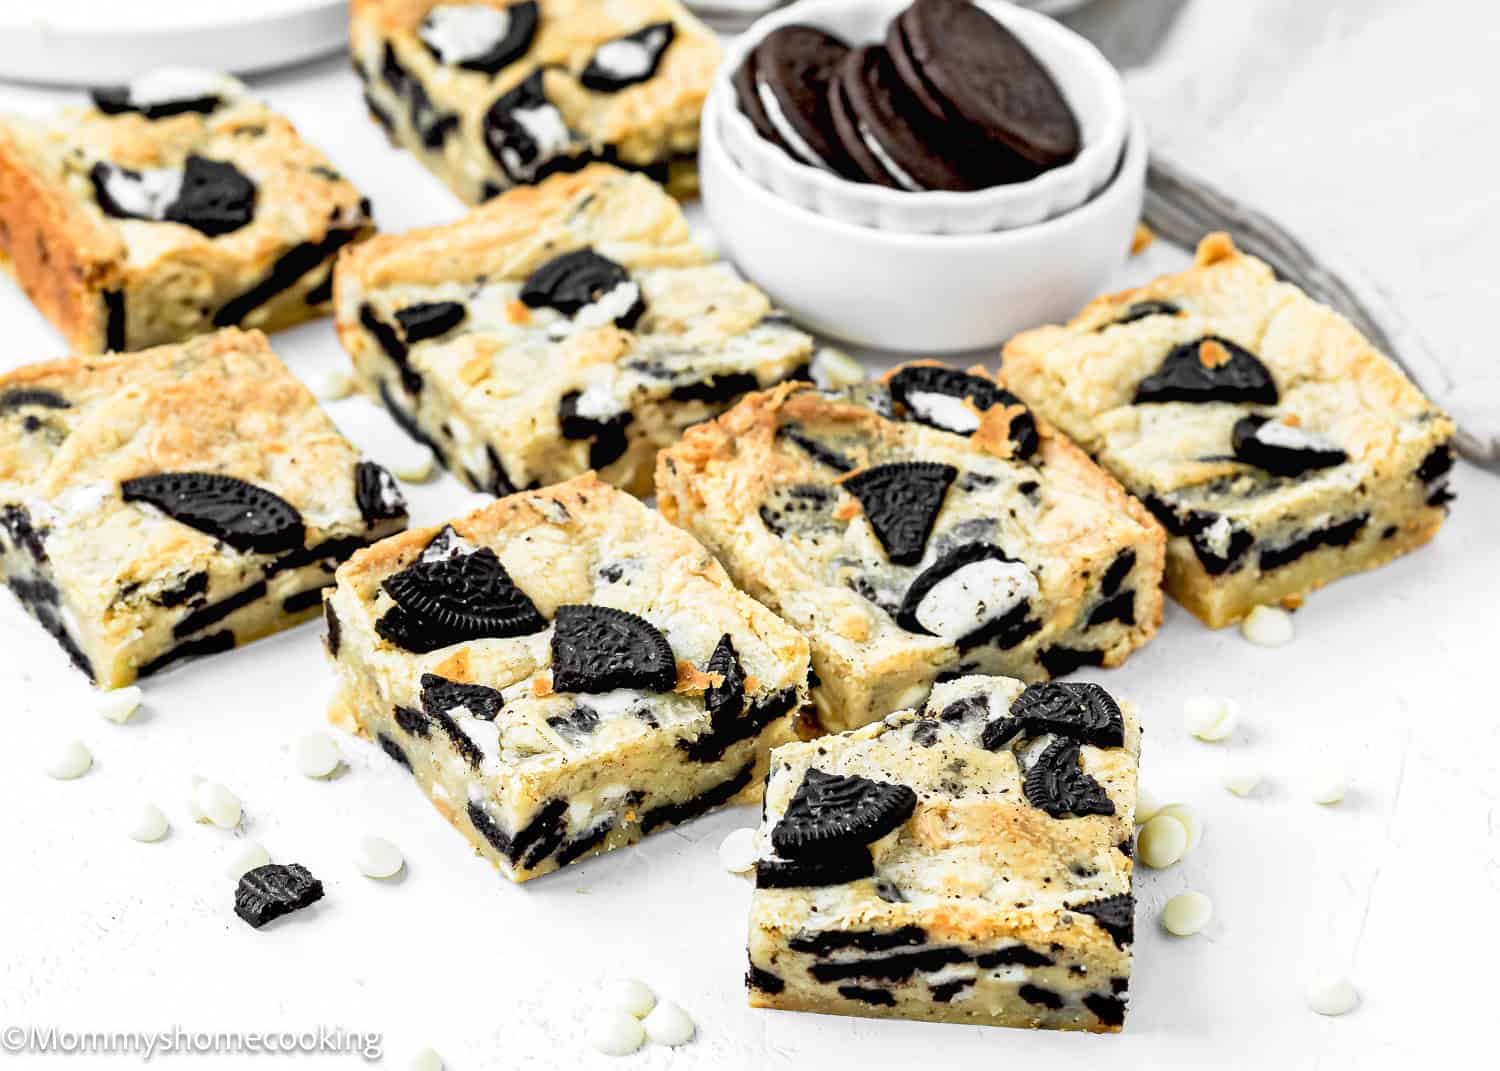
Texture Heaven: Soft, chewy, and loaded with chunks of Oreo cookies, these blondies offer the perfect combination of textures. They’re crispy around the edges and delightfully gooey in the middle – pure bliss in every bite.
Sweet, Buttery Bliss: The flavor of these blondies is out of this world! They’re sweet, buttery, and oh-so-indulgent, with just a hint of caramelized goodness that’ll have you coming back for more.
Ingredients You’ll Need, Substitutions & Notes
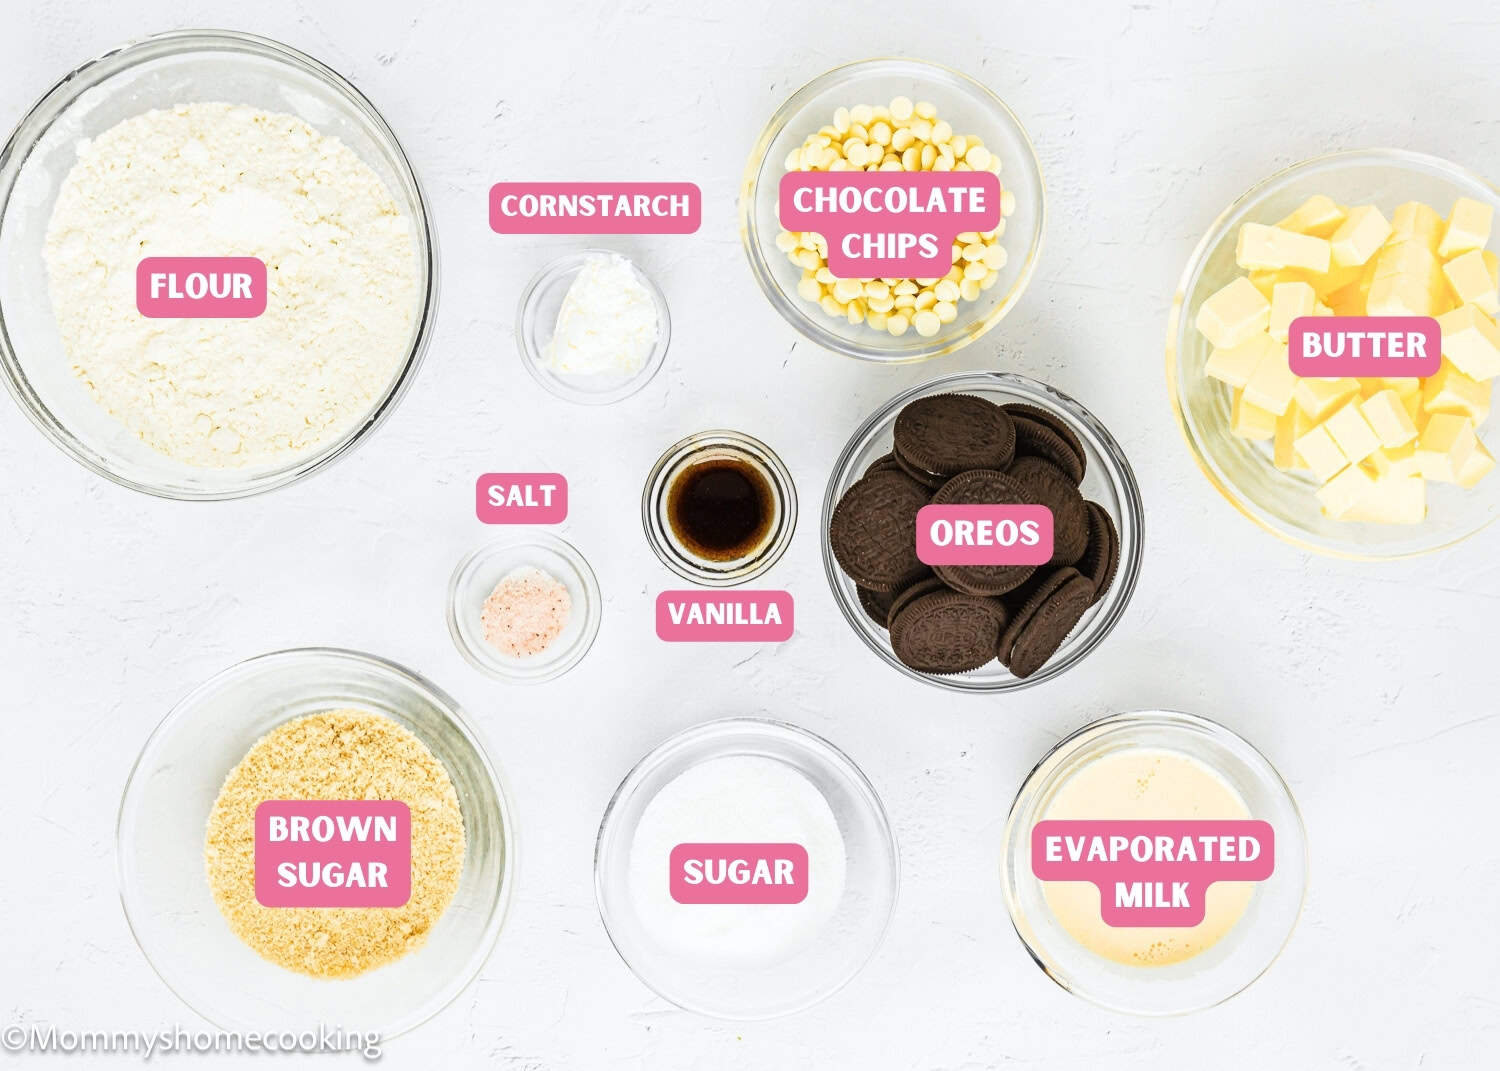
Please check the recipe card at the bottom of the post for exact quantities and detailed instructions (scroll down).
- All-purpose flour: Provides structure to the blondies. Make sure to measure accurately. In my opinion, a kitchen scale is the best way to measure your ingredients.
- Cornstarch: Helps to keep the blondies soft and chewy.
- Salt: Balances the sweetness and enhances the flavors. I prefer kosher or sea salt. If you only have table salt handy, I recommend reducing the amount to half.
- Butter: Adds richness and flavor to the blondies. I prefer to use unsalted butter, but if you only have salted butter handy, you can use it. In this case, skip the salt called in the recipe.
- Granulated sugar: Sweetens the blondies and helps to create a tender texture. Regular white granulated sugar or caster sugar. I do not recommend reducing the amount of sugar or changing the type of sugar, as it will change the texture of the blondies.
- Light brown sugar: Adds moisture and a subtle caramel flavor.
- Evaporated milk: This ingredient keeps the blondies moist and tender. If you don’t have evaporated milk on hand or prefer an alternative, you can use an equal amount of regular milk. Keep in mind that evaporated milk has a slightly thicker consistency and creamier taste compared to regular milk, so your final result may vary slightly in texture and flavor.
- Vanilla extract: It adds a warm, aromatic flavor. For optimal flavor, use pure vanilla instead of imitation. Even better, try homemade vanilla extract!
- Chocolate chips: You can use white or dark chocolate for extra sweetness and indulgence. I used white chips.
- Oreos: The star of the show! Adds a chocolatey crunch to the blondies.
Process Overview: How To Make Oreo Blondies Step-by-Step
Please check the recipe card at the bottom of the post for exact quantities and detailed instructions (scroll down).
Step 1 – Mix Dry Ingredients
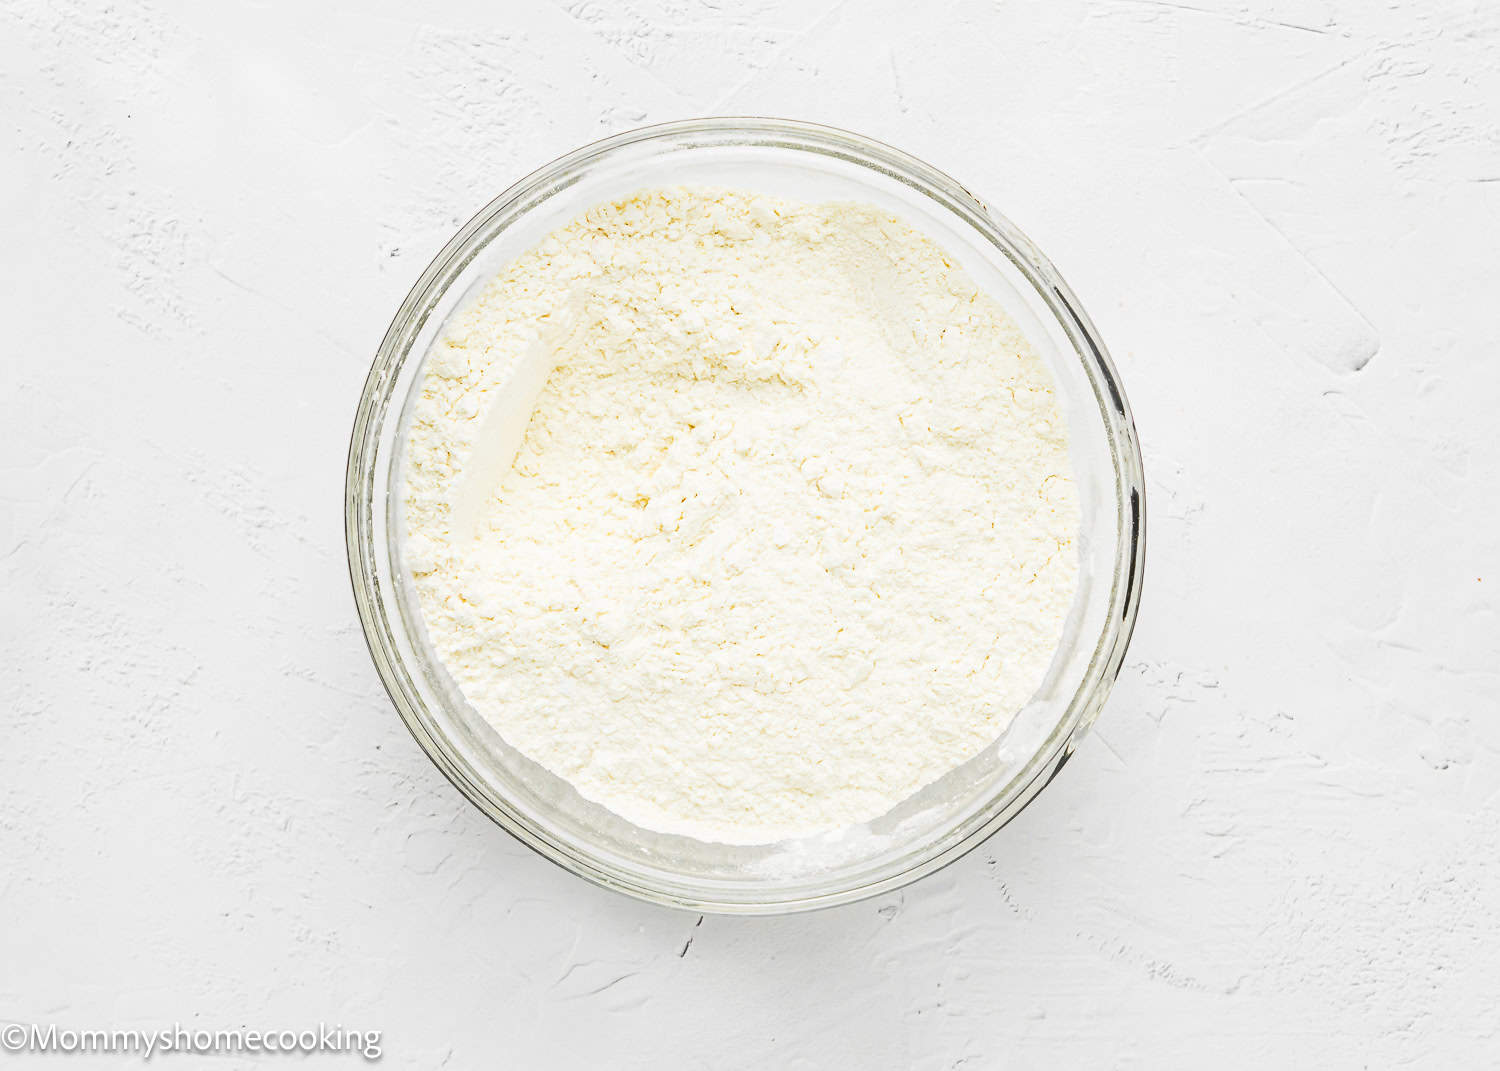
In a medium bowl, stir together the flour, cornstarch, and salt. Set aside.
Step 2 – Beat Butter and Sugar
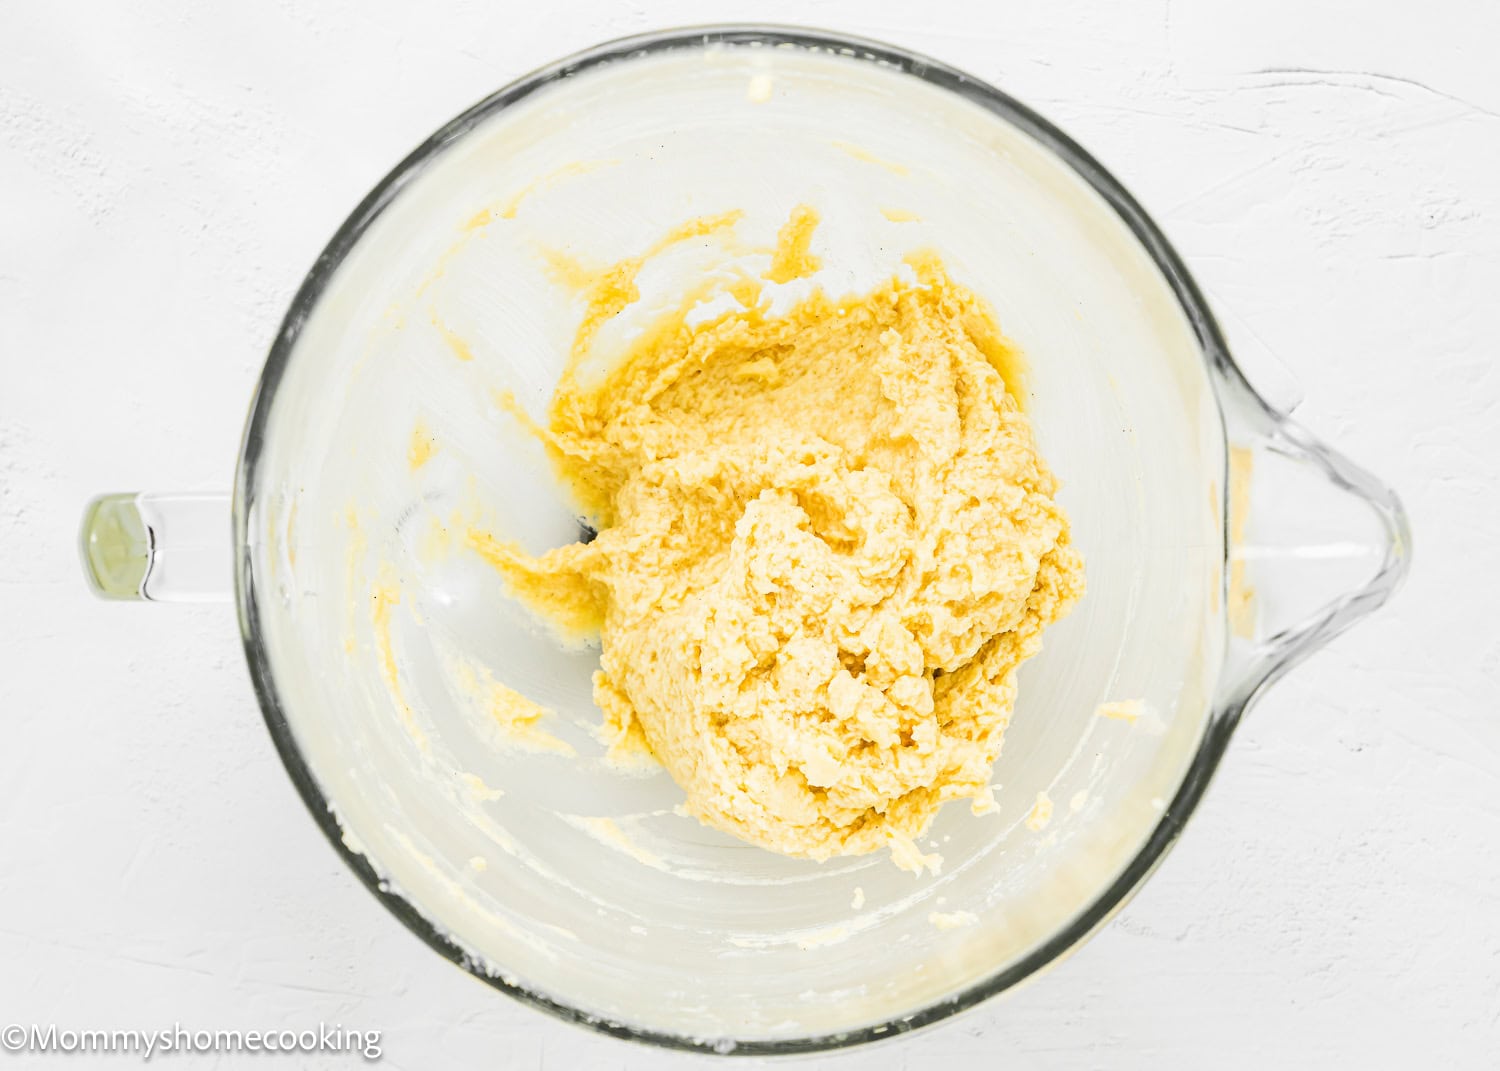
Using an electric hand mixer or a stand mixer, beat the butter, granulated sugar, and brown sugar on medium speed until smooth and creamy, 3 to 4 minutes. Scrape down the sides and bottom of the bowl as needed. Add the evaporated milk and vanilla; mix until incorporated for 1 minute.
Step 3 – Add Dry Ingredients
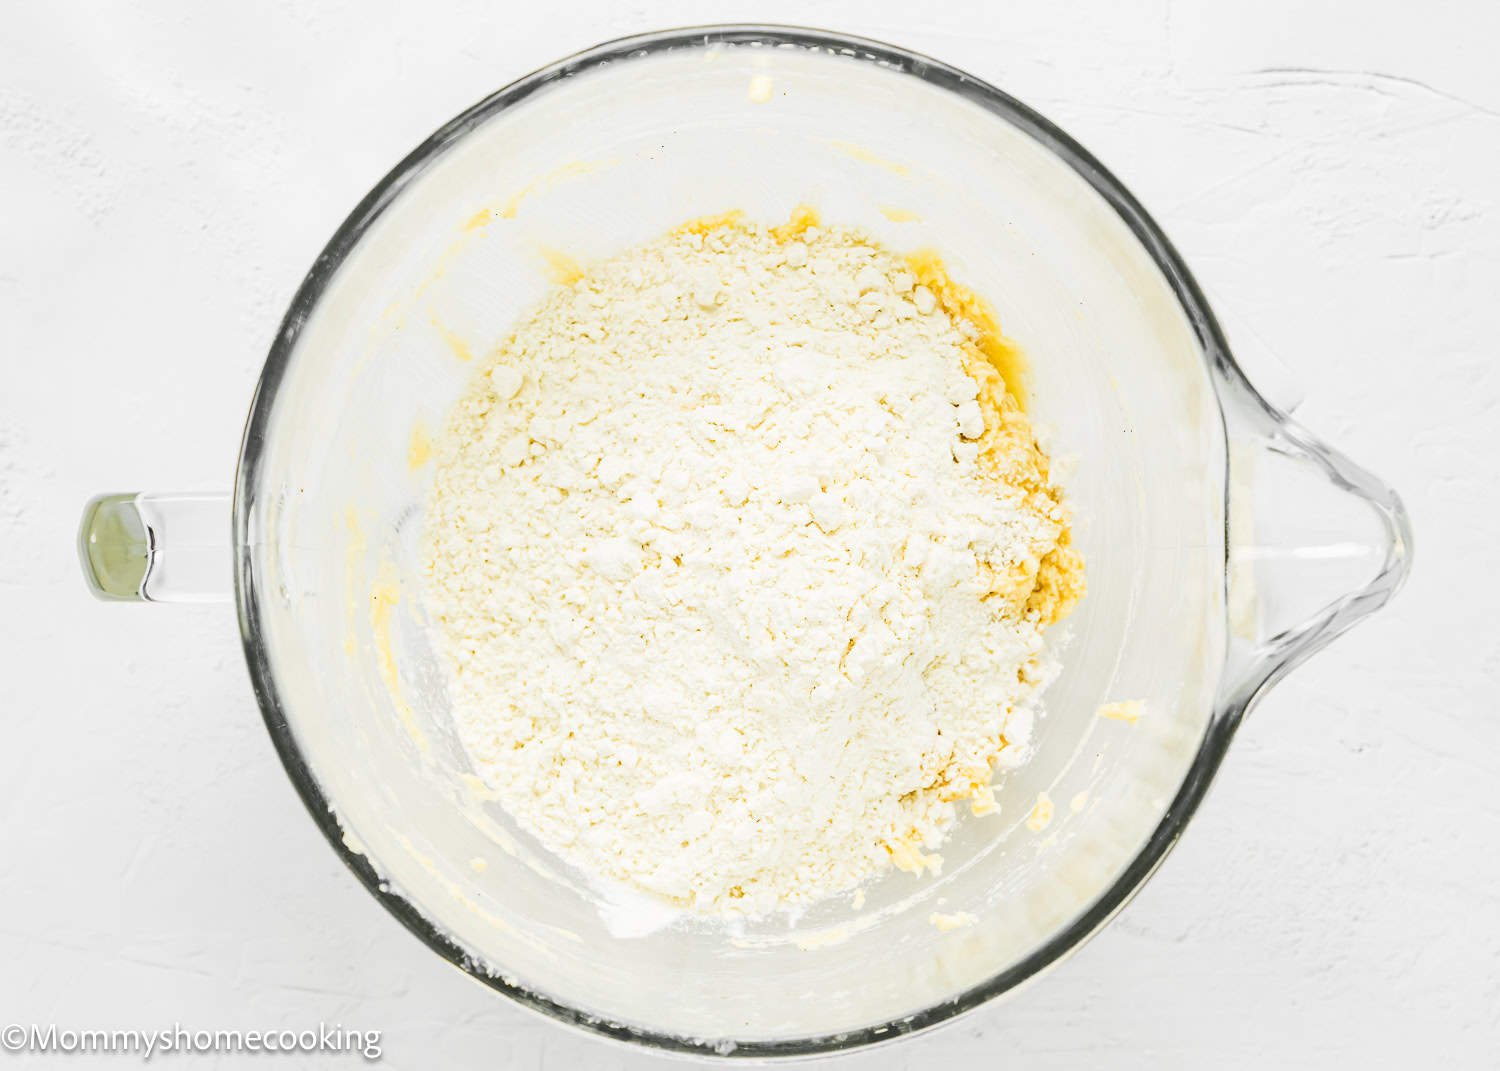
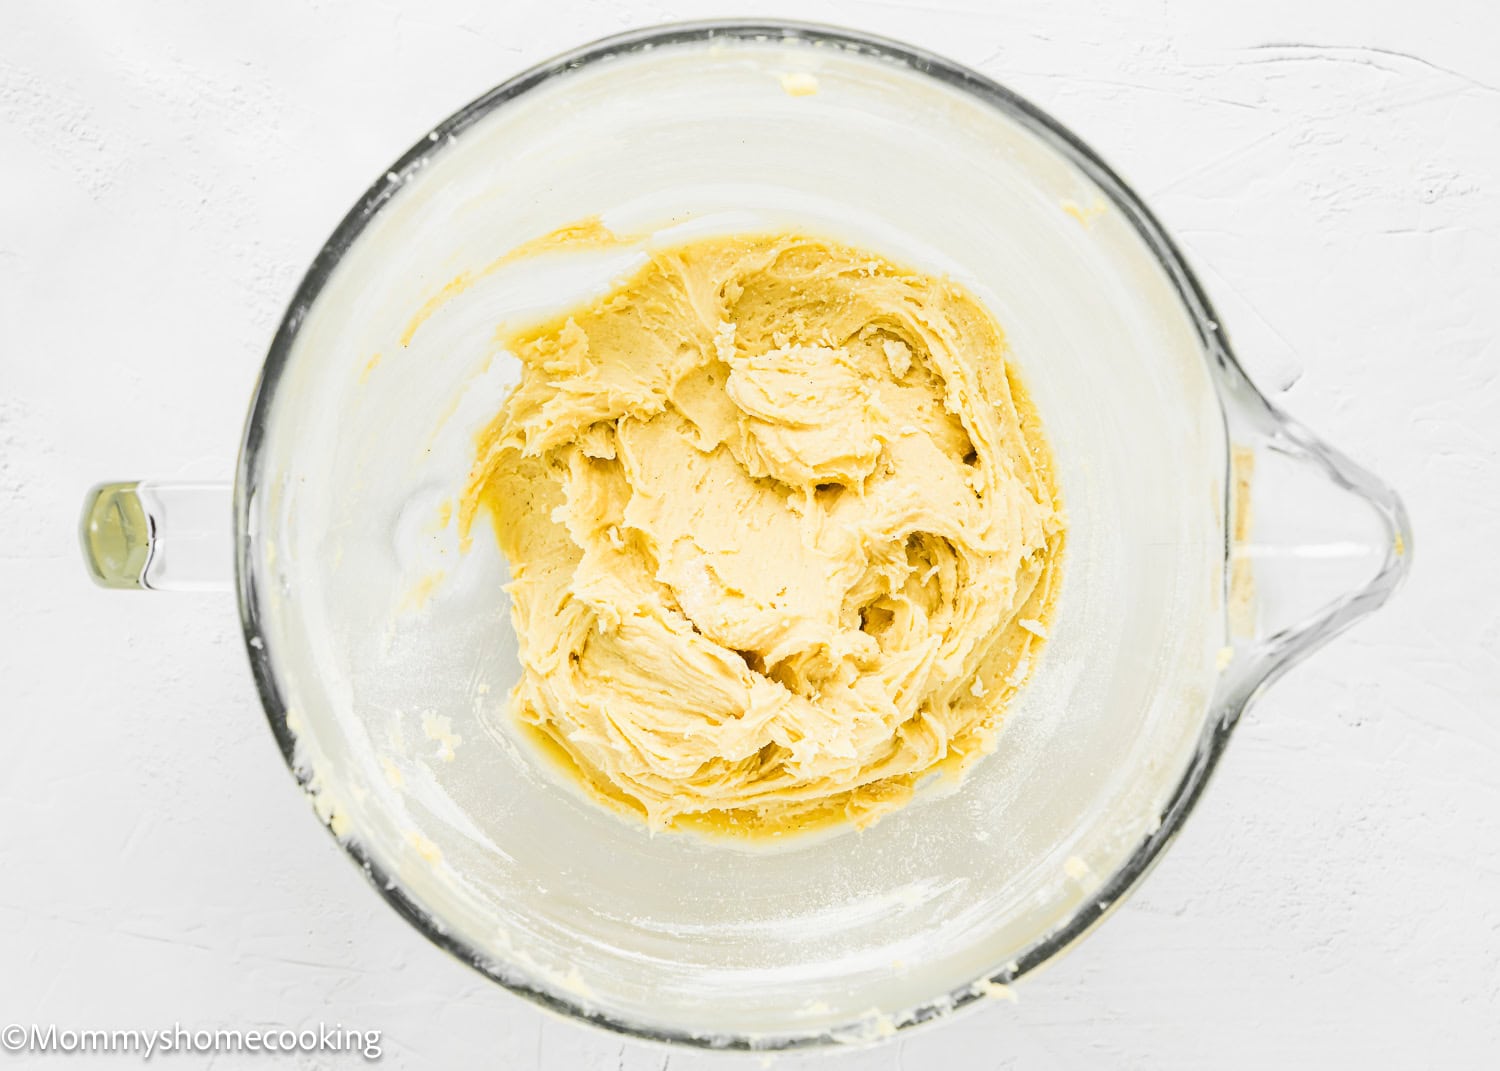
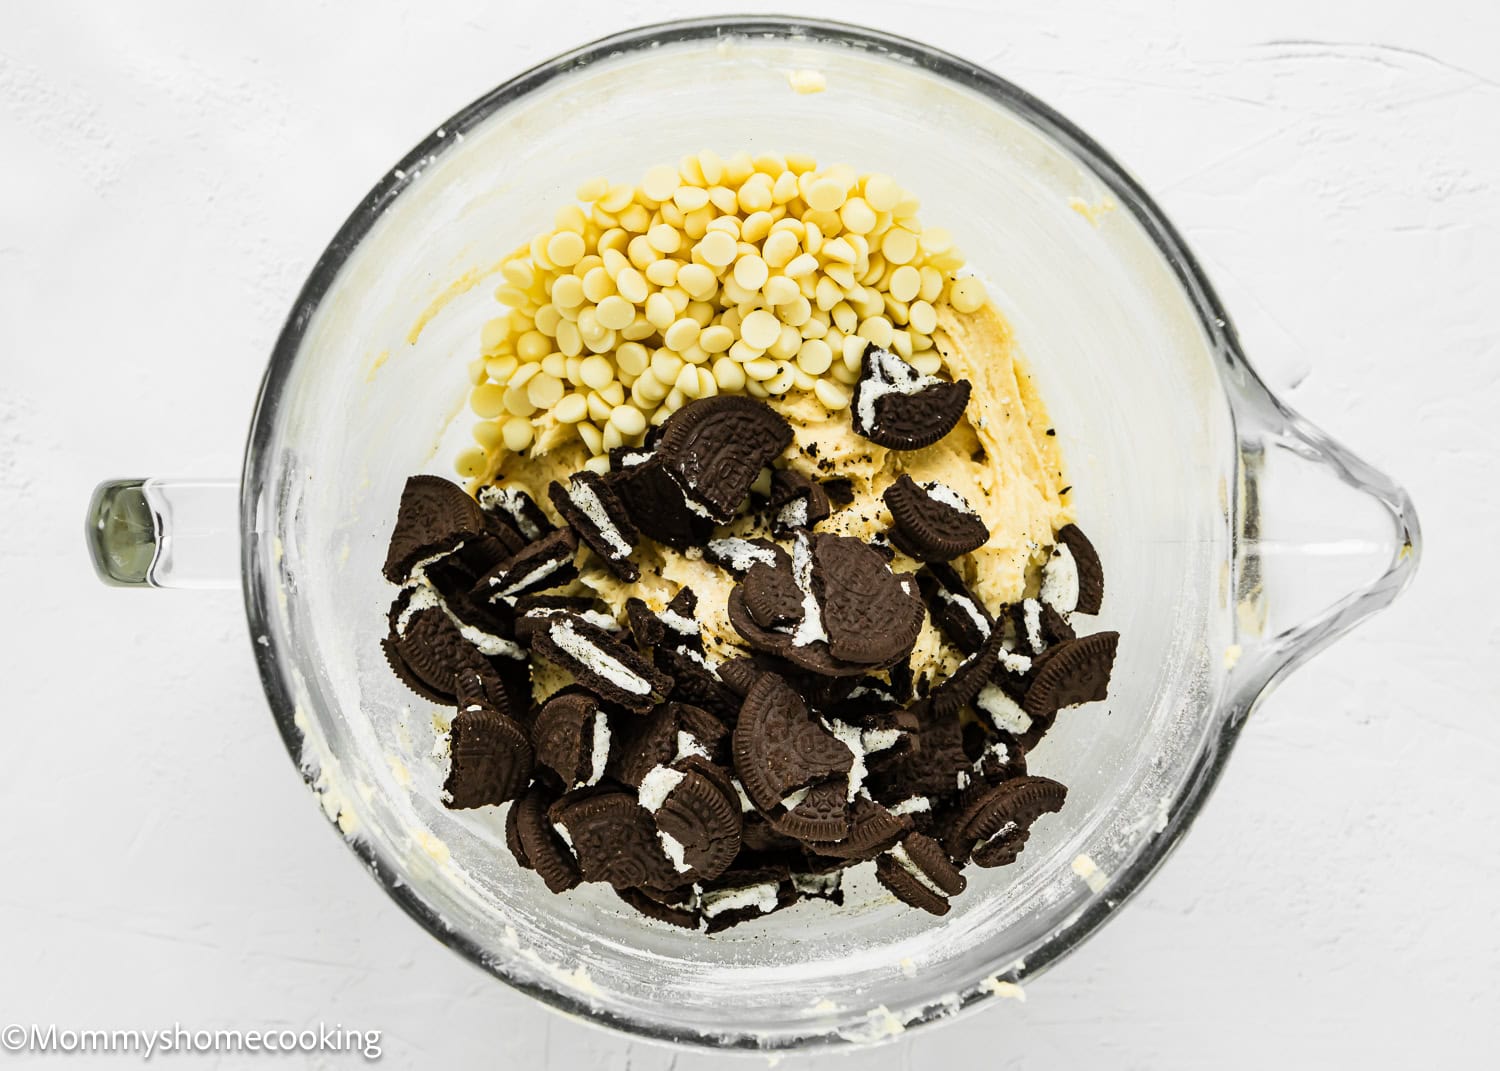
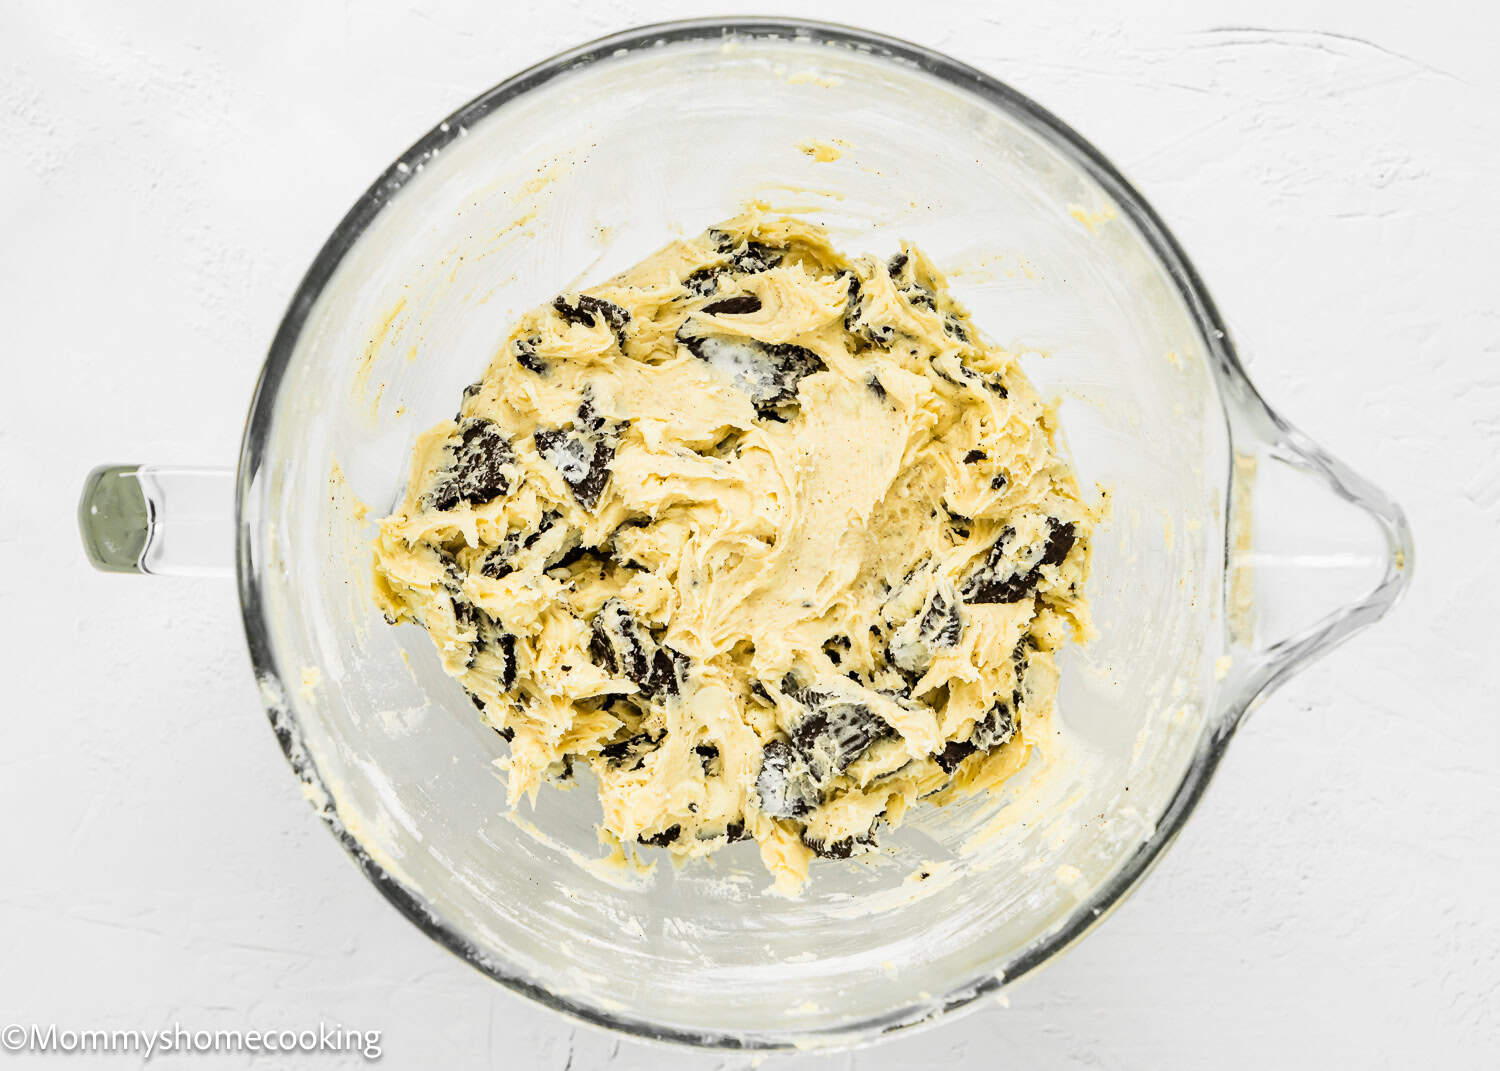
Reduce the speed to low and gradually beat in the flour mixture; mix until combined. Be careful not to overmix; the batter will be thick. Stir in the chocolate chips and chopped Oreos, and mix until evenly distributed.
Step 4 – Bake
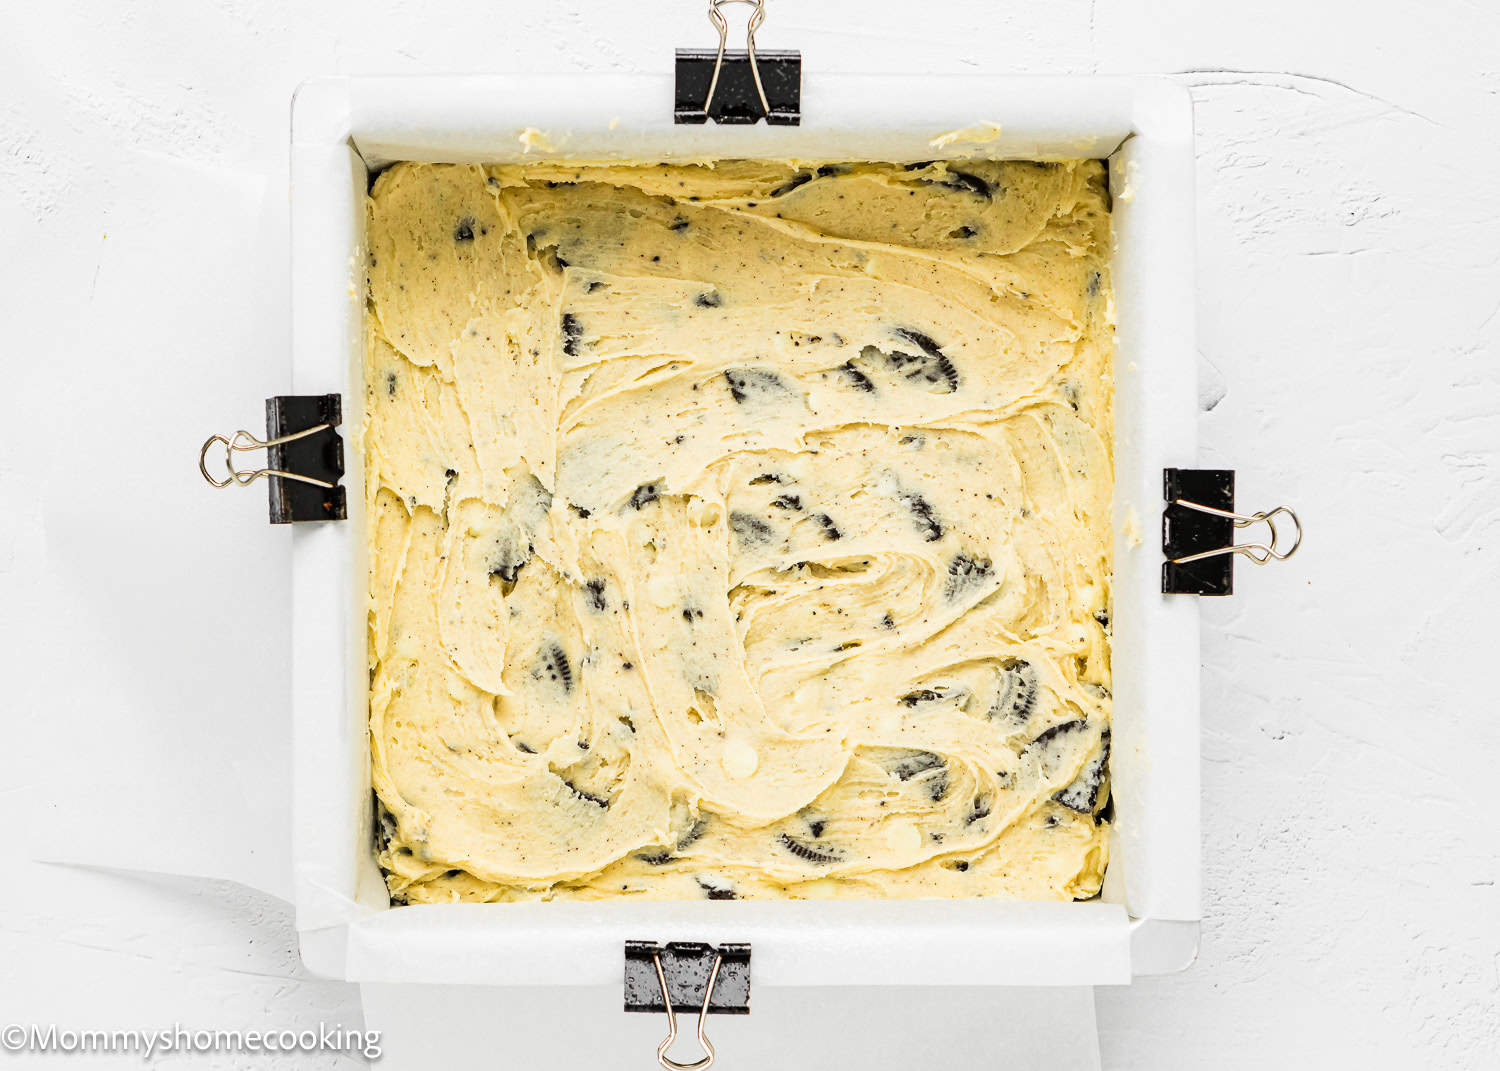
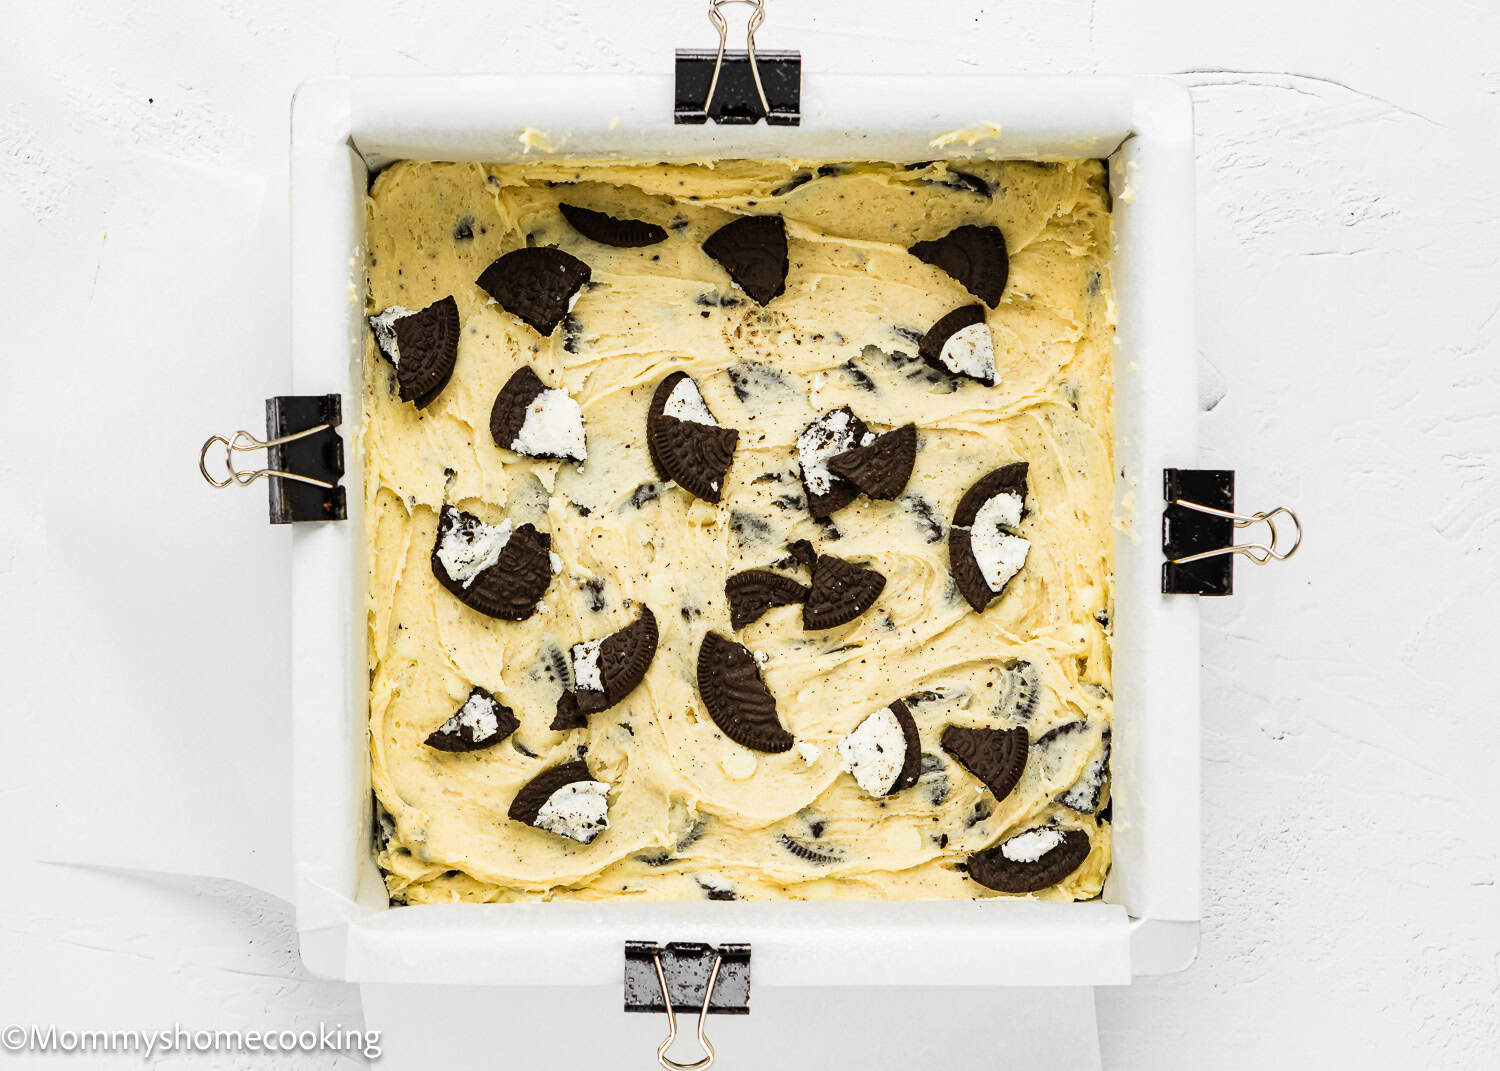
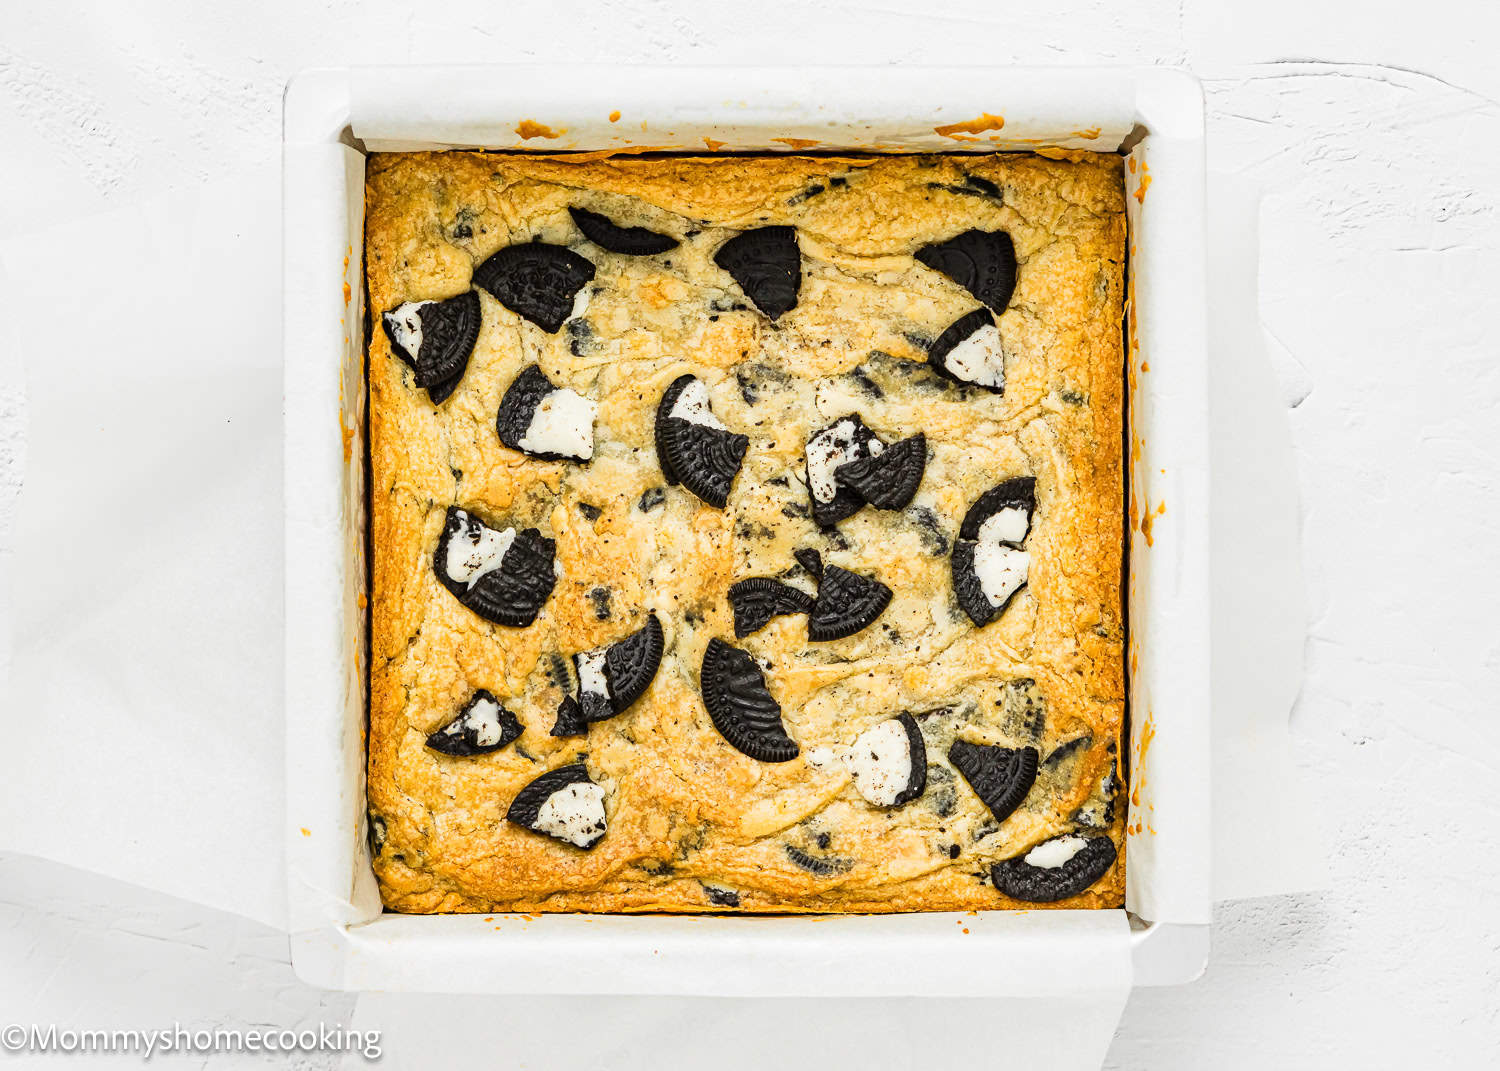
Spread the dough in an even layer at the bottom of the prepared pan. Gently press additional Oreos on top of the blondie batter. Bake for 30 – 35 minutes, or until a toothpick inserted in the center comes out with just a few moist crumbs attached. It’s super important NOT TO OVER-BAKE these blondies. The blondies may appear very soft, but they will set up as they cool.
Step 5 – Cool and Cut
Transfer the pan to a wire rack and cool completely, about 4 hours, before cutting. Lift the foil out of the pan using the overhang on the sides and cut it into bars.
Recipe Tips
- Measure the ingredients correctly. I highly recommend using a kitchen scale.
- Preheat the oven at least 15 minutes before starting so it can reach the ideal recipe temperature.
- Use room-temperature ingredients: This helps ensure the ingredients mix smoothly, resulting in a uniform texture.
- Don’t overmix: Overmixing can lead to tough blondies, so mix until just combined.
- Line your baking pan: Line your baking pan with parchment paper for easy removal and cleanup.
- Know your oven! Every oven is different, so baking times must be taken with a grain of salt. Oven thermostats can be wildly off, affecting baking time, so keep an eye on yours.
- Don’t open the oven door until your baked goods have set. Leave the oven closed until the minimum time is stated in the recipe.
- Cool completely before slicing: Allow the blondies to cool before slicing to prevent them from falling apart.
Food Allergy Swaps
Dairy-Free: To make this recipe dairy-free, you can easily swap out the dairy ingredients for non-dairy alternatives.
- Butter: Use vegan butter instead of dairy butter. Many brands are available in stores. I usually use Earth Balance Vegan Buttery Sticks.
- Evaporated milk: You can use a canned commercial version or make your own. Making evaporated milk is super easy. Just pour the dairy-free milk beverage into a saucepan and place it over medium-low heat. Simmer, whisking occasionally, until the milk beverage reduces to half, about 20 – 30 minutes, depending on the amount you are making. You want it to simmer and steam, but do not bring it to a boil. Check out my favorite dairy-free substitutes here.
- White Chocolate: Finding a good dairy-free substitute for white chocolate can be challenging. I have tried several brands, and so far, my favorite is King David Vegan Baking Chocolate Melting Bar. It’s important to mention that this dairy-free white chocolate bar contains soy. For a soy-free option, try Milkless Polar Dream White Chocolate Bars.
Gluten-Free: Use a gluten-free, all-purpose flour blend. Look for a gluten-free flour blend specifically formulated for baking, as it will have the right combination of flours and starches to mimic the texture of wheat flour. My favorite is Better Batter Original Blend.
Variations & Additions
- Different chocolate: Experiment with different types of chocolate bars or chips to customize the flavor of your blondies.
- For a fun twist, consider using seasonal flavors such as strawberry Oreos for Valentine’s Day or mint Oreos for St. Patrick’s Day. Not only will this give your blondies a festive flair, but it’ll also introduce them to delightful seasonal tastes. So, grab those themed Oreos when the next holiday comes around, and let your creativity soar!
- Nutty twist: Stir in chopped nuts such as walnuts or pecans for added texture and flavor.
Storing and Freezing Instructions
Store any leftover blondies in an airtight container at room temperature for up to 5 days.
To freeze, wrap individual blondies tightly in plastic wrap and place them in a freezer-safe bag or container. They can be frozen for up to 3 months. Thaw at room temperature or microwave briefly before serving.
Frequently Asked Questions
Absolutely! Feel free to get creative and use your favorite cookies or mix-ins.
Evaporated milk adds richness to the blondies, but you can use regular milk in a pinch. Just be aware that the texture may be slightly different.
Yes! Bake in a 13×9 baking pan for the same amount of time.
More Bars Recipes You’ll Love!
- Best Eggless Sugar Cookie Bars (Easy)
- Eggless Snickerdoodle Bars
- Easy Eggless Lemon Bars
- Eggless Lemon Blueberry Cheesecake Bars
- Browse more recipes…
❤️ Love what you see? JOIN my Private Baking Club. Also, SUBSCRIBE to Mommy’s Home Cooking, so you’ll never miss a recipe! And FOLLOW along on Instagram, Pinterest, and Facebook for more fun!
Recipe Card 📖
Easy Oreo Blondies (Egg-Free)
Equipment
Ingredients
- 1 3/4 cup (250 g) all-purpose flour
- 1 tablespoon (10 g) cornstarch
- 1 teaspoon (4 g) kosher salt
- 1 cup (230 g) unsalted butter, softened
- 1/2 cup (100 g) granulated sugar
- 1 /2 cup (100 g) light brown sugar
- 1/3 cup + 4 teaspoons (100 ml) evaporated milk
- 2 teaspoons (10 ml) pure vanilla extract
- ½ cup (100 g) chocolate chips (white or dark)
- 14 Oreos, chopped
Instructions
- Preheat the oven to 350° F (180° C). Line the bottom and sides of an 8-x-8-inch (20-x-20-cm) square baking pan with aluminum foil or parchment paper, leaving enough overhang on all sides of the baking pan to allow for easy removal at the end. Set aside.
- In a medium bowl, stir together the flour, cornstarch, and salt. Set aside.
- Using an electric hand mixer or a stand mixer, beat the butter, granulated sugar, and brown sugar on medium speed until smooth and creamy, 3 to 4 minutes. Scrape down the sides and bottom of the bowl as needed. Add the evaporated milk and vanilla; mix until incorporated for 1 minute.
- Reduce the speed to low and gradually beat in flour mixture, mix until combined. Be careful not to overmix; the batter will be thick. Stir in the chocolate chips and chopped Oreo; mix by hand with a spatula until evenly distributed.
- Spread the dough in an even layer at the bottom of the prepared pan. Gently press additional Oreos on top of the blondie batter.
- Bake for 30 – 35 minutes, or until a toothpick inserted in the center comes out with just a few moist crumbs attached. It’s super important NOT TO OVER-BAKE these blondies. The blondies may appear very soft, but they will set up as they cool.
- Transfer the pan to a wire rack and cool completely, about 4 hours, before cutting.
- Lift the foil out of the pan using the overhang on the sides and cut it into bars.
- Measure the ingredients correctly. I highly recommend using a kitchen scale.
- Preheat the oven at least 15 minutes before starting so it can reach the ideal recipe temperature.
- Use room-temperature ingredients: This helps ensure the ingredients mix smoothly, resulting in a uniform texture.
- Don’t overmix: Overmixing can lead to tough blondies, so mix until just combined.
- Line your baking pan: Line your baking pan with parchment paper for easy removal and cleanup.
- Know your oven! Every oven is different, so baking times must be taken with a grain of salt. Oven thermostats can be wildly off, affecting baking time, so keep an eye on yours.
- Don’t open the oven door until your baked goods have set. Leave the oven closed until the minimum time is stated in the recipe.
- Cool completely before slicing: Allow the blondies to cool before slicing to prevent them from falling apart.
- Butter: Use vegan butter instead of dairy butter. Many brands are available in stores. I usually use Earth Balance Vegan Buttery Sticks.
- Evaporated milk: You can use a canned commercial version or make your own. Making evaporated milk is super easy. Just pour the dairy-free milk beverage into a saucepan and place it over medium-low heat. Simmer, whisking occasionally, until the milk beverage reduces to half, about 20 – 30 minutes, depending on the amount you are making. You want it to simmer and steam, but do not bring it to a boil. Check out my favorite dairy-free substitutes here.
- White Chocolate: Finding a good dairy-free substitute for white chocolate can be challenging. I have tried several brands, and so far, my favorite is King David Vegan Baking Chocolate Melting Bar. It’s important to mention that this dairy-free white chocolate bar contains soy. For a soy-free option, try Milkless Polar Dream White Chocolate Bars.
- Different chocolate: Experiment with different types of chocolate bars or chips to customize the flavor of your blondies.
- For a fun twist, consider using seasonal flavors such as strawberry Oreos for Valentine’s Day or mint Oreos for St. Patrick’s Day. Not only will this give your blondies a festive flair, but it’ll also introduce them to delightful seasonal tastes. So, grab those themed Oreos when the next holiday comes around, and let your creativity soar!
- Nutty twist: Stir in chopped nuts such as walnuts or pecans for added texture and flavor.
