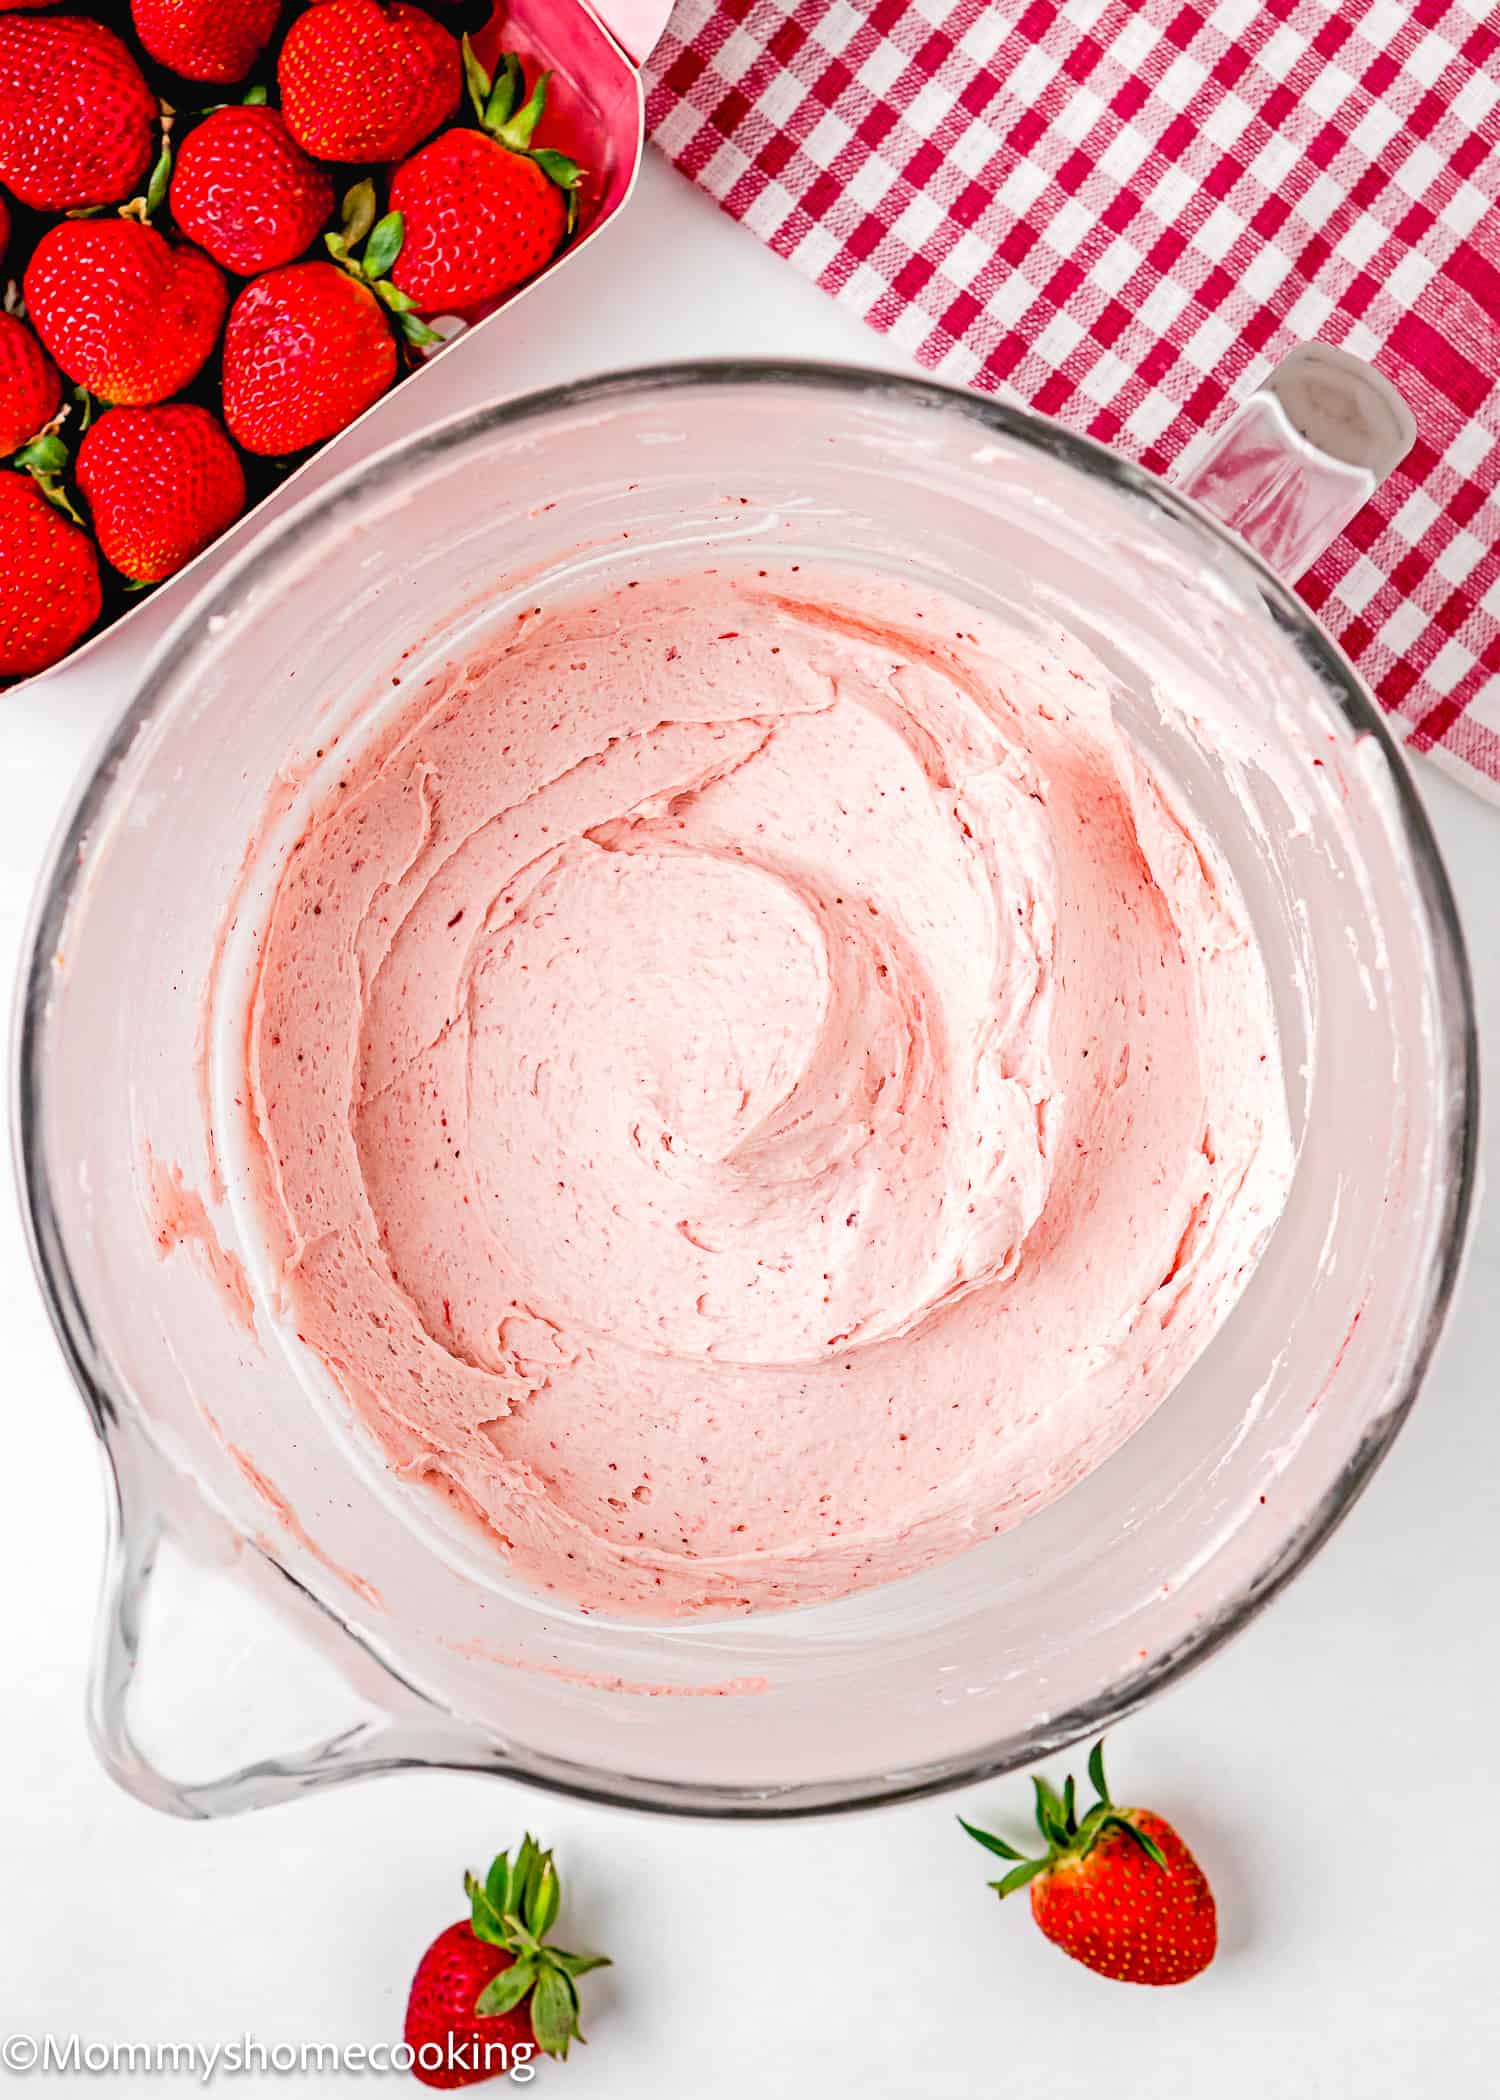
Discover how to make a fresh, beautiful, vibrant, and pink strawberry frosting in four easy ways: either using fresh, frozen, or freeze-dried berries, jam, or baking emulsion.
4 Ways to Craft Irresistible Strawberry Frosting
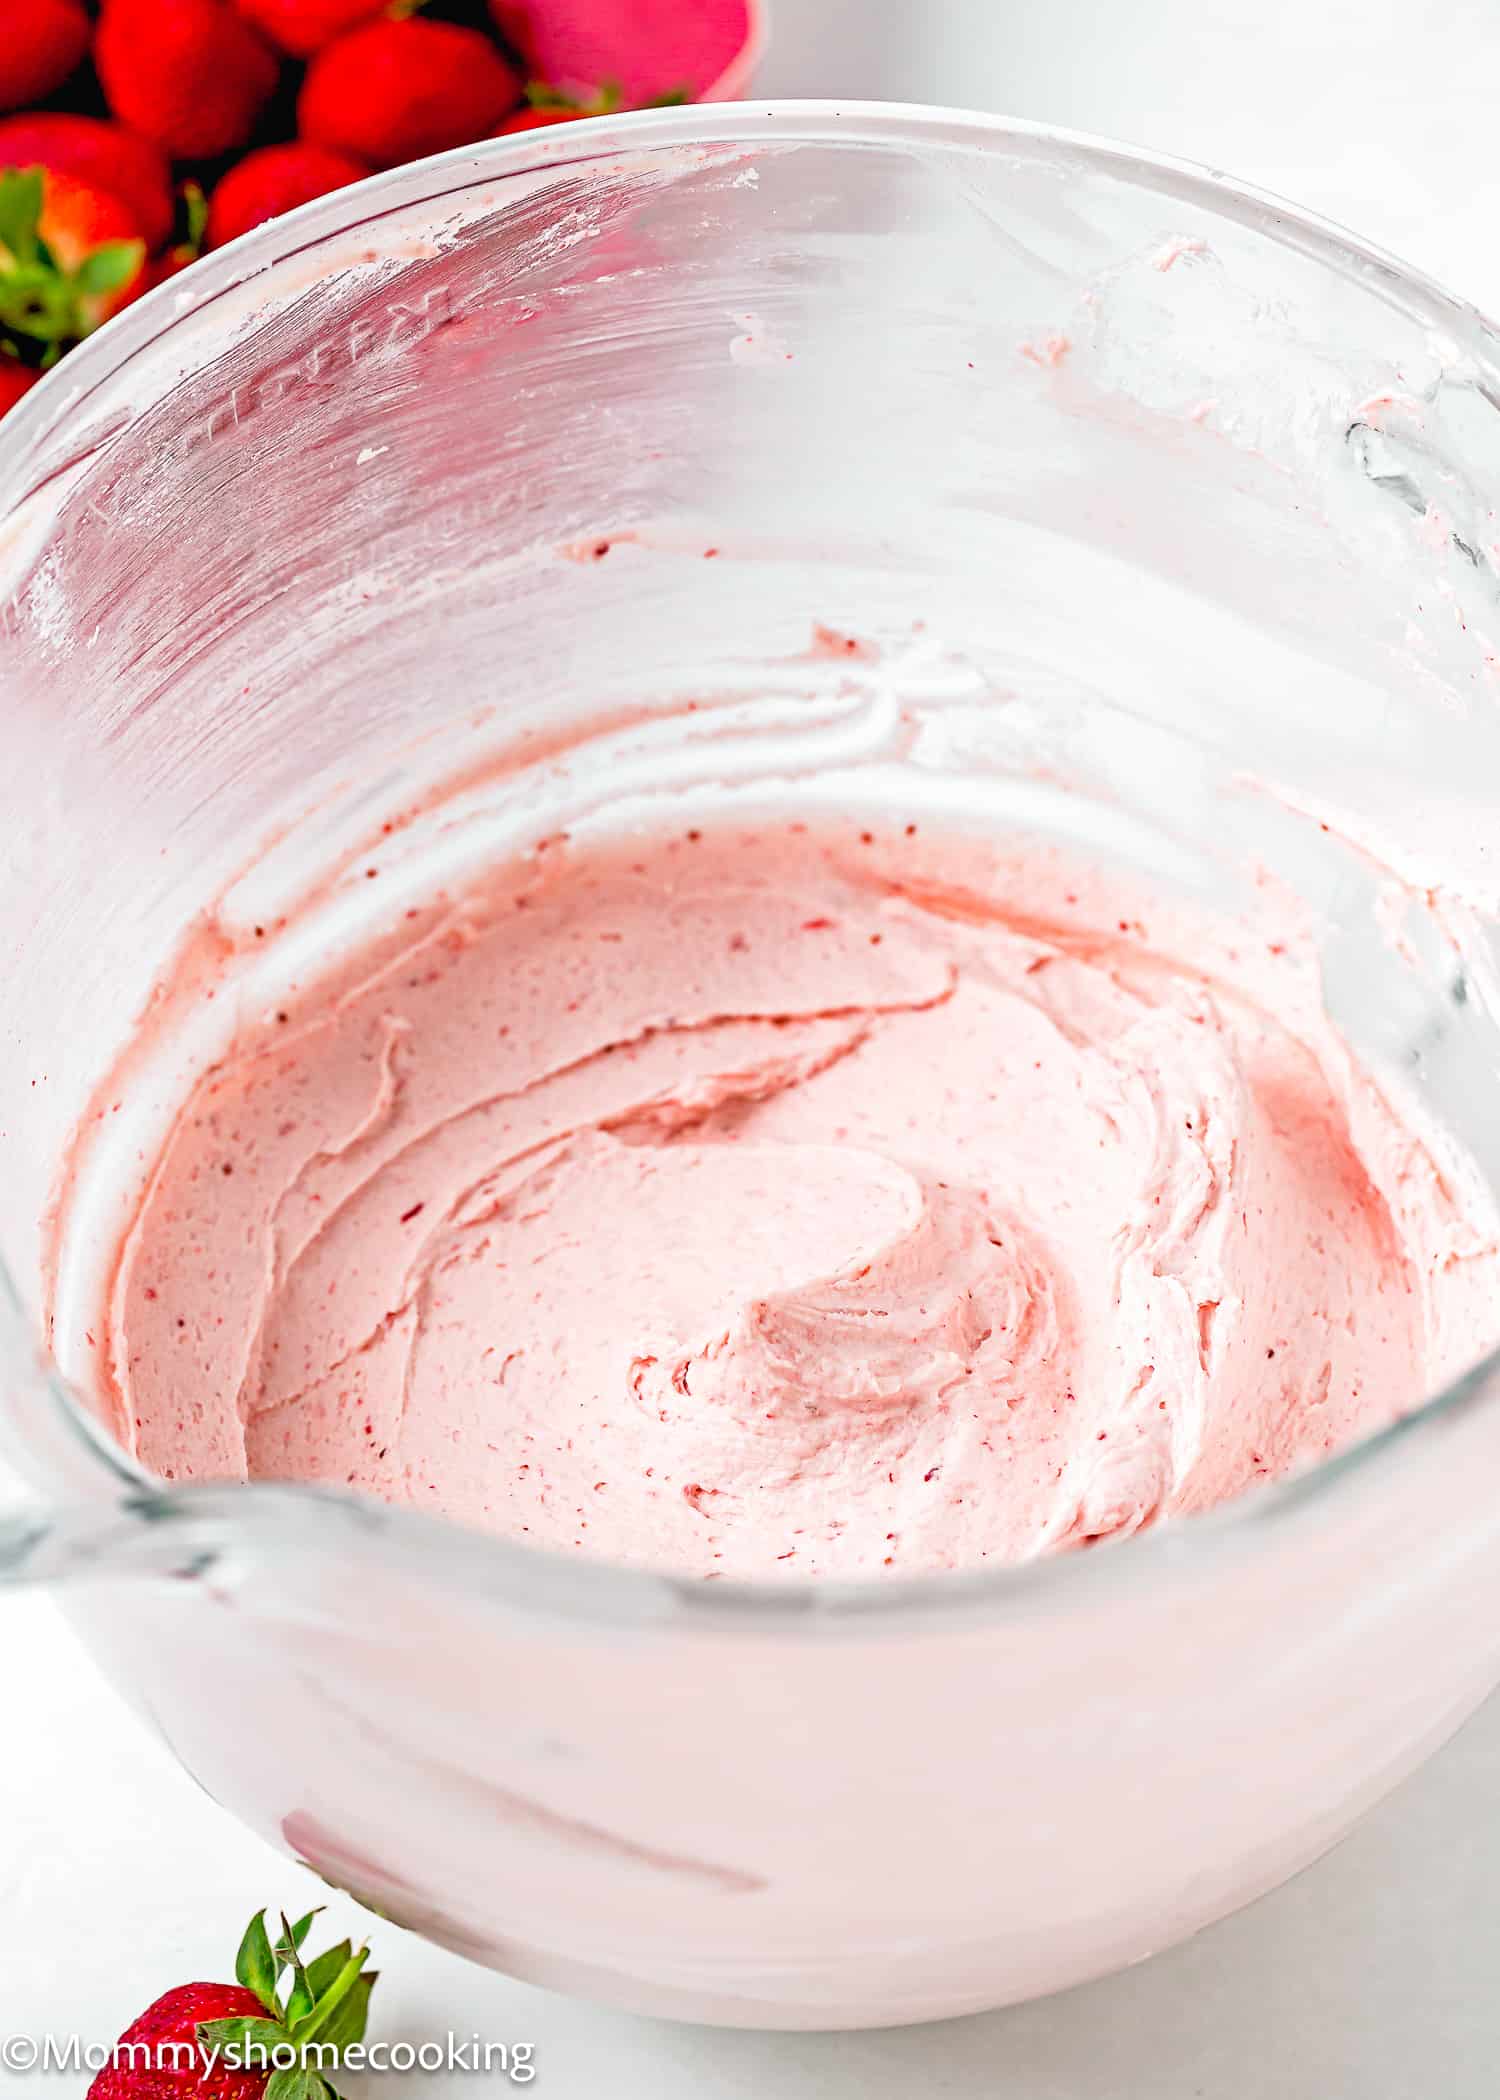
This Easy Strawberry Frosting (4 ways) recipe is simple and versatile! With simple steps, you’ll whip up heavenly frosting in no time. Plus, everything you need is probably already in your pantry.
When it comes to making homemade strawberry frosting, you’ve got options, my friend. You can use fresh or frozen strawberries, freeze-dried strawberries, strawberry jam, or strawberry emulsion. Take your pick and let your taste buds do the happy dance!
What To Love About This Recipe
- Easy to Make: No complicated steps here. These are just simple techniques for a delicious outcome.
- Simple Ingredients: You probably already have most of these ingredients in your pantry!
- Four Ways to Make It: Choose your favorite strawberry source – fresh or frozen strawberries, freeze-dried strawberries, strawberry jam, or strawberry emulsion. The choice is yours!
- Perfect for Frosting Your Favorite Cakes or Cupcakes: Whether you’re celebrating a special occasion or simply craving a sweet treat, this frosting is the perfect finishing touch.
Strawberry Frosting 4 Ways
- Fresh or Frozen Strawberries (My Personal Favorite): Bursting with the best flavor and natural pink color, fresh or frozen strawberries create a vibrant frosting that will impress. The frosting can be kept at room temperature for up to one day or in the refrigerator for up to five days.
- Freeze-Dried Strawberries: While offering a good flavor, freeze-dried strawberries lend a stiffer consistency to the frosting, adding a unique texture to your baked goods. This is a great option if you need to pipe intricate patterns. Another pro about this version is that strawberry frosting made with freeze-dried berries has a longer shelf life. It will stay at room temperature for up to three days or in the refrigerator for up to a week or longer. I recommended using freeze-dried strawberry powder. If you have pieces or slices, place freeze-dried strawberries in a small food processor and pulse until they’ve become a fine powder.
- Strawberry Jam: Strawberry jam is a convenient option. Opt for a good-quality variety with no added sugar to maintain the strawberries’ natural sweetness and flavor. The frosting can be kept at room temperature for up to three days or in the refrigerator for up to five days or longer.
- Strawberry Emulsion: Strawberry emulsion is a great choice because it provides both flavor and convenience. However, be cautious with the amount, as it can also add color—start with a little, taste, and adjust if necessary. With this version, you might be able to taste a slightly artificial taste. To counteract this, I recommend adding one lemon’s zest to brighten the flavor. My favorite is LorAnn Strawberry Bakery Emulsion. It stays at room temperature for up to 3 days or in the refrigerator for up to a week or longer.
Ingredients You’ll Need, Substitutions & Notes
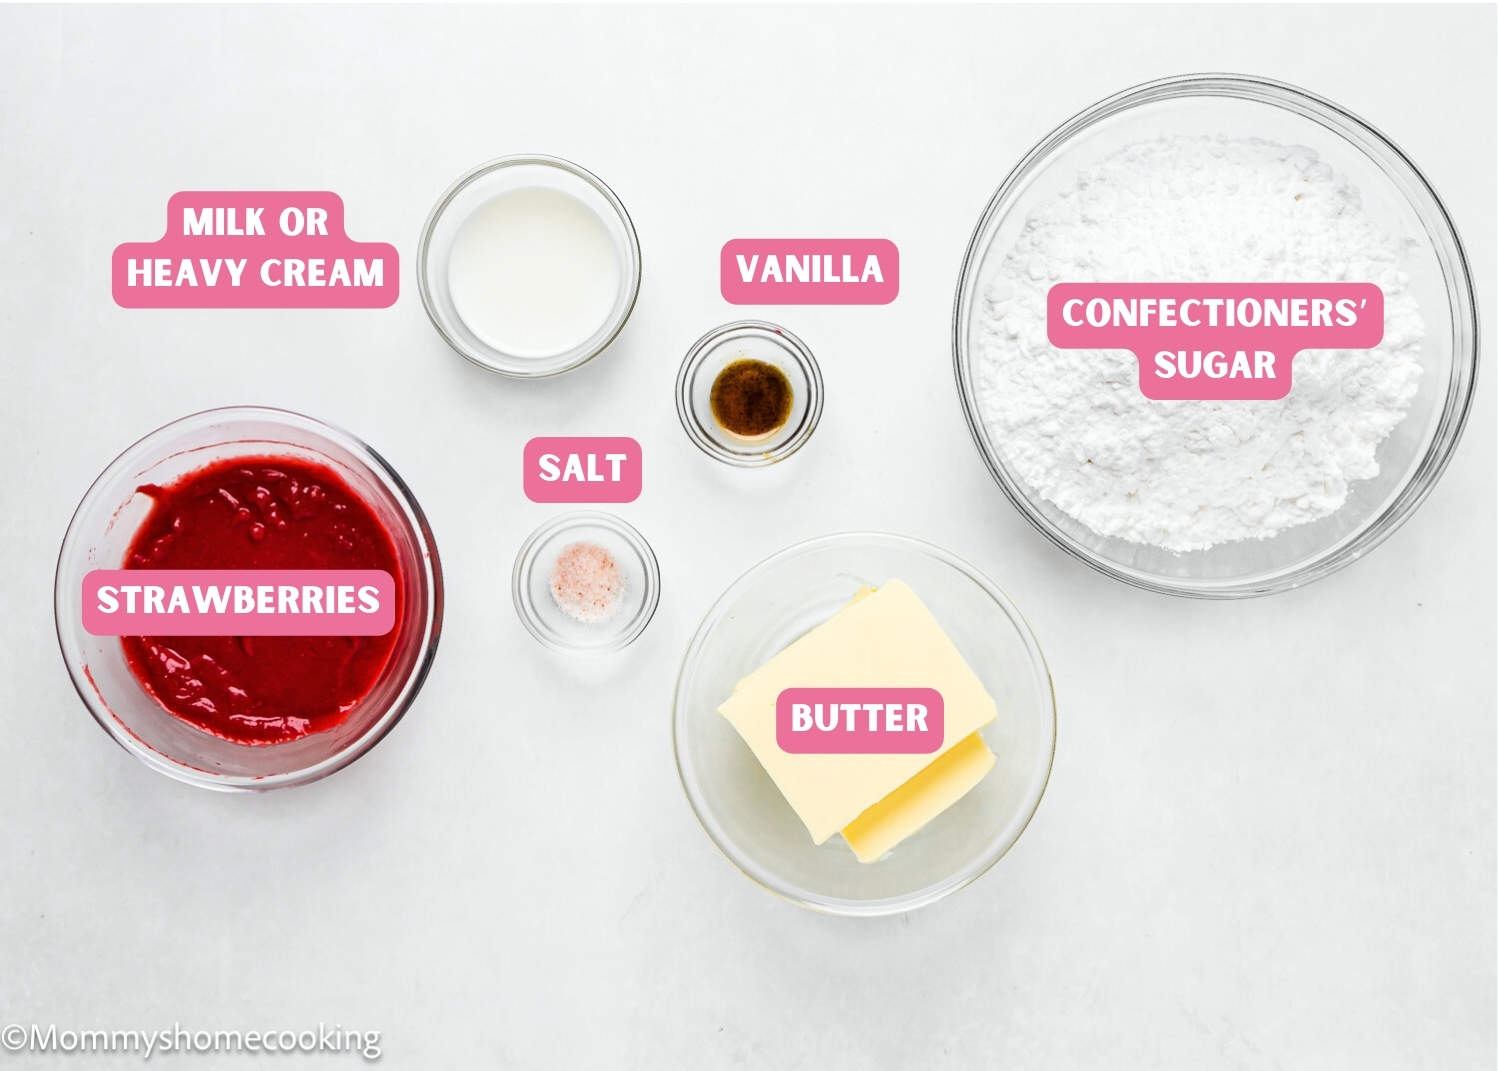
Please check the recipe card at the bottom of the post for exact quantities and detailed instructions (scroll down).
- Unsalted Butter: Adds richness and creaminess to the frosting.
- Confectioners’ Sugar: Provides sweetness and helps achieve the desired consistency.
- Whole Milk or Heavy Cream: Adds creaminess and helps thin out the frosting to the desired texture.
- Pure Vanilla Extract: Enhances the overall flavor of the frosting.
- Salt: Balances the sweetness and enhances the other flavors.
- Strawberry Flavor (Pick One): Choose from fresh or frozen strawberries, freeze-dried strawberries, strawberry jam, or strawberry emulsion based on your preference.
Process Overview: How To Make Homemade Strawberry Frosting Step-by-Step
Please check the recipe card at the bottom of the post for exact quantities and detailed instructions (scroll down).
Step 1 – Make the Frosting Base
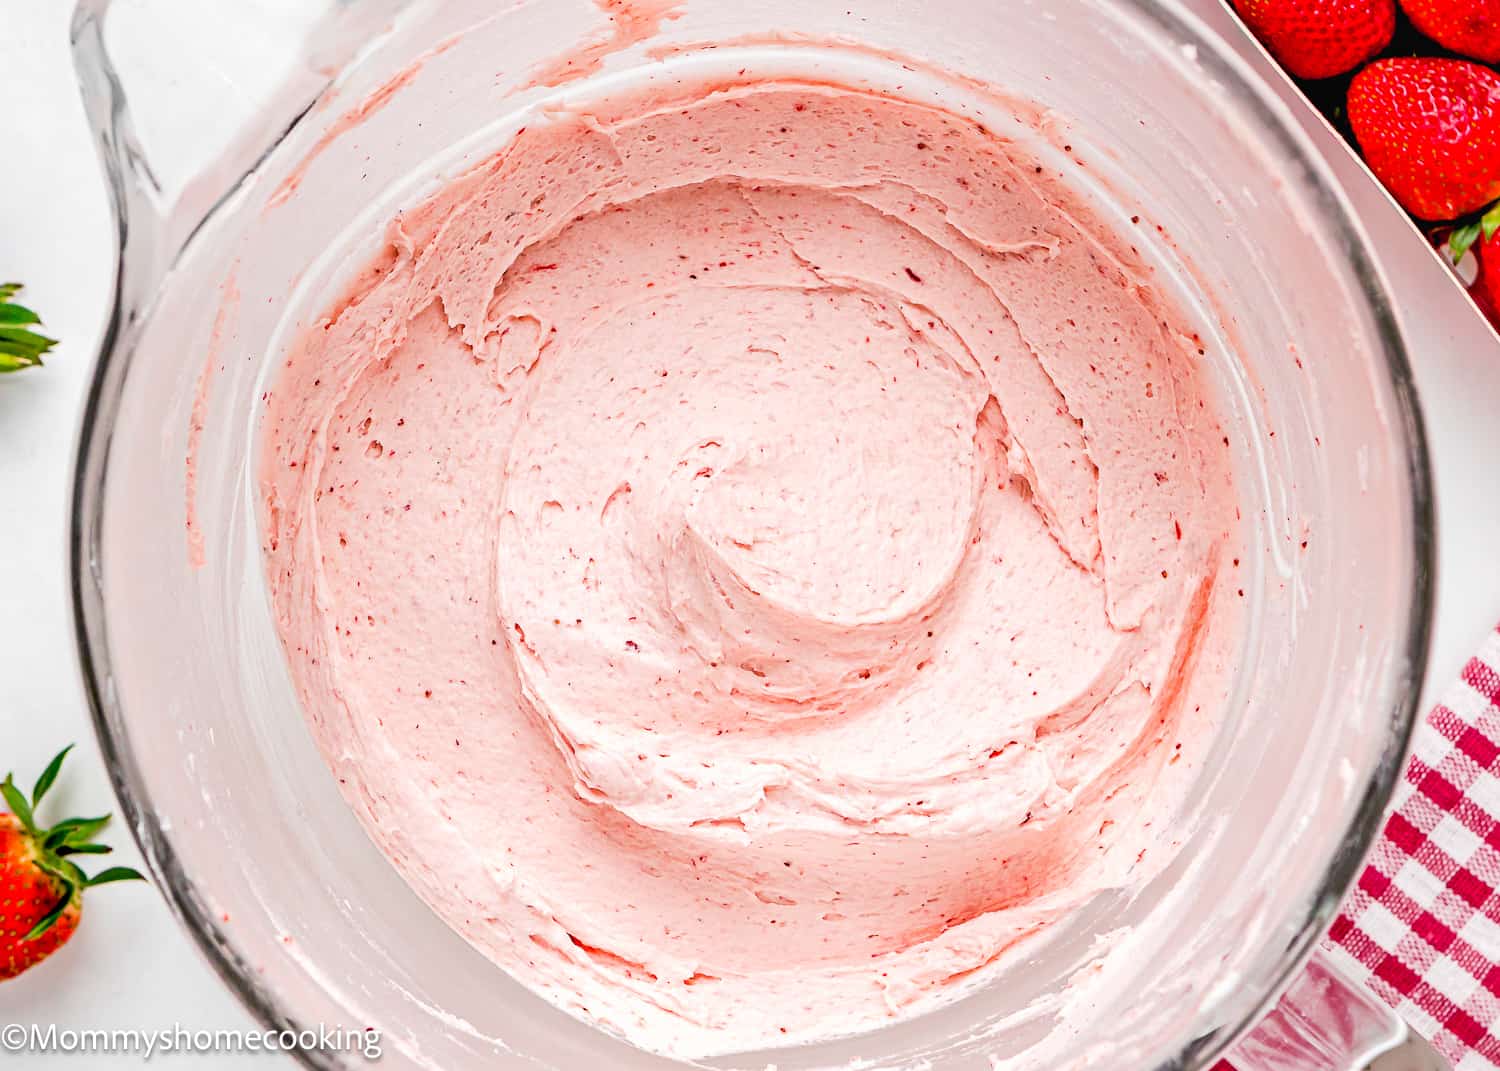
Using an electric hand mixer or a stand mixer on medium speed, beat the butter in a large bowl until smooth and creamy, 3 to 4 minutes. Reduce the mixer speed to low, add 1 cup of confectioners’ sugar, and mix until incorporated. Add the milk, vanilla extract, and salt. Once incorporated, add the remaining 3 cups of confectioners’ sugar; beat on low speed for 1 minute, then increase the speed to medium-high and beat for 4 to 5 minutes until the frosting is smooth, fluffy, and spreadable, scraping down the bowl once or twice.
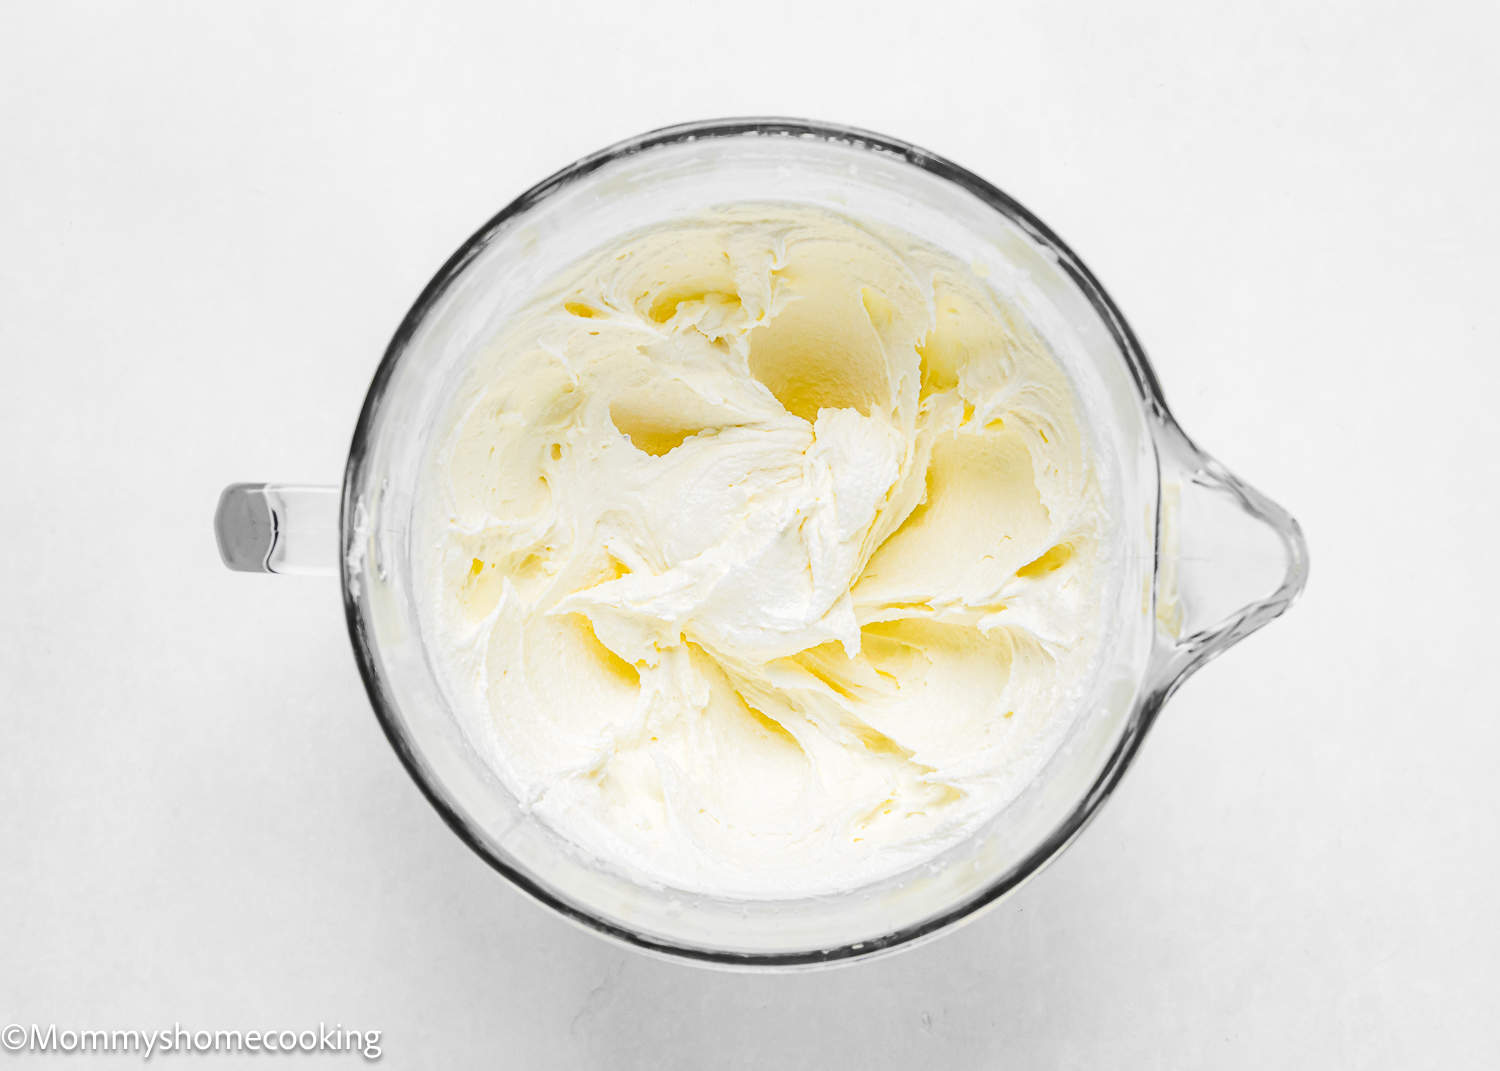
Step 2 – Add the Strawberry Flavoring of your Choice
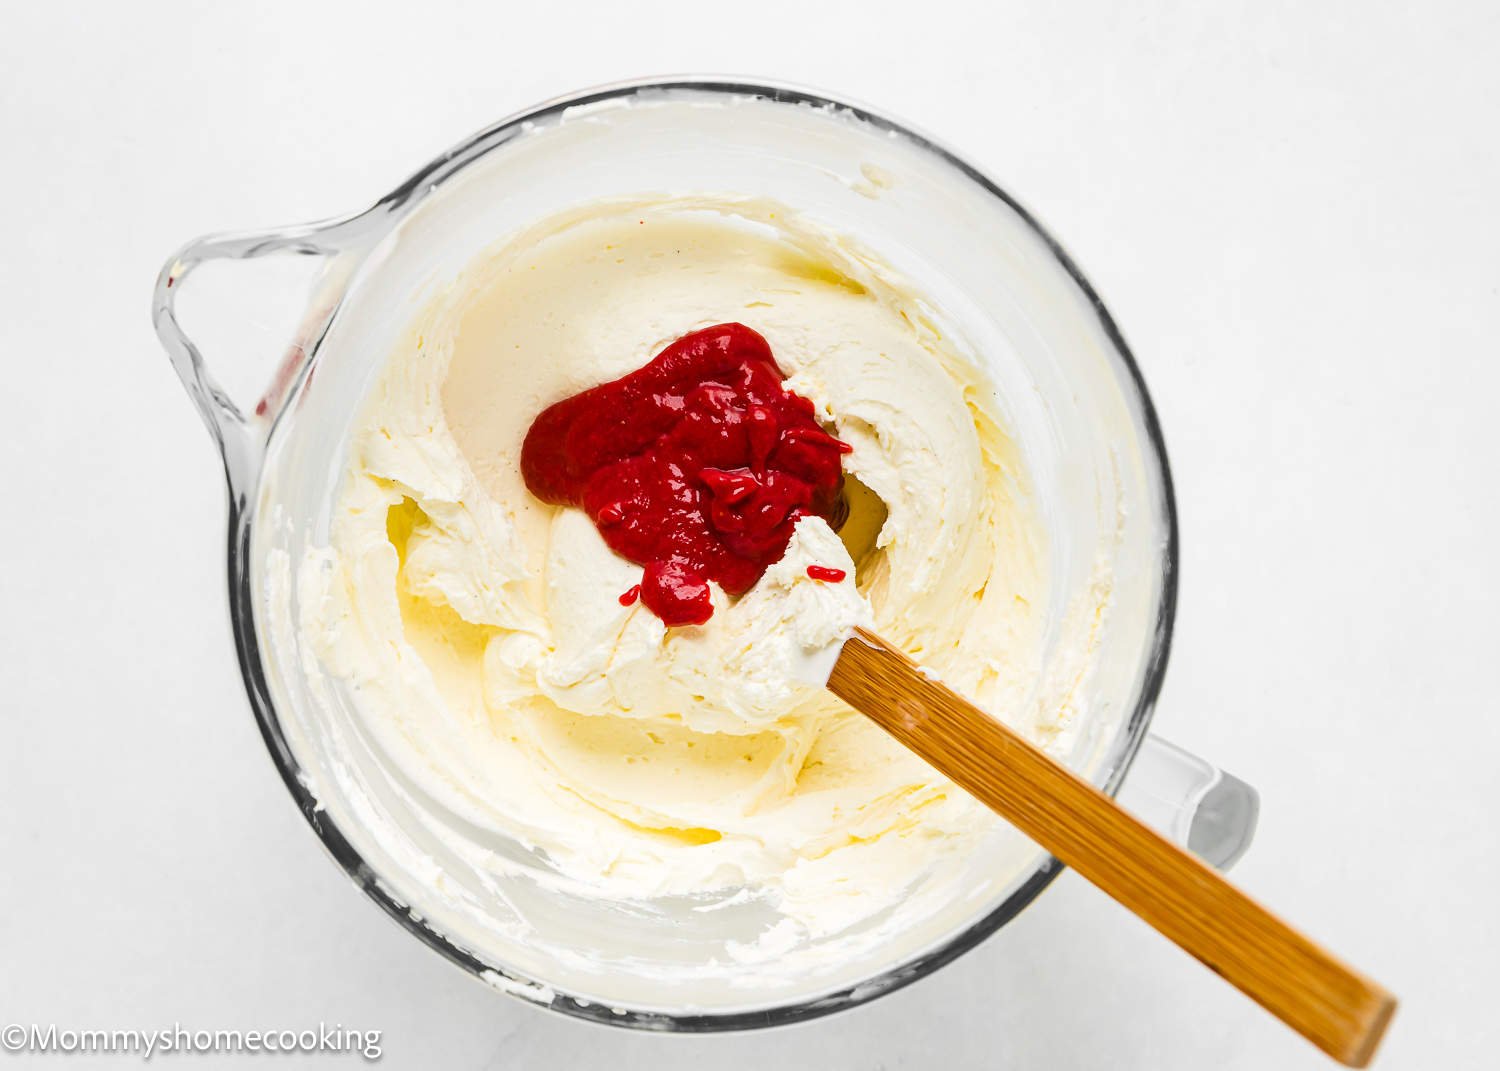
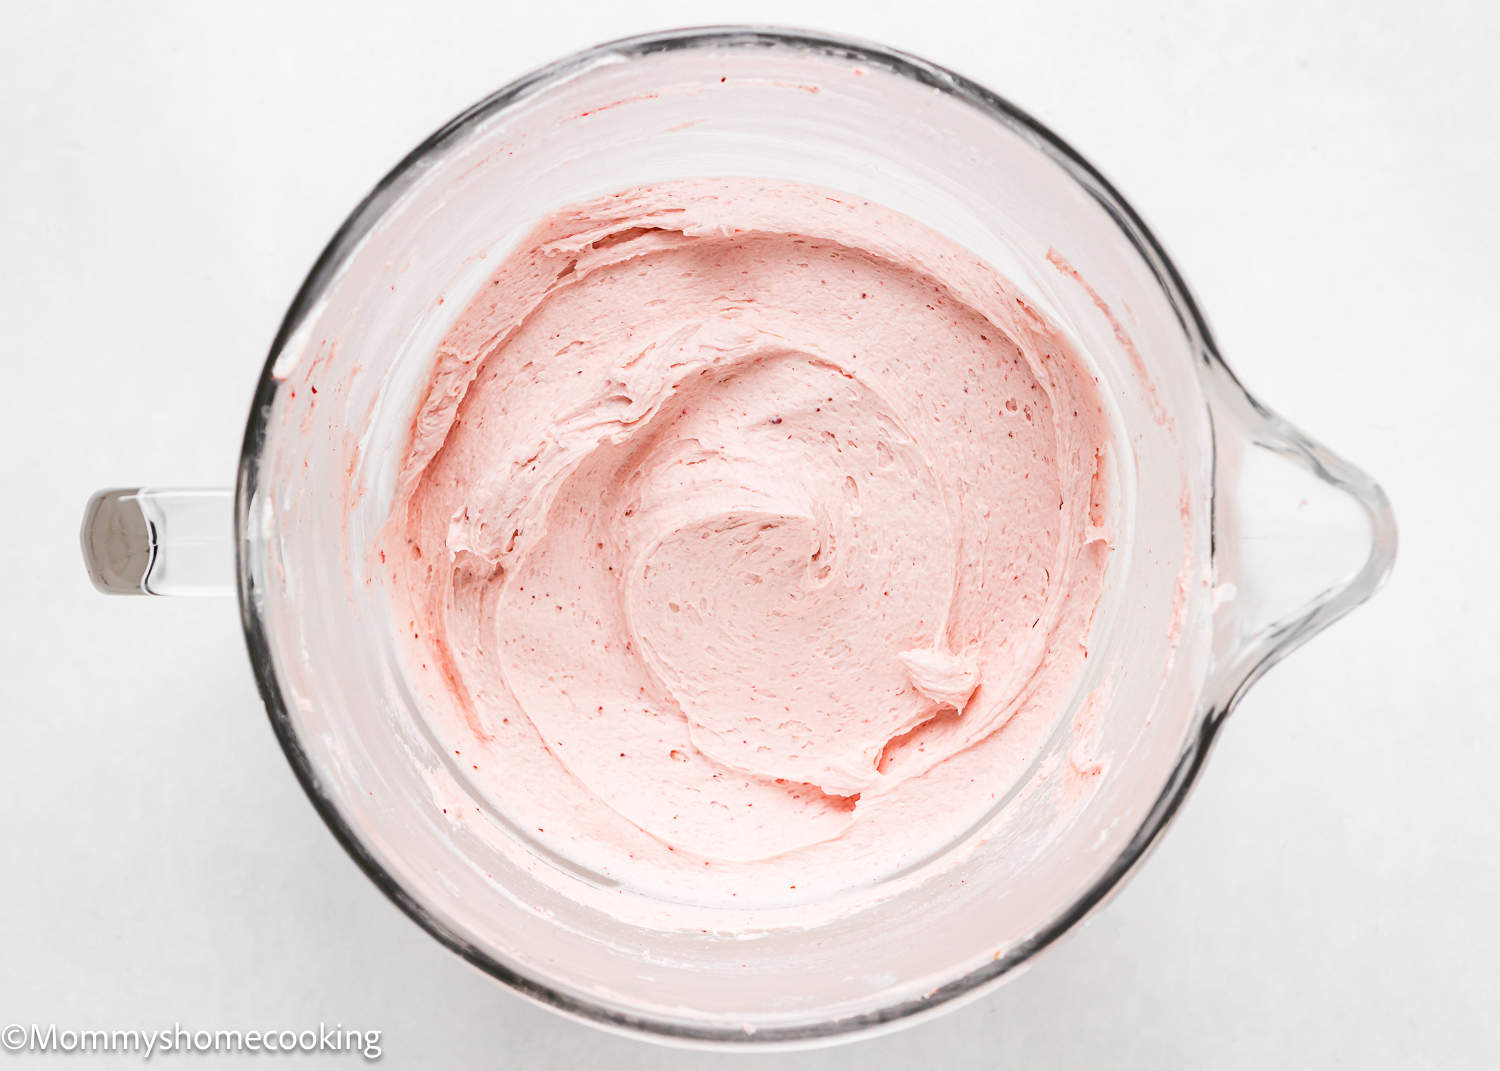
Add 1/4 cup (60 ml) of the cooled strawberry puree, or 1 cup (16 g) freeze-dried strawberries, or 1/2 cup strawberry jam, or 2 teaspoons strawberry emulsion; and mix until well incorporated.
Step 3 – Give it the last mix by hand
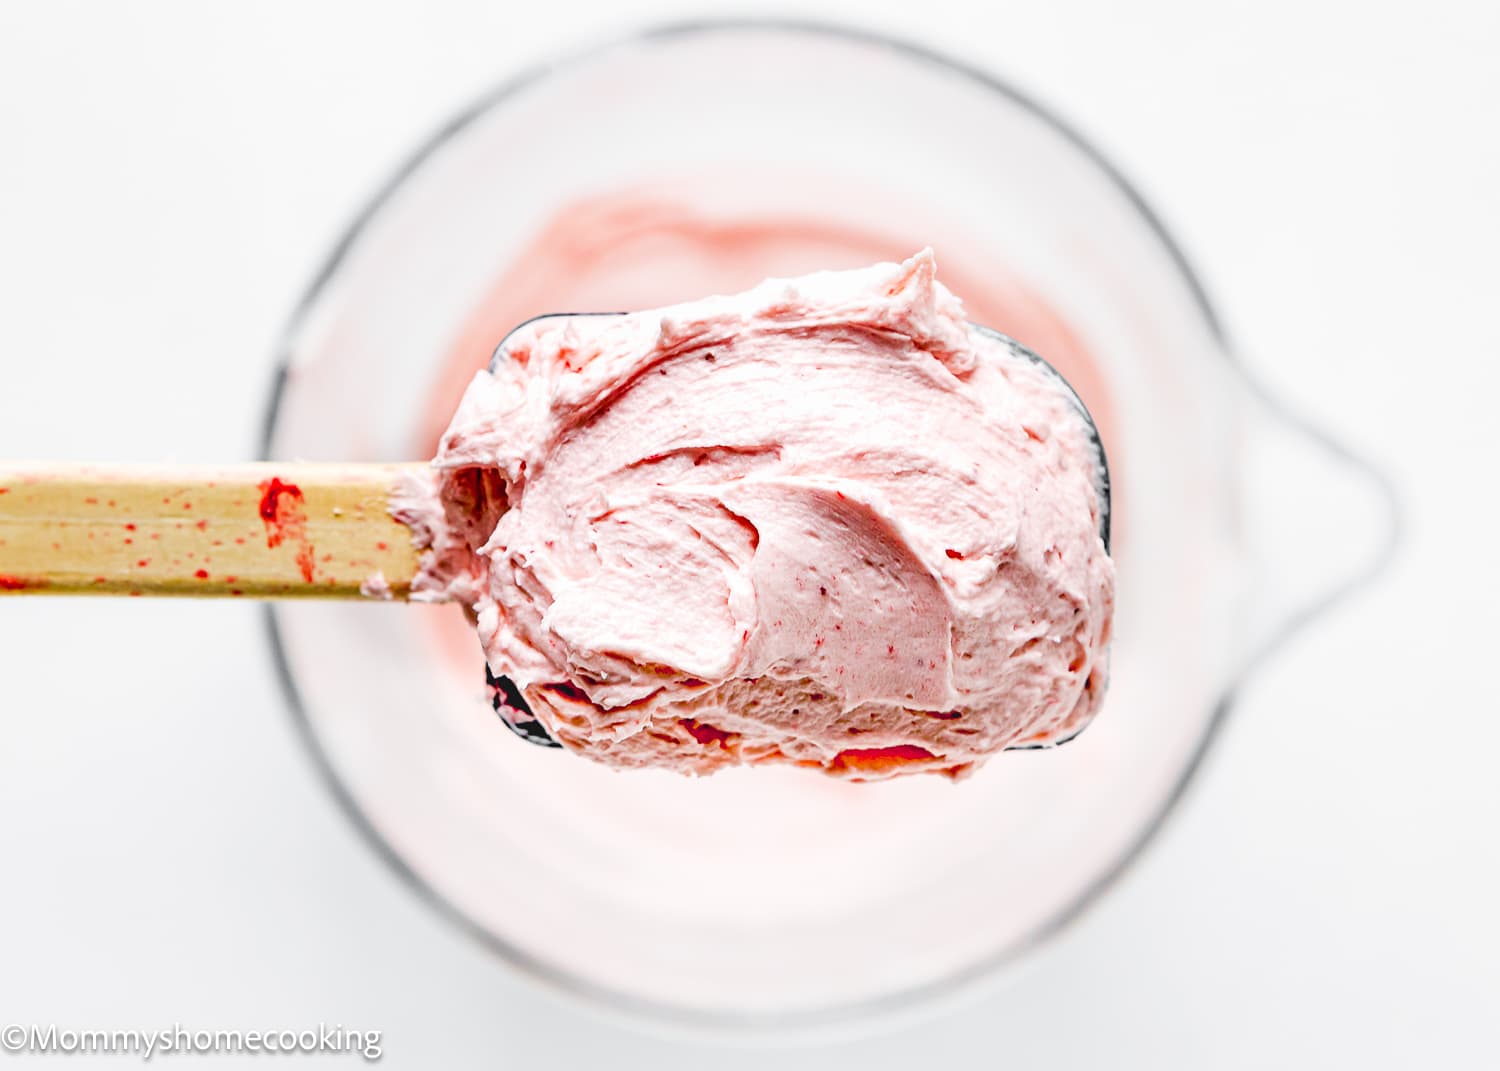
Before using it on your cake or cupcakes, mix your buttercream by hand with a rubber spatula or a wooden spoon. Be sure to push the frosting against the side of the bowl to release all of the trapped air and air pockets.
Recipe Tips
- Ensure the butter is softened but still cool to the touch. I suggest removing it from the fridge about 30 minutes before making your buttercream. The butter should retain a slight chill, allowing you to create a gentle imprint with your finger.
- Beat the butter long enough! Beat the butter until it transforms into a light, fluffy texture and turns pale in color. This process may require up to 5 minutes of whipping.
- Remember to sift the confectioners’ sugar to achieve a smooth consistency.
- Gradually incorporate the sugar, starting with just 1 cup initially, and mix until it blends smoothly before adding the remaining sugar.
- Opt for heavy cream over milk for an incredibly creamy finish.
- Beat on high speed in the last minutes! Once all the ingredients are added, set your mixer to medium-high speed and beat the buttercream for approximately five minutes. Make sure to scrape down the sides and bottom of the bowl and mix again for an additional minute.
- Give the buttercream a final hand mix using a rubber spatula. Though it may require some effort, hand mixing for a few minutes significantly enhances the texture. Press the frosting against the bowl’s sides to release any trapped air.
- If the buttercream appears grainy, consider adding a touch more milk or heavy cream. I recommend incorporating one additional tablespoon at a time to maintain the frosting’s consistency.
- The ideal consistency for the frosting should be soft and easily spreadable without being too runny. If the frosting is too thick, gradually blend in more milk, one tablespoon at a time, until the desired texture is achieved. On the other hand, if it’s too thin, add more confectioners’ sugar, 1/4 cup at a time, until reaching the desired consistency
Food Allergy Swaps
Dairy-Free: To make this recipe dairy-free, you can easily swap out the dairy ingredients for non-dairy alternatives. Instead of milk or heavy cream, use non-dairy alternatives, such as soy or oat milk and vegan creamer. And use vegan butter instead of dairy butter. There are many brands available in stores. I usually use Earth Balance Vegan Buttery Sticks. Check out my favorite dairy-free substitutes here.
How To Use Homemade Strawberry Frosting
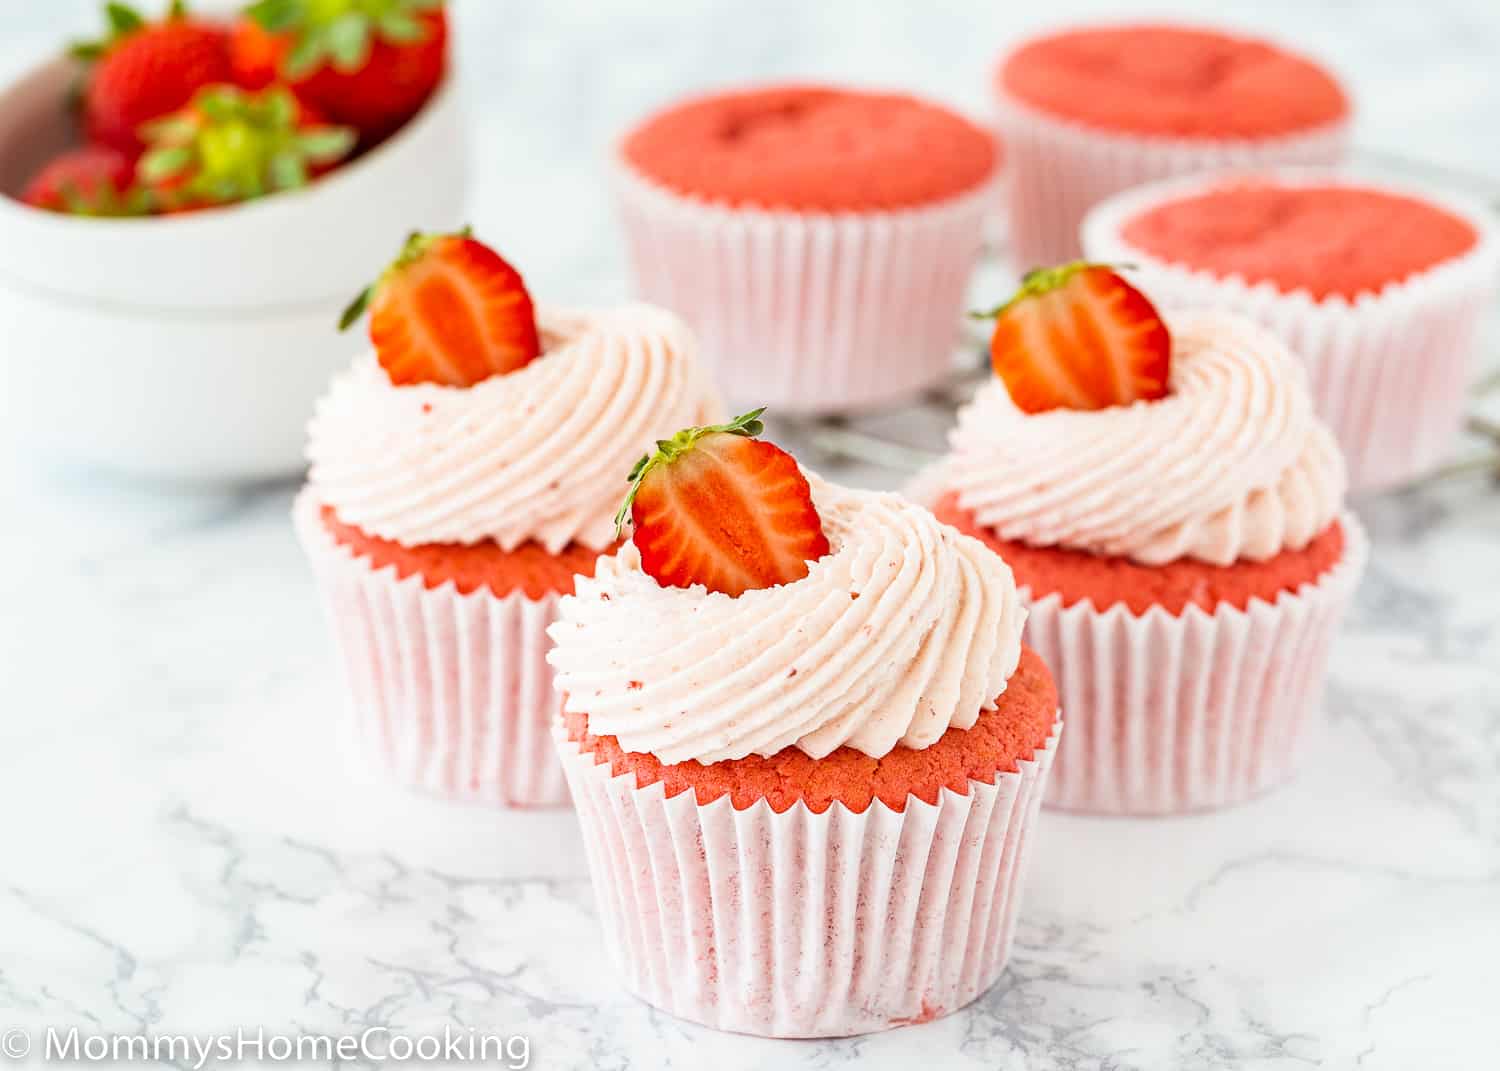
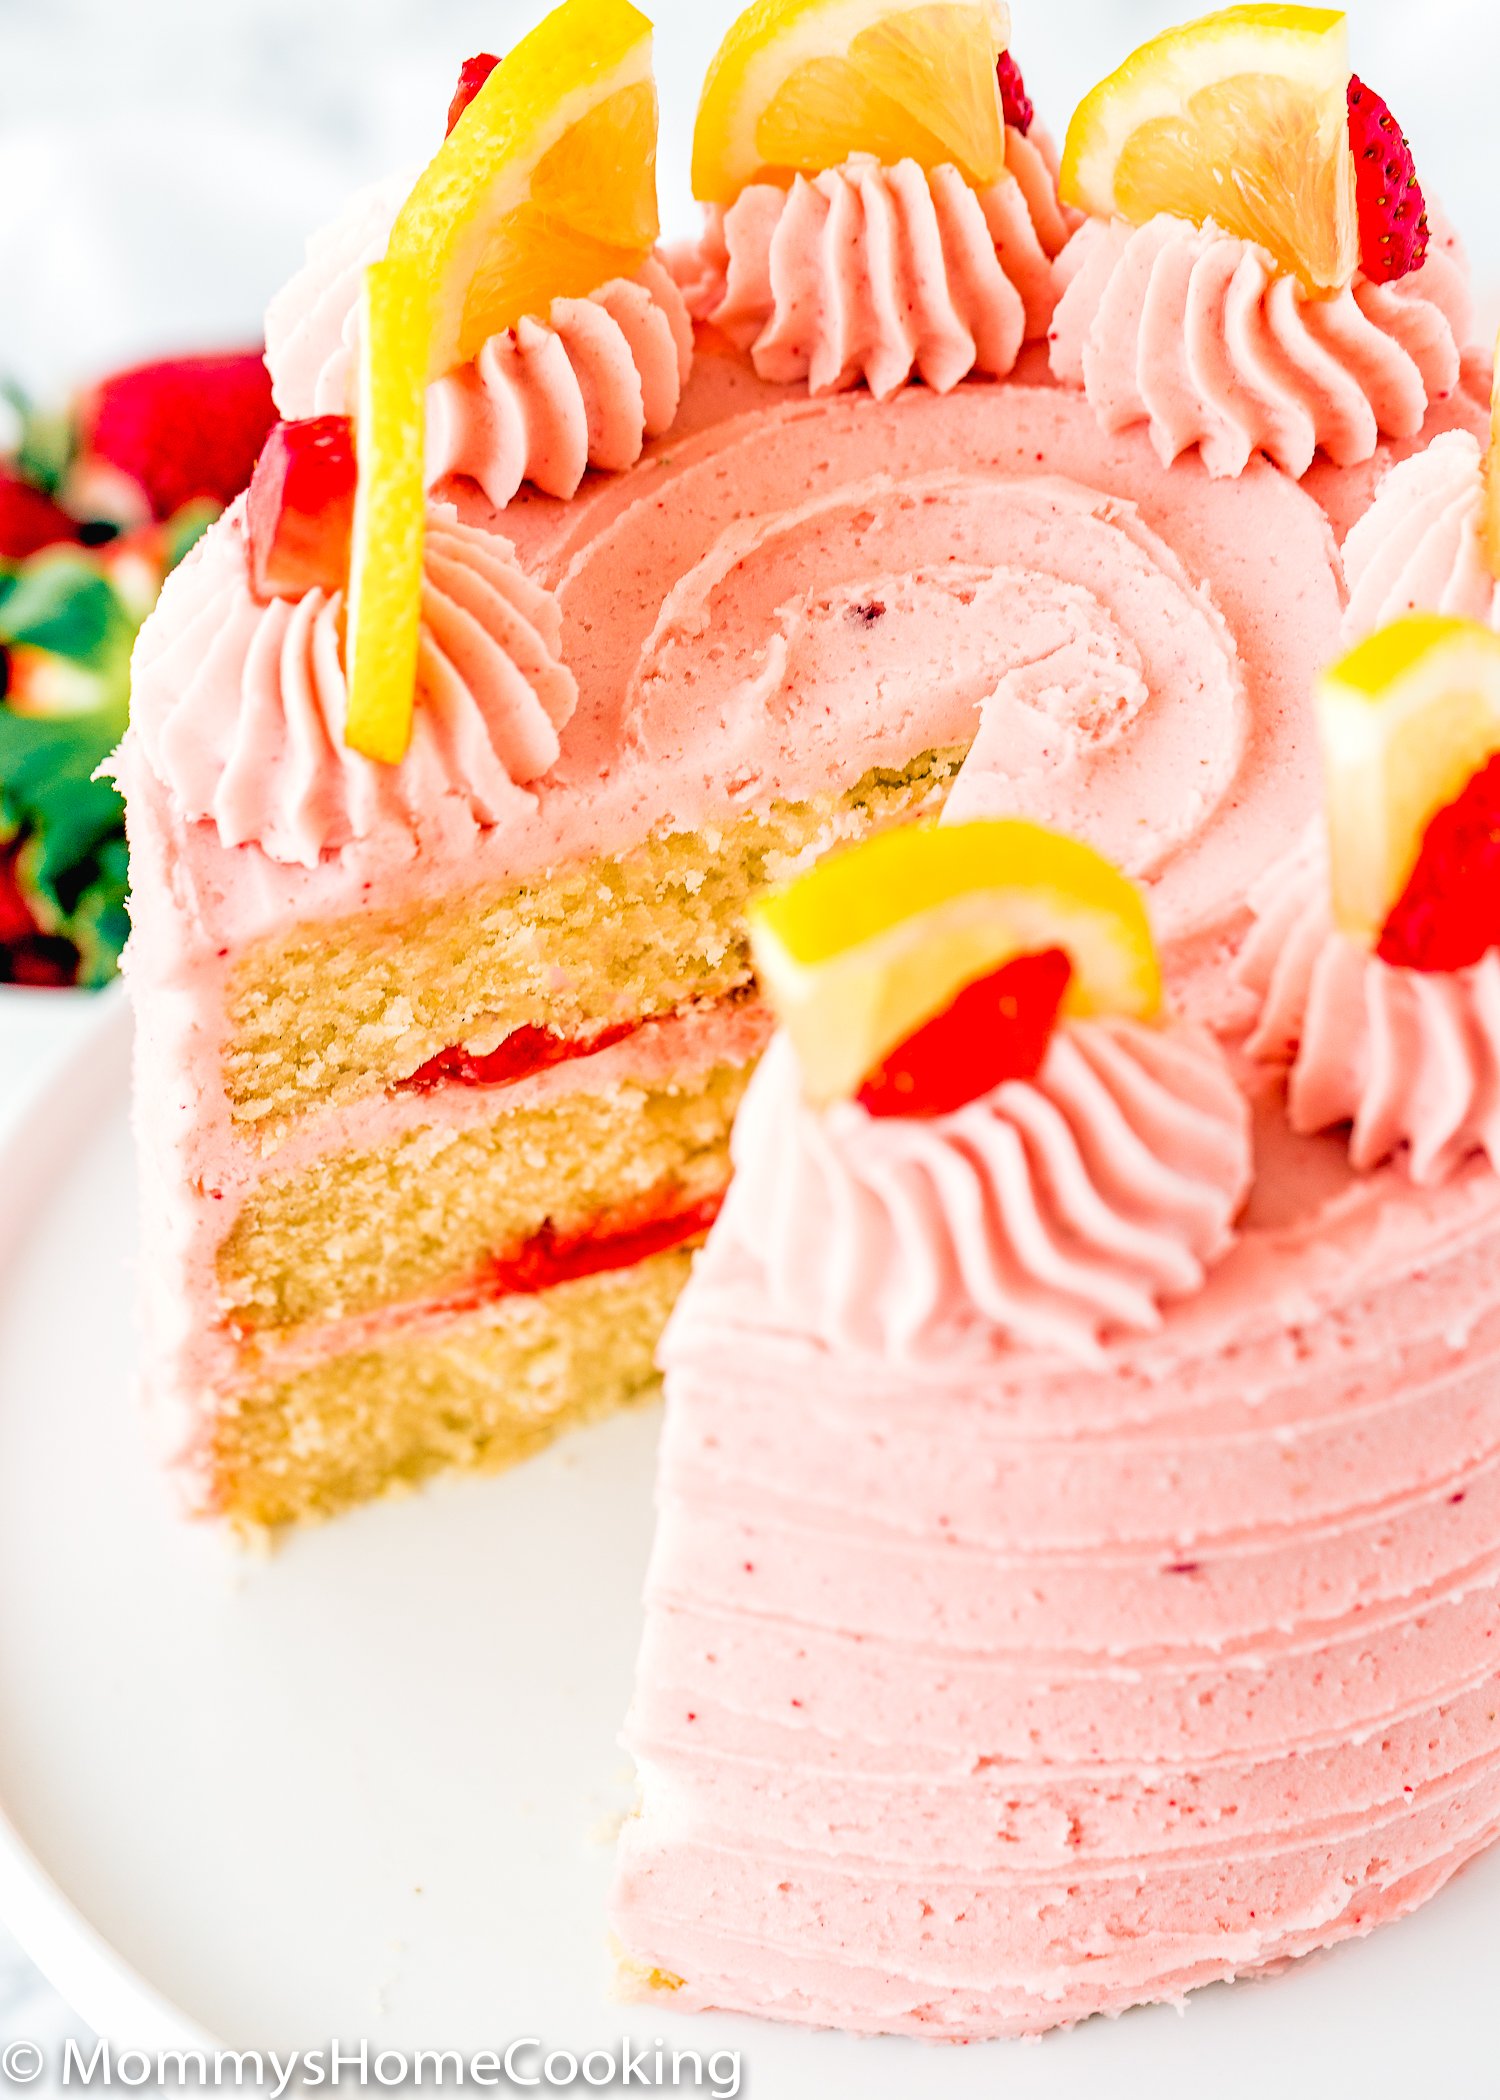
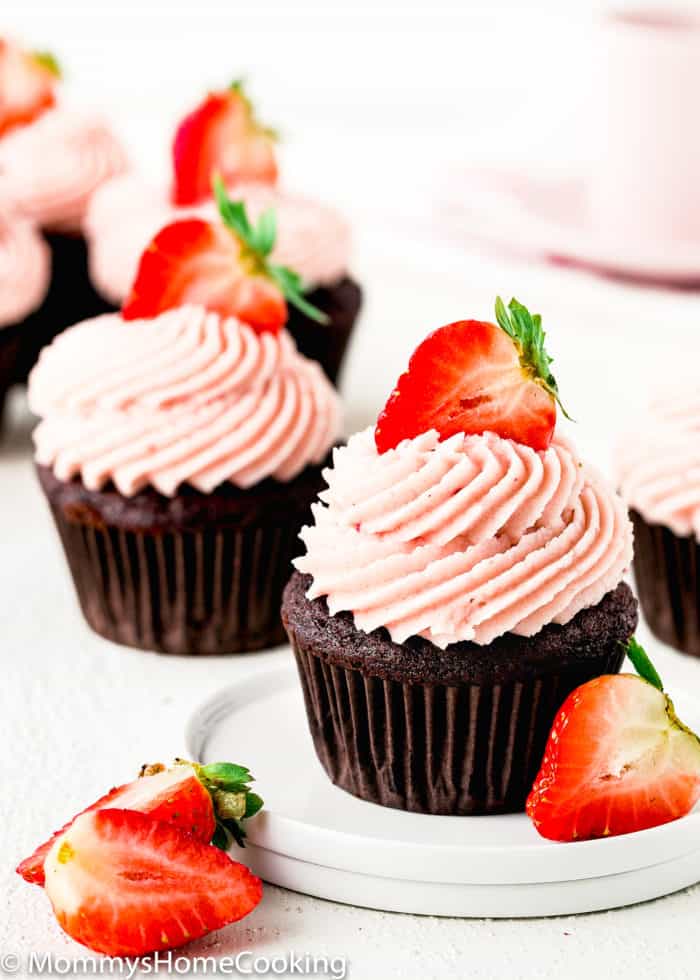
The possibilities are truly endless when it comes to using this versatile strawberry frosting. From cakes and cupcakes to brownies and cookies, this frosting will surely add fruity sweetness to any treat. So get creative, and let your imagination run wild in the kitchen! I love to use it on my Easy Eggless Strawberry Cupcakes, Eggless Strawberry Lemonade Cake, and my Eggless Chocolate Strawberry Cupcakes. But it will also be a great addition to brownies and sugar cookies.
Storing and Freezing Instructions
This strawberry buttercream can be made in advance and stored, covered, in the refrigerator for up to 7 days or in the freezer for up to 3 months. Before using, bring the frosting to room temperature and mix until smooth.
Frequently Asked Questions
While you can use salted butter, be mindful of the additional salt content and adjust accordingly to avoid an overly salty frosting.
Yes, you can prepare the frosting in advance and store it in the refrigerator until ready to use. However, you must allow it to come to room temperature and give a whip before frosting your baked goods.
More Frosting Recipes You’ll Love!
- Easy Vanilla Buttercream Frosting
- Favorite Cream Cheese Frosting That Isn’t Runny!
- Easy Chocolate Frosting
- Browse more recipes…
❤️ Love what you see? JOIN my Private Baking Club. Also, SUBSCRIBE to Mommy’s Home Cooking, so you’ll never miss a recipe! And FOLLOW along on Instagram, Pinterest, and Facebook for more fun!
Recipe Card 📖
Easy Strawberry Frosting (4 ways)
Equipment
Ingredients
Frosting Base:
- 1 cup (230 g) unsalted butter, slightly cold
- 4 cups (480 g) confectioners’ sugar, sifted
- 2 tablespoons (30 ml) whole milk or heavy cream
- 1 teaspoon (5 g) pure vanilla extract
- ¼ teaspoon (1 g) salt
Strawberry Flavor 4 ways! Pick 1:
Fresh or Frozen Strawberries:
- 1 lb (450 g) fresh or frozen strawberries, (if fresh, washed, and hulled – If frozen thaw)
Freeze Dried Strawberries:
Strawberry Jam:
- 1/2 cup strawberry jam (I recommend and use no sugar added)
Strawberry Emulsion:
- 2 teaspoons (10 ml) strawberry emulsion
Instructions
If Using Fresh or Frozen Strawberries
Make the Puree:
- Add the strawberries to a food processor or blender and puree until smooth. Note: If using frozen, you need to thaw before. You will get about 1 1/4 cup.
- Add the strawberry puree to a saucepan or skillet. Cook over medium heat, stirring constantly until mixture begins to thicken and bubble, about 5 to 10 minutes.
- Reduce the heat to medium-low and allow the strawberry mixture to simmer for 15 -20 minutes until reduced to half; about 1/2 cup or so. Remove from heat, pour into a bowl, and set aside to cool.Note: You can make the strawberry puree up to 3 days in advance and keep it in the fridge until ready to use.
Make the Frosting:
- Using an electric hand mixer or a stand mixer on medium speed, beat the butter in a large bowl until smooth and creamy, 3 to 4 minutes.
- Reduce the mixer speed to low, add 1 cup of the confectioners’ sugar, and keep mixing until incorporated. Add the milk, vanilla extract, and salt. Once incorporated, add the remaining 3 cups confectioners’ sugar; beat on low speed for 1 minute, then increase the speed to medium-high and beat for 4 to 5 minutes until the frosting is smooth, fluffy, and spreadable, scraping down the bowl once or twice.
- Add 1/4 cup (60 ml) of the cooled strawberry puree, or 1 cup (16 g) freeze-dried strawberries, or 1/2 cup strawberry jam, or 2 teaspoons strawberry emulsion; and mix until well incorporated, about 1 more minutes.
- Before using it on your cake or cupcakes, give your buttercream a last mix by hand with a rubber spatula or a wooden spoon. Be sure to push the frosting against the side of the bowl to push out all of that trapped air and air pockets.
- Ensure the butter is softened but still cool to the touch. I suggest removing it from the fridge about 30 minutes before making your buttercream. The butter should retain a slight chill, allowing you to create a gentle imprint with your finger.
- Beat the butter long enough! Beat the butter until it transforms into a light, fluffy texture and turns pale in color. This process may require up to 5 minutes of whipping.
- Remember to sift the confectioners’ sugar to achieve a smooth consistency.
- Gradually incorporate the sugar, starting with just 1 cup initially, and mix until it blends smoothly before adding the remaining sugar.
- Opt for heavy cream over milk for an incredibly creamy finish.
- Beat on high speed in the last minutes! Once all the ingredients are added, set your mixer to medium-high speed and beat the buttercream for approximately five minutes. Make sure to scrape down the sides and bottom of the bowl and mix again for an additional minute.
- Give the buttercream a final hand mix using a rubber spatula. Though it may require some effort, hand mixing for a few minutes significantly enhances the texture. Press the frosting against the bowl’s sides to release any trapped air.
- If the buttercream appears grainy, consider adding a touch more milk or heavy cream. I recommend incorporating one additional tablespoon at a time to maintain the frosting’s consistency.
- The ideal consistency for the frosting should be soft and easily spreadable without being too runny. If the frosting is too thick, gradually blend in more milk, one tablespoon at a time, until the desired texture is achieved. If it’s too thin, add more confectioners’ sugar, 1/4 cup at a time, until it reaches the desired consistency.

Leave a Reply