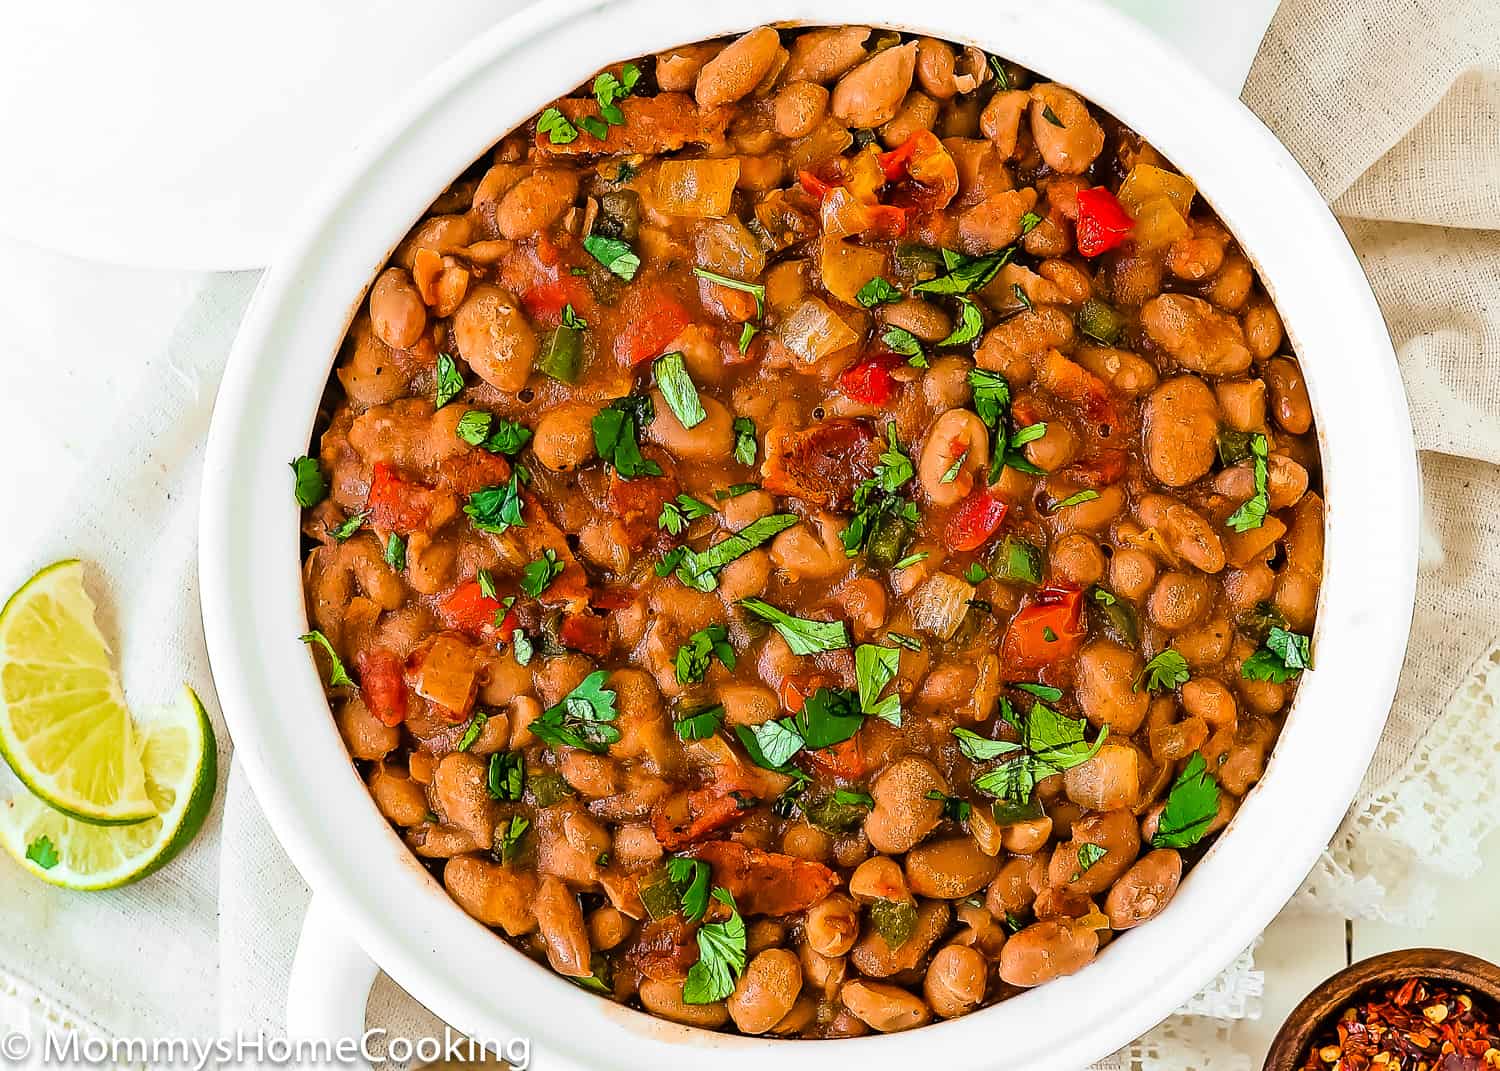
These Drunken Beans (frijoles borrachos) are seriously savory, hearty, and scrumptious and are easily made in 30 min! This makes a wickedly delicious big batch, so if you have leftovers…smile. Stovetop, slow cooker, and Instant Pot instructions are included.
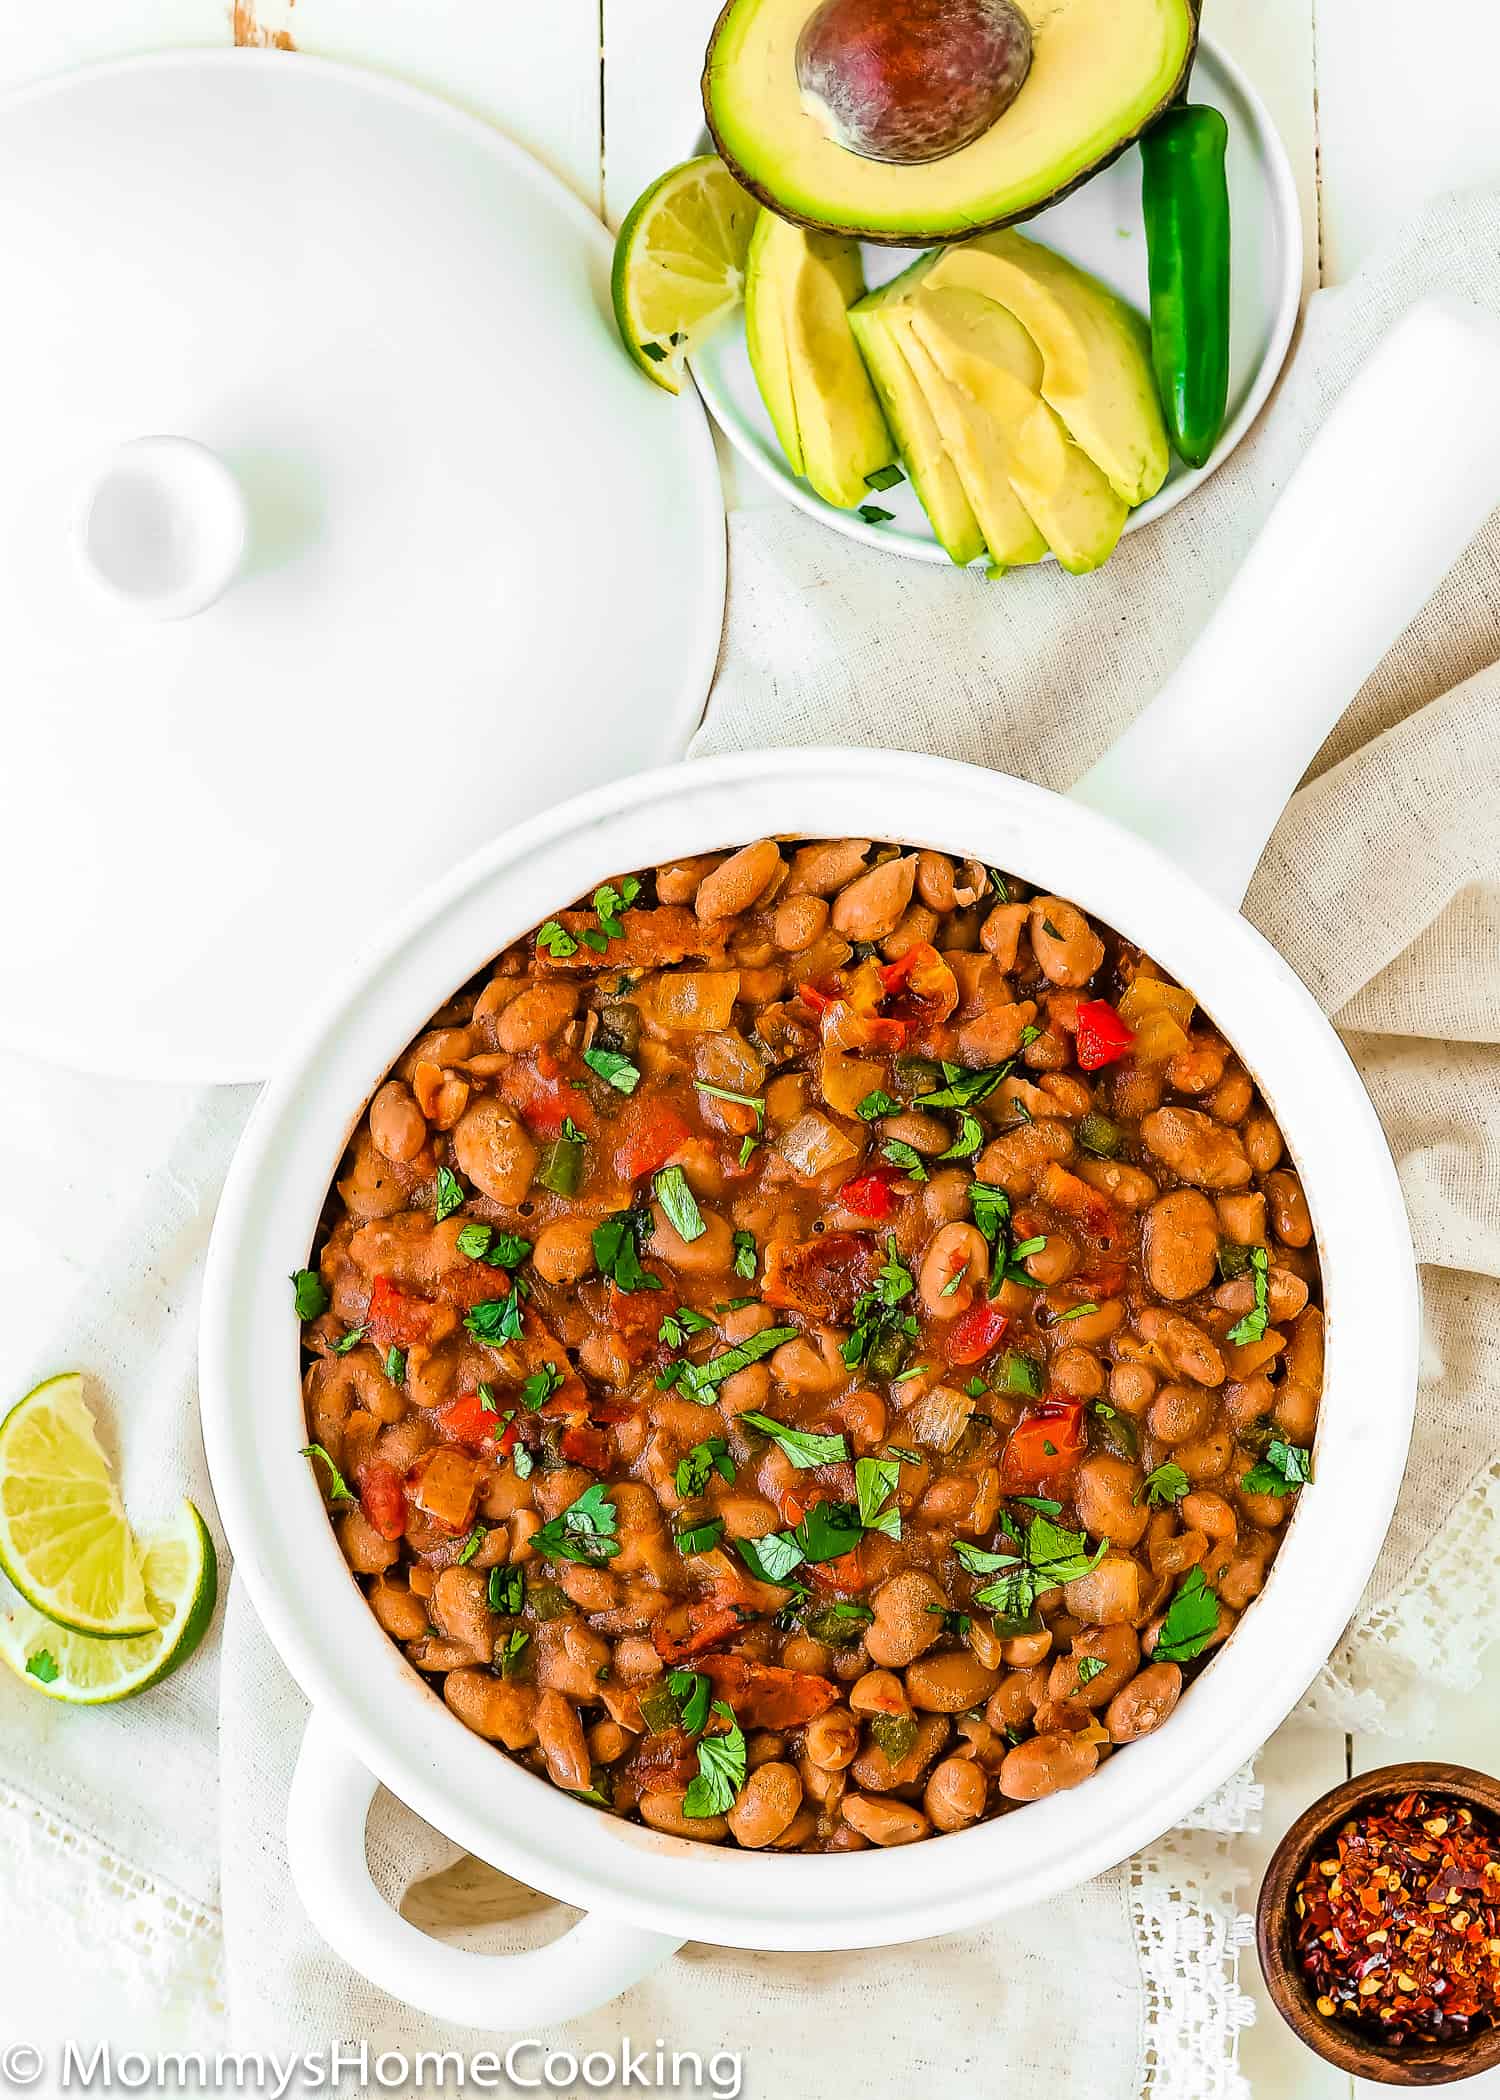
Drunken Beans (Frijoles borrachos) Recipe Highlights
Today we’re making Drunken Beans, a.k.a. Frijoles Borrachos. They are beyond easy to make and delicious. You’ll love them!
They’re hearty, warm, and rustic. Basically, they’re the definition of comfort food. They are made with a beer (wink). Don’t fret! The alcohol from the beer boils out during cooking. You can make this recipe with dry beans or canned beans; I have included instructions for both.
I really love cooking beans! They are easy to make, inexpensive, filling, delicious, and so versatile. Seriously, you can’t go wrong with beans, at least not at my house.
What are drunken beans or frijoles borrachos?
For those of you who’ve never tried drunken beans, they are basically pinto beans simmered in Mexican beer and bacon. YUM!
These Drunken Beans are one of my favorite side dishes to take to summer potlucks and barbecues since they are the perfect accompaniment to burgers, chicken, carne asada, or whatever you’re grillin’ up.
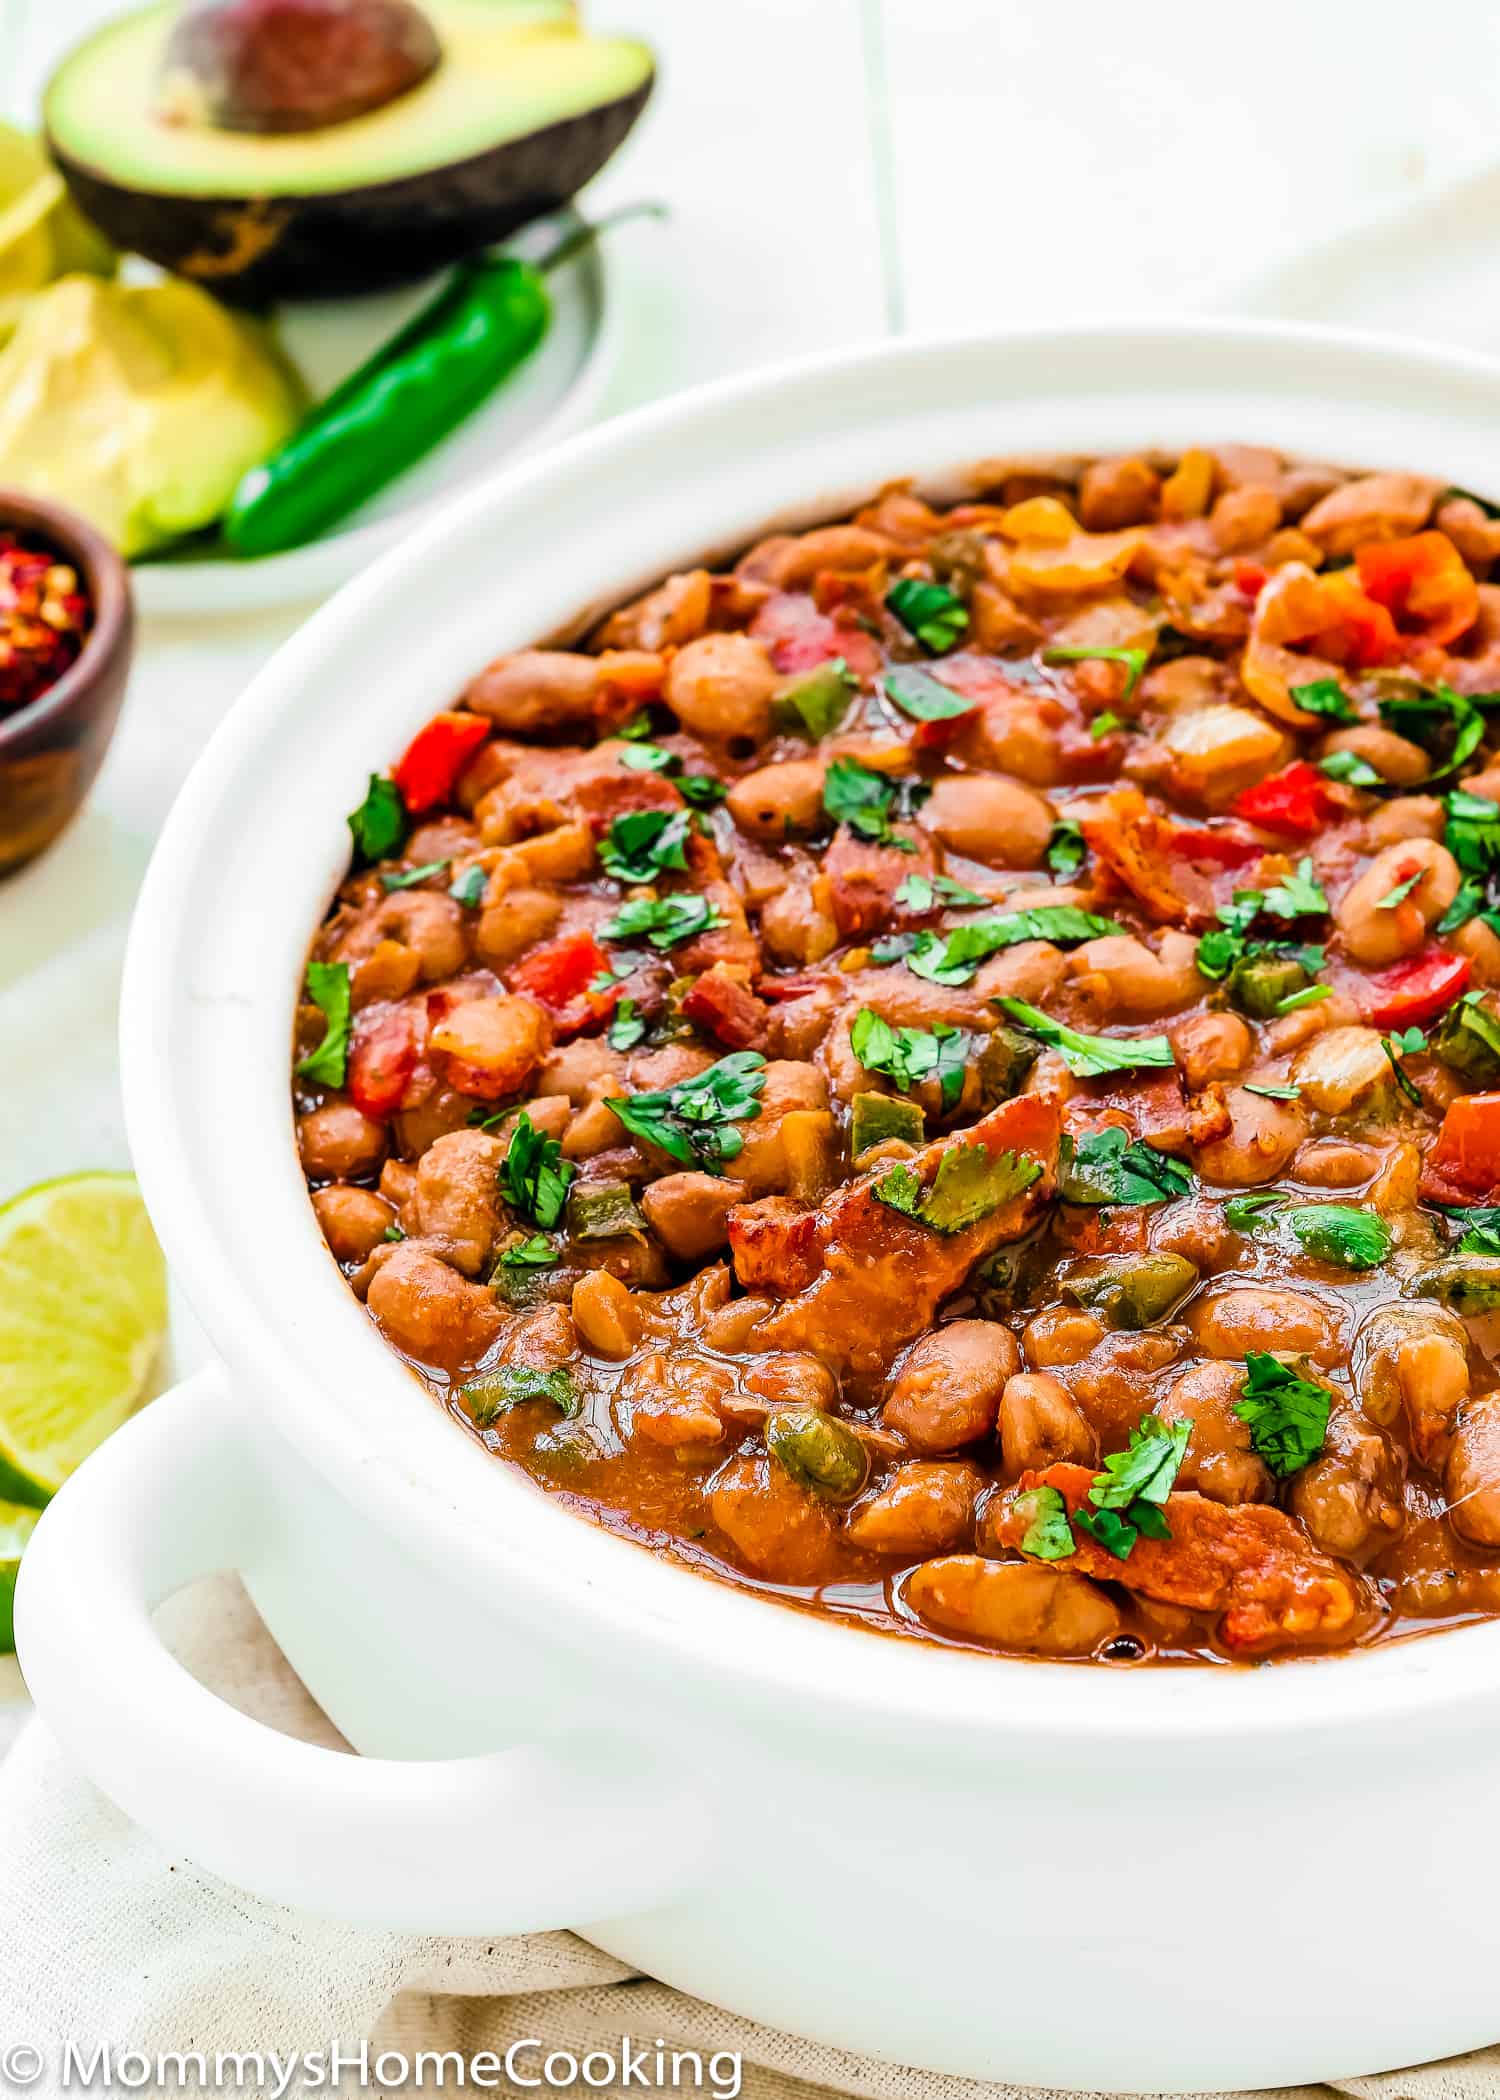
Drunken Beans Ingredients, Substitutions & Notes
Please check the recipe card at the bottom of the post for exact quantities and instructions (scroll down).
You’ll need:
- Bacon: Adding the bacon adds a nice salty smokiness. Don’t skip it!
- Veggies: You’ll need onion, green pepper, Serrano or Jalapeño pepper, and garlic.
- Pinto beans: You can use dried or canned pinto beans. See the recipe card for details.
- Canned tomatoes: I used Rotel for extra heat, but you can use regular diced tomatoes or fired-roasted for extra smoky flavor.
- Mexican beer: You can use any beer you have on hand. I prefer a dark Mexican beer, such as Negra Modelo, but any beer will work fine.
- Chicken or vegetable stock: You can substitute stock for water; in that case, taste and adjust the seasoning to your taste, adding more salt and pepper if necessary.
- Salt: I recommend kosher or sea salt for better taste.
- Cumin: This adds an earthy, warm flavor. For extra flavor, you can add 2 teaspoons of chili powder if desired.
- Black pepper: Feel free to use cayenne pepper for more heat if you prefer.
How to Soak Dried Beans
Place 4 quarts water (or more if needed) in a large bowl and add beans. Soak for at least 8 hours or overnight. Make sure the beans are completely covered with plenty of water.
30-Minute Quick & Easy Drunken Beans Step-by-Step (Canned Beans)
Please check the recipe card at the bottom of the post for exact quantities and instructions (scroll down).
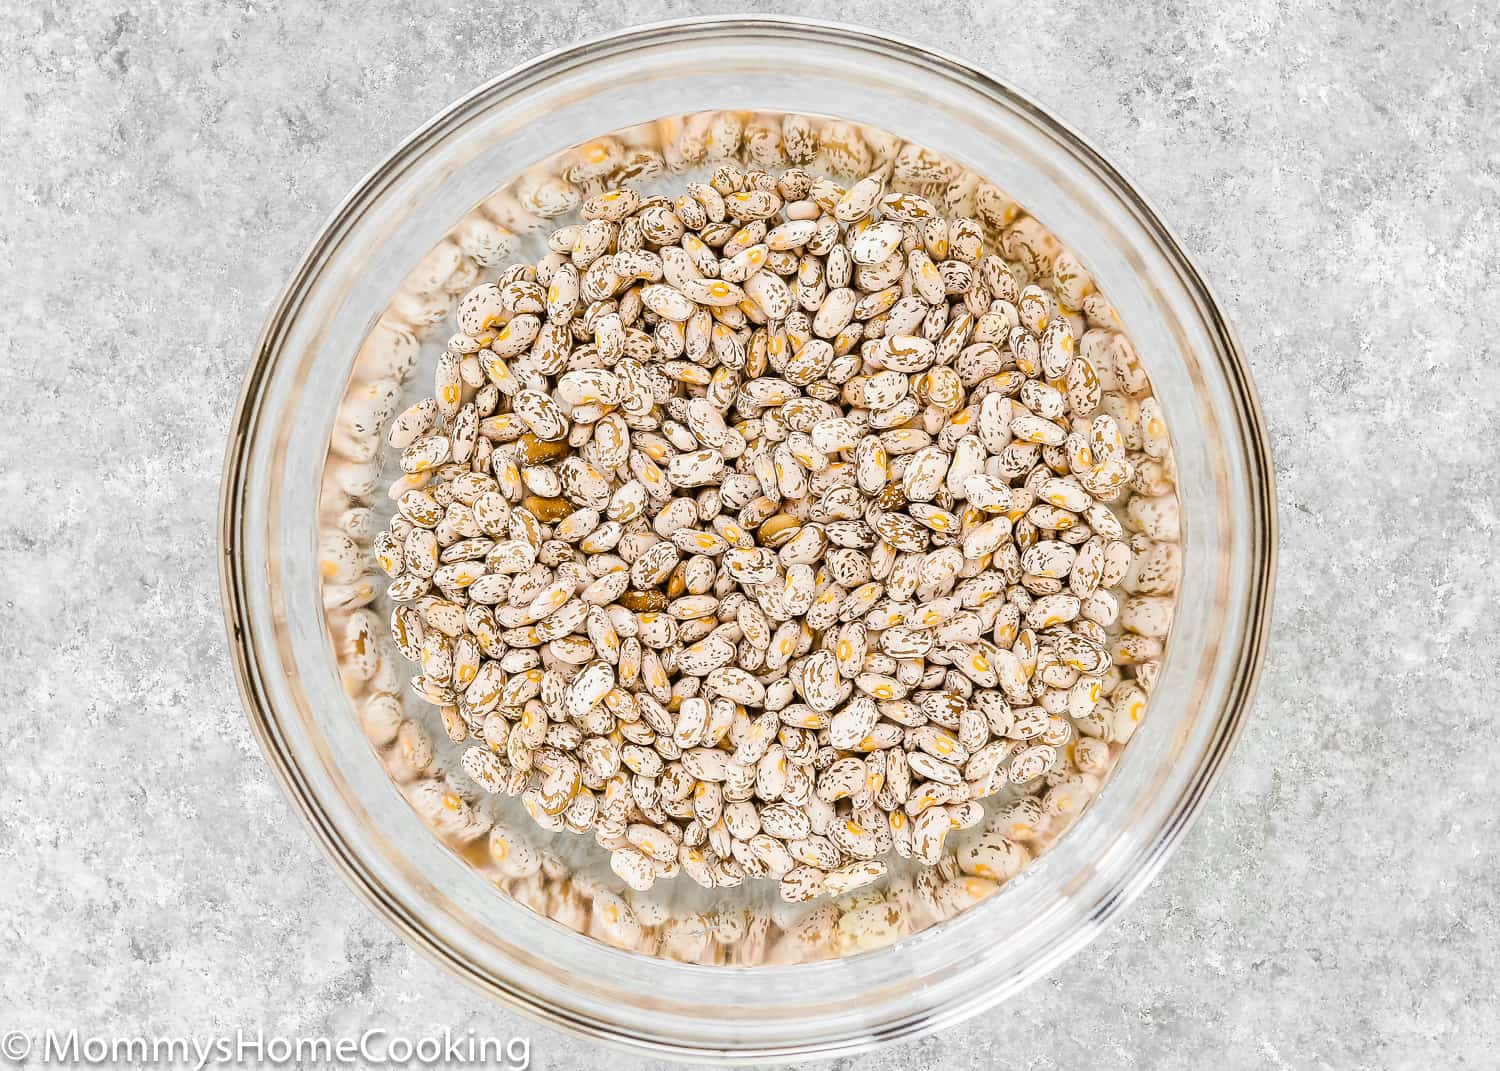
- Brown the Bacon
Brown and cook the bacon, stirring occasionally, until browned and crispy.
- Saute Veggies
Add the onions, green pepper, serrano pepper, and sauté for 3 minutes. Add the garlic and sauté for 30 seconds.
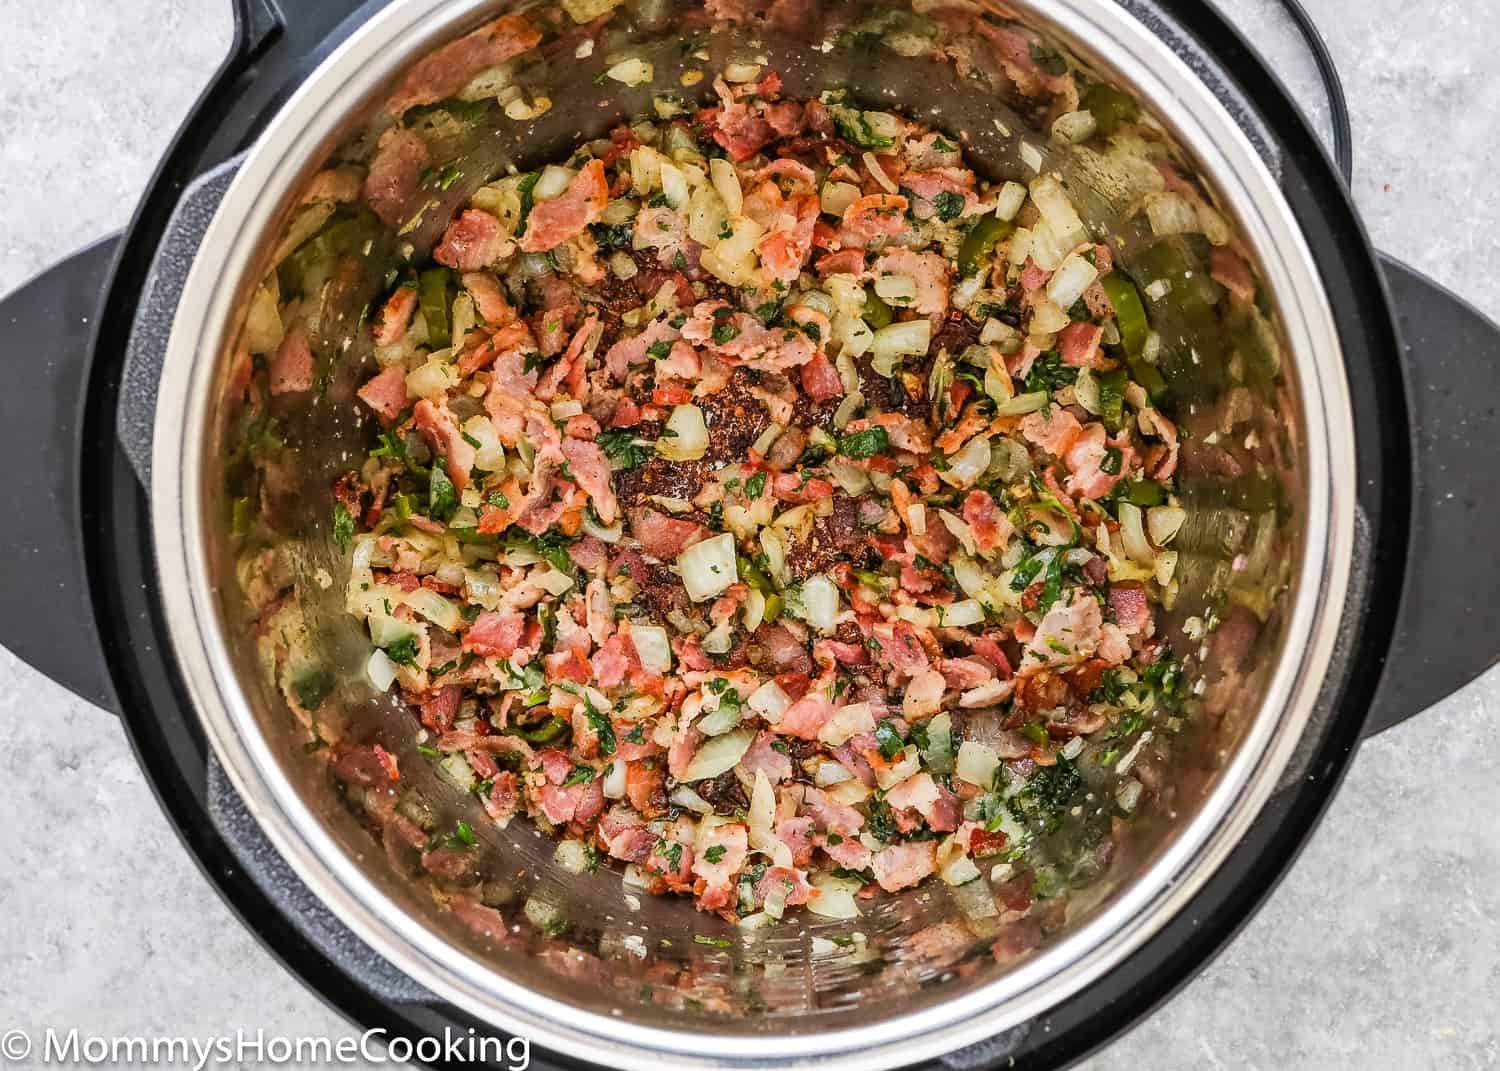
- Add the Remaining Ingredients
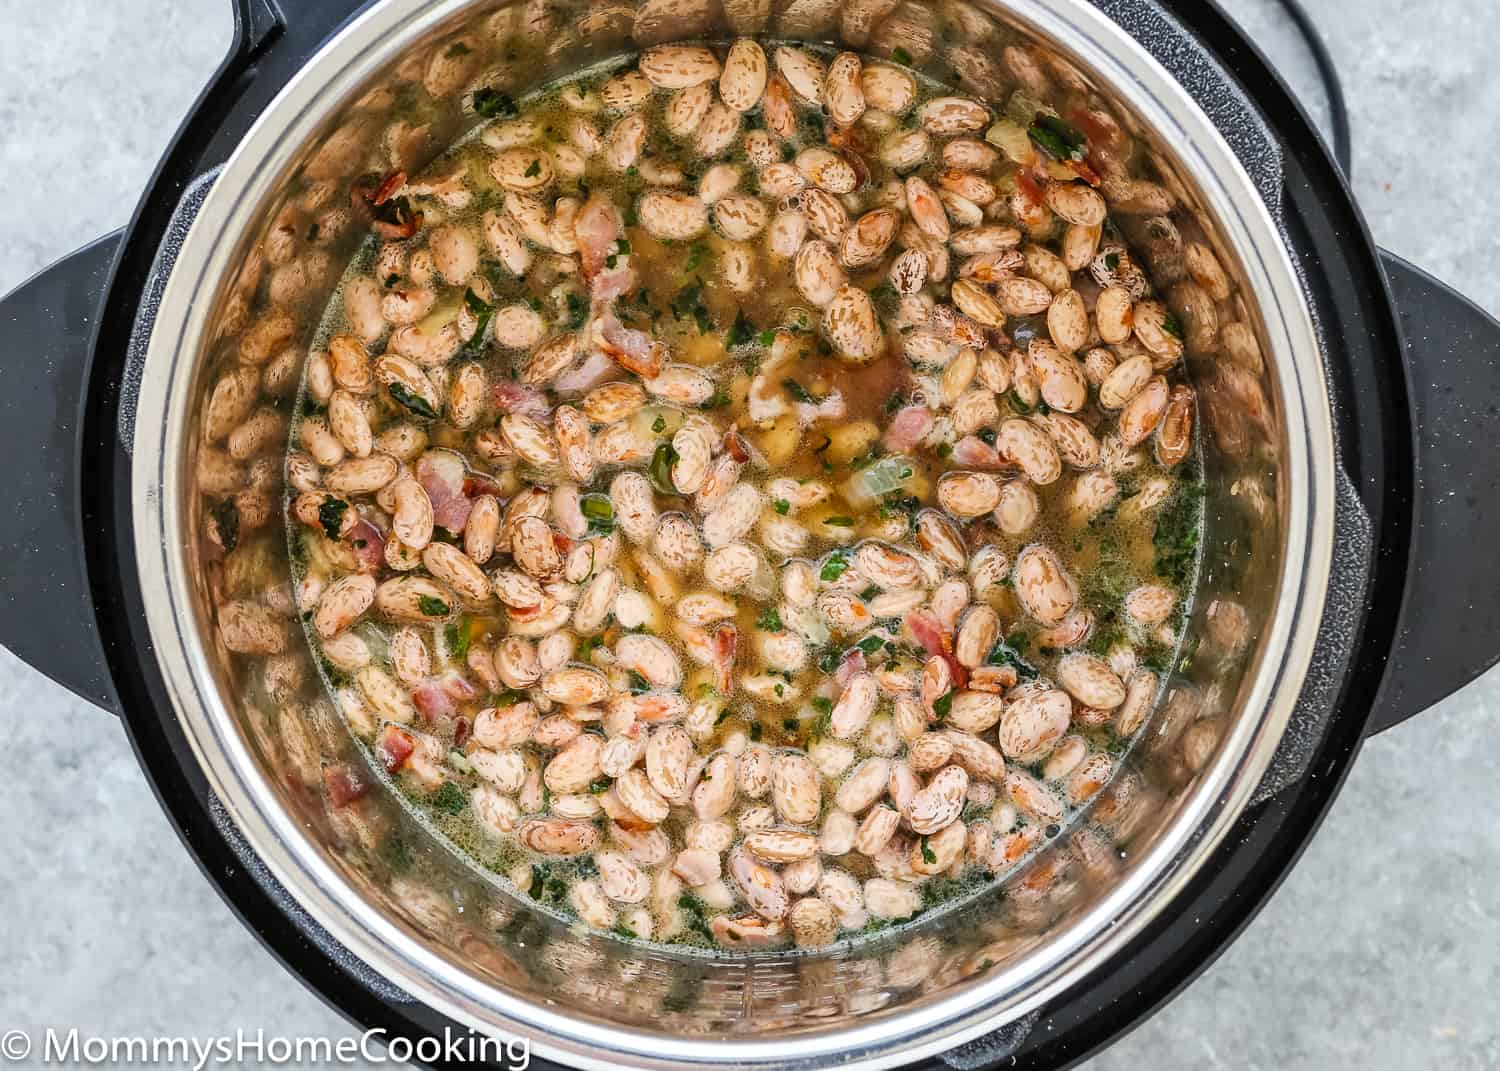
Then add the remaining ingredients: drained canned beans, tomatoes, beer, stock, water, salt, cumin, and pepper; mix well.
- Simmer
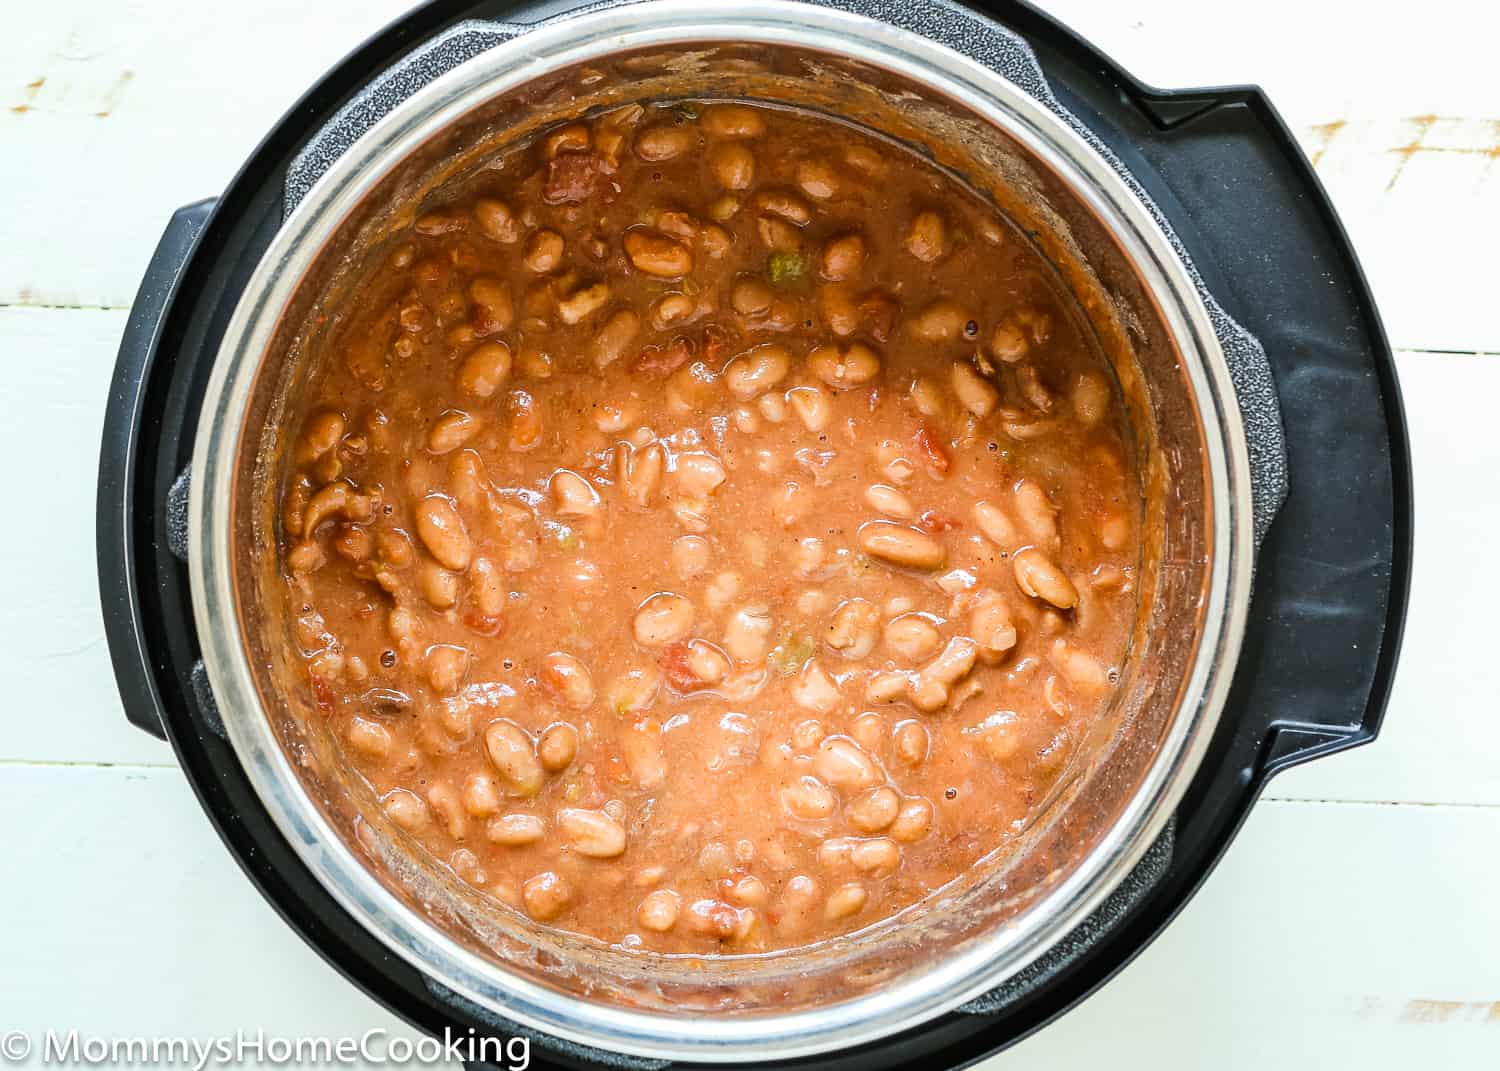
Continue cooking until the beans reach a simmer. Then reduce heat to medium-low and continue simmering partially covered for 20 – 25 minutes. Stir the beans occasionally throughout the entire cooking process to make sure they do not burn or stick to the bottom of the pot; add more water or stock if necessary. Taste and add additional salt and pepper to taste, if necessary. Let it rest a bit before serving; the soup will thicken as it cools. Serve the beans topped with fresh cilantro, if desired.
make Drunken Beans in the Instant Pot (dried beans)
- Turn on the Instant Pot in the “Sauté” mode. When hot, add the bacon and sauté for 1 minute. Add the onions and green pepper and sauté for 3 minutes. Add the garlic and sauté for 30 seconds.
- Add drained beans, tomatoes, beer, stock, salt, cumin, and pepper; mix well.
- Place lid on Instant Pot, press “Bean/Chili” mode, and cook for 20 minutes. Tip: If you don’t have time to soak the bean, you can cook unsoaked beans for 40 minutes. When the time is over, allow pressure to release naturally, about 5 – 8 minutes. When the time is over, carefully turn the valve to “Venting” to release the pressure. Then remove the lid.
- Taste and add additional salt and pepper to taste, if necessary. Let it rest a bit before serving; the soup will thicken as it cools.
- Serve the beans topped with fresh cilantro, if desired.
Make Drunken Beans On The Stove (Dried Bean)
Brown the bacon. Then saute onions, peppers, and garlic. Then add the remaining ingredients: beans, tomatoes, beer, stock, 3 cups water, salt, cumin, and pepper; mix well. Continue cooking until the beans reach a simmer. Then reduce heat to medium-low and continue simmering partially covered for about 60 – 90 minutes for dried beans until the beans and soft. Stir the beans occasionally throughout the entire cooking process to make sure they do not burn or stick to the bottom of the pot; add more water or stock if necessary. Taste and add additional salt and pepper to taste, if necessary. Let it rest a bit before serving; the soup will thicken as it cools. Serve the beans topped with fresh cilantro, if desired.
Make Drunken Beans In The Slow Cooker (Dried Beans)
Brown the bacon. Then saute onions, peppers and garlic. Then dump the remaining ingredients: beans, tomatoes, beer, stock, 3 cups water, 1 teaspoon salt, cumin, and pepper; mix well. Cover with the lid and cook on low for 6-8 hours. When the beans are soft but still a little more firm than you’d like, taste and add the second teaspoon of salt (more or less to your taste) and continue cooking until done. Serve the beans topped with fresh cilantro, if desired.
Recipe Tips
I recommend starting with dried beans for the most tender and creamy beans. But if you are short of time, you can use canned beans in a blink.
You can use any beer you have on hand. I prefer a dark Mexican beer, such as Negra Modelo, but any beer will work fine.
For a not-spicy version, substitute jalapeño or serrano pepper for more green bell pepper.
Add 2 teaspoons of chili powder for an extra kick of flavor!
Storing & Freezing Instructions
STORE leftover beans in an airtight container in the refrigerator for up to 5 days, or freeze for up to 3 months.
Frequently Asked Questions
Drunken beans, also known as frijoles borrachos are basically pinto beans simmered in Mexican beer and bacon.
They are very similar. The main differences lie in the specific ingredients used, the inclusion of beer in drunken beans, and the spice level. Drunken beans tend to be spicier compared to charro beans. The addition of jalapeños or other hot peppers in drunken beans adds heat and a more intense flavor profile.
Absolutely! You can use canned pinto beans. Make sure you drain and rinse them before.
Place 4 quarts water (or more if needed) in a large bowl and add beans. Soak for at least 8 hours or overnight. Make sure the beans are completely covered with plenty of water.
You can cook the beans without pre-soaking them in the pressure cooker; just increase the pressure cooking time from 20 minutes (for soaked beans) to 40 minutes.
More Recipes You’ll Love!
- Venezuelan Black Bean Soup
- Quick & Easy Baked Beans (with Canned Beans)
- Easy Instant Pot Baked Beans
- Easy Instant Pot Chili
- More Recipes
❤️ Love what you see? JOIN my Private Baking Club. Also, SUBSCRIBE to Mommy’s Home Cooking, so you’ll never miss a recipe! And FOLLOW along on Instagram, Pinterest, and Facebook for more fun!
Recipe Card 📖
Easy Drunken Beans (Frijoles Borrachos)
Equipment
Ingredients
- 6 slices bacon , cut into 1/4-inch pieces
- 1 cup onion , finely diced
- 1 cup green pepper , finely diced
- 1 – 2 Serrano or Jalapeño pepper , stemmed, seeded, and diced
- 3 cloves garlic , minced
- 1 lb (16 oz) dried pinto beans, picked over, rinsed and soaked (see notes for canned beans)
- 1 can (14.5 oz) diced tomatoes (I used Rotel tomatoes for extra heat)
- 12 oz Mexican beer (such as Negra Modelo or Dos Equis)
- 3 cups (720 ml) chicken or vegetable stock
- 1-2 teaspoon kosher salt
- 1 teaspoon cumin
- 1/4 teaspoon black pepper
Instructions
INSTANT POT INSTRUCTIONS (DRIED BEANS):
- Turn on the Instant Pot on the “Sauté” mode. When hot, add the bacon and sauté for 1 minute. Add the onions, green pepper, serrano pepper, and sauté for 3 minutes. Add the garlic and sauté for 30 seconds.
- Pour in soaked/drained beans, tomatoes, beer, stock, salt, cumin, and pepper; mix well.
- Place lid on Instant Pot, make sure the steam release valve is on “sealing.” Press “Bean/Chili” mode and cook for 20 minutes. When the time is over allow pressure to release naturally, about 5 – 8 minutes. When the time is over, carefully turn the valve to “Venting” to release the pressure. Then remove the lid.
- Taste and add additional salt and pepper to taste, if necessary. Let it rest a bit before serving, the soup will thicken as it cools.
- Serve the beans topped with fresh cilantro, if desired.
STOVETOP INSTRUCTIONS (DRIED BEANS):
- Cook bacon in a large saute pan over medium-high heat until crispy, stirring occasionally.
- Add the onions, green pepper, serrano pepper, and sauté for 3 minutes. Add the garlic and sauté for 30 seconds.
- Add in soaked/drained beans, tomatoes, beer, stock, 3 cups water, salt, cumin, and pepper; mix well.
- Continue cooking until the beans reach a simmer. Then reduce heat to medium-low, and continue simmering partially covered for about 60 – 90 minutes, or until the beans and soft. Stir the beans occasionally throughout the entire cooking process to make sure they do not burn or stick to the bottom of the pot; add more water or stock if necessary.
- Taste and add additional salt and pepper to taste, if necessary. Let it rest a bit before serving, the soup will thicken as it cools.
- Serve the beans topped with fresh cilantro, if desired.
STOVETOP INSTRUCTIONS (CANNED BEANS):
- Cook bacon in a large saute pan over medium-high heat until crispy, stirring occasionally.
- Add the onions, green pepper, serrano pepper, and sauté for 3 minutes. Add the garlic and sauté for 30 seconds.
- Add 4 cans of undrained canned beans, tomatoes, beer, stock, salt, cumin, and pepper; mix well.
- Continue cooking until the beans reach a simmer. Then reduce heat to medium-low, and continue simmering partially covered for about 20-25 minutes. Stir the beans occasionally throughout the entire cooking process to make sure they do not burn or stick to the bottom of the pot; add more water or stock if necessary.
- Taste and add additional salt and pepper to taste, if necessary. Let it rest a bit before serving, the soup will thicken as it cools.
- Serve the beans topped with fresh cilantro, if desired.
SLOW COOKER INSTRUCTIONS (DRIED BEANS):
- Cook bacon in a large saute pan over medium-high heat until crispy, stirring occasionally. Add the onions, green pepper, serrano pepper, and sauté for 3 minutes. Add the garlic and sauté for 30 seconds. Note: If your slow cooker does not have a saute function, you can do this over the stove in a skillet and then transfer it to the slow cooker.
- Add to the slow cooker the soaked/drained beans, tomatoes, beer, stock, 1 teaspoon salt, cumin, and pepper; mix well.
- Cover with the lid and cook on low for 6-8 hours. When the beans are soft but still a little more firm than you'd like (around hour 5), taste and add the second teaspoon of salt (more or less to your taste) and continue cooking until done.
- Serve the beans topped with fresh cilantro, if desired.
- I recommend starting with dried beans for the most tender and creamy beans. But if you are short of time, you can use canned beans in a blink.
- You can use any beer you have on hand. I prefer a dark Mexican beer, such as Negra Modelo, but any beer will work fine.
- For a not-spicy version, substitute jalapeño or serrano pepper for more green bell pepper.
- Add 2 teaspoons of chili powder for an extra kick of flavor!
Nutrition
This recipe was originally published in May 2017. The recipe remains the same, but more notes, tips, photos, and information were added to the post in June 2023 to make it as helpful as possible!
