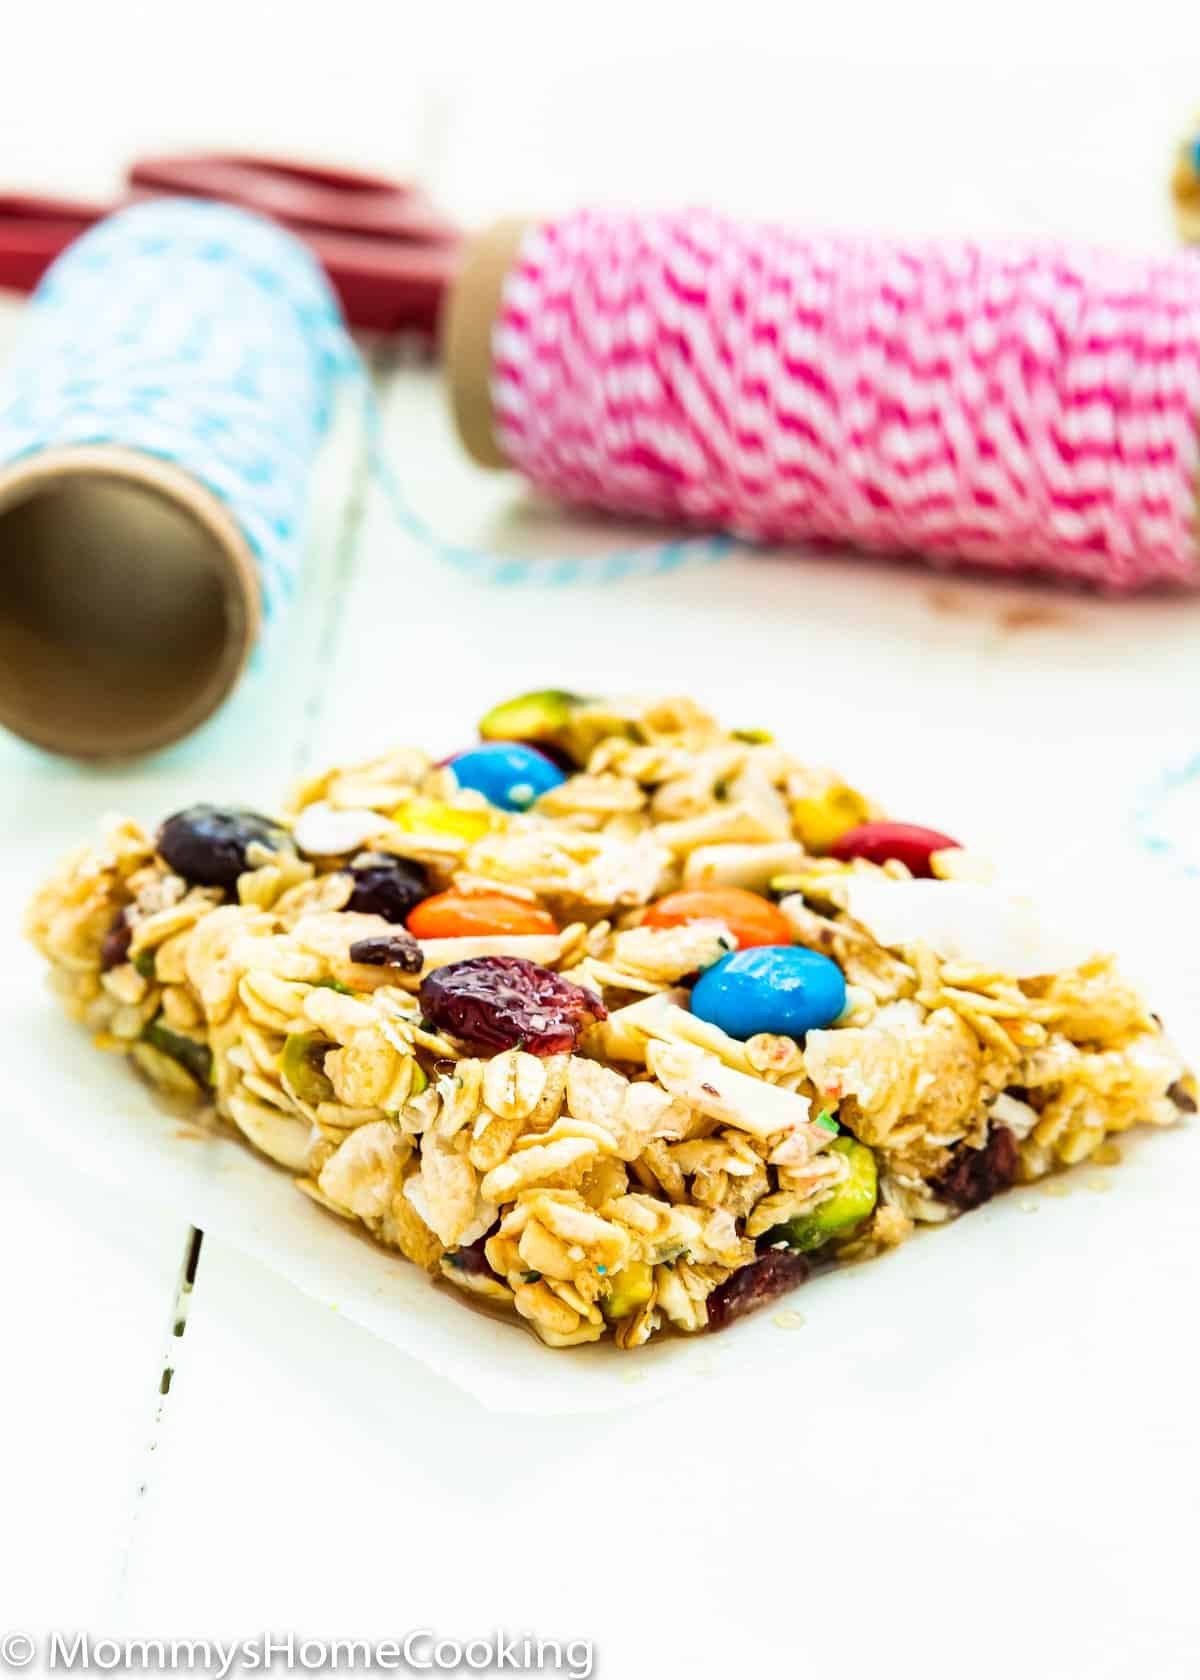
These No-Bake Protein Snack Bars are easy to make at home, super tasty, and much more affordable than store-bought—a quick and delicious little snack, neatly wrapped and ready to go.
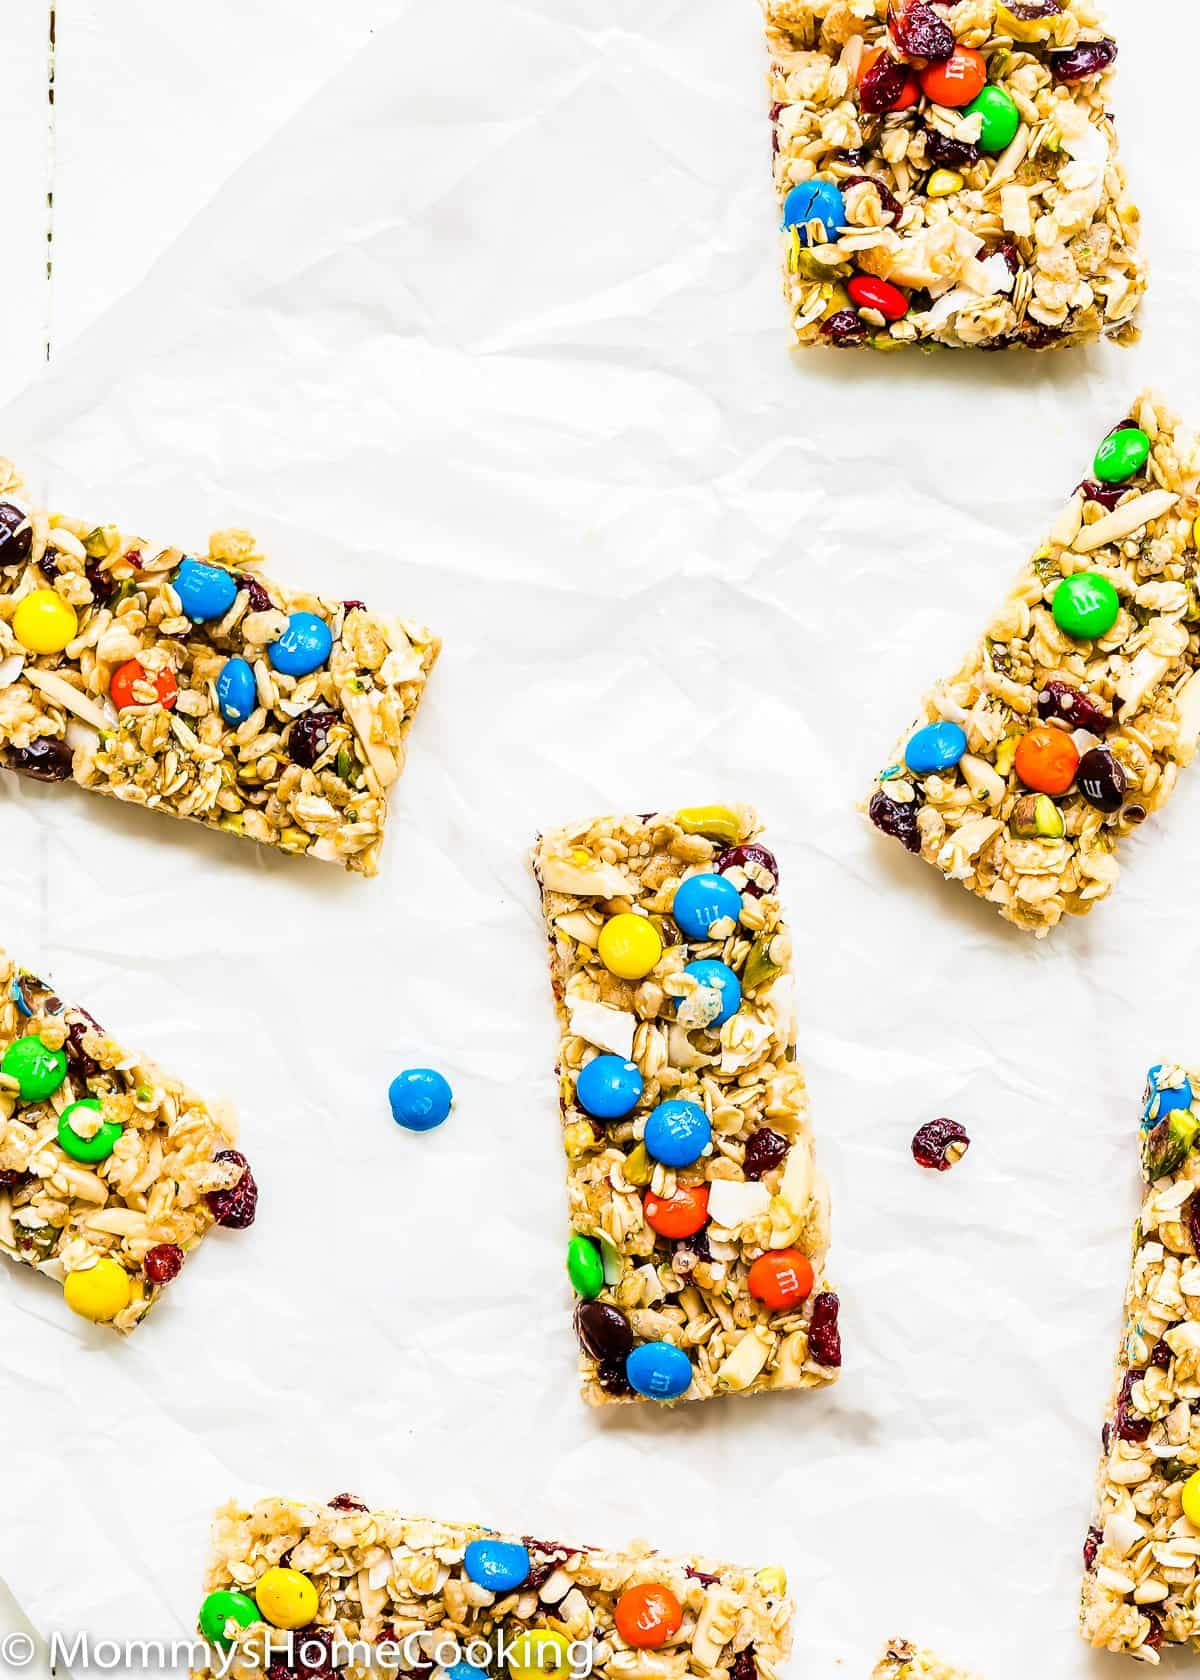
No-Bake Snack Bars for Kids Recipe Highlights
For food allergy families like us, planning school lunches/snacks is very important because we must ensure that all the food our child eats while in school is safe.
Of course, I can buy many allergy-friendly snacks, but I prefer to make everything from scratch. That way, I can be 100% in control of what is in it. One of my go-to snacks is protein/energy bars. They are incredibly delicious and filling. Win-Win.
When it comes to protein/energy bars, I love to try different combinations, flavors, and textures. Also, they are super easy and quick to make. These allergy-friendly protein bars are convenient, a quick little snack that is neatly wrapped and ready to go. No baking is needed!
I added some M&M’s chocolate candies to make the bars fun and visually appealing for my kids. The kiddos found them irresistible and gave them plenty to ooh and aah over.
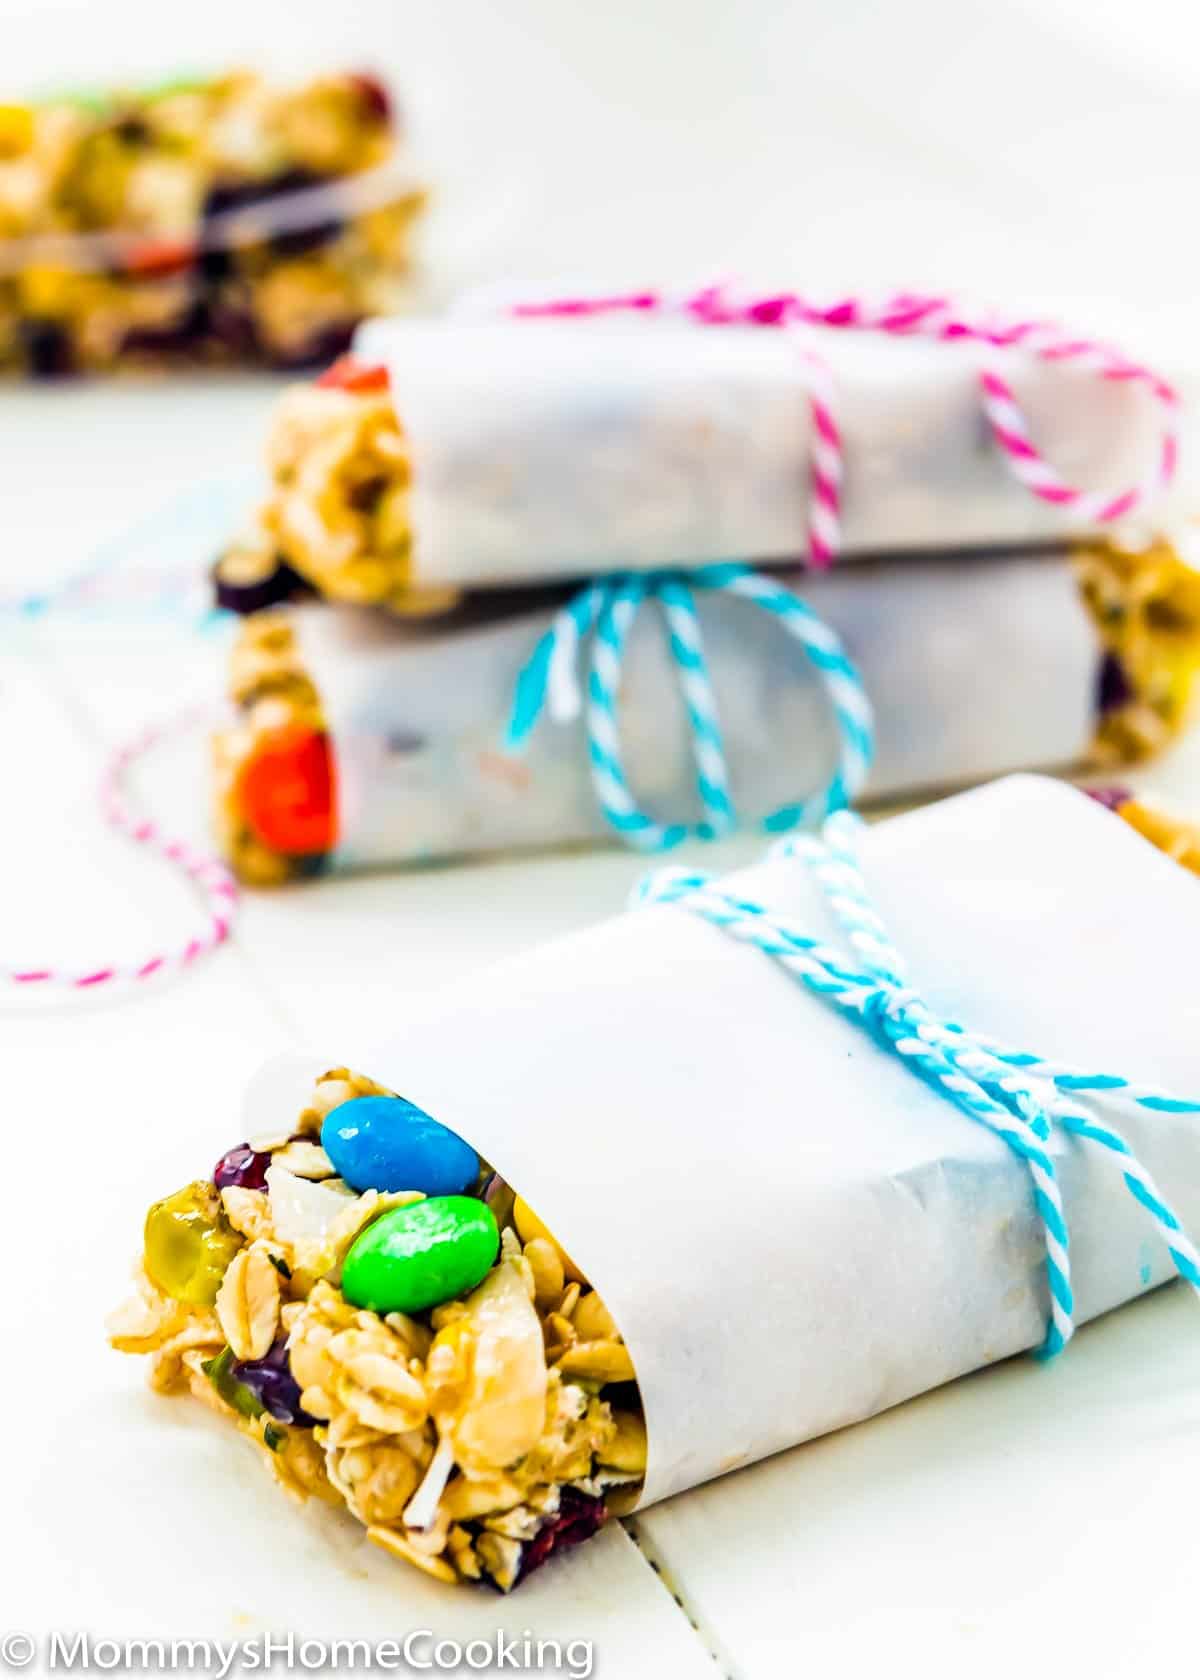
They’re easy to make at home, super tasty, and much more affordable than store-bought. For on-the-go convenience, use parchment paper pieces to wrap individual bars.
Ingredients You’ll Need
Amounts are included in the printable recipe below (scroll down). You’ll need:
- Old-fashioned rolled oats: Do not use steel-cut oats since they are too chewy for this recipe.
- Rice puff cereal or quinoa puff
- Nuts: I added pistachios because they’re safe for my daughter, but if you cannot eat nuts, just omit them or replace them with roasted pumpkin seeds (pepitas) or sunflower seeds.
- Dry Fruit: I use Cranberries, but feel to use raisins, apricots, mangos, or other dry fruit of your liking.
- Hemp seeds: For an extra boost of protein!
- Unsweetened coconut flakes
- M&M’s chocolate candies: You can substitute them for regular chocolate chips.
- Honey
- Brown rice syrup: You can substitute it for maple syrup.
- Salt: I prefer kosher or sea salt. If you only have table salt handy, I recommend reducing the amount to half.
- Vanilla extract: Reach for pure vanilla instead of imitation for optimal flavor. Even better, try homemade vanilla extract! If you are looking for non-alcoholic vanilla flavoring, I recommend Simply Organic Vanilla Flavoring.
Process Overview: How to make allergy-friendly protein bars
Detailed instructions are included in the printable recipe below (scroll down).
- Prepare The Pan
Line an 8 x 8 baking dish with parchment paper. Set aside.
- Mix Together The Dry Ingredients
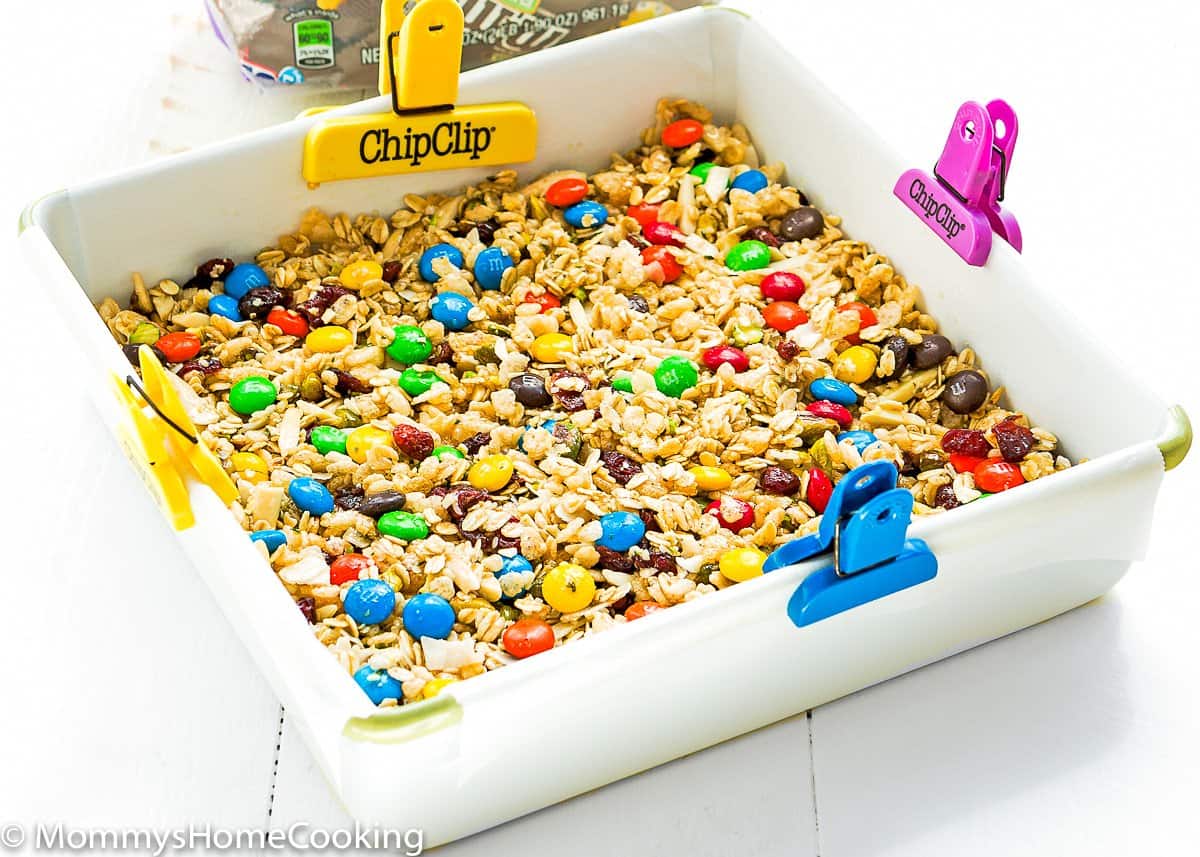
Add rolled oats, puffed rice, pistachios, cranberries, hemp seeds, coconut flakes, and Mu0026M’s in a large mixing bowl. Toss to combine. Set aside.
- Combine Wet Ingredients
Stir brown rice syrup, honey, salt, and vanilla together in a small saucepan. Heat over medium-high heat until boiling, stirring occasionally. Let the syrup boil until about 260º F, about 4-5 minutes.
- Mix Dry u0026 Wet
Pour syrup evenly over the oat mixture and quickly stir it until it is evenly coated with the syrup.
Quickly transfer the mixture to the lined baking dish. Using the bottom of greased/sprayed drinking glass or a measuring cup, tap and compact the mixture into a pan in an even layer. Place the pan in the refrigerator until firm, about 1 hour. - Cut Into Bars
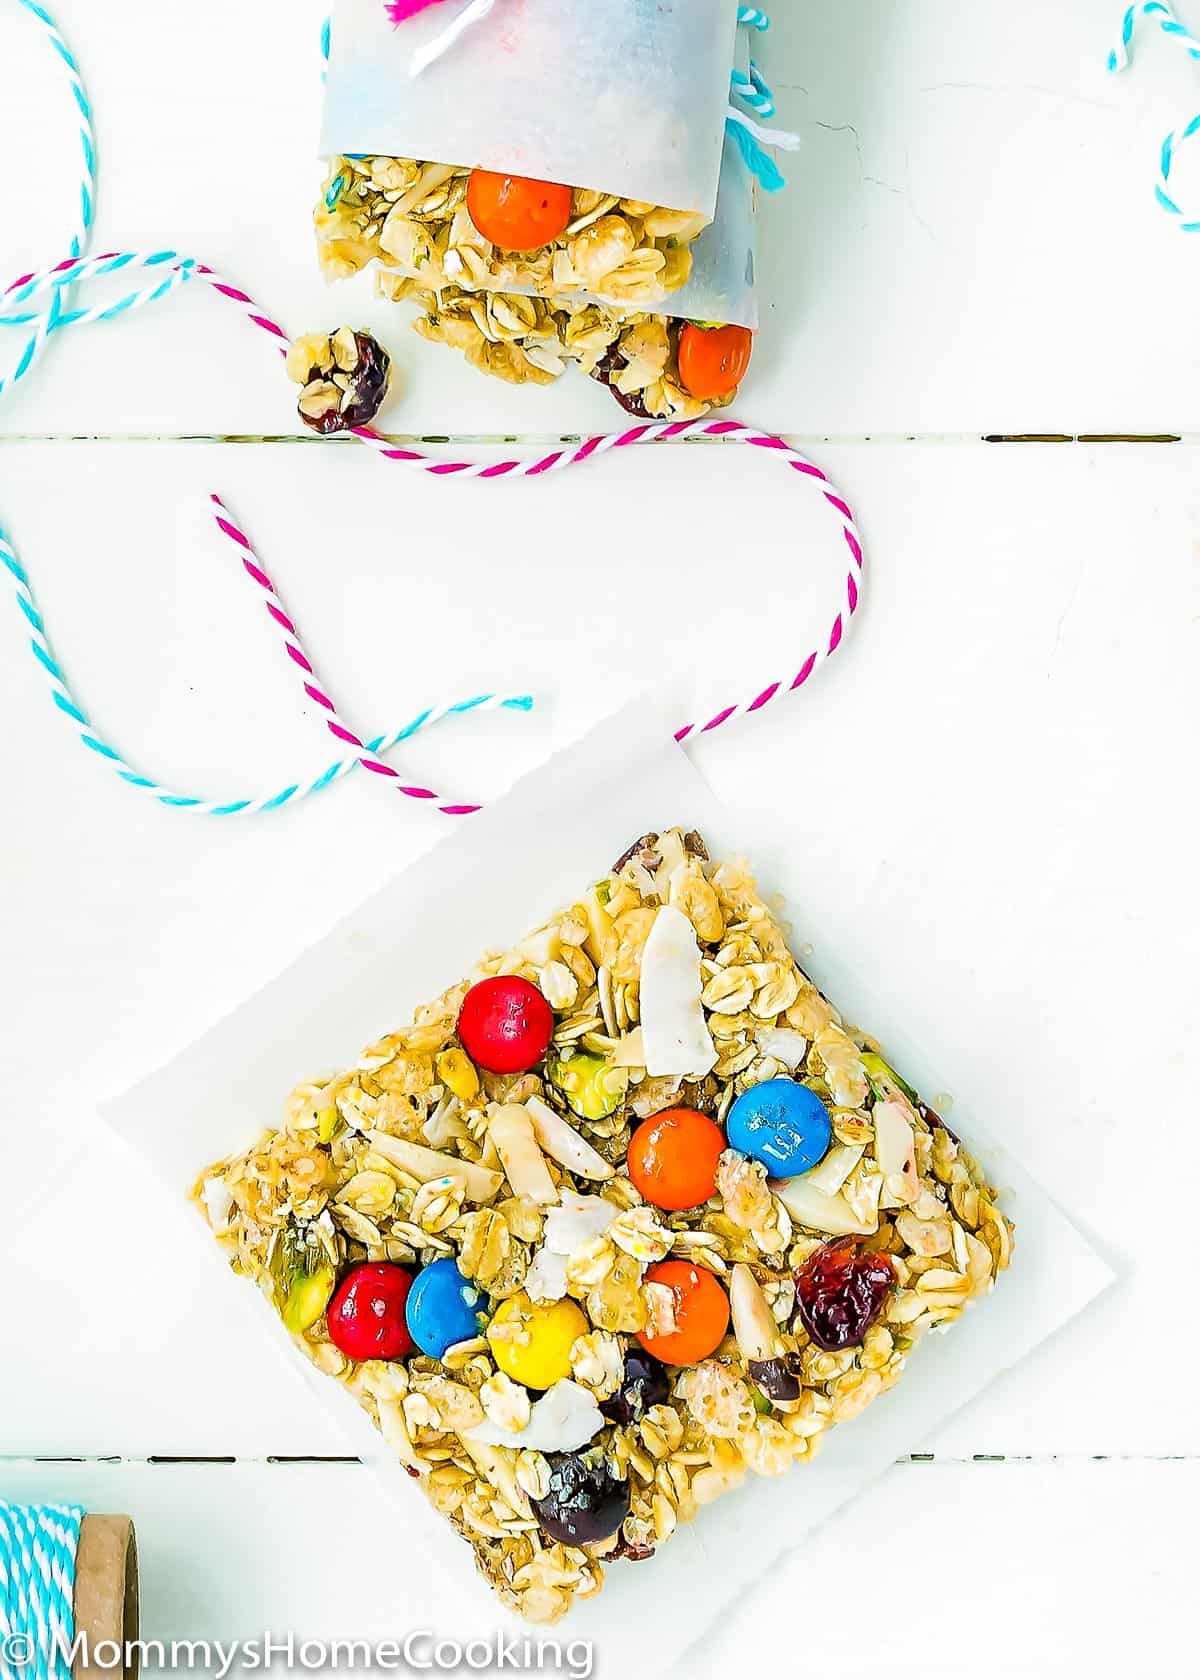
When firm, carefully lift the parchment paper from the baking dish and transfer it to a cutting board. Cut the bars into your desired sizes.
Recipe Tips
Feel free to change things around. Try using dried mangoes, apricot, sunflower seeds, pumpkin seeds, chia seeds, and more! This way, your kids won’t get bored!
Want to make this extra decadent? Drizzle some melted chocolate overtop before chilling the no-bake bars.
Brown rice syrup is a sweetener derived from brown rice that is gluten-free and vegan. If you cannot find it at your local stores, I have linked it in my recipe card to buy online!
Don’t let the mixture sit too long after stirring together, or it might start setting, making it hard to press into the pan.
Adapt These Snack Bars To Other Food Allergies
GLUTEN-FREE: Use gluten-free rolled oats.
NUT-FREE: Substitute nuts for roasted pumpkin seeds (pepitas) or sunflower seeds.
DAIRY-FREE: Substitute chocolate candies/chips for a dairy-free alternative. My fave are these.
Storing & Freezing Instructions
Here’s how to store these no-bake protein bars so your kids can have them all week!
Storage
To store, transfer the bars to an airtight storage container with parchment paper between them. For on-the-go convenience, use parchment paper pieces to wrap individual bars. The bars will last up to 7 days. May refrigerate to extend storage. If you like less sticky bars, I recommend that you keep them in the refrigerator.
Freeze
Place bars in an airtight freezer-safe storage container and freeze them for up to 3 months. Then, wrap them individually or place parchment between each piece so you can pull them out as needed.
Frequently Asked Questions
Absolutely! In that case, you can use a 13×9 pan, or an 8×8 pan for thicker bars.
You can add 1/4 cup more of your favorite protein powder. In that case, reduce the oats to 3/4 cup.
The bars will last up to 7 days. May refrigerate to extend storage. And up to 3 months in the freezer.
More Recipes You’ll Love!
- Eggless Snickerdoodle Bars
- Easy Eggless Lemon Bars
- Eggless Lemon Blueberry Cheesecake Bars
- Healthy Eggless Energy Bars
- Chocolate Peanut Butter Energy Bars
- Browse more recipes…
❤️ Love what you see? JOIN my Private Baking Club. Also, SUBSCRIBE to Mommy’s Home Cooking, so you’ll never miss a recipe! And FOLLOW along on Instagram, Pinterest, and Facebook for more fun!
Recipe Card 📖
No-Bake Protein Bars {kid-friendly}
Equipment
Ingredients
- 1 cup old fashioned whole rolled oats
- 1 cup rice puff cereal or quinoa puff
- 1/4 cup protein powder (plain, unflavored recommended)
- 1/2 cup pistachios, chopped (see notes)
- 1/2 cup dried cranberries
- 1/4 cup hemp seeds
- 1/4 cup unsweetened coconut flakes
- 1/2 cup M&M's chocolate candies of your preference (see notes)
- 1/2 cup honey
- 1/3 cup brown rice syrup
- 1/4 teaspoon Kosher salt
- 1 teaspoon pure vanilla extract
Instructions
- Line an 8 x 8 baking dish with parchment paper. Set aside.
- Add rolled oats, puffed rice, protein powder, pistachios, cranberries, hemp seeds, coconut flakes, and M&M's in a large mixing bowl. Toss to combine. Set aside.
- Stir brown rice syrup, honey, salt, and vanilla together in a small saucepan. Heat over medium-high heat until boiling, stirring occasionally. Let the syrup boil until it reaches about 260º F, occasionally stirring for about 4-5 minutes.
- Pour syrup evenly over the oat mixture and quickly stir it until it is evenly coated with the syrup.
- Quickly transfer the mixture to the lined baking dish. Then, tap and compact the mixture into the pan in an even layer using the bottom of greased/sprayed drinking glass or a measuring cup. Place the pan in the refrigerator until firm, about 1 hour.
- When firm, carefully lift the parchment paper from the baking dish and transfer it to a cutting board. Cut the bars into your desired sizes.
- To store transfer bars to an airtight storage container with parchment paper between layers. For on-the-go convenience, use parchment paper pieces to wrap individual bars.
- Feel free to change things around. Try using dried mangoes, apricot, sunflower seeds, pumpkin seeds, chia seeds, and more! This way, your kids won’t get bored!
- Want to make this extra decadent? Drizzle some melted chocolate overtop before chilling the no-bake bars.
- Brown rice syrup is a sweetener derived from brown rice that is gluten-free and vegan. If you cannot find it at your local stores, I have linked it to my recipe card to buy online!
- Don’t let the mixture sit too long after stirring together, or it might start setting, making it hard to press into the pan.
- DAIRY-FREE: Substitute chocolate candies/chips for a dairy-free alternative. My fave are these.
- NUT-FREE: Substitute nuts for roasted pumpkin seeds (pepitas) or sunflower seeds.
- GLUTEN-FREE: Use gluten-free rolled oats.
Nutrition
Eggless Baking Frequently Asked Questions
You’ve asked, and I’ve answered! Read on for a handful of answers to the most frequently asked questions about eggless baking.
This recipe was originally published in August 2015. The recipe remains the same, but more notes, tips, photos, and information were added to the post in March 2023 to make it as helpful as possible!
