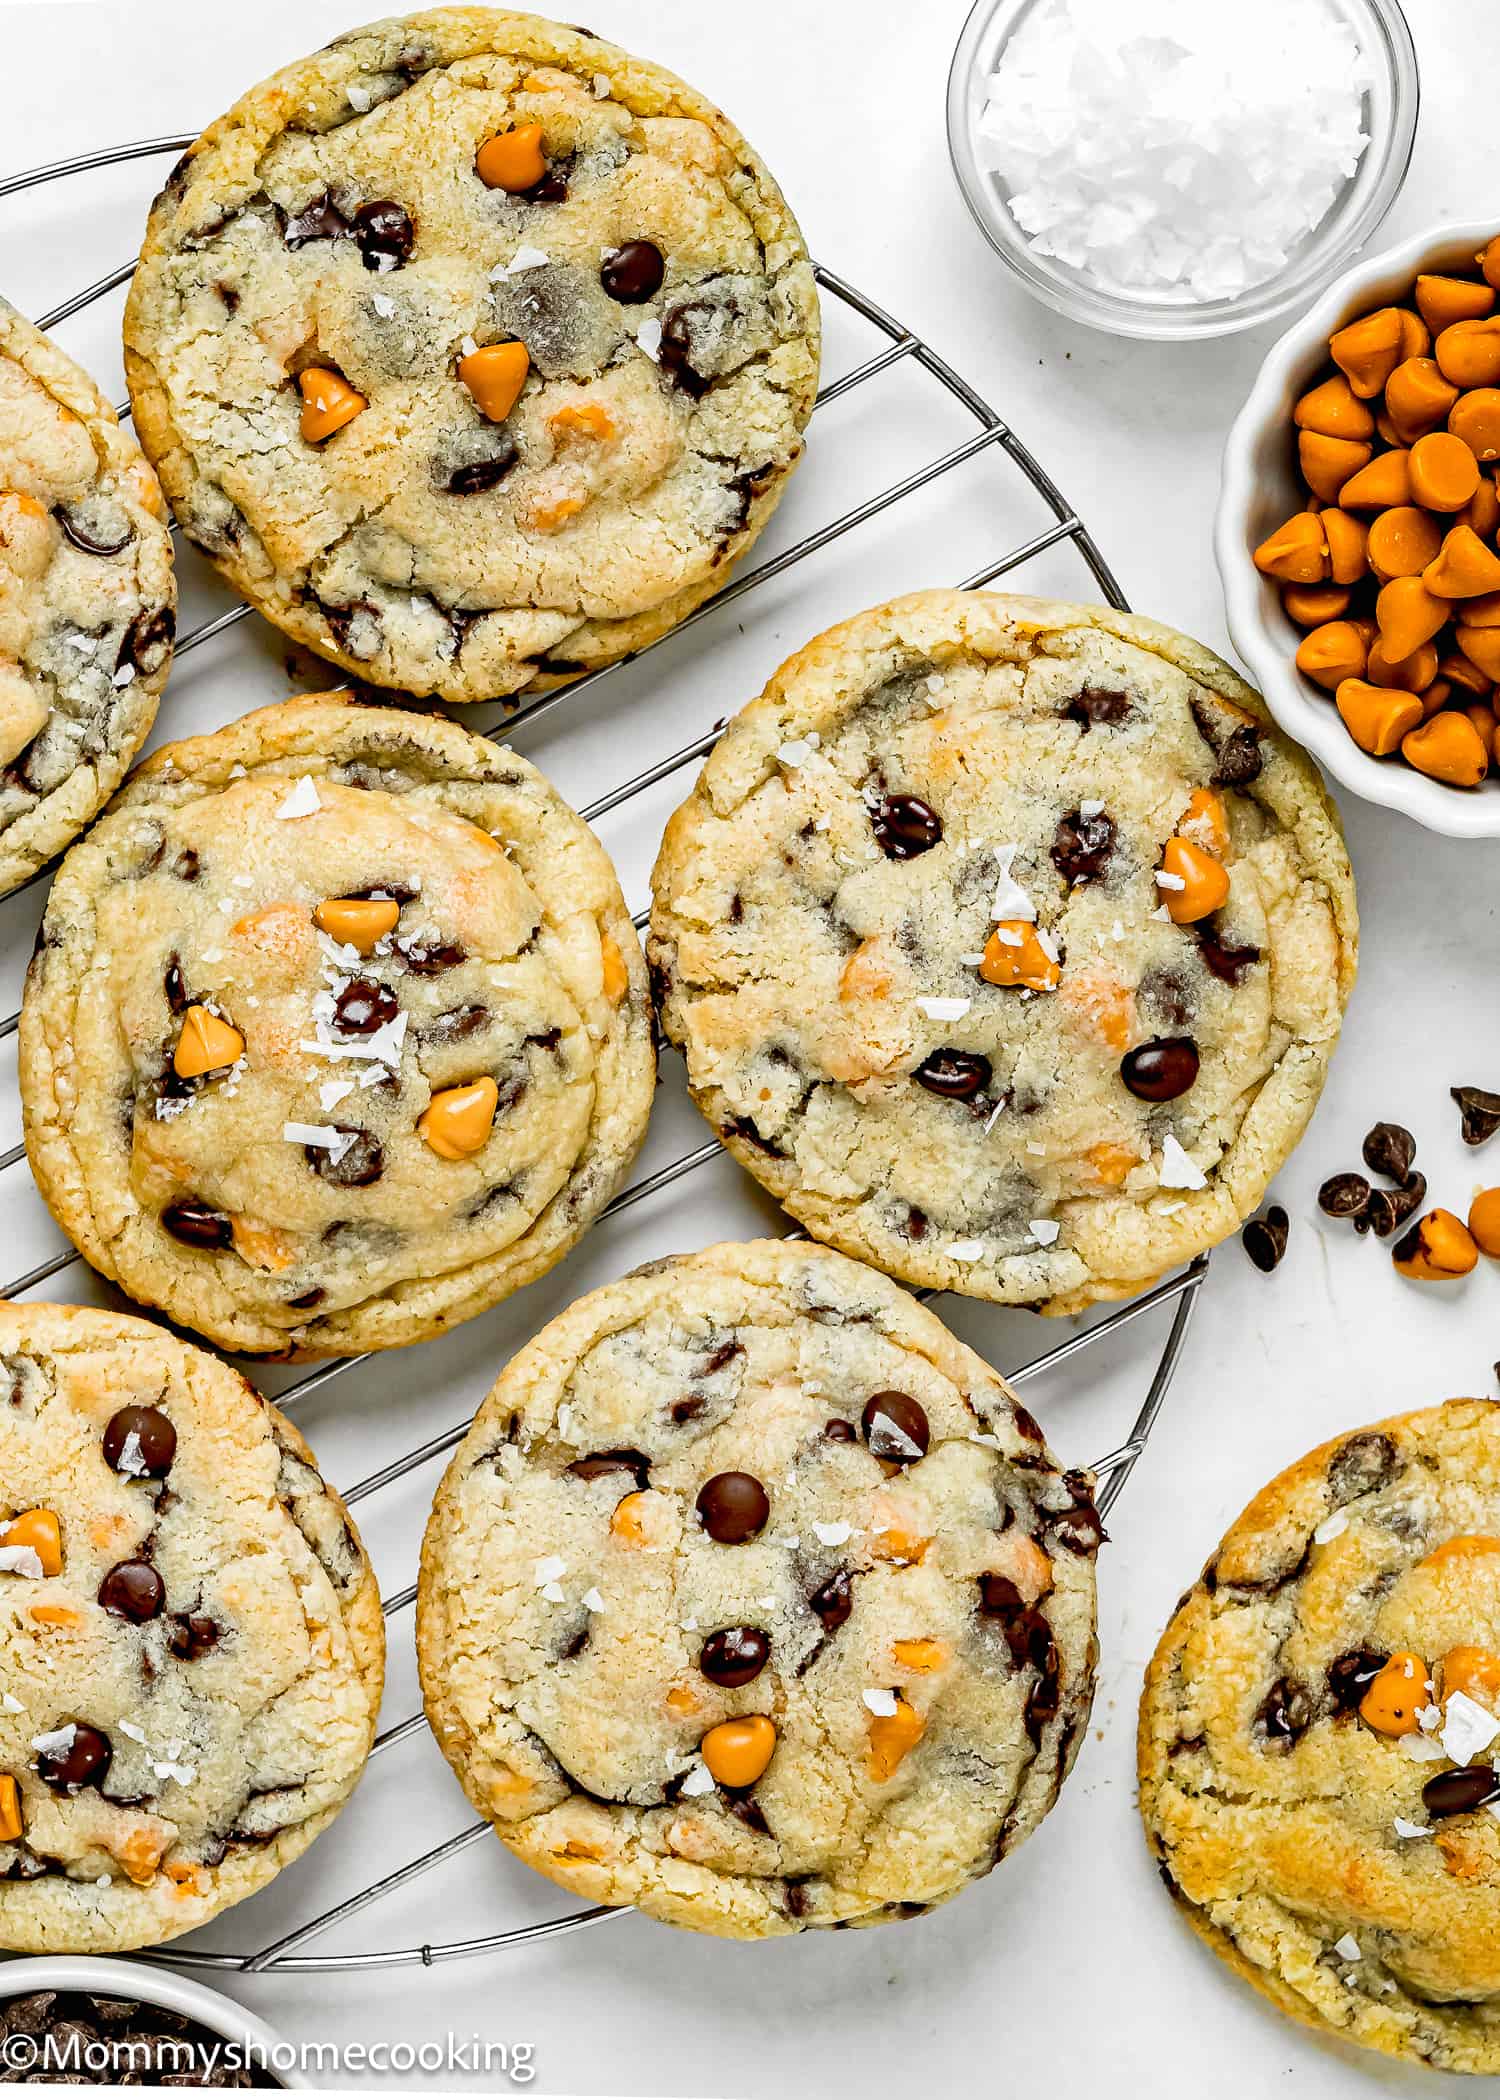
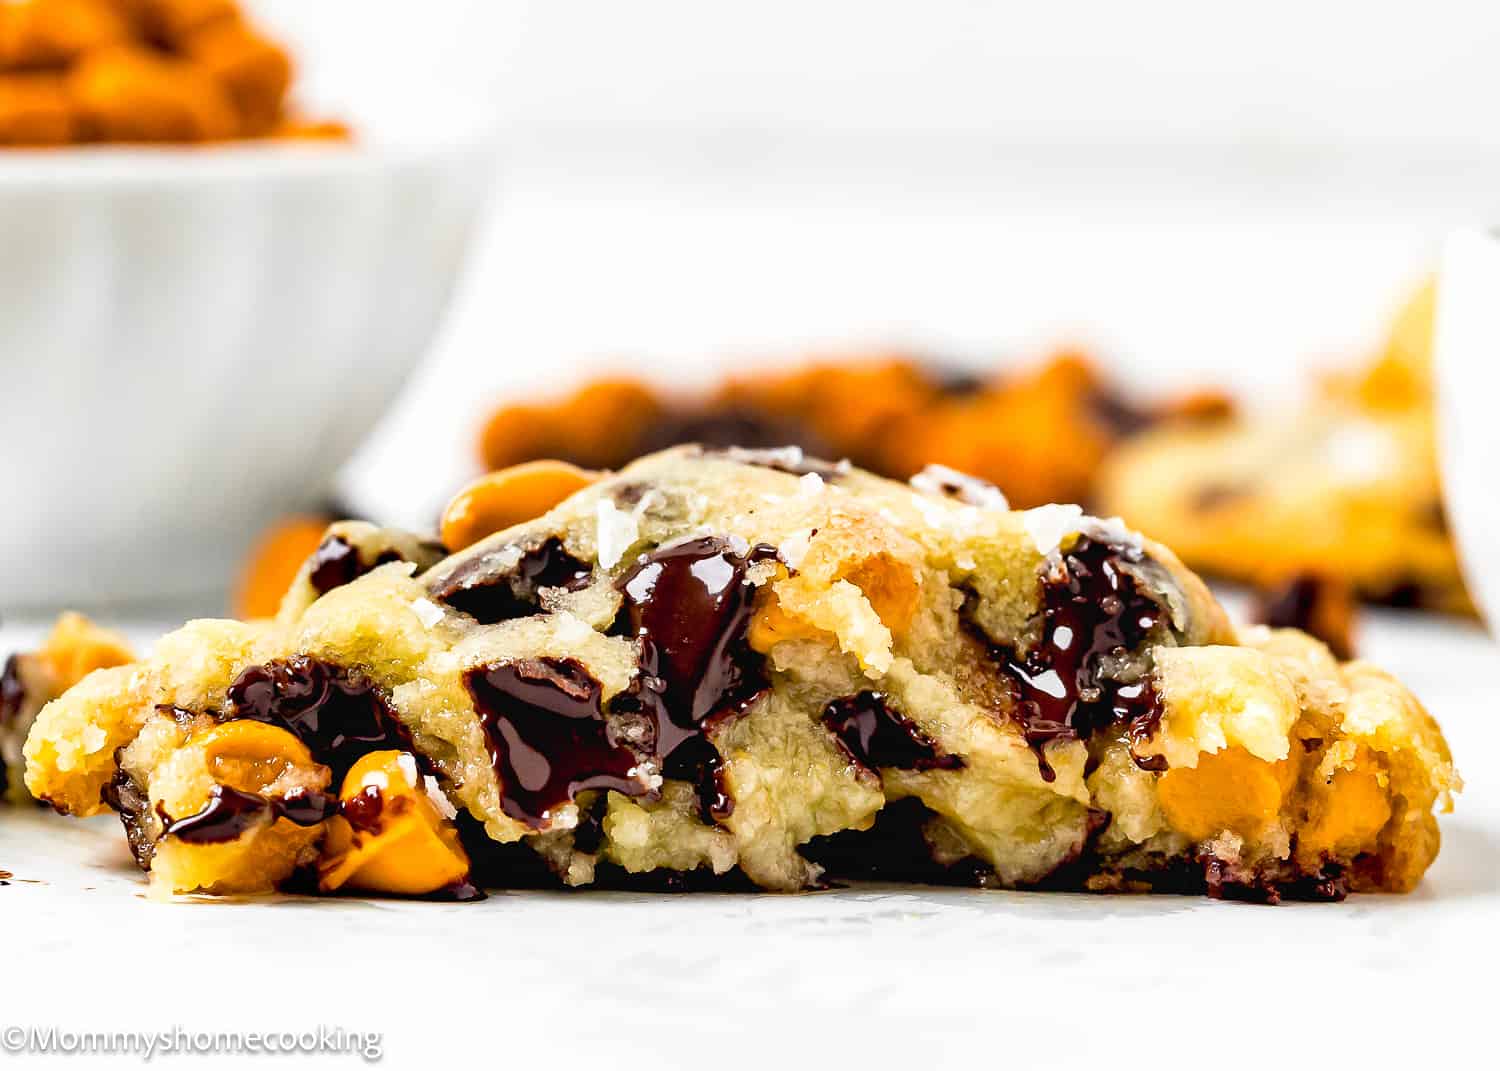
These Butterscotch Chocolate Chip Cookies are soft, chewy, and have a crispy edge. Made with simple ingredients, these egg-free cookies will quickly become a new favorite. They’re Bakey-Style BIG and filled with the rich flavor of butterscotch and the comforting goodness of chocolate chips.
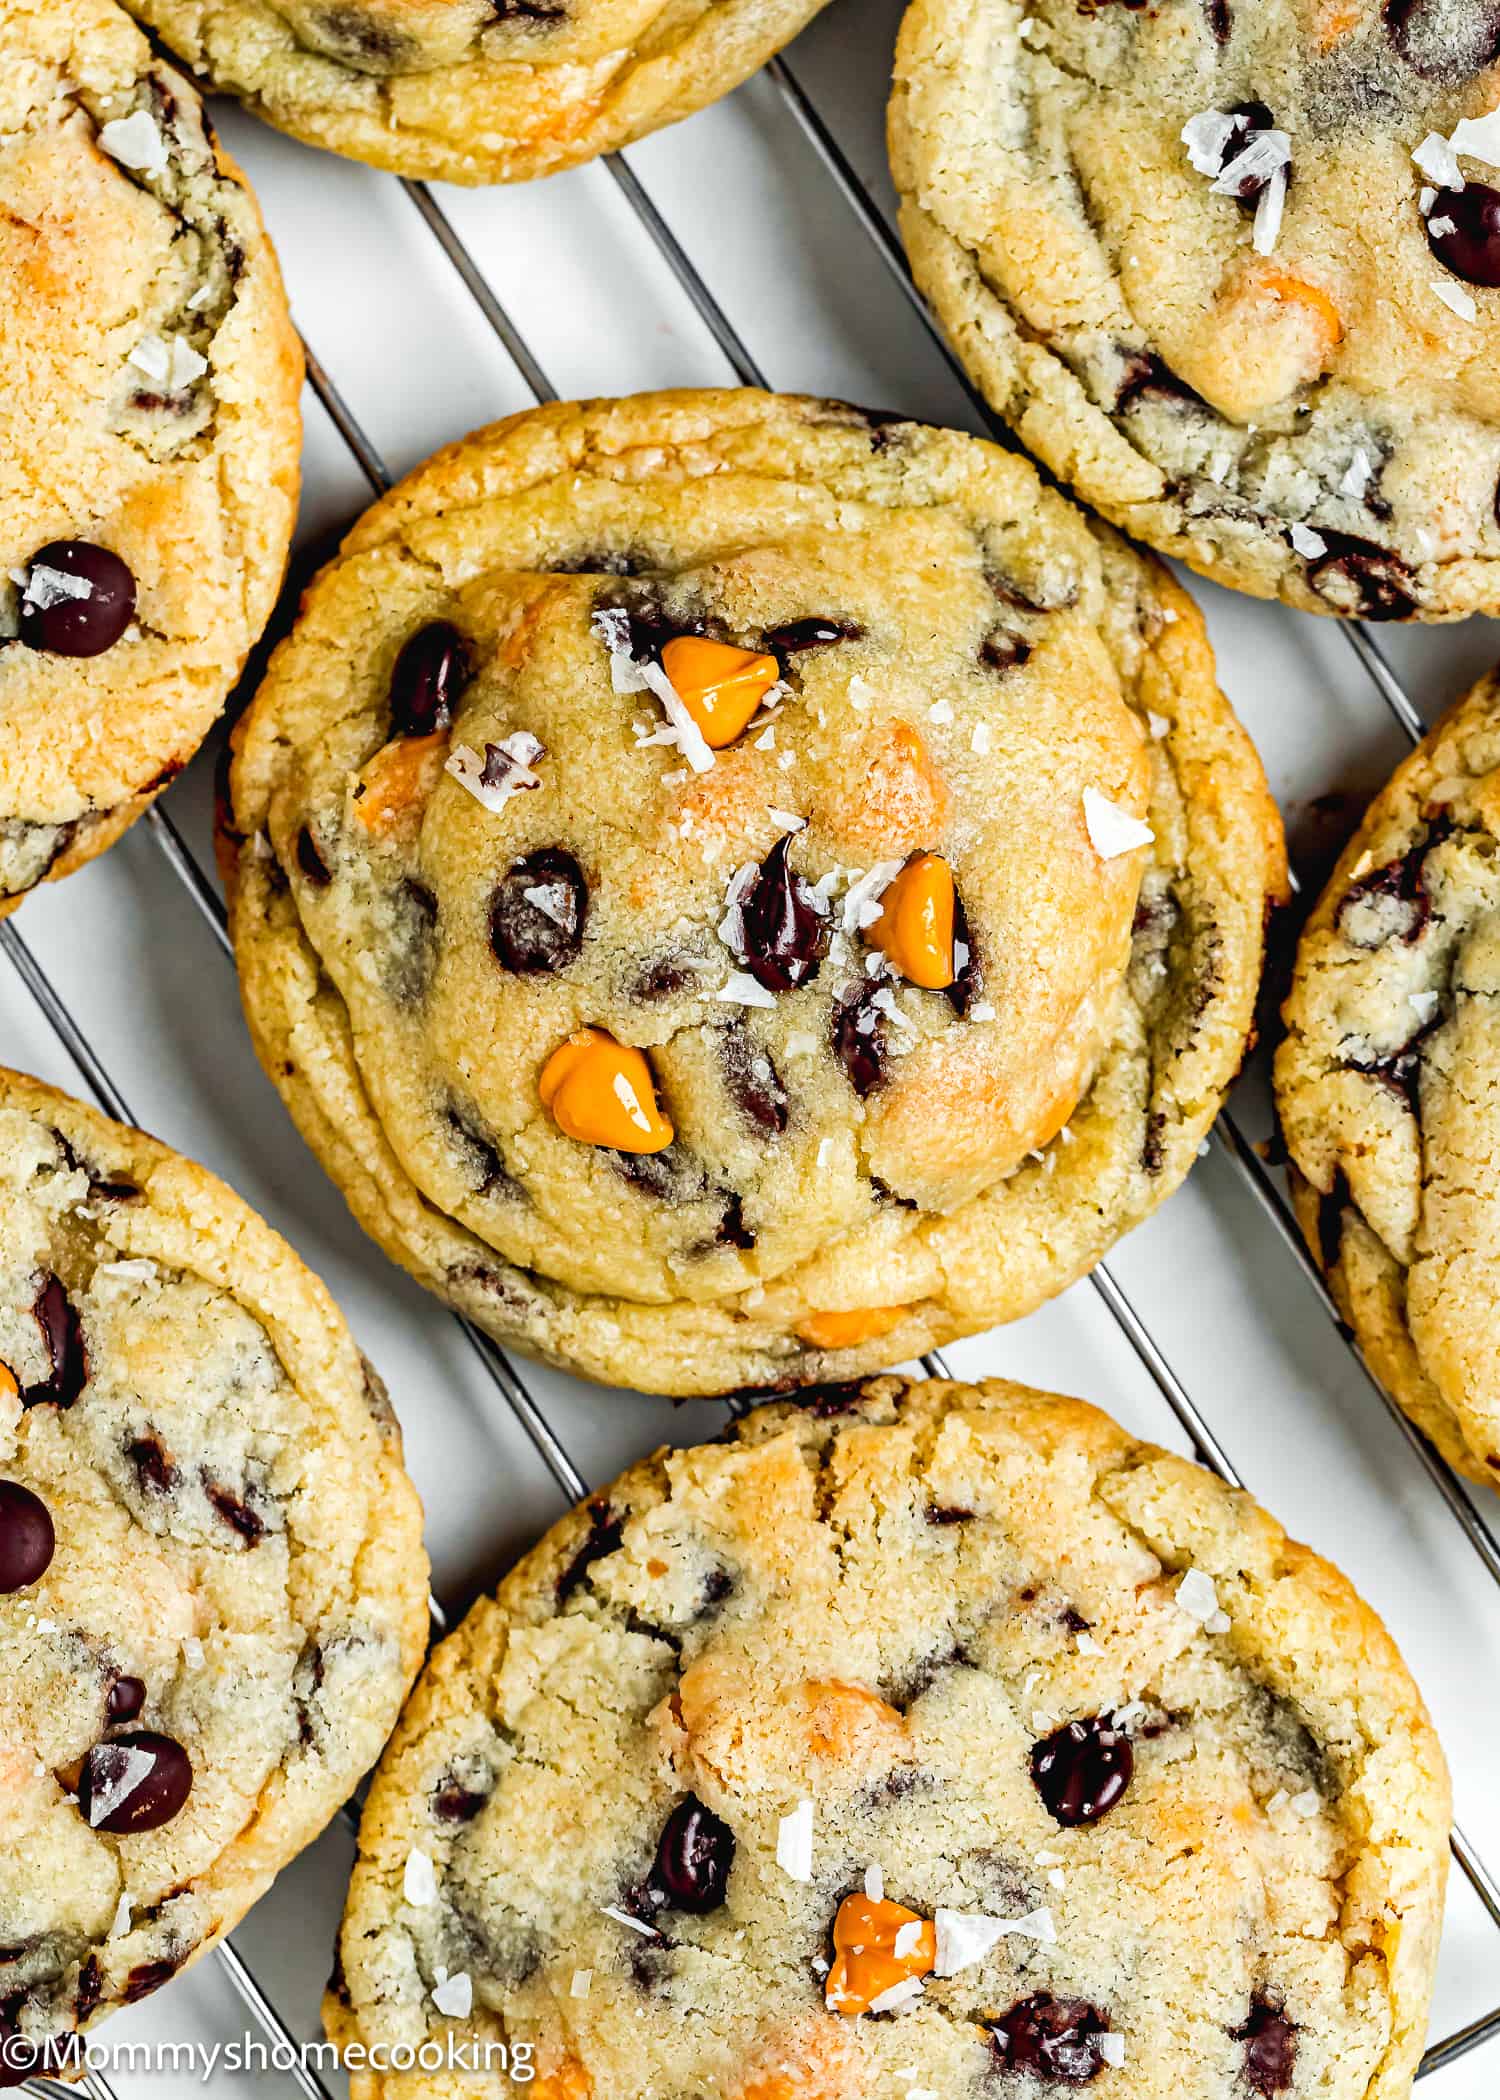
These Easy Butterscotch Chocolate Chip Cookies are soft and chewy, and they’re packed with the rich flavor of butterscotch and the comforting goodness of chocolate chips; plus, they’re Bakery-style BIG.
My family loved them! With the first bite, there was an instant chorus of “Mmm’s” and “Wow’s” as they savored the perfect blend of butterscotch sweetness and chocolatey goodness.
These cookies are not only easy to make but also suitable for various dietary preferences since they are egg-free. By switching up some ingredients, they can also be adapted to suit dairy-free needs. How awesome is that?
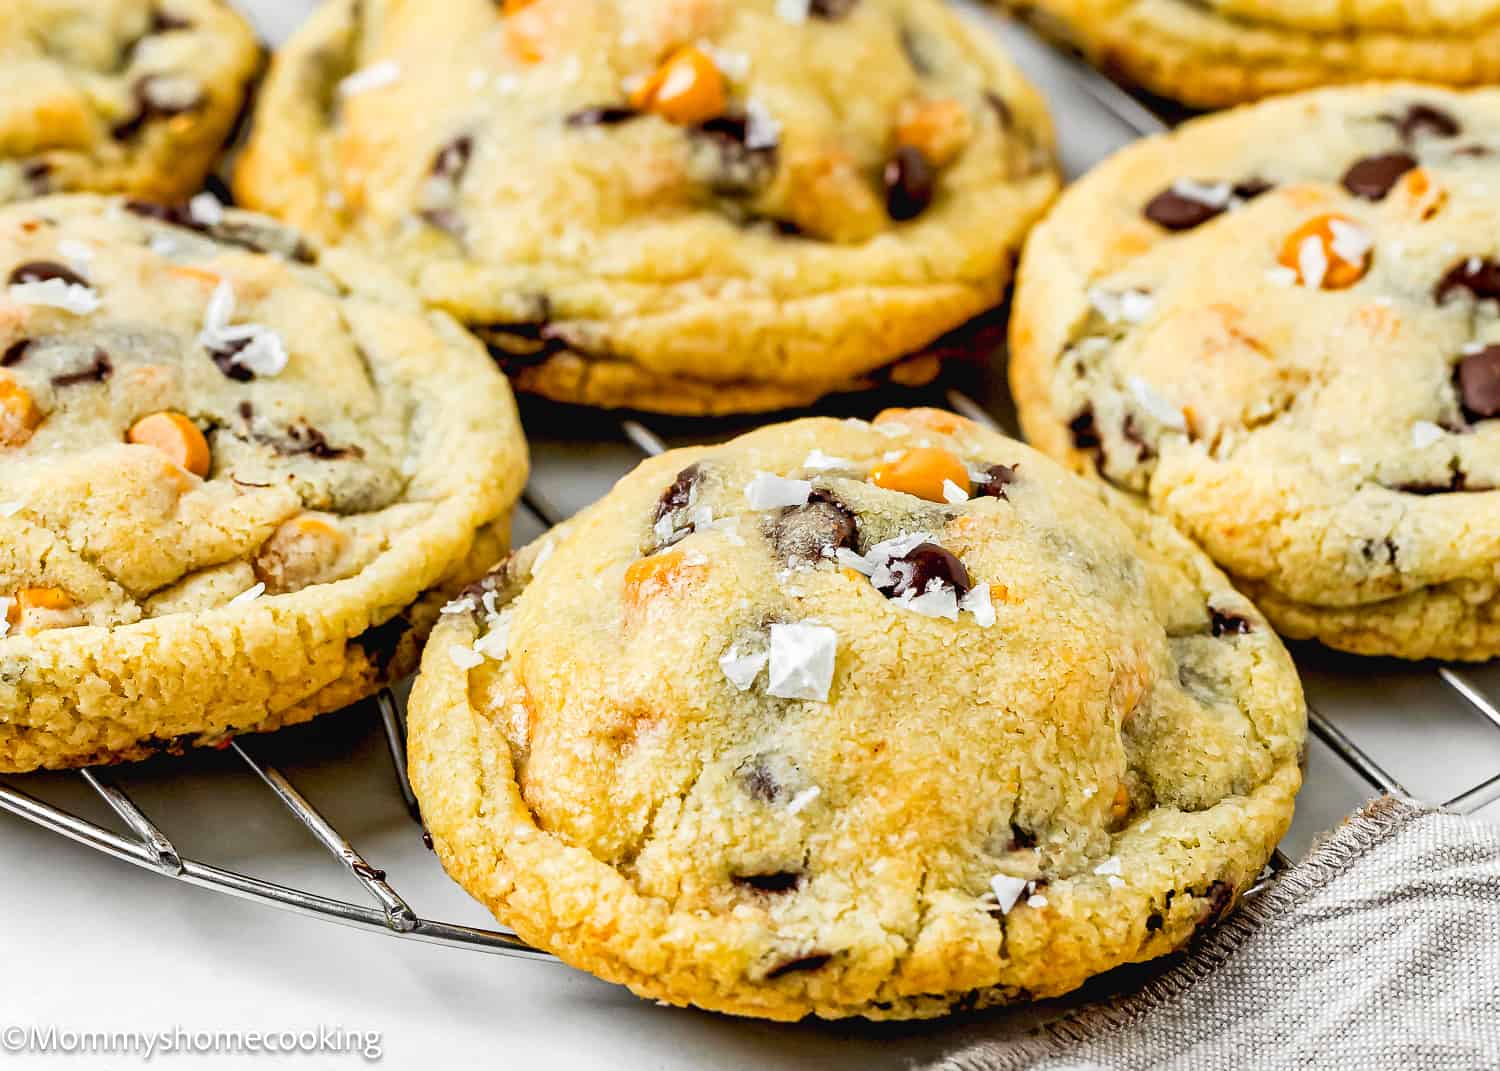
What To Love About This Recipe
- Easy to Make: This recipe is straightforward, making it perfect to get the whole family involved.
- Simple Ingredients: Everything you need is likely in your pantry or at your local grocery store. Gather your basics, and you’ll be ready to whip up a batch of these irresistible cookies.
- Egg-Free and Dairy-Friendly: Whether you have an egg allergy or follow a dairy-free diet, fear not! This recipe is easily adaptable to accommodate your needs. Swap out dairy butter for a plant-based alternative and use non-dairy milk, and you’re good to go.
- Bakery-Style BIG: This recipe makes 12 HUGE cookies! Because when it comes to cookies, bigger is better, right? Of course, you can make them smaller if that is what you prefer
- Texture: These cookies are soft and chewy in the middle yet boast a satisfying crispiness around the edges.
Ingredients You’ll Need, Substitutions & Notes
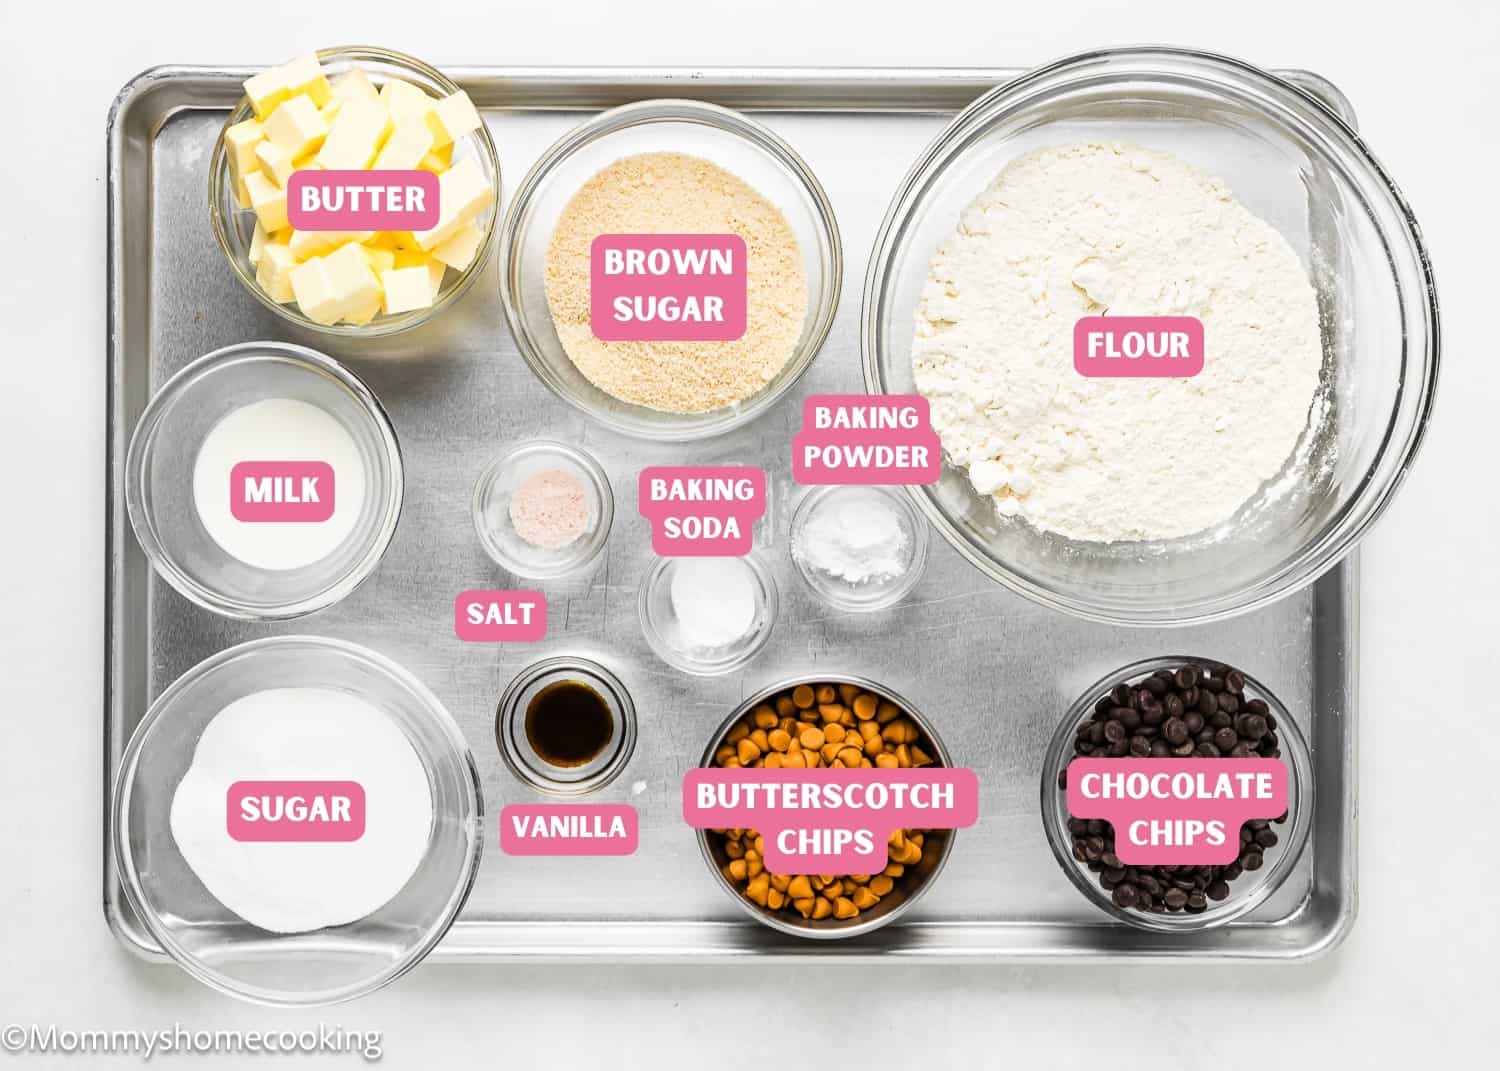
Please check the recipe card at the bottom of the post for exact quantities and detailed instructions (scroll down).
- All-purpose flour: It provides structure and stability to the cookies. Measure accurately. In my opinion, a kitchen scale is the best way to measure your ingredients.
- Baking soda and baking powder: This helps the cookies rise and achieve the perfect texture. Make sure they’re not expired or too old. To avoid a chemical aftertaste, use baking powder that is labeled aluminum-free.
- Salt: Balances the sweetness and enhances the flavors. I prefer kosher or sea salt. If you only have table salt handy, I recommend reducing the amount to half.
- Butter: Use dairy or non-dairy butter according to your preference. If using non-dairy butter, pick the ones that come in blocks. I prefer unsalted butter, but if you only have salted butter handy, you can use it. In this case, skip the salt called for in the recipe.
- Granulated sugar and brown sugar: For this recipe, you will need regular white granulated sugar o caster sugar, and brown sugar. Combining both sugars will help the cookies have the perfect texture with a deeper caramelized flavor.
- Milk: You can use dairy or non-dairy.
- Pure vanilla extract: It enhances the cookies’ overall flavor profile. For optimal flavor, use pure vanilla instead of imitation. Even better, try homemade vanilla extract!
- Semisweet chocolate chips or chunks: They provide pockets of melty chocolate goodness in every bite. You can use semi-sweet or dark chocolate chips or chunks.
- Butterscotch chips: Butterscotch chips are small, sweet morsels made from a combination of sugar, butter, and other flavorings, which are melted and then solidified into small, bite-sized pieces. They have a smooth texture and a sweet, caramel-like taste. You can typically find butterscotch chips in the baking aisle of most grocery stores. They are often located alongside other baking chips and ingredients like chocolate chips, nuts, and dried fruits.
Please check the recipe card at the bottom of the post for exact quantities and detailed instructions (scroll down).
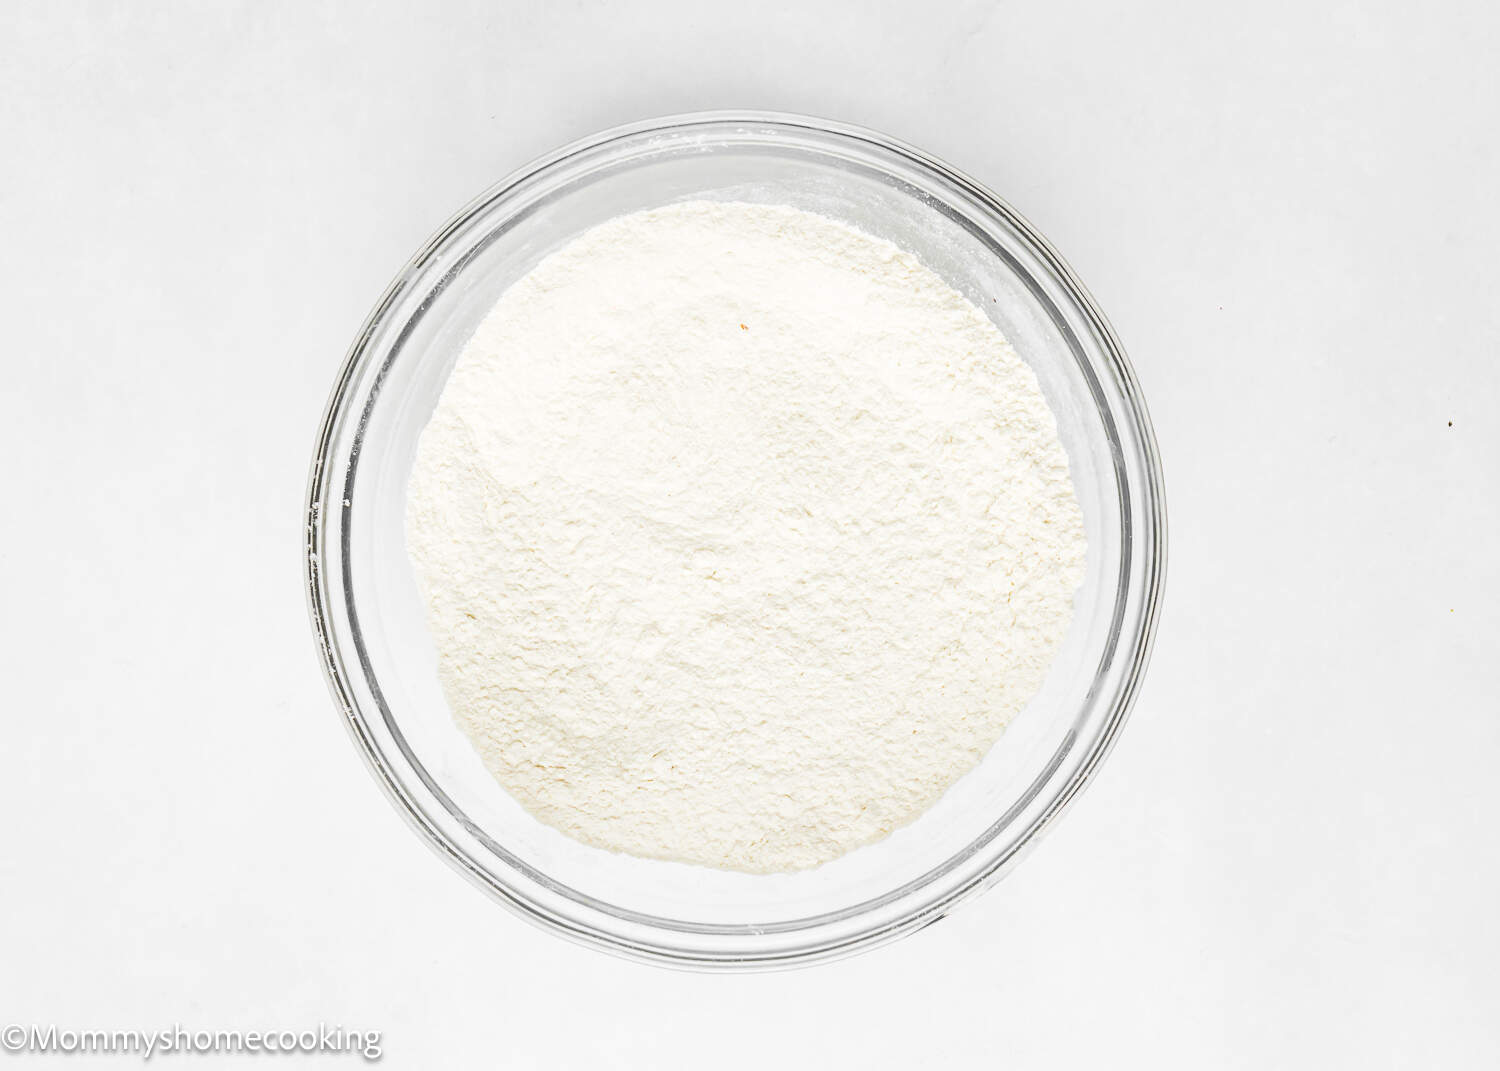
Step 1 – Mix Dry Ingredients
Combine the flour, baking soda, baking powder, and salt in a bowl. Set aside.
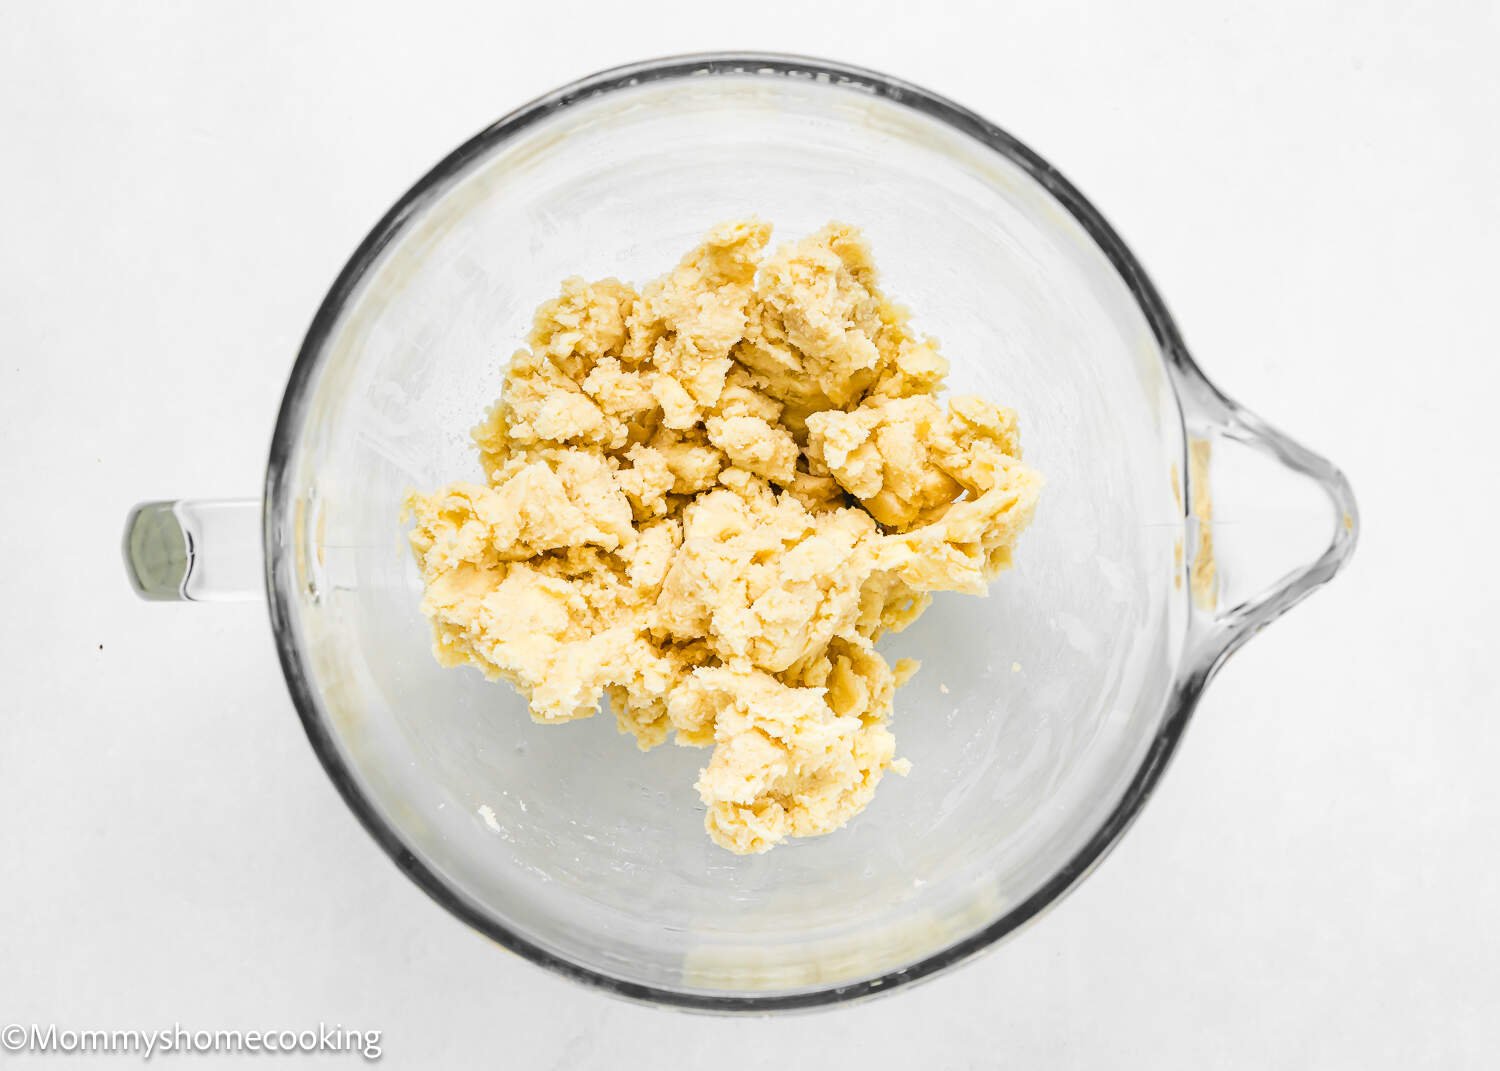
Step 2 – Beat Butter and Sugars
Using an electric hand mixer or a stand mixer over medium speed, beat the cold butter for 30-45 seconds to break it down a little. Add the granulated sugar and brown sugar; mix until just combined, about 30-45 seconds. Scrape down the sides and bottom of the bowl as needed.
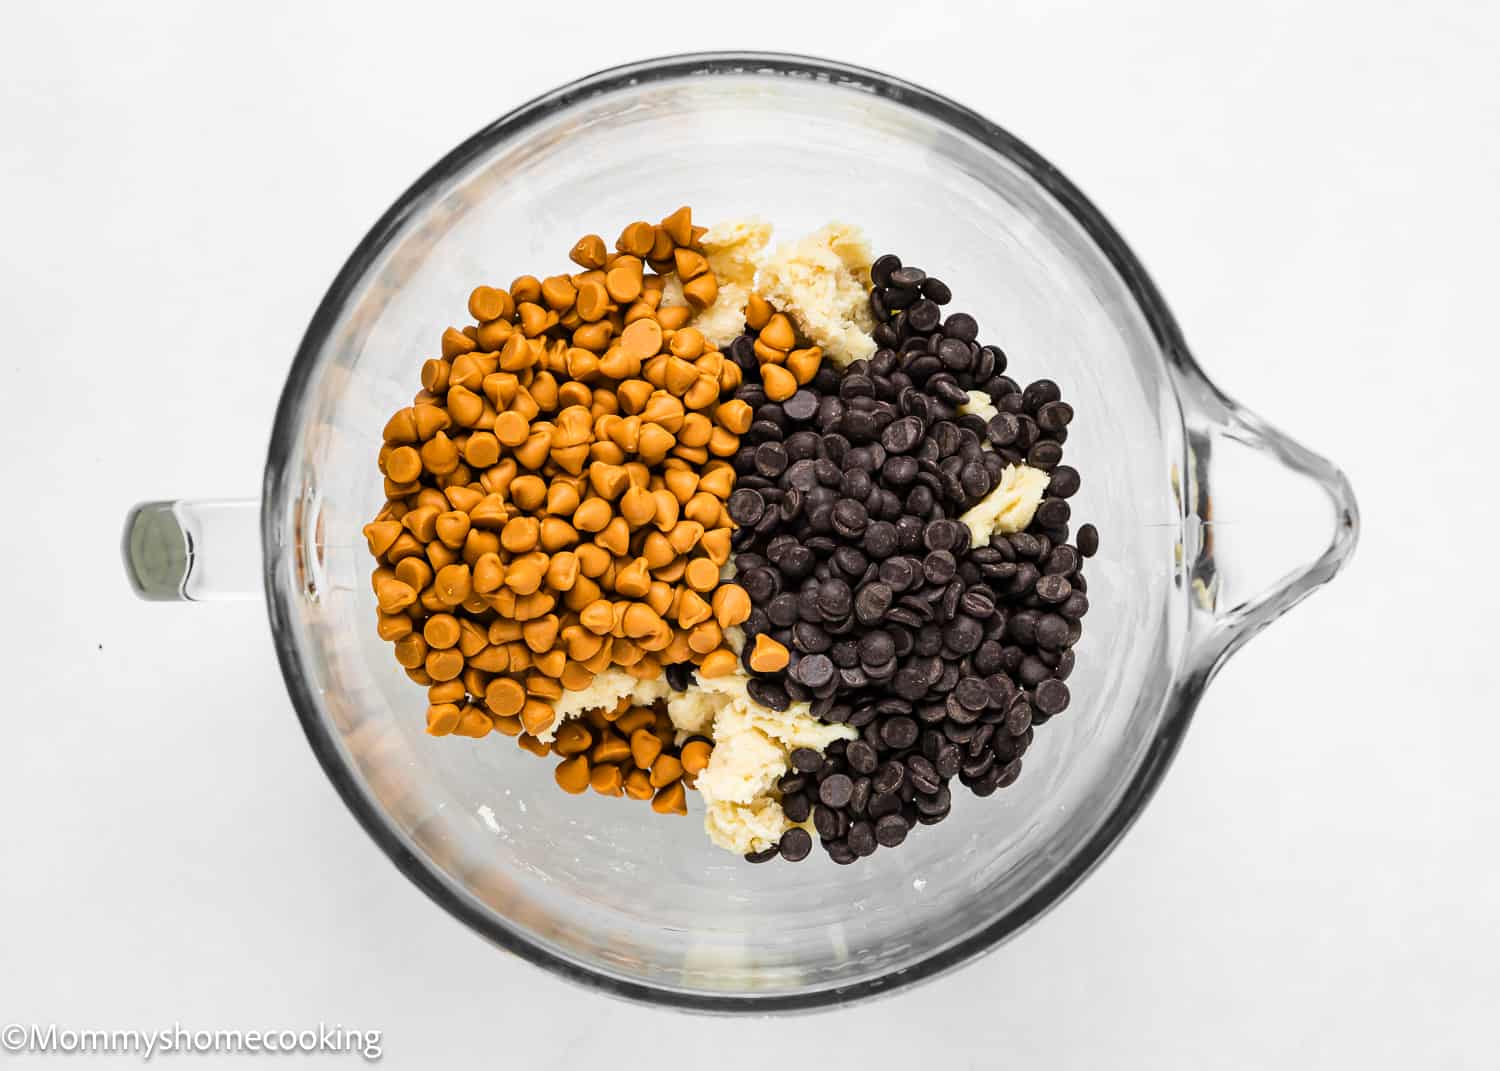
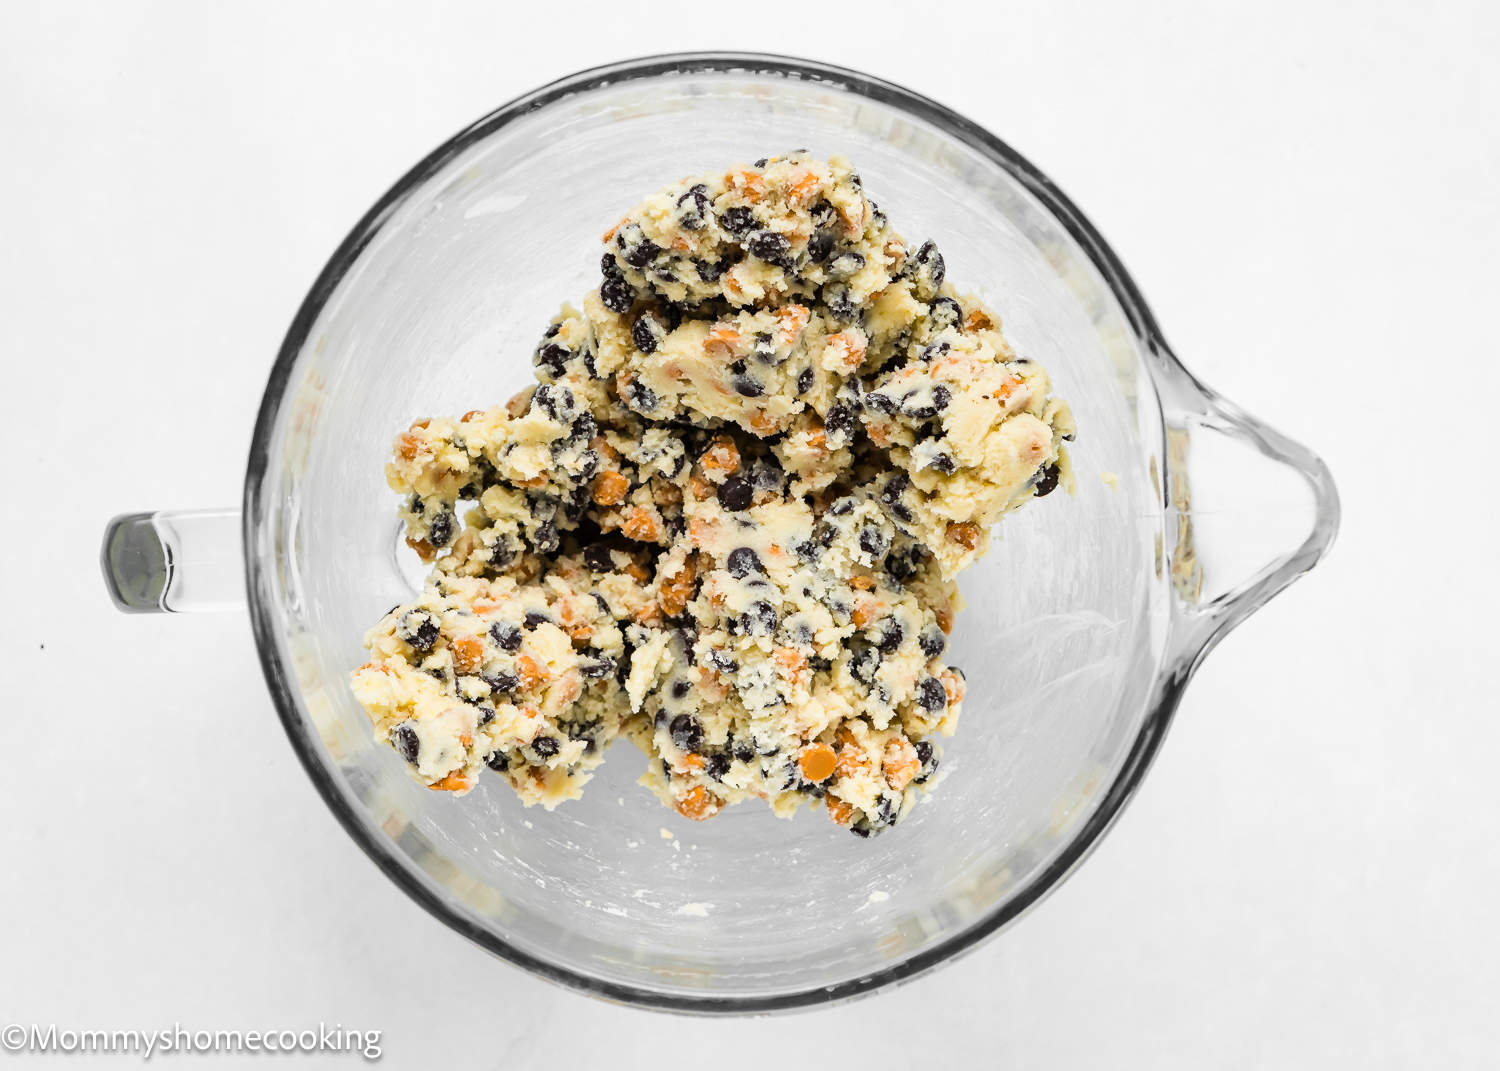
Step 3 – Add Chocolate and Butterscotch Chips
Add chocolate chips and butterscotch chips and mix to distribute evenly.
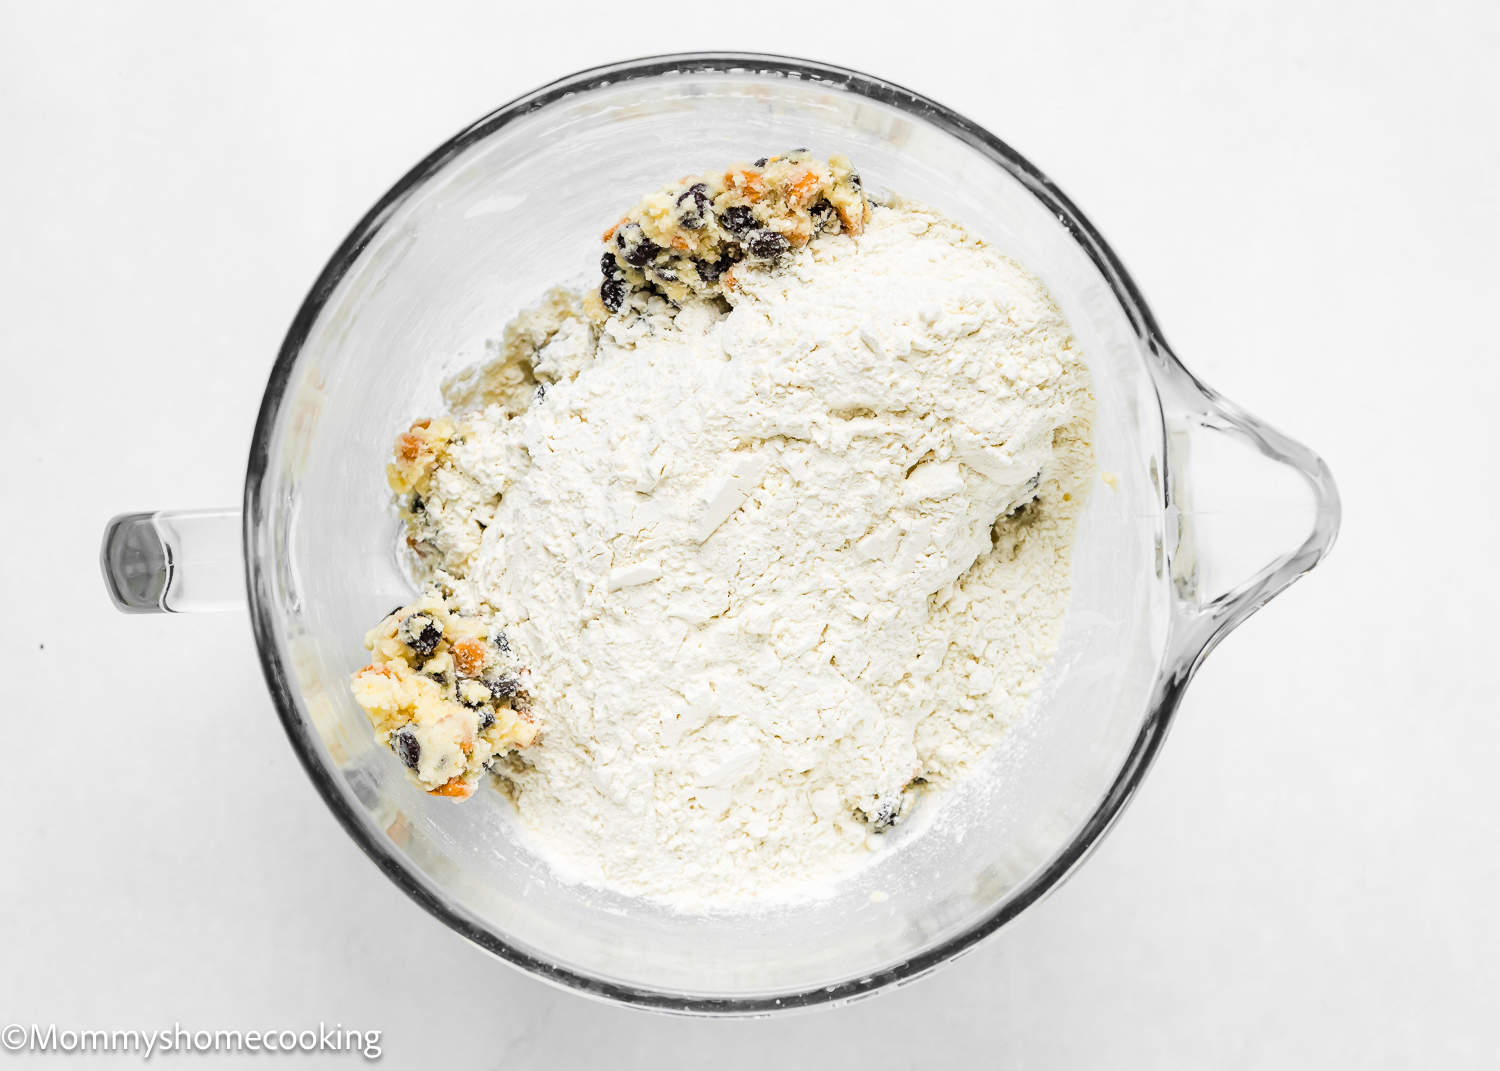
Step 4 – Add Dry Ingredients
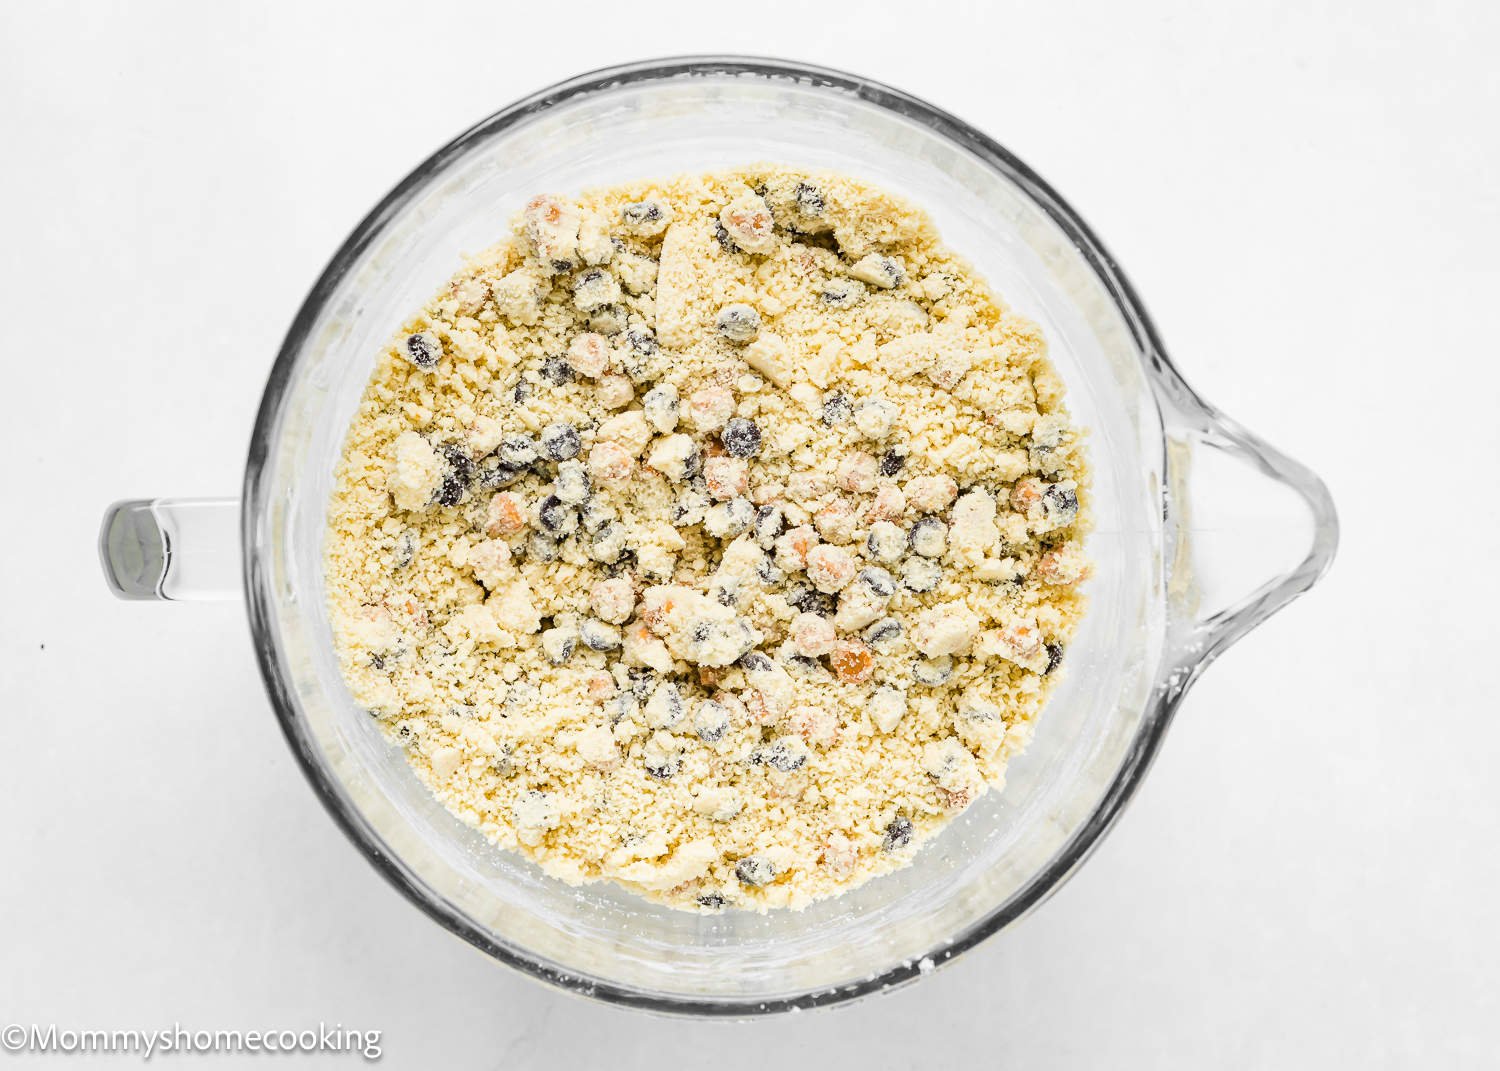
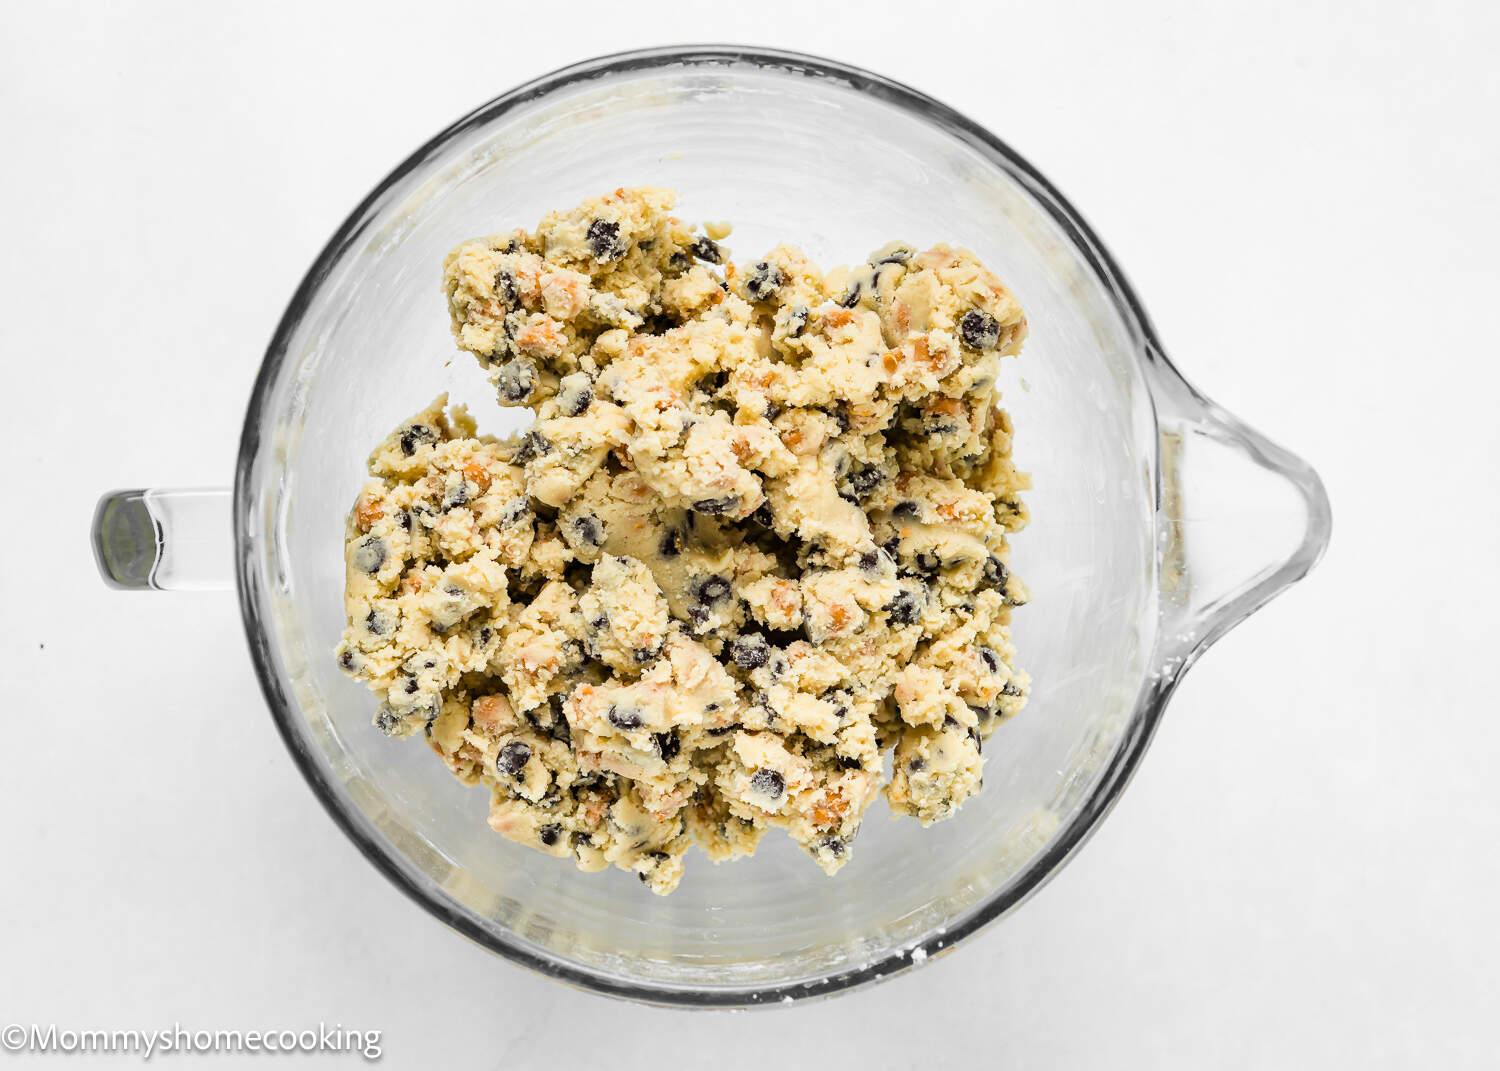
Reduce the speed to low and add the flour mixture. Mix until it resembles coarse crumbs. Then add the milk and vanilla; mix until just combined (don’t overmix!).
Step 5 – Freeze (optional)
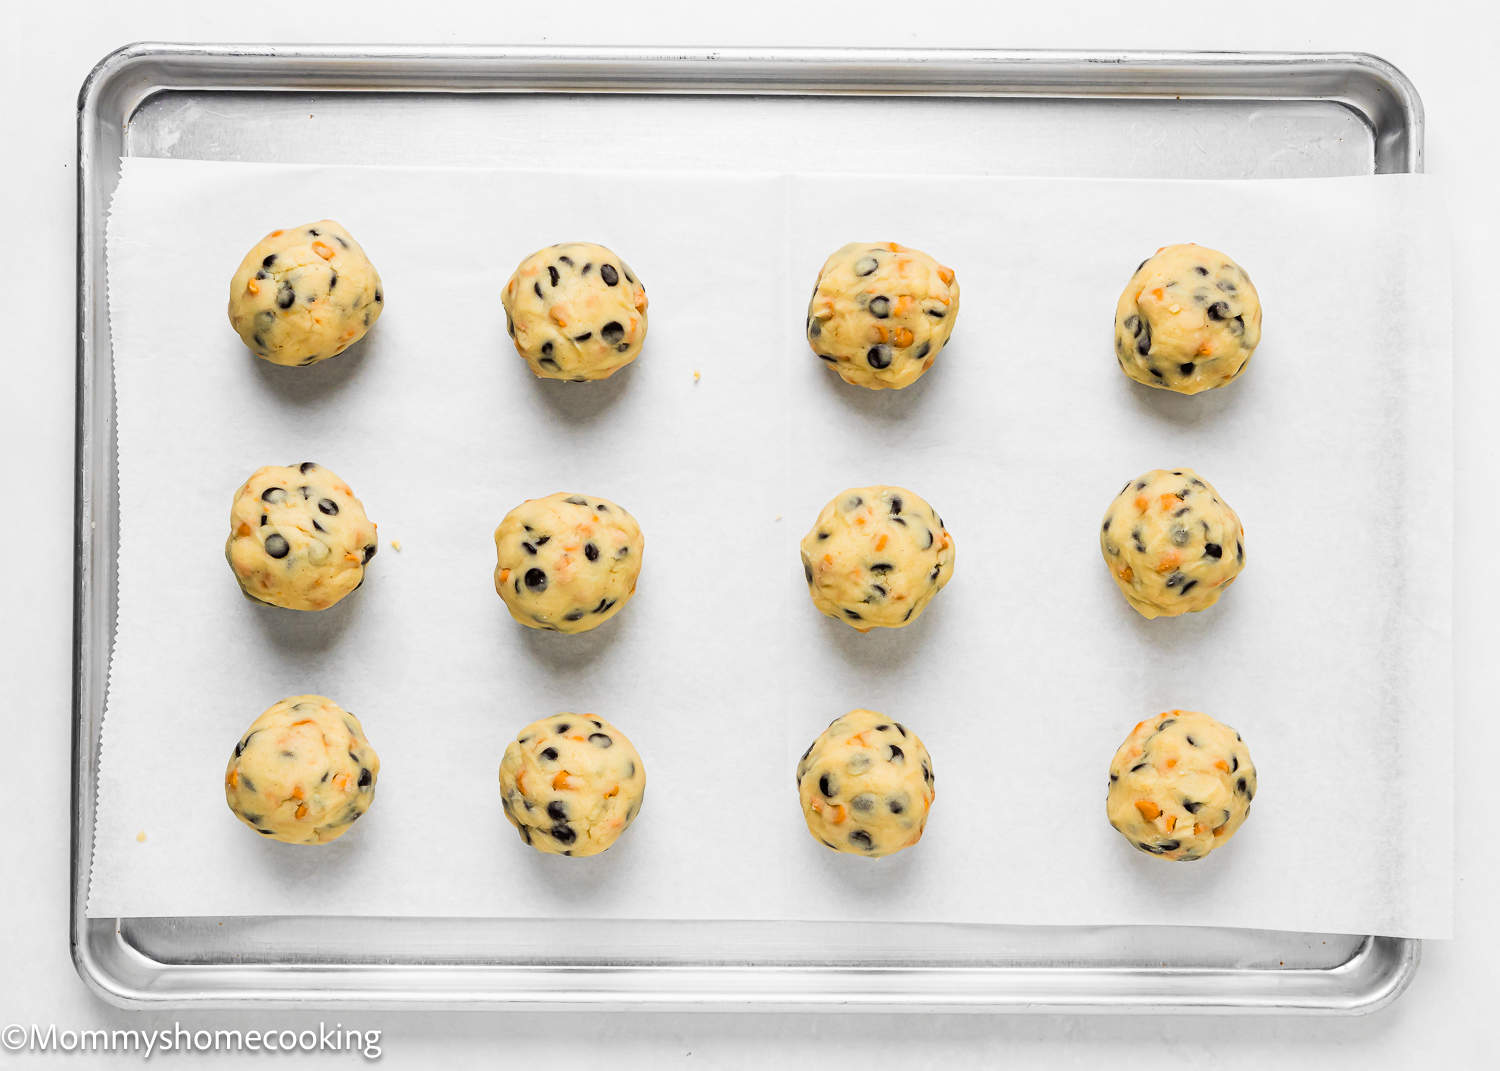
Divide the dough into twelve equal portions, each about 110 grams / ¼ cup. Form rustic balls of dough and place them on a cookie sheet or large plate. Freeze for at least 60 minutes and up to 3 months.
Step 5 – Bake
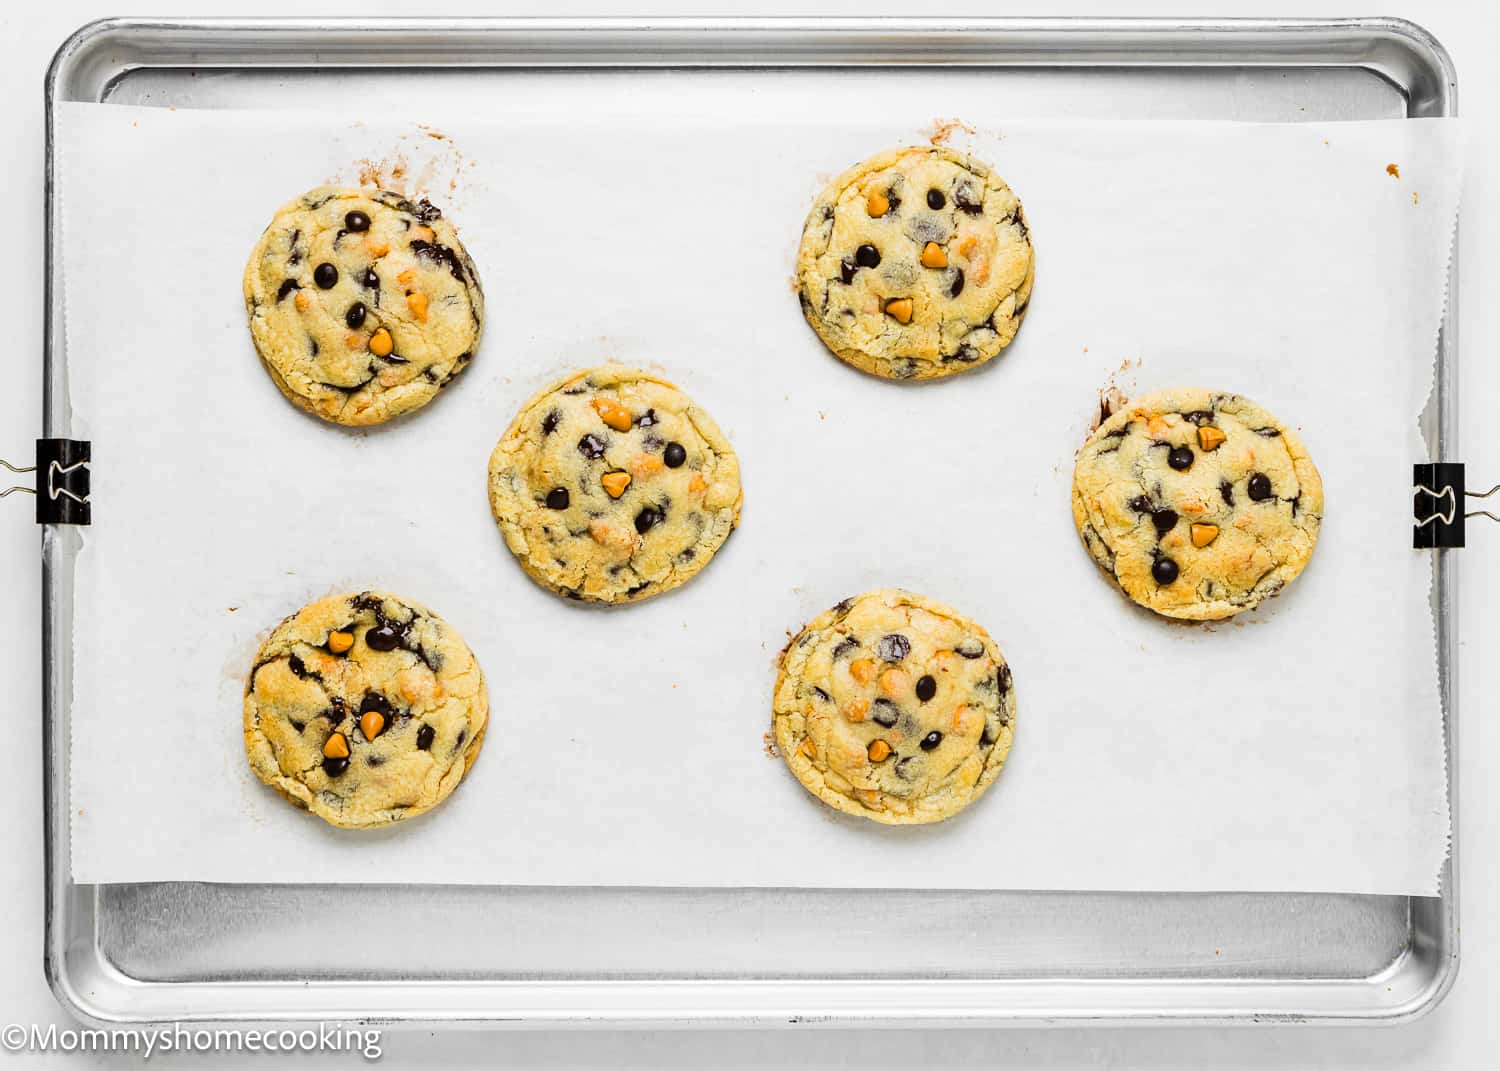
Preheat the oven to 350º F (180º C). Line a large-rimmed baking sheet with parchment paper or a silicone baking mat. Bake for 12- 15 minutes, until barely golden brown around the edges and still soft in the middle.
Recipe Tips
- Measure the ingredients properly! In my opinion, a kitchen scale is always the best option.
- Don’t over-mix your cookie dough, or you will end up with dense cookies.
- Freeze the dough for at least 60 minutes before baking. This allows the dough to firm up a little, which improves its baking and prevents the cookies from spreading too much in the oven.
- For evenly sized cookies (better for baking), spoon out the dough using a spring-loaded ice cream scoop. I use a 1/4 cup scoop for these bakery-style big cookies, but you can also measure the dough using a kitchen scale.
- Bake the cookies until they are JUST golden around the outside. The cookies might still look raw in the center, but they will be perfect once they cool. Let them cool on the baking sheets for just a few minutes. If you leave them on the baking sheets too long, they will continue cooking and become hard.
Food Allergy Swaps
- Dairy-Free: To make this recipe dairy-free, you can easily swap the dairy ingredients for non-dairy alternatives. Instead of milk, use non-dairy milk like soy or oat milk. And use vegan butter instead of dairy butter. There are many brands available in stores. I usually use Earth Balance Vegan Buttery Sticks. Check out my favorite dairy-free substitutes here. Chocolate: My favorite dairy-free chocolates are Enjoy Life Semi Sweet Chocolate Mini Chips and Gefen Vegan Semi Sweet Real Dark Chocolate Chips.
- Gluten-Free: Use a gluten-free, all-purpose flour blend. Look for a gluten-free flour blend specifically formulated for baking, as it will have the right combination of flours and starches to mimic the texture of wheat flour. My favorite is Better Batter Original Blend.
Variations & Additions
- Nutty Twist: Add chopped nuts such as pecans or walnuts for added crunch and flavor.
- Raisin Cinnamon: Replace chocolate chips with raisins and add a hint of ground cinnamon for a cozy twist.
- Double Chocolate: Increase the chocolate factor by using both chocolate chips and cocoa powder in the dough.
- Swap Out The Chocolate: For a unique flavor profile, use white chocolate chips, peanut butter chips, or toffee bits instead of chocolate chips.
- Sea Salt: Add a sprinkle of sea salt on top before baking for a sweet and salty contrast.
Storing and Freezing Instructions
Store Baked Cookies: Store cookies at room temperature in an airtight container for up to five days.
Freeze Baked Cookies: Let the cookies cool completely after baking. Then place them on a cookie sheet and flash freeze for about 30 minutes. Once they’re hard, place them in a freezer container or bag and freeze them for up to two months. To thaw, remove them from the freezer about two hours before enjoying them and let them thaw at room temperature.
Freeze Unbaked Cookie Balls: Unbaked cookie dough balls freeze well for up to three months. Roll the dough into balls, line them up on a baking sheet, and pop them in the freezer for about 30 minutes. Once frozen, toss all the frozen dough balls into a freezer-safe zip-top bag. Don’t forget to label the bag with the date and what is in the bag!
Baking Frozen Cookie Balls: Frozen cookies can be baked without thawing first!
Frequently Asked Questions
Butterscotch chips are small, sweet morsels made from a combination of sugar, butter, and other flavorings, which are melted and then solidified into small, bite-sized pieces. They have a smooth texture and a sweet, caramel-like taste.
Absolutely! You can omit the chocolate chips if you prefer a classic butterscotch cookie. Alternatively, you can replace them with more butterscotch chips or your favorite mix-ins.
Yes, you can! Shape the cookie dough into balls and place them on a baking sheet lined with parchment paper. Freeze until firm, then transfer the dough balls to a freezer-safe bag or container. When ready to bake, place the frozen dough balls on a baking sheet and bake as directed, adding a few extra minutes to the baking time.
- The Best Eggless Chocolate Chip Cookies [Video]
- Egg-Free & Peanut-Free Monster Cookies
- Eggless Oatmeal Cookies
- Eggless Chocolate Crinkle Cookies
- Browse more recipes…
❤️ Love what you see? JOIN my Private Baking Club. Also, SUBSCRIBE to Mommy’s Home Cooking, so you’ll never miss a recipe! And FOLLOW along on Instagram, Pinterest, and Facebook for more fun!
Recipe Card 📖
Easy Butterscotch Chocolate Chip Cookies (Egg-Free)
Equipment
Ingredients
- 2 ½ cups (350 g) all-purpose flour
- ½ teaspoon (3 g) baking soda
- ½ teaspoon (2 g) baking powder
- 1 teaspoon (4 g) salt
- 1 cup (230 g) unsalted butter, cold and diced
- ¾ cup (150 g) granulated sugar
- ¾ cup (150 g) brown sugar
- 3 tablespoons (45 ml) milk
- 1 teaspoon (5 g) pure vanilla extract
- 1 cup (200 g) semisweet chocolate chips or chunks
- 1 cup (200 g) butterscotch chips
Instructions
- Combine the flour, baking soda, baking powder, and salt in a bowl. Set aside.
- Using an electric hand mixer or a stand mixer over medium speed, beat the cold butter for 30-45 seconds to break it down a little. Add the granulated sugar and brown sugar; mix until just combined, about 30-45 seconds. Scrape down the sides and bottom of the bowl as needed.
- Add chocolate chips and butterscotch chips and mix to distribute evenly.
- Reduce the speed to low and add the flour mixture; mix until it resembles coarse crumbs. Then, add the milk and vanilla; mix until just combined (don't overmix!).
- Divide the dough into twelve equal portions, each about 110 grams / ¼ cup. Form rustic balls of dough and place them on a cookie sheet or large plate. Freeze for at least 60 minutes and up to 3 months.
- Preheat the oven to 350º F (180º C). Line a large-rimmed baking sheet with parchment paper or a silicone baking mat.
- Place the frozen cookie balls you whisk to bake on the cookie sheet so they’re evenly spaced, about 4 inches apart. I recommend baking one sheet of cookies at a time.
- Bake for 12- 15 minutes, until barely golden brown around the edges and still soft in the middle. When you remove the cookies from the oven, they will still look doughy, and that is okay; they will continue to set as they cool.
- Cool on the baking sheets for 5 minutes, then transfer to wire racks to cool completely. Meanwhile, press a few extra chocolate and butterscotch chips into the tops of the warm cookies. This is optional and only for looks. After 5 minutes of cooling on the baking sheets, transfer the cookies to a wire rack to cool completely.
- Measure the ingredients properly! In my opinion, a kitchen scale is always the best option.
- Don’t over-mix your cookie dough, or you will end up with dense cookies.
- Freeze the dough for at least 60 minutes before baking. This allows the dough to firm up a little, which improves its baking and prevents the cookies from spreading too much in the oven.
- For evenly sized cookies (better for baking), spoon out the dough using a spring-loaded ice cream scoop. I use a 1/4 cup scoop for these bakery-style big cookies, but you can also measure the dough using a kitchen scale.
- Bake the cookies until they are JUST golden around the outside. The cookies might still look raw in the center, but they will be perfect once they cool. Let them cool on the baking sheets for just a few minutes. If you leave them on the baking sheets too long, they will continue cooking and become hard.
- Dairy-Free: To make this recipe dairy-free, you can easily swap the dairy ingredients for non-dairy alternatives. Instead of milk, use non-dairy milk like soy or oat milk. And use vegan butter instead of dairy butter. There are many brands available in stores. I usually use Earth Balance Vegan Buttery Sticks. Check out my favorite dairy-free substitutes here. Chocolate: My favorite dairy-free chocolates are Enjoy Life Semi Sweet Chocolate Mini Chips and Gefen Vegan Semi Sweet Real Dark Chocolate Chips.
- Gluten-Free: Use a gluten-free, all-purpose flour blend. Look for a gluten-free flour blend specifically formulated for baking, as it will have the right combination of flours and starches to mimic the texture of wheat flour. My favorite is Better Batter Original Blend.
- Nutty Twist: Add chopped nuts such as pecans or walnuts for added crunch and flavor.
- Raisin Cinnamon: Replace chocolate chips with raisins and add a hint of ground cinnamon for a cozy twist.
- Double Chocolate: Increase the chocolate factor by using both chocolate chips and cocoa powder in the dough.
- Swap Out The Chocolate: For a unique flavor profile, use white chocolate chips, peanut butter chips, or toffee bits instead of chocolate chips.
- Sea Salt: Add a sprinkle of sea salt on top before baking for a sweet and salty contrast.

Leave a Reply