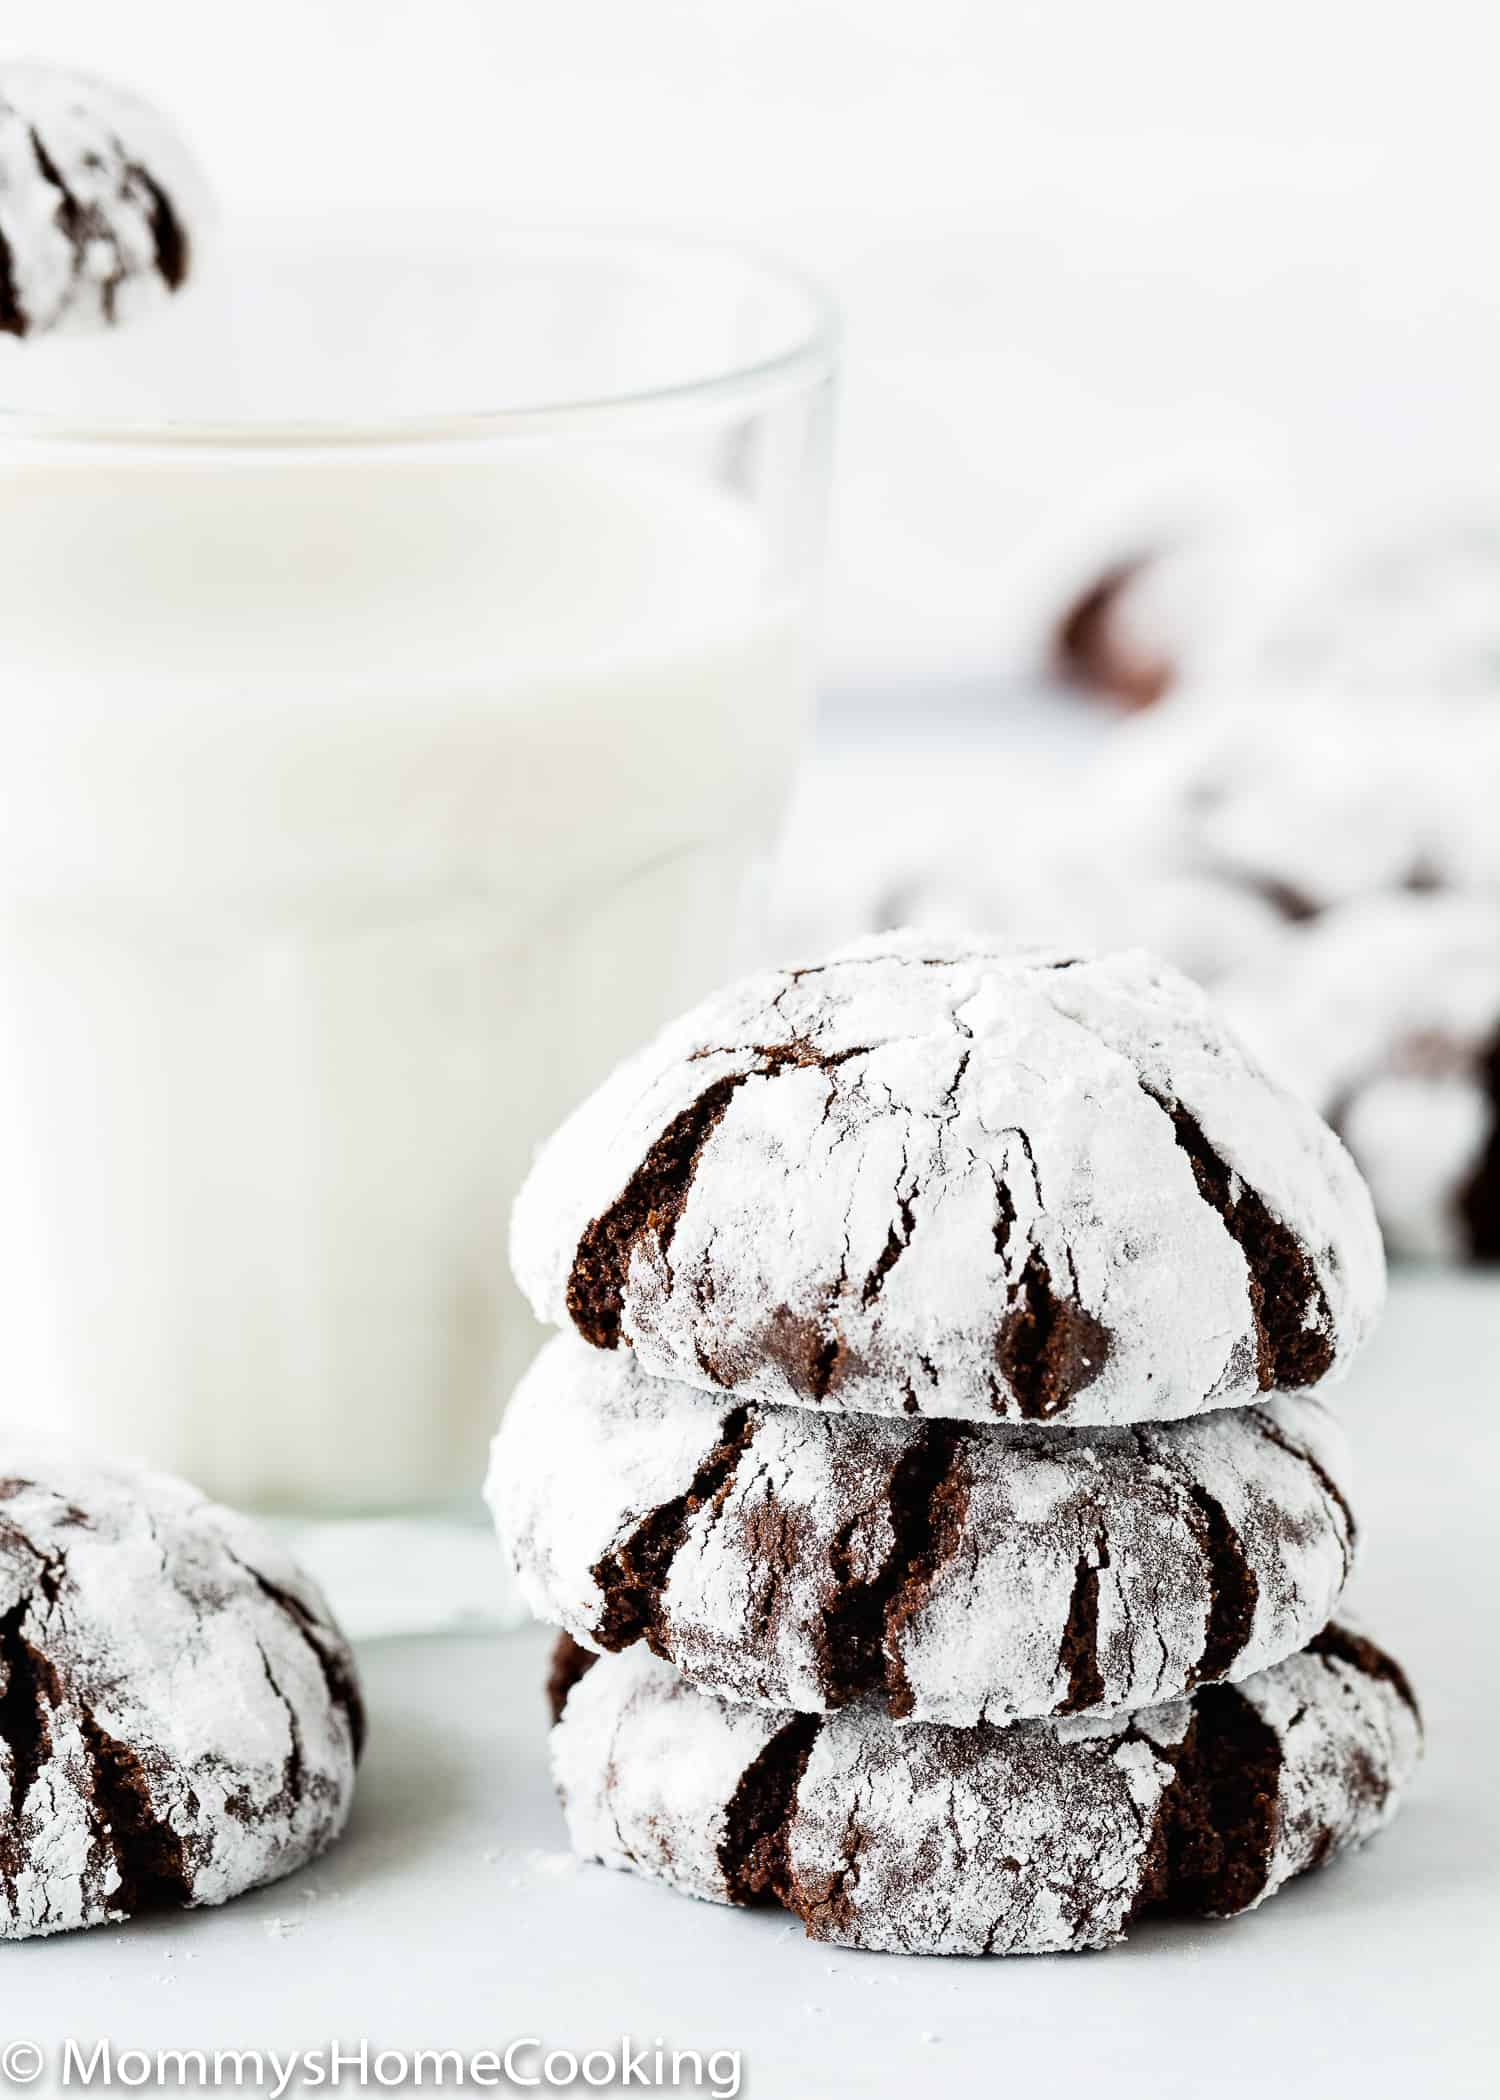
Why I Love This Recipe
These Eggless Chocolate Crinkle Cookies are in honor of Santa. But, of course, sharing is highly recommended, so we’ll make enough for Mrs. Claus and all the elves too.
My little ones and I have been baking a lot of cookies this season!! As I mentioned before, we love to bake cookies. Plus, we’re cookie-eaters by nature, so the holidays are a great excuse to try all kinds of new cookies recipes. But, of course, when the task involves rolling, dusting, and/or sprinkles, my kids are the first to show up.
I have seen these chocolate crinkle cookies everywhere, so I was eager to try and tweak these cookies to make them safe for Victoria. But, of course, when I say safe, I mean eggless.
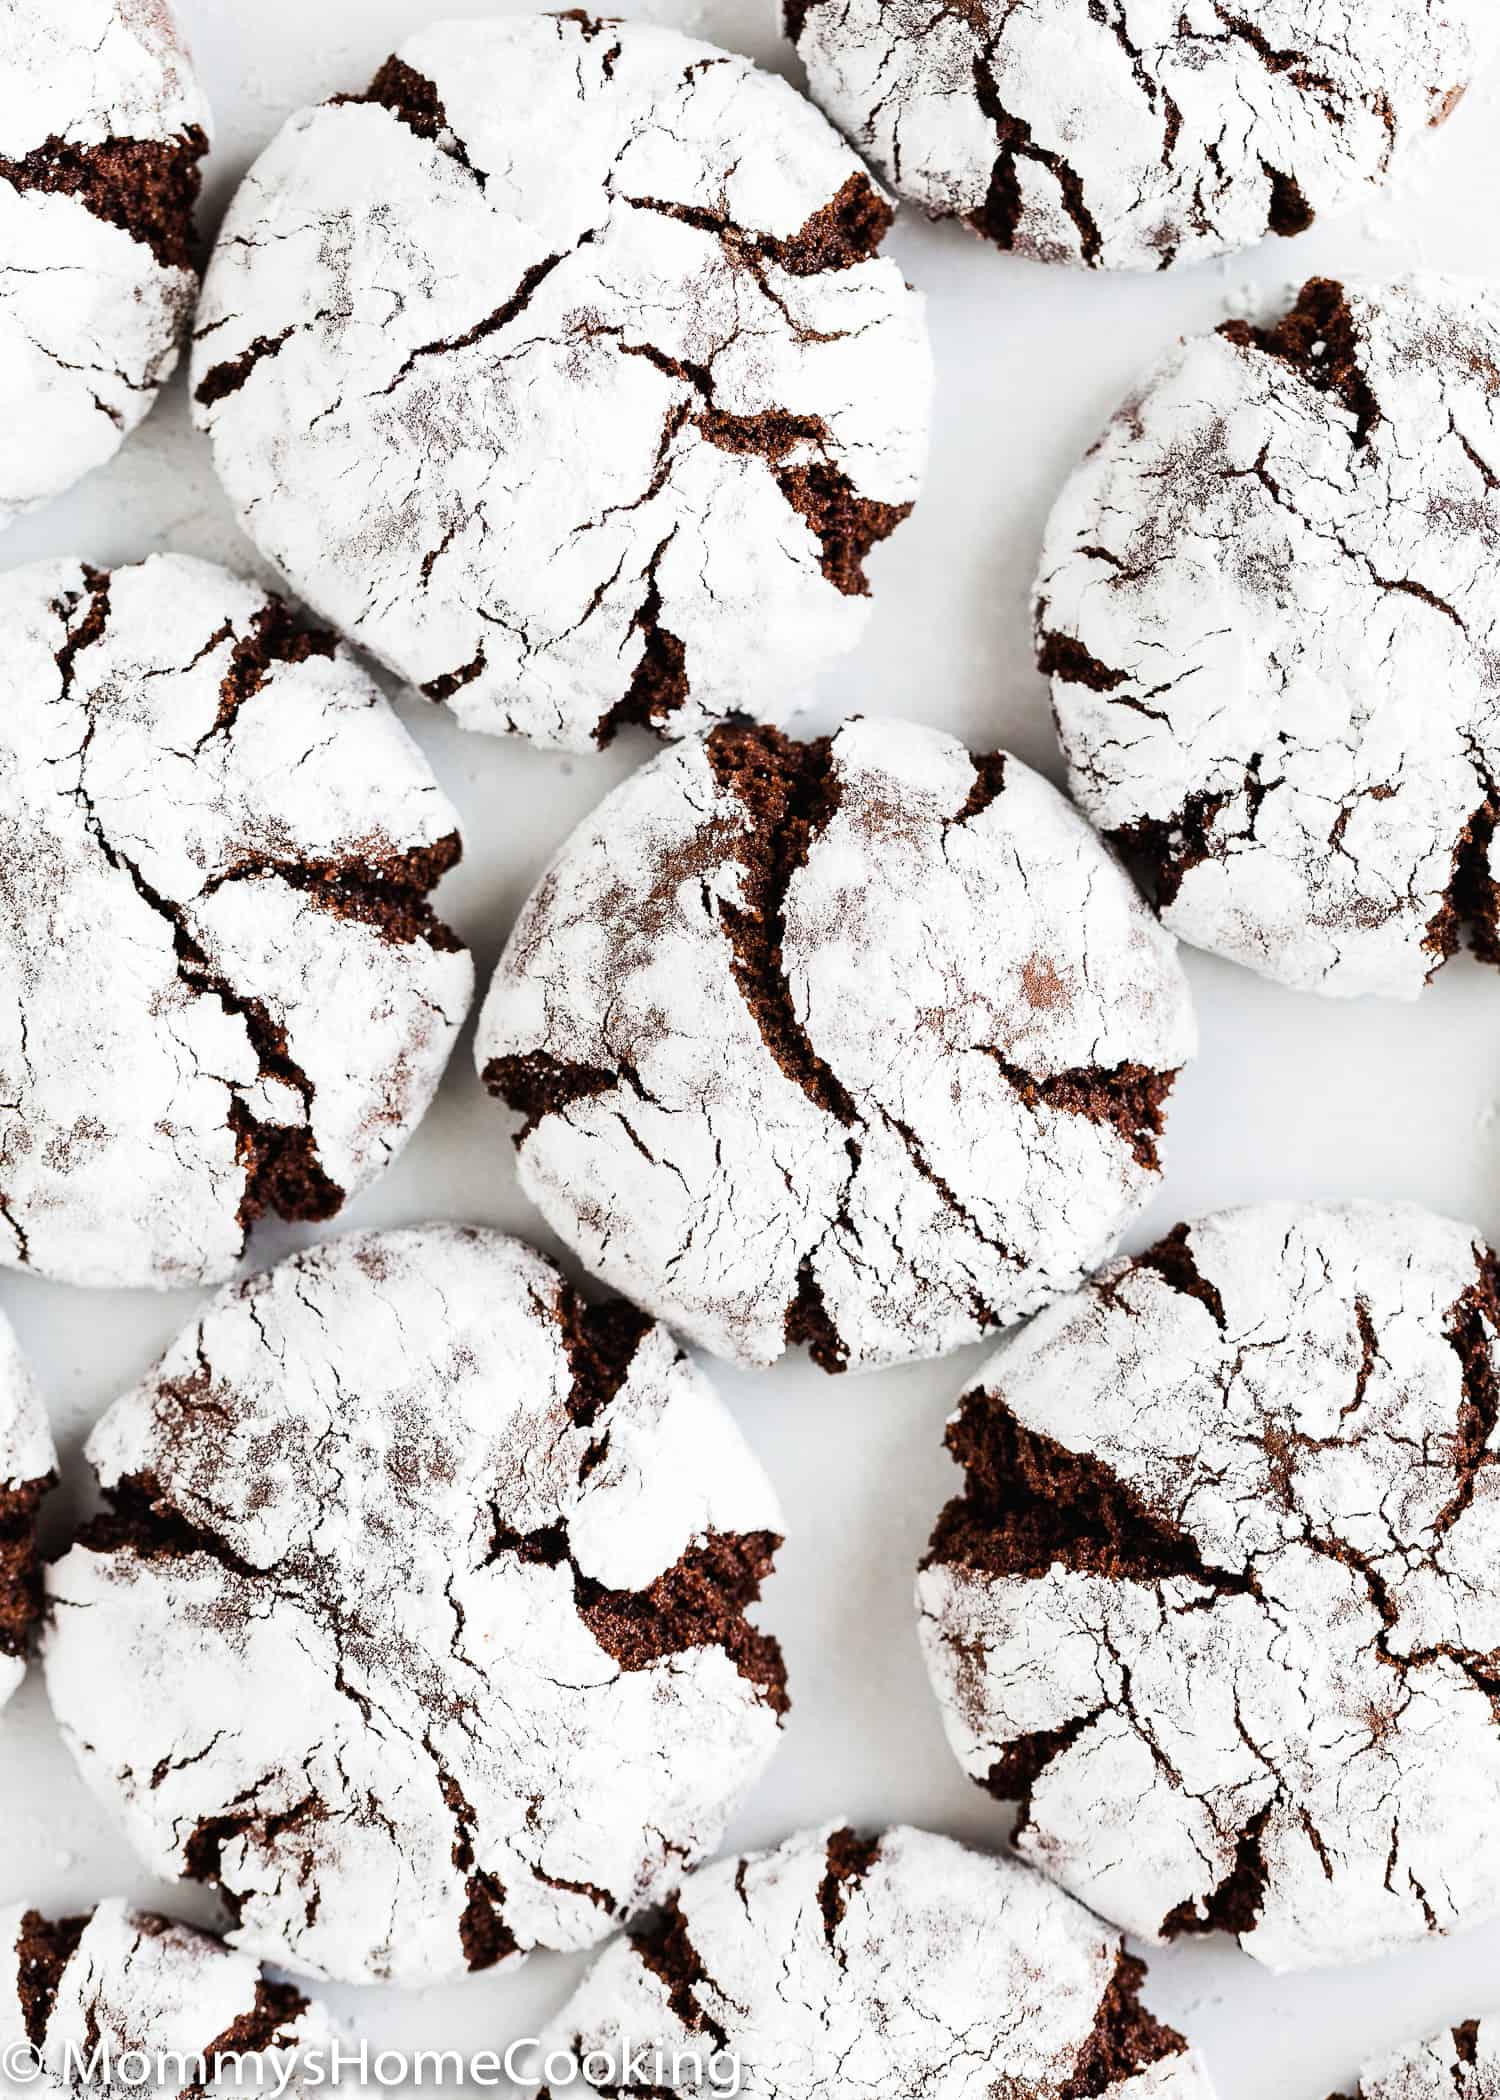
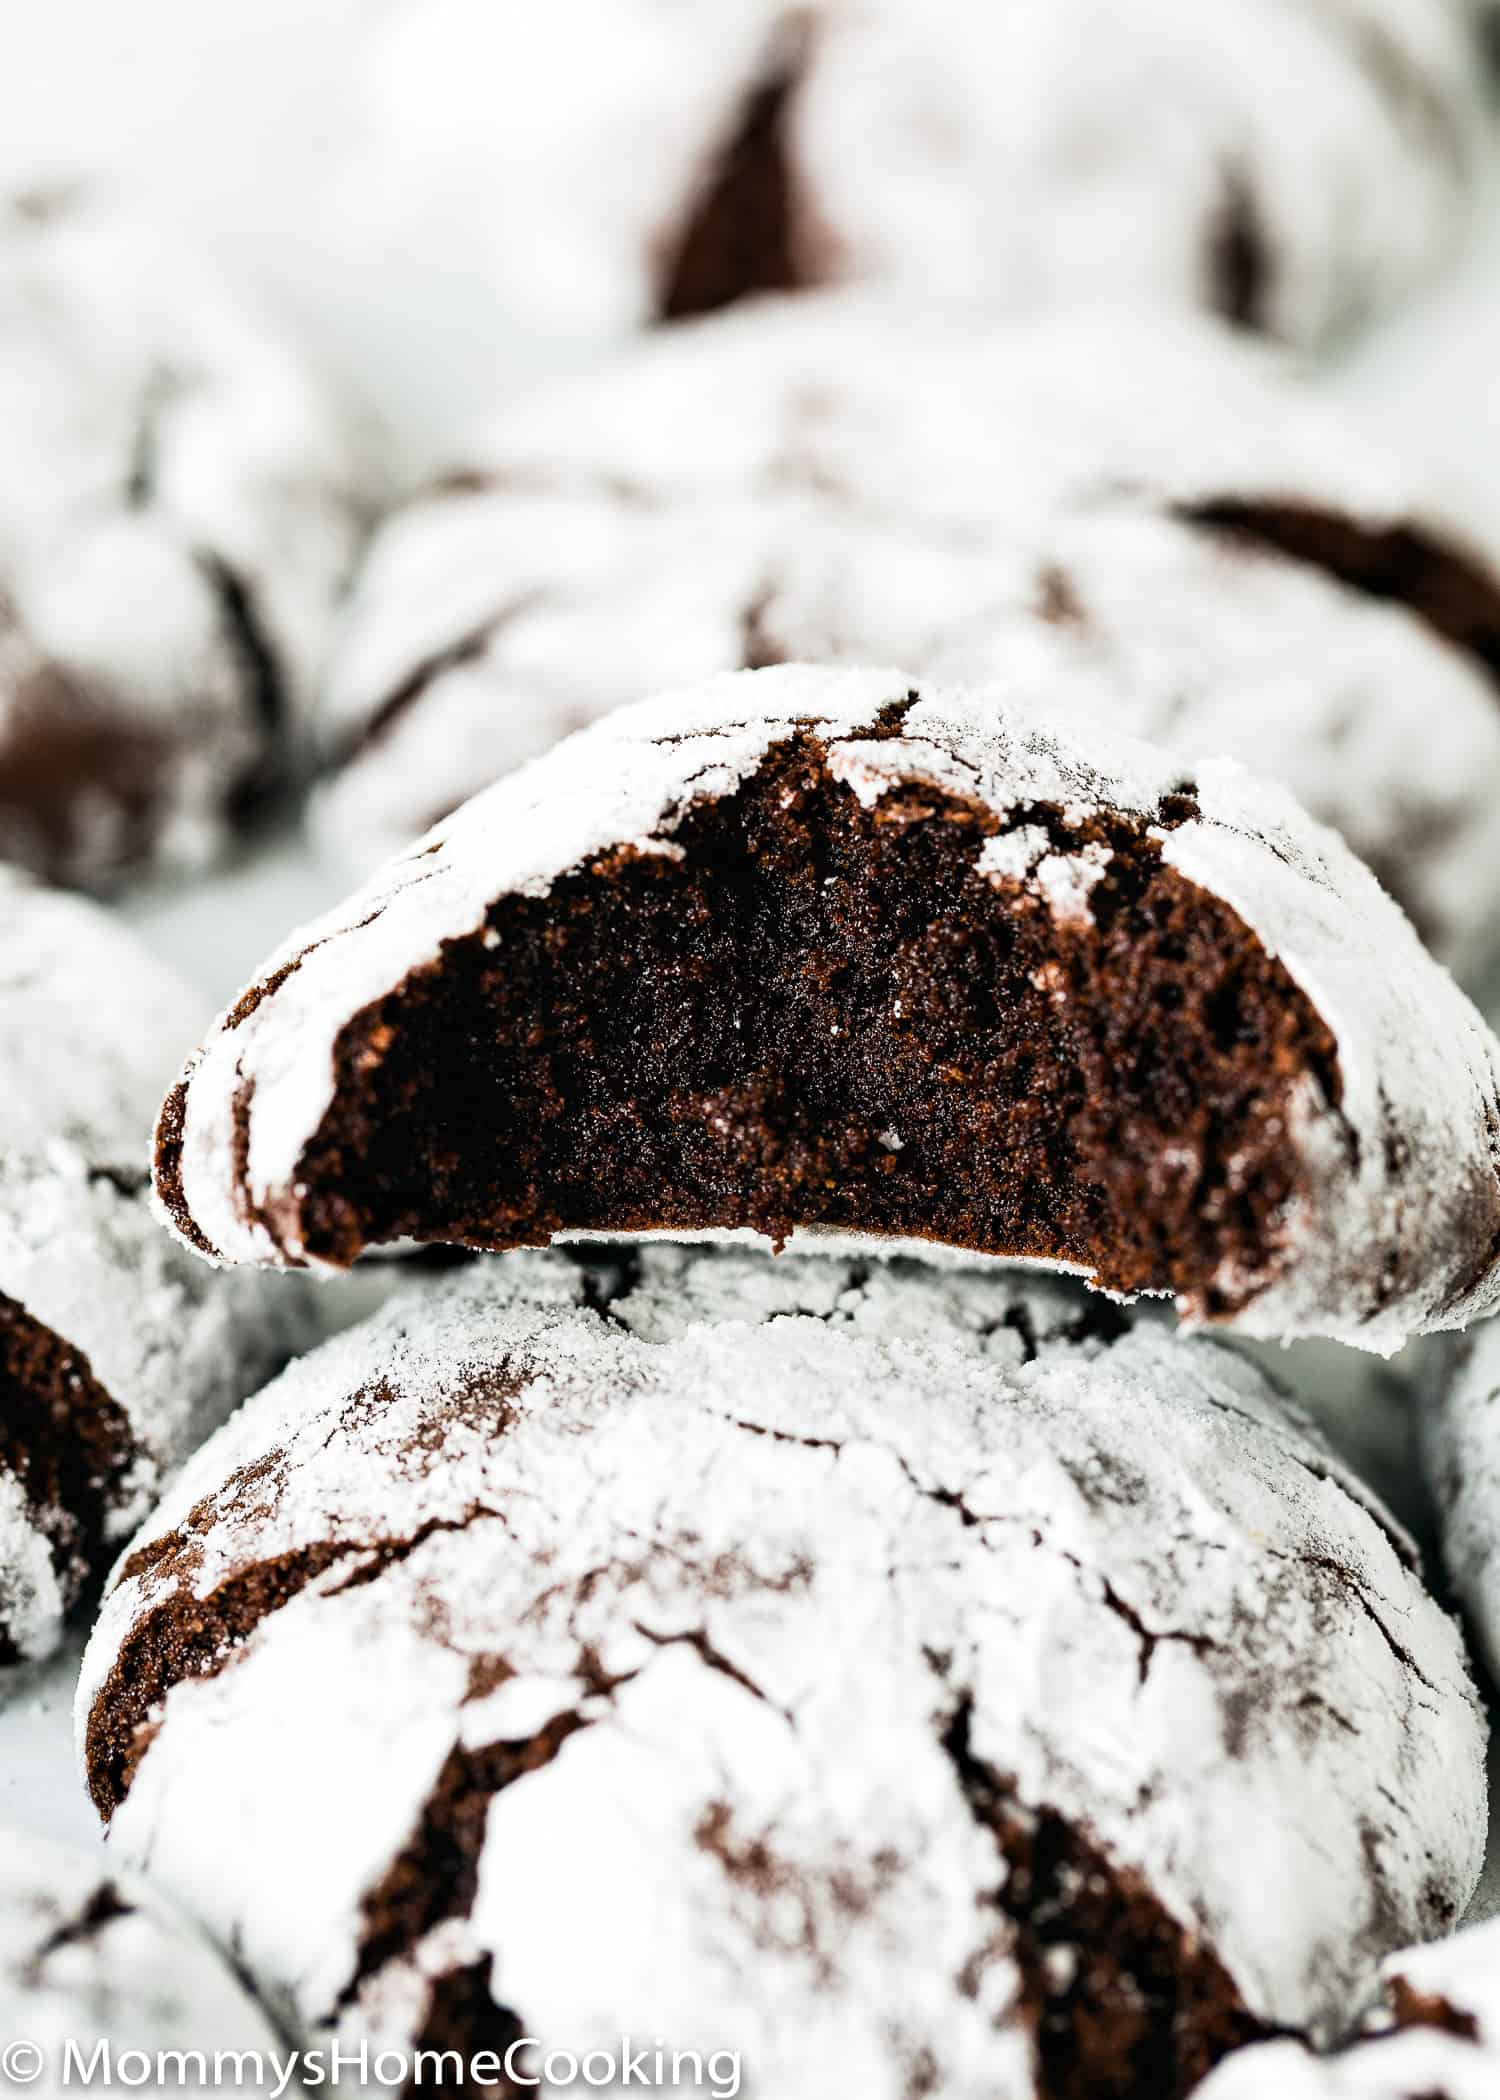
I couldn’t have been happier with the outcome. They are moist and fudgy on the inside and slightly crisp on the outside. Total perfection!!
In fact, these cookies are so good that I’ve made them quite a few times this month.
Bring these goodies to a cookie exchange or put them out on any holiday cookie tray. You can even wrap them up as a little edible gift for a special person in your life. Either way, you decide to share them … these Eggless Chocolate Crinkle Cookies will be the BIGGEST hit!!
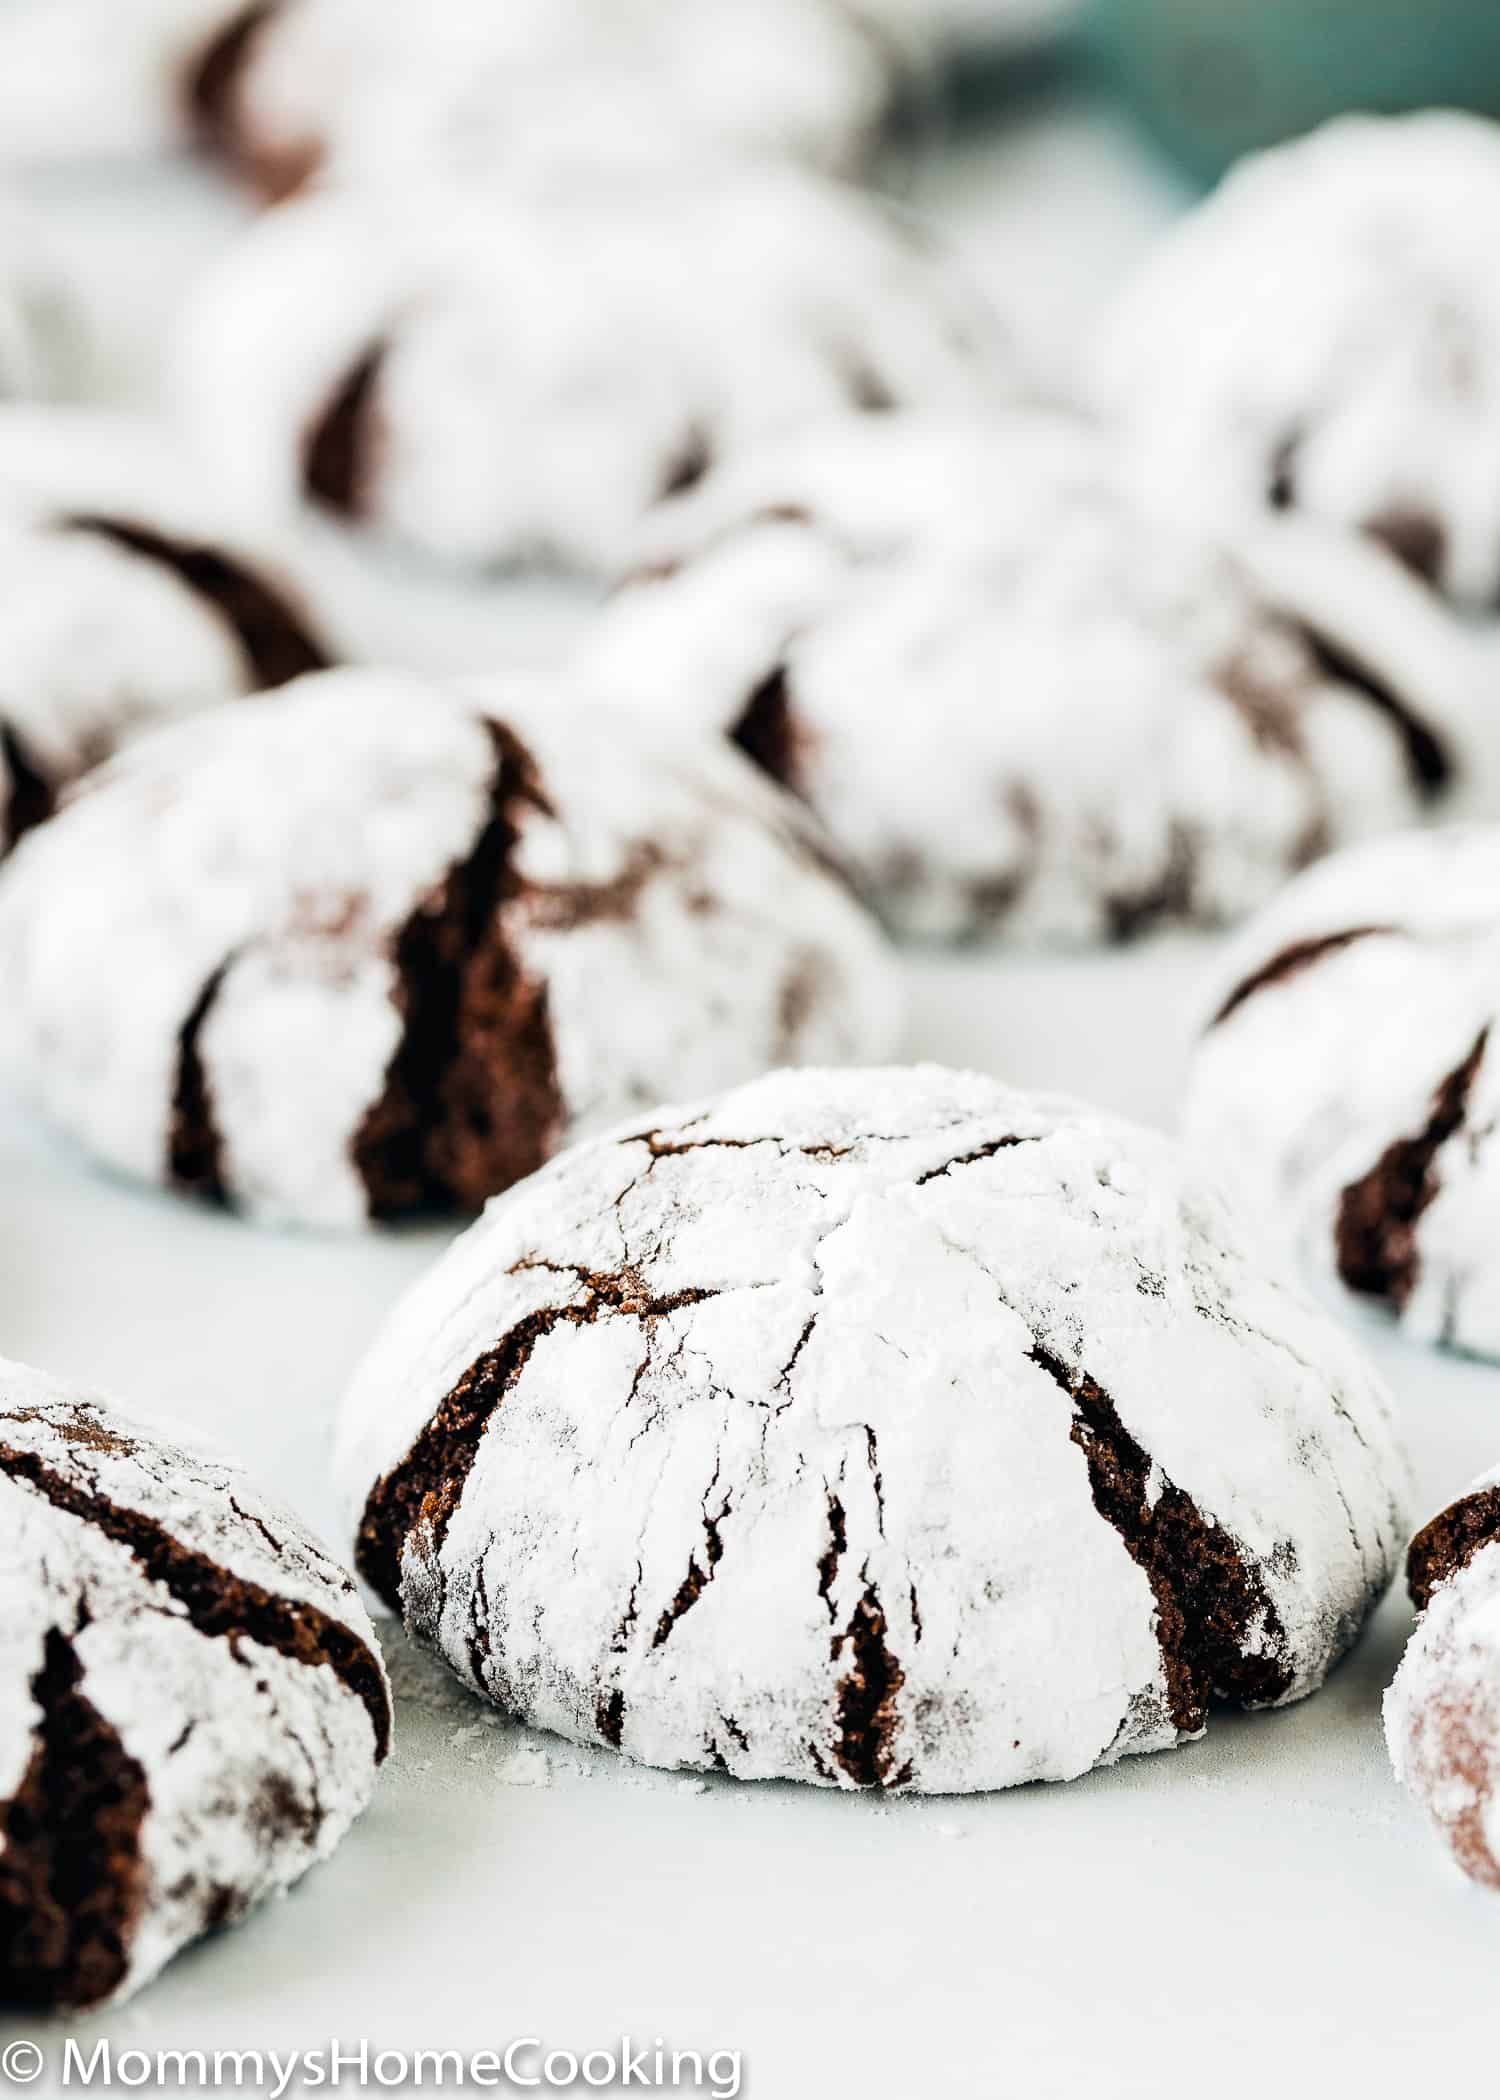
Ingredients You’ll Need
Please check the recipe card at the bottom of the post for exact quantities and detailed instructions (scroll down).
- Oil – Such as vegetable or canola
- Evaporated milk
- Granulated sugar – Also known as caster sugar.
- Unsweetened cocoa powder
- Instant espresso coffee – This is optional, but I recommend its addition because it enhances the chocolate flavor. Adding a little bit will make things taste more “chocolatey” without giving a coffee flavor.
- Pure vanilla extract
- All-purpose flour – Standard all-purpose flour works best here, skip the cake flour, bread flour and wheat flour.
- Baking powder – Make sure it is not expired.
- Salt – I prefer kosher or sea salt.
- Powdered sugar – for coating the cookies
Step By Step Recipe Photo Tutorial
Please check the recipe card at the bottom of the post for exact quantities and detailed instructions (scroll down).
1 – Make The Dough
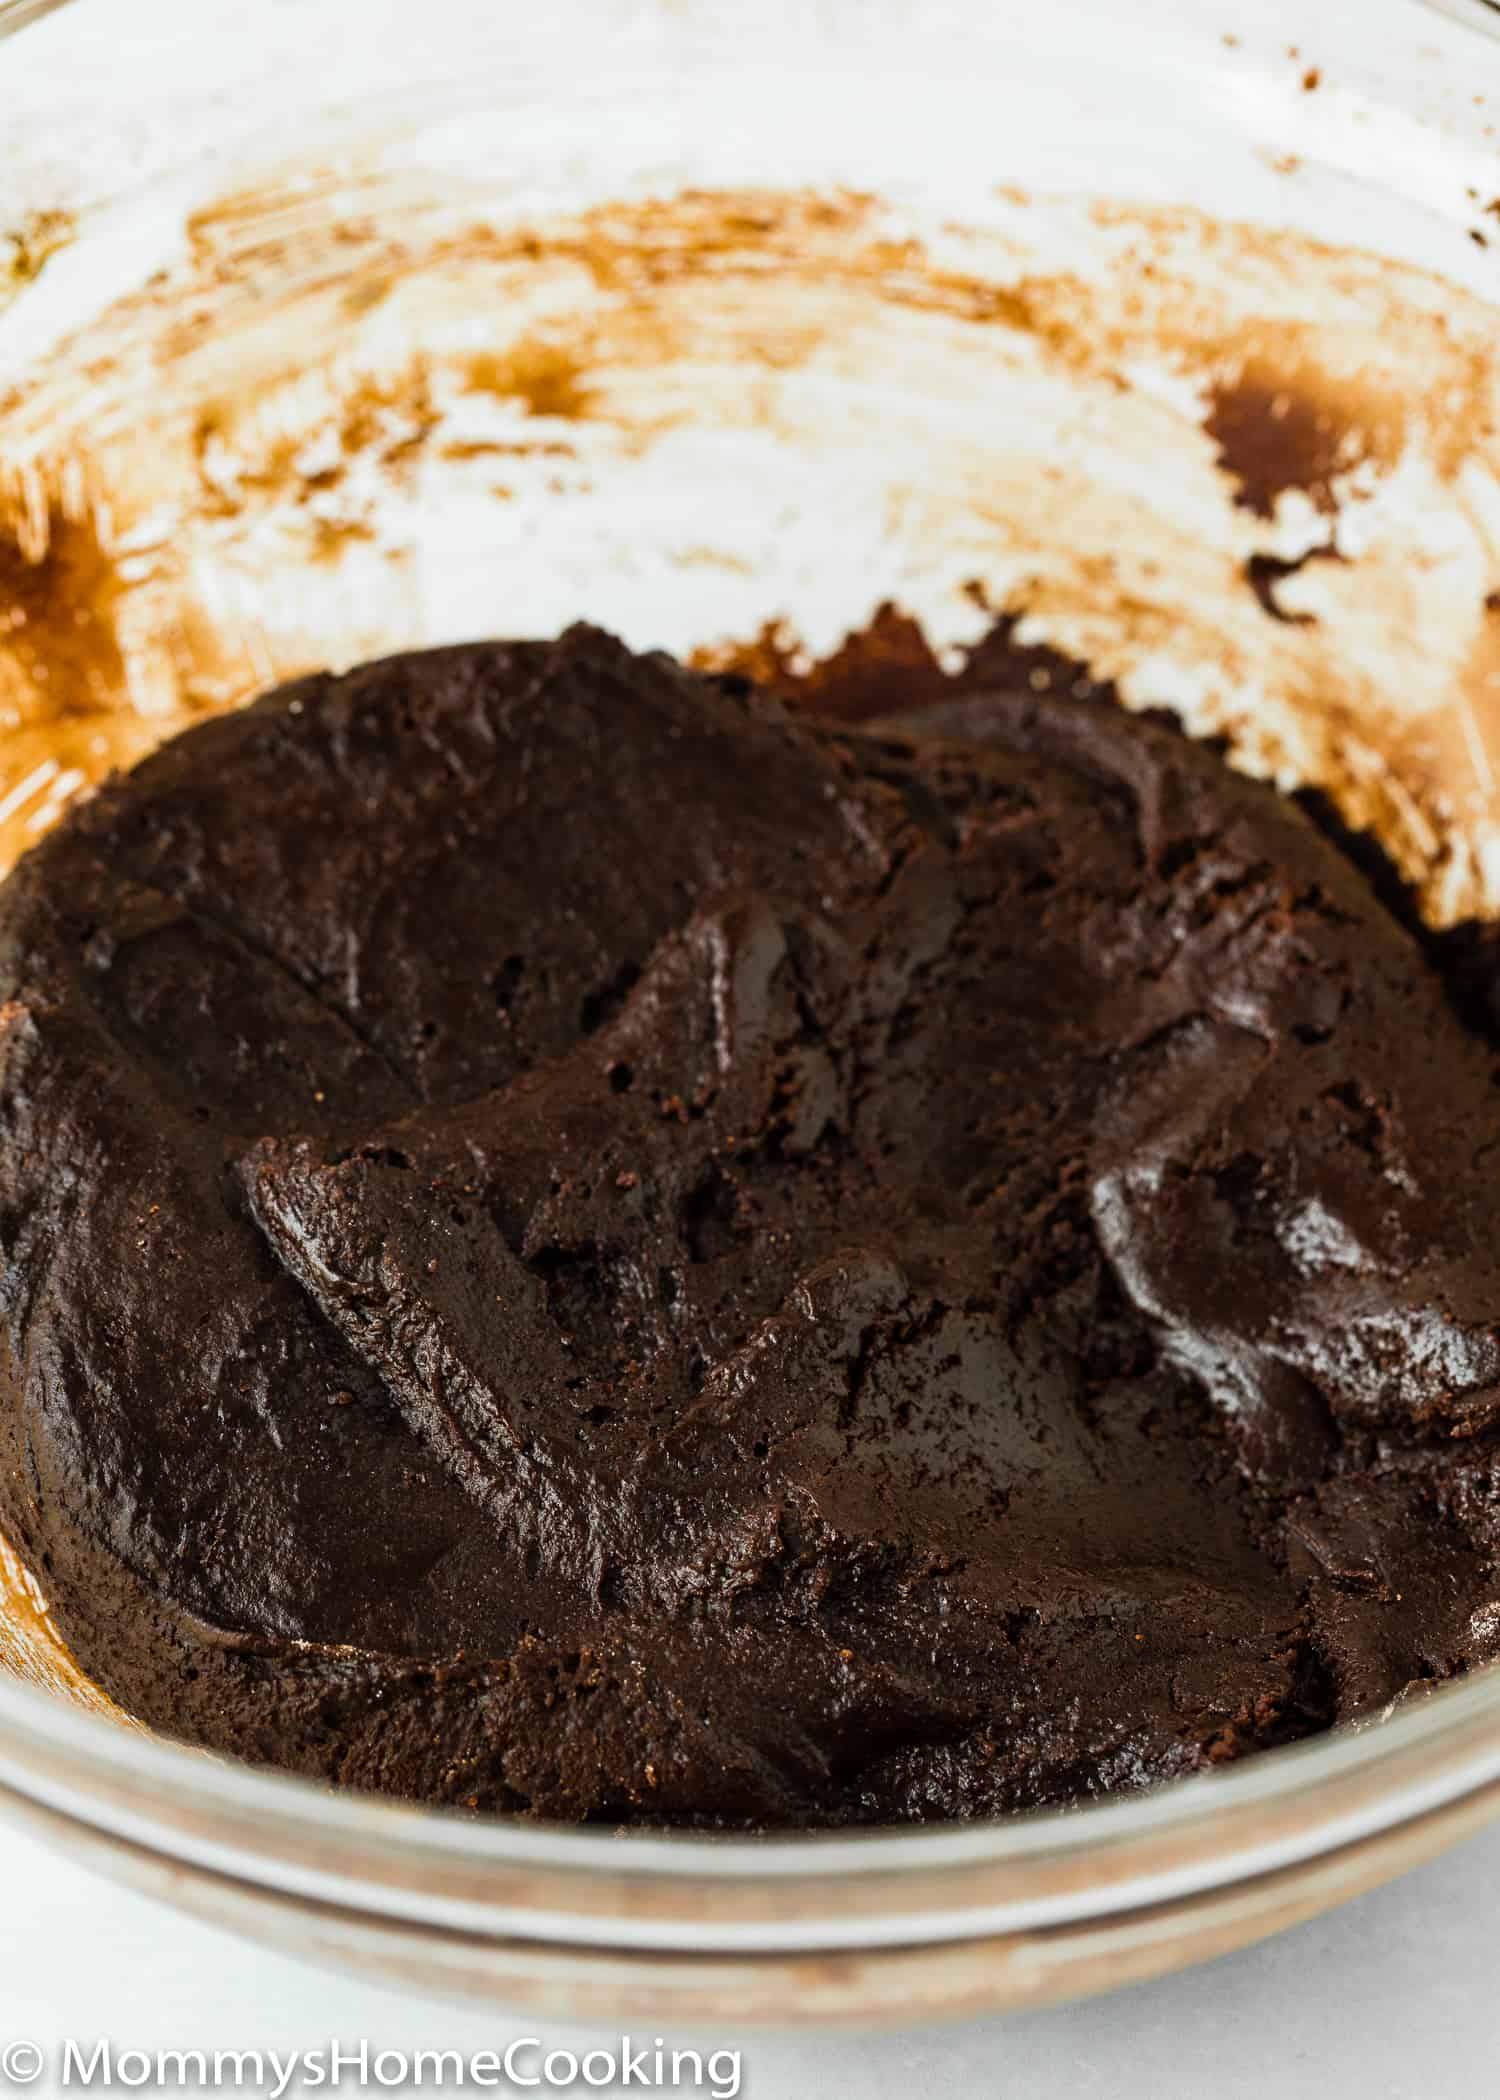
- In a medium bowl, whisk together oil, evaporated milk, sugar, cocoa, instant coffee (if using), and vanilla until the sugar is dissolved and everything is well combined.
- In a separate bowl, combine flour, baking powder, and salt.
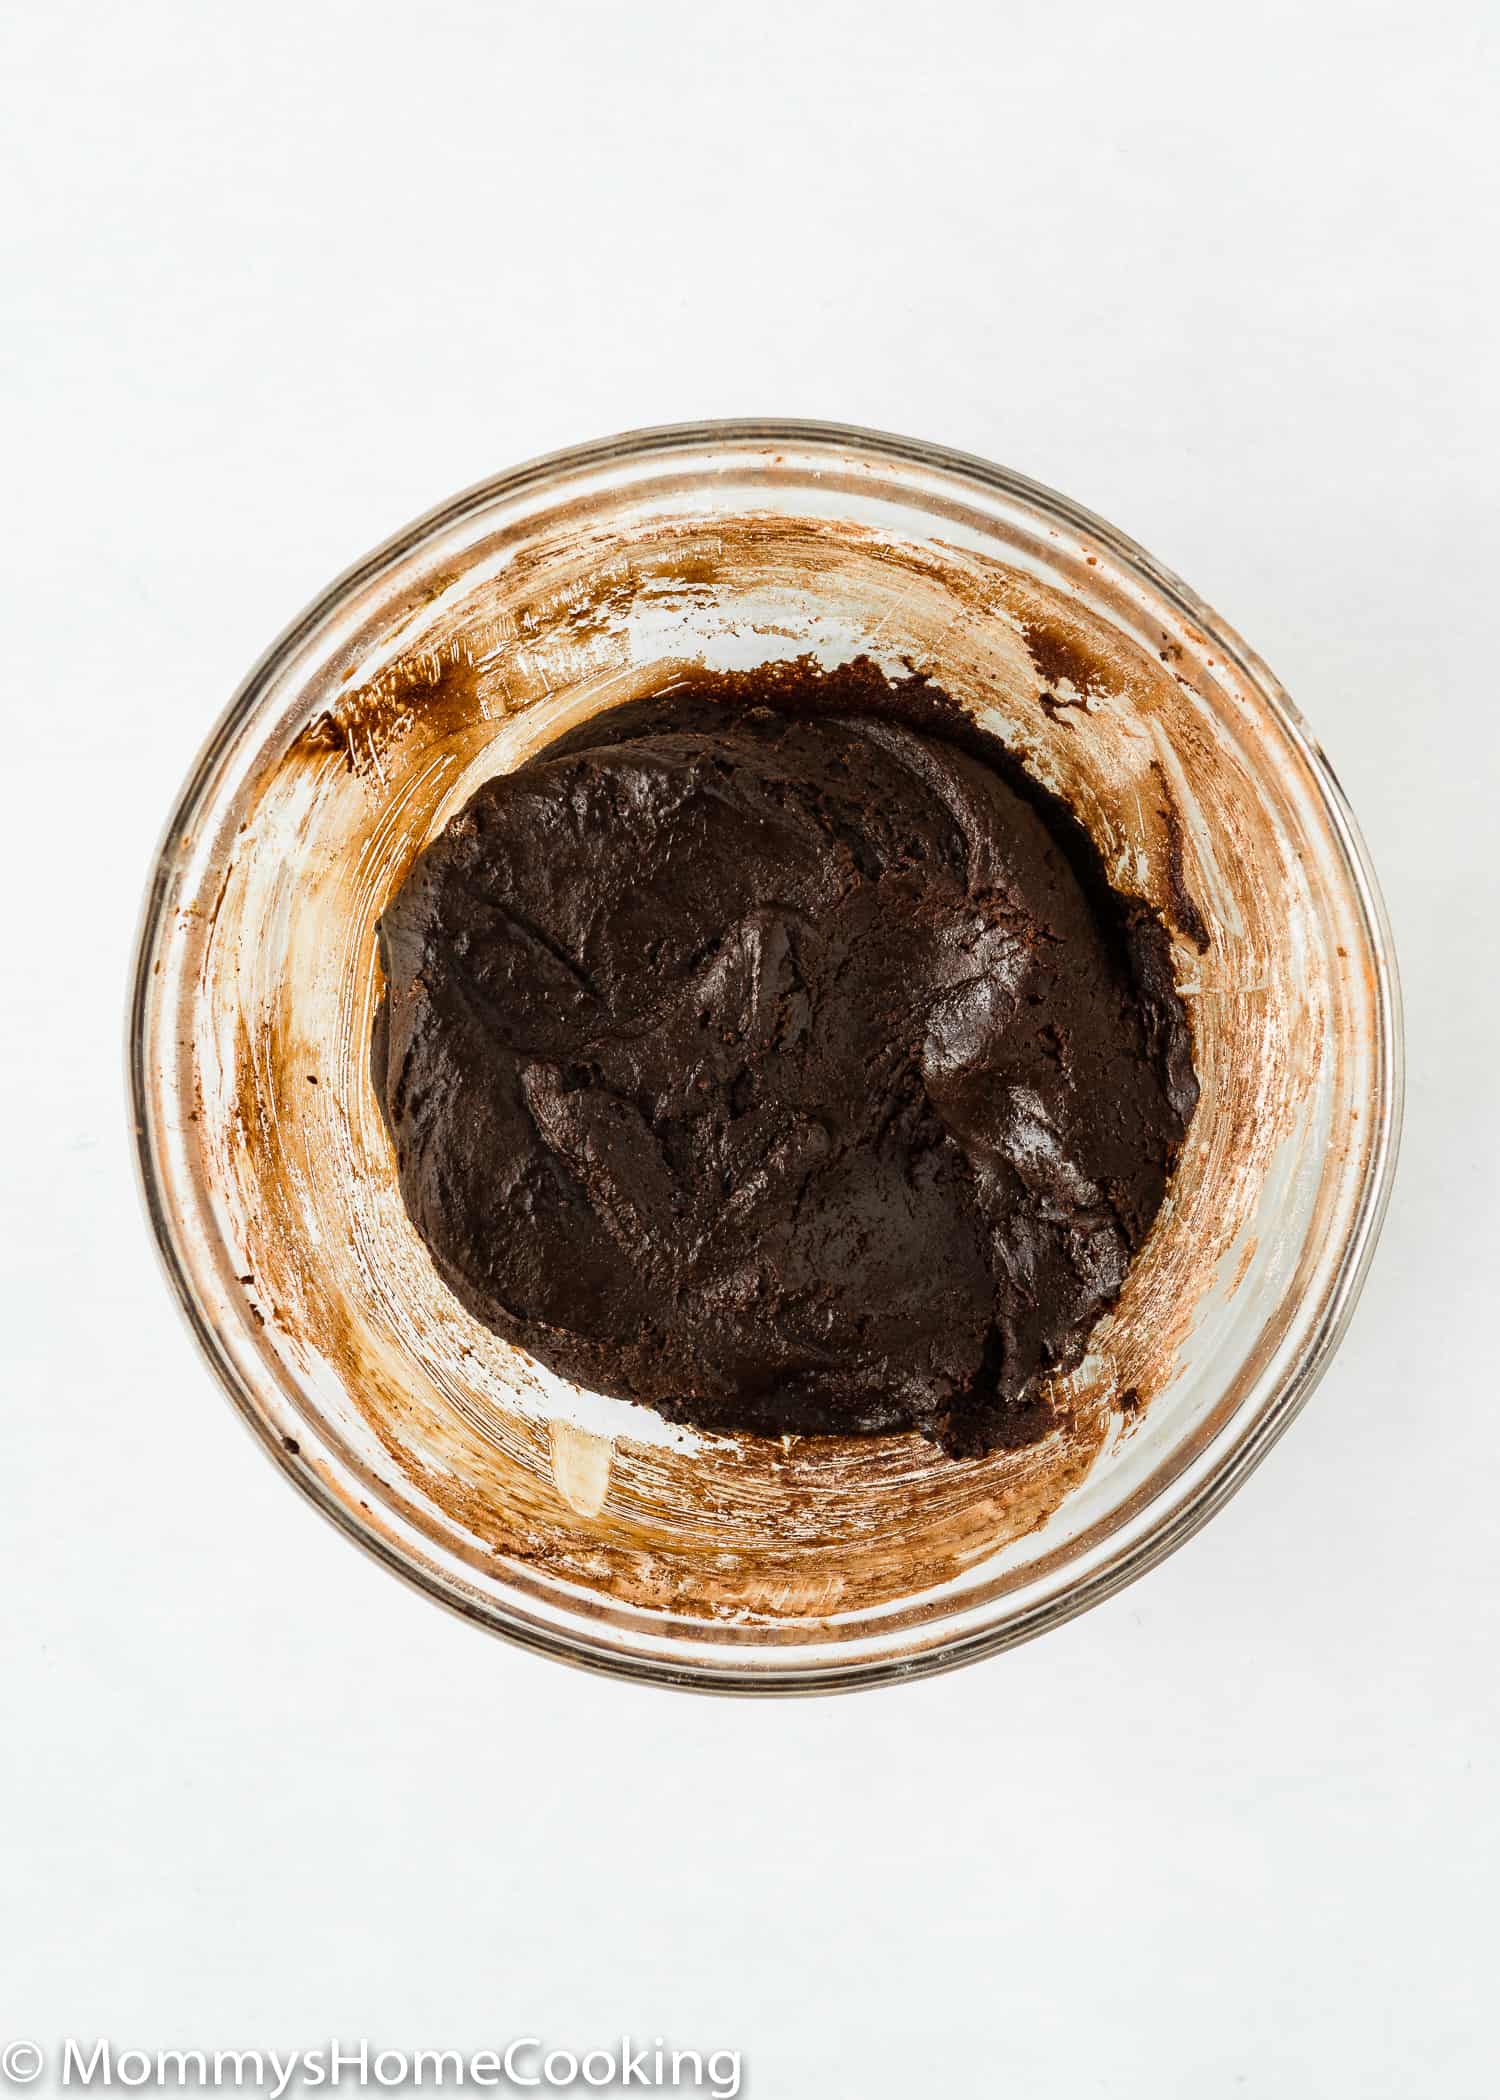
- Add the flour mixture to the milk mixture and stir to combine.
- Cover the dough with plastic wrap and refrigerate for at least 4 hours and up 2 days.
2 – Roll Dough Into Balls
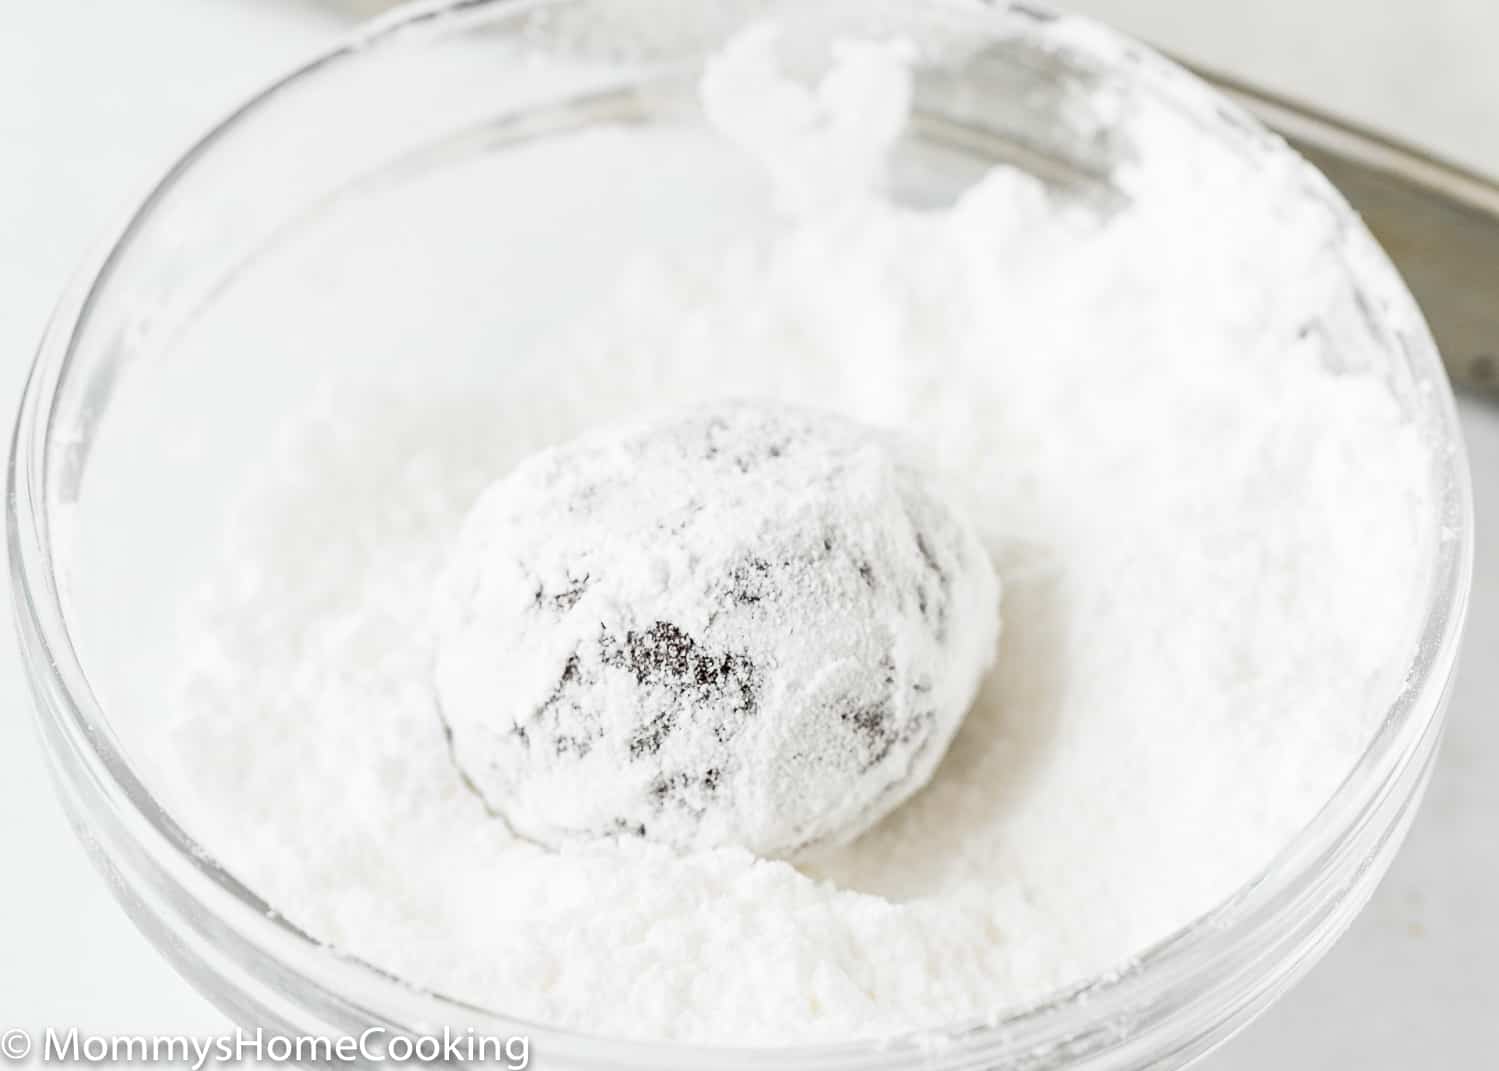
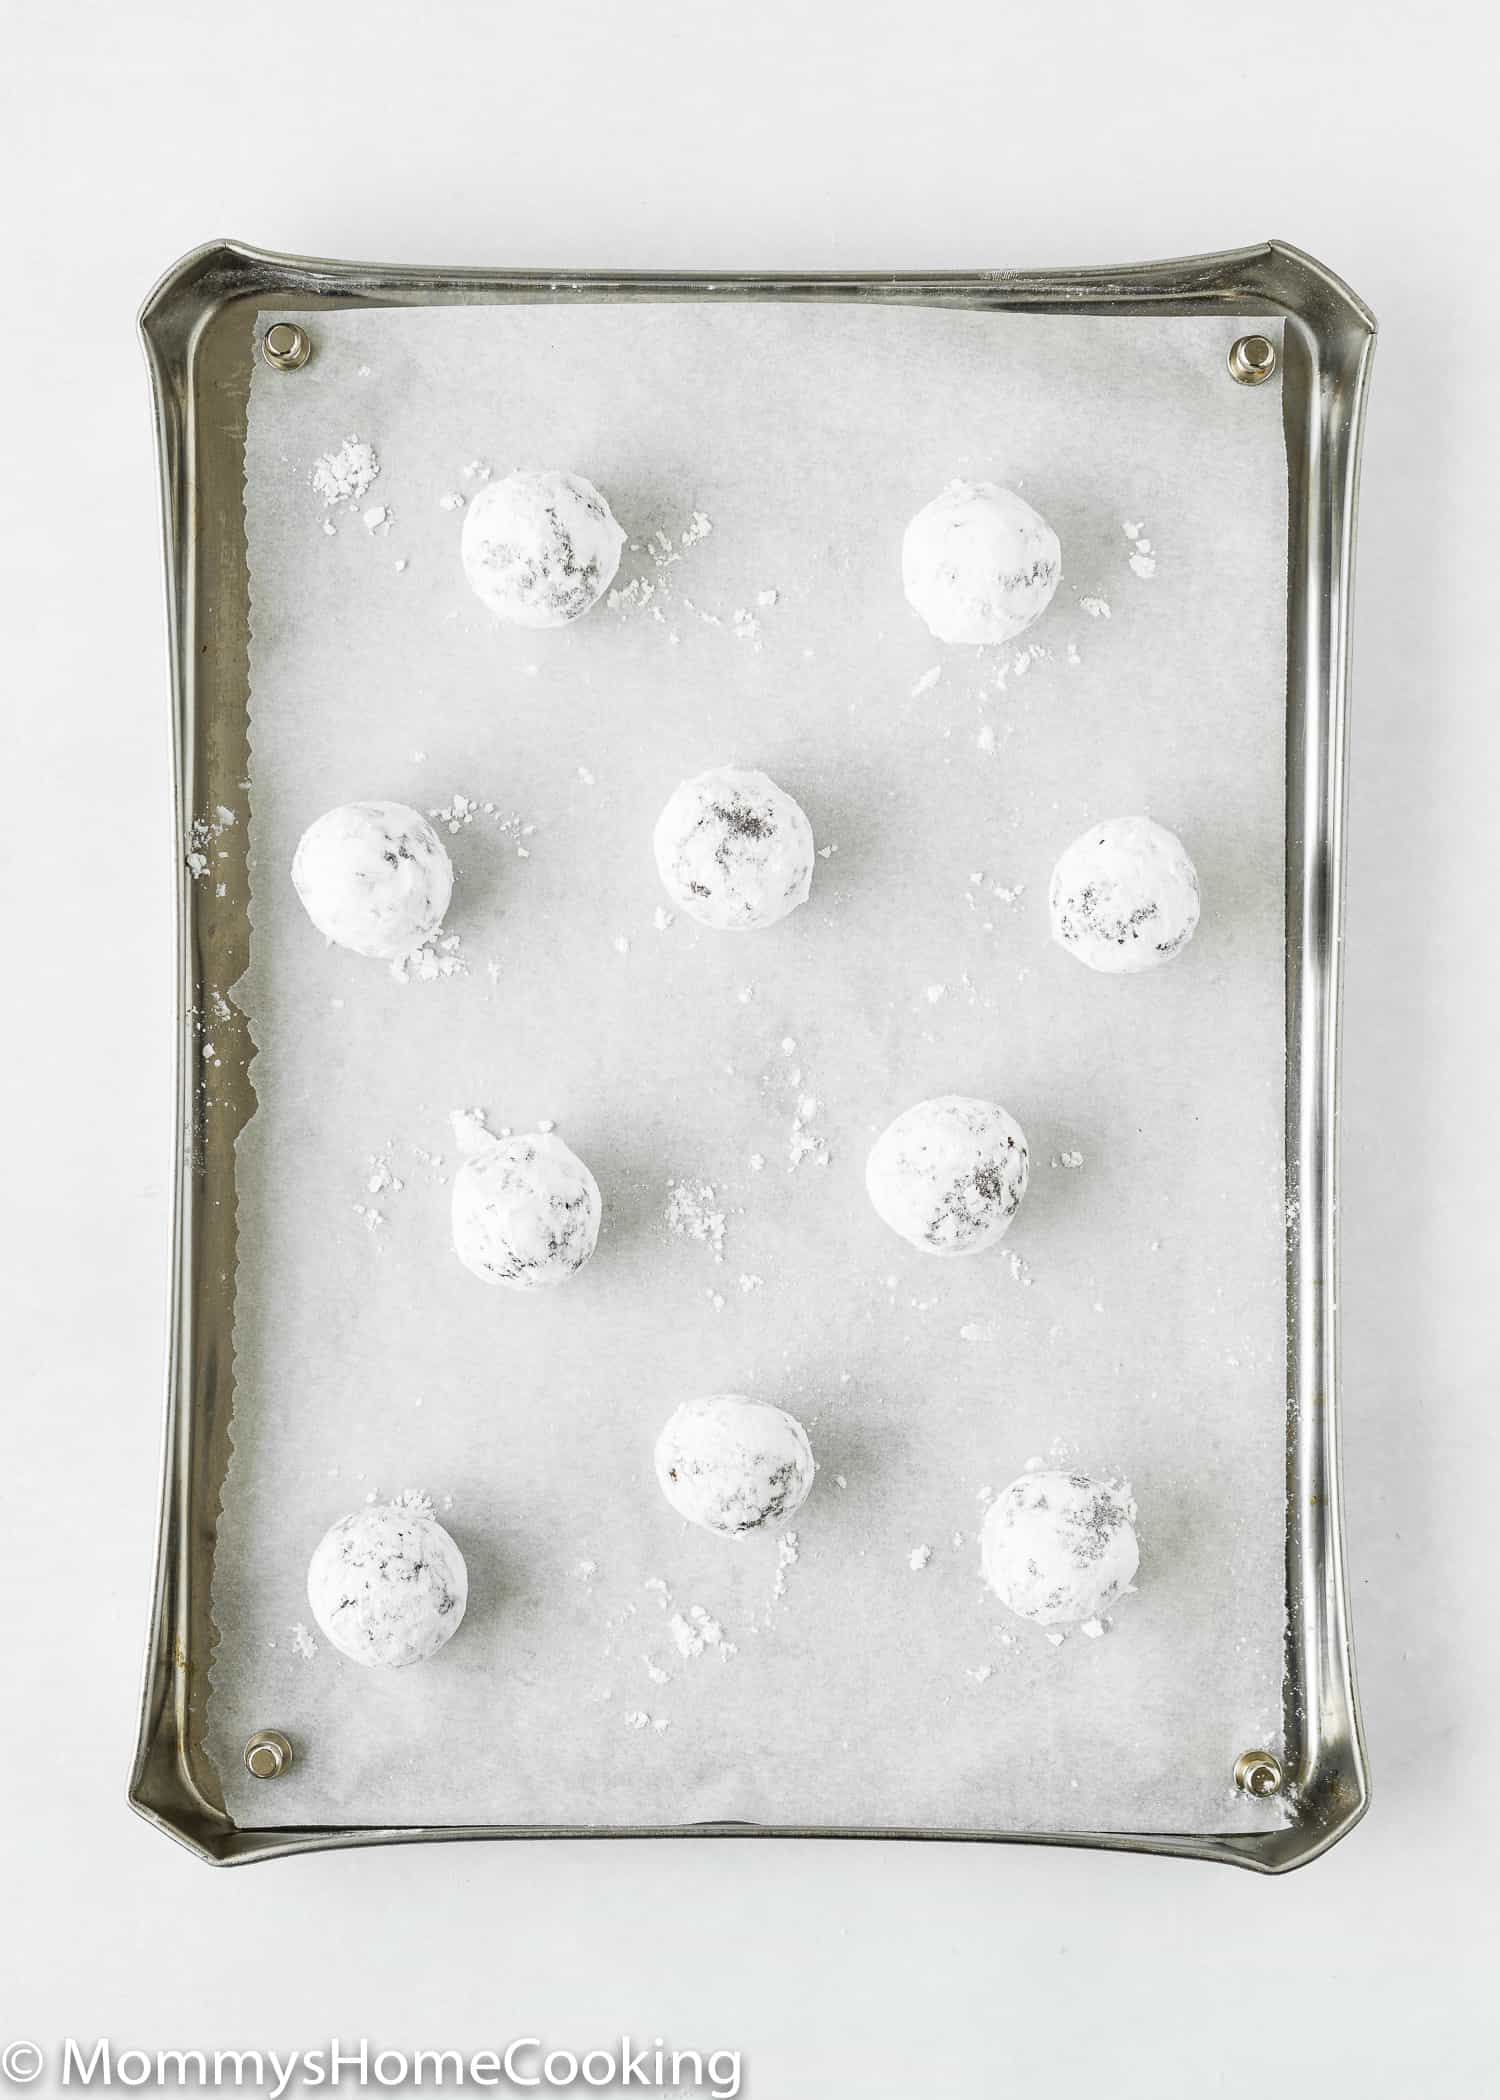
Roll the dough into 1-inch balls (about 1.5 tablespoons) and coat each ball generously in powdered sugar.
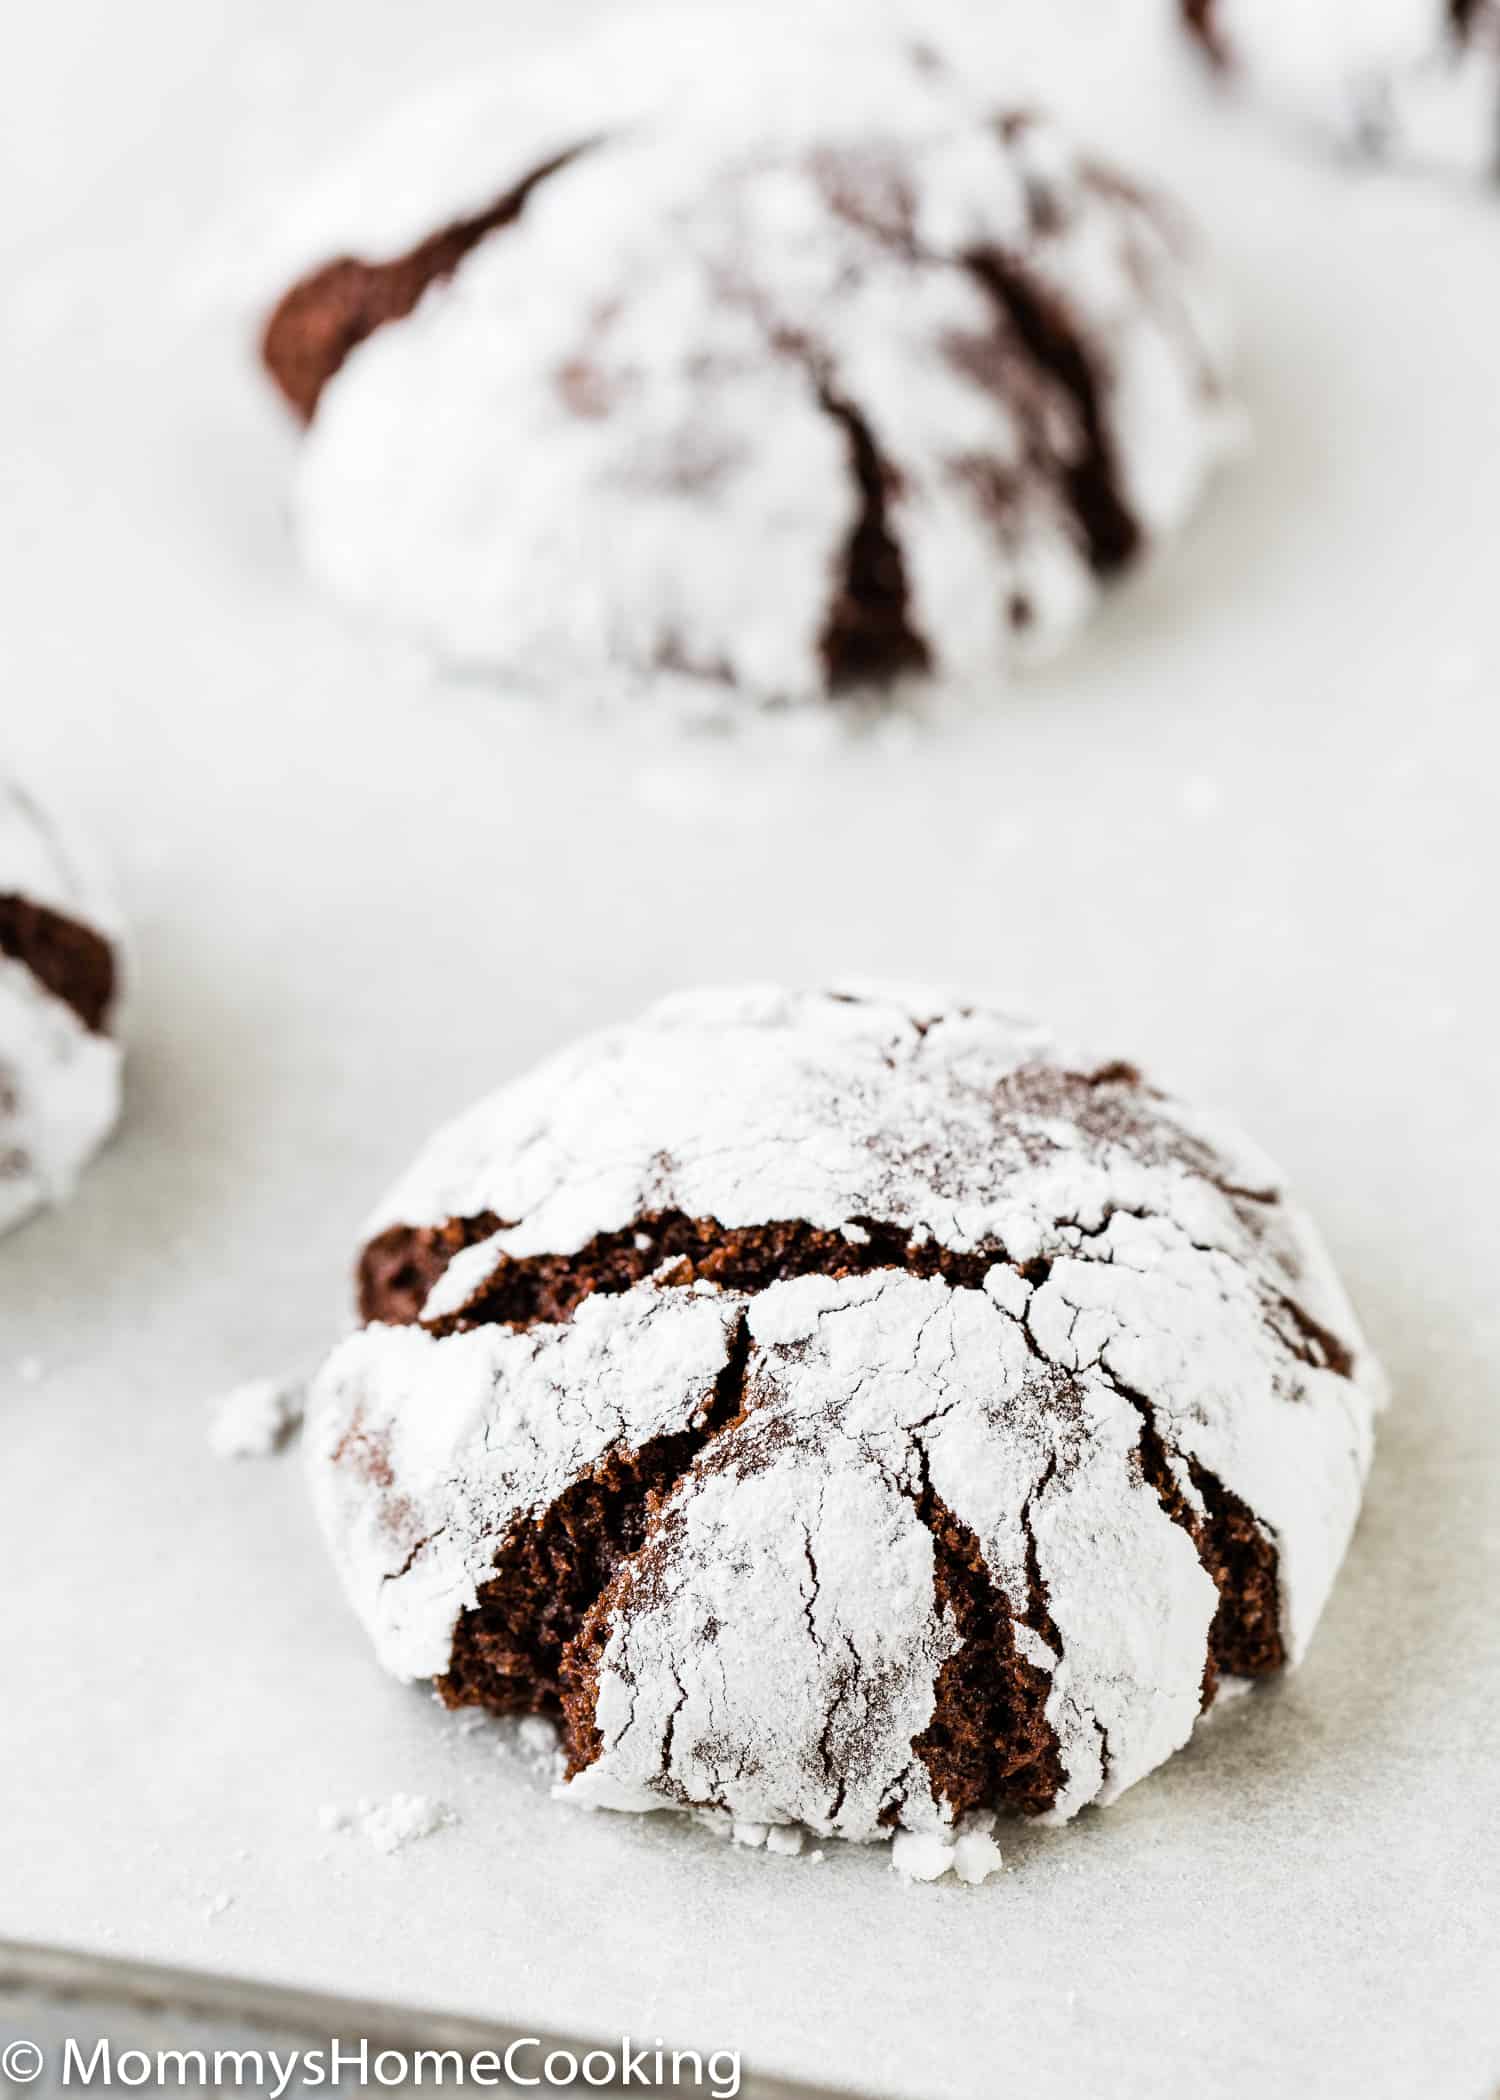
3 – Bake
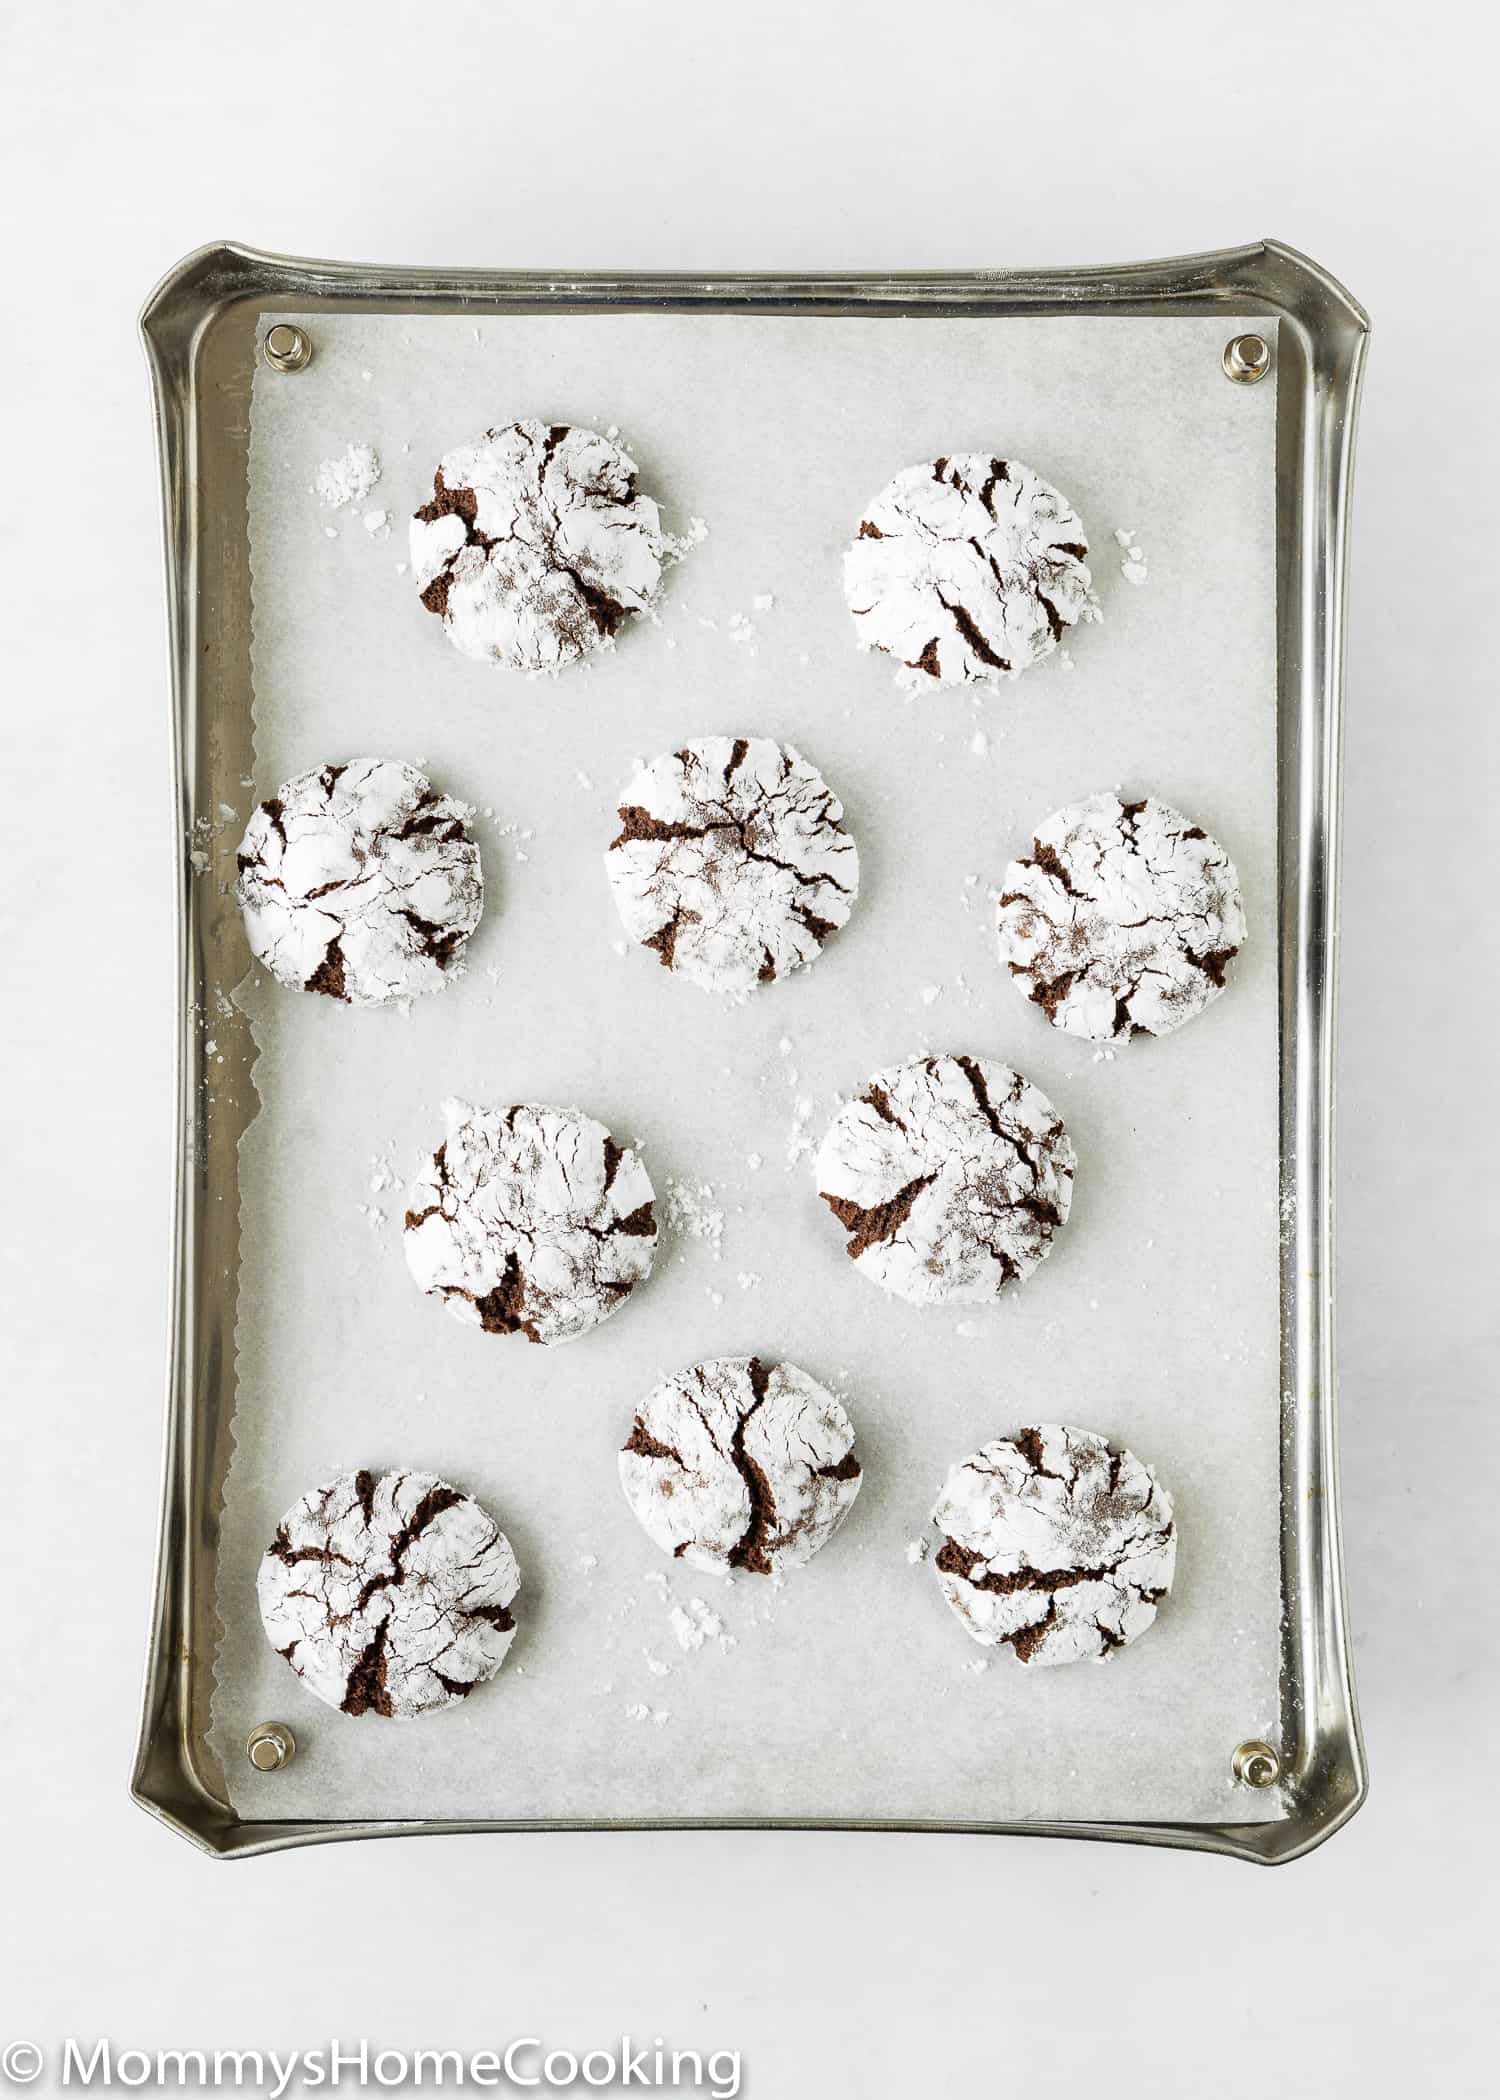
Bake the cookies until they are JUST until they start to develop those signature cracks on top.
Quick Baking Tips
Try to make the dough a day ahead, it really needs time to set up and will be so much easier to roll.
Measure the ingredients properly! A kitchen scale is always the best option, in my opinion.
Don’t over mix your cookie dough or you will end up with a dense cookie.
Chill the dough for at least 4 hours (overnight is best) minutes before baking, this gives the dough a chance to firm up a little and allows them to bake much better.
For evenly sized cookies (better for baking) use a small spring-loaded ice cream scoop to spoon out the dough.
Bake the cookies until they are JUST until they start to develop those signature cracks on top. Typically, this takes anywhere from 8 – 10 minutes depending on their size.
Let the cookies cool on the baking sheets for just 2 – 3 minutes. If you leave the cookies on the baking sheets for too long, they will continue cooking and they will be hard.
Frequently Asked Questions
Yes, this cookie dough really needs to rest in the fridge to get a soft and thick rich chocolate cookie with a brownie-like texture.
Yes, you can! Wrap dough with plastic wrap, then place it in an airtight container and refrigerate for up to 3 days. When you’re ready for cookies, roll dough into balls, coat with powdered sugar, and bake.
I haven’t tested without using evaporated milk so I can’t say for sure. Making your own evaporated milk at home is very easy. Check out my post about How to Make Evaporated Milk.
Storing & Freezing Instructions
STORE in an airtight container at room temperature for up to 5 days. To extend the shelf life for a few more days, place it in the fridge.
FREEZING BAKED COOKIES: Let the cookies cool completely and then add to an airtight container or freezer bag. They will keep in the freezer for up to 2 months.
FREEZING THE DOUGH: Wrap dough with plastic wrap, then place it in an airtight container and freeze for up to 2 months. To thaw, stick cookie dough in the fridge overnight. When ready to bake, roll into balls and coat with powdered sugar.
❤️ Love what you see? JOIN my Private Baking Club. Also, SUBSCRIBE to Mommy’s Home Cooking, so you’ll never miss a recipe! And FOLLOW along on Instagram, Pinterest, and Facebook for more fun!
Ingredients
- 1/4 cup (60 ml) oil (vegatable or canola)
- 1/3 cup (80 ml) evaporated milk
- 1 cup (200 g) granulated sugar
- 1/2 cup + 2 tablespoons (60 g) unsweetened cocoa powder
- 1 teaspoon instant espresso coffee (optional)
- 1 teaspoon (5 ml) pure vanilla extract
- 1 cup (140 g) all-purpose flour
- 2 teaspoons baking powder
- 1/2 teaspoon salt
- 1/2 cup (60 g) powdered sugar (for coating the cookies)
Instructions
- In a medium bowl, whisk together oil, evaporated milk, sugar, cocoa, instant coffee (if using), and vanilla until the sugar is dissolved and everything is well combined.
- In a separate bowl, combine flour, baking powder, and salt.
- Add the flour mixture to the milk mixture and stir to combine.
- Cover the dough with plastic wrap and refrigerate for at least 4 hours and up 2 days.
- Preheat oven to 350º F (180º C). Line a baking sheet with parchment paper.
- Roll the dough into 1-inch balls (about 1.5 tablespoons) and coat each ball generously in powdered sugar. Place 2 inches apart on the baking sheet.
- Bake for 8 – 10 minutes. Let cool slightly before transferring the cookies to a cooling rack to finish cooling.
- Try to make the dough a day ahead, it really needs time to set up and will be so much easier to roll.
- Measure the ingredients properly! A kitchen scale is always the best option, in my opinion.
- Don’t over mix your cookie dough or you will end up with a dense cookie.
- Chill the dough for at least 4 hours (overnight is best) minutes before baking, this gives the dough a chance to firm up a little and allows them to bake much better.
- For evenly sized cookies (better for baking) use a small spring-loaded ice cream scoop to spoon out the dough.
- Bake the cookies until they are JUST until they start to develop those signature cracks on top. Typically, this takes anywhere from 8 – 10 minutes depending on their size.
- Let the cookies cool on the baking sheets for just 2 – 3 minutes. If you leave the cookies on the baking sheets for too long, they will continue cooking and they will be hard.
Nutrition
Eggless Baking Frequently Asked Questions
You’ve asked, and I’ve answered! Read on for a handful of answers to the most frequently asked questions about eggless baking.
Love what you see? Subscribe to Mommy’s Home Cooking so you’ll never miss a recipe! Follow along on Instagram, Pinterest, and Facebook for more fun!
Recipe updated in November 2021, originally posted December 2016. Since posting this in 2016, I have tweaked the recipe to be more clear and more delicious.

These taste great but mine did not flatten out. Any suggestions? I chilled them overnight..maybe if I chill for lest time?
Thank you, love your recipes.
Hello Jill! There could be several reasons why your cookies didn’t flatten:
1. **Incorrect measurements:** Accuracy in measuring ingredients, especially flour, is crucial. Too much flour can prevent cookies from spreading properly.
2. **Chilled dough:** If you chilled the dough excessively before baking, it might resist spreading in the oven. Letting the dough come closer to room temperature before baking can help.
3. **Baking temperature:** Incorrect oven temperature can impact how cookies spread. Ensure your oven is properly calibrated and set to the right temperature.
Consider these factors and adjust your recipe accordingly to achieve the desired cookie texture and appearance. Thanks so much for trying my recipe and taking the time to come back and let me know. I hope my recipes inspire you to continue baking. Please make sure to reach out if you have any questions or special requests. I am happy to help!
Oh my gosh these are incredible! Like seriously, I can’t get enough of them. They are so moist with the perfect amount of crunch on the outside. 10/10 recommend!
Hello Lali! WOO HOO! So glad you enjoyed this, thanks so much for trying my recipe!
So good. Made these for some neighbours and of course my husband. Lots of raves. I didn’t have evaporated milk so I found a substitute. It is 1/2 cream and 1/2 milk. Cookies turned out perfect!
Hello Vicky! It sounds like you nailed it! Thanks so much for trying my recipe and taking the time to come back and let me know.
Hi! Thank you for this recipe! I bake a lot, and all my baking is done without eggs. While I have developed my own recipes for many other baked goods, such as madeleines, streusel cakes and pies, I had somehow just not been able to come up with a good one for cookies! This is it! I nearly cried when I saw how perfect these cookies turned out. I made the dough last night and added 1 tsp mint extract. They were perfectly chilled this morning and easy to roll. I appreciate that you have so many eggless recipes. Thanks again! And happy holidays!
Hello Manasa! So glad you enjoyed this recipe. Thanks so much for trying my recipe and taking the time to come back and let me know! Happy Holidays =)
Absolutely Amazing! Very easy to make and the entire family loved them ❤️
Hello Mayelin! Great to hear that these were a hit! We LOVE them too. Thanks a lot for the review and good feedback.
Hi, this is kind of a weird question, but could you make this recipe without the chocolate? Would you need to add a bit more flour to compensate for omitting the cocoa powder? I’d like to make a “blonde” version with peppermint extract for a coworker with a chocolate allergy! Thanks! 🙂
Hello Olivia! Possibly, but I never tested this recipe that way so I can’t say for sure, but you can certainly give it a try. Let me know how it turns out for you! Thanks for your interest in my recipe.
Some comments mention butter for this recipe but there is no butter listed in the ingredients??
Hello Maureen! That must be an old comment. The recipe was updated and the current version does not need butter. Thanks for your interest in my recipe. Please come back and let me know how you like it =)
These were amazing, my whole family loved them!
Hello Irena! It sounds like you nailed it! Thanks so much for trying my recipe and taking the time to come back and let me know.
Perfection! They taste great…soft and fudgy. Making Christmas cookies for my 3 YO twin grand-daughters – one allergic to eggs. So happy to have found your website….so far I’ve made the chocolate chip and spritz. They will LOVE these!
Hello Marsha! I am glad you are here =) It sounds like you nailed it! I hope my recipes inspire you to continue baking. Please make sure to reach out if you have any questions or special requests. I am happy to help! Thanks so much for trying my recipe and taking the time to come back and let me know.
These were absolutely delicious. Just baked them this morning .. not overly sweet but just about perfect!! Also a great tip on the fake eggs!!!! Thank you!
Hello Marlene! It sounds like you nailed it! Thanks so much for trying my recipe and taking the time to come back and let me know. I hope my recipes inspire you to continue baking. Please make sure to reach out if you have any questions or special requests. I am happy to help!
These cookies were hands down the best cookies I’ve ever sunk my teeth into. They are chocolatey, sweet, soft and delicious. Instead of espresso, I grounded up some instant coffee and it made the chocolate stand out. This recipe is very easy to follow and I would recommend it to anyone who has a chocolate craving. Thank you so much for this recipe, Oriana!
Hello Riya! It sounds like you nailed it! Thanks so much for trying my recipe and taking the time to come back and let me know. I hope my recipes inspire you to continue baking. Please make sure to reach out if you have any questions or special requests. I am happy to help!
Love this recipe! Was such an easy mix and it came out perfectly, just as shown in the image 😀 Can’t wait to make it again!
Hello Nayaab!I’m SO GLAD you enjoyed this recipe. Thank you for taking the time to come back and let me know! =)
Superb! Made this and was really happy with the result! Can i just double or triple this recipe if I need more?
Hello Angela! Yes, you can double the recipe if you want. Thanks so much for trying my recipe and for taking the time to come back and let me know!
Hi Oriana
Thanks again for another wonderful recipe. I baked these today. Rich in chocolate and yum! We always use a little less sugar than you suggest. Me and my husband take less sugar and we adapt your recipes most of the time by reducing the sugar.
Hello Ramya! I’m SO GLAD you and your family enjoy my recipes. Thank you for taking the time to come back and let me know! =)
Any substitute for the espresso coffee, is it okay to omit?
Hello Vishe! Yes, you can omit the coffee. Your cookies will be still delicious. Thanks for your interest in my recipe. Please come back and let me know how you like it =)
Absolutely fantastic cookies. Soooooooo glad I found you Oriana. My husband is very sick and now has developed a food allergy to eggs so keep these recipies coming. I think you have t down to a science. Much love to you and your family.
Hello Dayle! So happy my recipes are helpful to you and your family in this difficult time. Hope your husband gets better soon. Be sure to shout out if you have any questions! xo
Didn’t have an egg in the house but wanted to have a cookie for my son when he came home from school. I am a pretty dang good baker and somewhat of a food snob. All I can say is YUM! My cookies didn’t flatten out as much as the ones pictured but they had a smooth fudgy center and a great mouth feel. Will make these again when experiencing an egg outage!
Hello Fay! Thanks so much for trying my recipe and for taking the time to come back and let me know! I am glad you liked it.
So happy I came across this recipe (first time on your site!), these cookies are so good! I love that the inside is still a little soft, I have never managed that before.
When I make them again (and I definitely will), I may use a little less sugar (maybe 130 grams or so), for my personal taste they came out quite sweet. But these are instant favourites, thanks so much!
Hello Ada! I’m delighted to hear you enjoyed these cookies so much. Thanks so much for trying my recipe and for taking the time to come back and let me know!
Absolutely loved the texture!! However, there is a slight bitter aftertaste because of the amount of baking powder.. anyway to cut that??
Hello Inchara! I will test with this recipe with less baking powder and I’ll let you know. Thanks so much for trying my recipe and for taking the time to come back and let me know!
These came out great! They’re an eggless twist on a recipe I’ve frequently done and do not disappoint. God bless.
Hello Clint! Thanks so much for your feedback and for trying my recipe.
Hello Casey! I am sorry this recipe didn’t work for you. Thanks for trying my recipe though.
Delicious! I have made this recipe twice now and both turned out so good! Crunchy outside and soft middle! The second batch I made today I wanted to make more christmasy so I changed the extracts to 1/2 teaspoon vanilla and1/2 teaspoon peppermint extract and it was perfect for me! Thank you!
Hello Lauren! Wow, what a compliment! I’m so glad you enjoyed it and thank you so much for taking the time to come back and let me know!
I tried this recipe except I omitted the espresso powder, 1 because I don’t need caffeine ha ha for the late night chocolate craving. This will be my go-to recipe when I run out of eggs! I enjoyed them very much. It had the right amount of sweetness.
Hello Lizbeth! I’m SO GLAD you enjoyed these cookies. Thank you for taking the time to come back and let me know!?
So my daughter made these and didn’t get near 30 cookies. Also the dough was super dry, like not able to put in a ball, so we added more butter. Got them into balls but they didn’t spread at all once baked. They didn’t taste bad at all just not at all the pretty cookies shown. I can only assume ours didn’t turn out because we had to hand mix them since our mixer broke. Any suggestions??
Hello Sara, We make these cookies frequently and they always turn out great. The dough shouldn’t be dry. Did you add the fake eggs? Beating the butter and sugar until light and fluffy help to add air to the dough. The air will mix with the leavening agent (baking powder), and expand, making the cookies rise. The more air in your dough, the lighter in texture. You can totally do it by hand but it will take longer. Thanks for stopping by.
I was reading the recipe and do not see a reference for fake eggs
Hello Sharon! I used to use what I call a “fake egg” in an older version of this recipe. I updated it for better taste and texture. You gonna love these. Thanks for your interest in my recipe. Please come back and let me know how you like it =)
I just made a batch of these and must say they are totally delicious!! I give them an A+! I have a (now adult) daughter who grew up with a dairy and egg allergy, so I understand the challenges. Anyway, I used Hersheys DARK chocolate cocoa, left out the espresso, and also added some M&Ms since they’re for my four-year-old granddaughter‘s class for her birthday. There’s a little color peeking out here and there, but otherwise look exactly like the pictures! THey turned out exactly as described—crisp on the edges & soft rich chocolate on the inside! Delicious!!
WOO HOO! So glad you enjoyed these, Joyce. Thanks so much for trying my recipe!