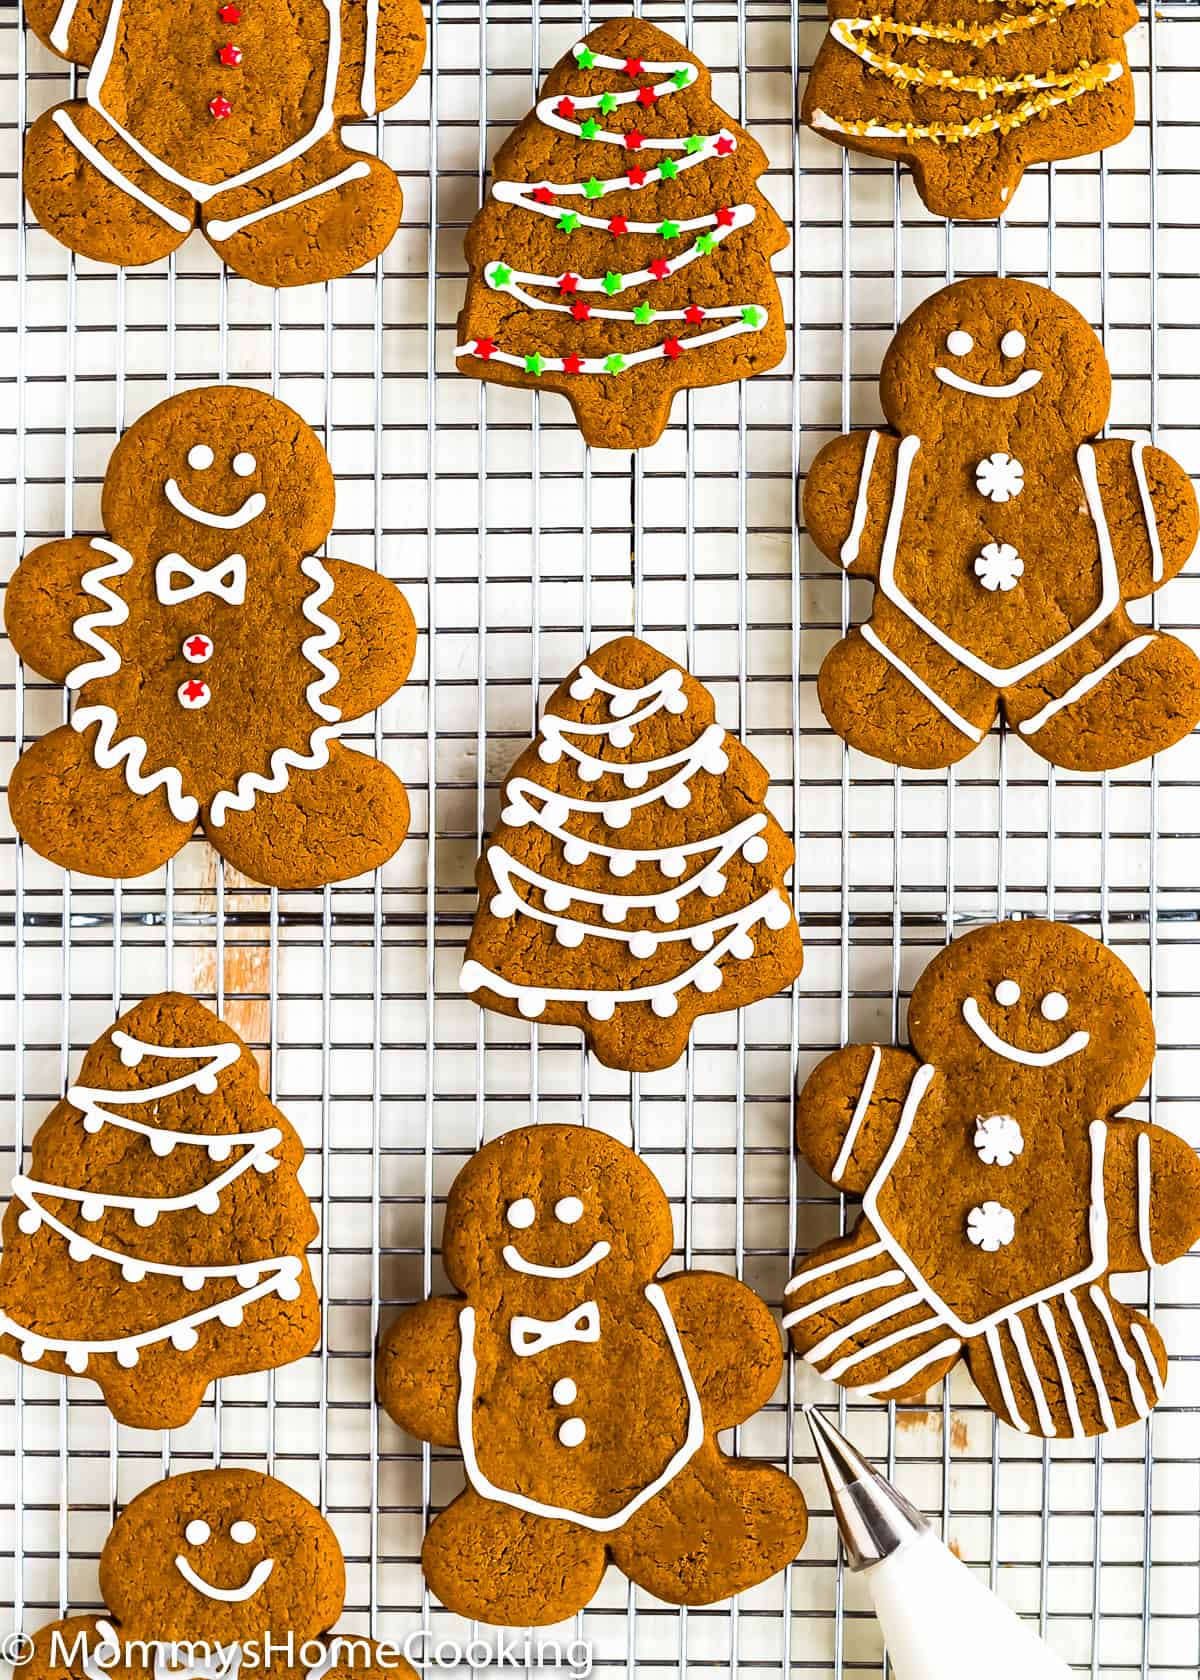
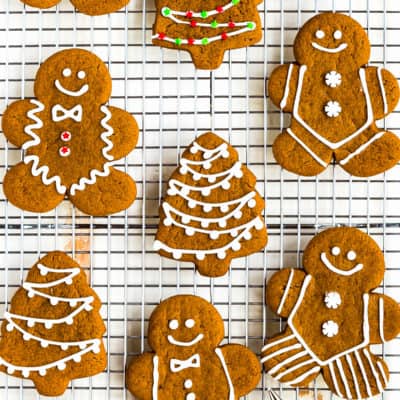
These Eggless Gingerbread Cookies are soft, perfectly spiced, and chewy but sturdy enough to be decorated. And oh-so-delicious. The perfect addition to your Christmas table! The recipe includes step-by-step photos and lots of tips.

These Eggless Gingerbread cookies are my kid’s favorites. In fact, I was a little surprised to see how they liked these cookies that have lots of warm spices. But they LOVED them. I made more batches of gingerbread cookies than any other kind this year.
I love to bring these eggless cookies for the school Christmas party – we have two every year- and we also gave them away as a gift to our neighbors, along with a homemade vanilla extract bottle.
These little eggless gingerbread cookies make the perfect addition to your Christmas table.
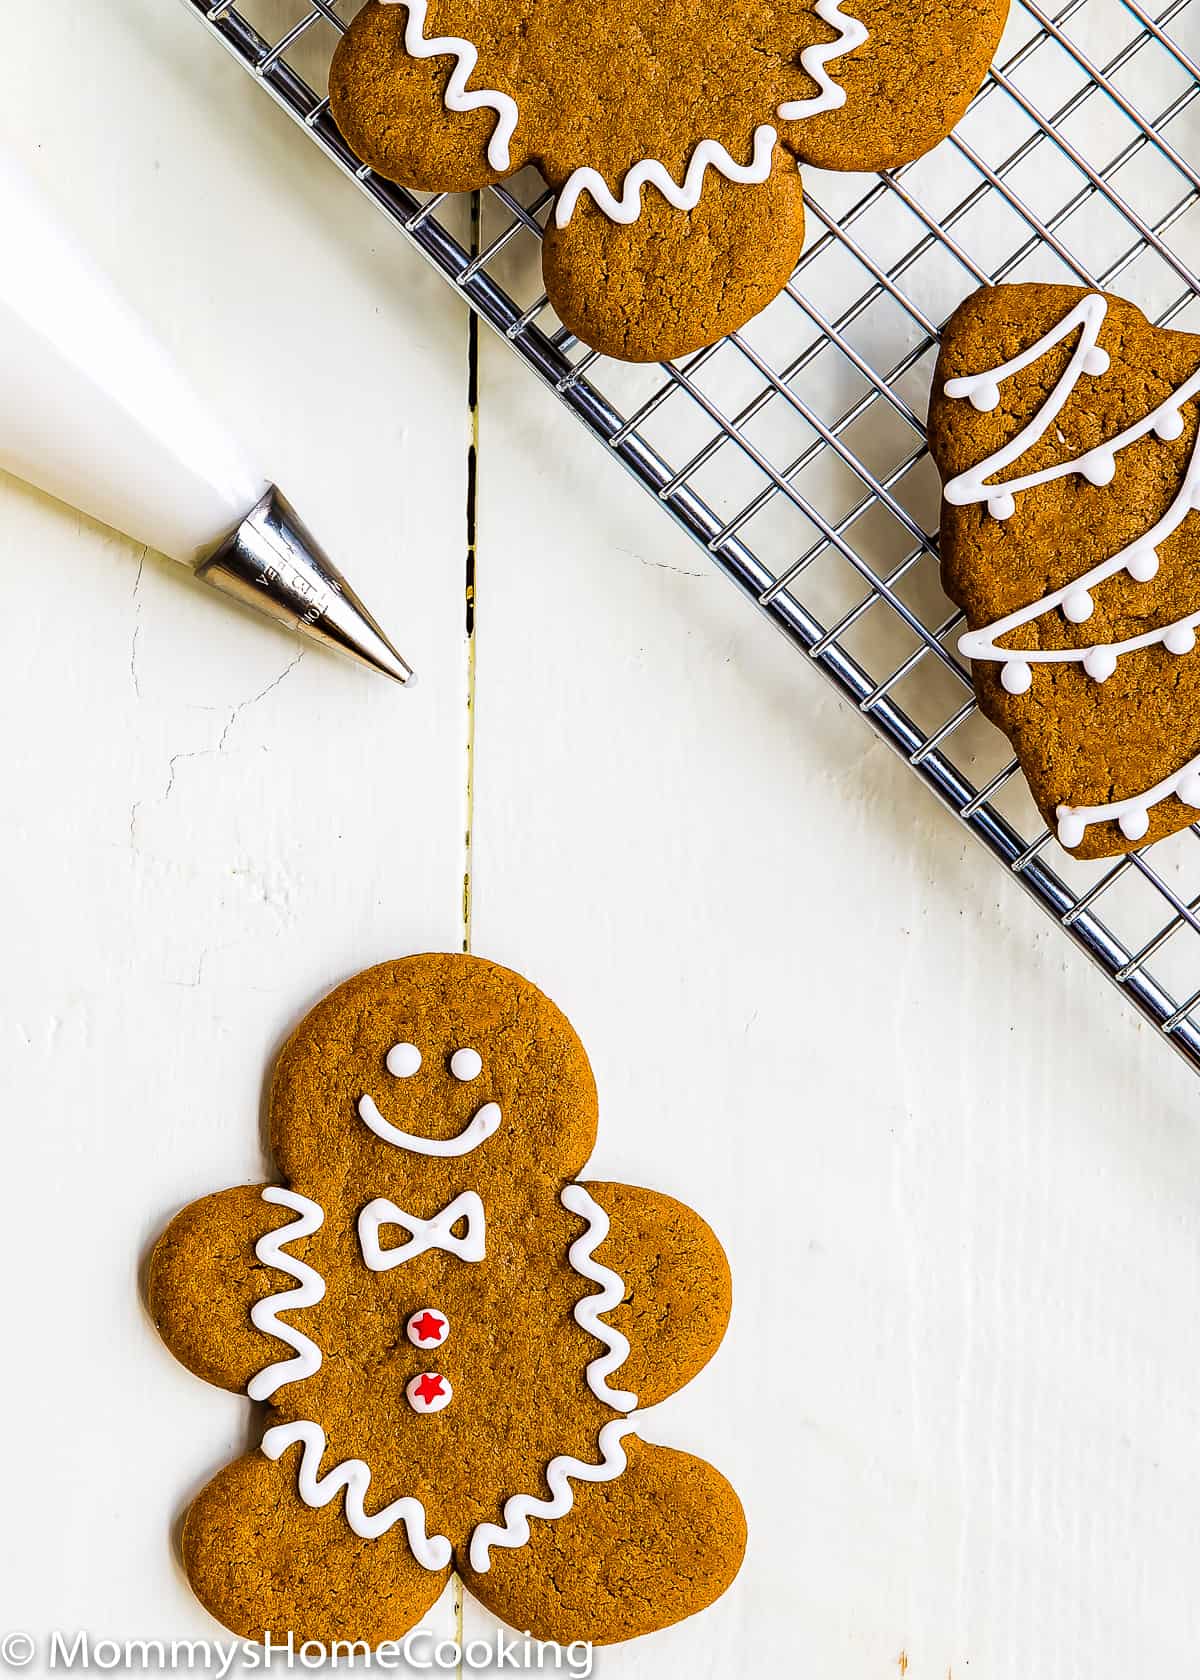
They’re soft, spiced, and chewy but sturdy enough to be decorated. BTW, I used eggless royal icing to decorate the cookies. It works wonderfully.
They are very easy to make– you know, easy is my second name- and so cute and so delicious that they are pretty much irresistible.
We’re ready for you, Santa!!
Ingredients You’ll Need, Substitutions & Notes
Please check the recipe card at the bottom of the post for exact quantities and detailed instructions (scroll down).
- Flour: Standard all-purpose flour works best here; skip the cake flour, bread flour, and wheat flour. Be sure to measure accurately; a kitchen scale is the best way to measure your ingredients, in my opinion.
- Baking powder and baking soda: Make sure they’re not expired or too old. To avoid a chemical aftertaste, make sure your baking powder is labeled aluminum-free. I usually use the Clabber Girl brand, and though the ingredients state aluminum, I’ve never noticed an aluminum aftertaste.
- Salt: I prefer kosher or sea salt. If you only have table salt handy, I recommend reducing the amount to half.
- Spices: You will need ground ginger, cinnamon, cloves, allspice, and nutmeg. You can also use a gingerbread spice blend if available.
- Butter: I prefer to use unsalted butter, but if you only have salted butter handy, you can use it. In this case, skip the salt called in the recipe.
- Brown sugar: Light or dark will work for this recipe.
- Evaporated Milk: Evaporated milk serves as a binding agent, helping to hold the ingredients together and creating a cohesive dough. It can contribute to the flavor profile of the cookies, providing a slightly caramelized taste due to the concentration of milk solids during evaporation. Make sure to use the full-fat version. Check out my How to Make Evaporated Milk post.
- Molasses: This is an essential gingerbread ingredient! It adds color, flavor, and moisture. I use and recommend unsulphured molasses. The blackstrap molasses will make the cookies bitter.
- Vanilla extract: Reach for pure vanilla instead of imitation for optimal flavor. Even better, try homemade vanilla extract! If you are looking for non-alcoholic vanilla flavoring, I recommend Simply Organic Vanilla Flavoring.
Please check the recipe card at the bottom of the post for exact quantities and detailed instructions (scroll down).
Step 1 – Make The Dough
This dough is very straightforward to make! Just mix the dry ingredients together in a bowl. Next, beat the butter and sugar and add the other wet ingredients. Then add the dry ingredients and mix until just combined.
Step 2 – Chill The Dough
The dough is sticky once it’s all beaten together in your mixing bowl; therefore, it must be chilled for at least 30 minutes.
Pro Tip: This dough will be VERY sticky once you’ve mixed it all together–this is normal! To make it more manageable, chill it for at least 30 minutes or for up to 4 days.
Step 3 – Roll Out And Cut
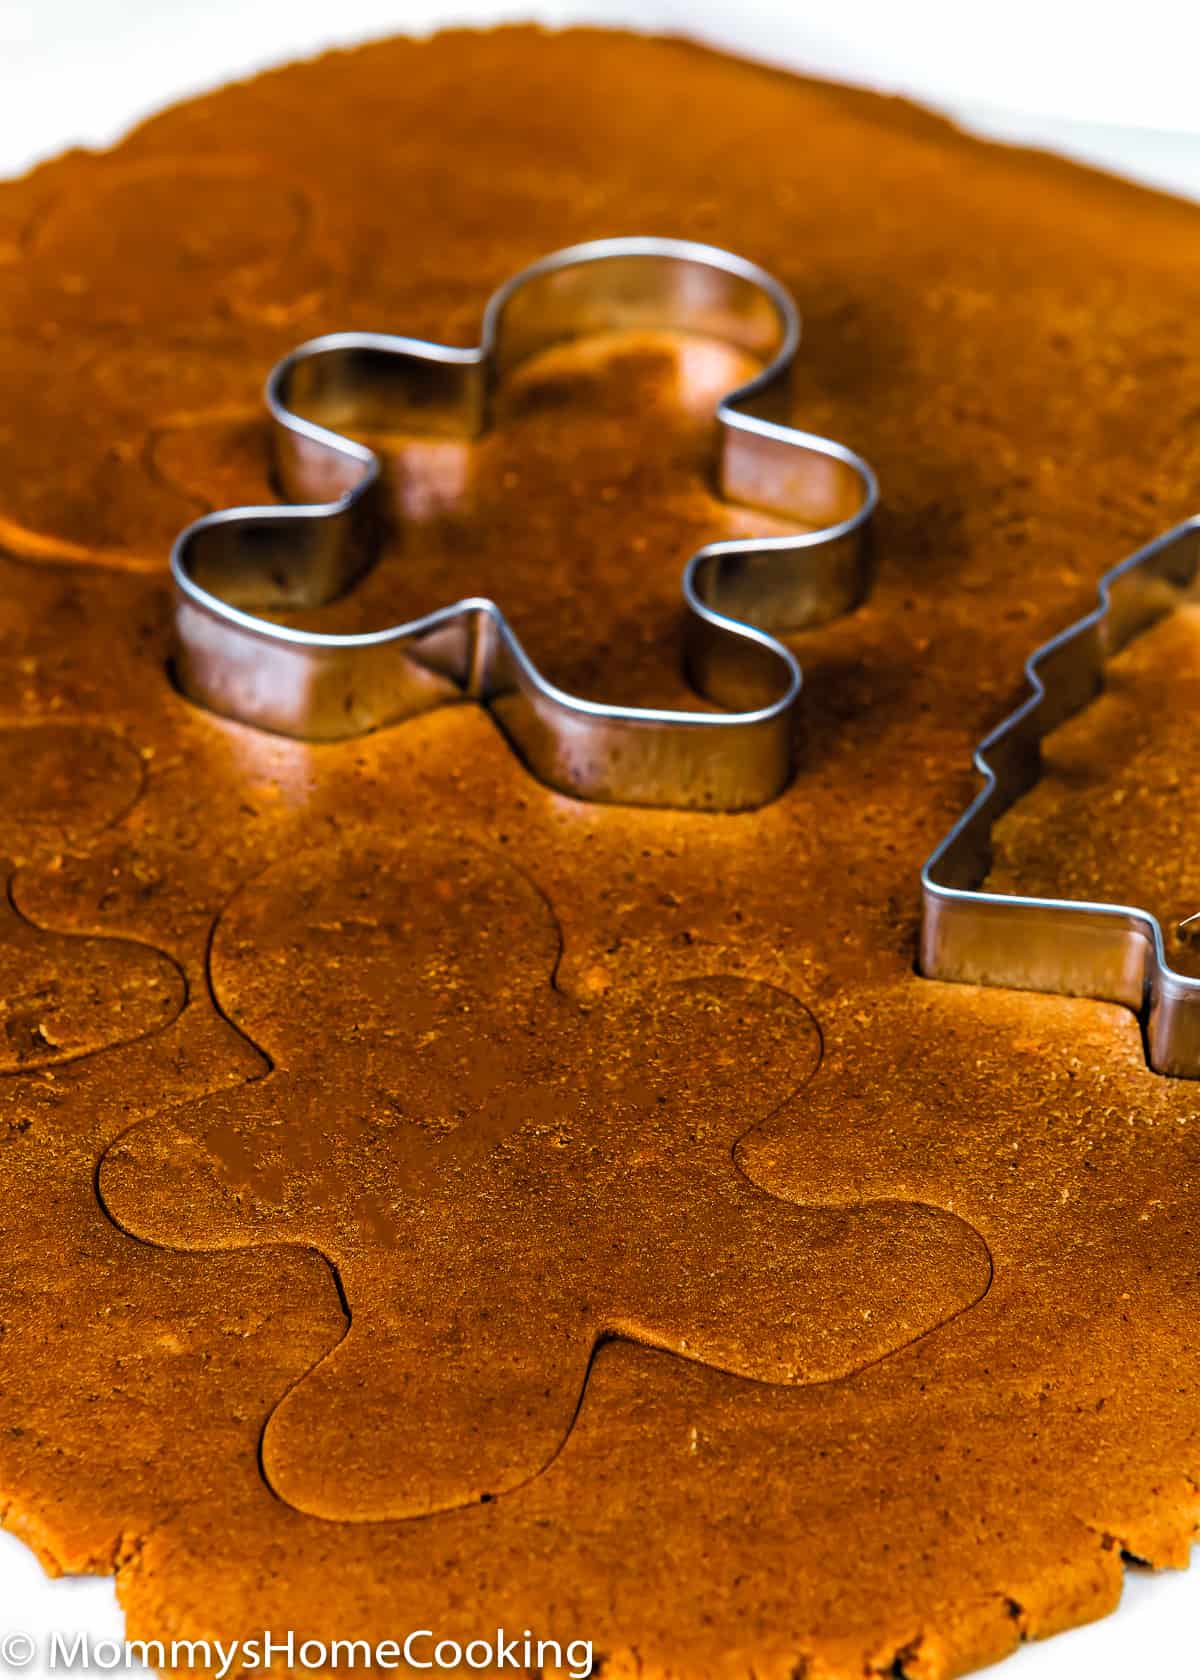
After chilling the dough, roll it out until about 1/4-inch thick. It’s okay to flour your hands, rolling pin, and work surface, if you see that the dough is still a bit sticky. The flour spots on top of your shaped cookie dough will bake off.
Step 4 – Bake
The baking time might vary depending on the size of the cookies. For cookies with slightly crispy edges and tender centers, bake them until they look slightly puffed and set. Keep in mind that the longer the cookies bake, the harder and crunchier they’ll be.
Step 5 – Decorate
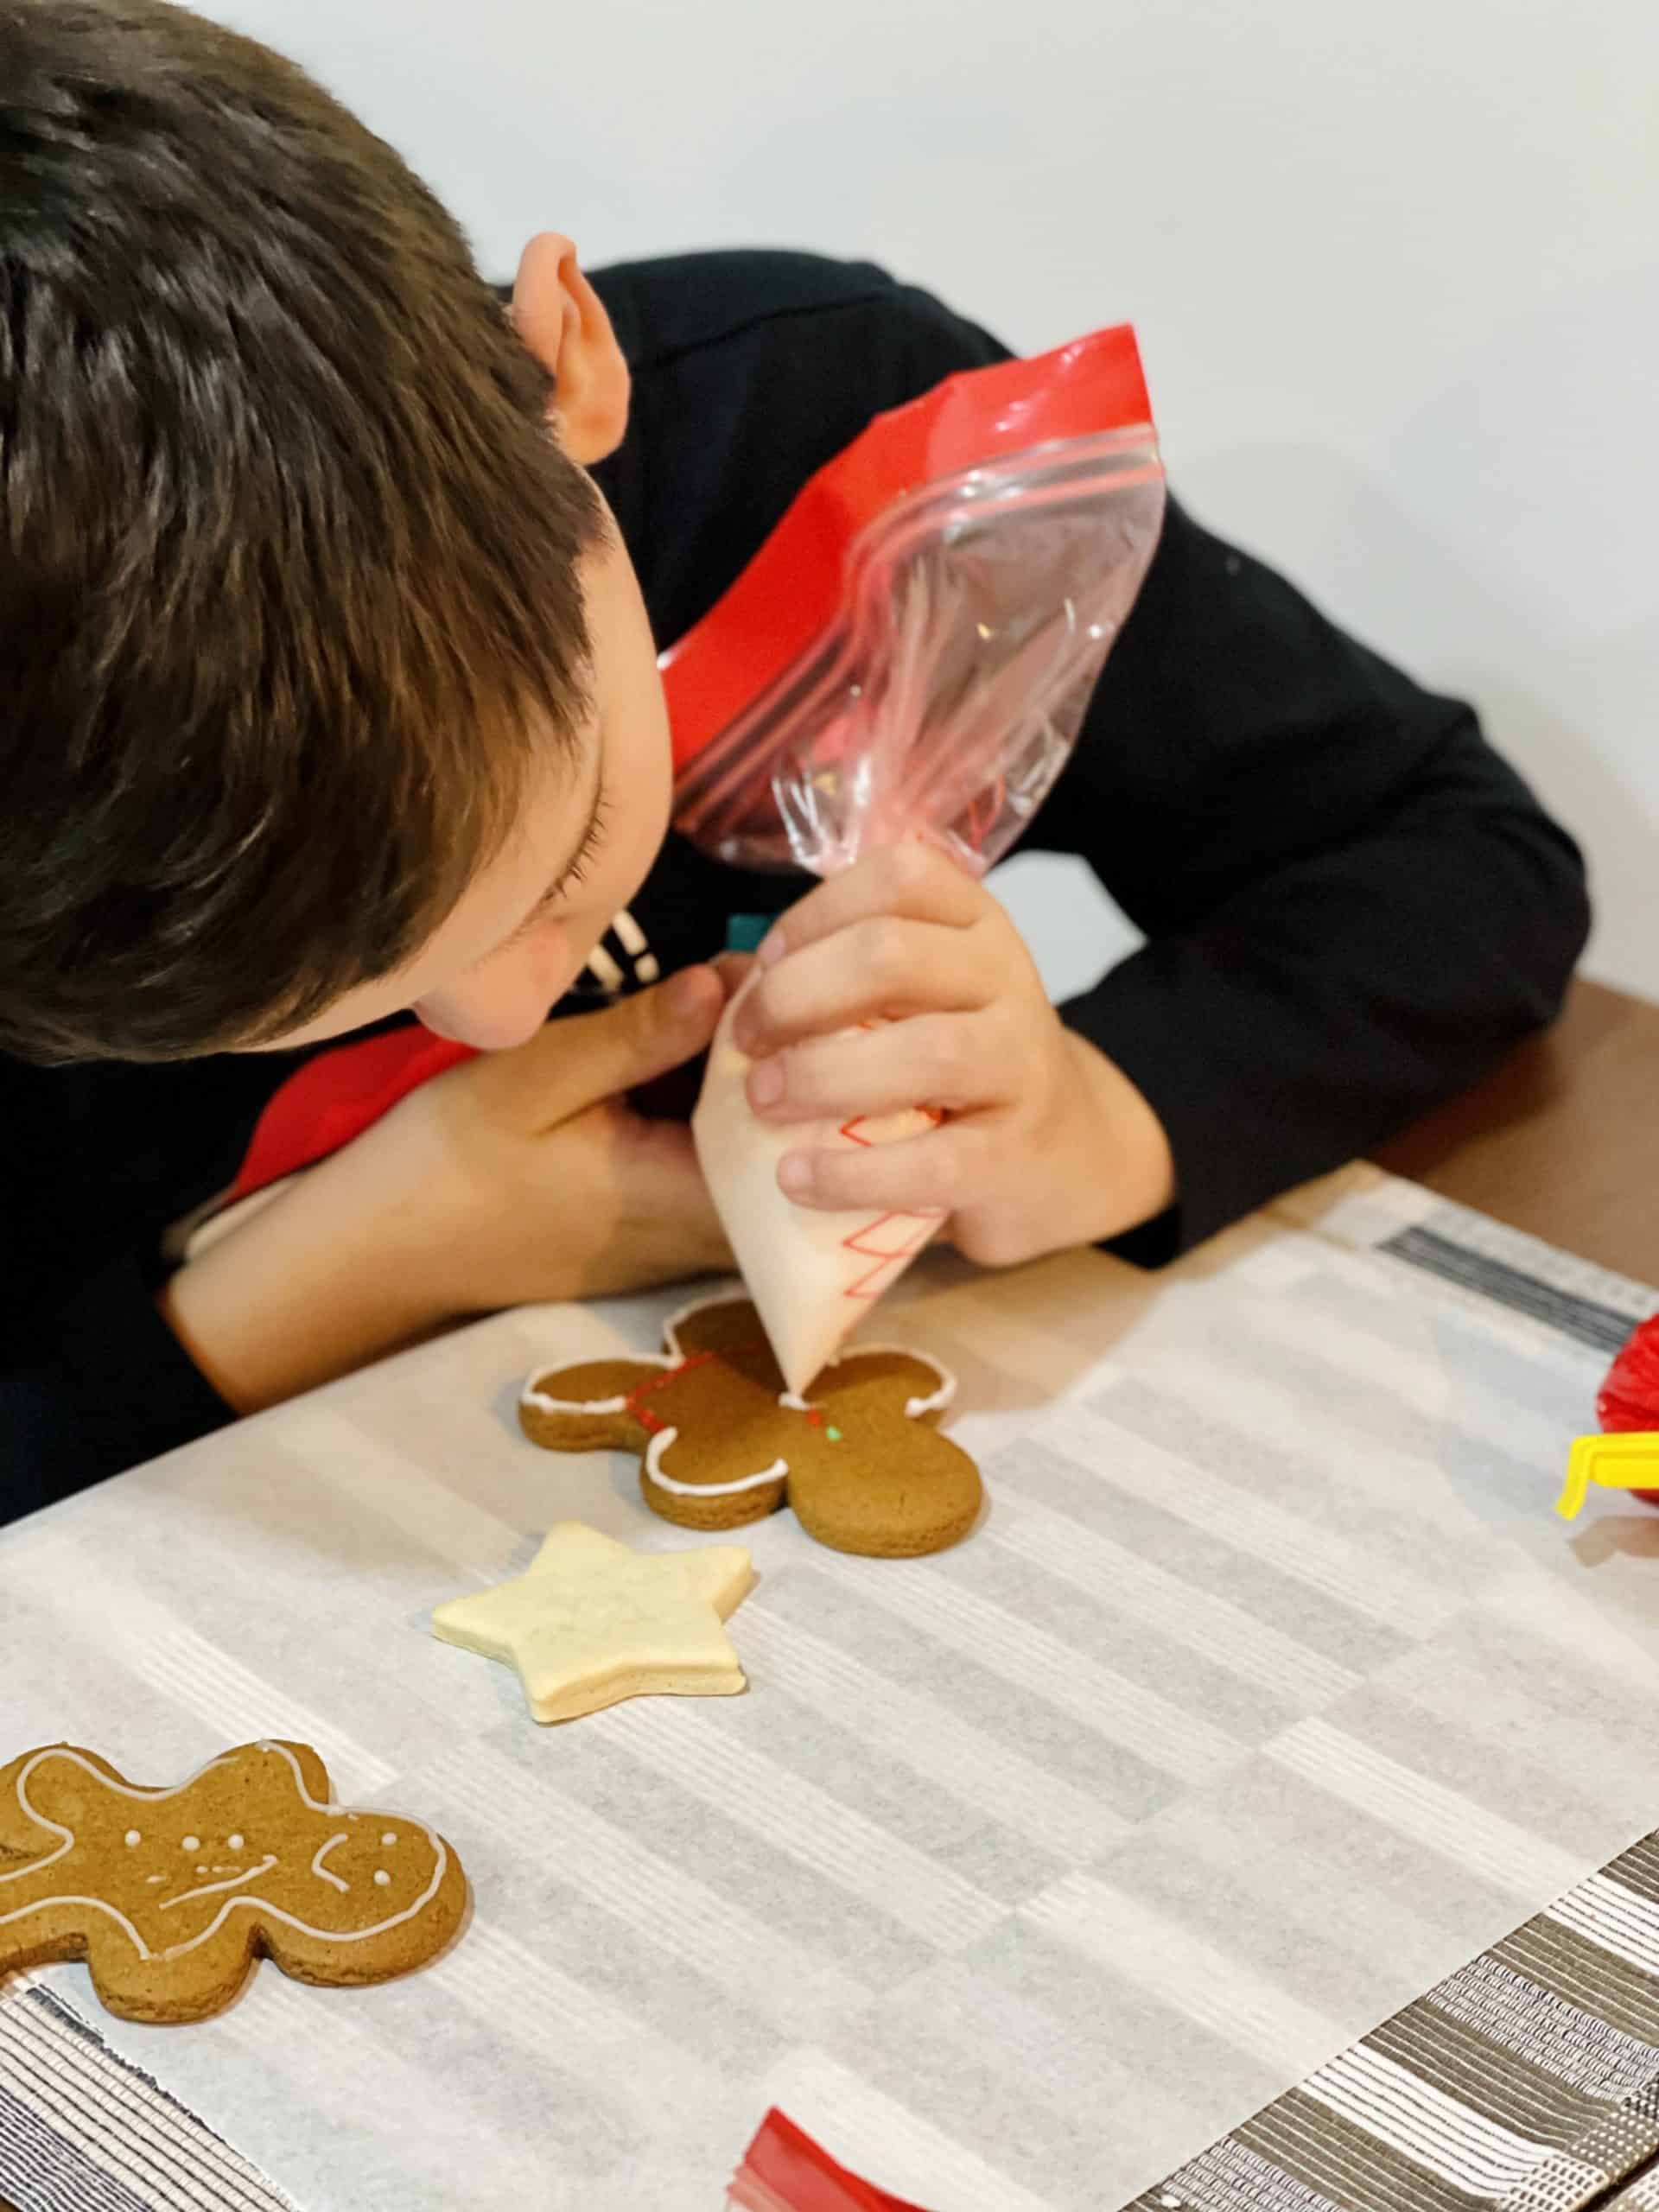
Decorate your cookies as your heart desires! I like to use my eggless royal icing recipe. If you want, you can tint the icing with a couple of drops of food coloring to jazz things up, too. My kids LOVE to do this themself!
Pro Tip: Make the icing in advance. Store it in an airtight container with a piece of plastic wrap against the surface.

Decorating Ideas
When it comes to cookie decorating, I like to keep it simple! So these are my favorite easy ways to decorate eggless gingerbread cookies:
- Eggless Royal icing
- Chocolate candies, such as M&M
- Sprinkling sugars
- Festive sprinkles
Measure the ingredients properly! A kitchen scale is always the best option, in my opinion, but if you don’t have a kitchen scale, be sure to use a measuring cup made for dry ingredients (NOT a liquid measuring cup), and a liquid measuring cup for liquid ingredients. Also, do NOT dip a measuring cup directly into the flour bin, or you can compact it and get up to 25% more flour; instead, use a spoon to scoop the flour into the measuring cup and then use a knife (straight-edged) to level the flour across the measuring cup.
Don’t over-mix your cookie dough, or you will end up with a dense cookie.
Chill the dough for 30 minutes before baking; this gives the dough a chance to firm up a little and allows the cookies to bake much better.
Bake the cookies until they are JUST golden around the outside. The cookies might still look a little raw in the center, but once they cool, they will be perfect. Let the cookies cool on the baking sheets for just a few minutes, around 2. If you leave the cookies on the baking sheets for too long, they will continue cooking, and they will be hard
Adapt This Recipe to Other Food Allergies
This recipe is egg-free and nut-free, but you can certainly adapt it to other food allergies.
Gluten-Free
Substitute all-purpose flour for 1-to-1 Gluten-Free flour mix. My favorite brand is Better Batter, but Cup4Cup will also work.
Dairy-Free
Butter: Use your favorite plant-based, dairy-free, or vegan butter. My favorite dairy-free butter brands for baking are:
Evaporated Milk: You can use Evaporated Oat Milk or Evaporated Coconut Milk.

Storing & Freezing Instructions
STORE: Cookies stay fresh for up to 7 days if stored covered at room temperature.
FREEZE: Unbaked cookie dough can be made ahead and frozen for up to 2 months. Thaw overnight in the refrigerator, then roll out, cut, and bake as instructed. Baked cookies can be frozen for up to 2 months.
Frequently Asked Questions
These cookies are soft with crisp, well-defined edges and chewy, melt-in-your-mouth interiors. If you like dry, crisp gingerbread cookies, this recipe may not be for you.
I have no substitution suggestions yielding the same texture, moisture, and flavor.
Probably you added too much flour. To fix this, try picking it up and rotating it as you go. You can also use your fingers to help meld the cracking edges back together.
It will depend on the cookie cutter size, but about 24 four-inch cookies.
Absolutely! You can make the dough 3 days in advance and keep it wrapped in plastic wrap in the refrigerator. You can also refrigerate or freeze the cut-out cookies.
This cookie dough is not sturdy enough for gingerbread houses. However, if you reduce the baking soda to 1/4 teaspoon and bake the house pieces for longer (12 – 14 minutes), it might work.
Yes, you can press the cookie dough scraps together and re-roll.

- 30+ Easy & Delicious Eggless Christmas Cookies
- The Best Eggless Chocolate Chip Cookies
- Eggless Chocolate Crinkle Cookies
- Eggless Sugar Cookies
- Easy Eggless Christmas Cookies
- Eggless Royal Icing
- browse more eggless cookie recipes
❤️ Love what you see? JOIN my Private Baking Club. Also, SUBSCRIBE to Mommy’s Home Cooking, so you’ll never miss a recipe! And FOLLOW along on Instagram, Pinterest, and Facebook for more fun!
Recipe Card 📖
Eggless Gingerbread Cookies
Ingredients
- 3 cups (420 g) all-purpose flour
- 1/4 teaspoon (1 g) baking powder
- 3/4 teaspoon (4.5 g) baking soda
- 1/2 teaspoon (2 g) salt
- 1 tablespoon ground ginger
- 1 tablespoon ground cinnamon
- 1/2 teaspoon ground allspice
- 1/2 teaspoon ground cloves
- 1/4 teaspoon ground nutmeg
- 6 tablespoons (84 g) unsalted butter, softened
- 3/4 cup (150 g) brown sugar
- 3 tablespoons (45 ml) evaporated milk
- 1/2 cup (160 g) molasses
- 2 teaspoons (10 ml) pure vanilla extract
Instructions
Cookie dough:
- In a large bowl, sift together flour, baking powder, baking soda, salt, ginger, cinnamon, allspice, and cloves and nutmeg. Set aside.
- In the bowl of an electric stand mixer fitted with the paddle attachment, cream together on medium speed butter and sugar until well combined, about 2 – 3 minutes. Add in the evaporated milk, molasses, and vanilla; mix until combined. Gradually add the flour mixture at low speed; mix until just combined. NOTE: the dough might look dry, but it's okay; just use your hands to bring the dough together in one ball.
- Divide dough into two equal portions. Form each half into a round disk, and wrap in plastic. Chill in the refrigerator for at least 30 minutes, up to 4 days.
- When you're ready to bake the cookies, preheat the oven to 350°F (180º C). Line a cookie sheet with parchment paper.
- Roll each portion out between two sheets of parchment paper to 1/4 inch thickness. Use a cookie cutter to cut the dough into your desired shapes. Then, transfer them to the prepared cookie sheet, spacing cookies about 1 inch apart.
- Bake for 7 – 8 minutes, or until slightly set. Take them out of the oven. Let them sit for 2-3 minutes over the baking sheet and then use a metal spatula to transfer cookies to a wire rack to cool completely.
- Decorate as desired. Eggless Royal icing recipe here.
- It’s okay to flour your hands, rolling pin, and work surface if you see that the dough is still a bit sticky. The flour spots on top of your shaped cookie dough will bake off.
- The baking time might vary depending on the side of the cookies. For cookies with slightly crispy edges and tender centers, bake until they look slightly puffed and set. Keep in mind that the longer the cookies bake, the harder and crunchier they’ll be.
- For crunchier cookies, bake an additional 1 to 2 minutes until they begin to brown around the edges.
Nutrition
Eggless Baking Frequently Asked Questions
You’ve asked, and I’ve answered! Read on for a handful of answers to the most frequently asked questions about eggless baking.
This recipe was originally published in December 2015. The recipe was slightly modified, and more notes, tips, photos, and information were added to the post in November 2023 to make it as helpful as possible!
