
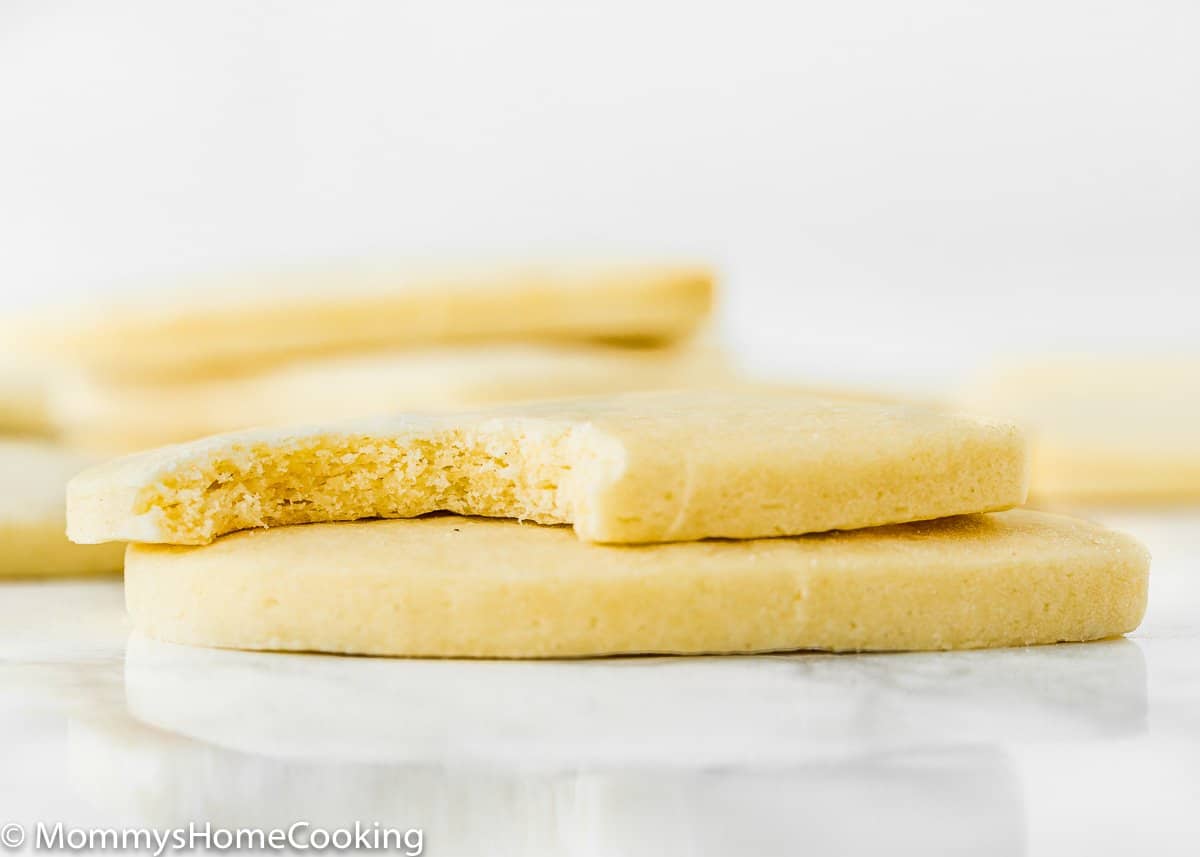
These Eggless Sugar Cookies are tender, buttery, keep their shape when baked, and yes, taste amazing, too. Serve them with or without icing and watch them disappear right before your eyes! The recipe includes step-by-step photos and lots of tips.
I am super happy to share my favorite Eggless Sugar Cookie recipe. This recipe is simple, straightforward, and downright delicious.
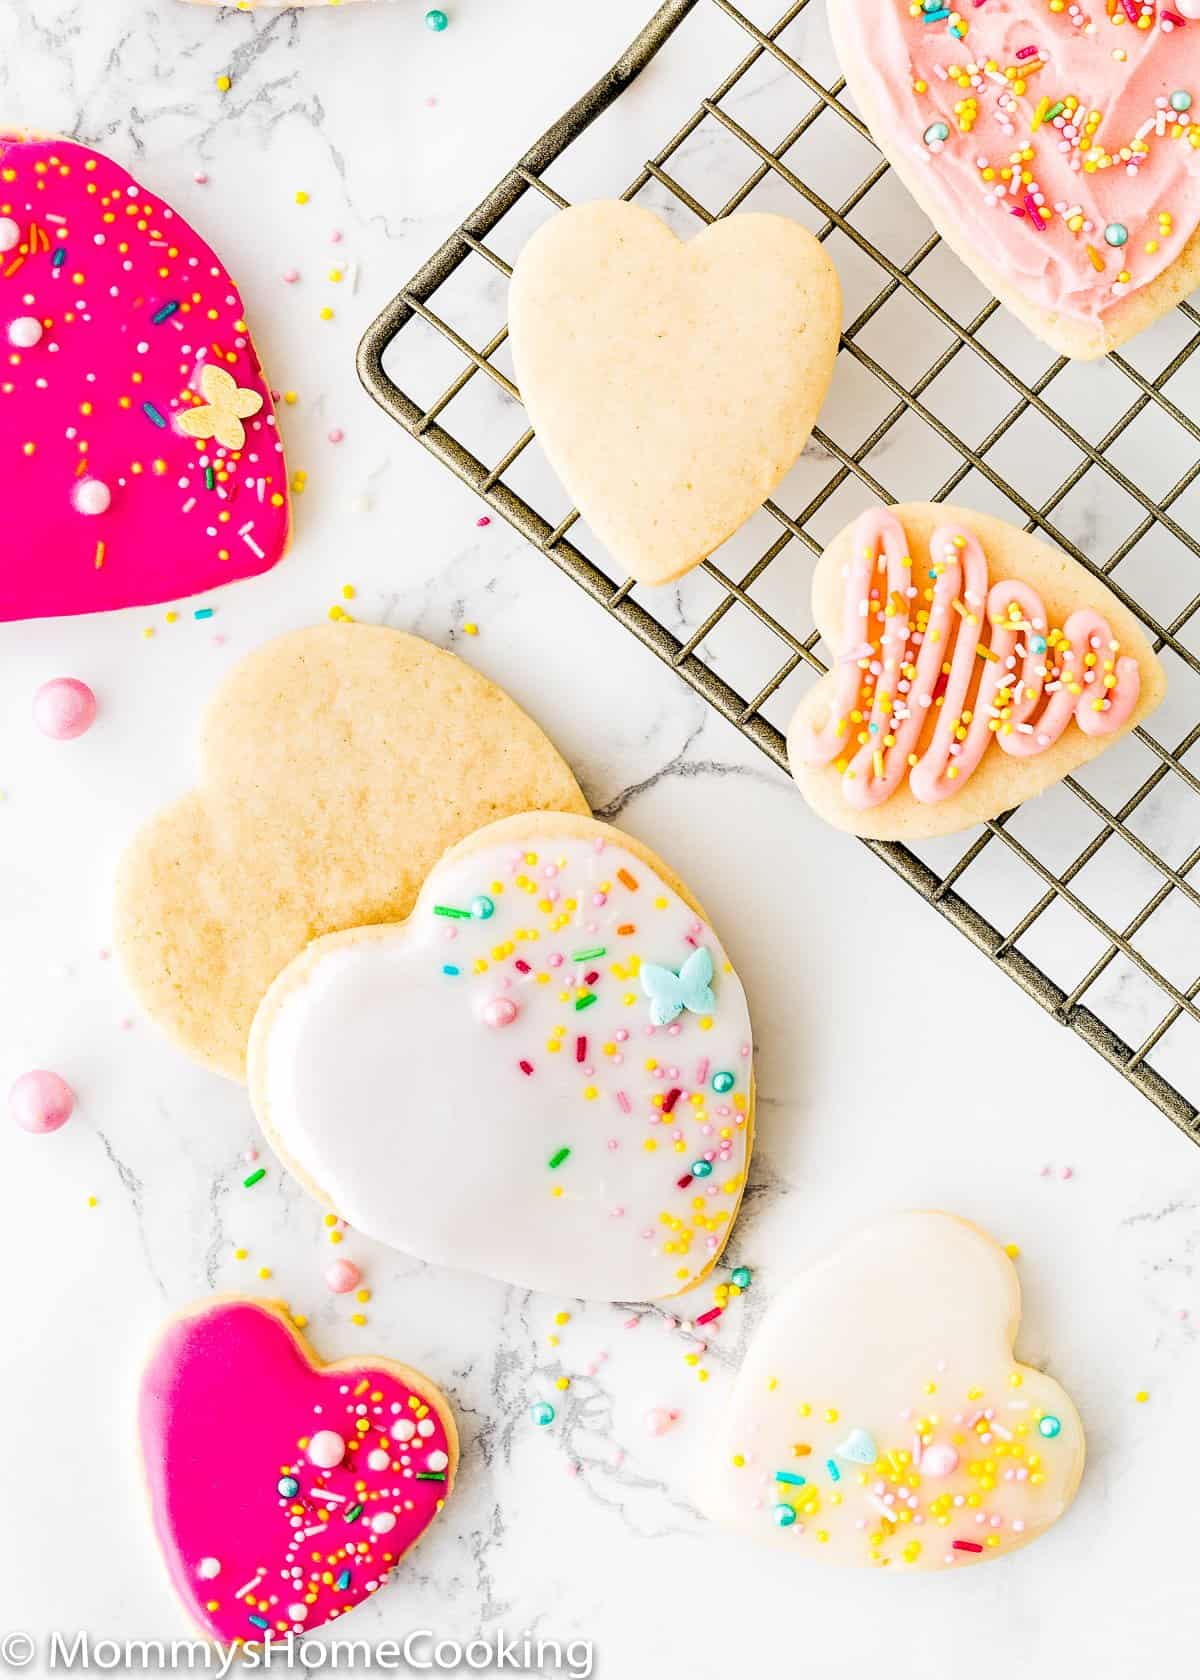
Sugar cookies are a favorite at every holiday party, birthday, or any occasion that requires a sweet, melt-in-your-mouth treat and they will be the start of your table whether dressed simply with frosting, and sprinkles, or frosted with royal icing.
These Eggless Sugar Cookies are tender, buttery, keep their shape when baked, and yes, taste amazing, too.
So, let’s start off this season with a cheerful bang and bake a batch of sugar cookies to share with family, friends, neighbors, and school teachers. They are the perfect addition to your dessert table!

Ingredients Notes & Substitutions
Please check the recipe card at the bottom of the post for exact quantities and detailed instructions (scroll down).
- Flour: Standard all-purpose flour works best here, skip the cake flour, bread flour, and wheat flour.
- Baking powder: Make sure is not expired or too old.
- Salt: I prefer kosher or sea salt. If you only have table salt handy, I recommend reducing the amount to half.
- Butter: I prefer to use unsalted butter, but if you only have salted butter handy, you can use it. In this case, skip the salt called in the recipe.
- Sugar: Regular white granulated sugar o caster sugar.
- Cream cheese: This is my secret ingredient for the most wonderful egg-free sugar cookies. Do not skip it!
- Vanilla extract: For optimal flavor, reach for pure vanilla instead of imitation. Even better, try homemade vanilla extract!
Step By Step Recipe Photo Tutorial
Please check the recipe card at the bottom of the post for exact quantities and detailed instructions (scroll down).
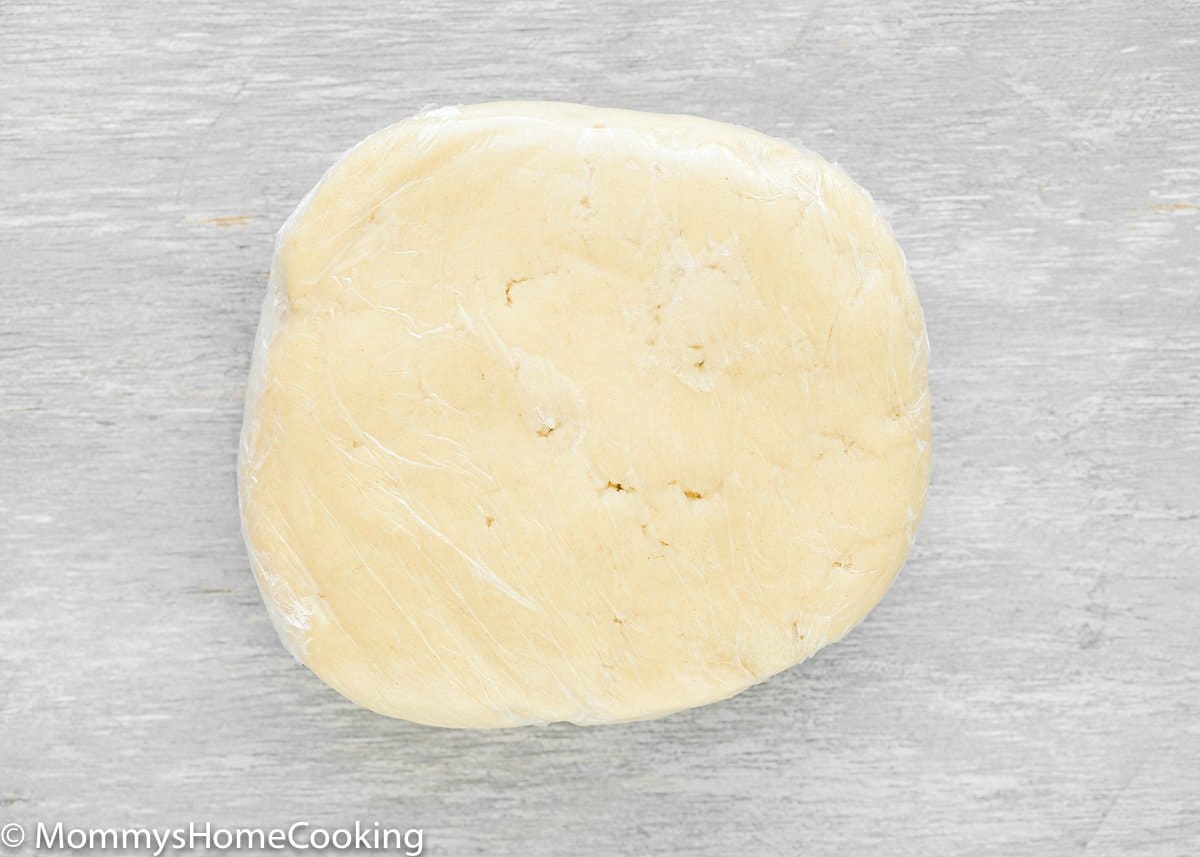
1 – Make the Dough
One thing I love about these cookies is that they are quick and straightforward to make.
Start stiffing the flour and baking powder into a large bowl, and next add the salt to the mixture. Next, cream butter and sugars together in a separate bowl until it’s light in color and fluffy. You’ll be able to see the lighter color, so don’t quit mixing until you see it.
The next step is adding the cream cheese and vanilla. Now add the flour mixture. Mix it until it’s all combined, but don’t over mix it. Over mixing any batter or dough can lead to toughness.
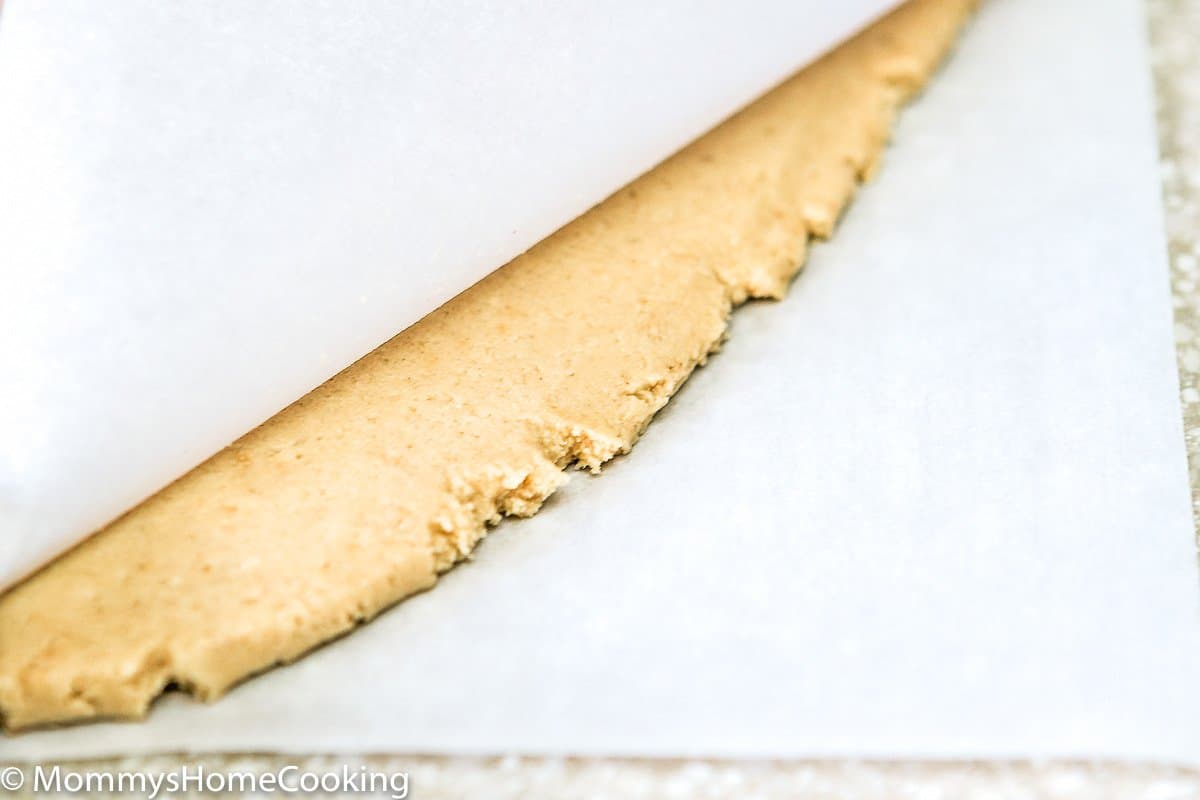
2 – Roll Out the Dough
Divide the sugar cookie dough into two equal pieces. Place one piece between two large pieces of parchment paper (or silicone mats) and roll the dough out to about 1/4 to 1/8 inch (6 to 3 mm) thick. Repeat with the second piece of dough.
3 – Chill the Dough
Place both rolled-out doughs, one on top of the other, on a baking tray or cookie sheet, cover with plastic wrap or aluminum foil, and refrigerate for at least 2 hours and up to 2 days.
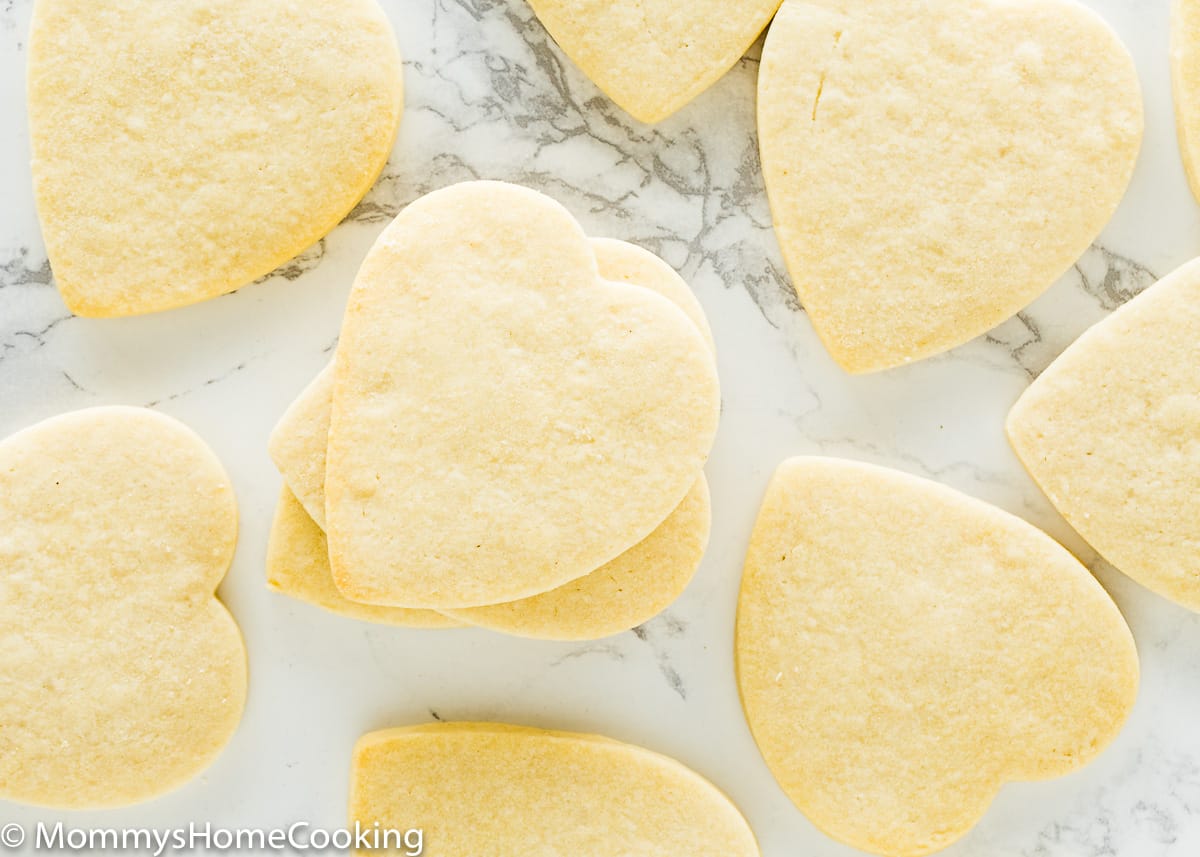
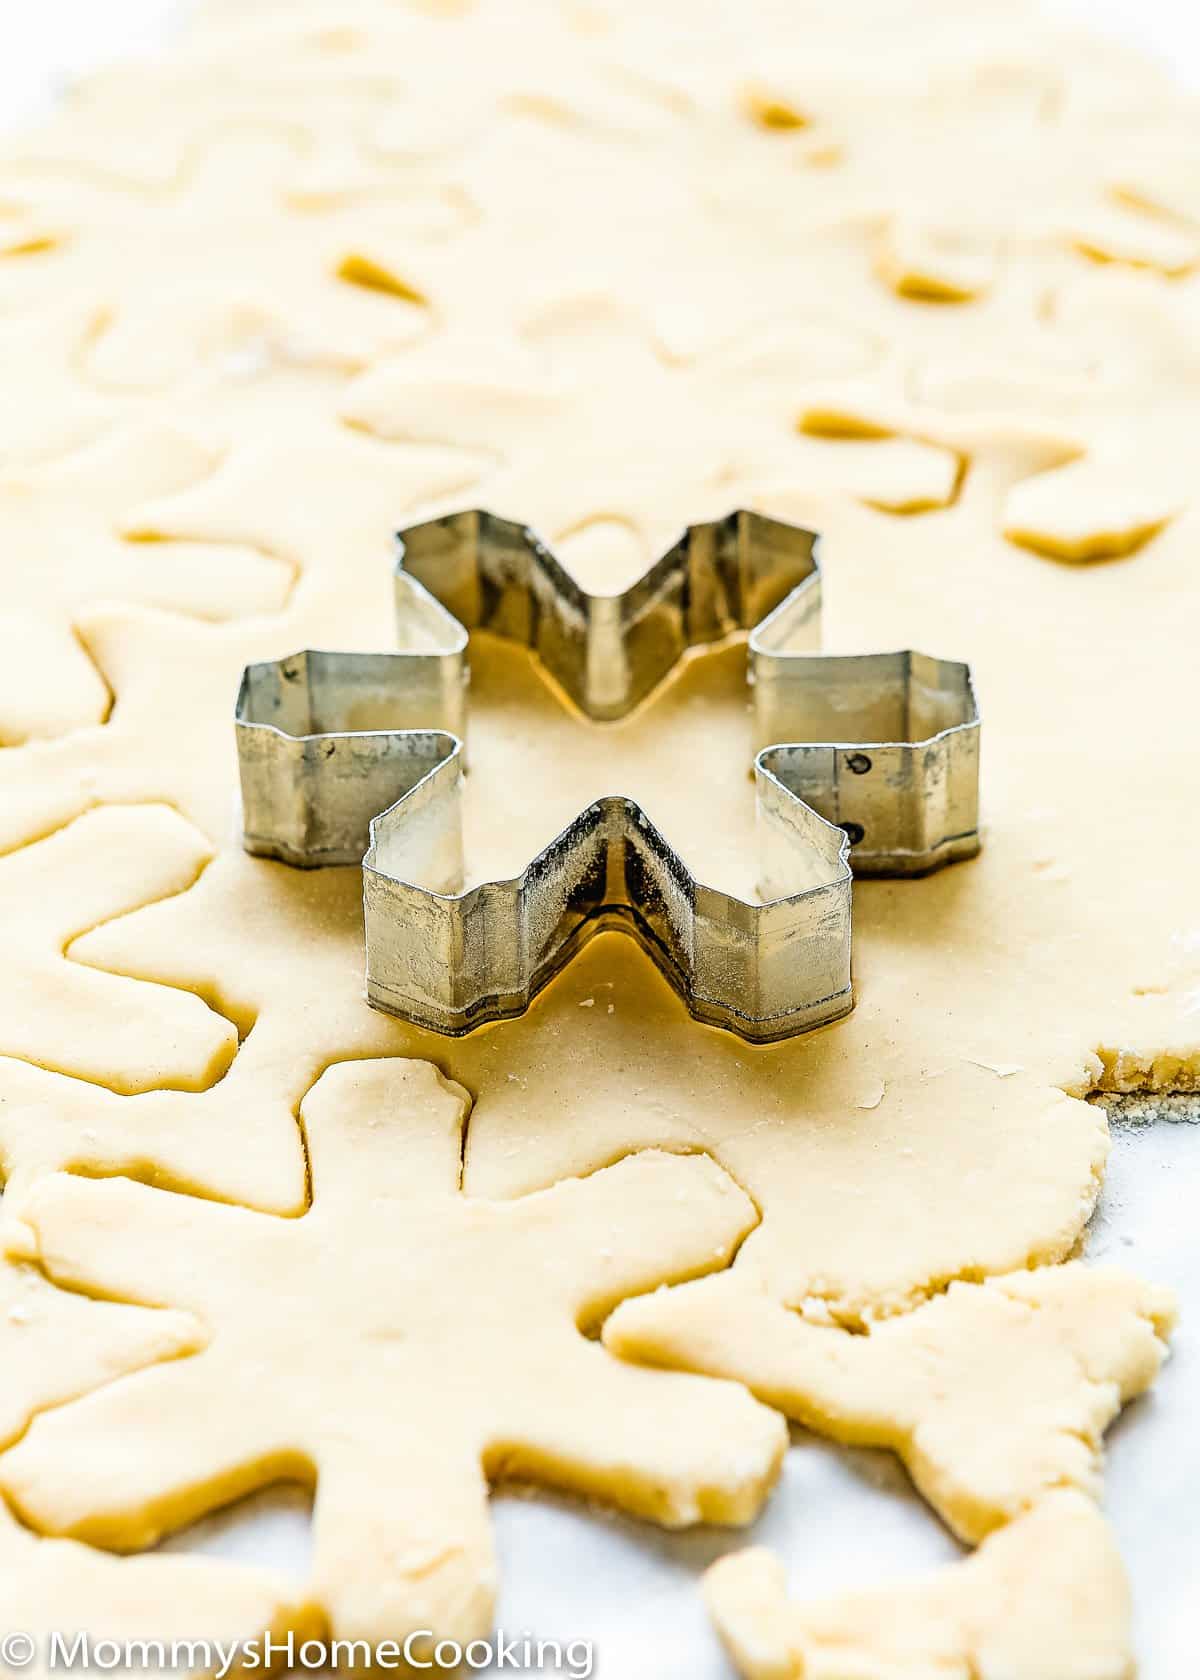
4 – Cut into Shapes
Working with one sheet of dough at a time, use a cookie cutter to cut the dough into shapes.
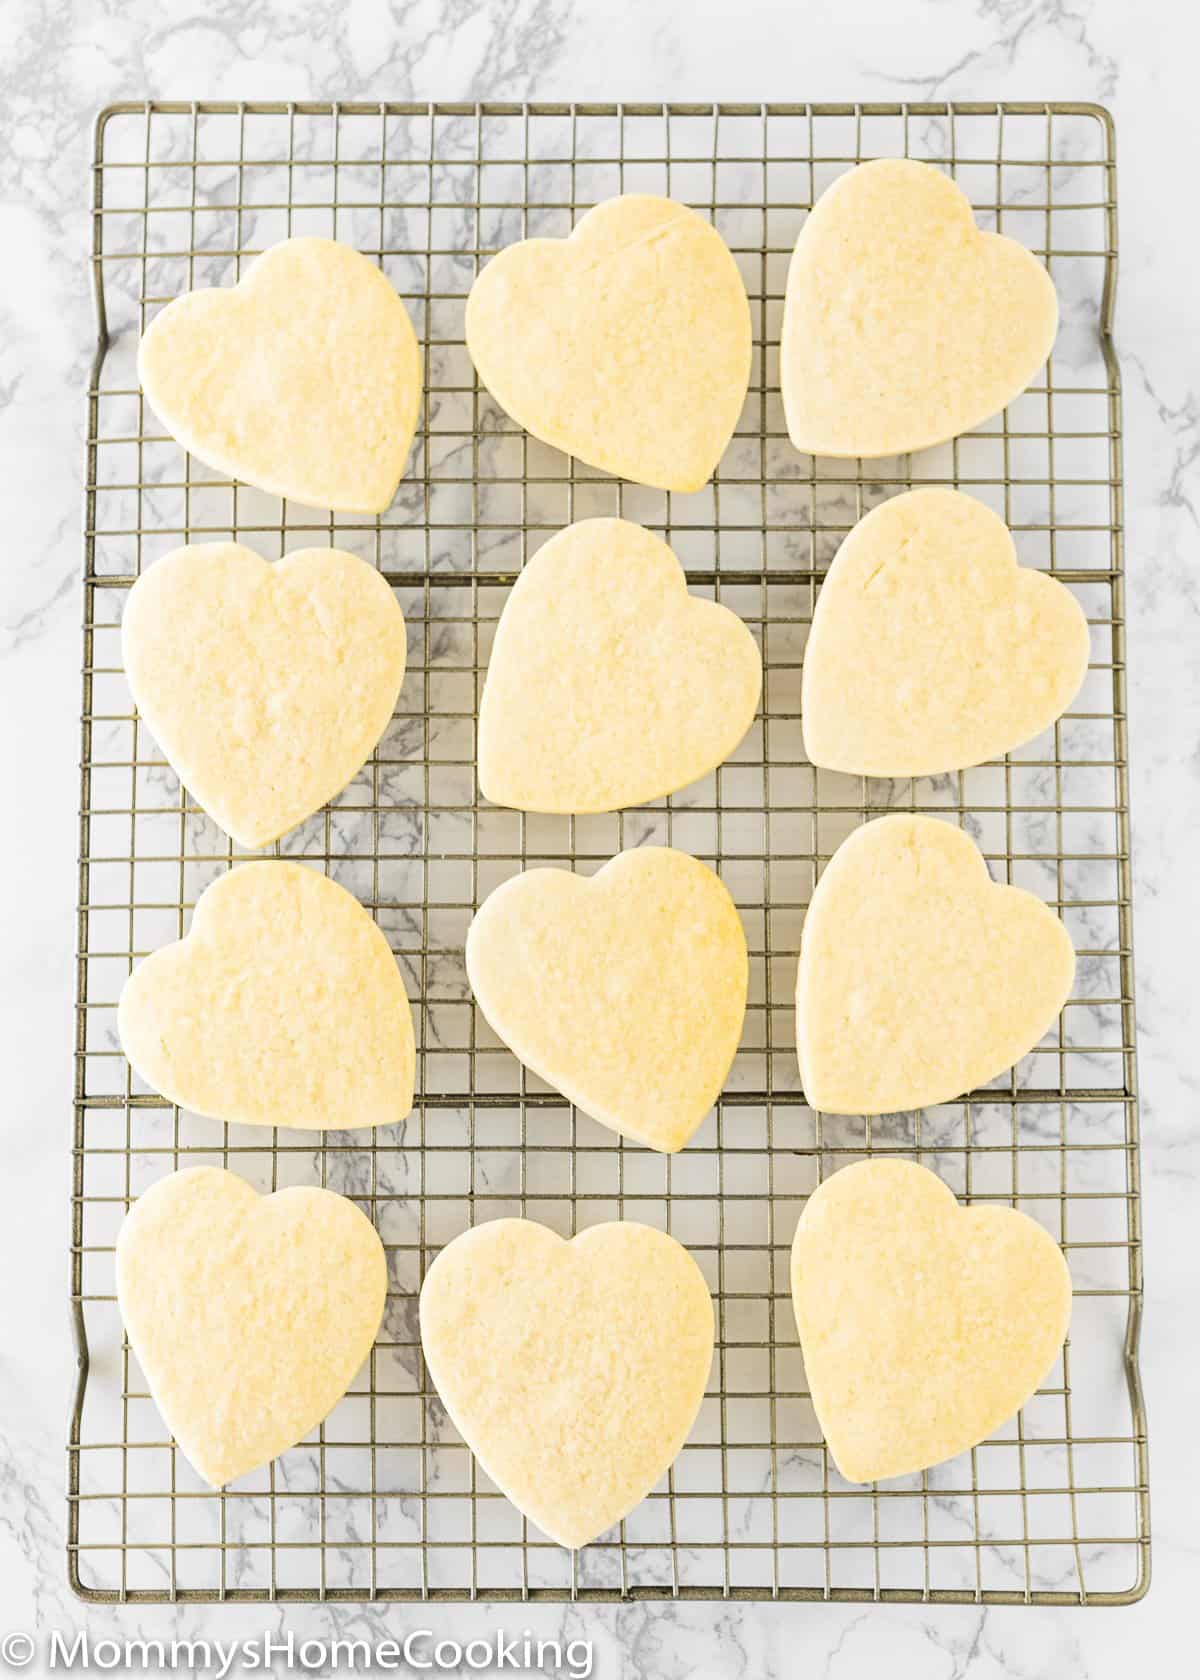
5- Bake
Bake the cookies until just beginning to turn light brown around the edges.
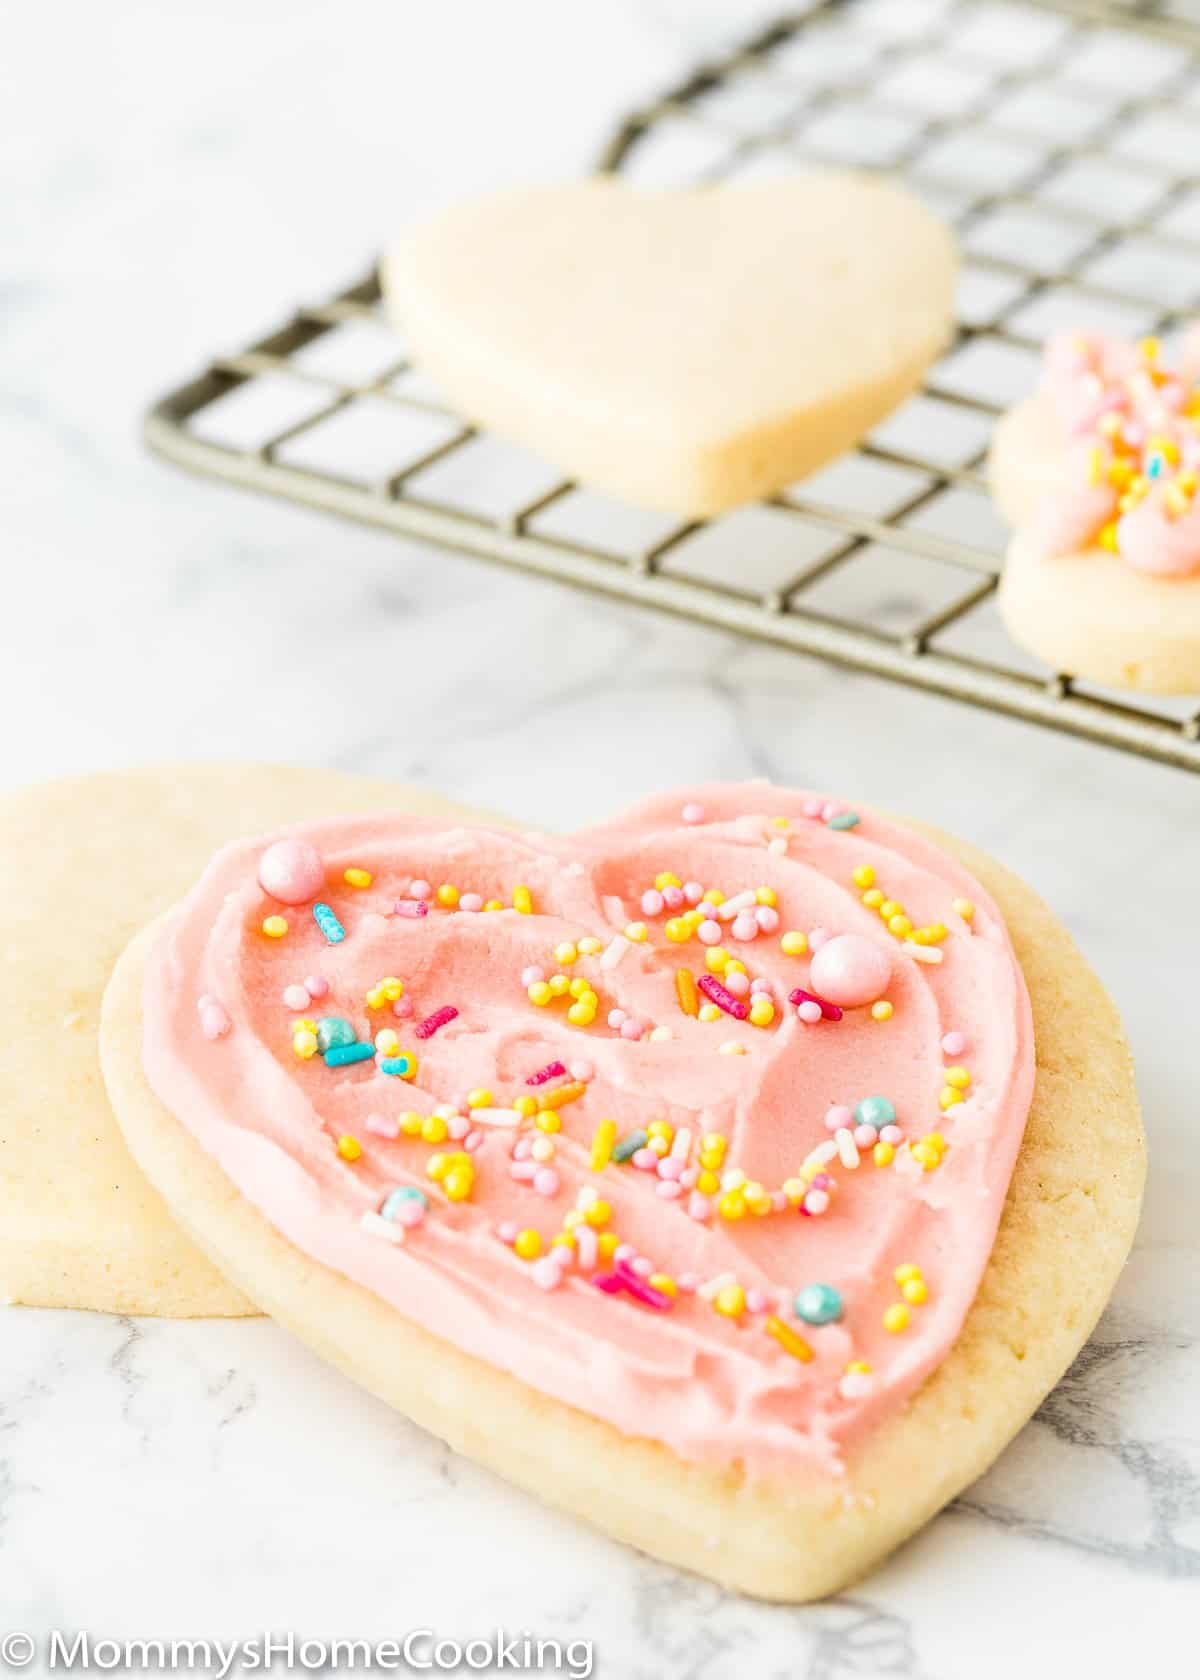
6 – Decorate
Decorate the cooled sugar cookies as your heart desires! I like to use eggless royal icing and buttercream.
Frequently Asked Questions
No, you can’t! The cream cheese helps with the cookie structure so it’s important that you follow the recipe closely.
For brown sugar cookies, I recommend following this recipe.
I recommend rolling out the cookie dough to about 1/4 inch (7 mm approx.).
Yes, you do! Chilling the dough will help you get cookies that hold their shape with clean, sharp edges.
Substitutions & Additions
This recipe calls for just a few ingredients. With so few ingredients, it’s important that you follow the recipe closely.
For flavor: Add a touch of almond extract for additional flavor, if desired. 1 teaspoon of maple extract, coconut extract, lemon extract, or peppermint extract, are also great additions. Or add 1 teaspoon pumpkin pie spice or ground cinnamon.
Adapt This Recipe to Other Food Allergies
This recipe is egg-free and nut-free, but you can certainly adapt it to other food allergies.
Gluten-Free
Substitute all-purpose flour for 1-to-1 Gluten-Free flour mix. My favorite brand is Better Batter Original All Purpose Flour Blend. Cup4Cup will also work fine, but the texture will be slightly different.
Dairy-Free
Use your favorite plant-based, dairy-free, or vegan butter and cream cheese. My favorite dairy-free butter brands for baking are:
Don’t over mix the dough after you add the flour. It can overdevelop the gluten and cause the cookies to be tough.
Always refrigerate the cookie dough before cutting it into shapes.
The best way, in my opinion, to roll out the dough is between two big pieces of parchment paper. If the parchment paper is not an option a well-floured work surface will also work.
Try to roll out the dough evenly, no thinner than 1/8 of an inch. My personal preferred thickness is 1/4 of an inch.
Gather any scraps and reroll the dough, but no more than twice. After that, the dough will become too tough.
If you don’t have cookie cutters use a wide-mouth glass jar or cup.
Storing & Freezing Instructions
Store
- Cookie dough: Cookie dough can be stored in the fridge for up to 2 days. Make sure is well wrapped in plastic wrap.
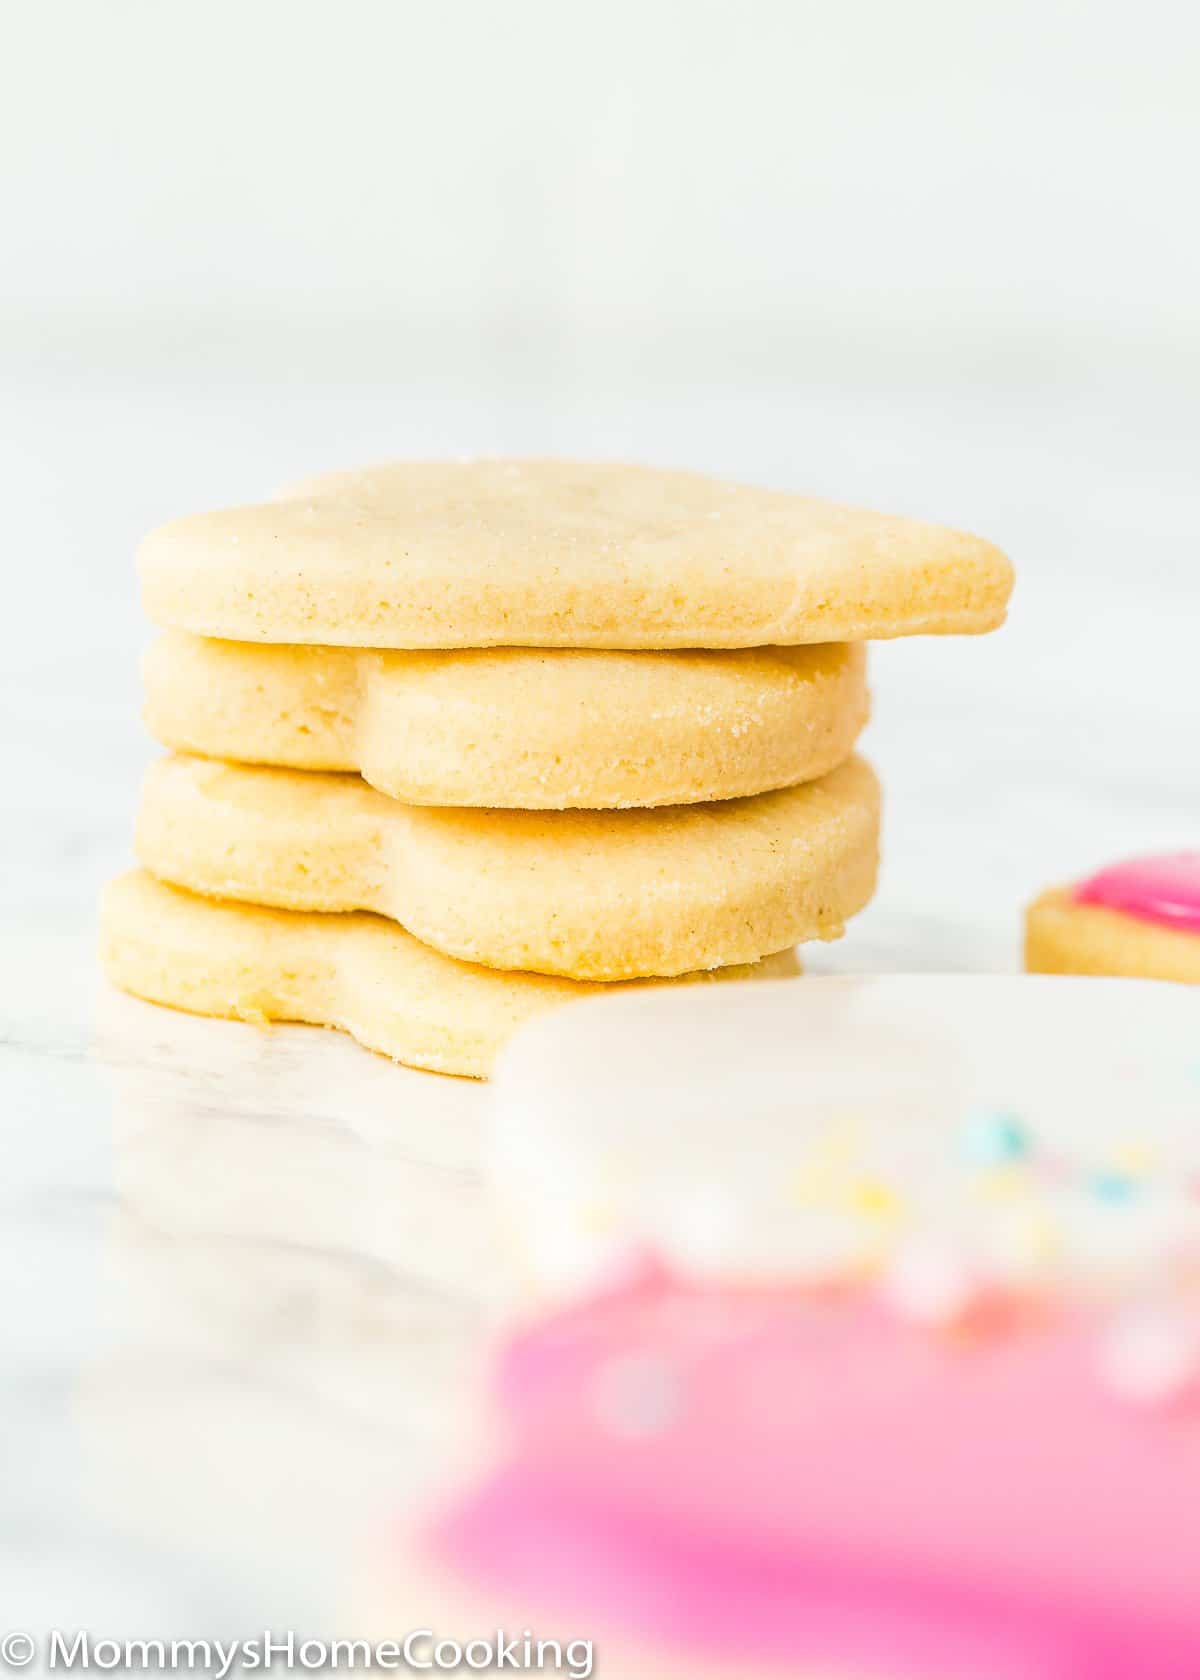
- Baked cookies: Baked eggless sugar cookies, plain or decorated, can be stored covered tightly at room temperate for up to 5 days. For longer storage, cover and refrigerate for up to 10 days.
Freeze
- Cookie dough: Cookie dough can be frozen for up to 3 months. Thaw it in the fridge when you’re ready to roll them out and bake.
- Baked cookies: Plain or decorated sugar cookies freeze well up to 3 months. Just let the baked cookies come to room temperature, then pack them in a freezer bag or container and freeze them. Thaw them in the fridge or on the counter when you’re ready to eat them.
- 17 Easy and Delicious Eggless Christmas Cookies
- Eggless Gingerbread Cookies
- Eggless Oatmeal Cookies
- The Best Eggless Chocolate Chip Cookies [Video]
- Eggless Triple Chocolate Peppermint Cookies
- Easy Eggless Cake Mix Christmas Cookies
- More Eggless Cookies…
❤️ Love what you see? JOIN my Private Baking Club. Also, SUBSCRIBE to Mommy’s Home Cooking, so you’ll never miss a recipe! And FOLLOW along on Instagram, Pinterest, and Facebook for more fun!

Equipment
Ingredients
- 3 cups (420 g) all-purpose flour
- 1/2 teaspoon (2 g) baking powder
- 1/2 teaspoon (2 g) salt
- 3/4 cup (175 g) unsalted butter, softened
- 1 cup (200 g) granulated sugar
- 6 ounces (170 g) cream cheese, softened
- 2 teaspoons (10 ml) pure vanilla extract
Instructions
- Sift the flour and baking powder into a bowl. Add the salt and set aside.
- Using an electric hand mixer or a stand mixer, beat the butter and sugar on medium speed until smooth and creamy, 3 to 4 minutes. Scrape down the sides and bottom of the bowl as needed. Add the cream cheese and vanilla; mix until incorporated.
- Reduce the speed to low and gradually beat in the flour mixture; beat just until incorporated and the dough starts to come together. Divide the dough into two equal pieces.
- Place one piece of dough on a big, lightly floured piece of parchment paper (or a silicone mat). Lightly dust the dough with flour. Place a piece of parchment on top to prevent sticking. With a rolling pin, roll the dough out to about 1/4 to 1/8 inch (6 to 3 mm) thick. Repeat with the second piece of dough.
- Place both rolled-out doughs, one on top of the other, on a baking tray, cover with plastic wrap or aluminum foil, and refrigerate for at least 2 hours and up to 2 days.
- Preheat the oven to 350ºF (180ºC). Line two baking sheets with parchment paper or silicone baking mats.
- Working with one sheet of dough at a time, use a cookie cutter to cut the dough into shapes. Transfer the shapes to the prepared baking sheets, spacing them about 1/2 inch apart. Gather up the dough scraps and form them into a disk, then roll out and refrigerate for 15 to 20 minutes.
- Bake for 10 to 13 minutes or until the cookies are just beginning to turn brown around the edges. Remove from the oven and let them sit on the baking sheets for 5 minutes. Then use a wide metal spatula to transfer the cookies to a wire rack and let cool completely. Repeat the process to cut and bake the remaining dough.
- Decorate the cooled sugar cookies as desired. If using eggless royal icing, let the icing dry completely, about 1 1/2 hours, before serving. Once the cookies have completely dried, they can be stored either in an airtight container with waxed paper in between each layer, or in an airtight bag in a single layer. You can store them at room temperature for up to 5 days.
- Don’t over mix the dough after you add the flour. It can overdevelop the gluten and cause it to be tough.
- Always refrigerate the cookie dough before cutting it into shapes.
- The best way, in my opinion, to roll out the dough is between two big pieces of parchment paper. If the parchment paper is not an option a well-floured work surface will also work.
- Try to roll out the dough evenly, no thinner than 1/8 of an inch. My personal preferred thickness is 1/4 of an inch.
- Gather any scraps and reroll the dough, but no more than twice. After that, the dough will become too tough.
- If you don’t have cookie cutters use a wide-mouth glass jar or cup.
Nutrition
Eggless Baking Frequently Asked Questions
You’ve asked, and I’ve answered! Read on for a handful of answers to the most frequently asked questions about eggless baking.
Originally posted in December 2017, the post content was edited to add more helpful information and new photos in June 2022.
