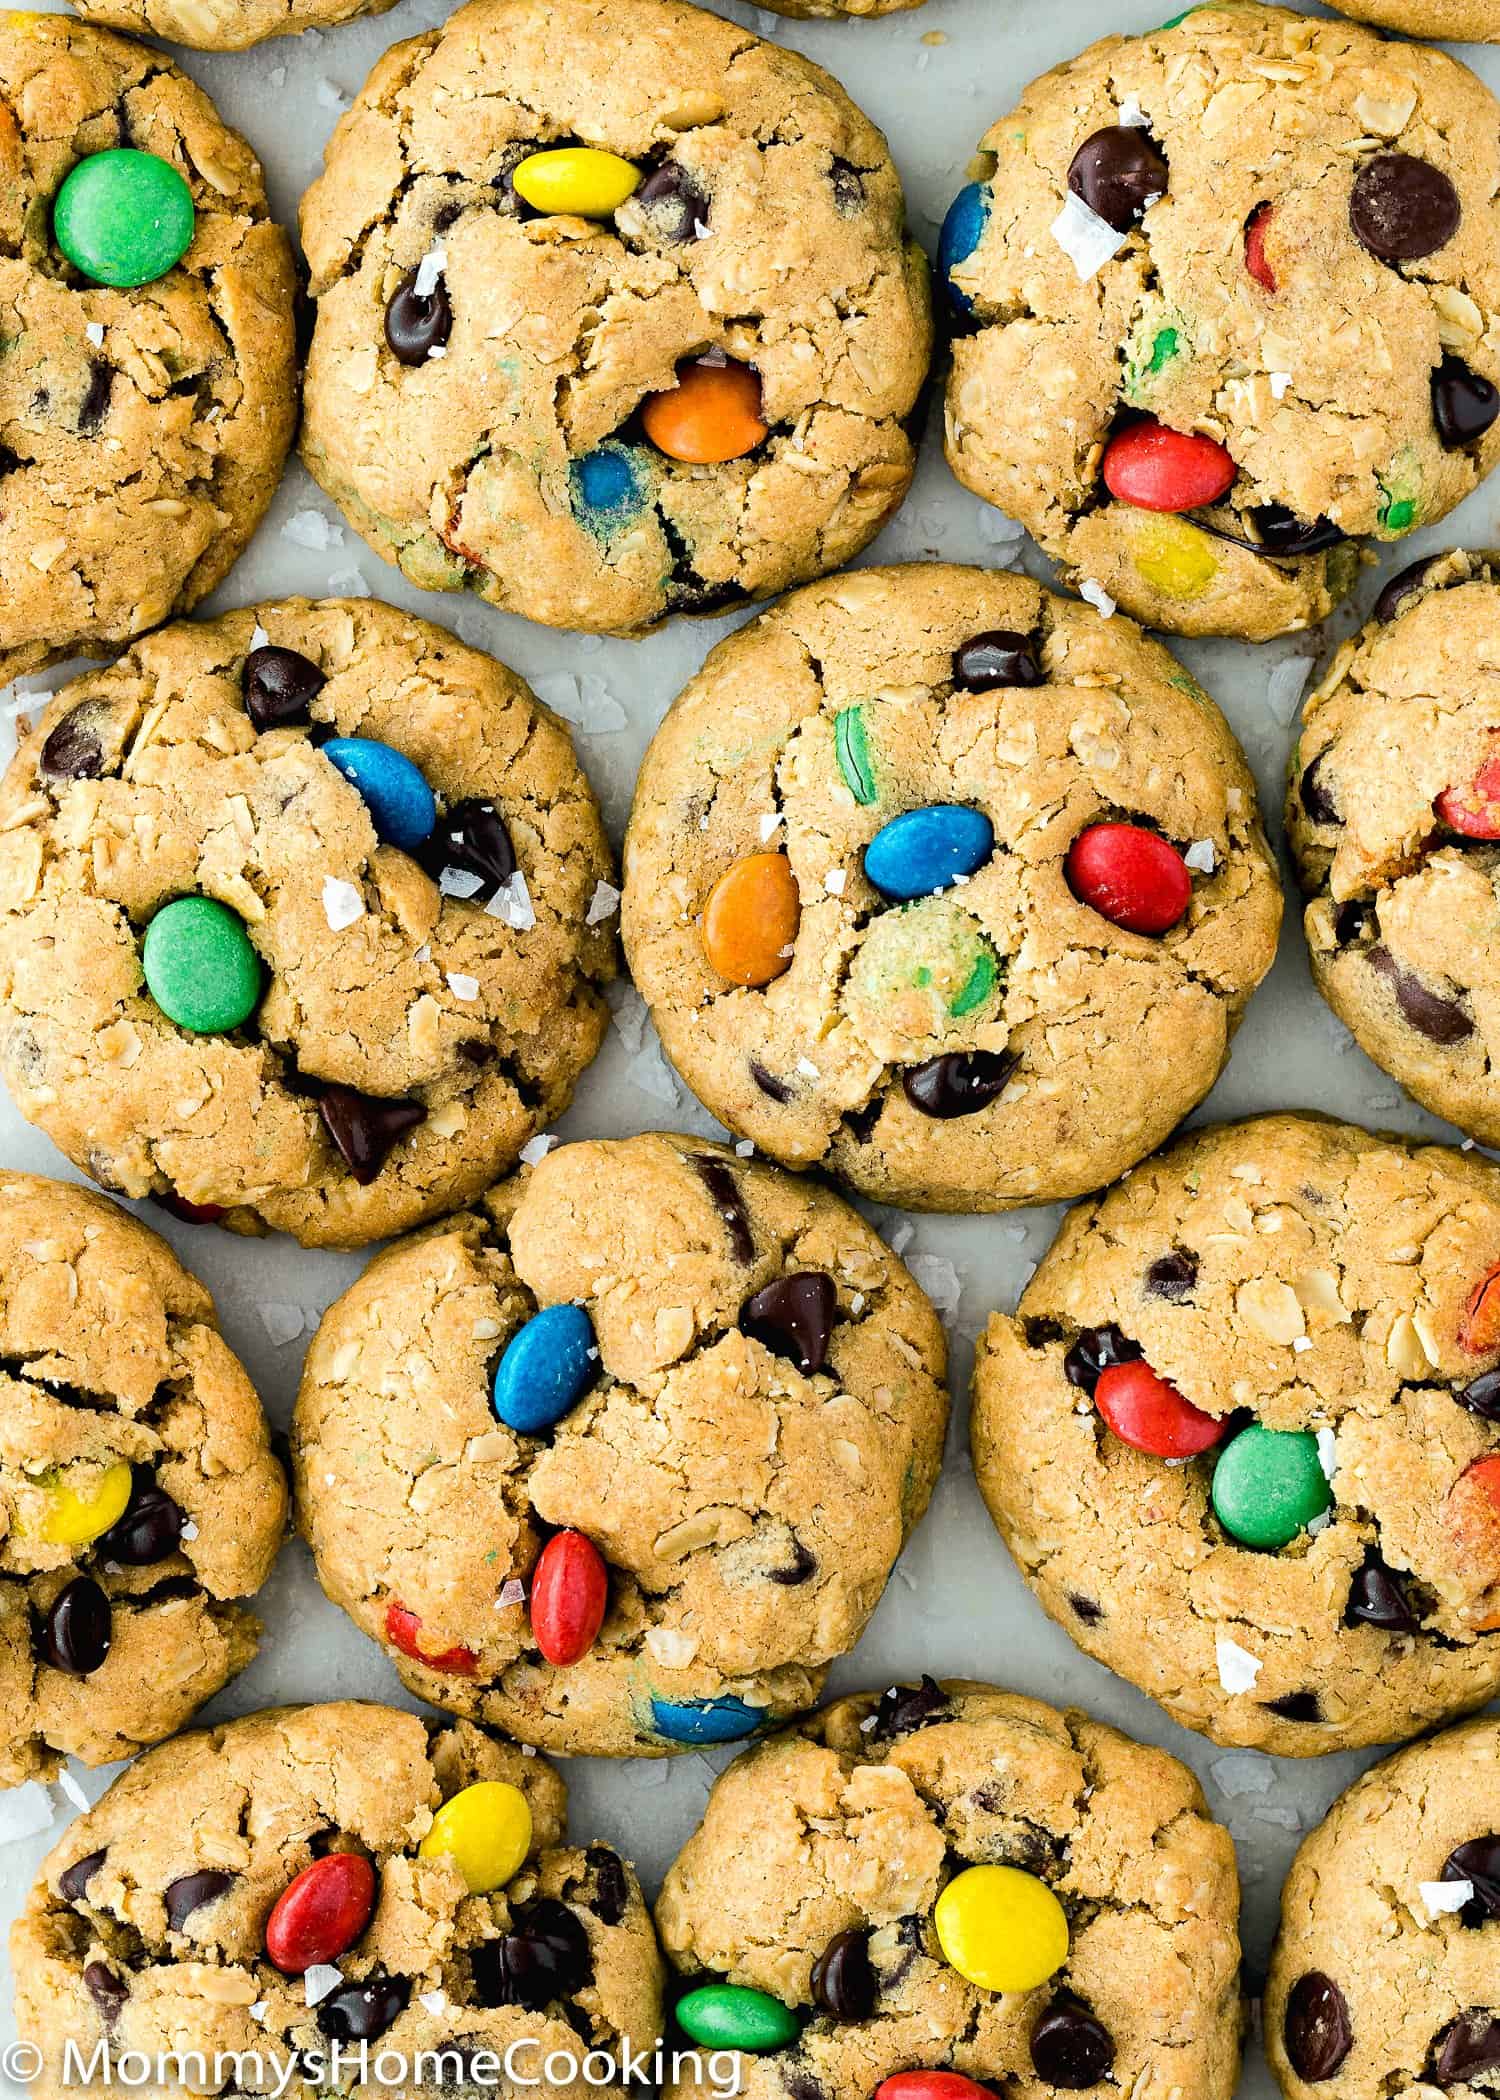
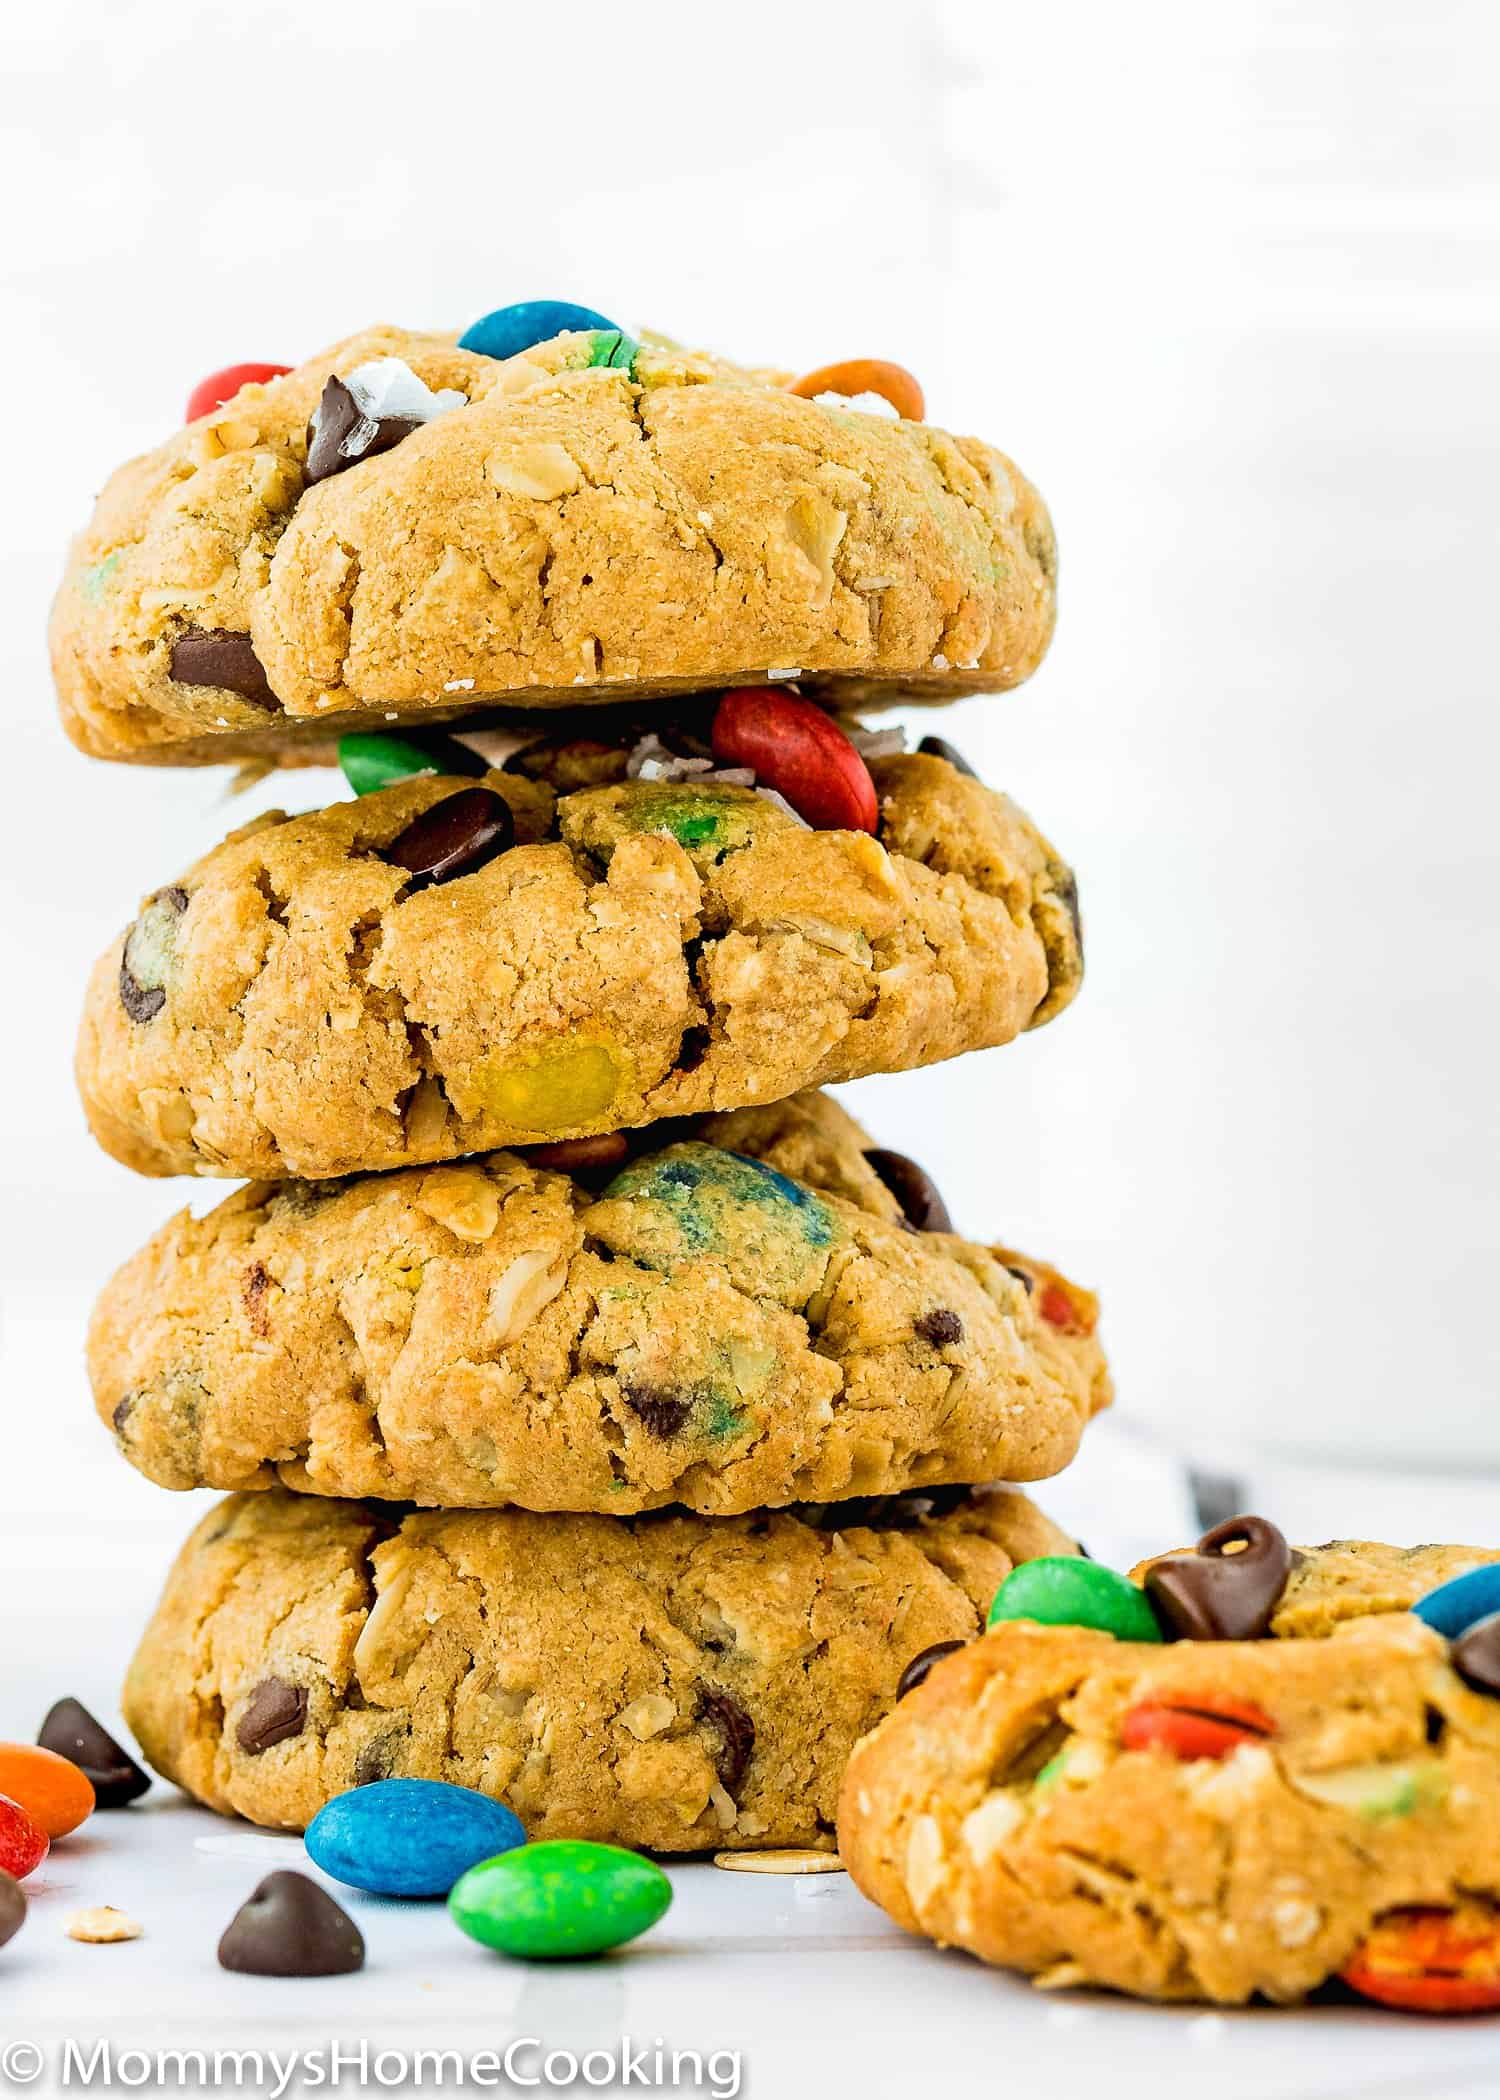
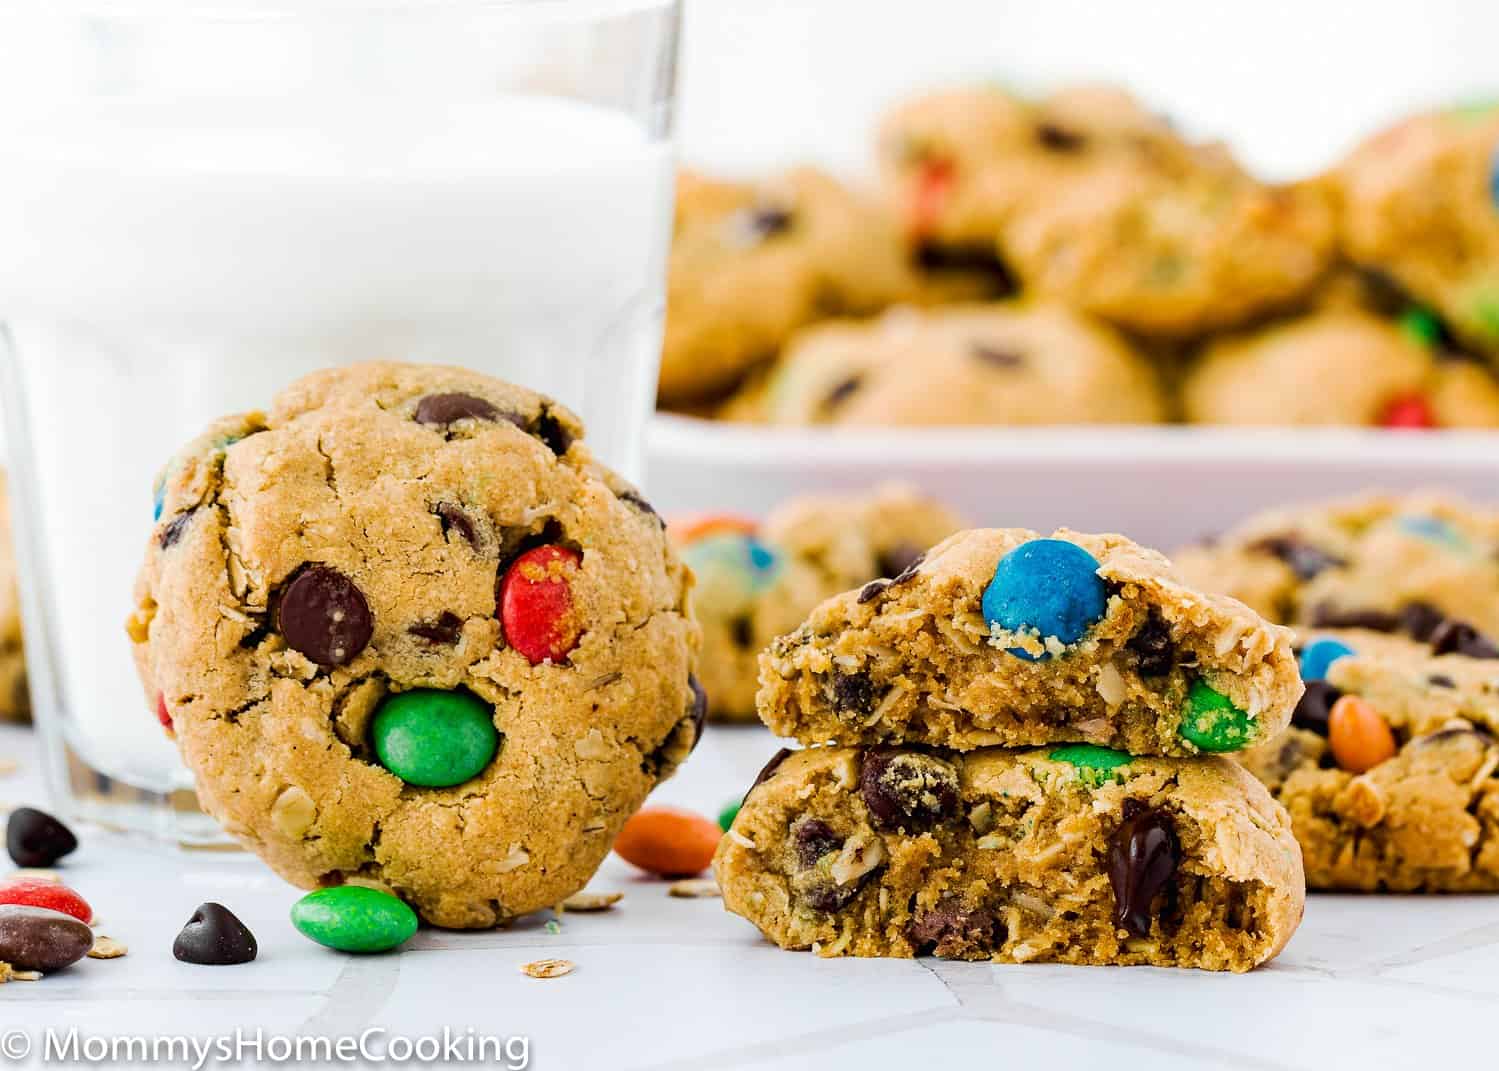
These Eggless Monster Cookies are soft, chewy, thick, and so easy to make! These may, in fact, be your new go-to cookies for every occasion. Go ahead and fire up the oven; you’ll need to make these ASAP. The recipe includes step-by-step photos and lots of tips.
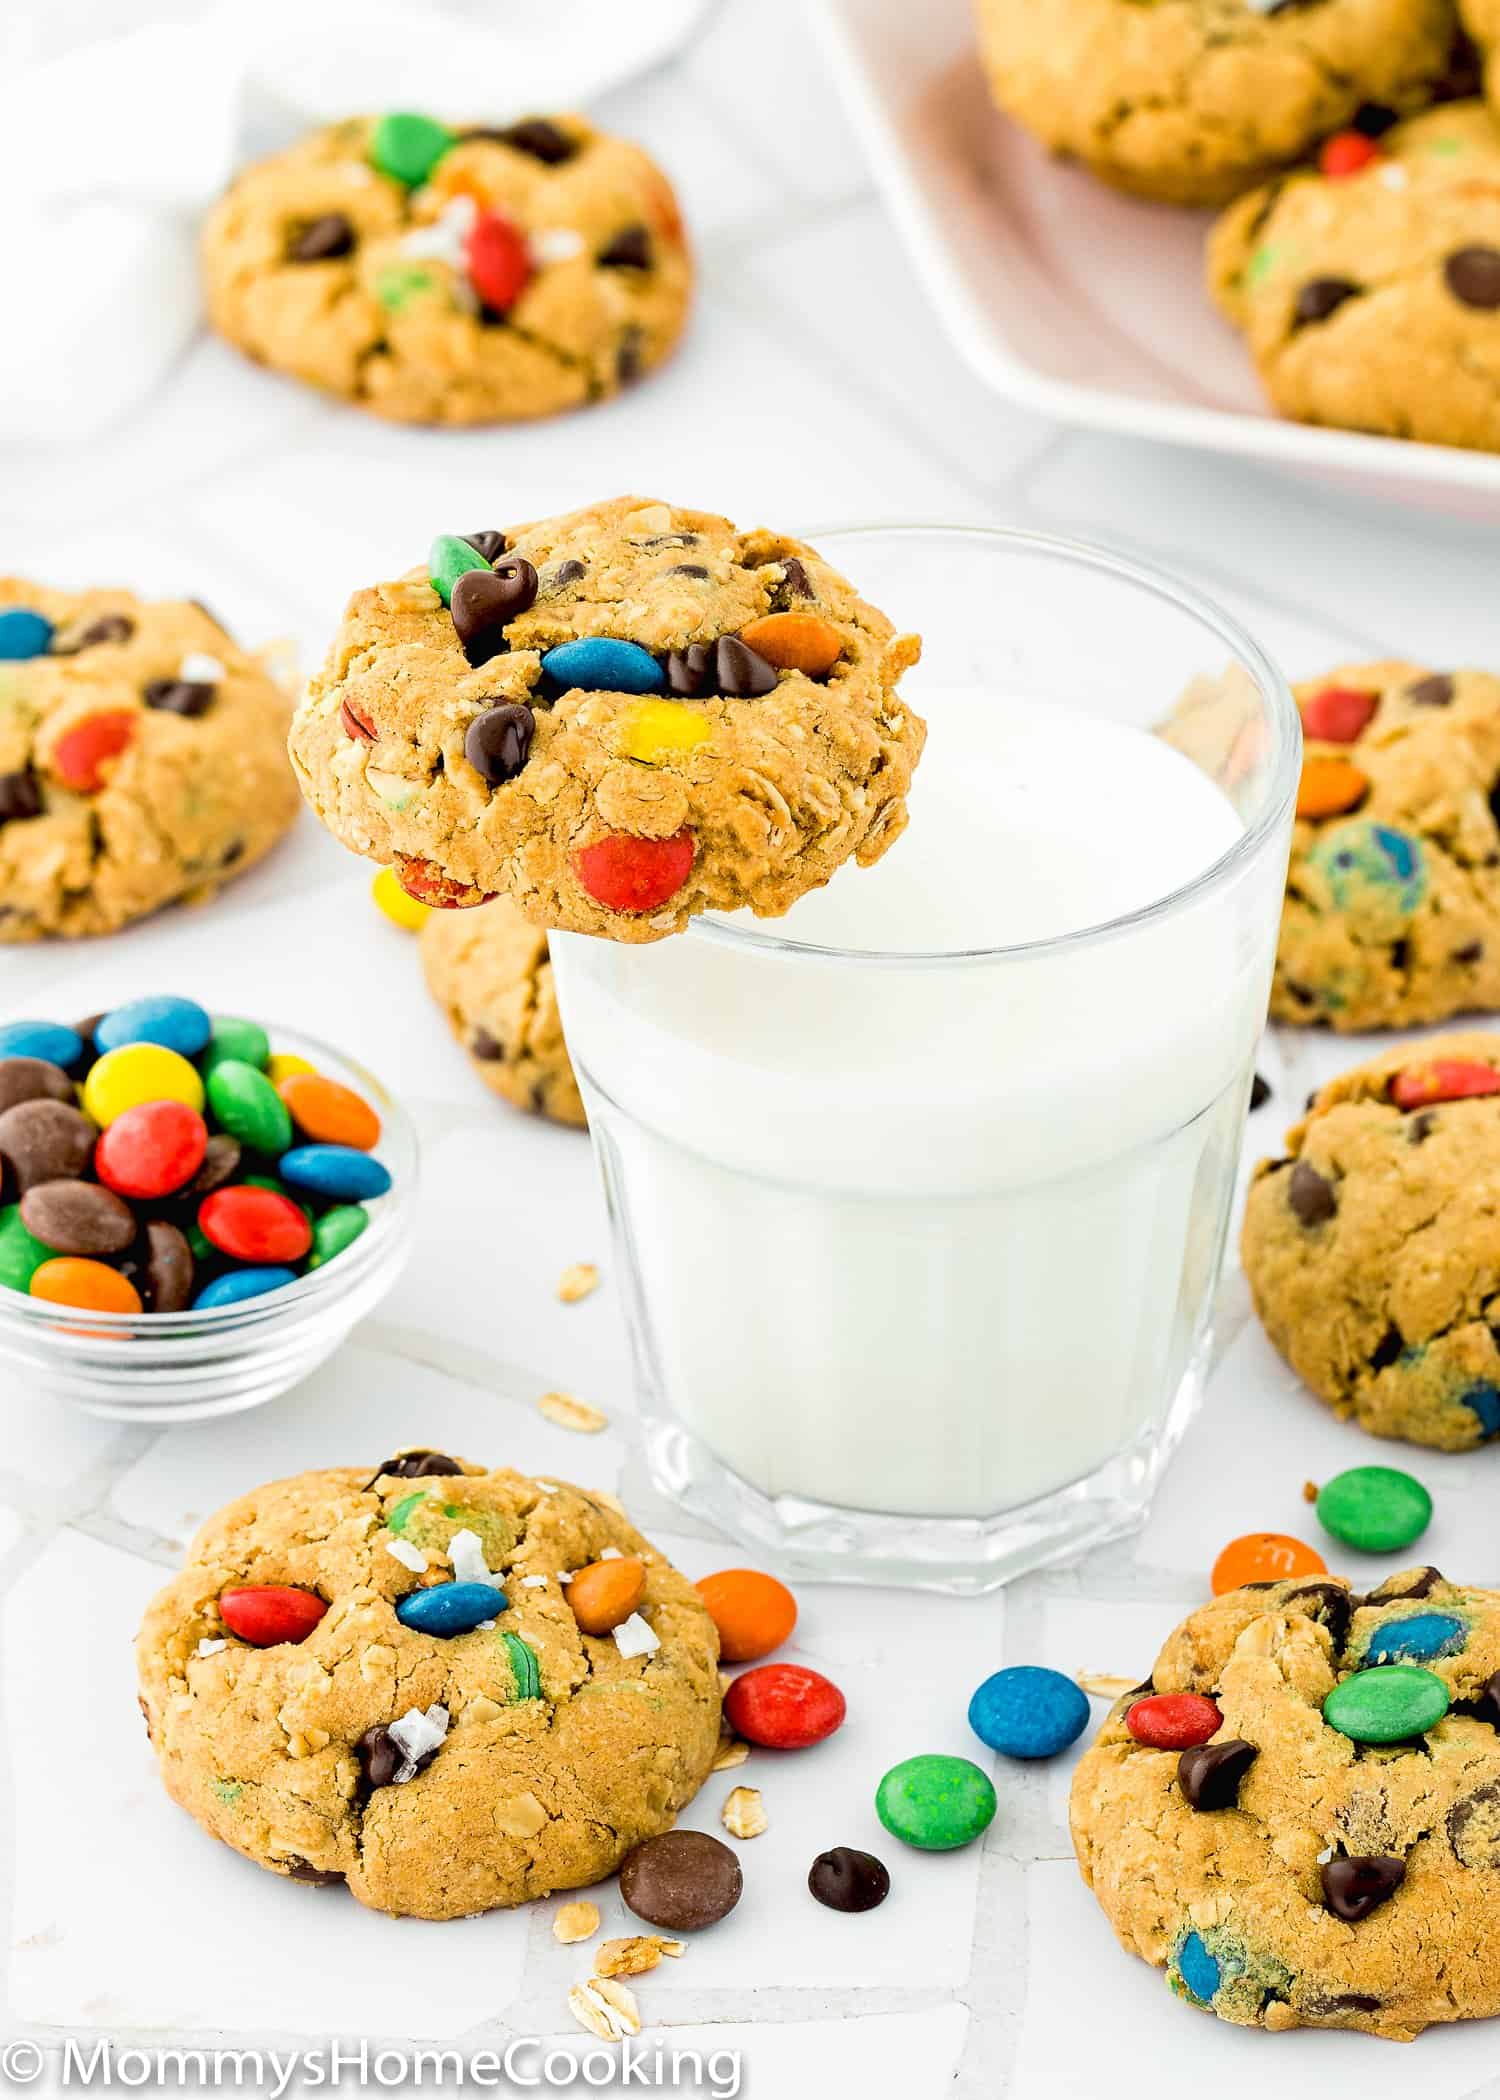
If chewy oatmeal cookies and soft peanut butter cookies decided to merge along with your favorite chocolate goodies, you’d have my Eggless Monster Cookies.
You may not have had the pleasure of eating a Monster Cookie. Basically, a Monster Cookie is a peanut butter oatmeal cookie jam-packed with chocolate chips and M&M’s. They are seriously tasty cookies.
I’ve never published a monster cookie recipe on my website before because my daughter is allergic to peanuts. But I found that peanut-free butter, such as soy butter, Wowbutter, or Field Trip Chickpea Butter, works great as a replacement!
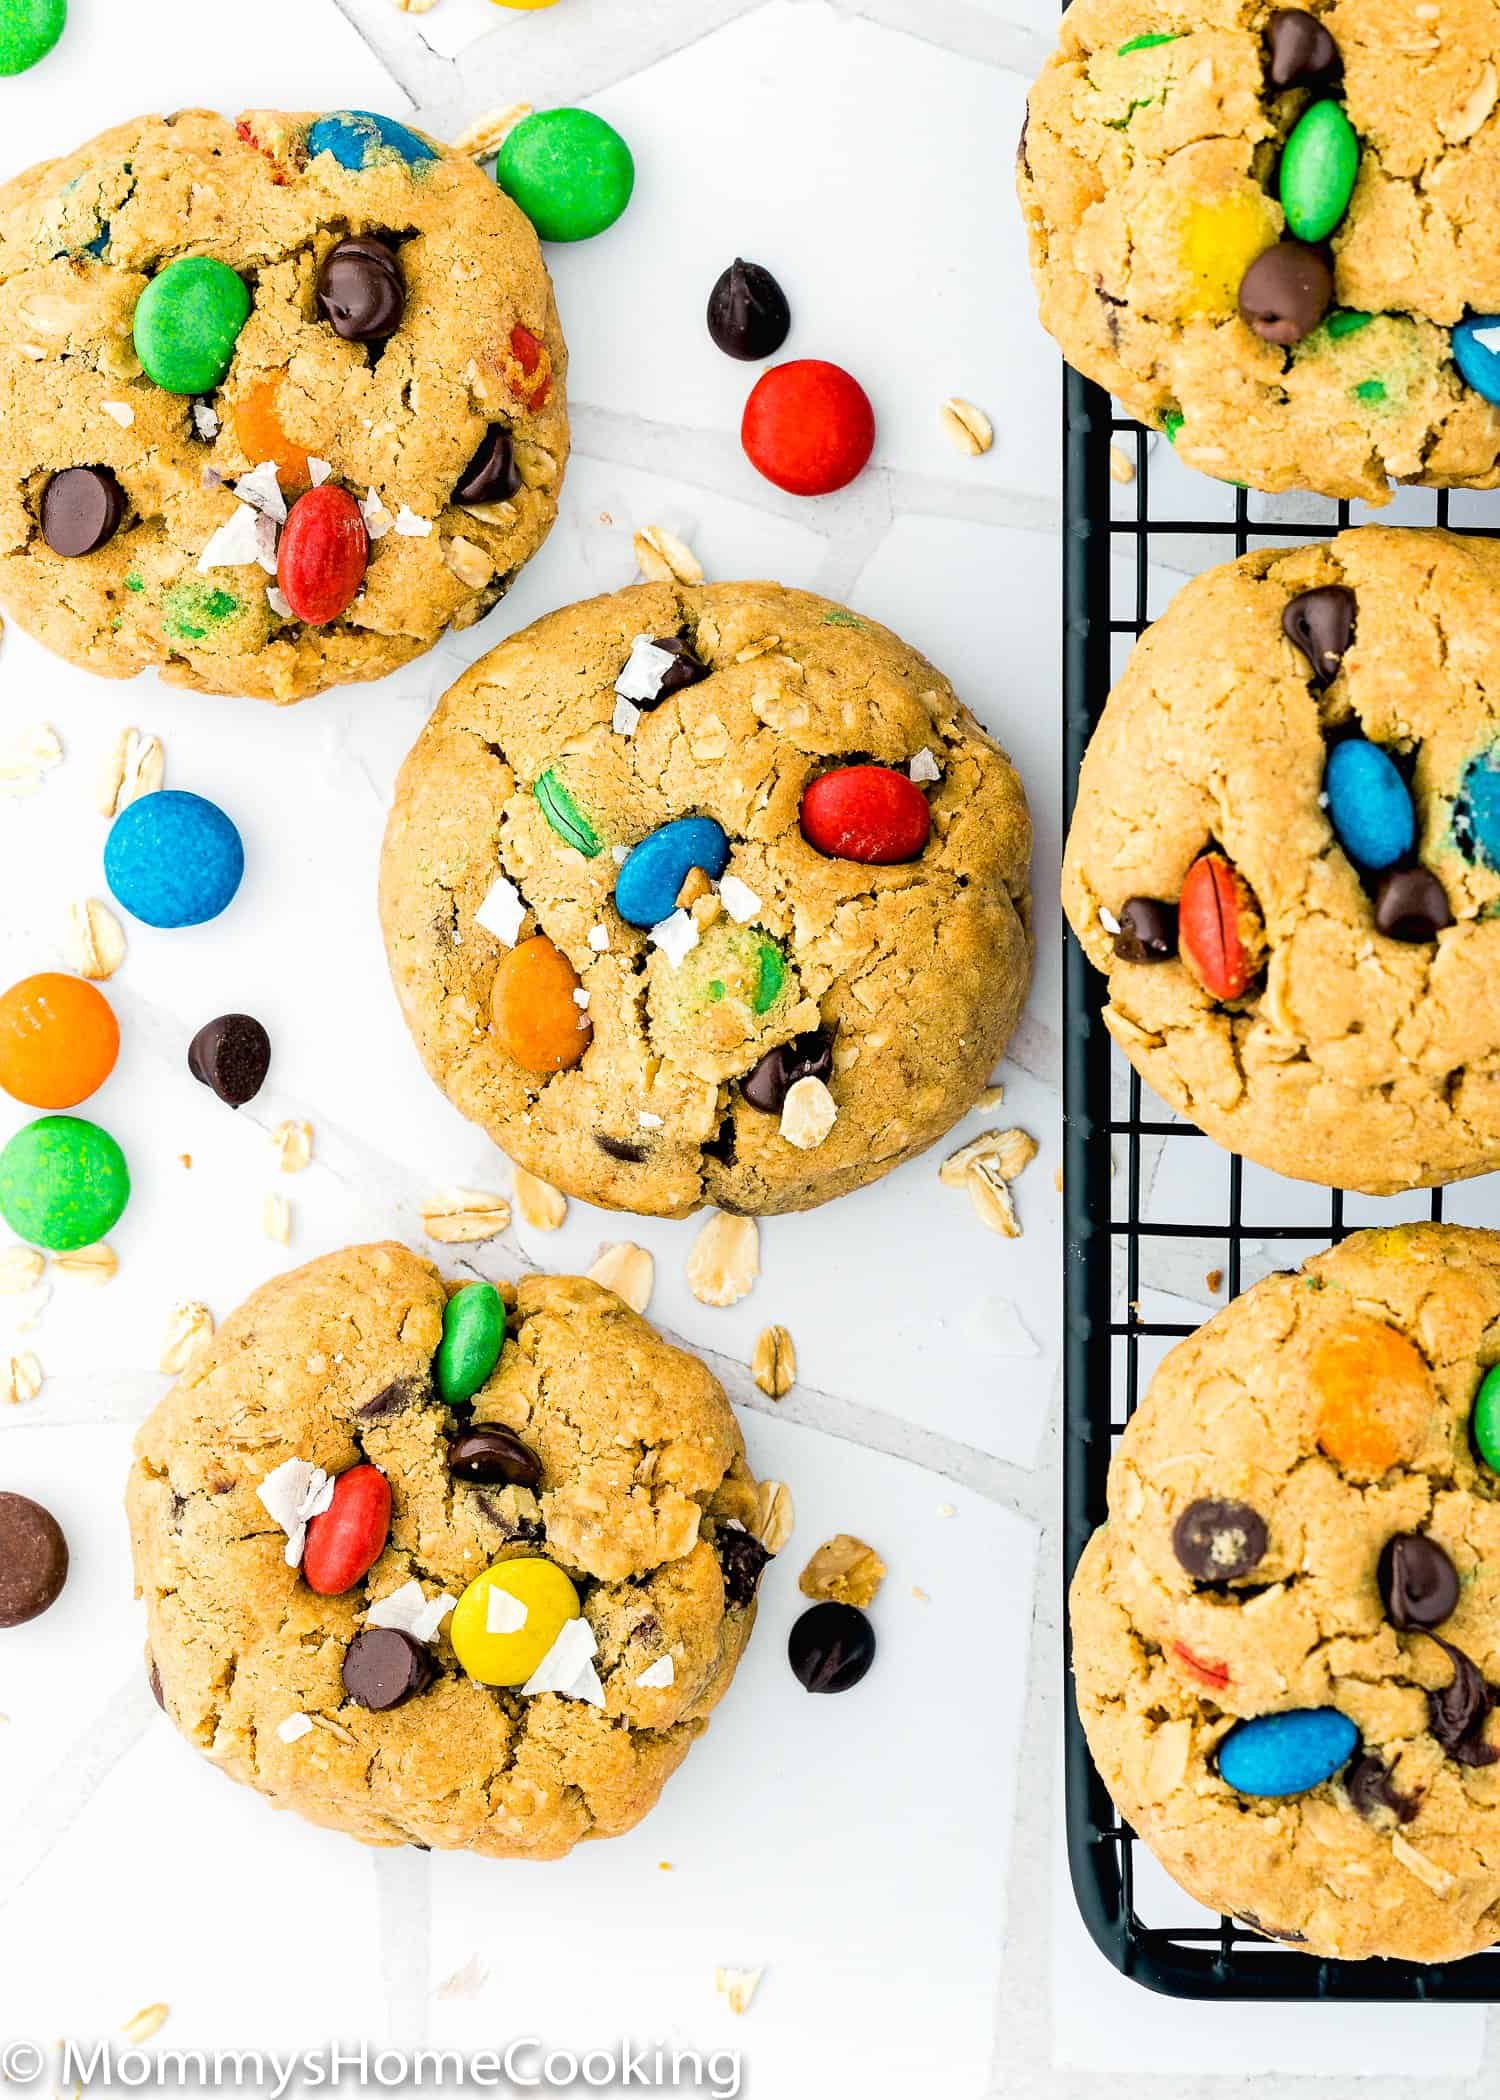
These Eggless Monster Cookies are soft, chewy, thick, and so easy to make!
One awesome thing about Eggless Monster Cookies is that the cookie dough does not need to be chilled, so you can make these in no time! They can also be frozen, unbaked, or baked.
My Eggless Monster Cookies also have the option of using peanut-free butter, so if you have any allergies to peanuts to contend with, this recipe is definitely for you.
Despite the name, Eggless Monster Cookies aren’t actually “monsters” in size. But if you’d like to make them larger, you can! It can be a fun way to customize them.
Ingredients You’ll Need
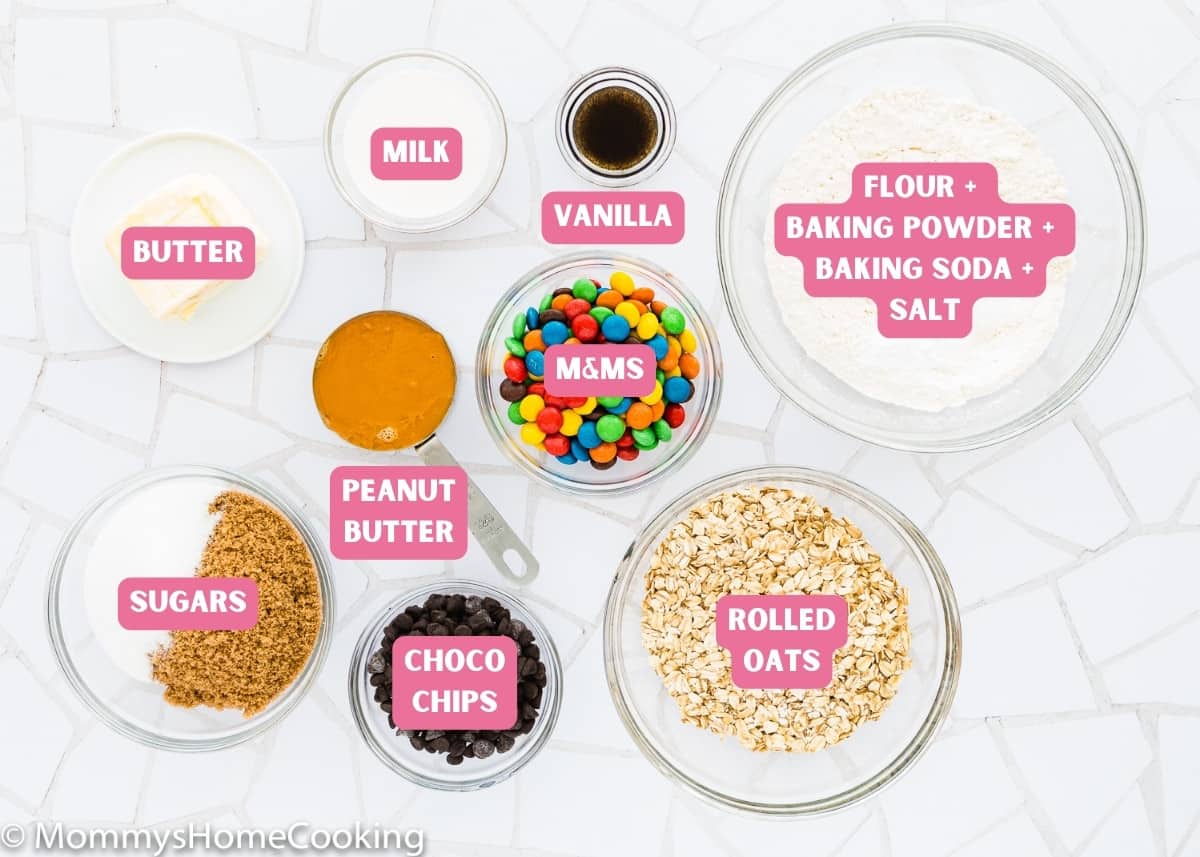
The ingredients needed for Eggless Monster Cookies aren’t all that different from traditional cookies, so most of the items you’ll already have on hand! Amounts are included in the printable recipe below (scroll down). Here’s what you’ll need:
Ingredients Notes & Substitutions
- Flour: Standard all-purpose flour works best here; skip the cake flour, bread flour, and wheat flour.
- Oats: I have made this recipe with Old-fashioned rolled oats and with quick oats, and both are delicious. However, Quick oats will give the monster cookies a more uniform texture.
- Baking powder & Baking soda: Make sure they’re not expired or too old. To avoid a chemical aftertaste, make sure your baking powder is labeled aluminum free. I usually use the Clabber Girl brand, and though the ingredients state aluminum, I’ve never noticed an aluminum aftertaste.
- Salt: I prefer kosher or sea salt. If you only have table salt handy, I recommend reducing the amount to half.
- Butter: For baking, I use unsalted butter, but if you only have salted butter handy, you can use it. In this case, skip the salt called in the recipe.
- Sugar: For this recipe, you will need Regular white granulated sugar or caster sugar and brown sugar.
- Creamy peanut butter: I use Wowbutter Natural Peanut Free Creamy. If you don’t have a peanut allergy, you can use your favorite creamy peanut butter.
- Milk: I like to use whole milk for my baked good but feel free to use any milk you have on hand, even plant-based milk.
- Vanilla extract: For optimal flavor, reach for pure vanilla instead of imitation. Even better, try homemade vanilla extract!
- M&Ms: Any size or variety.
- Chocolate Chips: I like to add Semi-sweet chocolate chips but feel free to use dark or milk chocolate chips.
Step By Step Recipe Photo Tutorial
Detailed instructions are included in the printable recipe below (scroll down).
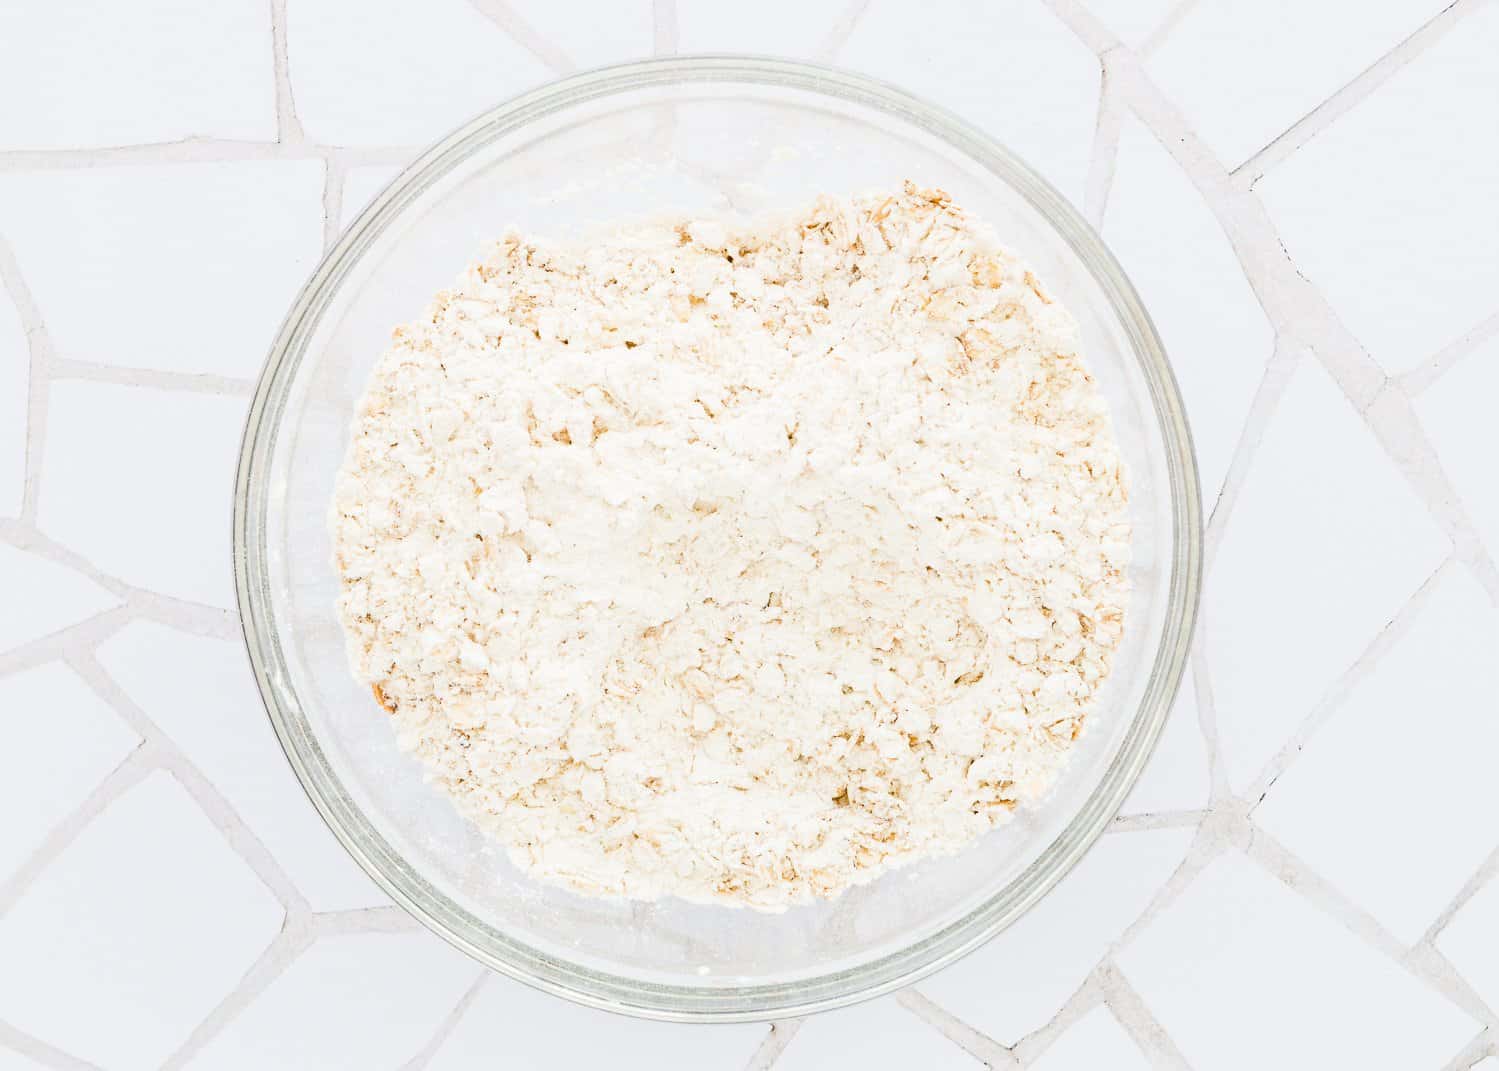
Step 1 – Mix All the Dry Ingredients
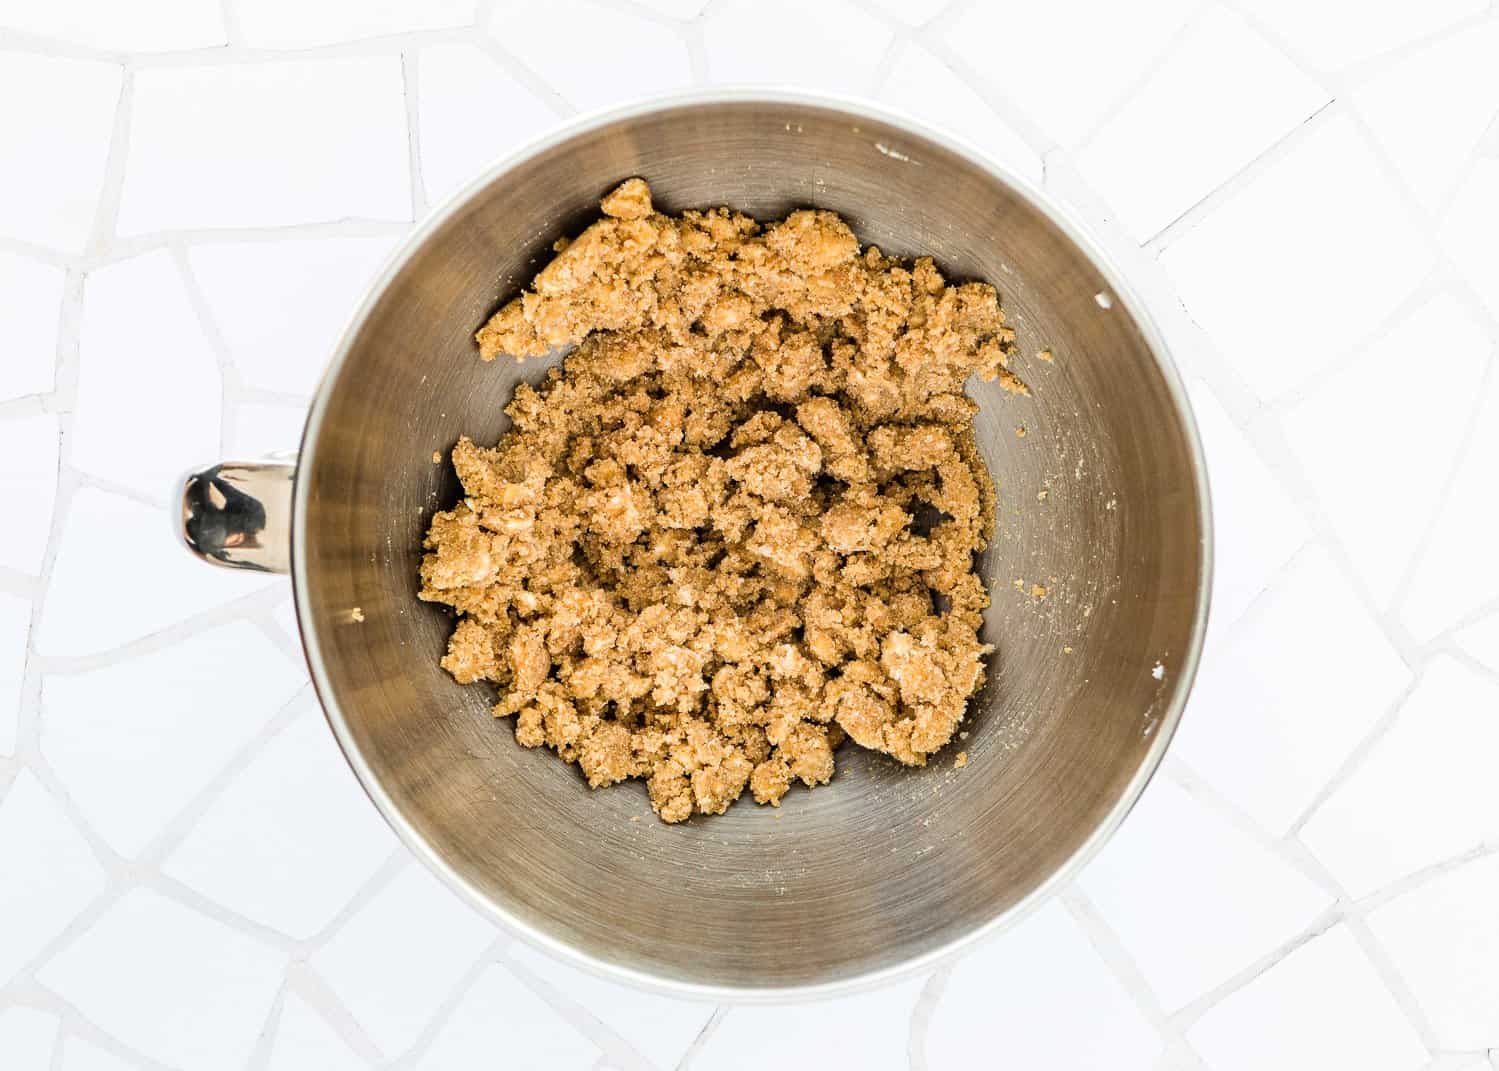
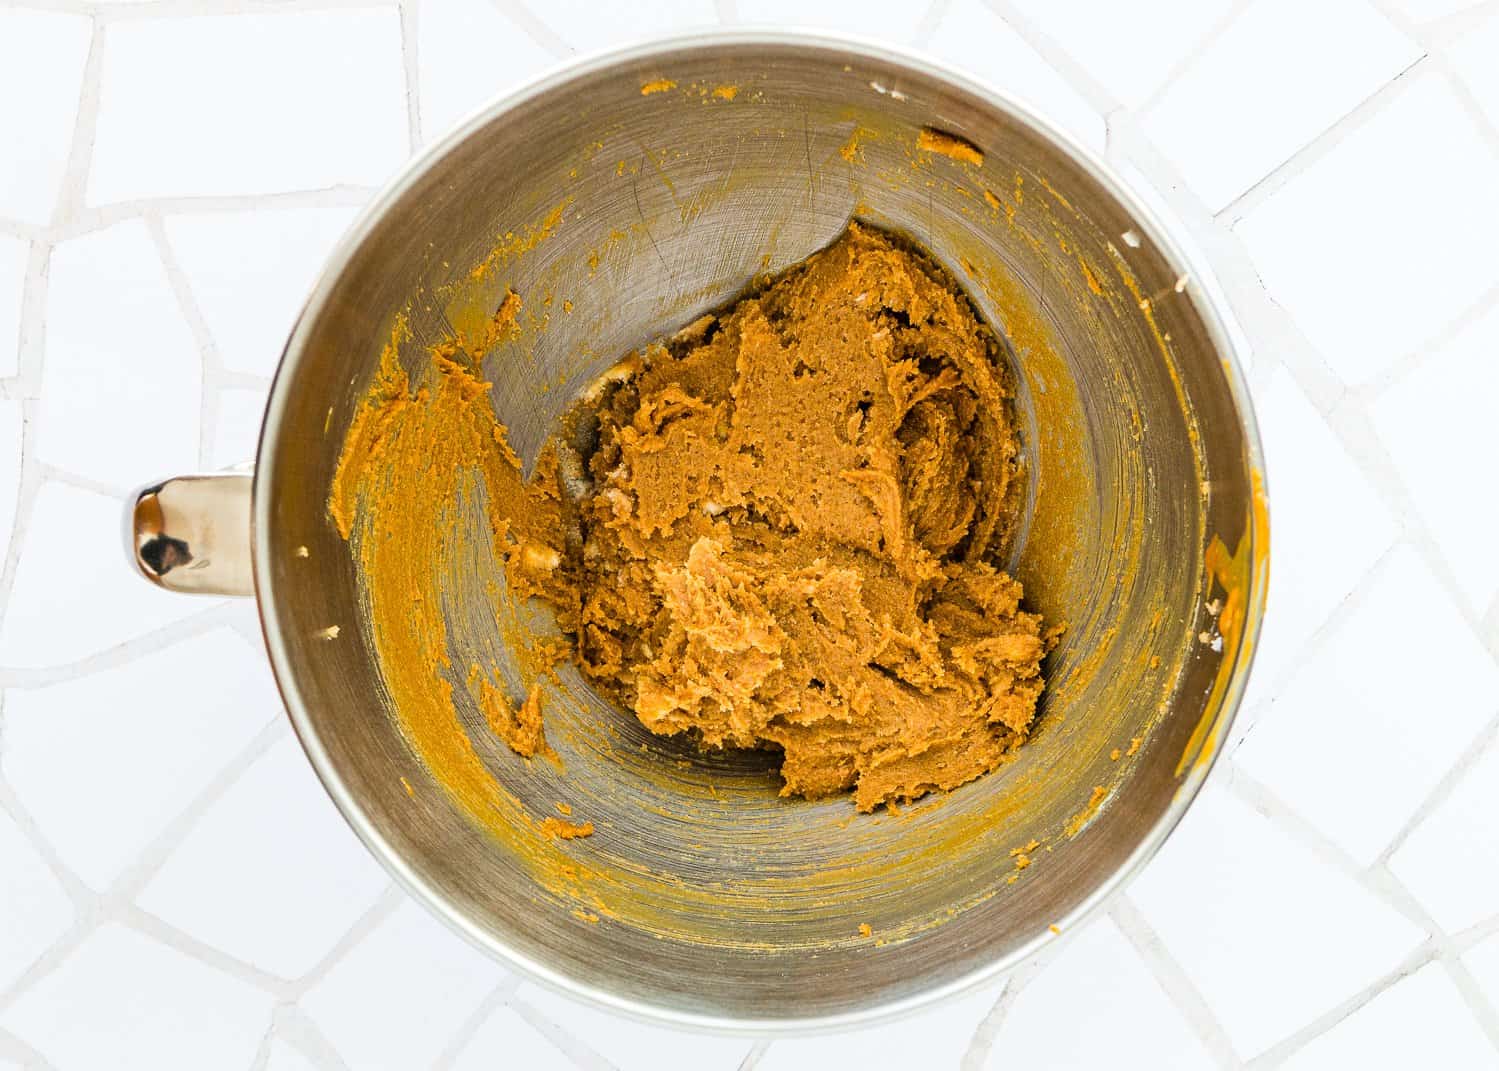
Step 2 – Cream Butter and Sugars
Beat the butter and sugars in a separate, larger bowl, then add the peanut butter.
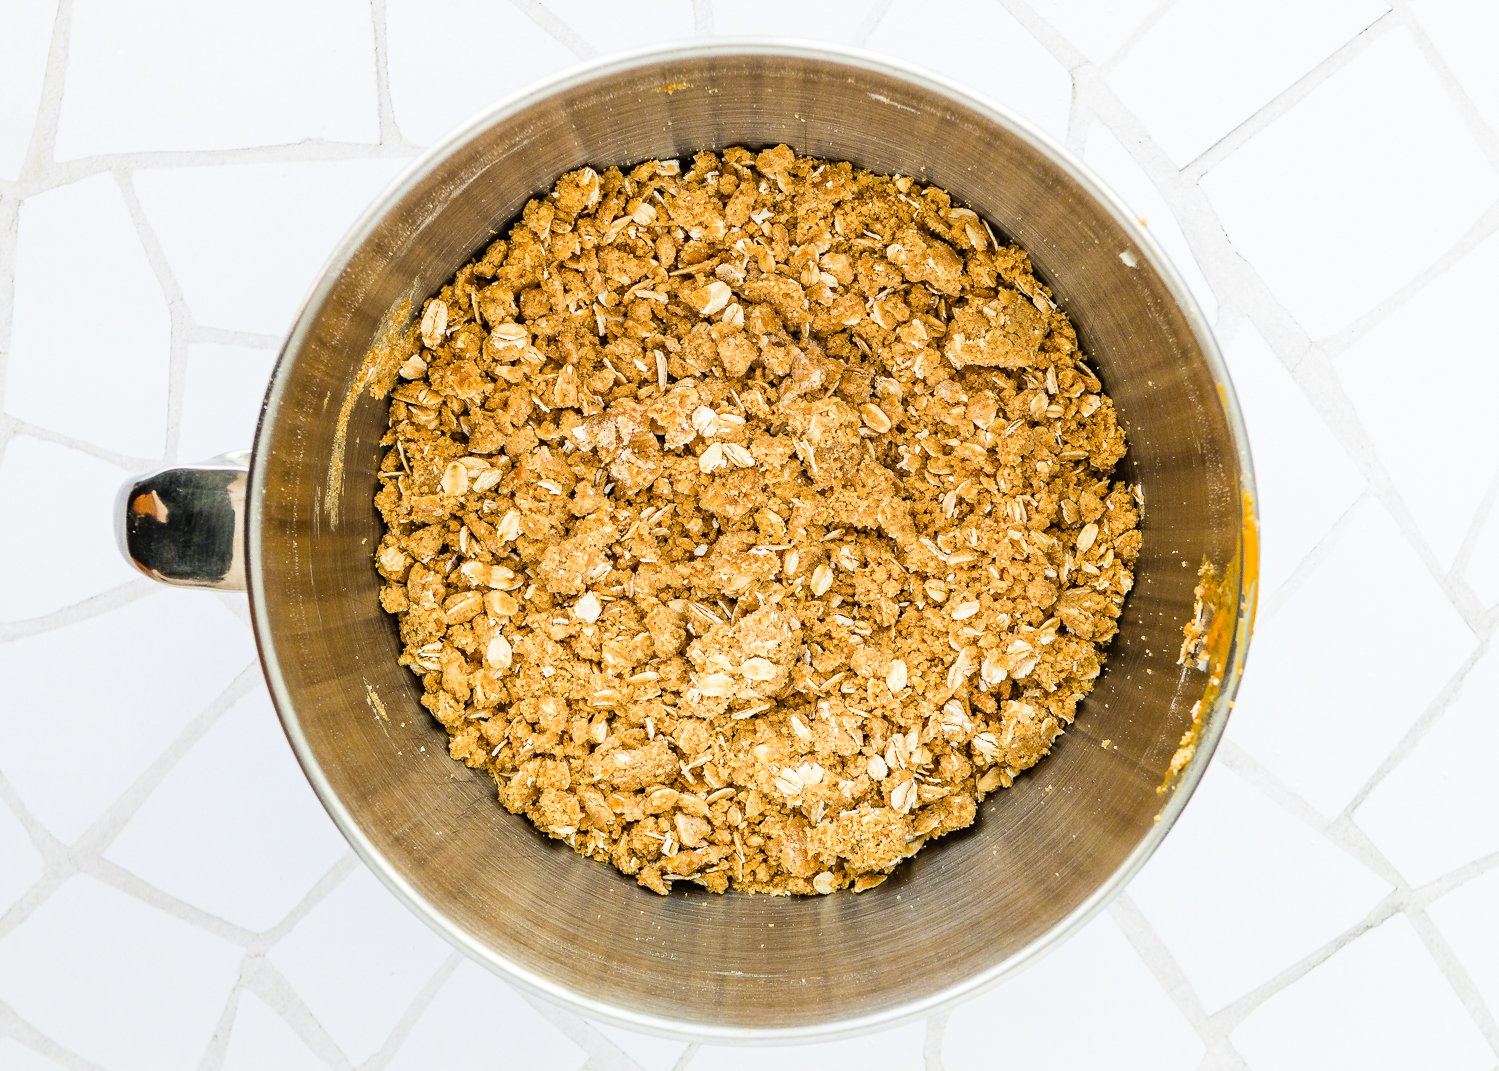
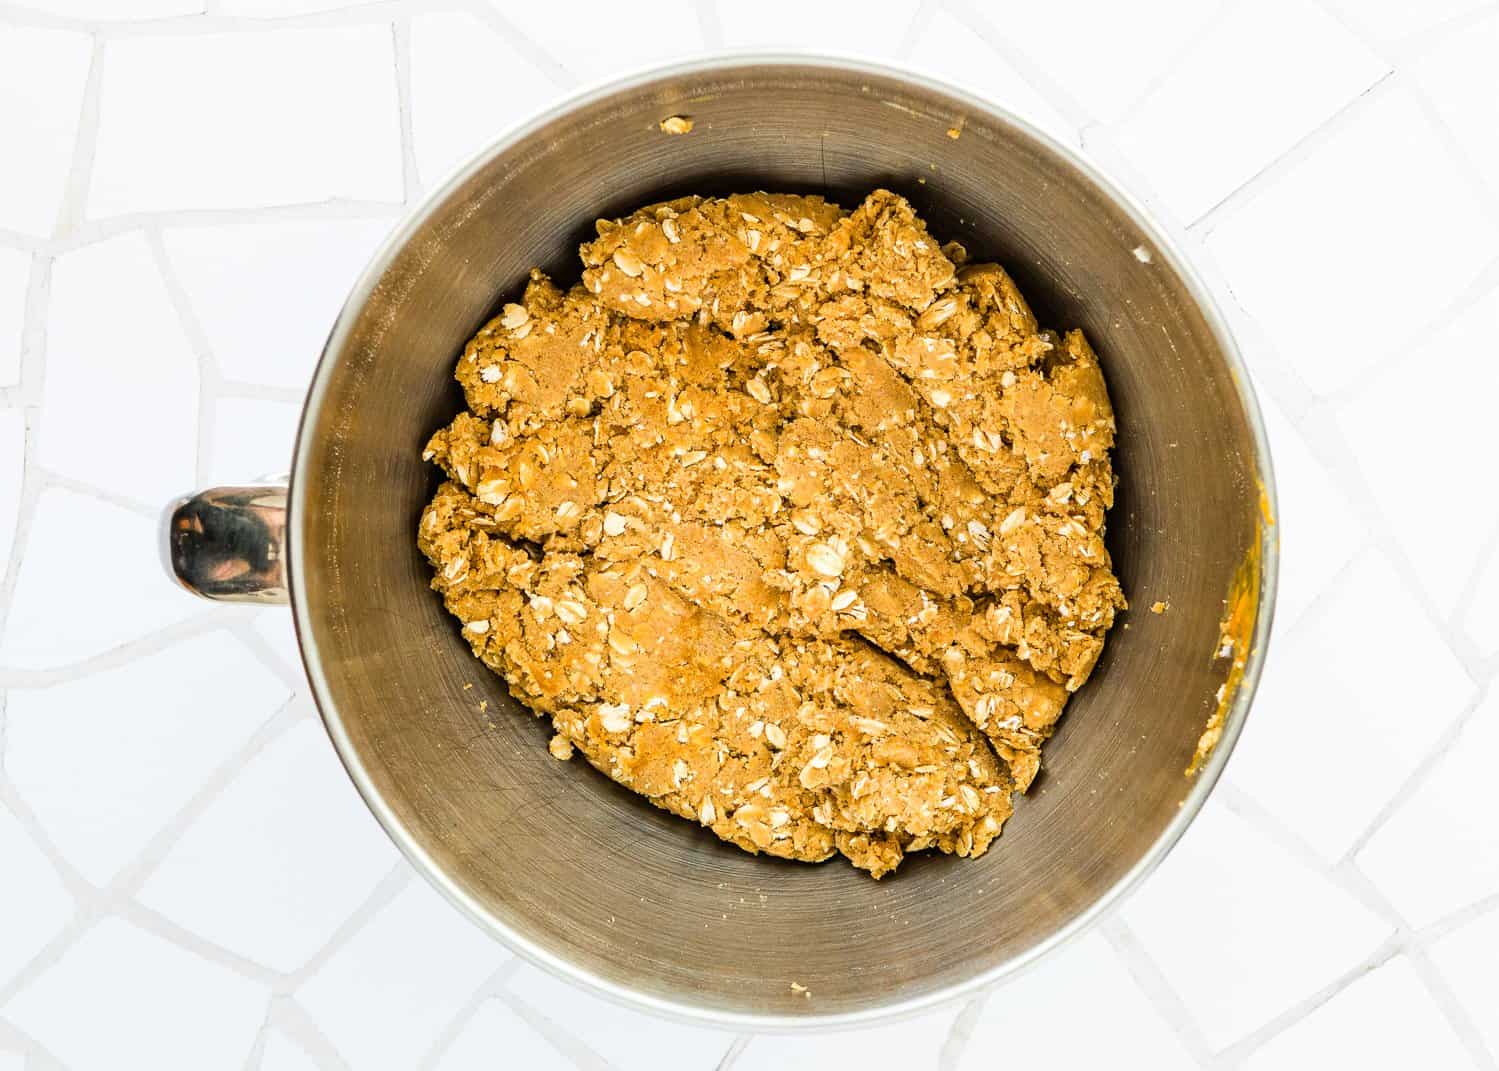
Step 3 – Mix In Dry Ingredients
Add the dry ingredients. And then the milk.
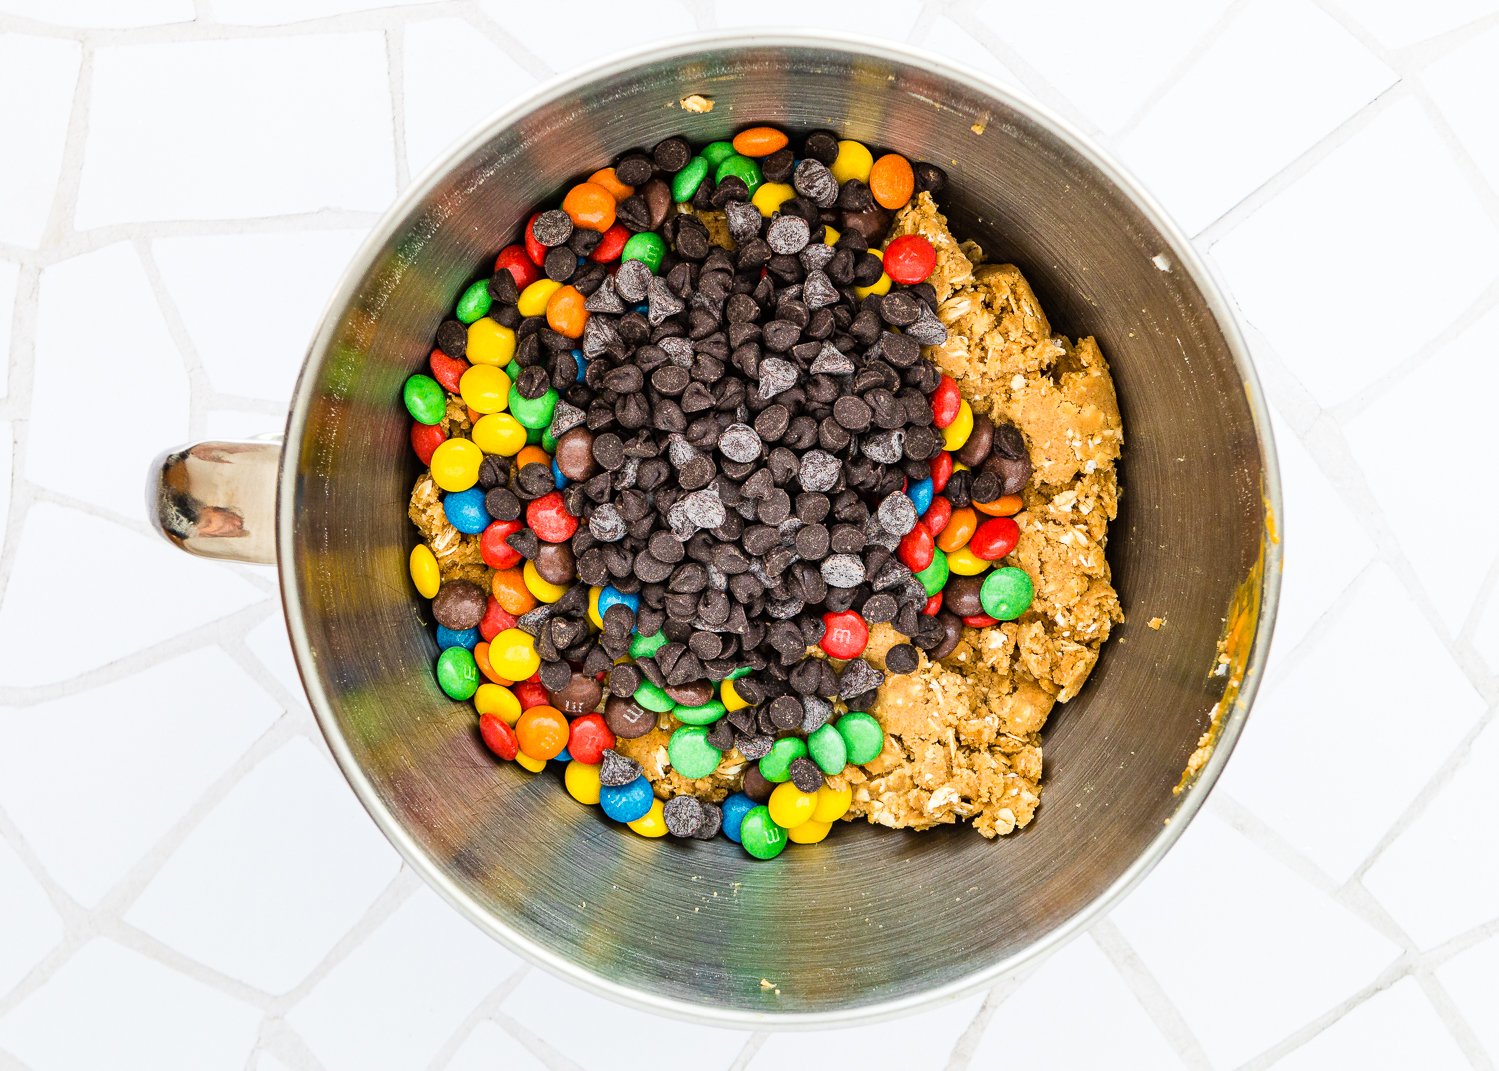
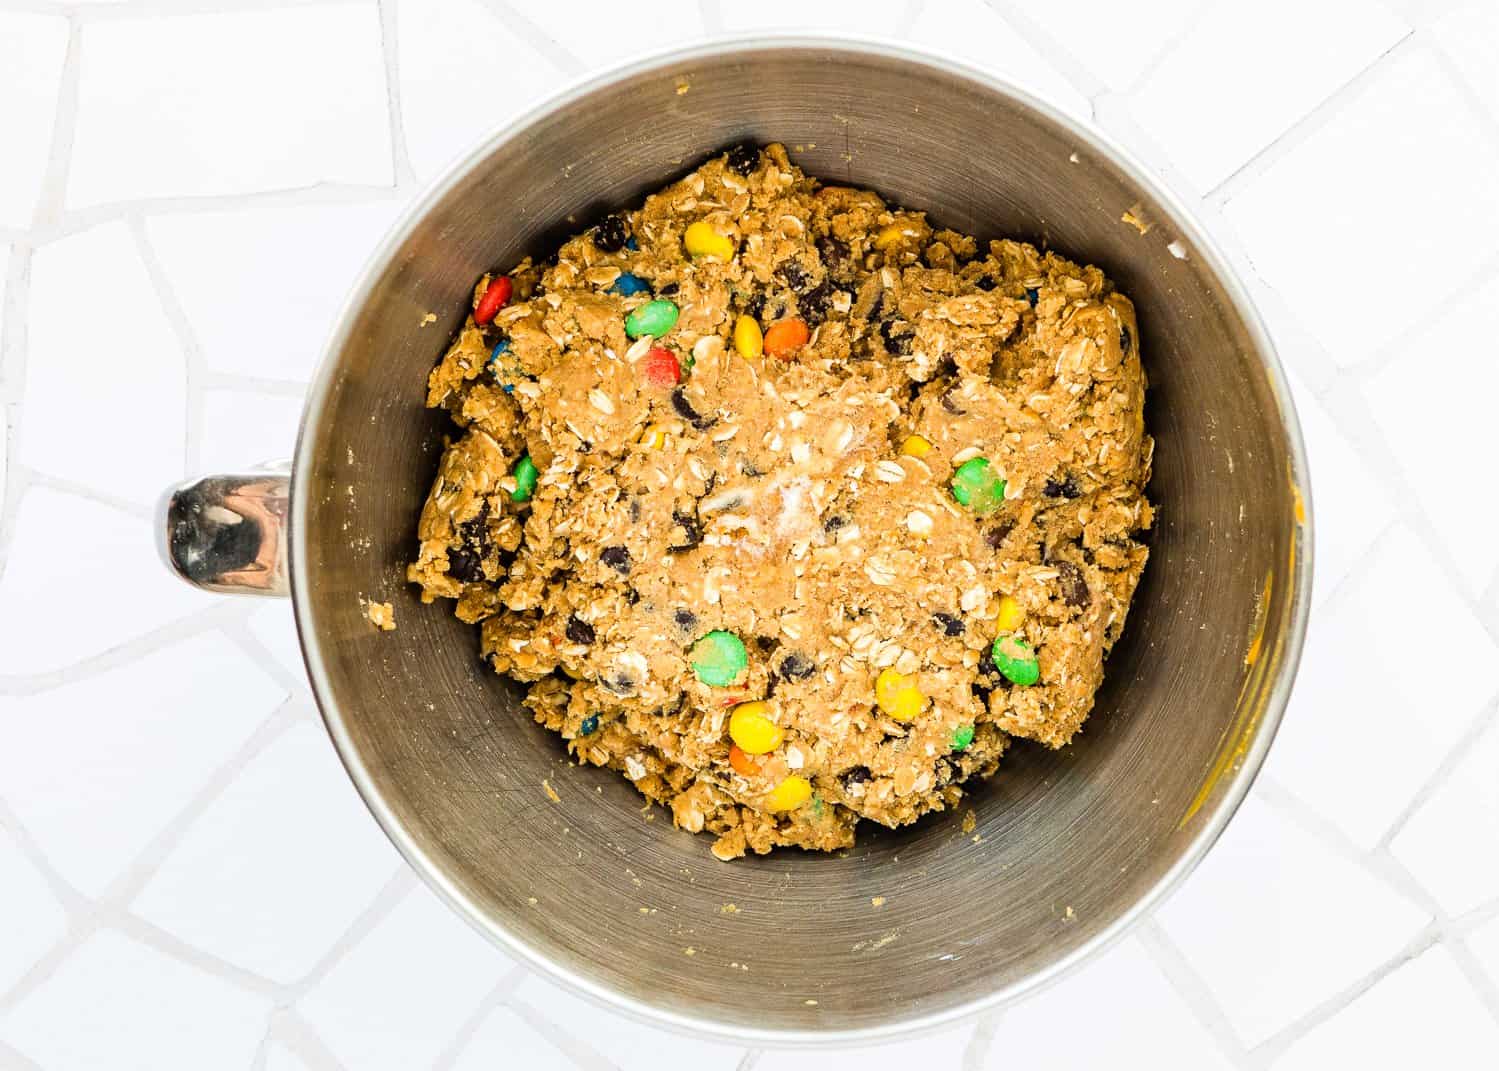
Step 4 – Fold In The M&Ms And Chocolate Chips
Step 5 – Form The Dough Into Balls
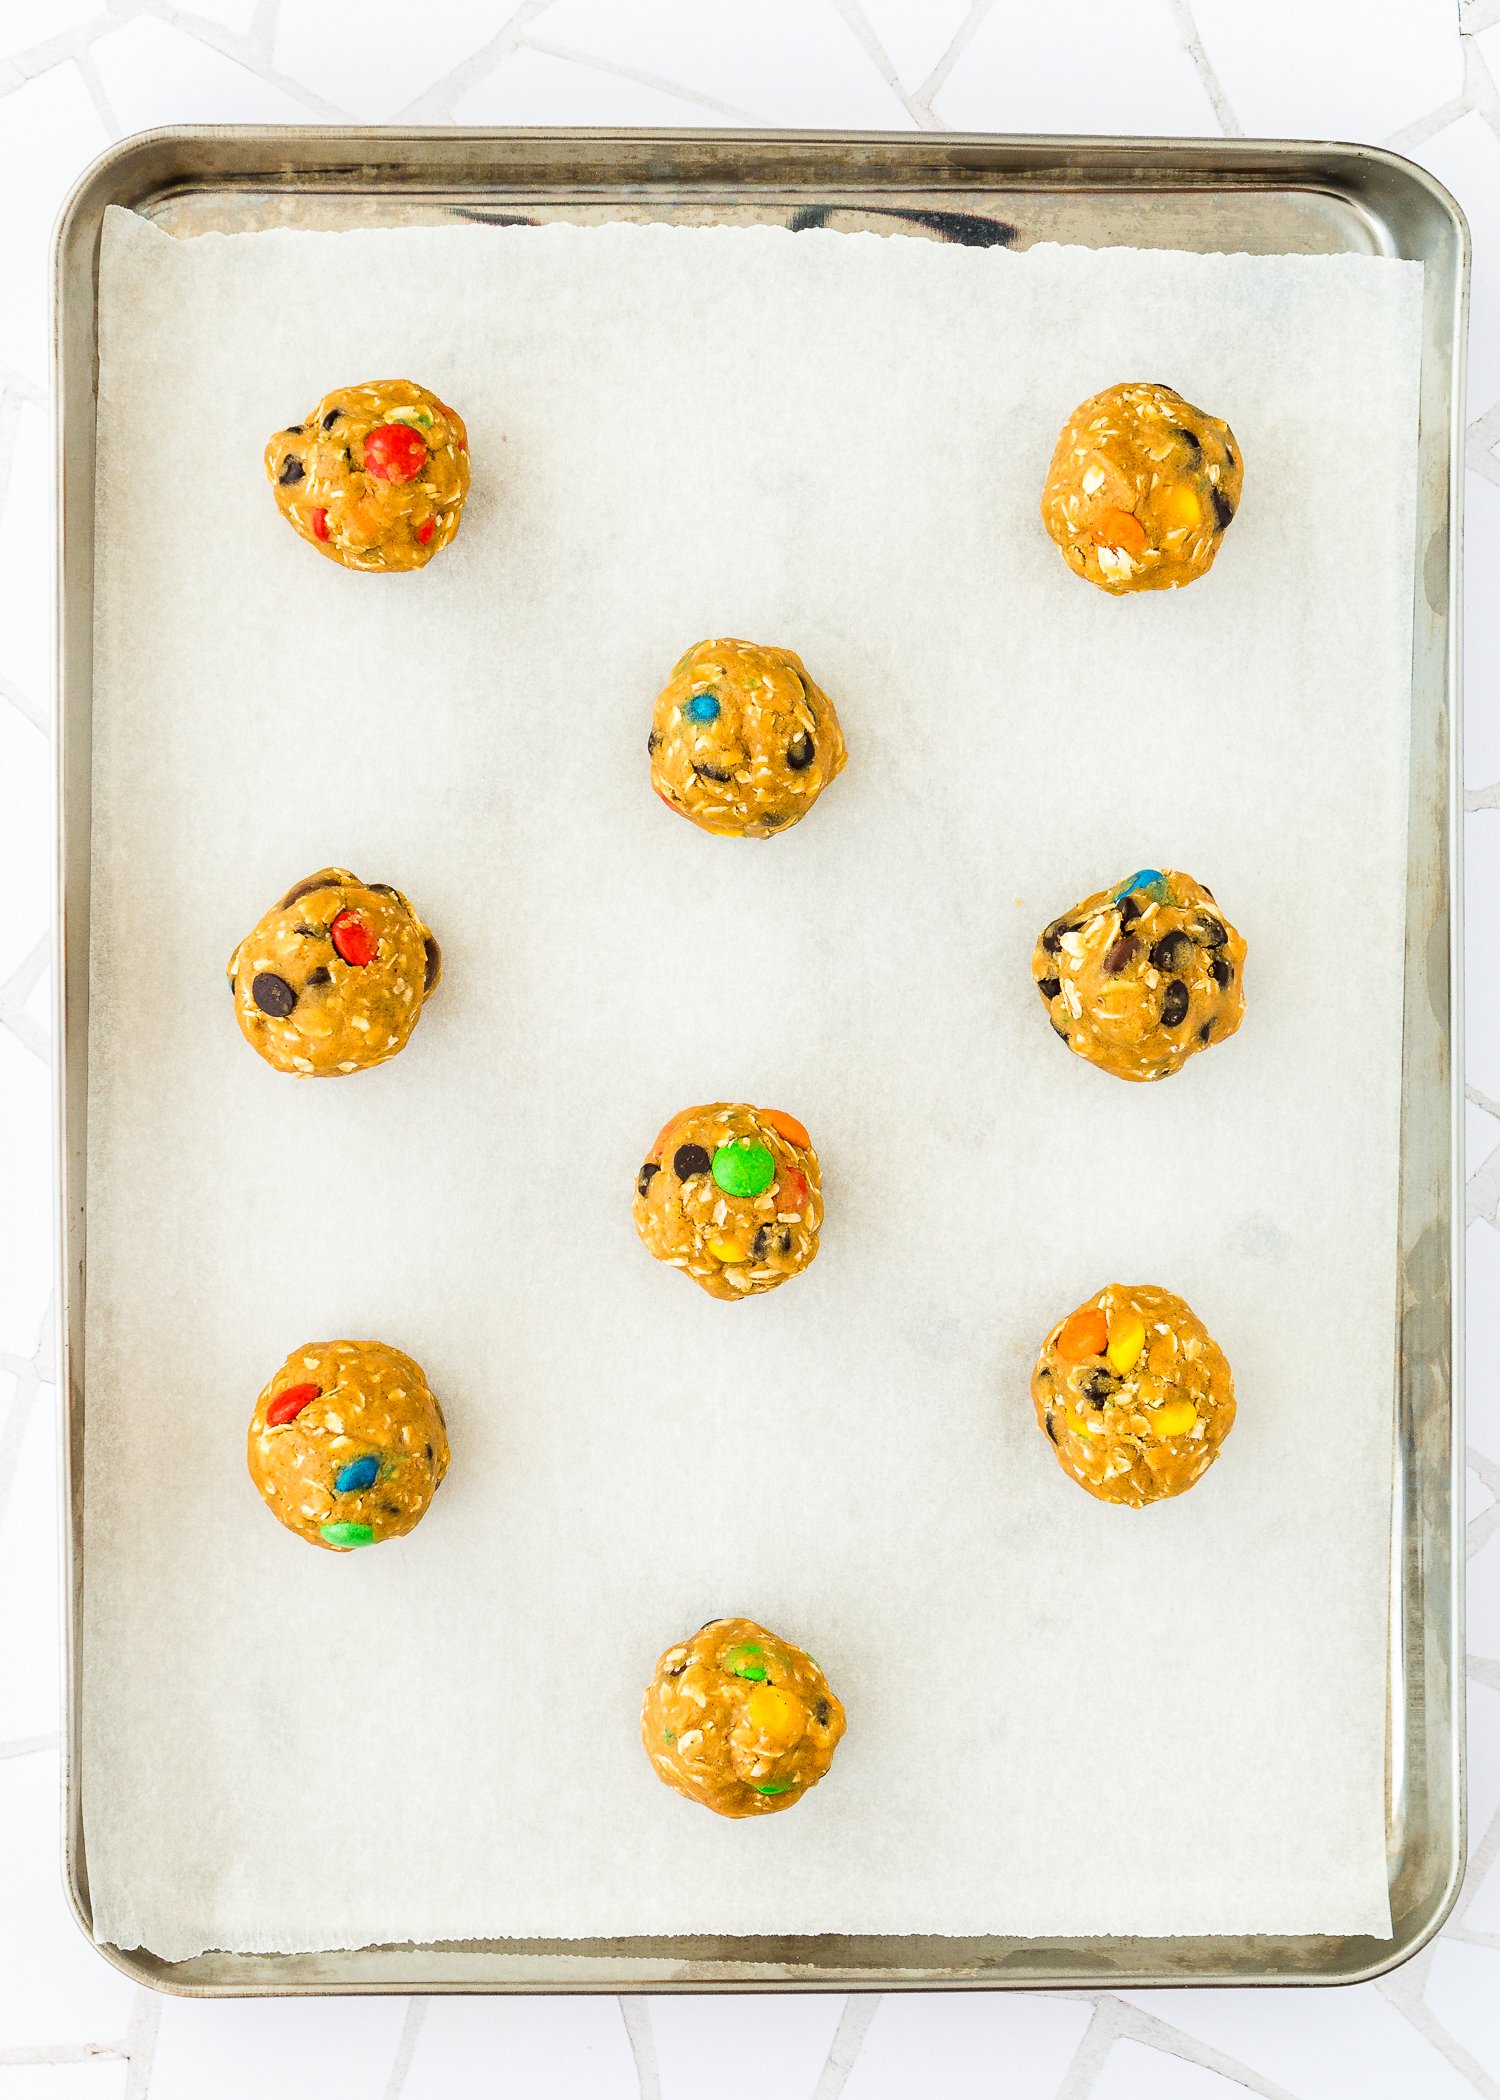
I highly recommend getting a small cookie scoop for this step! It will help make the cookies uniform in size, and it will save you time.
Step 6 – Bake
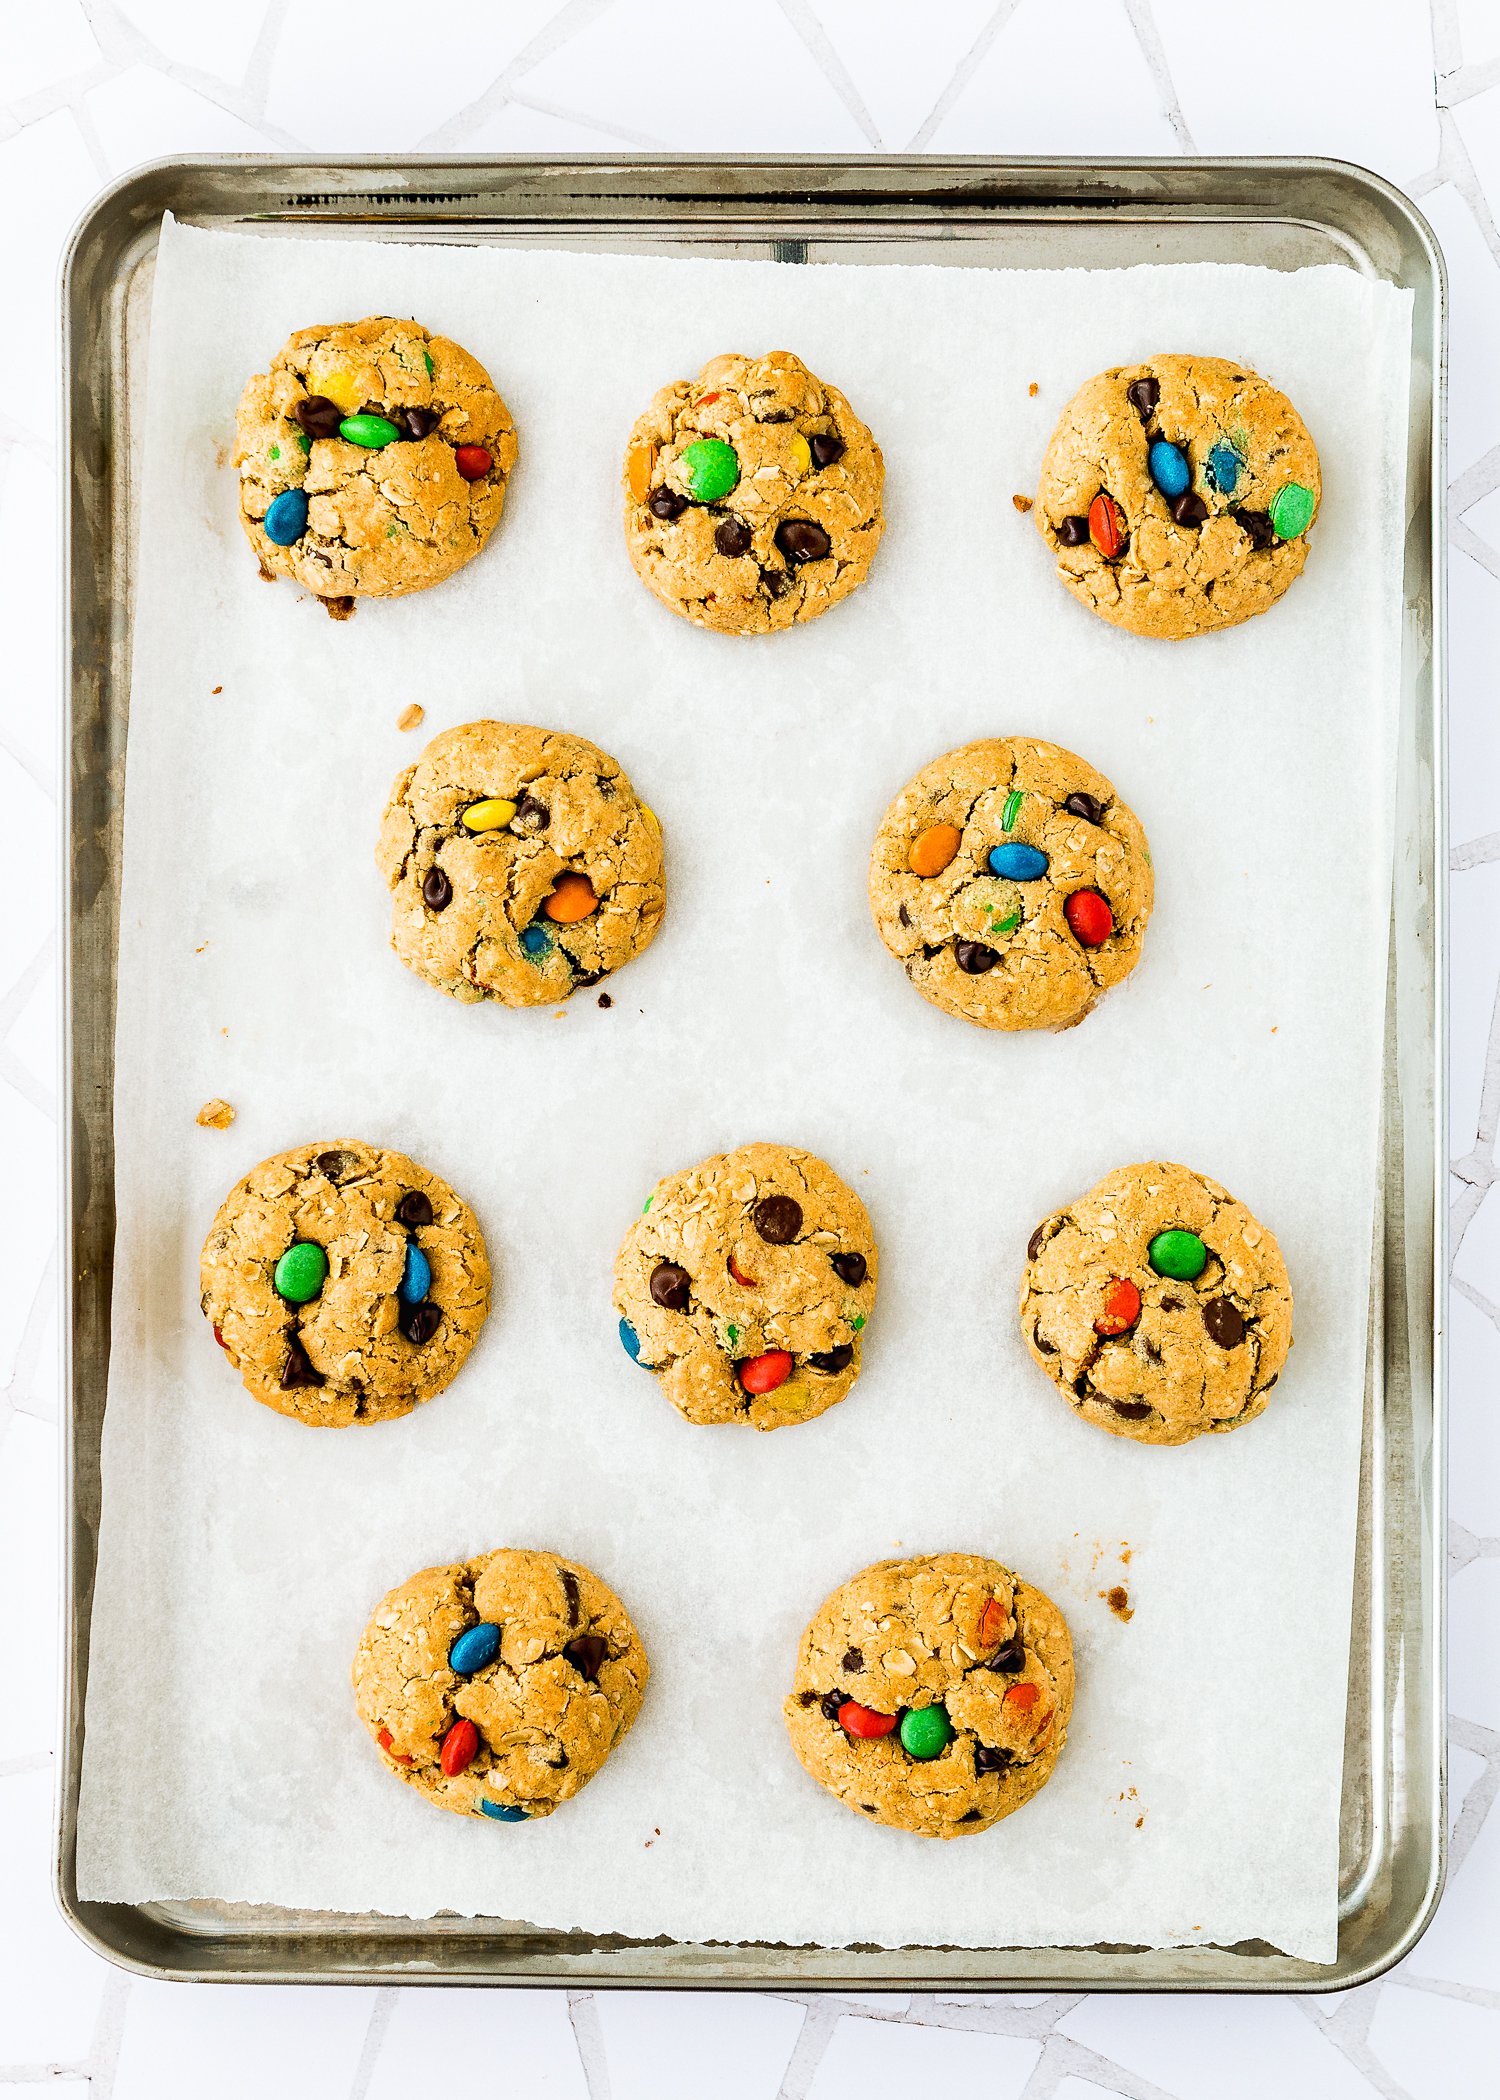
Bake until just the edges are lightly brown. The middle may look a little doughy, but it will finish cooking as it cools.
Be sure to measure the ingredients properly! A kitchen scale is always the best option, in my opinion.
Don’t over-mix your cookie dough, or you will end up with a dense cookie.
For evenly sized cookies (better for baking), use a small spring-loaded ice cream scoop to spoon out the dough. Trust me; this isn’t the only recipe you will use this little tool for!
Bake the cookies until they are JUST golden around the outside. The cookies might still look a little raw in the center, but they will be perfect once they cool.
Let the cookies cool on the hot baking sheets for about two minutes. If you leave the cookies on the baking sheets for too long, they will continue cooking, and they will end up hard.
I don’t recommend using natural peanut butter.
Storing & Freezing Instructions
Store: Store Eggless Monster Cookies at room temperature in an airtight container for up to seven days.
Freeze Unbaked Cookie Balls: Unbaked cookie dough balls freeze well for up to three months. Roll the dough into balls, line them up on a baking sheet, and pop them in the freezer for about 30 minutes. Once frozen, toss all the frozen dough balls into a freezer-safe zip-top bag. Don’t forget to label the bag with the date and what is in the bag!
Baking Frozen Cookie Balls: Frozen cookie balls can be baked without thawing first! Add an extra minute to the baking time.
Freeze Baked Cookies: Let the cookies cool completely after baking. Then place on a cookie sheet and flash freeze for about 30 minutes. Once they’re hard, place the cookies in a freezer container or bag and freeze them for up to two months. To thaw, remove them from the freezer about two hours before enjoying them and let them thaw at room temperature.
Frequently Asked Questions
Natural-style peanut butter isn’t ideal for these cookies. They will turn out too dry and crumbly. I do not recommend it.
I haven’t tried it myself, but I think it could work. I suggest a 7×11 inch pan for monster cookie bars. The bake time will be around 32-36 minutes at 350º F, but use a toothpick to test for doneness.
I like Wowbutter or Field Trip Chickpea Butter. They work great as replacements!
No one likes a hard, dry cookie. To ensure cookie freshness, store them in a container with a slice of white bread. The cookies will absorb that moisture, keeping them soft longer.
- Eggless Oatmeal Cookies
- Eggless White Chip Chocolate Cookies
- The Best Eggless Chocolate Chip Cookies
- Eggless Red Velvet Cookies
- Eggless Snickerdoodle Cookies
- more cookies…
❤️ Love what you see? JOIN my Private Baking Club. Also, SUBSCRIBE to Mommy’s Home Cooking, so you’ll never miss a recipe! And FOLLOW along on Instagram, Pinterest, and Facebook for more fun!
Recipe Card 📖

Eggless Monster Cookies
Equipment
Ingredients
- 1 ½ cups (210 g) all-purpose flour
- 1 1/4 cups (150 g) oats (You can use old-fashioned rolled or quick oat – I recommend quick oats – read notes)
- 1/2 teaspoon baking powder
- 1/2 teaspoon baking soda
- ½ teaspoon salt
- 1/2 cup (115 g) unsalted butter, cold and diced
- 1/4 cup (50 g) granulated sugar
- 3/4 cup (150 g) brown sugar
- 1/2 cup (125 g) creamy peanut butter (I use peanut-free butter – see notes)
- ¼ cup (60 ml) milk
- 1 teaspoon pure vanilla extract
- 3/4 cup (150 g) M&Ms (any size or variety)
- 1/2 cup (100 g) semi-sweet chocolate chips
Instructions
- Preheat oven to 350º F (180º C). Line a large baking sheet with parchment paper or a silicone baking mat.
- Combine flour, oats, baking powder, baking soda, and salt in a bowl. Set aside.
- Using an electric hand mixer or a stand mixer, beat the cold butter on medium speed for 30 to 45 seconds just to break it down a little. Add the granulated sugar and brown sugar and mix until just combined, 30 to 45 seconds. Add peanut butter and beat until incorporated. Scrape down the sides and bottom of the bowl as needed.
- Reduce the speed to low and add the flour mixture; mix until it resembles coarse crumbs. Add the milk and vanilla; mix until the dough comes together into a big ball.
- Add the M&M's and chocolate chips and gently fold them into the cookie dough.
- Use a small cookie scoop (1.5 tablespoons) to measure out the oatmeal cookie dough. Roll each portion into a ball and place them evenly spaced, about 2 inches apart, onto the prepared cookie sheet.
- Bake for 10-12 minutes, until barely golden brown around the edges but still soft in the middle. When you remove the cookies from the oven, they will still look doughy, and that is okay; they will continue to set as they cool. Note: The cookies spread just slightly while baking, so press them down with a spoon after you remove them from the oven. That’s what gives the cookies their crinkled tops.
- Cool on baking sheets for 2 minutes; remove to wire racks to cool completely.
- Be sure to measure the ingredients properly! A kitchen scale is always the best option, in my opinion.
- Don’t over-mix your cookie dough, or you will end up with a dense cookie.
- For evenly sized cookies (better for baking), use a small spring-loaded ice cream scoop to spoon out the dough. Trust me; this isn’t the only recipe you will use this little tool for!
- Bake the cookies until they are JUST golden around the outside. The cookies might still look a little raw in the center, but they will be perfect once they cool.
- Let the cookies cool on the hot baking sheets for about two minutes. If you leave the cookies on the baking sheets for too long, they will continue cooking, and they will end up hard.
- I don’t recommend using natural peanut butter.
- Right when the cookies come out of the oven, I like to press a couple of extra chocolate chips and M&Ms into the tops of the warm cookies.
Nutrition
Eggless Baking Frequently Asked Questions
You’ve asked, and I’ve answered! Read on for a handful of answers to the most frequently asked questions about eggless baking.
Originally posted in February 2021, the post content was edited to add more helpful information, with no change to the recipe in August 2022.
