

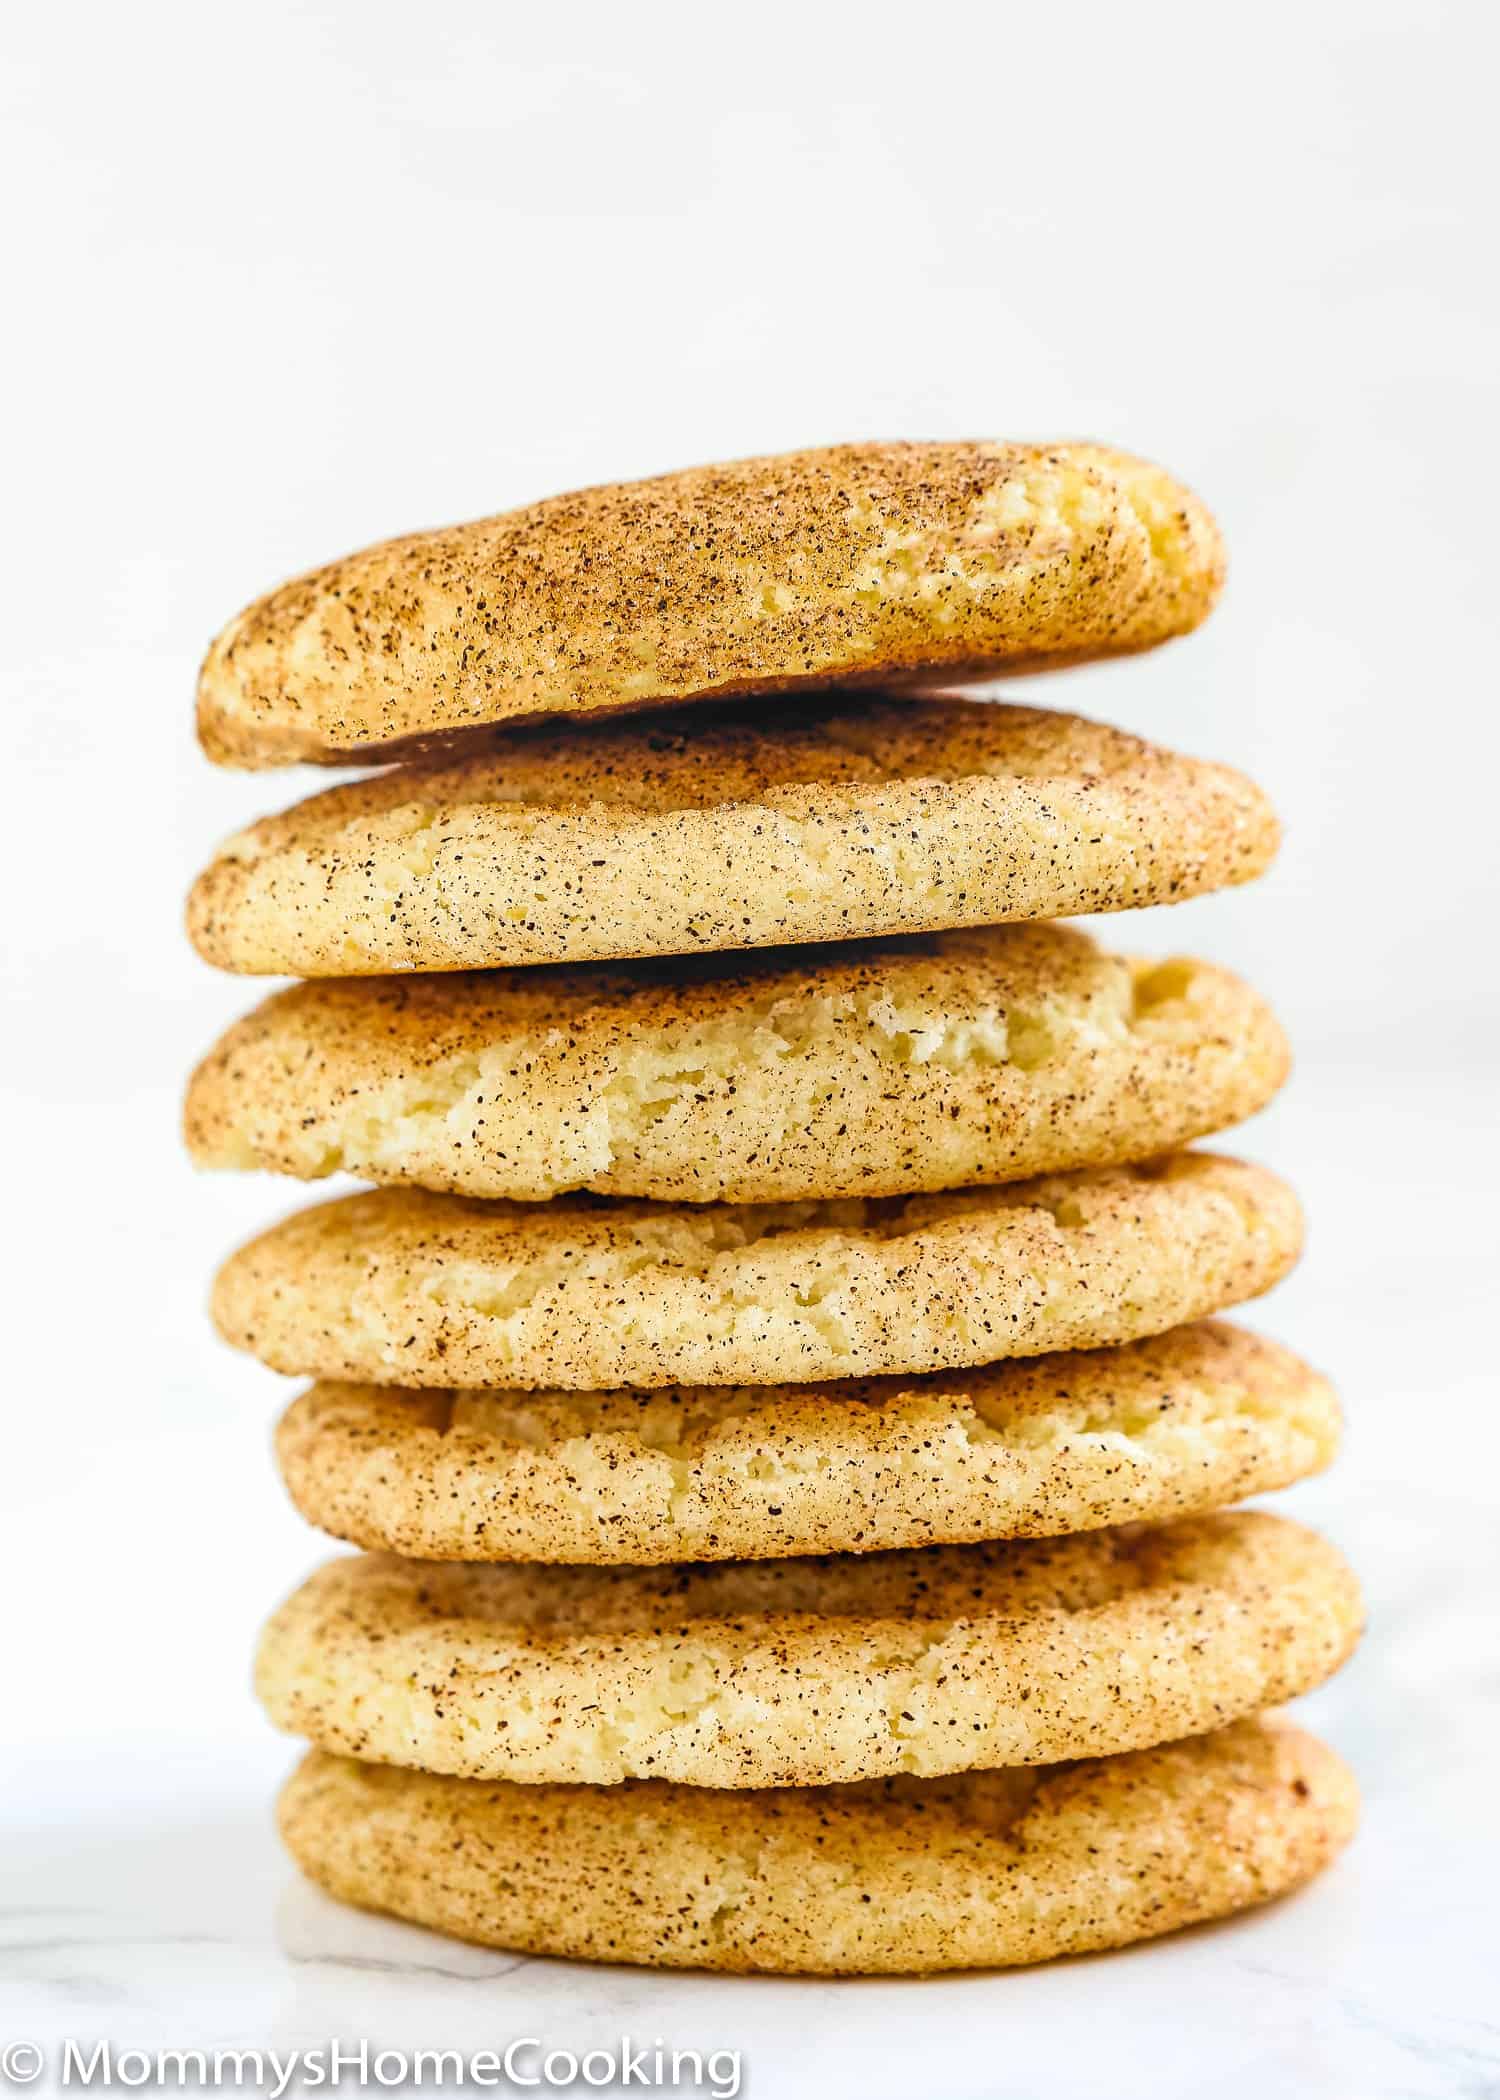
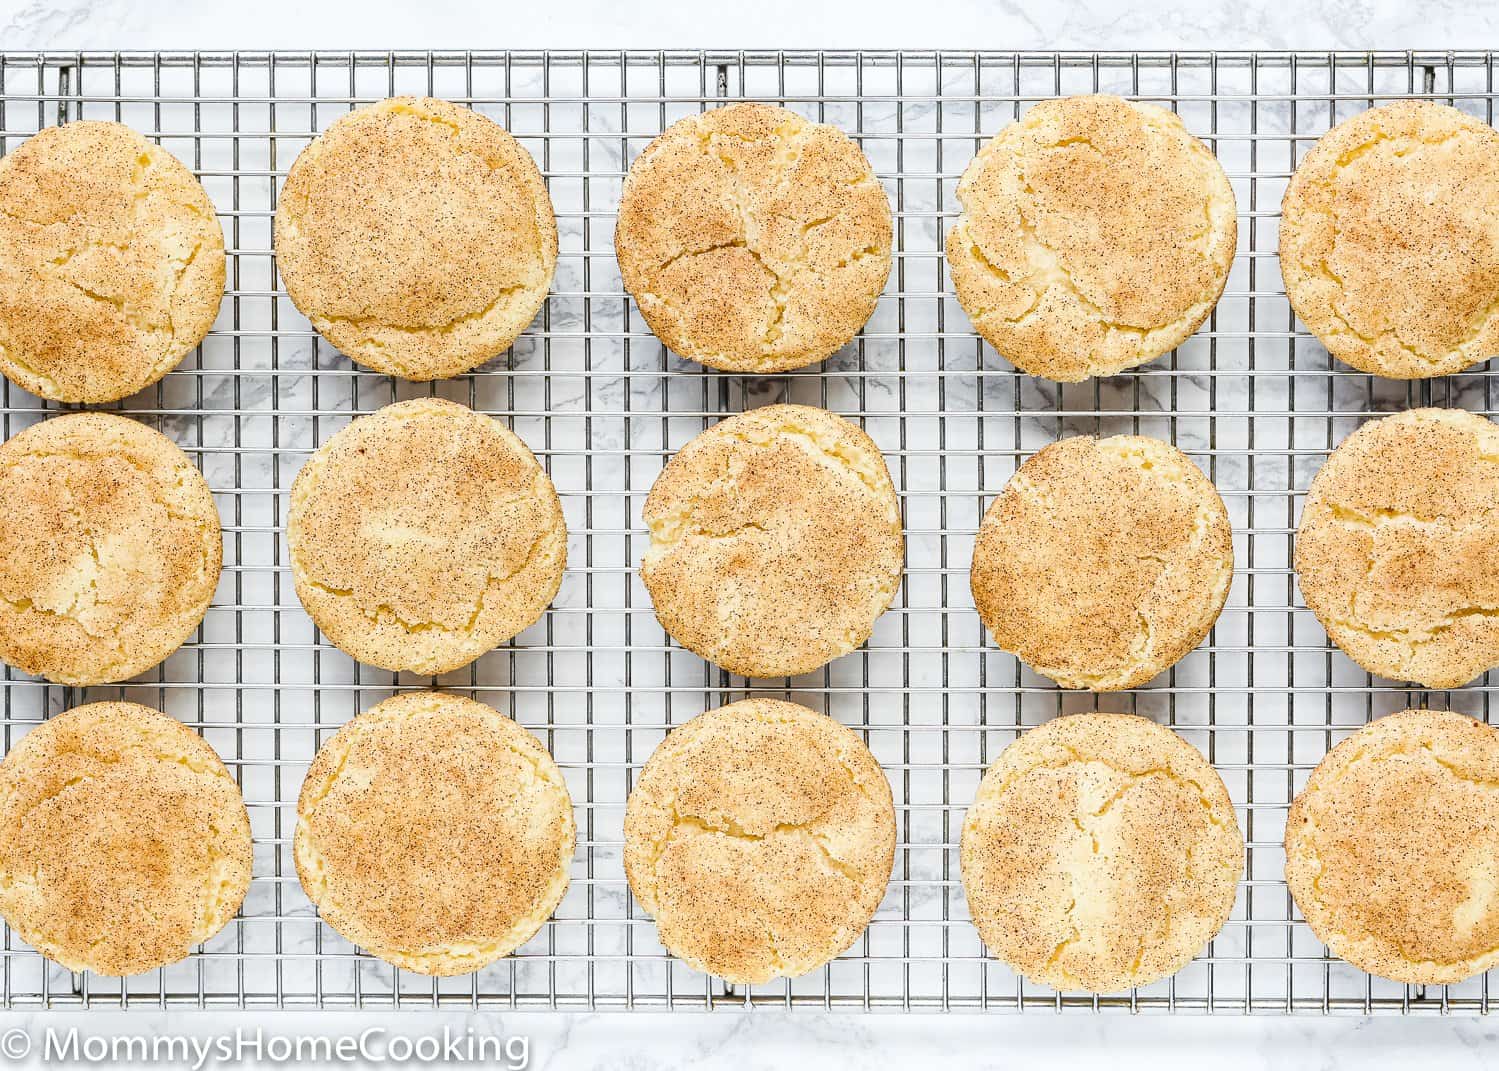
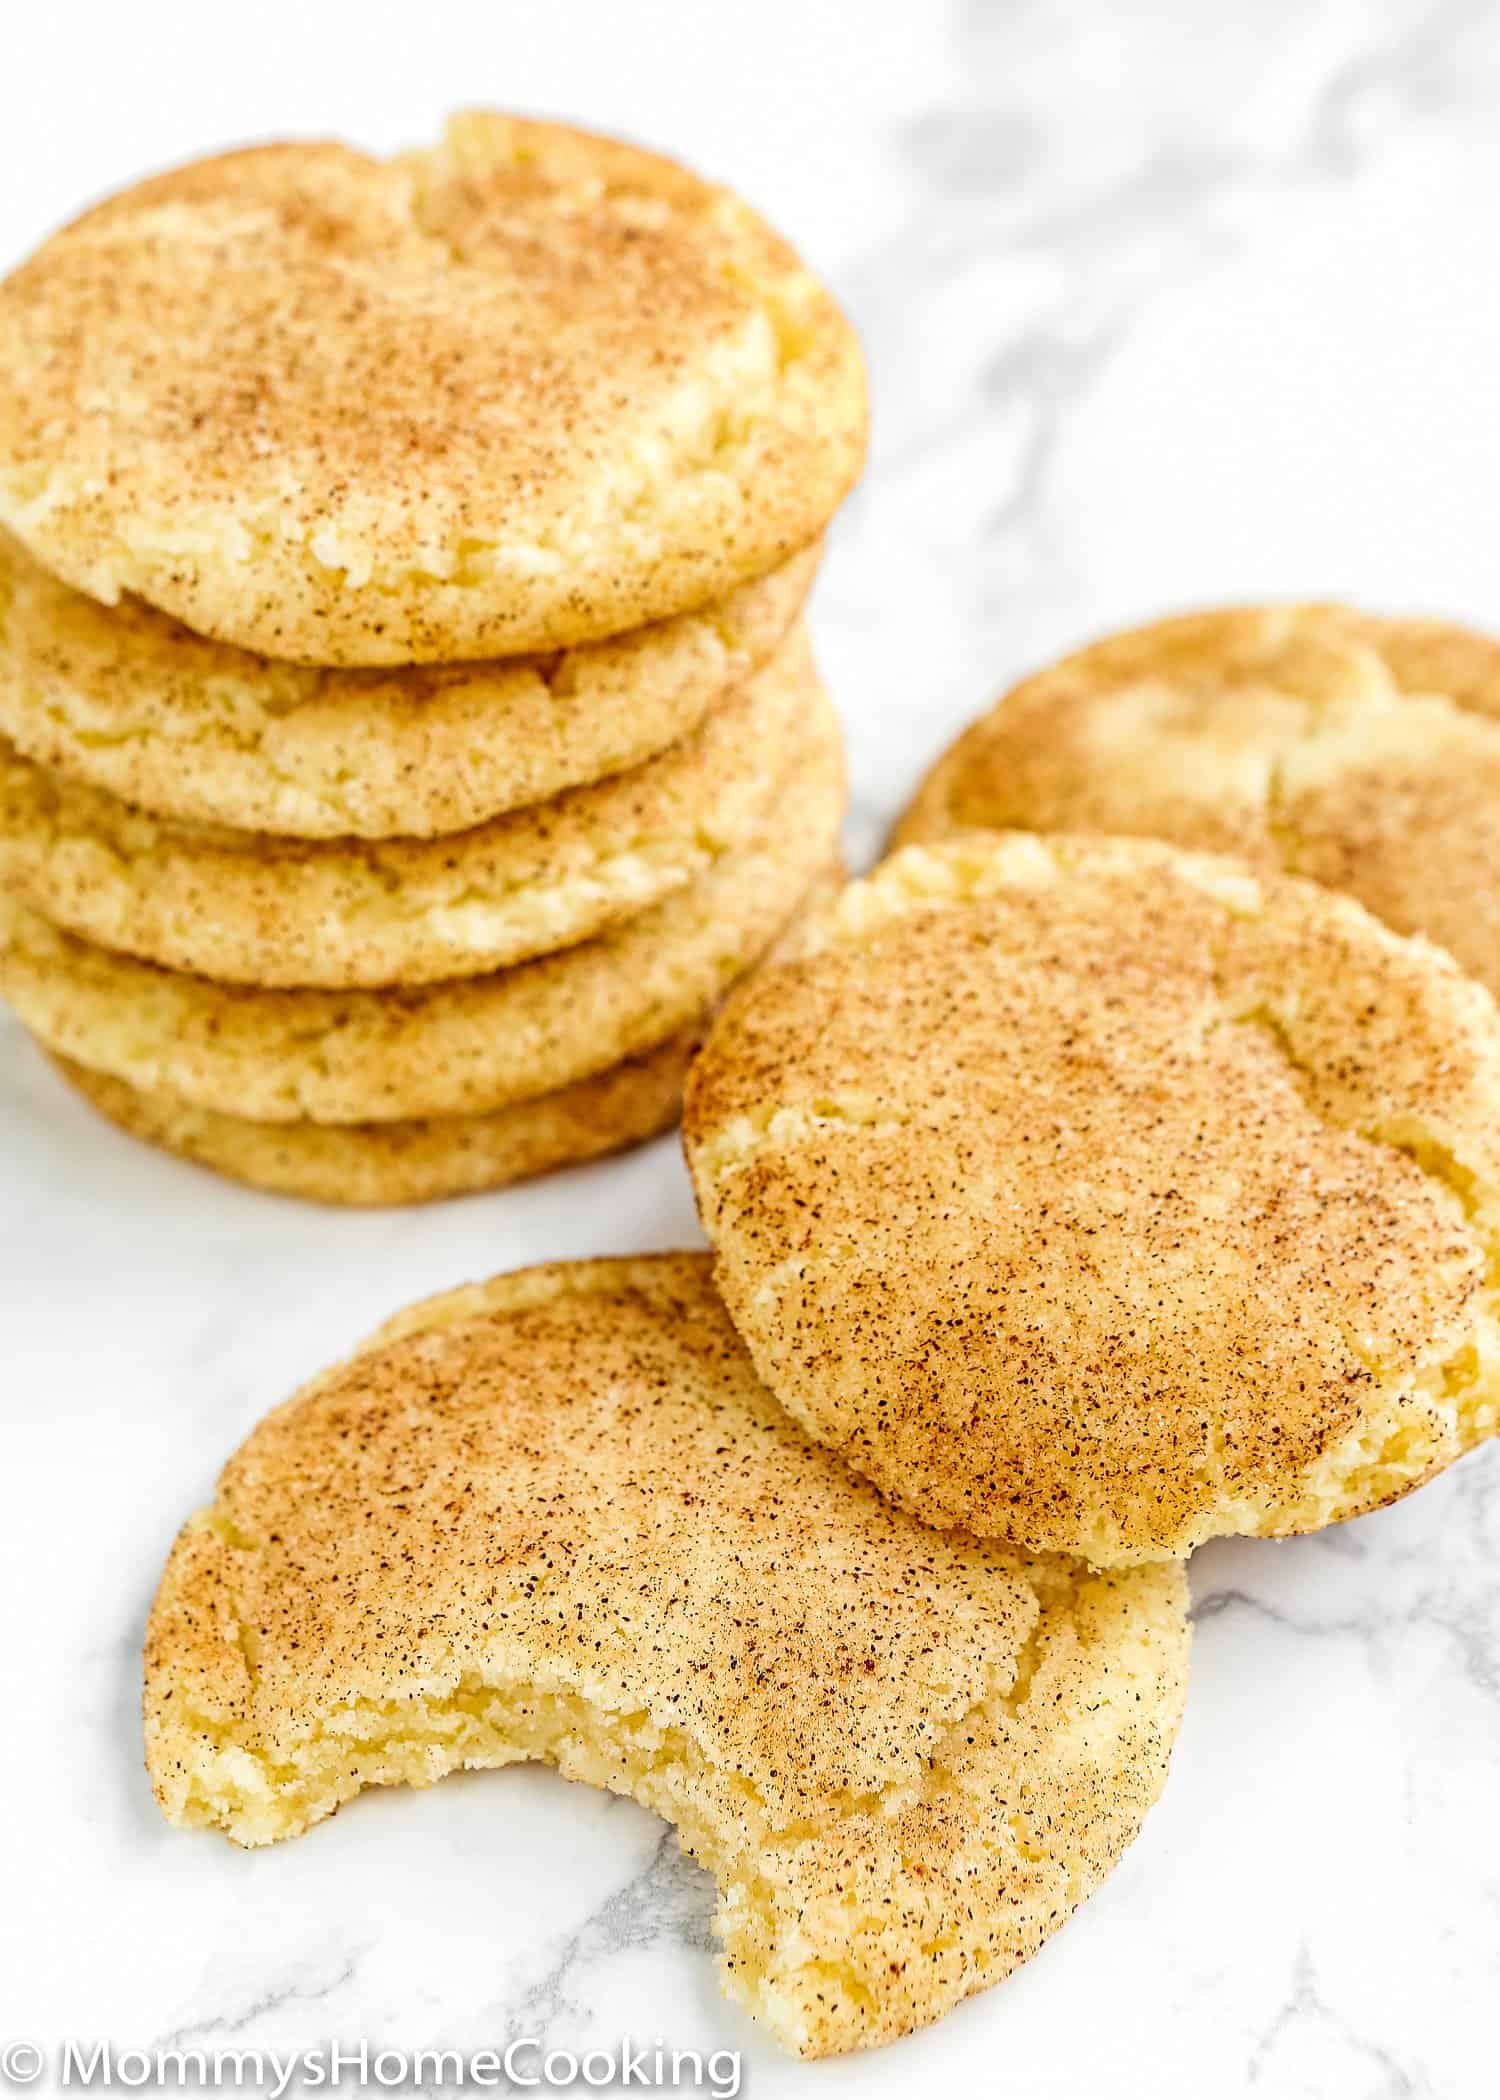
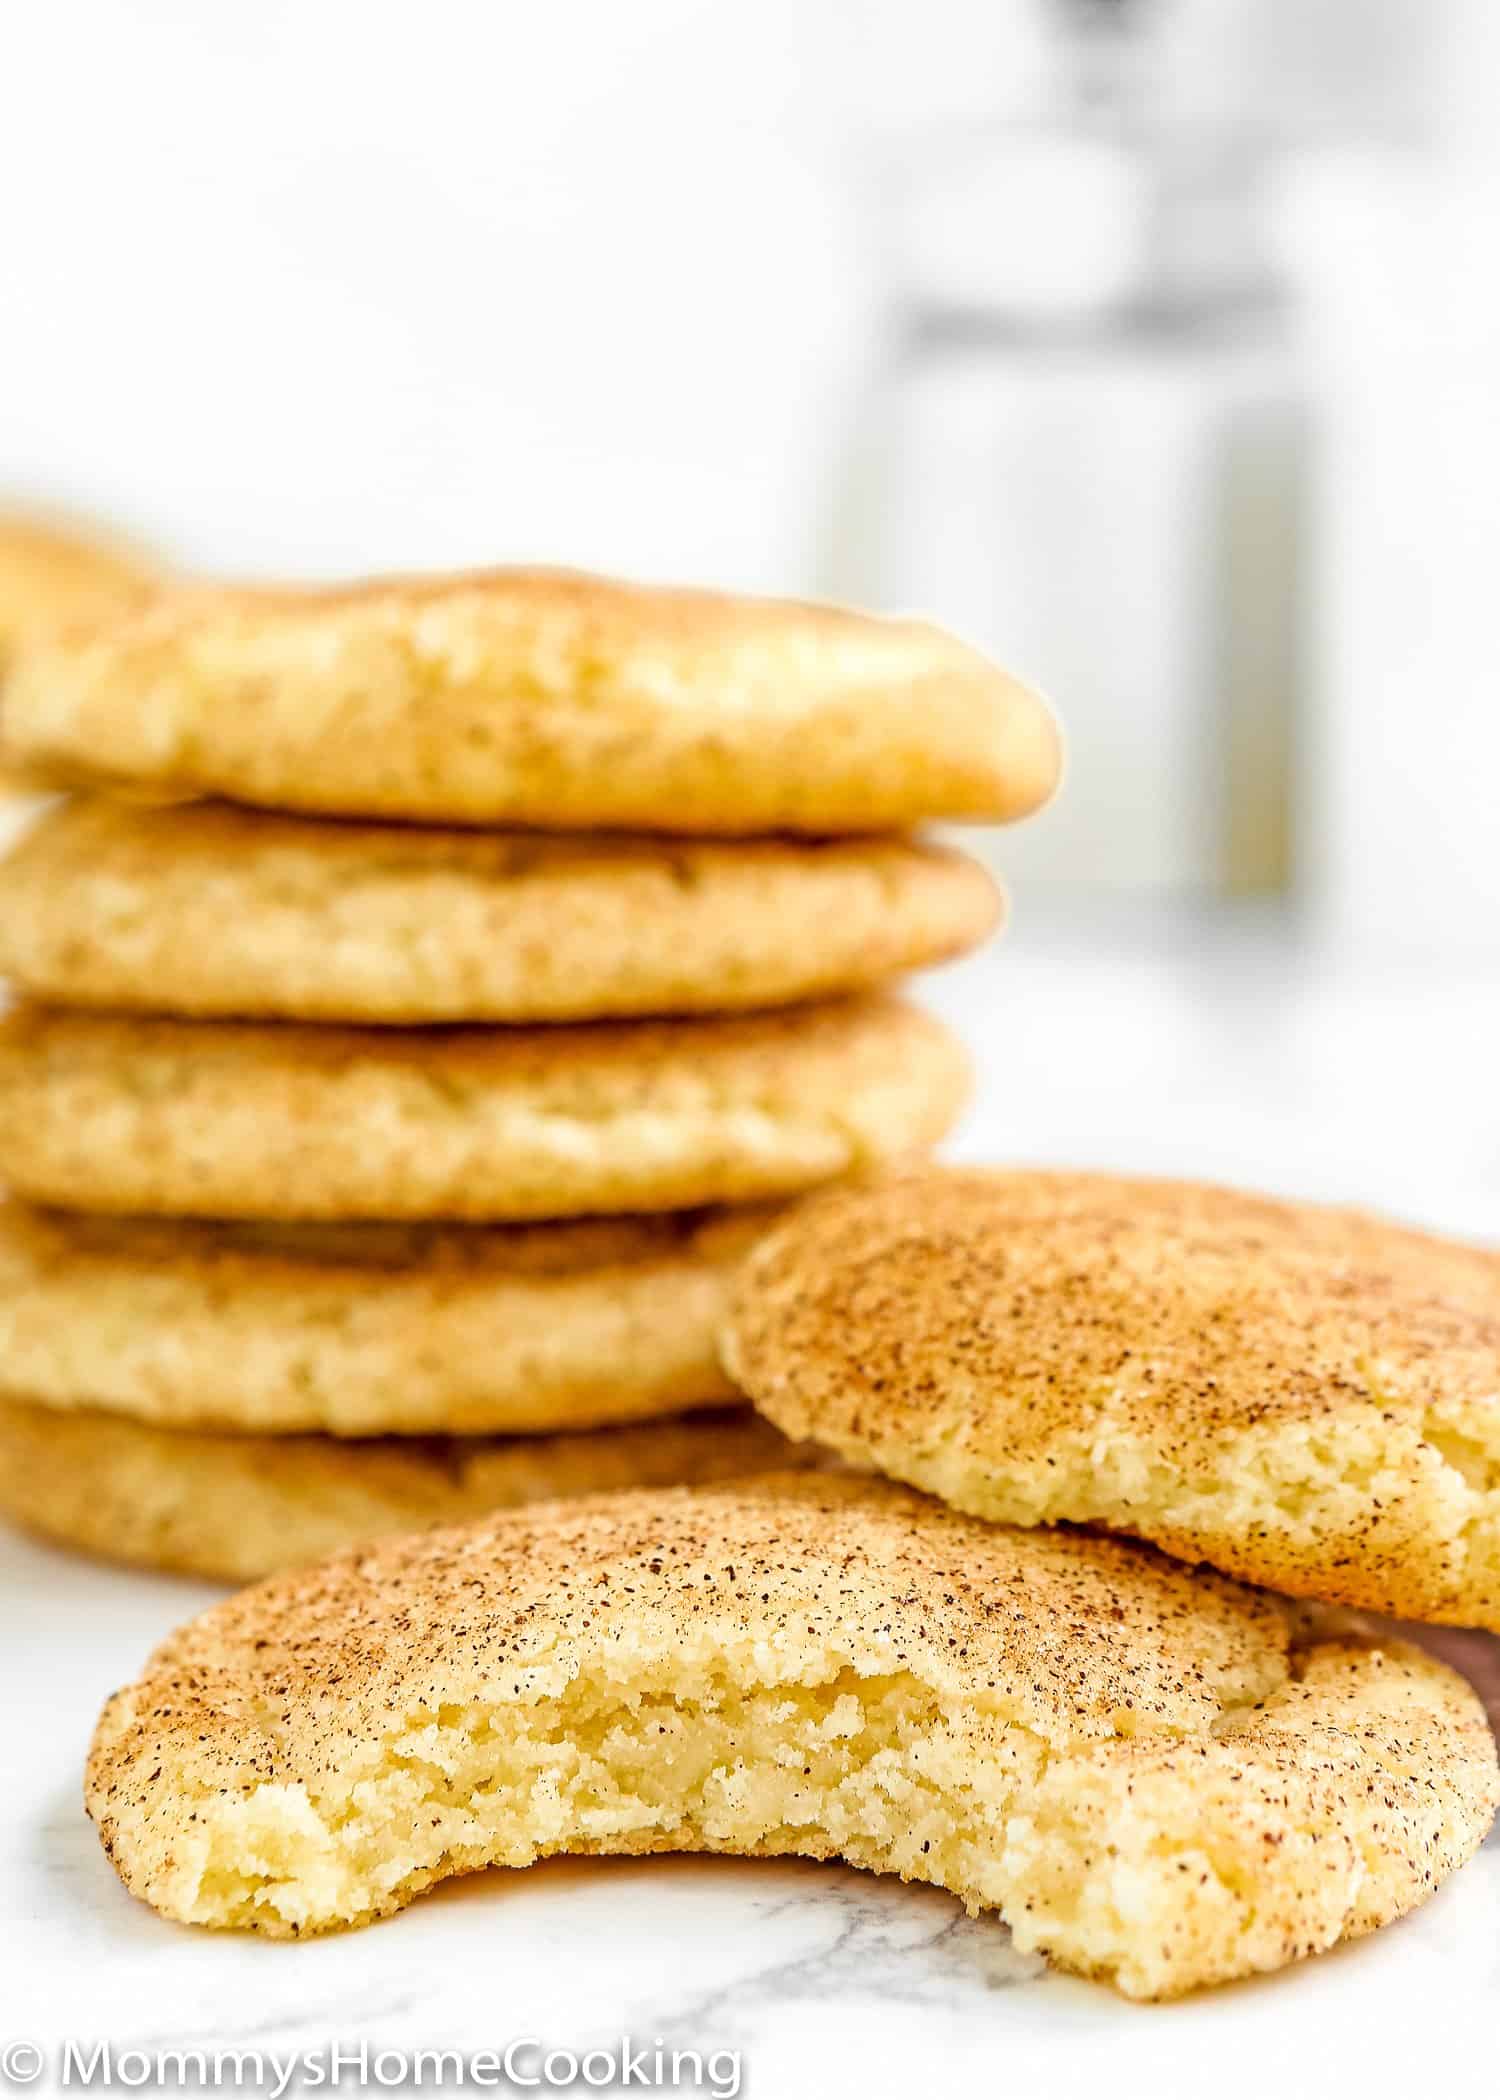
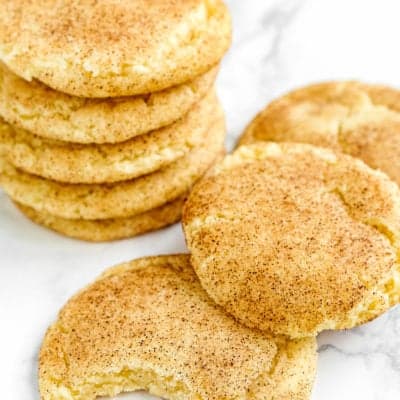
These Eggless Snickerdoodle cookies are ooohhh soooo GOOD!
These Eggless Snickerdoodle cookies are chewy, rich, buttery, perfectly soft in the middle with a bit of crunch around the edges, and full of cinnamon-sugar goodness. Just A.M.A.Z.I.N.G.!
They’re super easy to make and freeze well—both in baked and unbaked-dough form.
Put these Eggless Snickerdoodle out on any holiday cookie tray, wrap them up as a little gift for a cookie-lover in your life, or bring them to a cookie exchange. Everybody will love them!
So Let’s get baking!
Ingredients You’ll Need
Please check the recipe card at the bottom of the post for exact quantities and detailed instructions (scroll down).
- Flour: Standard all-purpose flour works best here, skip the cake flour, bread flour, and wheat flour.
- Ground Cinnamon: For flavor, of course!
- Cream of tartar: This is a critical Snickerdoodle ingredient and provides that signature tang.
- Baking powder: Make sure it’s not expired or too old.
- Salt: I prefer kosher or sea salt. If you only have table salt handy, I recommend reducing the amount to half.
- Butter: I prefer to use unsalted butter, but if you only have salted butter handy, you can use it. In this case, skip the salt called in the recipe.
- Sugar: Regular white granulated sugar o caster sugar.
- Vanilla Extract: For optimal flavor, reach for pure vanilla instead of imitation. Even better, try homemade vanilla extract!
- Water
- Oil: Vegetable or canola oil – Or any light-tasting oil of your preference.
For the Coating: You’ll need granulated sugar and ground cinnamon.
Step By Step Recipe Photo Tutorial
Please check the recipe card at the bottom of the post for exact quantities and detailed instructions (scroll down).
1 – Preheat the Oven and Prepare The Baking Sheet
Preheat the oven to 375°F. Line with parchment two baking sheets.
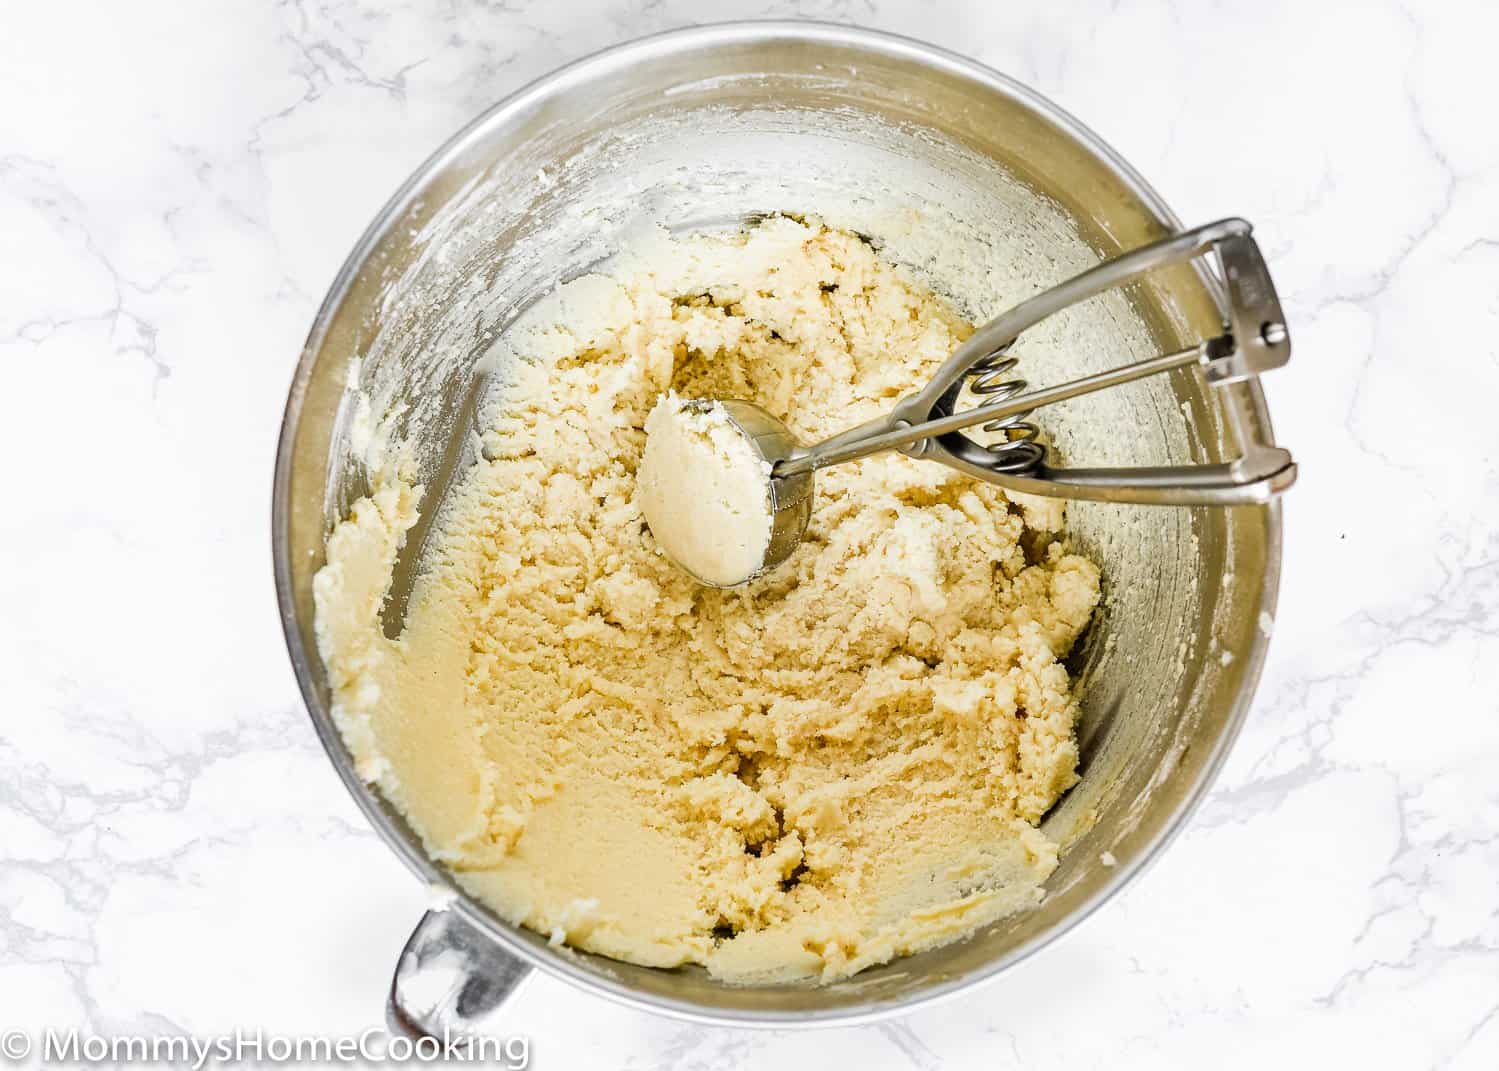
2 – Make the Eggless Snickerdoodle Cookie Dough
Mix flour, cinnamon, cream of tartar, baking powder, and salt in a bowl. Next, prepare the fake eggs mixing all the ingredients in a small bowl. Beat together the butter and sugar until smooth. Add the fake egg mixture and vanilla. Add dry ingredients and mix until totally incorporated. Refrigerate the dough for 30 minutes.
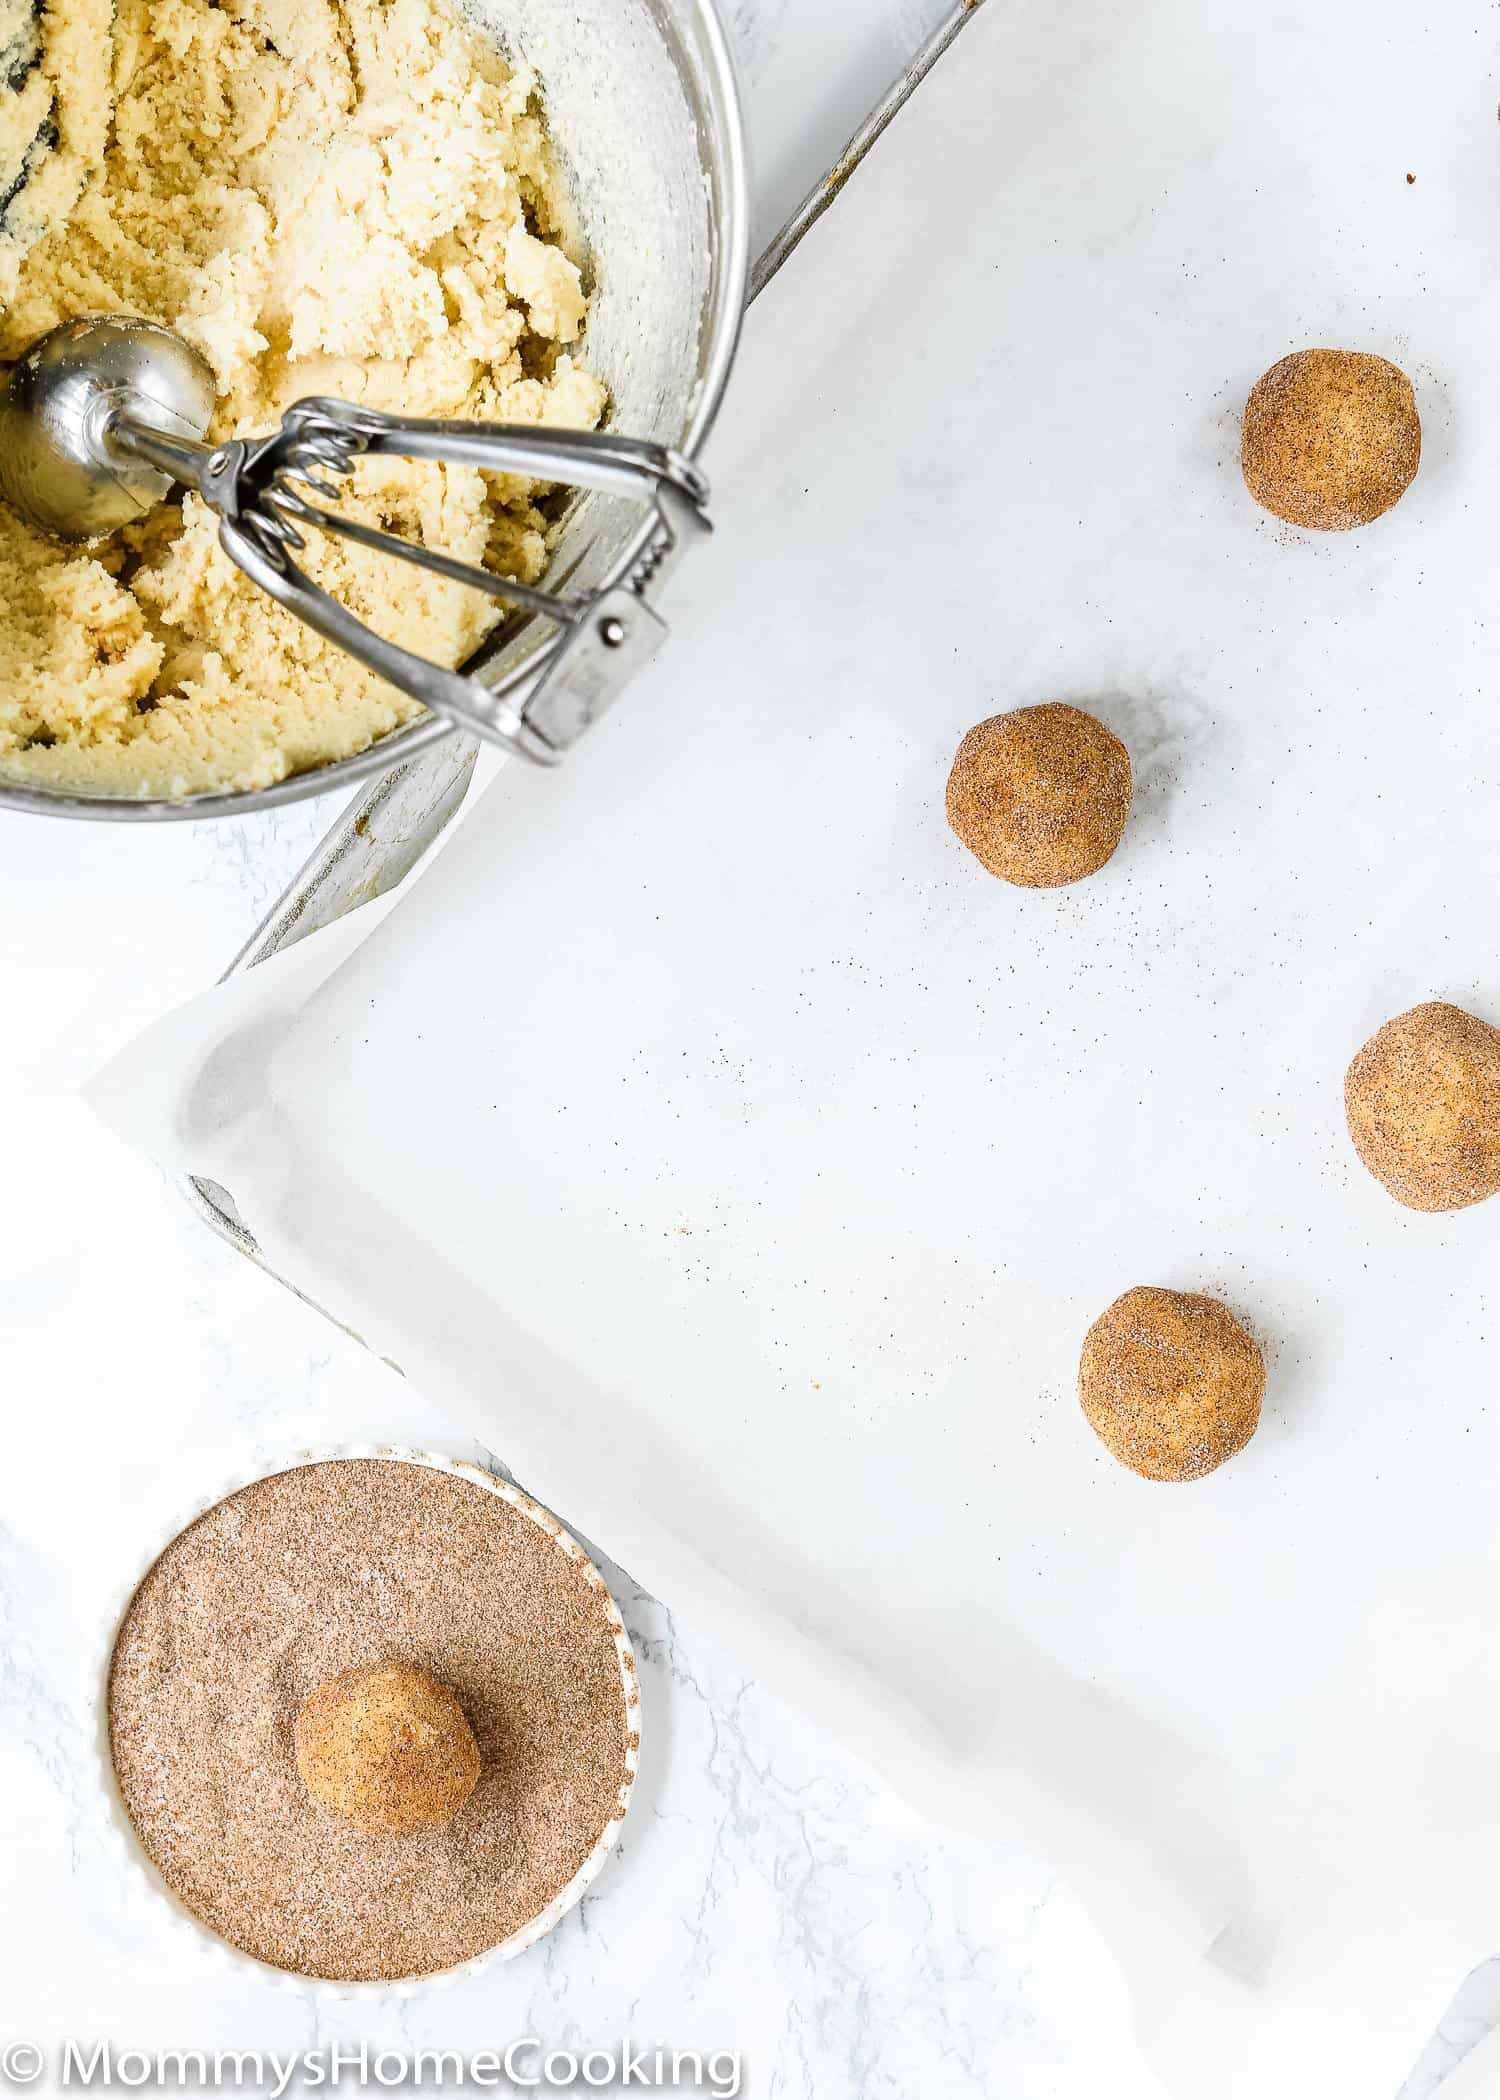
3 – Form the Cookie Balls
Shape dough into 1-in. balls.
4 – Roll In Cinnamon Sugar Mixture
Mix together the sugar and cinnamon in a small bowl or plate. Roll the cookies in the cinnamon sugar until they’re completely coated. Place dough balls 2 in. apart on the prepared baking sheets.
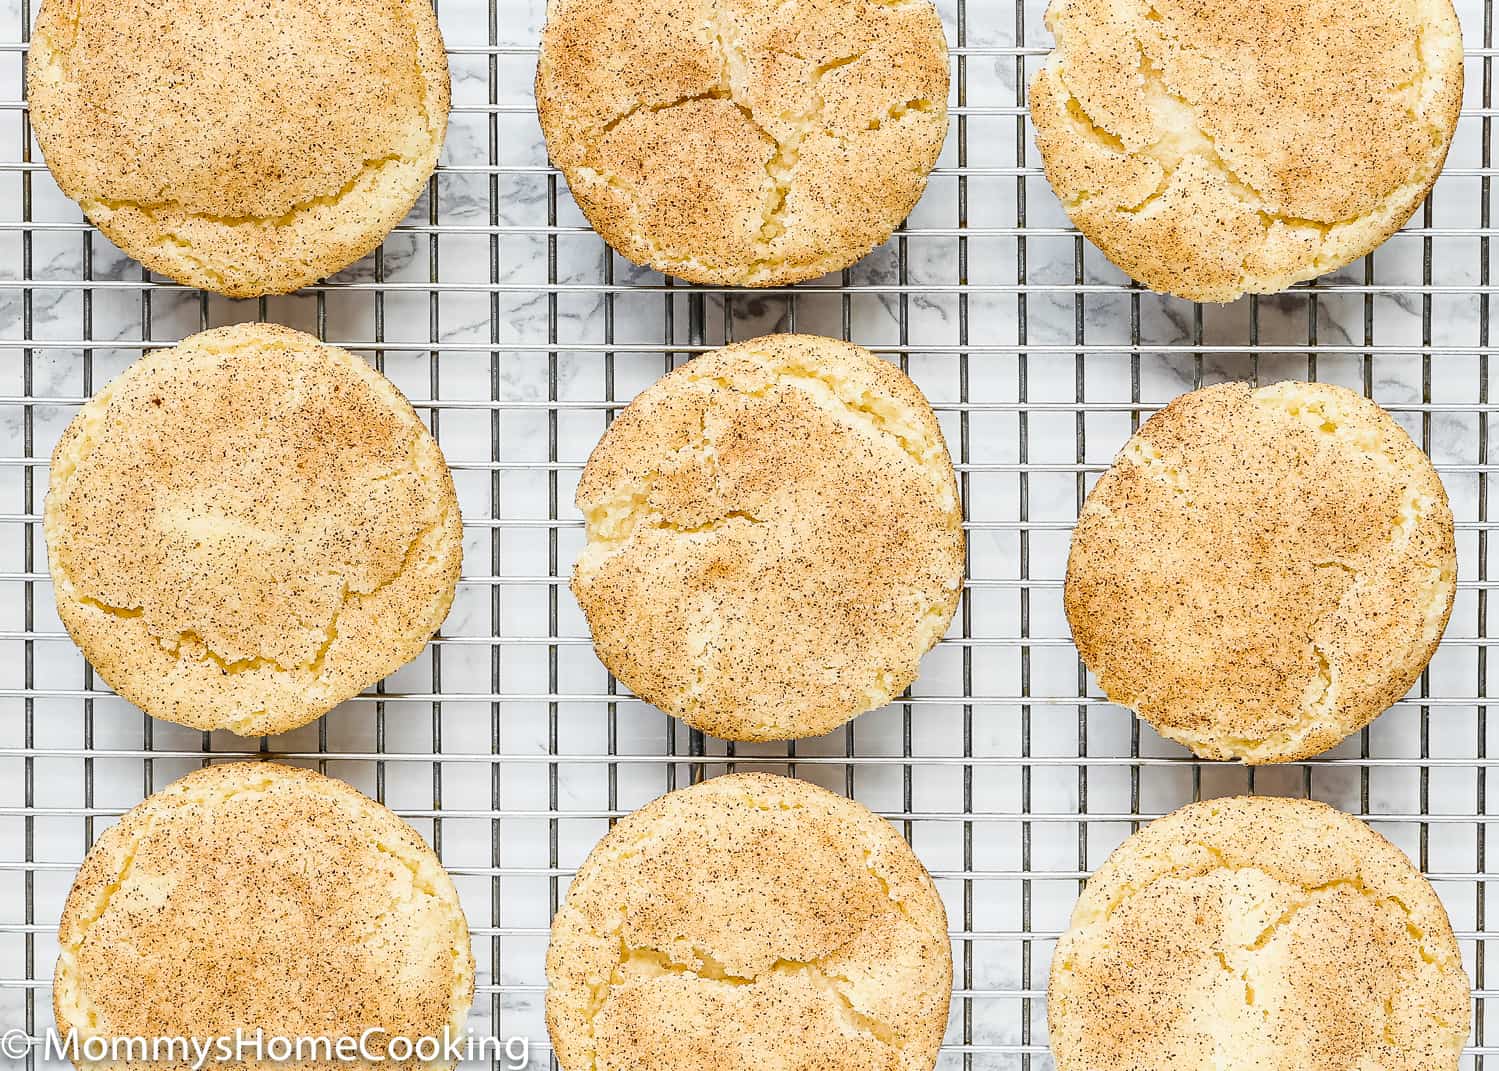
5 – Bake
Bake the cookies in the preheated oven for 8 – 10 minutes. Remove them from the oven, cool them on the pan for 2 minutes, and then transfer them to a rack to cool completely.
Measure the ingredients properly! A kitchen scale is always the best option, in my opinion.
Don’t overmix your cookie dough, or you will end up with a dense cookie.
Chill the dough for 30 minutes before baking, this gives the dough a chance to firm up a little and allows them to bake much better.
For evenly sized cookies (better for baking), use a small spring-loaded ice cream scoop to spoon out the dough.
Bake the cookies until the edges appear set. The cookies might still look a little raw in the center, but once they cool, they will be perfect. Let the cookies cool on the baking sheets for just 5 minutes, and then transfer them to a wire rack to cool completely. If you leave the cookies on the baking sheets for too long, they will continue cooking, and they will be hard.
Adapt This Recipe For Other Food Allergies
This recipe is egg-free but you can certainly adapt it to other food allergies.
GLUTEN-FREE: Substitute all-purpose flour for 1-to-1 Gluten-Free flour. This is my favorite brand.
DAIRY-FREE: Use your favorite plant-based, dairy-free, or vegan butter. My favorite dairy-free butter brands for baking are:
Frequently Asked Questions
This is a critical Snickerdoodle ingredient and provides that signature tang. As a general rule, I don’t recommend substituting the cream of tartar.
Yes, you can freeze this cookie dough before rolling it in cinnamon sugar for up to 3 months. When ready to use, allow to thaw overnight in the refrigerator, then bring to room temperature for about 1 hour. Then roll and continue with the recipe as directed.
Chilling the cookie dough really makes a difference in the final result. This time in the fridge gives the dough a chance to firm up a little and allows them to bake much better. So if time allows I highly recommend chilling this cookie dough.
Storing & Freezing Instructions
Store: Store cookies in an airtight container for up to 5 days at room temperature.
Freeze Cookie Dough: you can freeze this cookie dough before rolling for up to 3 months. When ready to use, allow to thaw overnight in the refrigerator, then bring to room temperature for about 1 hour. Then roll and continue with the recipe as directed.
Make-Ahead: You can make the cookie dough and chill it in the refrigerator for up to 3 days. Allow coming to room temperature then continue with step 5.
- Eggless Sugar Cookies
- The Best Eggless Chocolate Chip Cookies
- Eggless Chocolate Crinkle Cookies
- Eggless Gingerbread Cookies
- Easy Eggless Soft Sugar Cookies
- Browse more eggless cookie recipes….
❤️ Love what you see? JOIN my Private Baking Club. Also, SUBSCRIBE to Mommy’s Home Cooking, so you’ll never miss a recipe! And FOLLOW along on Instagram, Pinterest, and Facebook for more fun!
[popout_newsletter]
Equipment
Ingredients
- 2 2/3 cups (375 g) all-purpose flour
- 1/2 teaspoon ground cinnamon
- 1 teaspoon cream of tartar
- 1 teaspoons baking powder
- 1 teaspoon kosher salt
- 1 cup (2 sticks | 228 g) unsalted butter, softened
- 1 ½ cups (300 g) granulated sugar
- Fake eggs (see ingredients below)
- 2 teaspoons pure vanilla extract
For the fake eggs:
- 4 tablespoons (45 ml) water
- 2 teaspoons baking powder
- 2 teaspoons (10 ml) neutral taste oil (such as vegetable or canola)
For Coating:
- 1/4 cup (50 g) granulated sugar
- 2 teaspoons ground cinnamon
Instructions
- Preheat the oven to 375º F (190º C). Line with parchment two baking sheets.
- Mix flour, cinnamon, cream of tartar, baking powder, and salt in a bowl. Set aside
- Prepare the fake eggs mixing all the ingredients in a small bowl. Set aside.
- Beat together the butter and sugar until smooth, about 3 minutes. Add the fake eggs mixture, beat until smooth. Beat in the vanilla.
- Add flour mixture, mixing until totally incorporated. Cover and refrigerate the dough for 15 minutes.
Make the coating:
- Mix together the sugar and cinnamon in a small bowl or plate.
Form the dough into balls:
- Shape dough into 1-in. balls. Roll the cookies in the cinnamon-sugar until they're completely coated. Place the dough balls 2-in apart on the prepared baking sheets.
Bake:
- Bake the cookies for 8 – 10 minutes. Remove them from the oven, cool them in the pan for 2 minutes and then transfer to a rack to cool completely.
Nutrition
Eggless Baking Frequently Asked Questions
You’ve asked, and I’ve answered! Read on for a handful of answers to the most frequently asked questions about eggless baking.
Originally posted in December 2017, the post content was edited to add more helpful information, no change to the recipe in July 2022.
