In this guide, we’ll explore everything you need to know to nurture and cherish your cast iron pan for a lifetime of delicious meals and cherished memories. Let’s dive in!
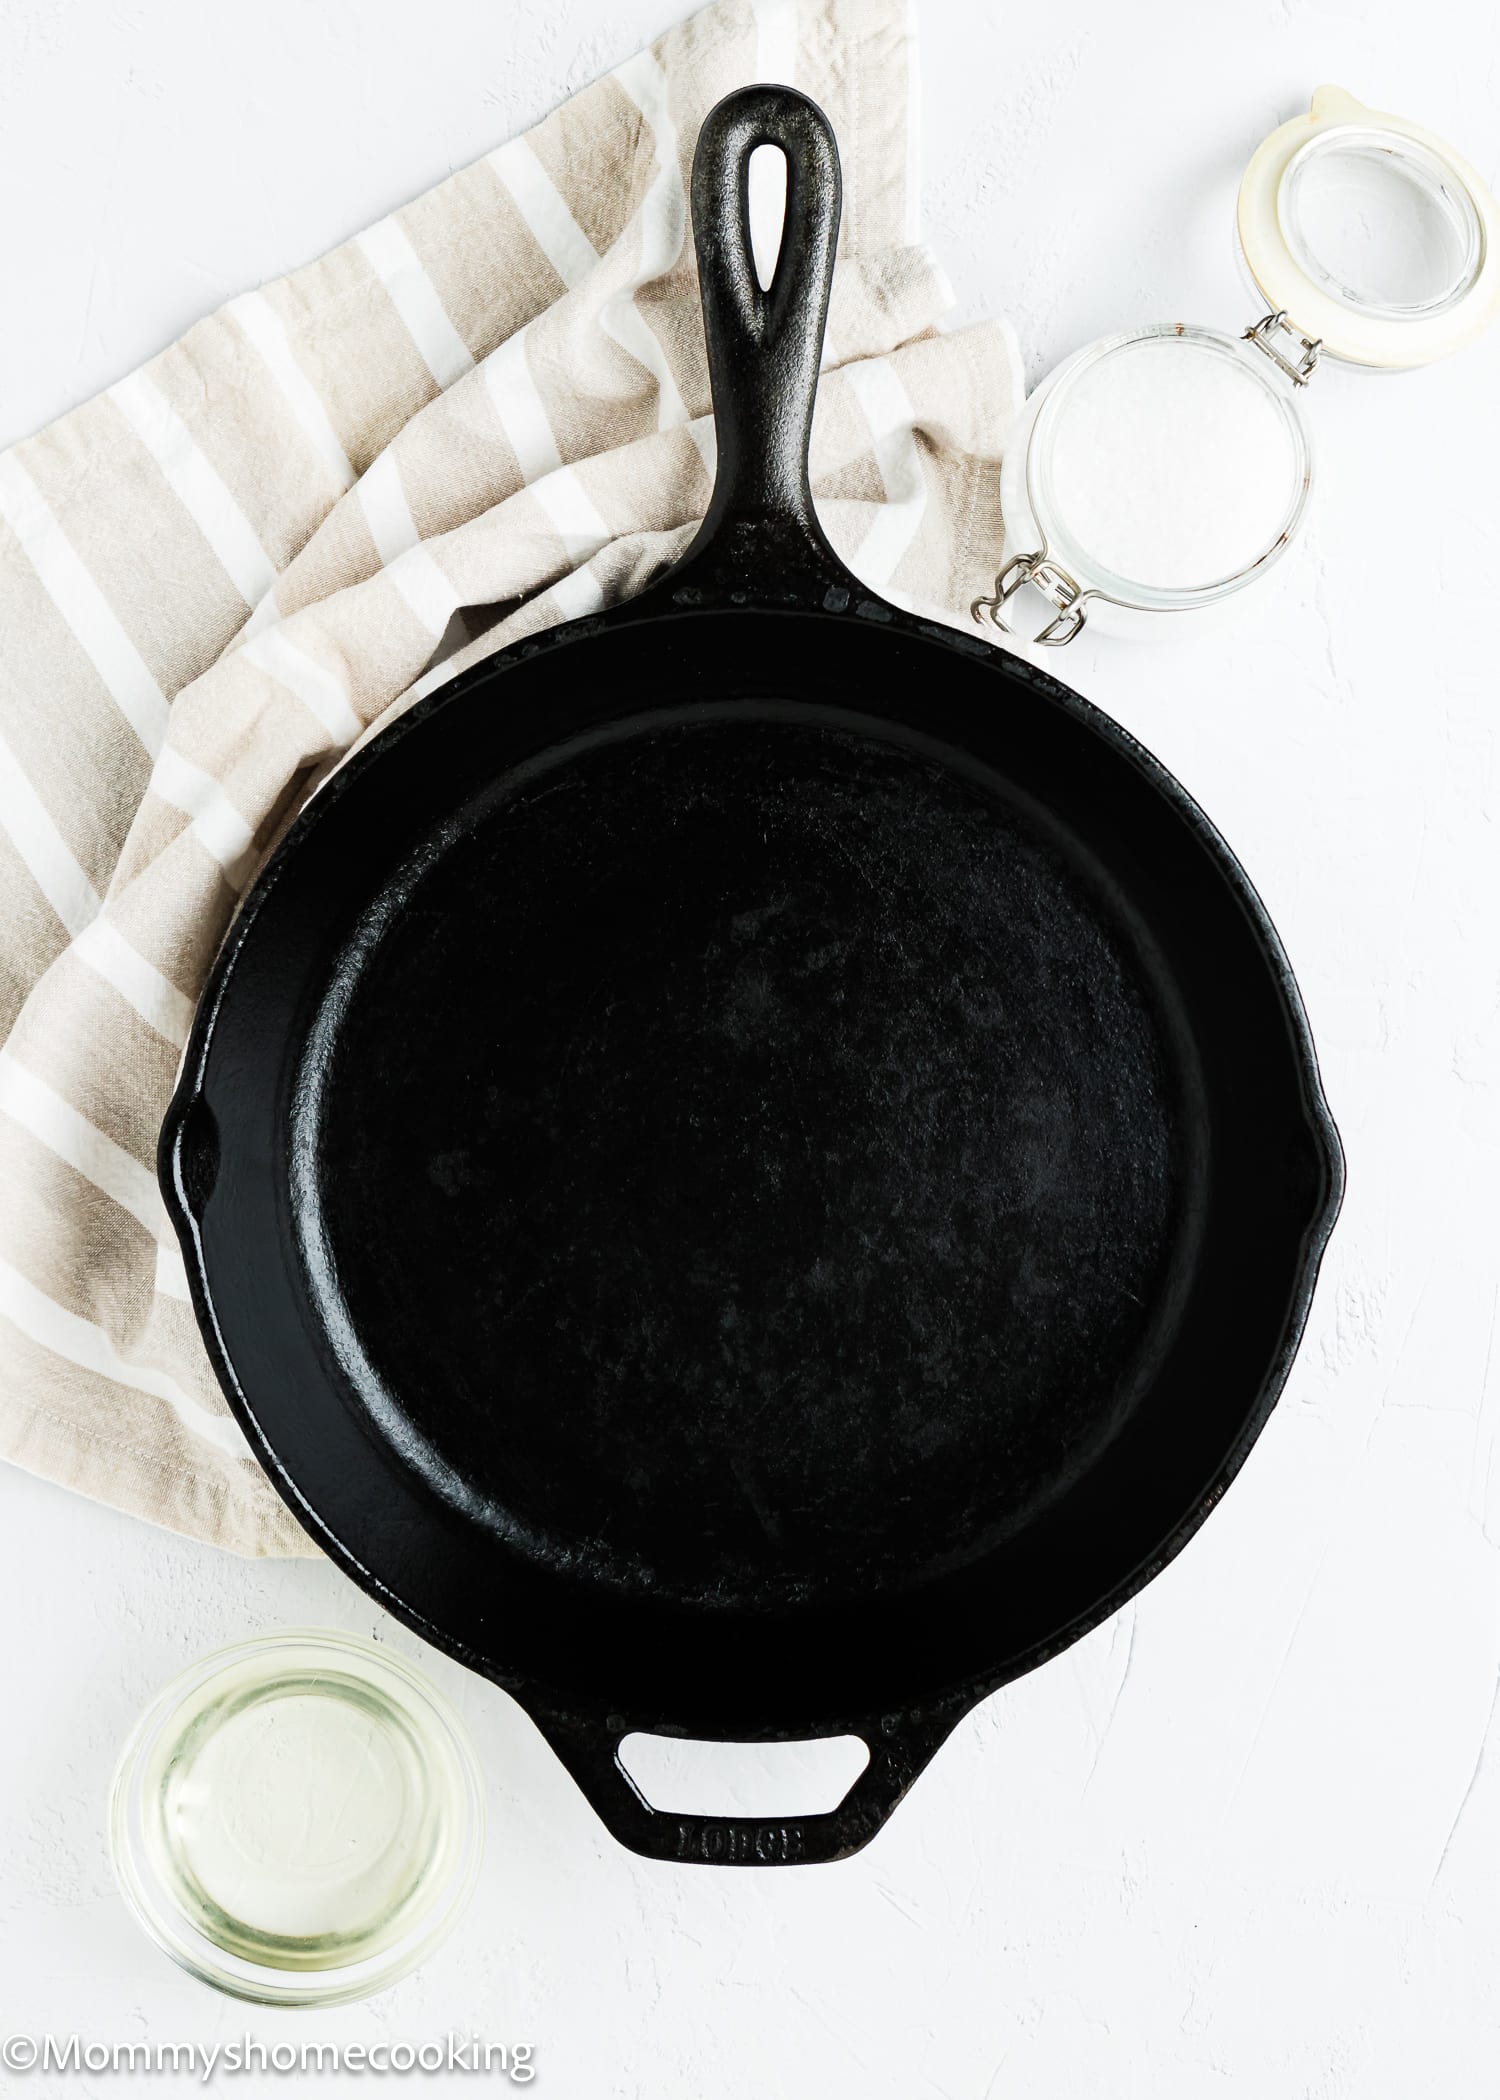
I love my cast iron pan because is sturdy, strong, dependable, and ready for anything!
But I totally get it—some of you might feel like keeping a cast iron skillet is a hassle. I mean, they’re heavy, right? And then there’s all this talk about seasoning and maintenance, which can seem a bit daunting. But fear not, my friends! I’m here to break it down for you.
Cast iron is all about versatility and toughness. Whether you’re searing a steak to juicy perfection or baking up a batch of crispy cornbread, a cast iron pan is like your trusty sidekick in the kitchen—always there to help you nail that recipe.
So, let’s ditch the intimidation factor and embrace the cast iron life. Once you get the hang of it, you’ll wonder how you ever cooked without it!
Key Highlights: Benefits of Cooking With Cast Iron
- Superior Heat Retention: Cast iron pans are like the cozy blankets of the kitchen world! They’re excellent at retaining heat, which means your food cooks evenly and stays warmer for longer. No more worrying about cold spots or unevenly cooked meals – your cast iron pan has got you covered!
- Versatility: Cast iron pans can do it all, whether you’re frying, searing, baking, or even grilling. They’re incredibly versatile, seamlessly transitioning from stovetop to oven without missing a beat. Plus, they’re perfect for everything from crispy bacon to fluffy pancakes—talk about a kitchen MVP!
- Durability: Cast iron pans are built to last a lifetime—literally! Unlike their non-stick counterparts, which can wear out over time, cast iron pans only get better with age. With proper care and maintenance, your cast iron pan will whip up delicious meals for generations to come.
- Non-Stick Cooking Surface: Who needs Teflon when you’ve got a well-seasoned cast iron pan? With a little oil and some TLC, cast iron pans develop a naturally non-stick surface perfect for everything from sautéing veggies to flipping pancakes. Say goodbye to stuck-on food and hello to effortless cleanup!
- Chemical-free cooking: Cast iron pans eliminate the worry of chemicals leaching into food. Unlike some cookware materials that can release toxins when exposed to high heat or acidic ingredients, cast iron is inert and won’t transfer unwanted substances to meals.
Cast Iron: The Original Non-Stick Pan
Cast iron has been used for centuries, with its earliest known artifacts found in ancient China, dating back to the 5th century BCE. Though it gained popularity in China, it was not until much later that cast iron was widely used in Europe. Today, cast iron has become a staple in kitchens worldwide and is used for a variety of purposes. From its humble beginnings in ancient China to its widespread use in kitchens around the world today, cast iron has stood the test of time as a durable, versatile, and beloved cooking material.
Why Seasoning Your Cast Iron Pan is Important
Seasoning is one of the most crucial steps in caring for your cast iron pan. This process involves applying a thin layer of oil to the pan’s surface and heating it to create a protective layer that prevents rust and promotes non-stick cooking. To season your pan, simply coat it with a neutral oil, such as vegetable or flaxseed oil, and bake it in the oven at a high temperature for about an hour.
With each meal, a cast iron skillet becomes more adept at releasing foods effortlessly and imparting a unique, savory essence that only your cast iron can offer. This seasoning journey is what makes each cast iron skillet distinct. Repeat this process periodically to maintain a slick, non-stick surface.
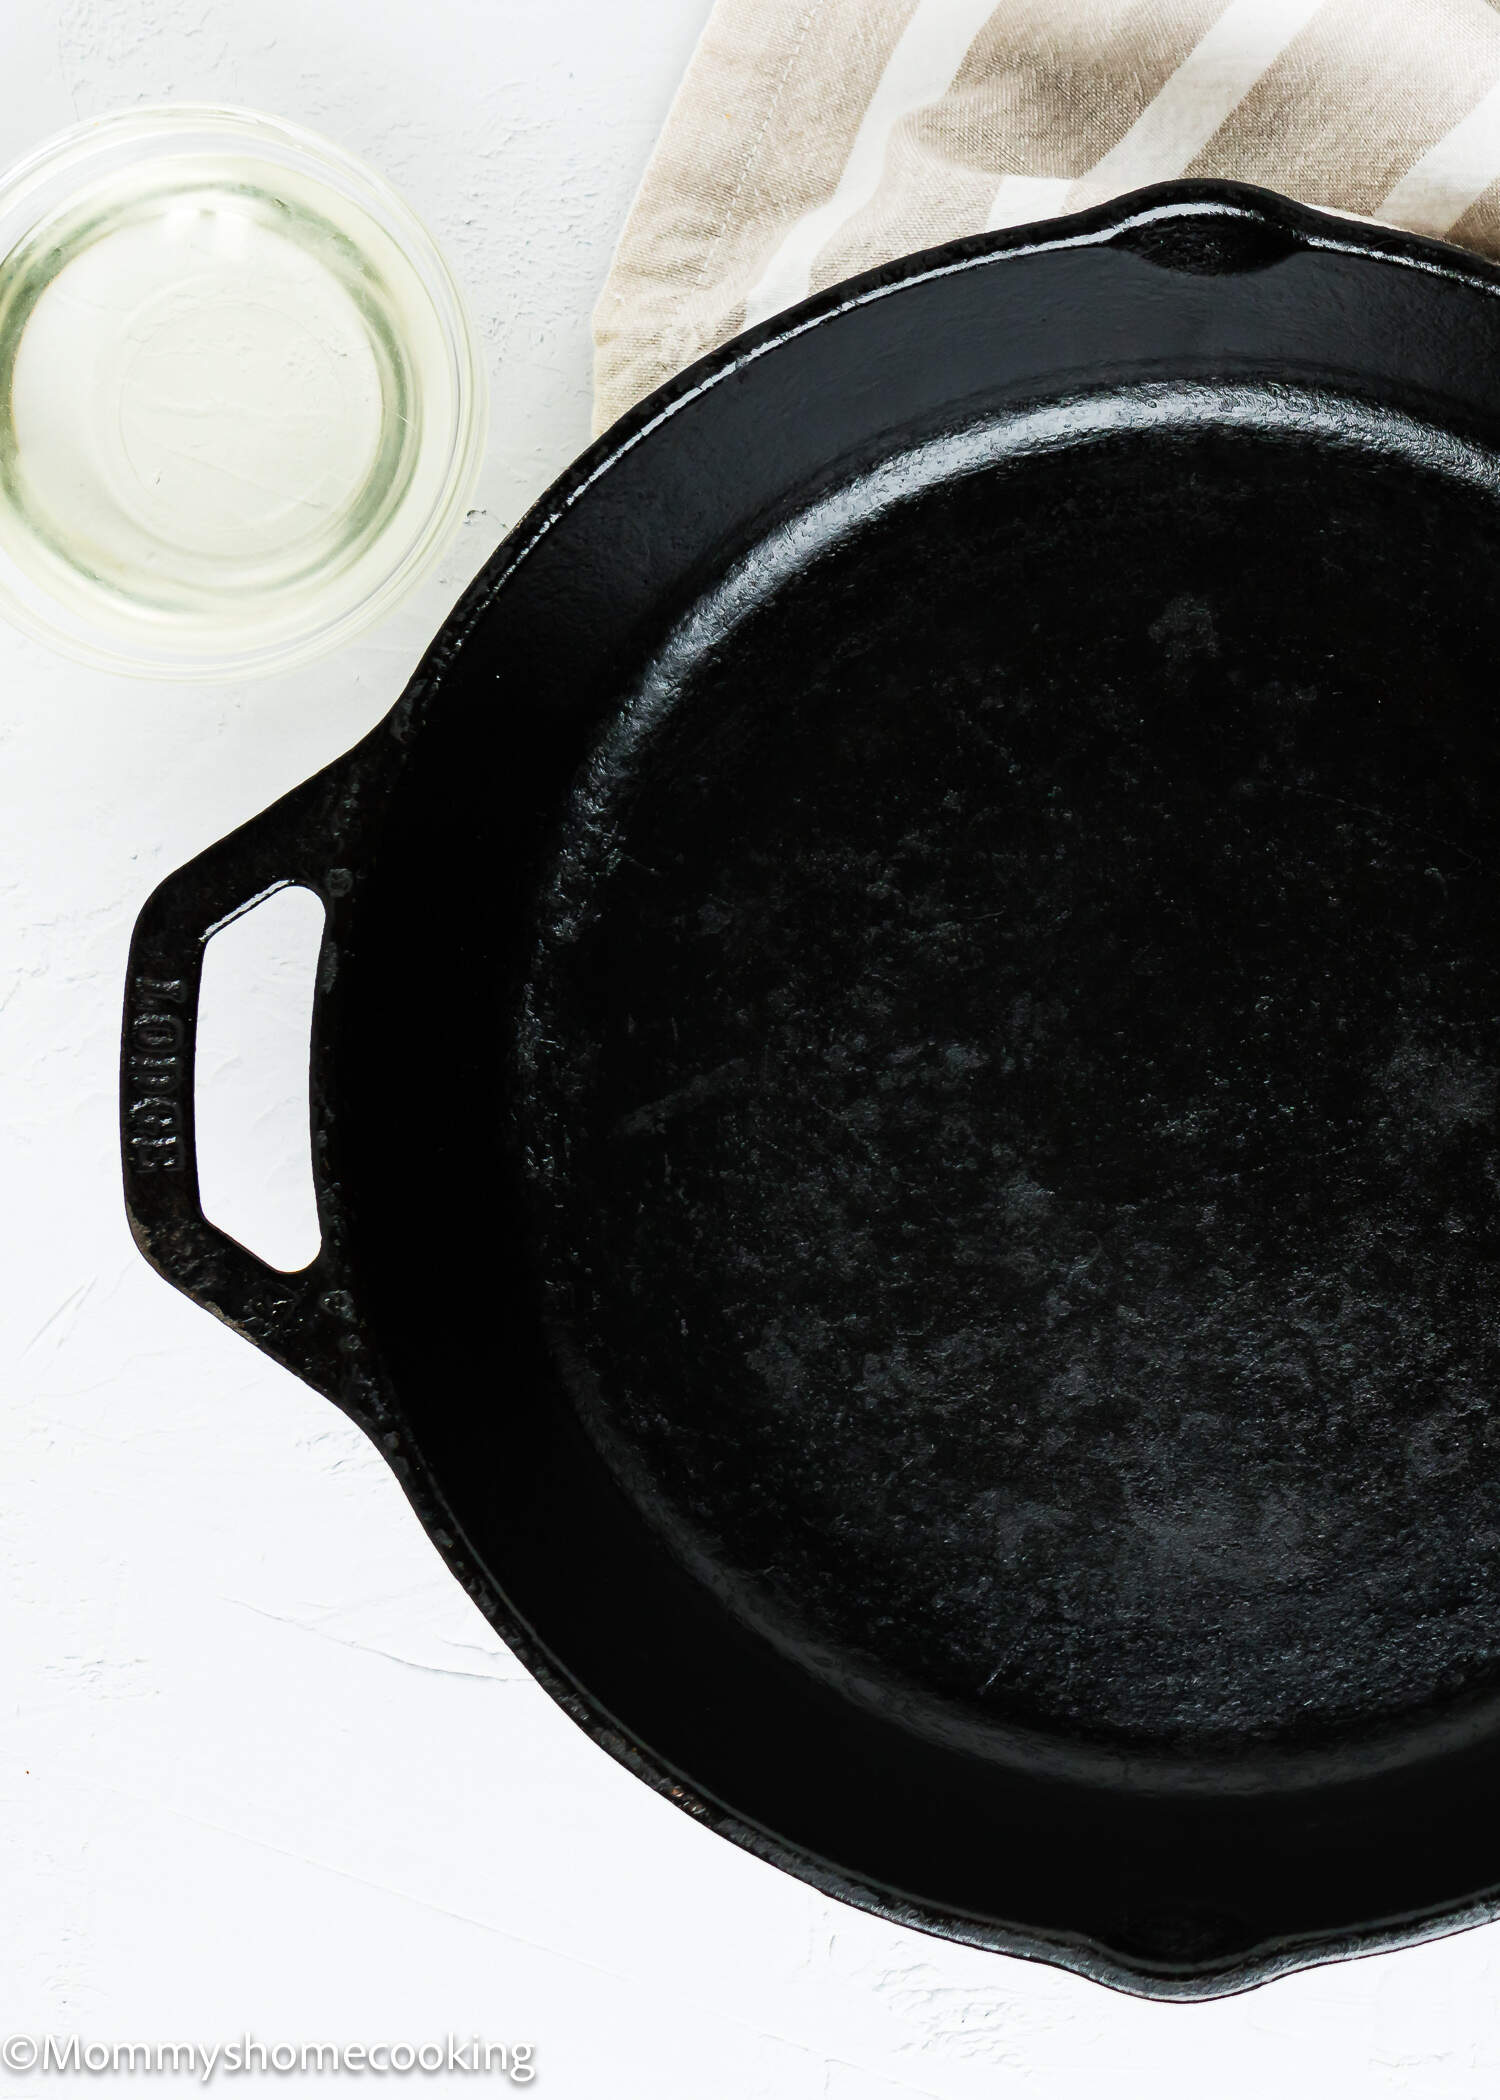
How to Season Your Cast Iron Cookware
Seasoning your cast iron cookware is essential for maintaining its non-stick surface and longevity. Here is a simple step-by-step guide.
Step 1 – Gather Your Supplies
Before you begin, make sure you have everything you need handy. You’ll want your cast iron skillet, some neutral cooking oil (like vegetable or flaxseed oil), paper towels, and an oven mitt or pot holder to handle hot pans.
Step 2 – Clean Your Skillet
If your skillet is brand new, wash it quickly with warm water and mild dish soap to remove any factory residue. If you’re re-seasoning an old skillet, scrub away any rust or food residue with a gentle brush, sponge, and warm water. Then, dry the skillet thoroughly with a clean towel.
Pro Tip: To ensure the cast iron pan is dry, throw it on high heat for a minute or two to evaporate any water or condensation from the cleaning.
Step 3 – Preheat Your Oven
Preheat your oven to a moderate temperature, usually around 375°F to 400°F (190°C to 200°C). This will help the oil penetrate the cast iron pores and create that coveted non-stick surface.
Step 4 – Apply Oil
Using a paper towel or clean cloth, apply a thin layer of oil to the skillet’s entire surface, including the inside, outside, and handle. Be sure to coat every nook and cranny—this will help protect the skillet from rust and promote even seasoning. After applying the oil, use a fresh paper towel to wipe away any excess. You want a very thin, almost invisible layer of oil on the skillet—too much oil can result in a sticky finish.
Step 5 – Bake Your Skillet
Once your skillet is evenly coated with oil, place it upside down in the preheated oven. Placing it upside down allows any excess oil to drip off, preventing pooling and ensuring a smooth finish. Let your skillet bake in the oven for about an hour. This will allow the oil to polymerize and form a durable, non-stick surface. You may notice a slight smoke or smell during this process – don’t worry, it’s completely normal!
Step 6 – Cool and Repeat
Do it again: This process should be repeated twice to build up a natural non-stick coating. So, rinse and repeat! After an hour, turn off the oven and let your skillet cool completely before removing it. Once cooled, repeat the seasoning process a few more times to build up a strong seasoning layer. Each time you season your skillet, it becomes more non-stick and durable.
Here is a video that can be very helpful!
Caring for Your Cast Iron: Simpler Than You Think
Despite common misconceptions, maintaining cast iron cookware is surprisingly straightforward and does not require the laborious effort often assumed. Simple, consistent care is the key to keeping your cast iron in prime condition. Let’s break it down into simple steps:
1. Cleaning After Each Use: After cooking with your cast iron skillet, it’s important to clean it properly to preserve its seasoning. Start by allowing the skillet to cool slightly but not completely cold. Then, rinse it with warm water and use a gentle brush or sponge to remove any food residue. Avoid using soap, as it can strip away the seasoning.
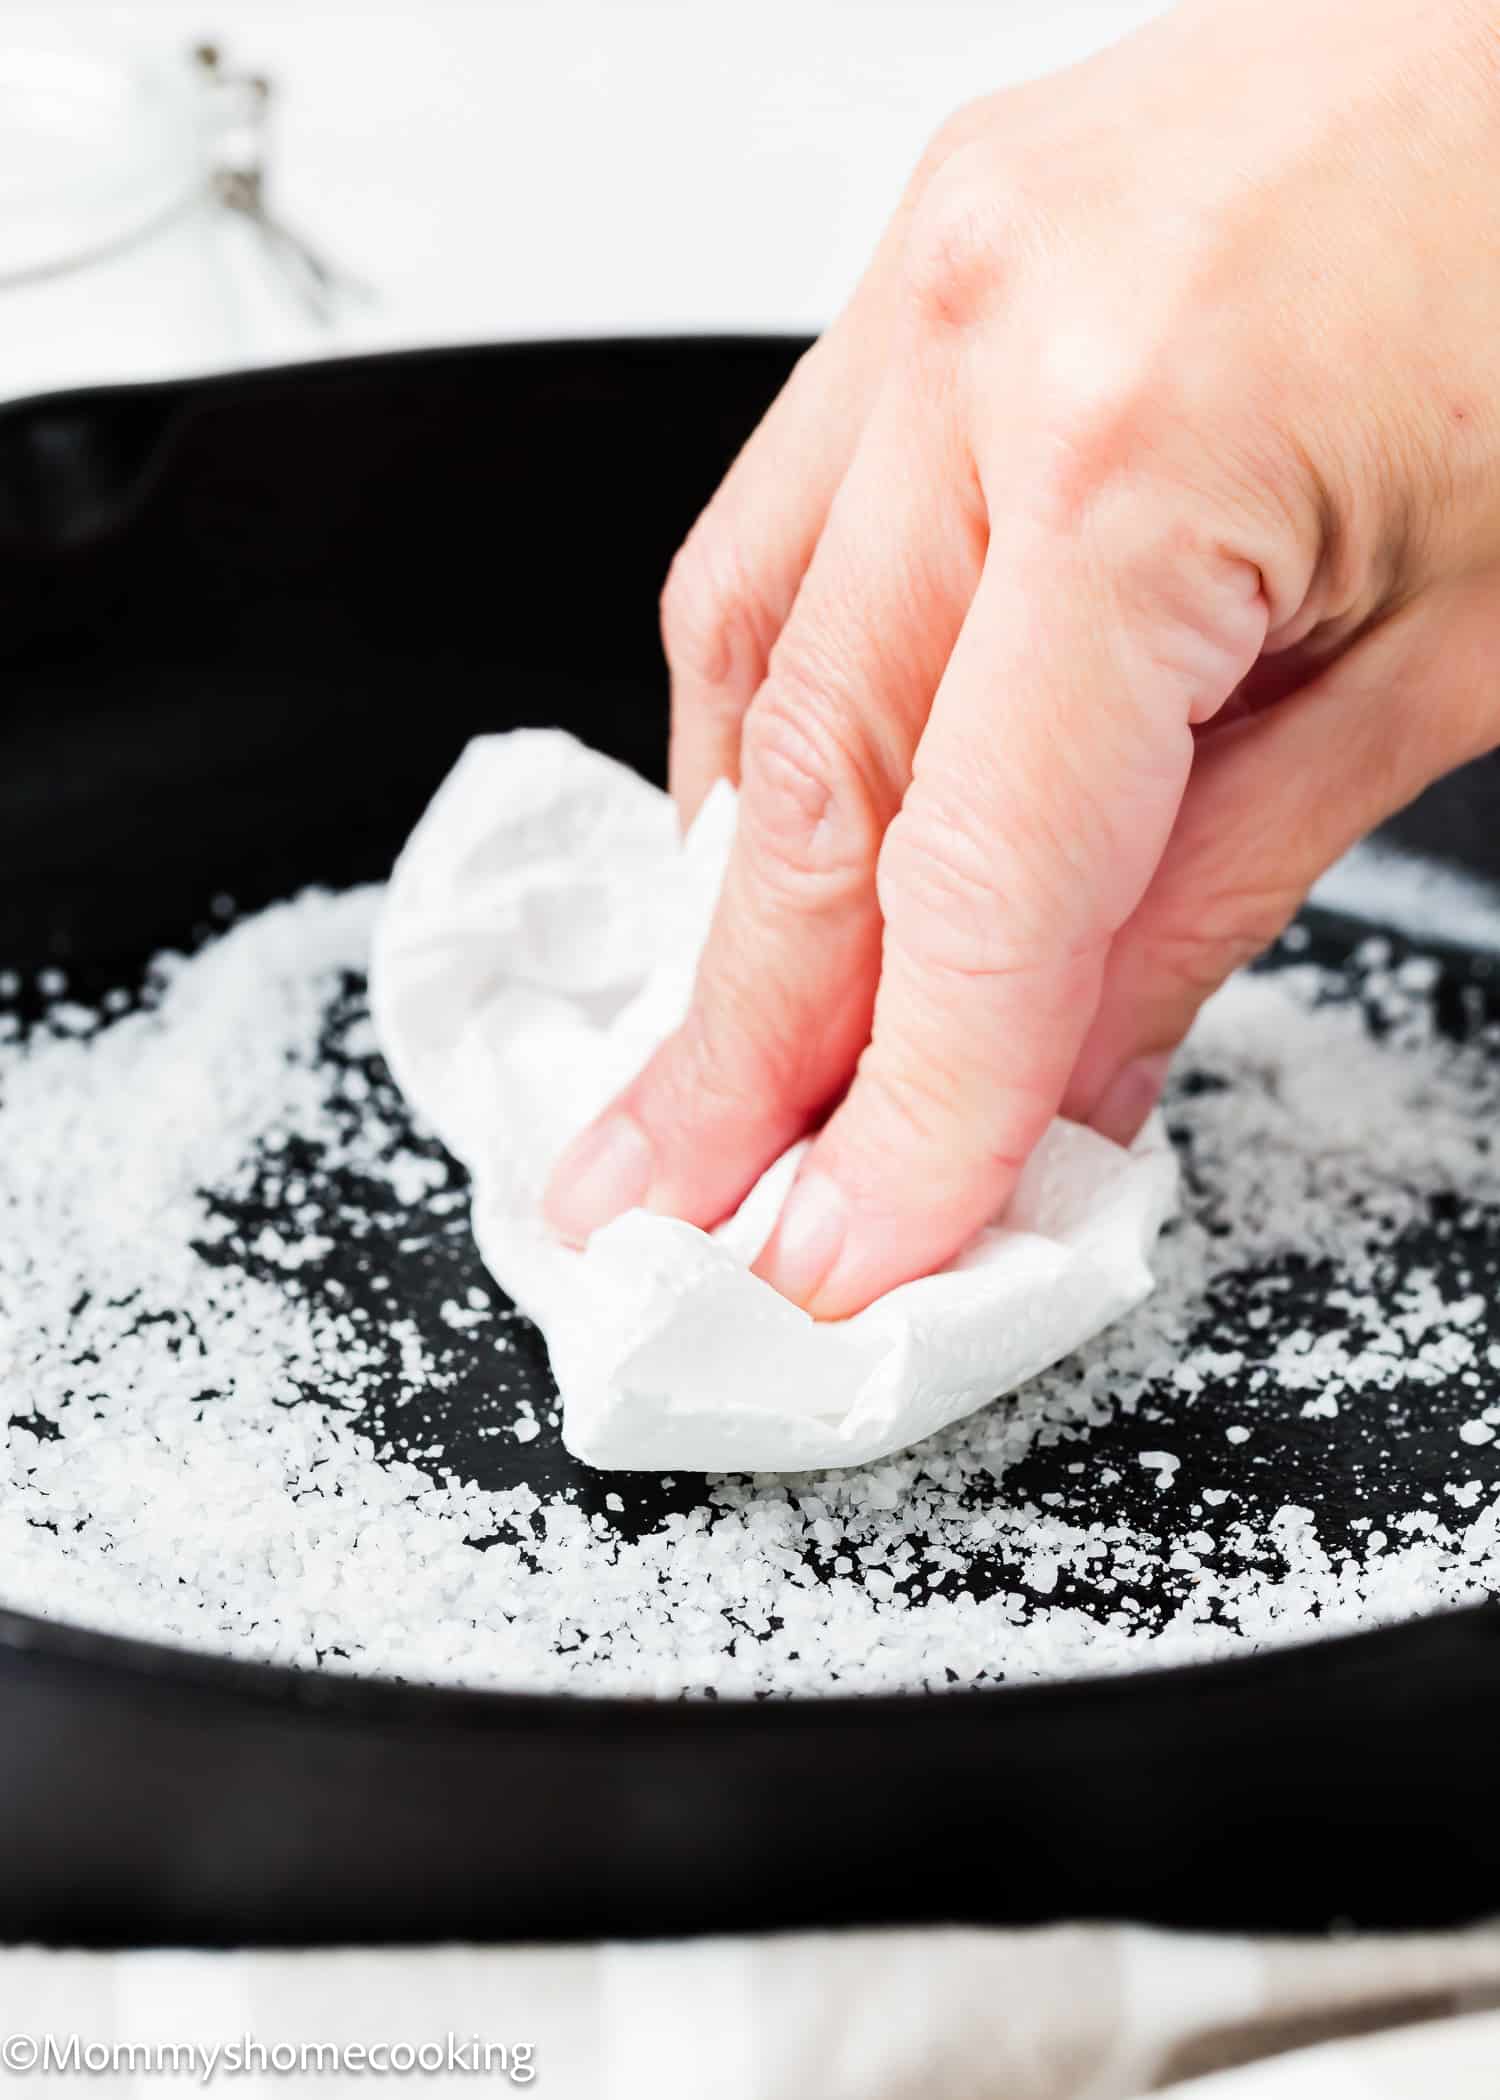
2. Scrub Away Stubborn Bits: For stubborn food that won’t come off with water and a brush, use kosher salt as a gentle abrasive. Sprinkle some salt onto the skillet and scrub with a damp sponge or paper towel until the food residue is removed.
3. Dry Thoroughly: Once your skillet is clean, use a clean towel or paper towel to dry it thoroughly. It’s important to remove all moisture from the surface of the skillet to prevent rusting. You can also place the skillet on the stove over low heat for a few minutes to ensure it’s completely dry.
4. Apply a Thin Coat of Oil: After drying, apply a thin coat of oil to the entire surface of the skillet, inside and out. Use a paper towel or clean cloth to spread the oil evenly, making sure to cover every inch of the skillet. This helps maintain the seasoning and protect the skillet from rust.
5. Store Properly: Store your cast iron skillet in a dry place with plenty of airflow. Avoid stacking other heavy items on top of it, as this can damage the seasoning. If space allows, you can hang your skillet on a hook or store it in a protective sleeve to prevent scratches.
6. Re-season Periodically: To keep your cast iron skillet in top condition, it’s a good idea to re-season it periodically. This helps maintain the non-stick surface and refreshes the seasoning. Follow the same seasoning process you used initially, applying a thin coat of oil and baking the skillet in the oven.
Eliminate the Rust on Cast Iron Pan
Limiting rust formation on cast iron is simple: Don’t let it stay wet! After cooking and/or cleaning cast iron, always fire up the stove or oven to dry it immediately after a use session. Consistent care and reseasoning cast iron cookware after many uses are the keys to eliminating rust from forming on a cast iron pan.
However, even if rust forms on a cast iron pan–the equipment can still be saved.
1- Remove the Rust: For minor rust spots, start by scrubbing the affected areas with steel wool or fine-grit sandpaper. Apply gentle pressure and scrub in a circular motion until the rust is removed. Be careful not to scrub too vigorously, as you don’t want to damage the pan’s surface.
2- Rinse and Dry Thoroughly: Once you’ve removed the rust, rinse the pan thoroughly with warm water to remove any residue. Then, dry the pan completely with a clean towel or paper towel. Drying the pan thoroughly is important to prevent new rust from forming.
3 – Re-season the Pan: After removing the rust, it’s essential to re-season your cast iron pan to protect it from future rusting and maintain its non-stick properties. Follow the seasoning process outlined earlier, applying a thin layer of oil to the pan and baking it in the oven to create a protective coating.
Best Fat to Season Your Cast Iron Pan
Everyone has their own preference regarding the best fat or oil to use when seasoning a cast iron pan. Lately, there’s been a shift away from vegetable or seed oils and toward healthier fats like olive oil, avocado oil, coconut oil, bacon grease, or tallow.
However, the cheapest options are often oils like vegetable, canola oil, or shortening like Crisco. At the end of the day, if you’ve got a cast iron pan, just use whatever you have in your cupboard during the seasoning process!
Cast Iron Cooking Tips and Tricks
To get the most out of your cast iron cookware, here are some essential tips and tricks:
- Always preheat your skillet before cooking. This ensures even heat distribution, preventing hot spots and sticking.
- For the first few uses, cook with more oil or fat than usual. This helps build up the seasoning layer, enhancing the pan’s non-stick properties.
- Be cautious with acidic foods in new cast iron cookware. Acidic ingredients can strip away the seasoning, so it’s best to use your skillet for these foods only after it’s well-seasoned.
- Cleaning your cast iron while still warm can make the process easier. It helps remove food particles more effectively and prepares the surface for a quick re-seasoning if necessary.
- Remember to use heat-resistant utensils to avoid scratching the surface, and don’t be afraid to get creative!
Your Seasoned Cast Iron Pan is Ready to Use
And there you have it—your guide to nurturing a lifelong relationship with your cast-iron pan! With proper care and attention, your trusty kitchen companion will reward you with countless delicious meals and memories for years to come.
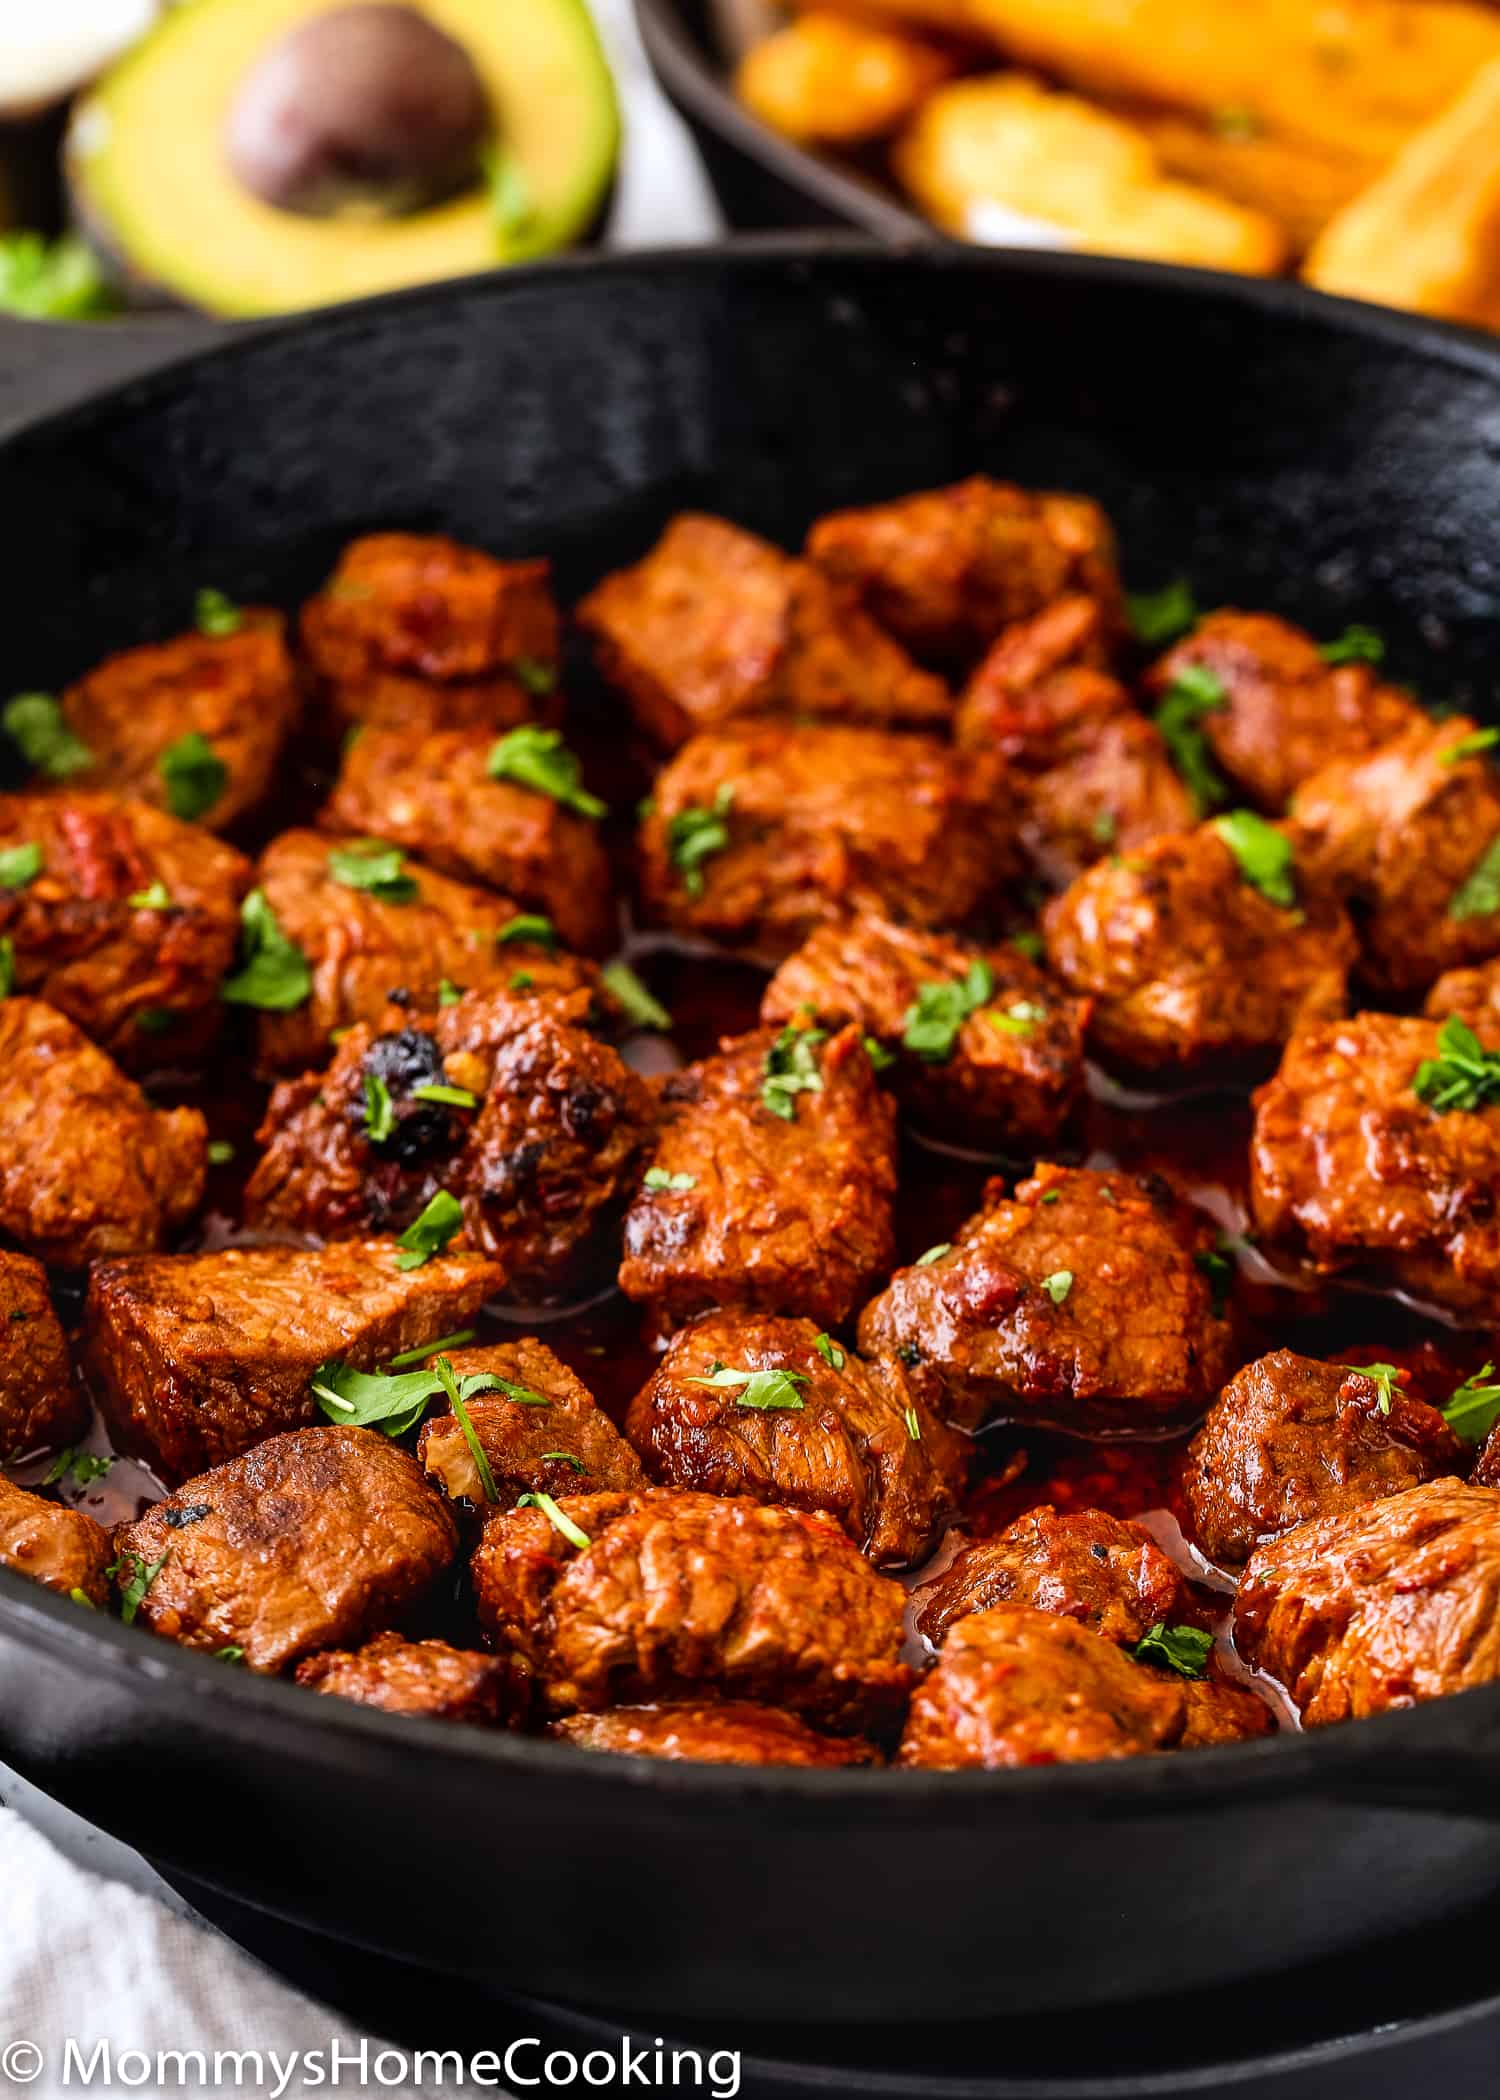
Recipes To Use Your Cast Iron Pan With
- Quick and Easy Chorizo Skillet
- Easy Chipotle Steak Bites
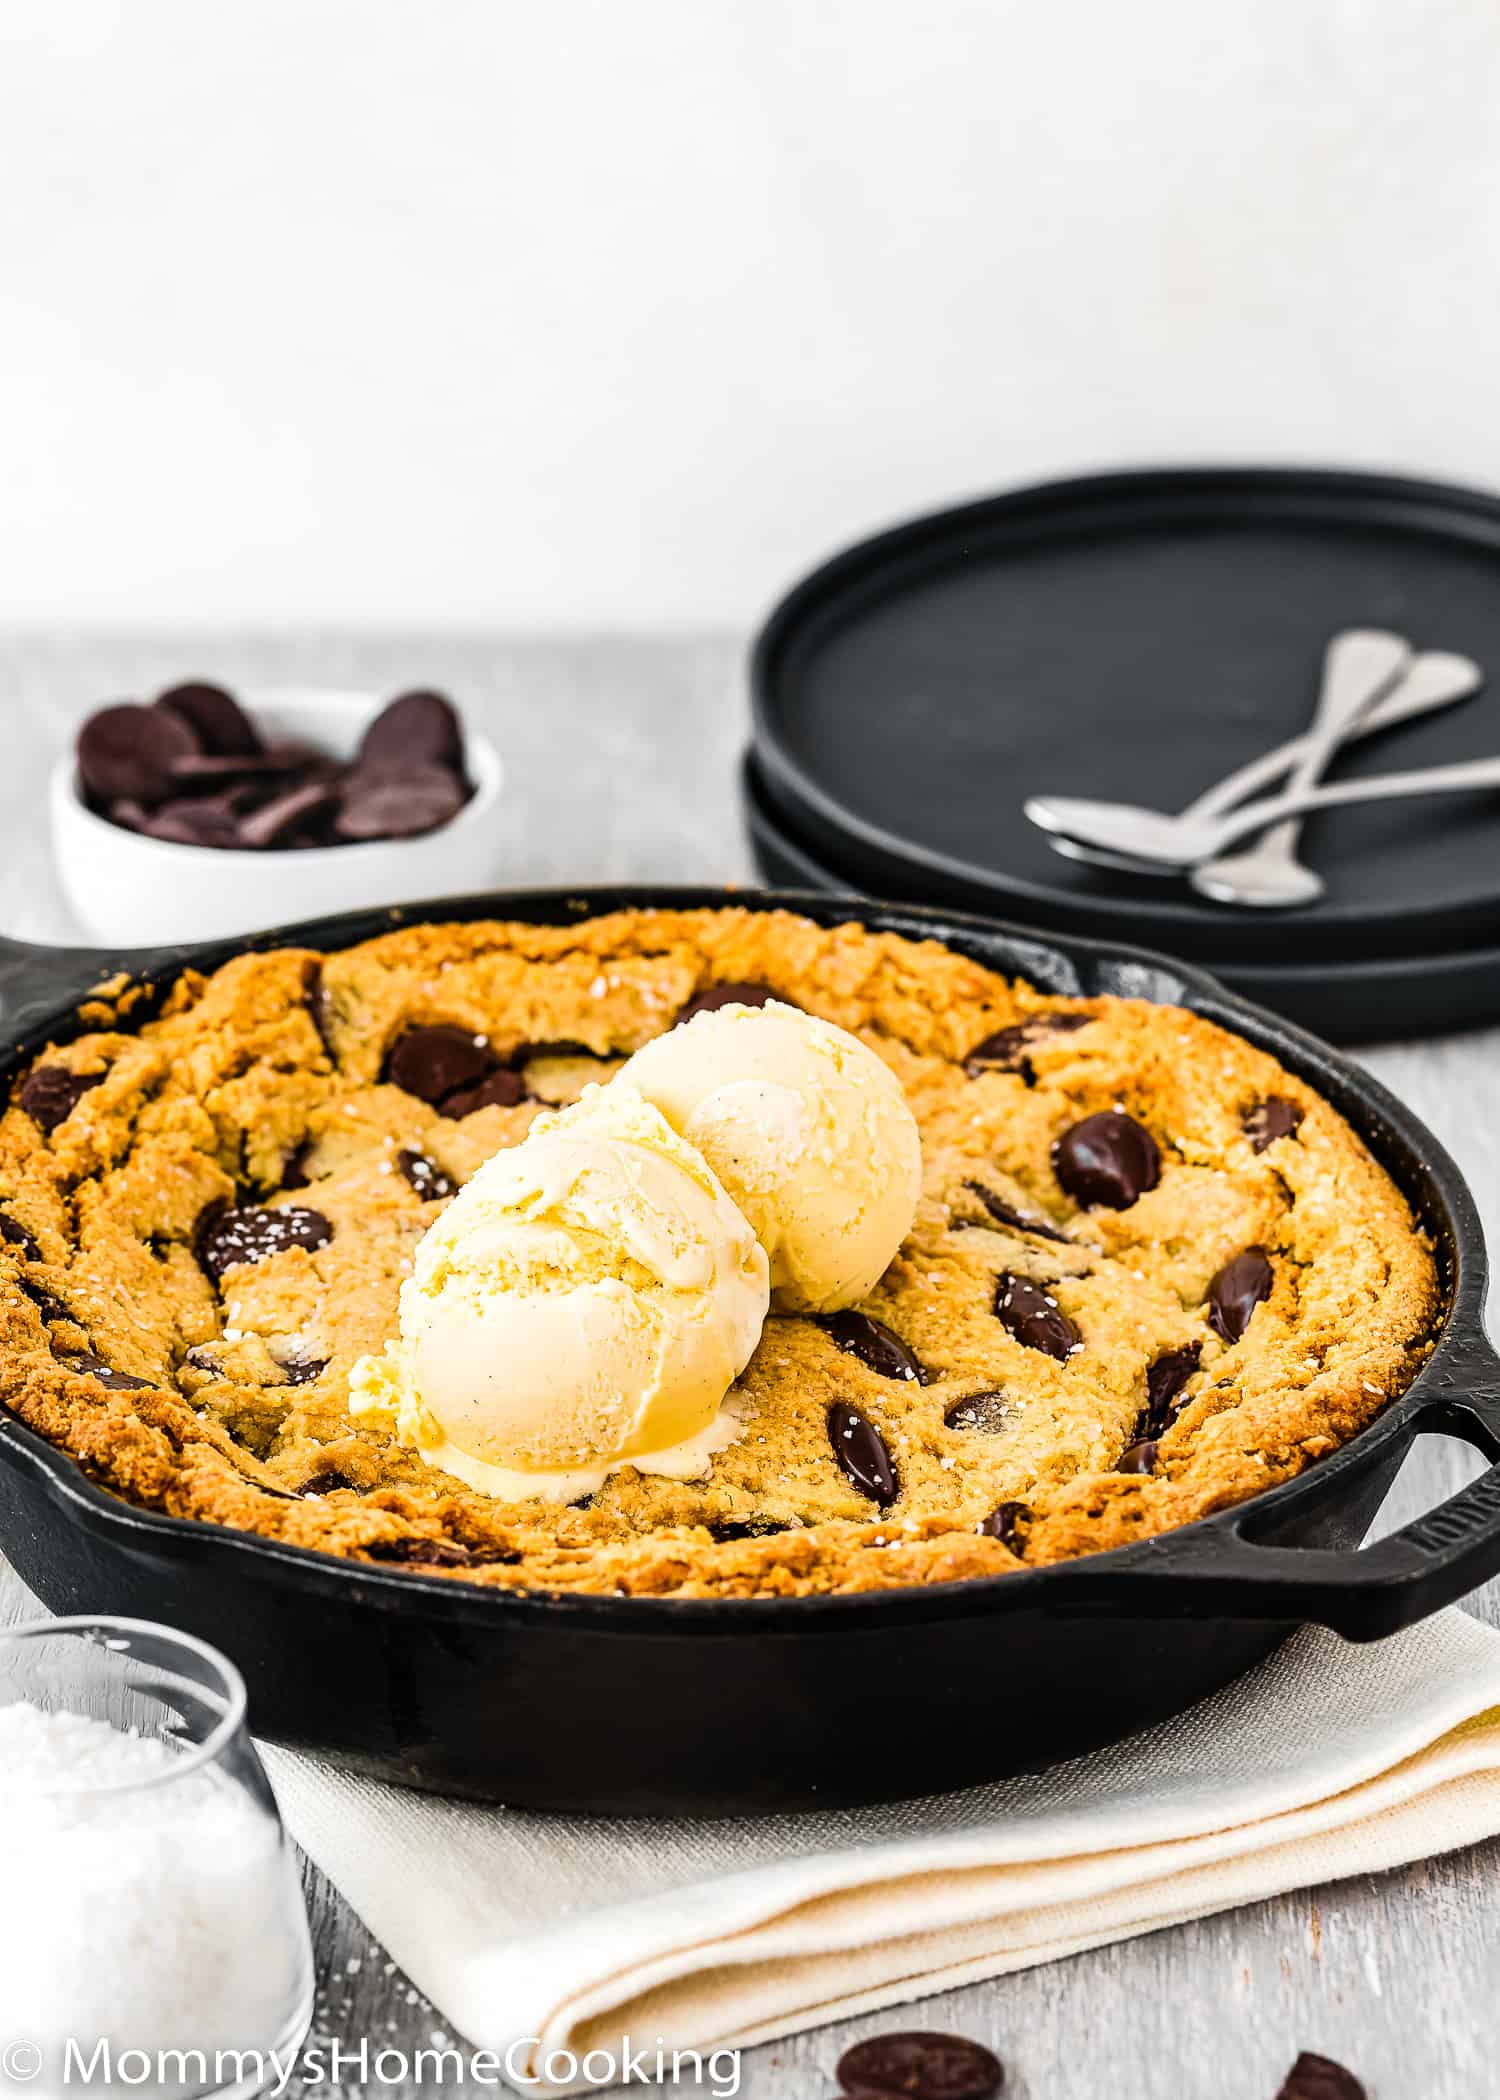
- Eggless Chocolate Chip Skillet Cookie (Egg-Free Pizookie)
- Creamy Peri Peri Chicken [Video]
- One Pot Easy Thai Chicken with Rice
- Easy Sticky Bourbon Chicken
- Venezuelan Beef Liver and Onions
FAQs
Season your skillet by coating it with a thin layer of oil and baking it in the oven at 400°F for an hour. Let it naturally cool in the oven for 30 minutes.
A seasoned pan is cookware, usually made of cast iron or carbon steel, treated with oil and heat to create a natural, non-stick coating.
It’s best to avoid cooking acidic foods, like tomatoes, in a new cast iron skillet as they can strip the seasoning. Well-seasoned pans can handle acidity better.
Clean your skillet while it’s still warm. Use hot water and a non-metal brush or sponge. Avoid soap, and don’t soak it. Dry it thoroughly and apply a light coat of oil to re-season. Wipe the oil with a paper towel and spread it all over. Then, stick it in the oven at 400°F for an hour. Simply turn the oven off and let it cool on its own for 30 minutes.
While metal utensils won’t damage the cast iron surface, they can potentially scrape off the seasoning if used aggressively. Try to avoid scraping the bottom of the pan with metal utensils, especially when stirring or flipping food.
Absolutely! Cast iron is versatile and can be used on gas, electric, and induction stovetops, as well as in the oven and over open fires.
New cast iron skillets might not be fully seasoned, causing food to stick. Over time, regular use and proper seasoning will develop a non-stick surface.
Re-season your skillet whenever it looks dull or if food starts to stick. Regular cooking and maintenance will keep it well-seasoned.
It’s generally thought that cooking with a naturally, well-seasoned cast iron pan is healthier than using a pan with unnatural non-stick coatings (which contain possibly harmful chemicals).
Rust can form if the skillet is left wet or not properly seasoned. To remove rust, use a scrubber, rinse, dry thoroughly, and re-season.
Yes, cast iron is heavier than other cookware, but its weight contributes to its heat retention and even cooking capabilities.
❤️ Love what you see? JOIN my Private Baking Club. Also, SUBSCRIBE to Mommy’s Home Cooking, so you’ll never miss a recipe! And FOLLOW along on Instagram, Pinterest, and Facebook for more fun!

Leave a Reply