
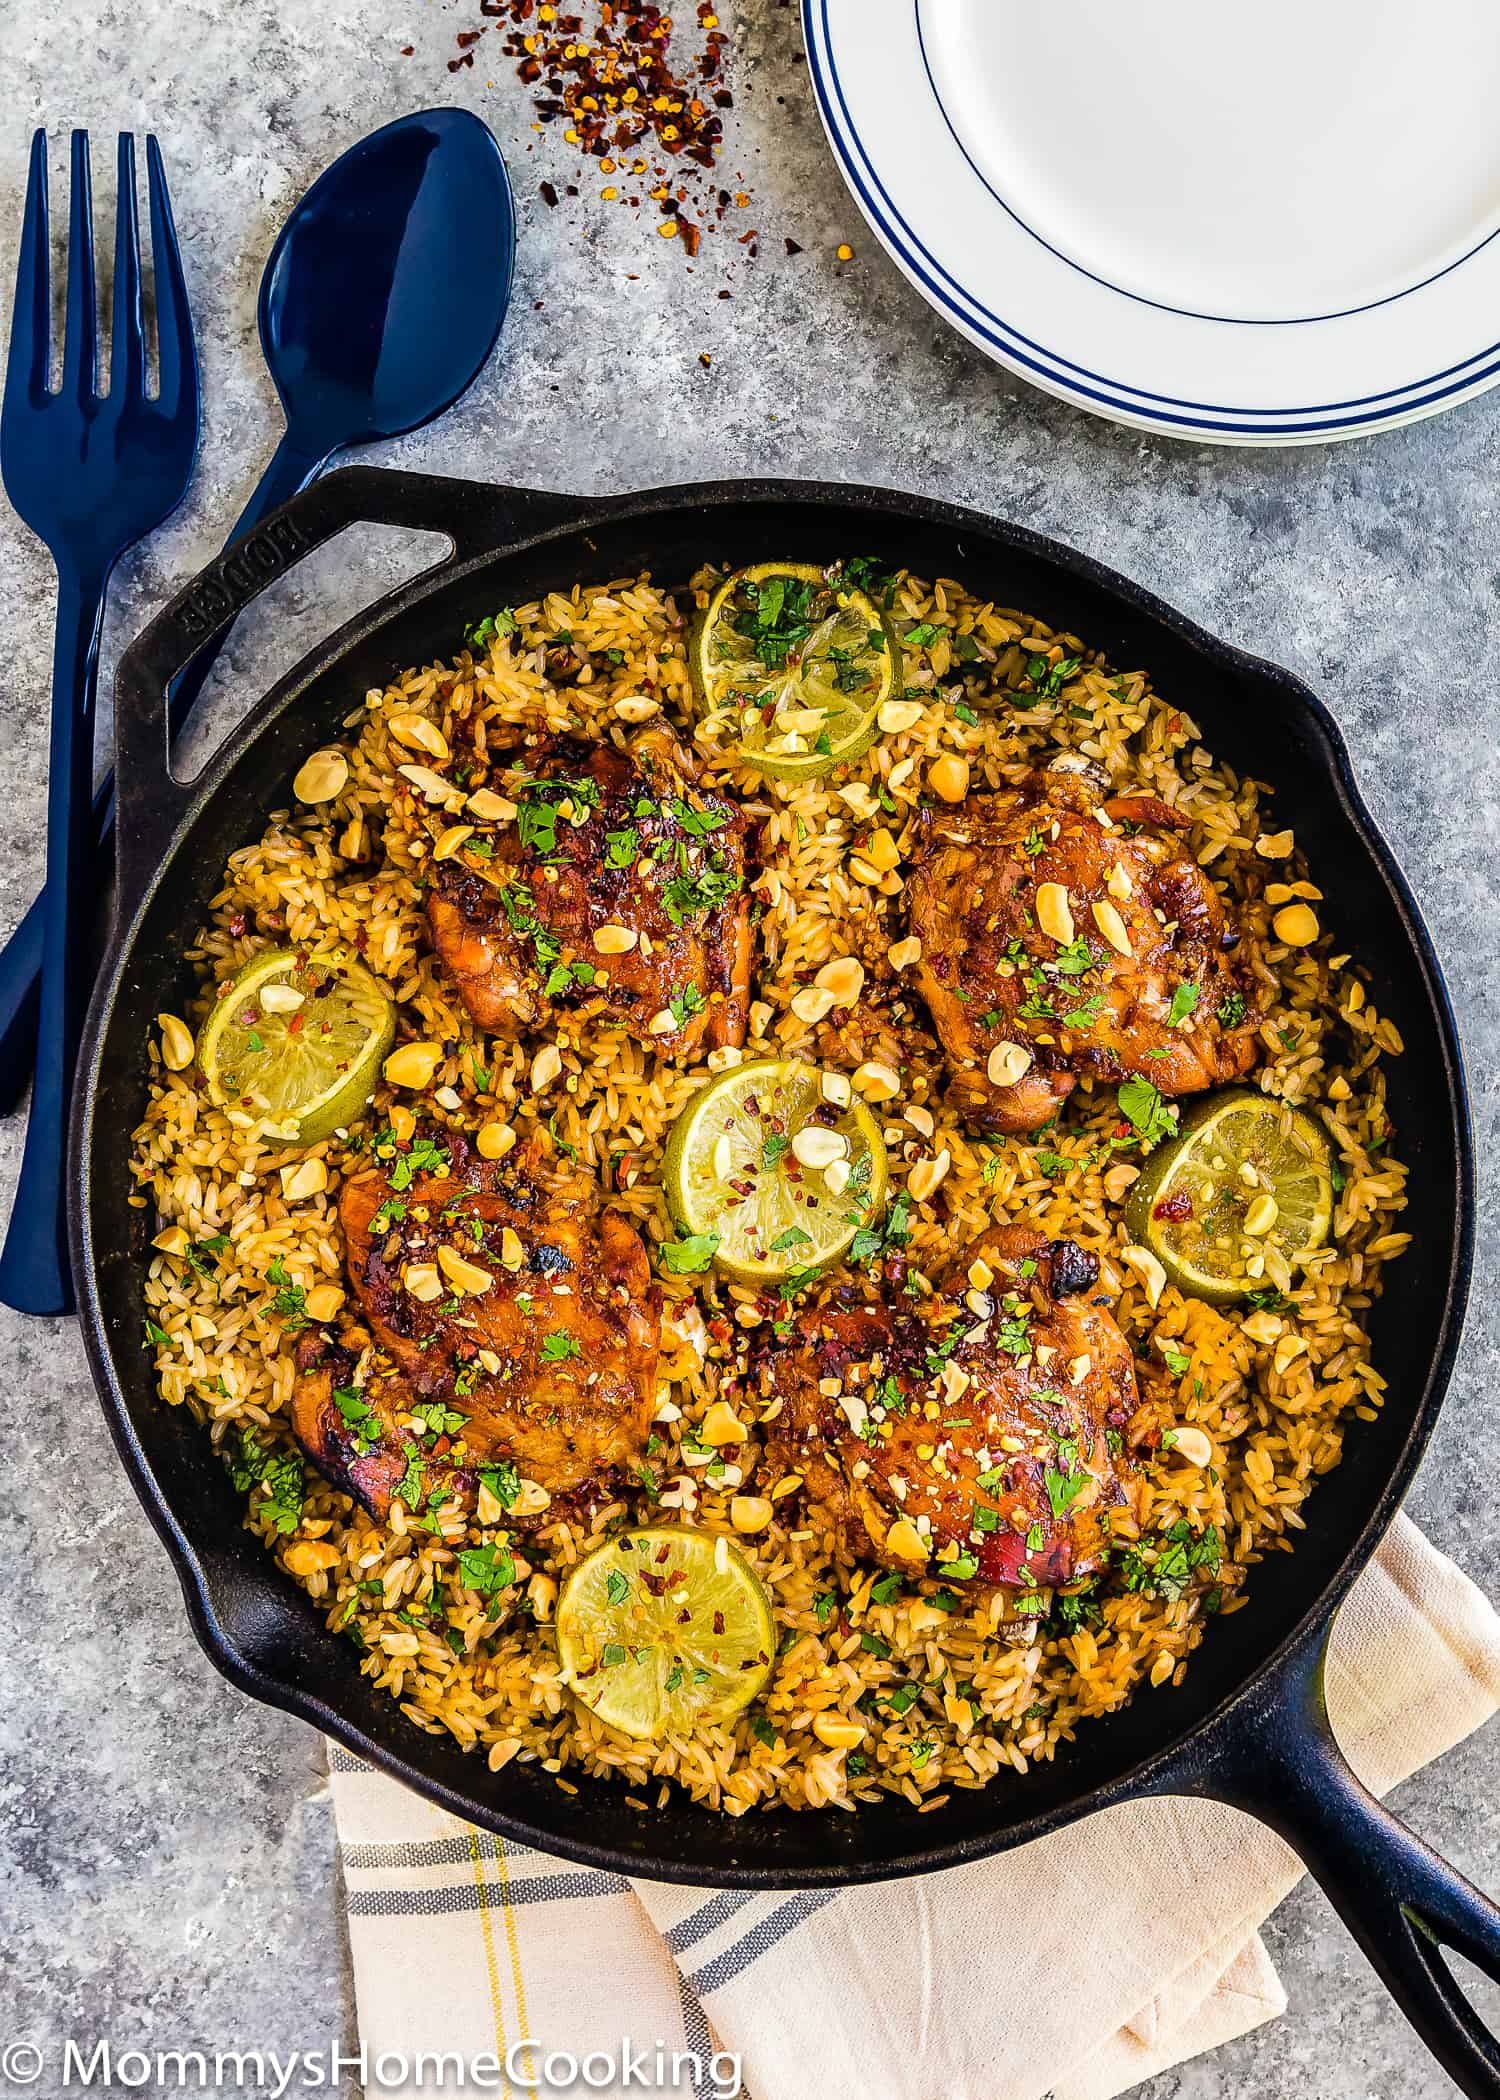
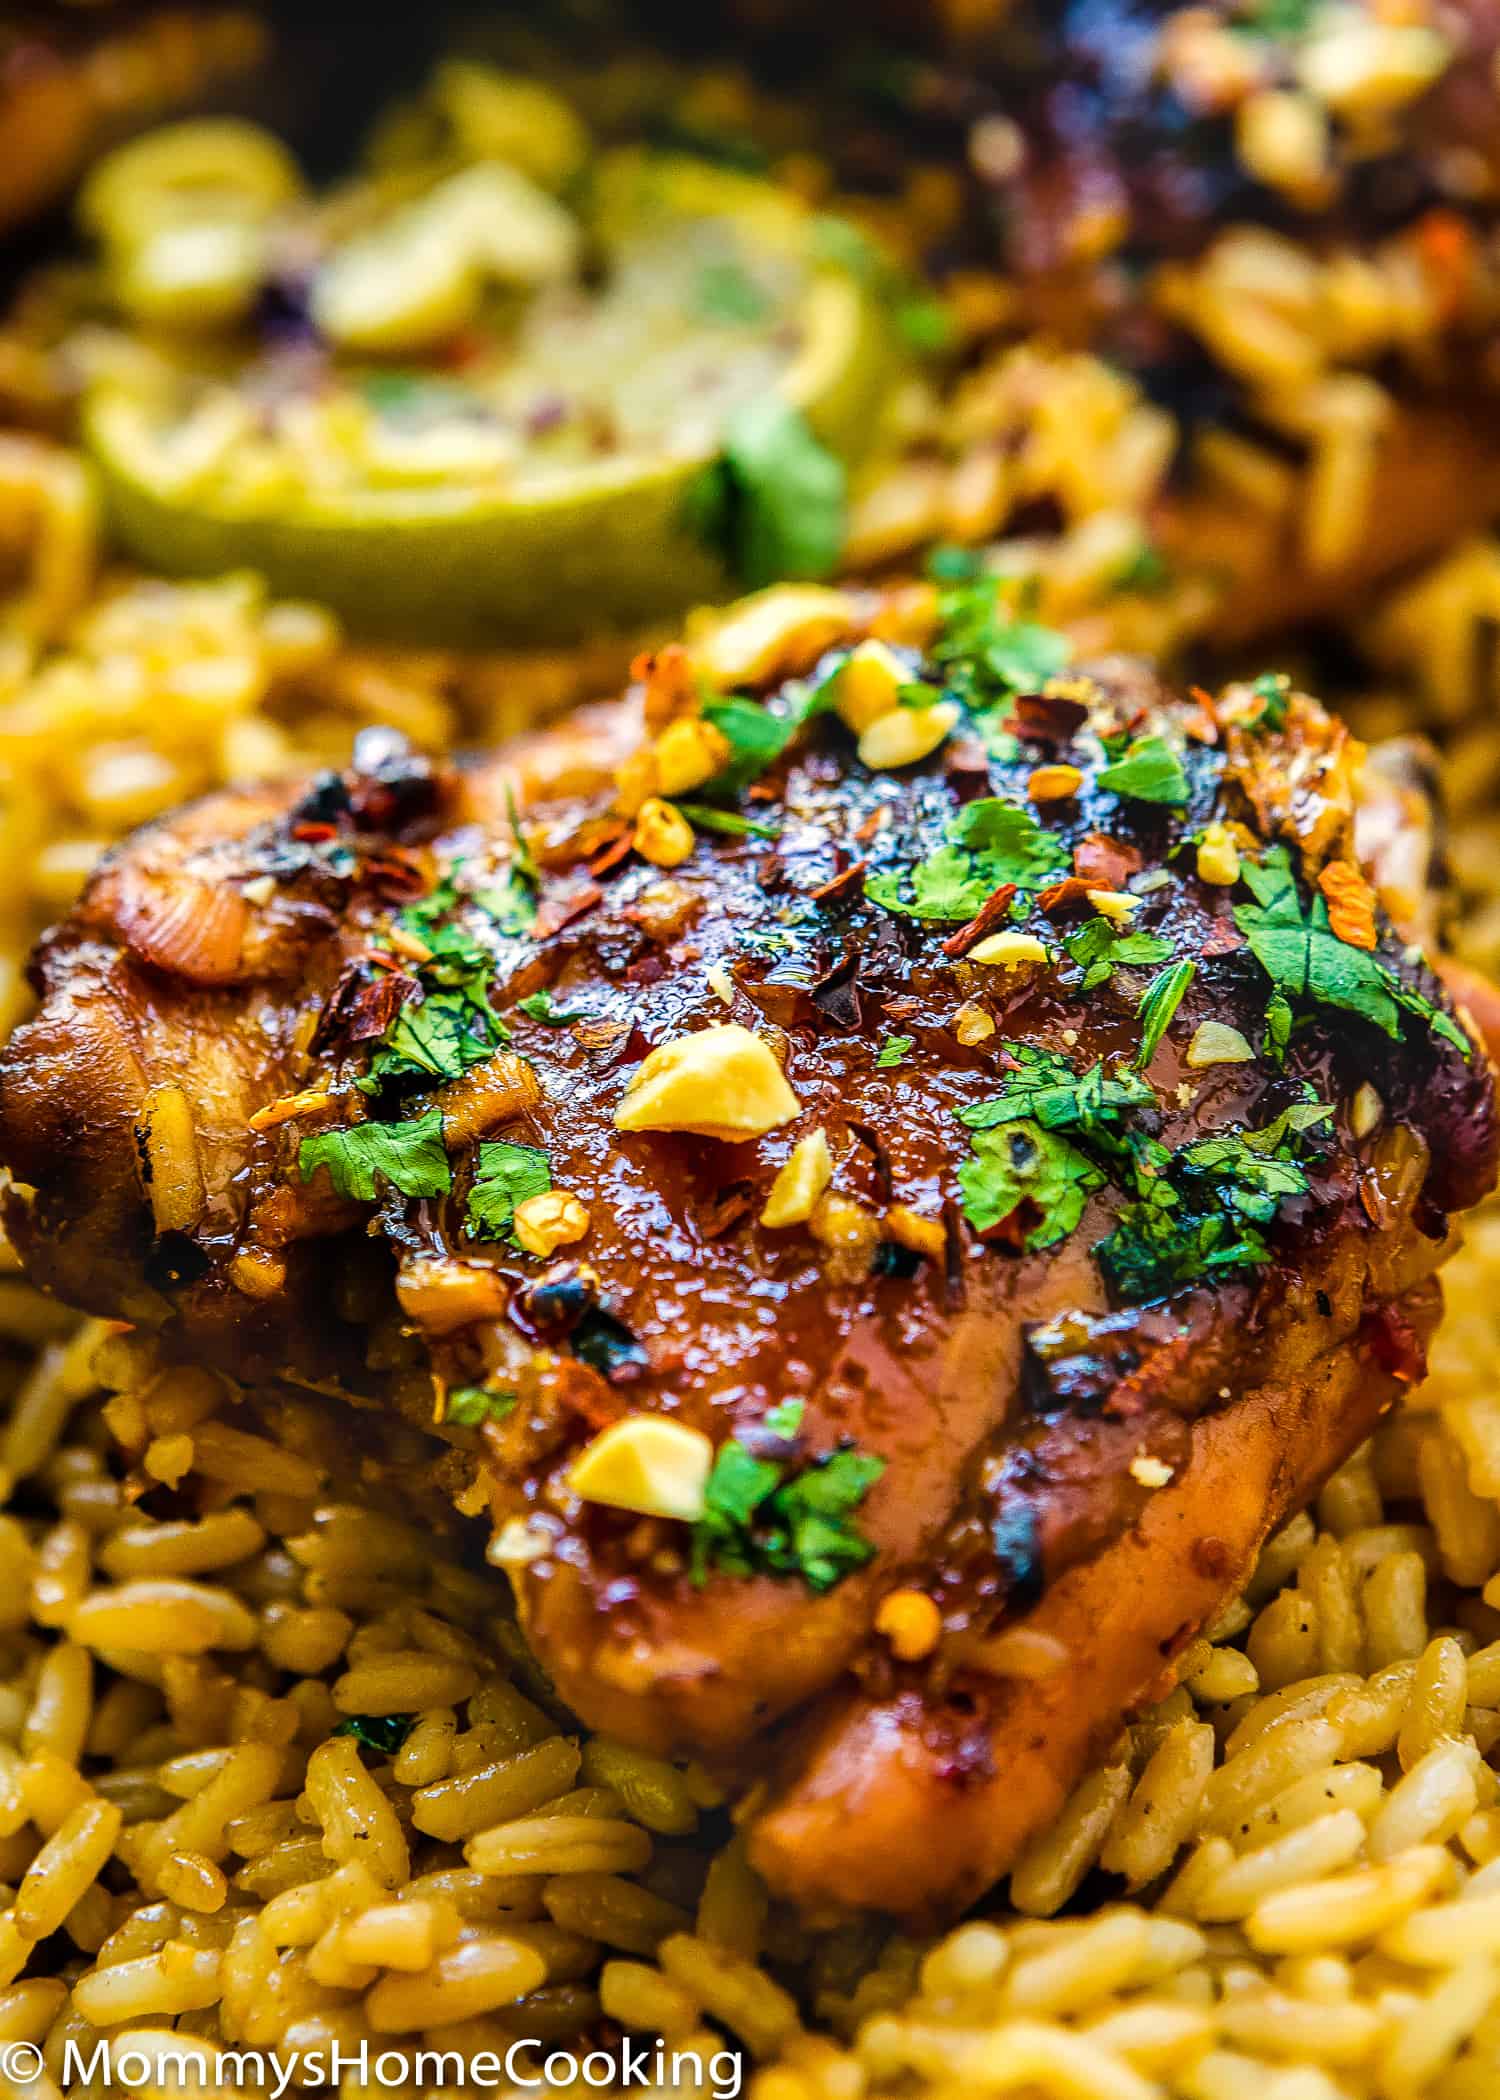
This amazing One Pot Easy Thai Chicken with Rice makes for an exotic, easy weeknight dinner that the whole family will love. If you love the chicken and rice combo, you might also like my Chicken with Rice Spanish Style (arroz con pollo) recipe.
Easy Thai Chicken with Rice Recipe Highlights
Today, I will share this amazing One Pot Easy Thai Chicken with Rice recipe I made a few days ago.
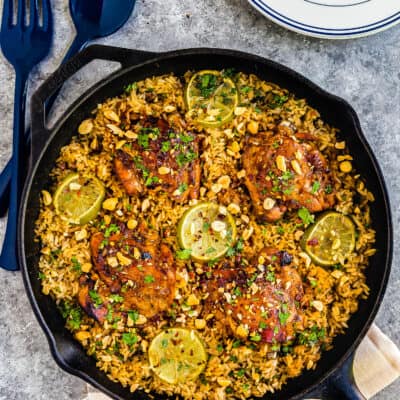
This One Pot Easy Thai Chicken with Rice dish comes together in one pot, feed a hungry little crowd, and requires little cleanup later. It doesn’t get any easier than this!!
This recipe is a mix of sweet, salty, sour, and spicy hot together in a meal—a FEAST for your taste buds.
Ingredients You’ll Need, Substitutions & Notes
Please check the recipe card at the bottom of the post for exact quantities and detailed instructions (scroll down).
- Chicken: I used bone-in skinless chicken thighs. You can also use chicken legs or chicken breasts (cut into bite sizes).
- Salt and freshly ground pepper to season
- For the Thai Marinade: You’ll need sweet chili sauce, Sriracha, reduced-sodium soy sauce, fish sauce, garlic, fresh ginger, and fresh lime juice.
- Oil: Vegetable oil or canola oil.
- Rice: I used Long Grain Parboiled Rice for this recipe. I like this type of rice because the cooked grains are drier and less starchy, so they cook light and fluffy and don’t get sticky if cooked properly.
- Chicken stock: Homemade or store-bought.
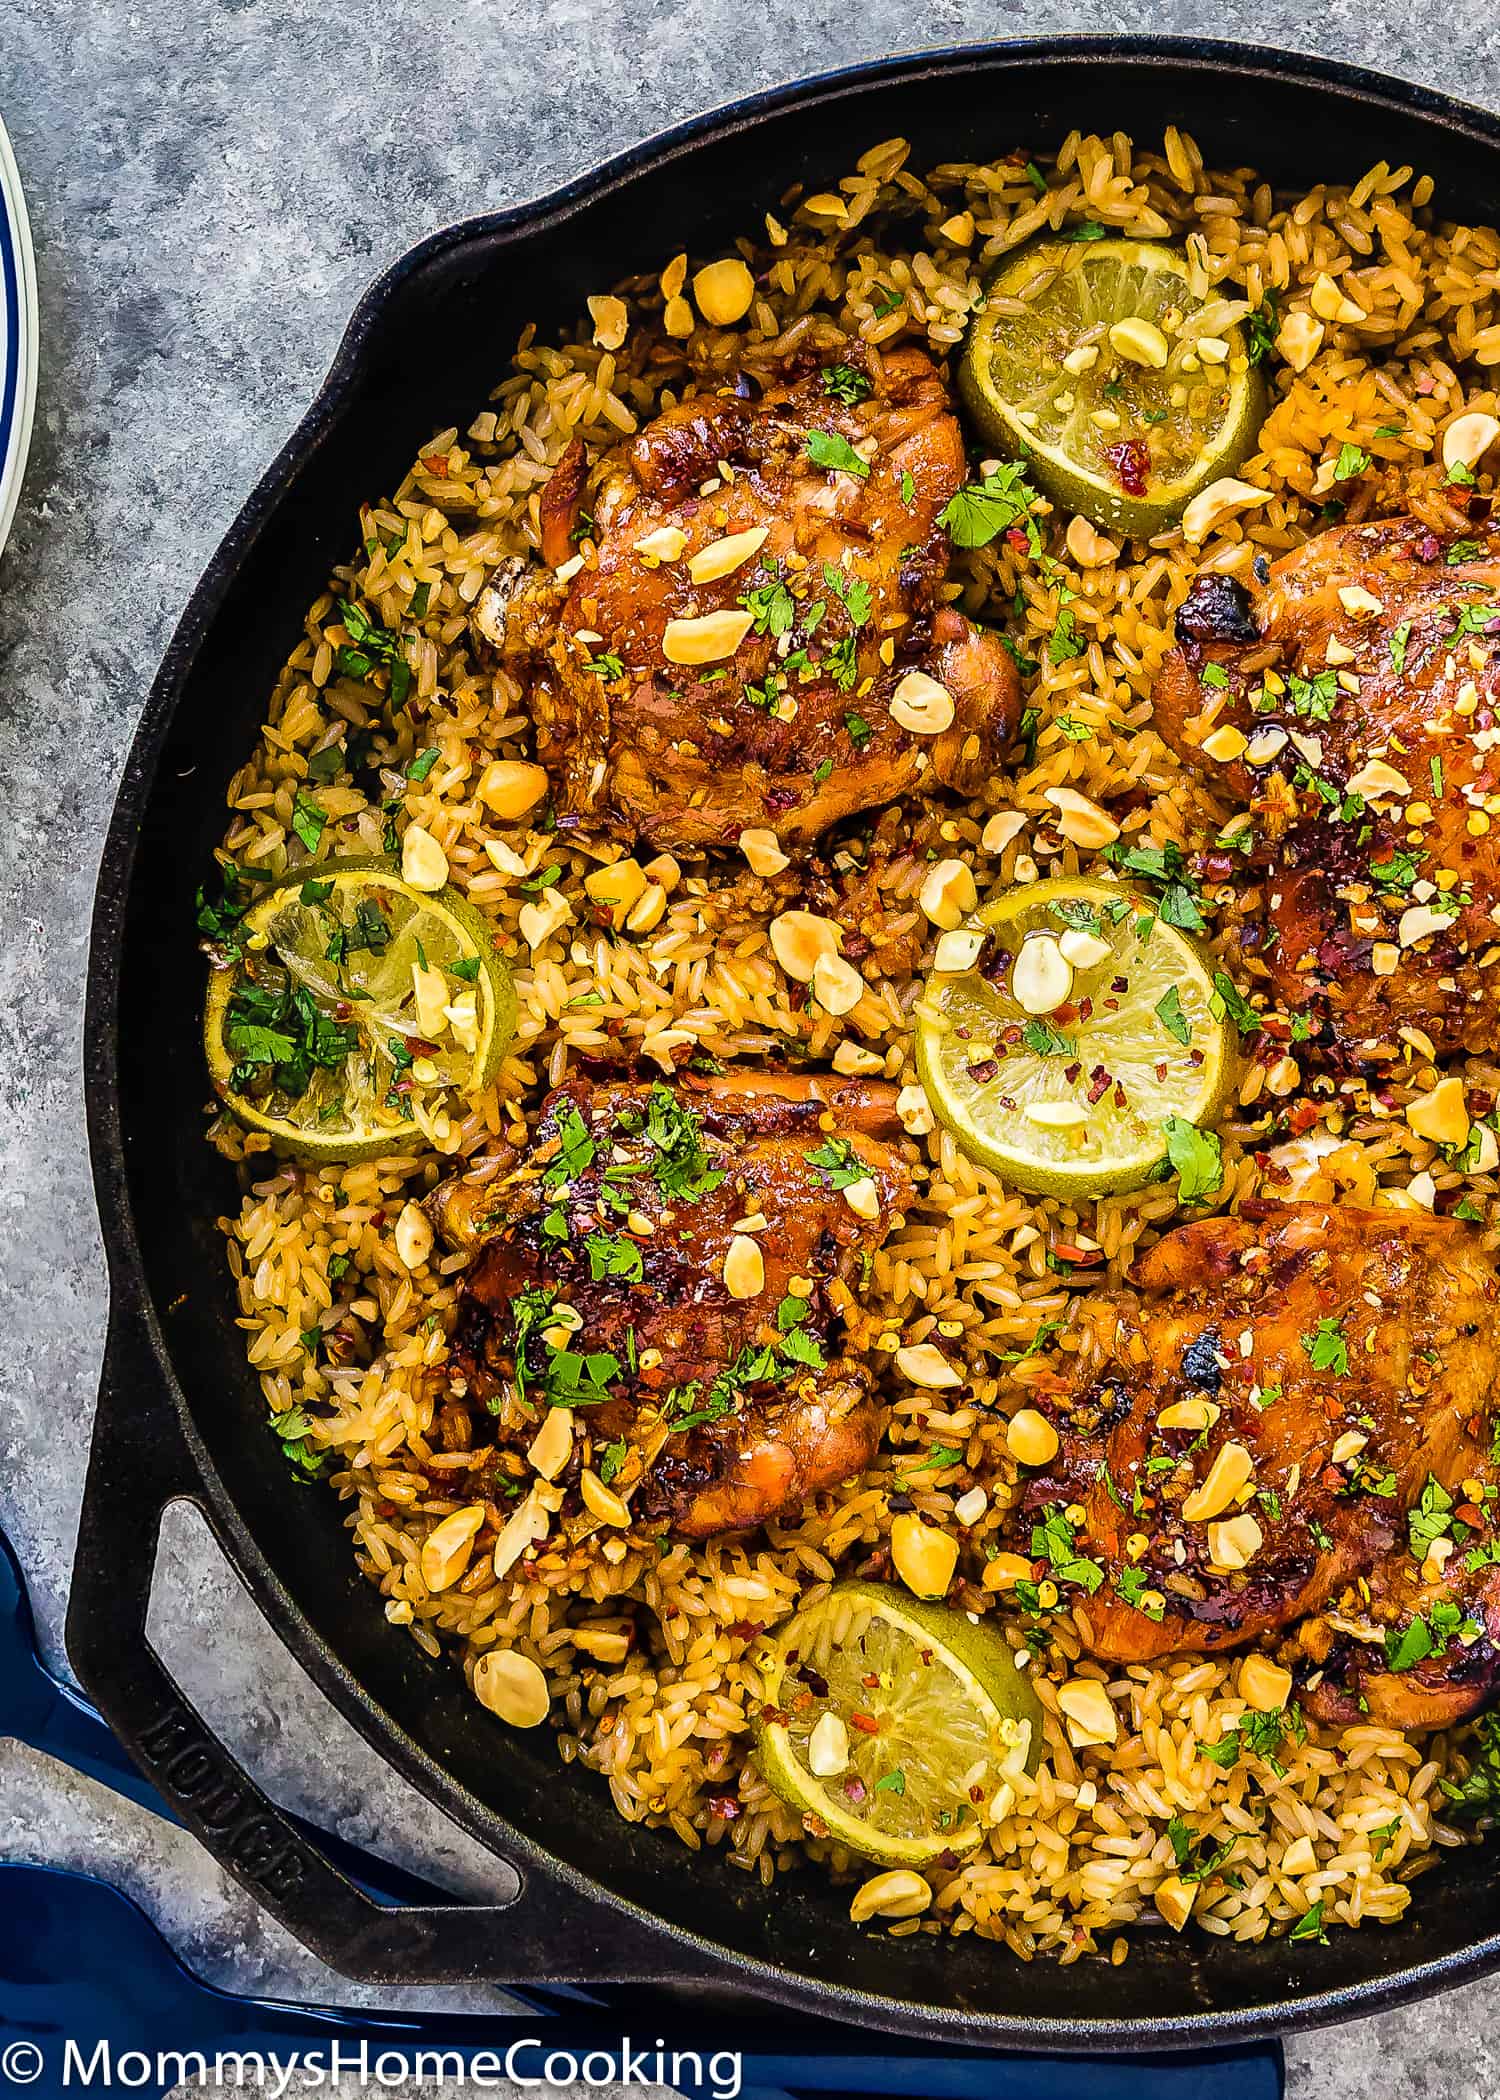
- To serve and garnish: peanuts, fresh cilantro leaves, and red pepper flakes.
Thai-Style Marinade
This One Pot Easy Thai Chicken with Rice starts off with a simple Thai chicken marinade. My Thai Sauce-Marinade is made with just sweet chili sauce, Sriracha, reduced-sodium soy sauce, fish sauce, garlic, ginger, and lime.
The Sauce-Marinade is used as a quick marinade for the chicken before, but you could absolutely marinade overnight if you want. The same marinade/sauce can be used to marinate Shrimp, chicken breasts, beef, and pork.
Process Overview: How to Make Thai Chicken with Rice Step-by-Step
Please check the recipe card at the bottom of the post for exact quantities and detailed instructions (scroll down).
- Prepare the Marinade
Lightly season chicken with salt and pepper. Set aside. Mix in a small bowl chili sauce, Sriracha, soy sauce, fish sauce, garlic, ginger, and lime juice; set aside.
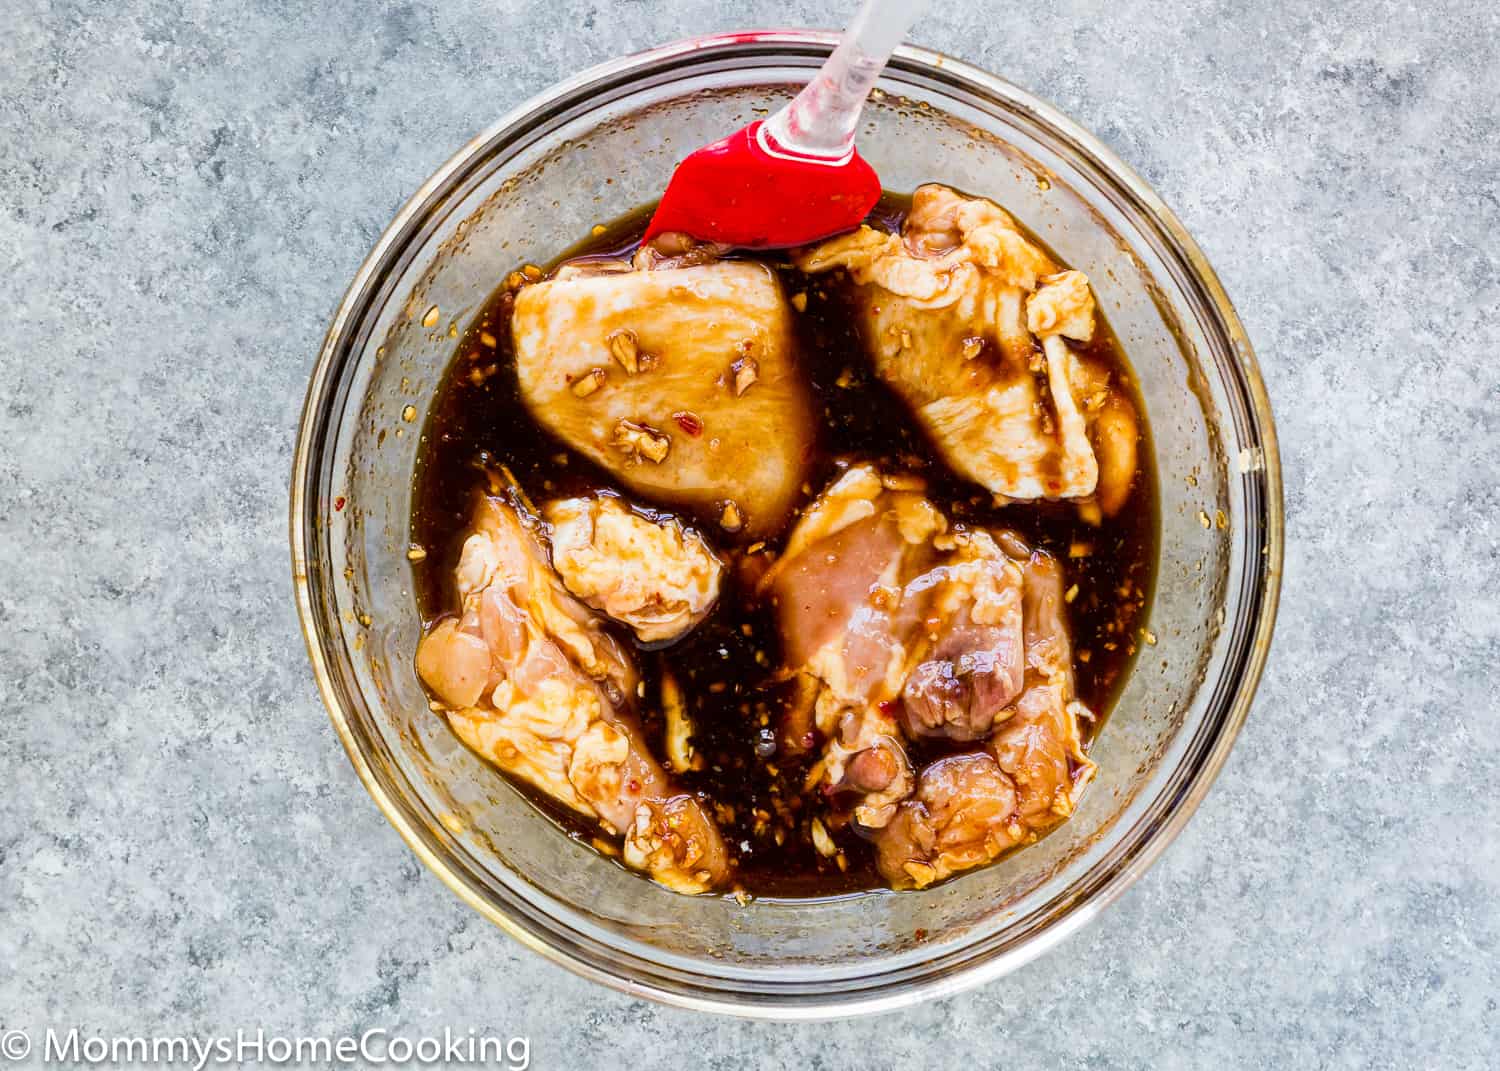
- Marinade the Chicken
Combine the chicken and marinade in a Ziploc bag. Marinate for anything from 30 minutes to overnight.
- Sear the Chicken
Heat 2 tablespoons of oil in a large oven-proof skillet over medium-high heat. Remove the chicken from the marinade and reserve the marinade. Add chicken, skin-side down, and sear both sides until golden brown, about 2-3 minutes per side. Remove the chicken and set aside.
- Toast the Rice
Heat 2 tablespoons of oil in the same skillet. Add the rice and cook, constantly stirring, for 2 -3 minutes. Add chicken broth and stir to combine. Bring to boil and simmer, uncovered, for 5 – 8 minutes, or until most of the liquid has evaporated and the surface of the rice is covered with steamy holes. Place the chicken on top, add 2-3 tablespoons of reserve marinade over each chicken thigh, and then place a lid on the skillet. You can use aluminum foil if your skillet does not have a lid.
- Cook
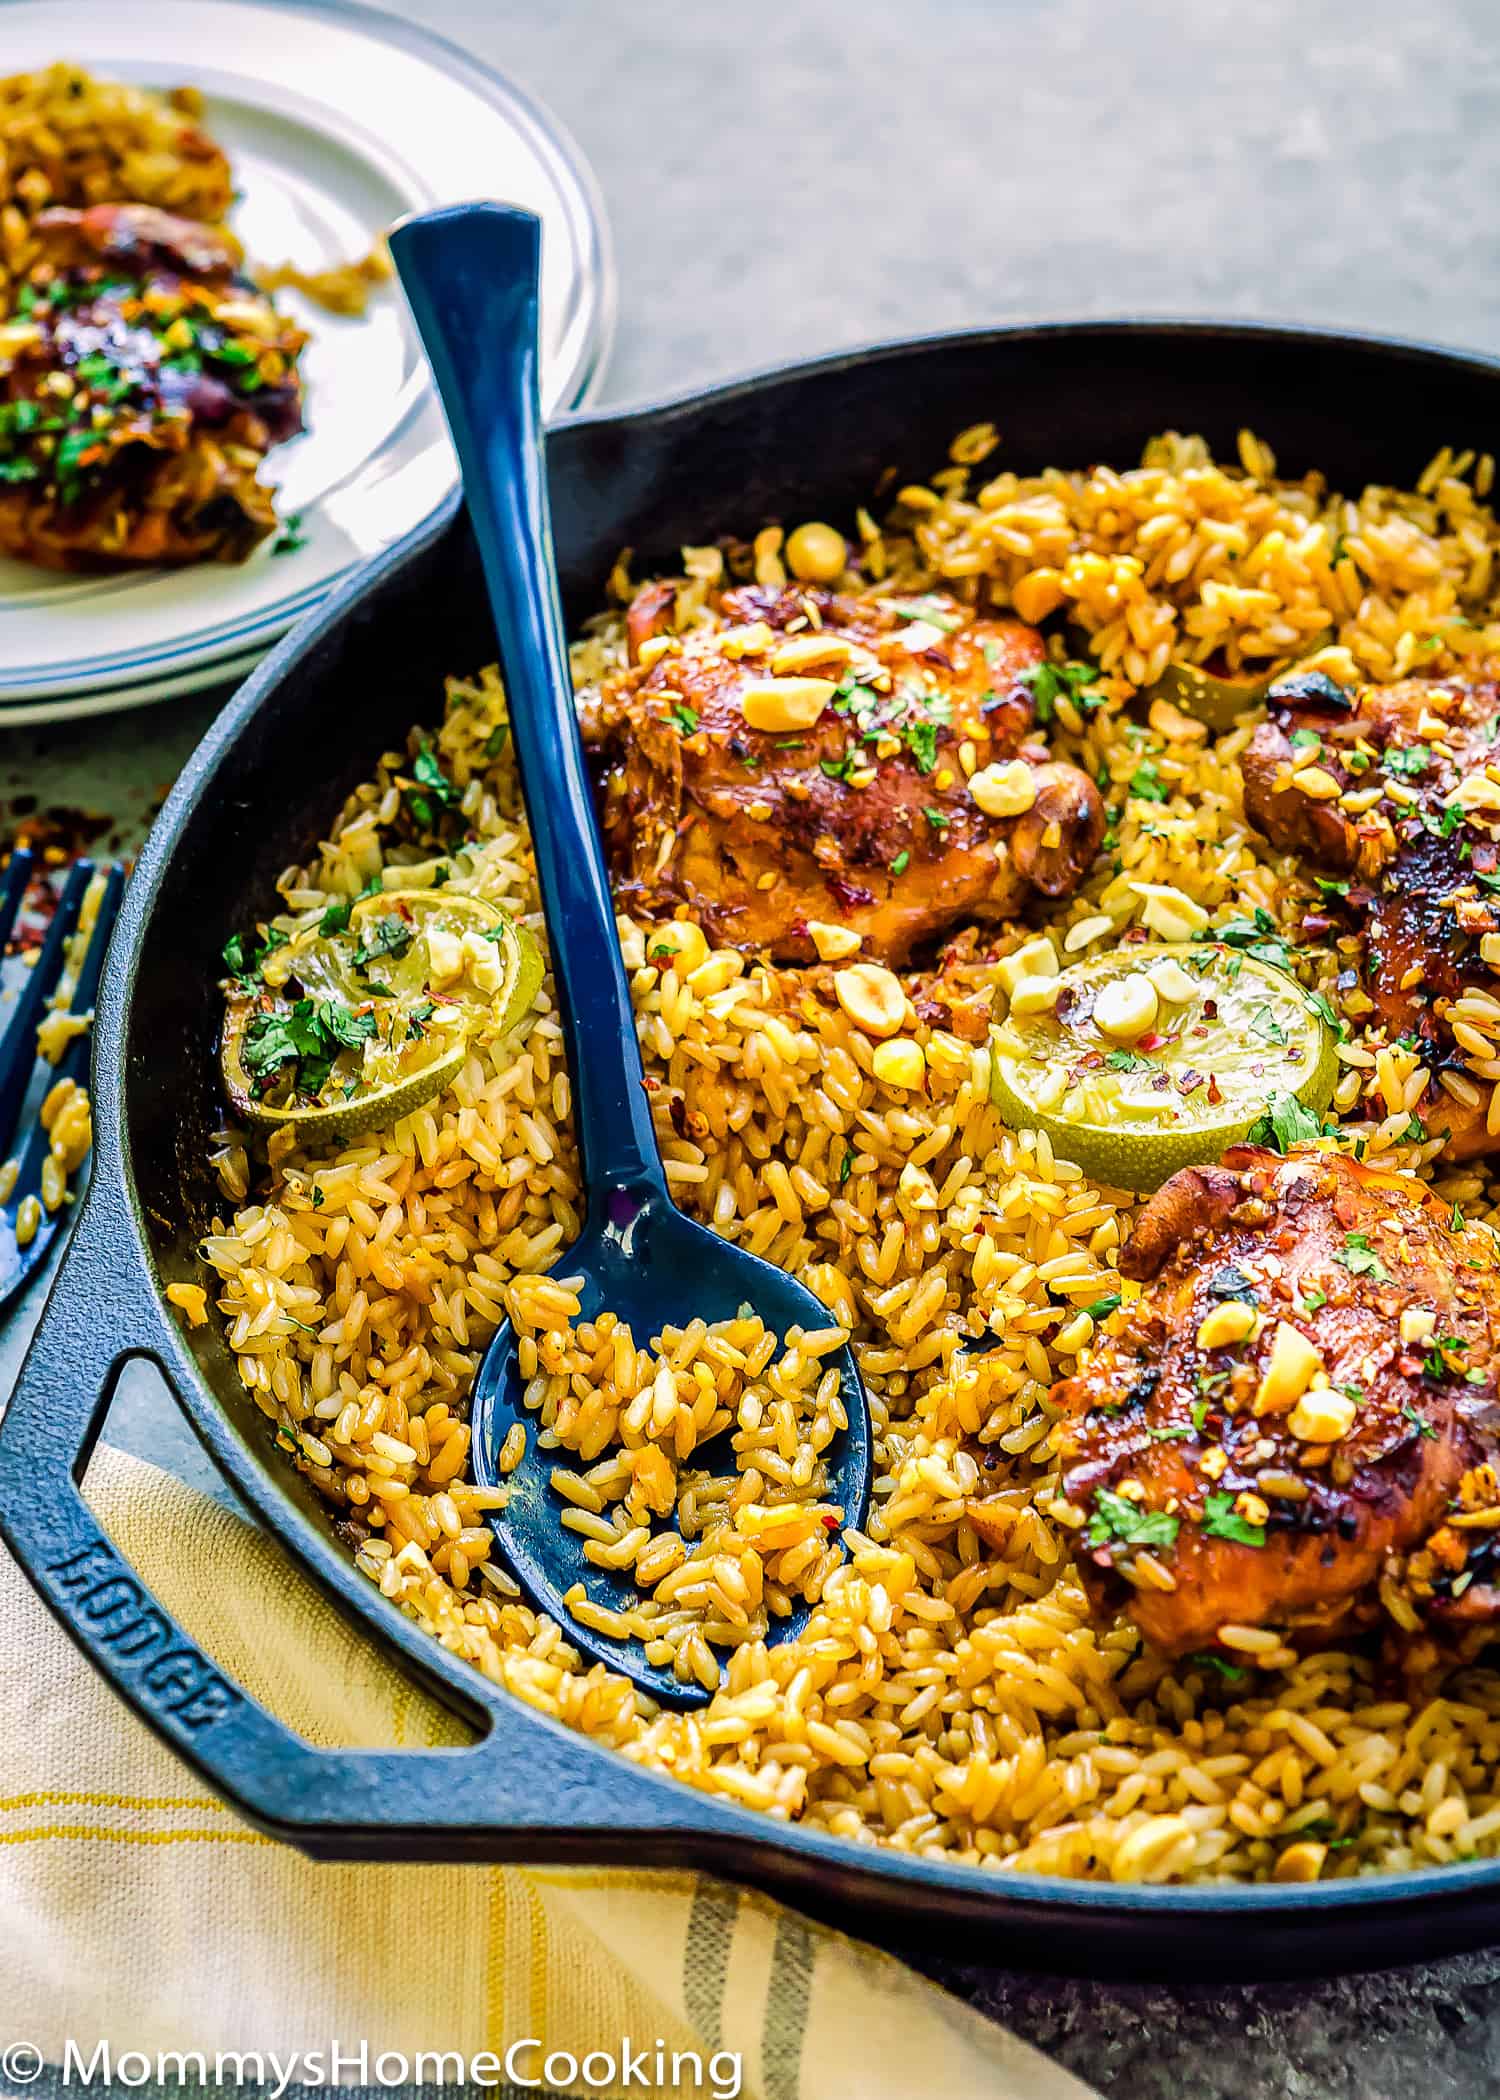
Bake covered for 30 minutes at 350º F / 175º C. Uncover and bake for 10 more minutes until the rice is tender and the chicken is fully cooked. Remove from the oven. Garnish with peanuts, cilantro, and red pepper flakes, if desired. Serve.
Recipe Tips
Skillet. You can use any large oven-save skillet. I used a 12″ Cast Iron Skillet.
Spicy. If your family is not used to eating spicy food, avoid using the red pepper flakes at the end and reduce the amount of Shirata sauce.
Vegetarian. Use mushrooms instead of chicken and vegetable stock instead of chicken stock.
Chicken. Use chicken breasts instead of thighs for a leaner alternative (thighs will result in more flavor).
Rice.I used Long Grain Parboiled Rice for this recipe. I like this type of rice because the cooked grains are drier and less starchy, so they cook light and fluffy and don’t get sticky if cooked properly.
Storing & Reheating Instructions
Store. Any leftovers will keep in the fridge for about 3 to 4 days. Reheat in the microwave until warm or in a pot on the stove over low heat. I recommend adding a splash of broth or water and cover with a lid to help steam.
Frequently Asked Questions
Brown rice takes longer to cook than long-grain white rice and typically requires more more liquid. I don’t recommend using brown rice in this recipe for best results as it might not cook as well. If you’d like to give it a shot, try using 1 1/2 cups brown rice instead of 2 cups and let it cook for an additional 10 minutes or so to get tender.
Absolutely! Use mushrooms instead of chicken and vegetable stock instead of chicken stock.
Yes, you can omit the peanuts. The dish will be super yummy anyway.
More Chicken Recipes You’ll Love!
- Easy Instant Pot Chicken Marsala
- Creamy Peri Peri Chicken [Video]
- Easy Chicken Piccata
- Instant Pot Mojo Chicken
- Sheet Pan Barbecue Bacon Chicken Fajitas
- Chicken and Corn Enchiladas
- Easy Chicken Lo Mein
❤️ Love what you see? JOIN my Private Baking Club. Also, SUBSCRIBE to Mommy’s Home Cooking, so you’ll never miss a recipe! And FOLLOW along on Instagram, Pinterest, and Facebook for more fun!
Recipe Card 📖
One Pot Easy Thai Chicken with Rice
Equipment
Ingredients
- 6 bone-in skinless chicken thighs
- Salt and freshly ground pepper, to taste
- 1/2 cup (120 ml) sweet chili sauce
- 1 teaspoon (5 ml) Sriracha, or more to taste
- 2 tablespoons (30 ml) reduced sodium soy sauce
- 1 tablespoon (15 ml) fish sauce
- 3 garlic cloves, minced
- 1 tablespoon fresh ginger, grated
- 2 tablespoons (30 ml) fresh lime juice
- 4 tablespoons (60 ml) vegetable oil
- 2 cups (400 g) uncooked rice (I used enriched parboiled long white rice grains)
- 4 cups (960 ml) chicken stock
- 1/4 cup peanuts, chopped (optional)
- 2 tablespoons fresh cilantro leaves, chopped (optional)
- Red pepper flakes, to taste (optional)
Instructions
- Lightly season chicken with salt and pepper. Set aside.
- Mix in a small bowl chili sauce, Sriracha, soy sauce, fish sauce, garlic, ginger, and lime juice. Reserve 1/4 cup of marinade to use later. Set aside.
- Combine the chicken and marinade in a Ziploc bag. Marinate for anything from 30 minutes to overnight.
- Preheat oven to 350º F / 175º C.
- Heat 2 tablespoons of oil in a large oven-proof skillet over medium-high heat. Remove the chicken from the marinade and discard the marinade. Add chicken, skin-side down, and sear both sides until golden brown, about 2-3 minutes per side. Remove the chicken and set aside.
- Wipe out the skillet with paper towel.
- Heat 2 tablespoons of oil in the same skillet. Add the rice and cook, constantly stirring, for 2 -3 minutes. Add chicken broth and stir to combine. Bring to boil and simmer, uncovered, for 5 – 8 minutes, or until most of the liquid has evaporated and the surface of the rice is covered with steamy holes. Place the chicken on top, add the reserved marinade over each chicken thigh, and then place a lid on the skillet. You can use aluminum foil if your skillet does not have a lid.
- Bake covered for 30 minutes. Uncover and bake for 10 more minutes, or until the rice is tender and the chicken is fully cooked. Remove from the oven.
- Garnish with peanuts, cilantro, and red pepper flakes, if desired. Serve.
- Skillet. You can use any large oven-save skillet. I used a 12″ Cast Iron Skillet.
- Spicy. If your family is not used to eating spicy food, avoid using the red pepper flakes at the end and reduce the amount of Shirata sauce.
- Vegetarian. Use mushrooms instead of chicken and vegetable stock instead of chicken stock.
- Chicken. Use chicken breasts instead of thighs for a leaner alternative (thighs will result in more flavor).
- Marinade. The same marinade/sauce can be used to marinate shrimp, chicken breasts, beef, and pork.
- Rice.I used Long Grain Parboiled Rice for this recipe. I like this type of rice because the cooked grains are drier and less starchy, so they cook light and fluffy and don’t get sticky if cooked properly.
Nutrition
This recipe was originally published in July 2015. The recipe remains the same, but more notes, tips, photos, and information were added to the post in March 2023 to make it as helpful as possible!
