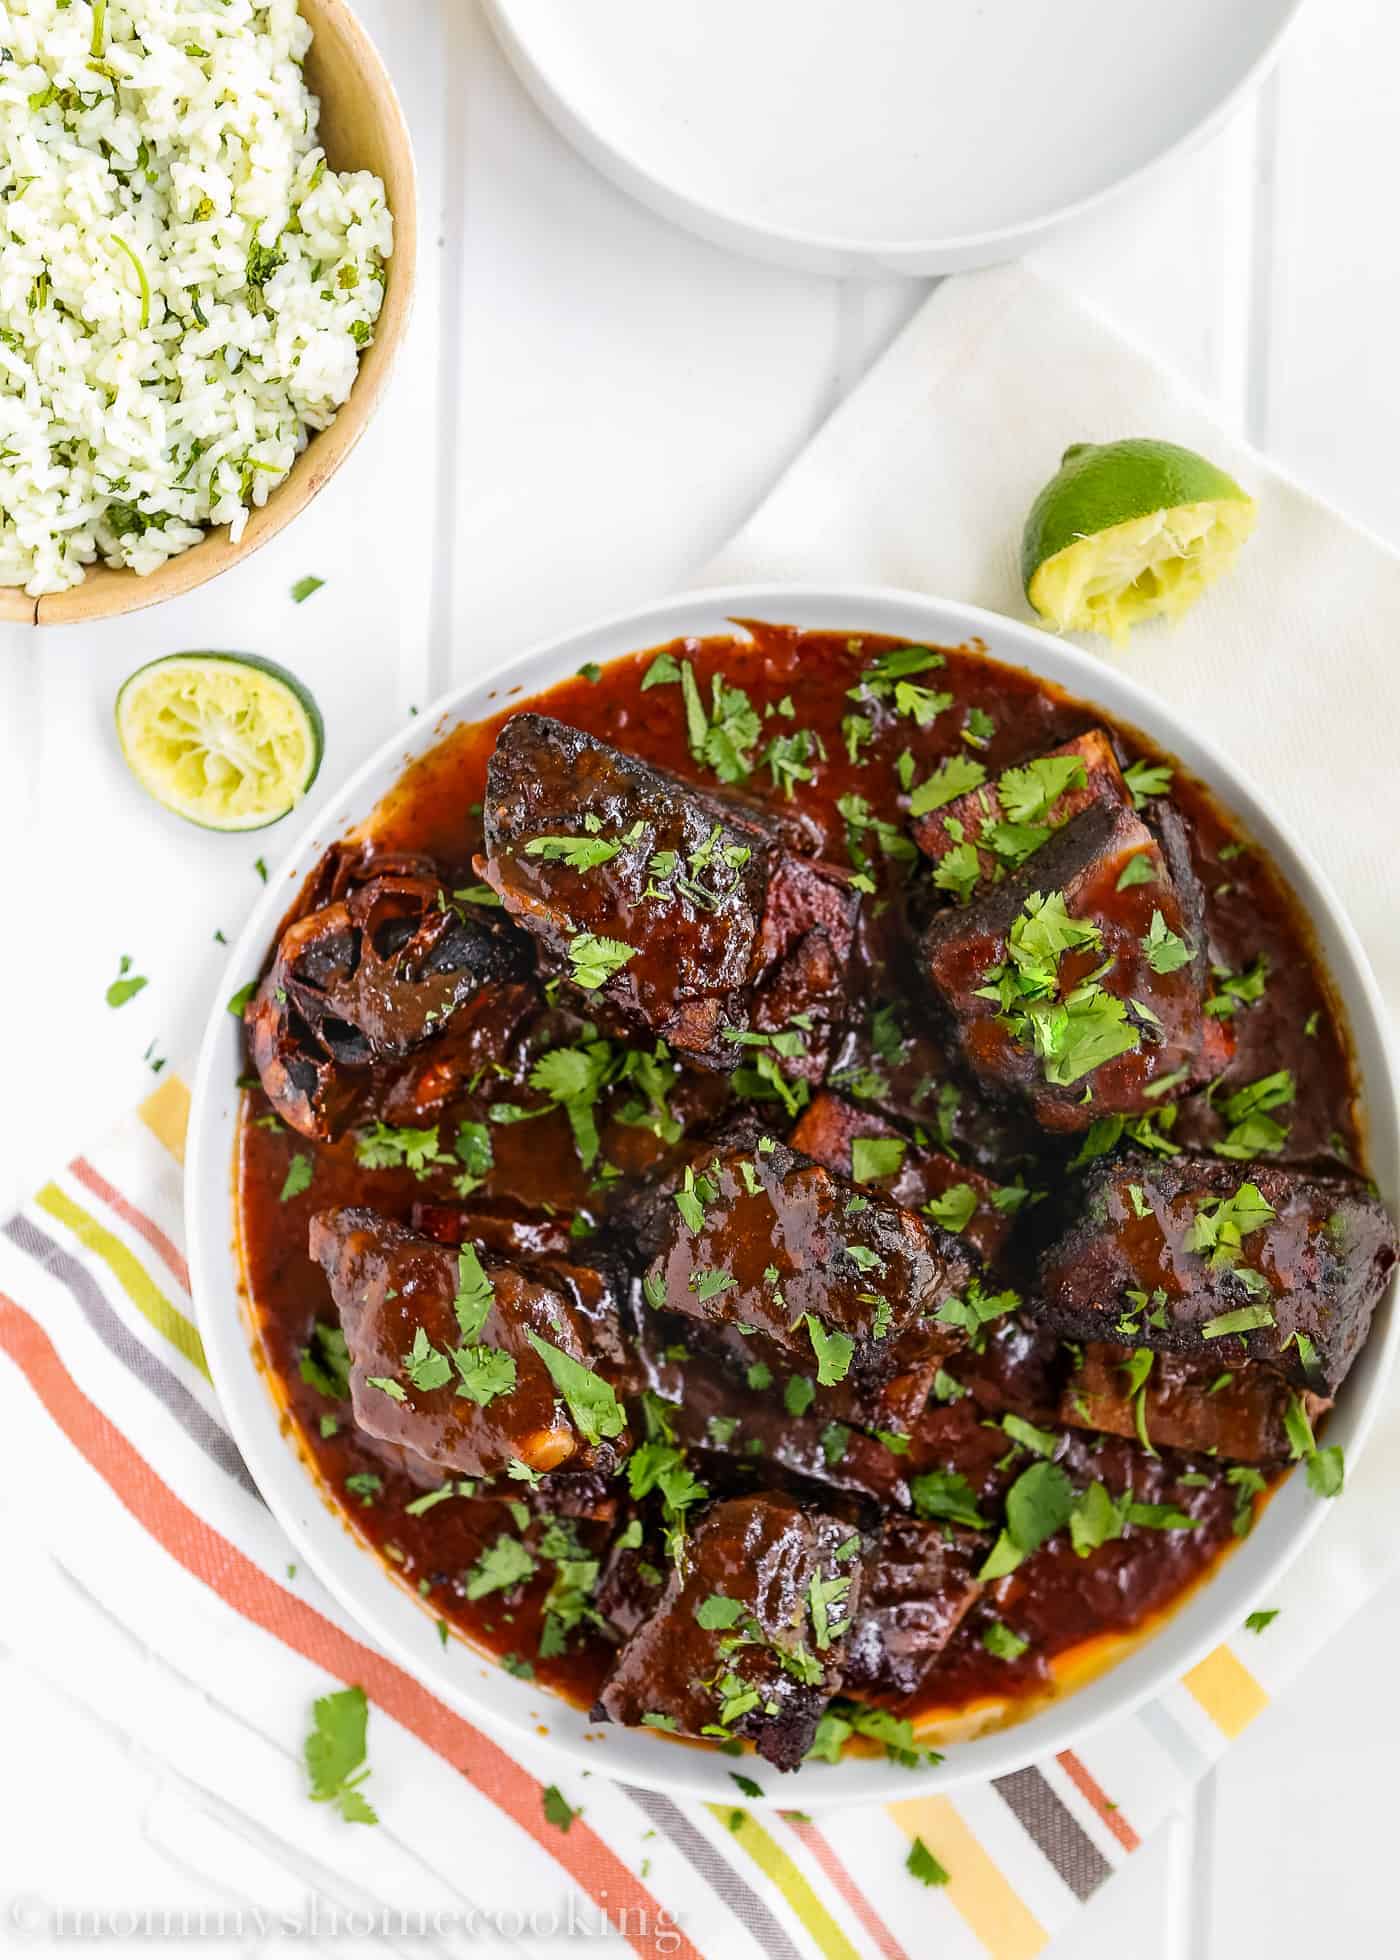
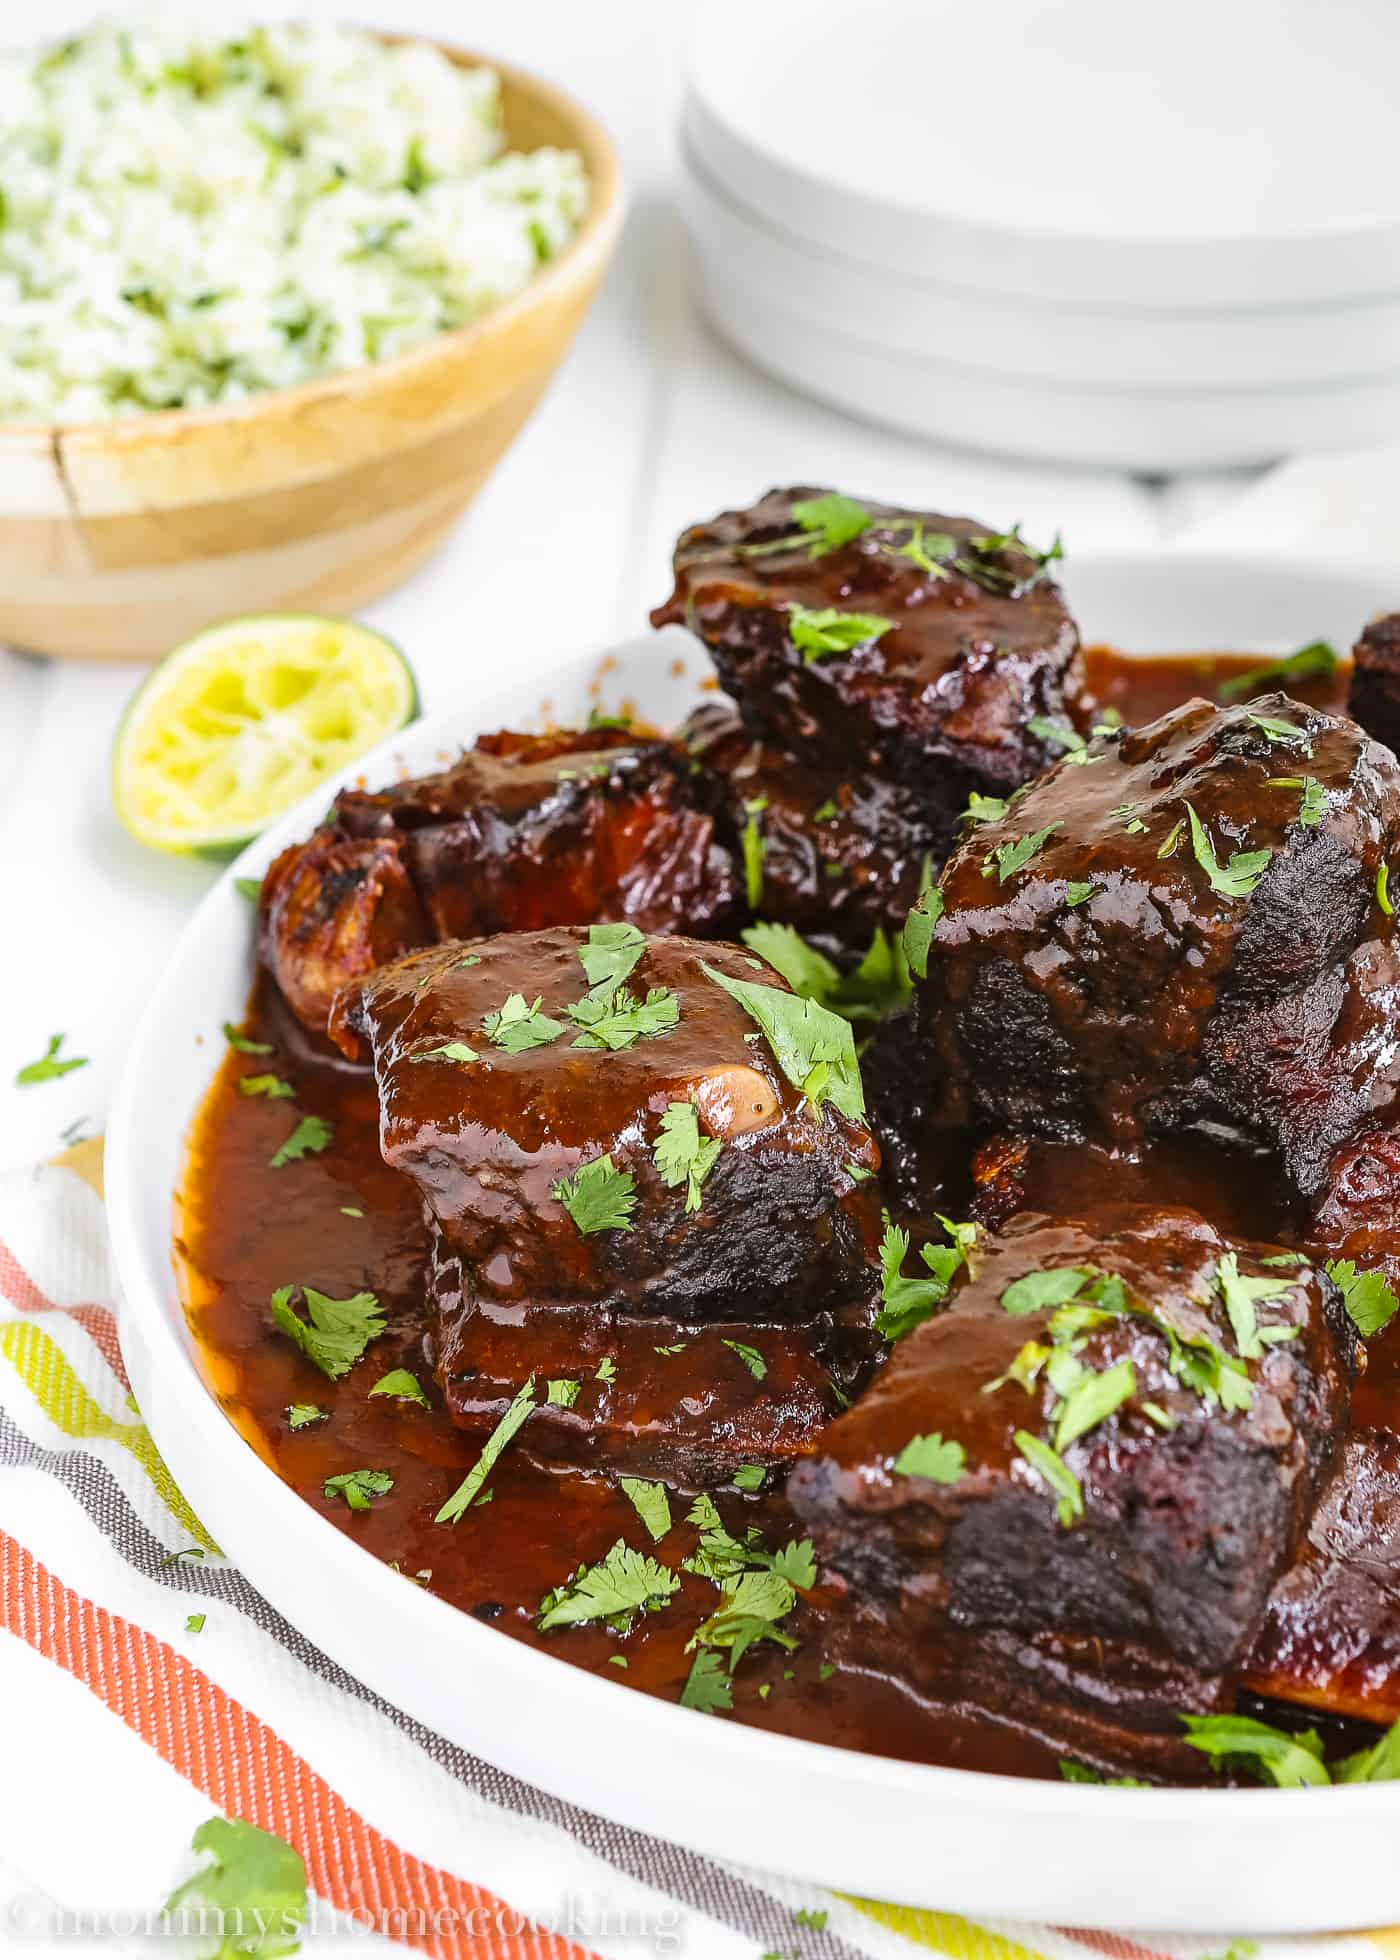
These Mexican Short Ribs are what I call comfort food at its best!! Easy to make and absolutely delicious. A little bit sweet, a little bit spicy, and a whole lot of yum!

Melt In Your Mouth Short Ribs Highlights
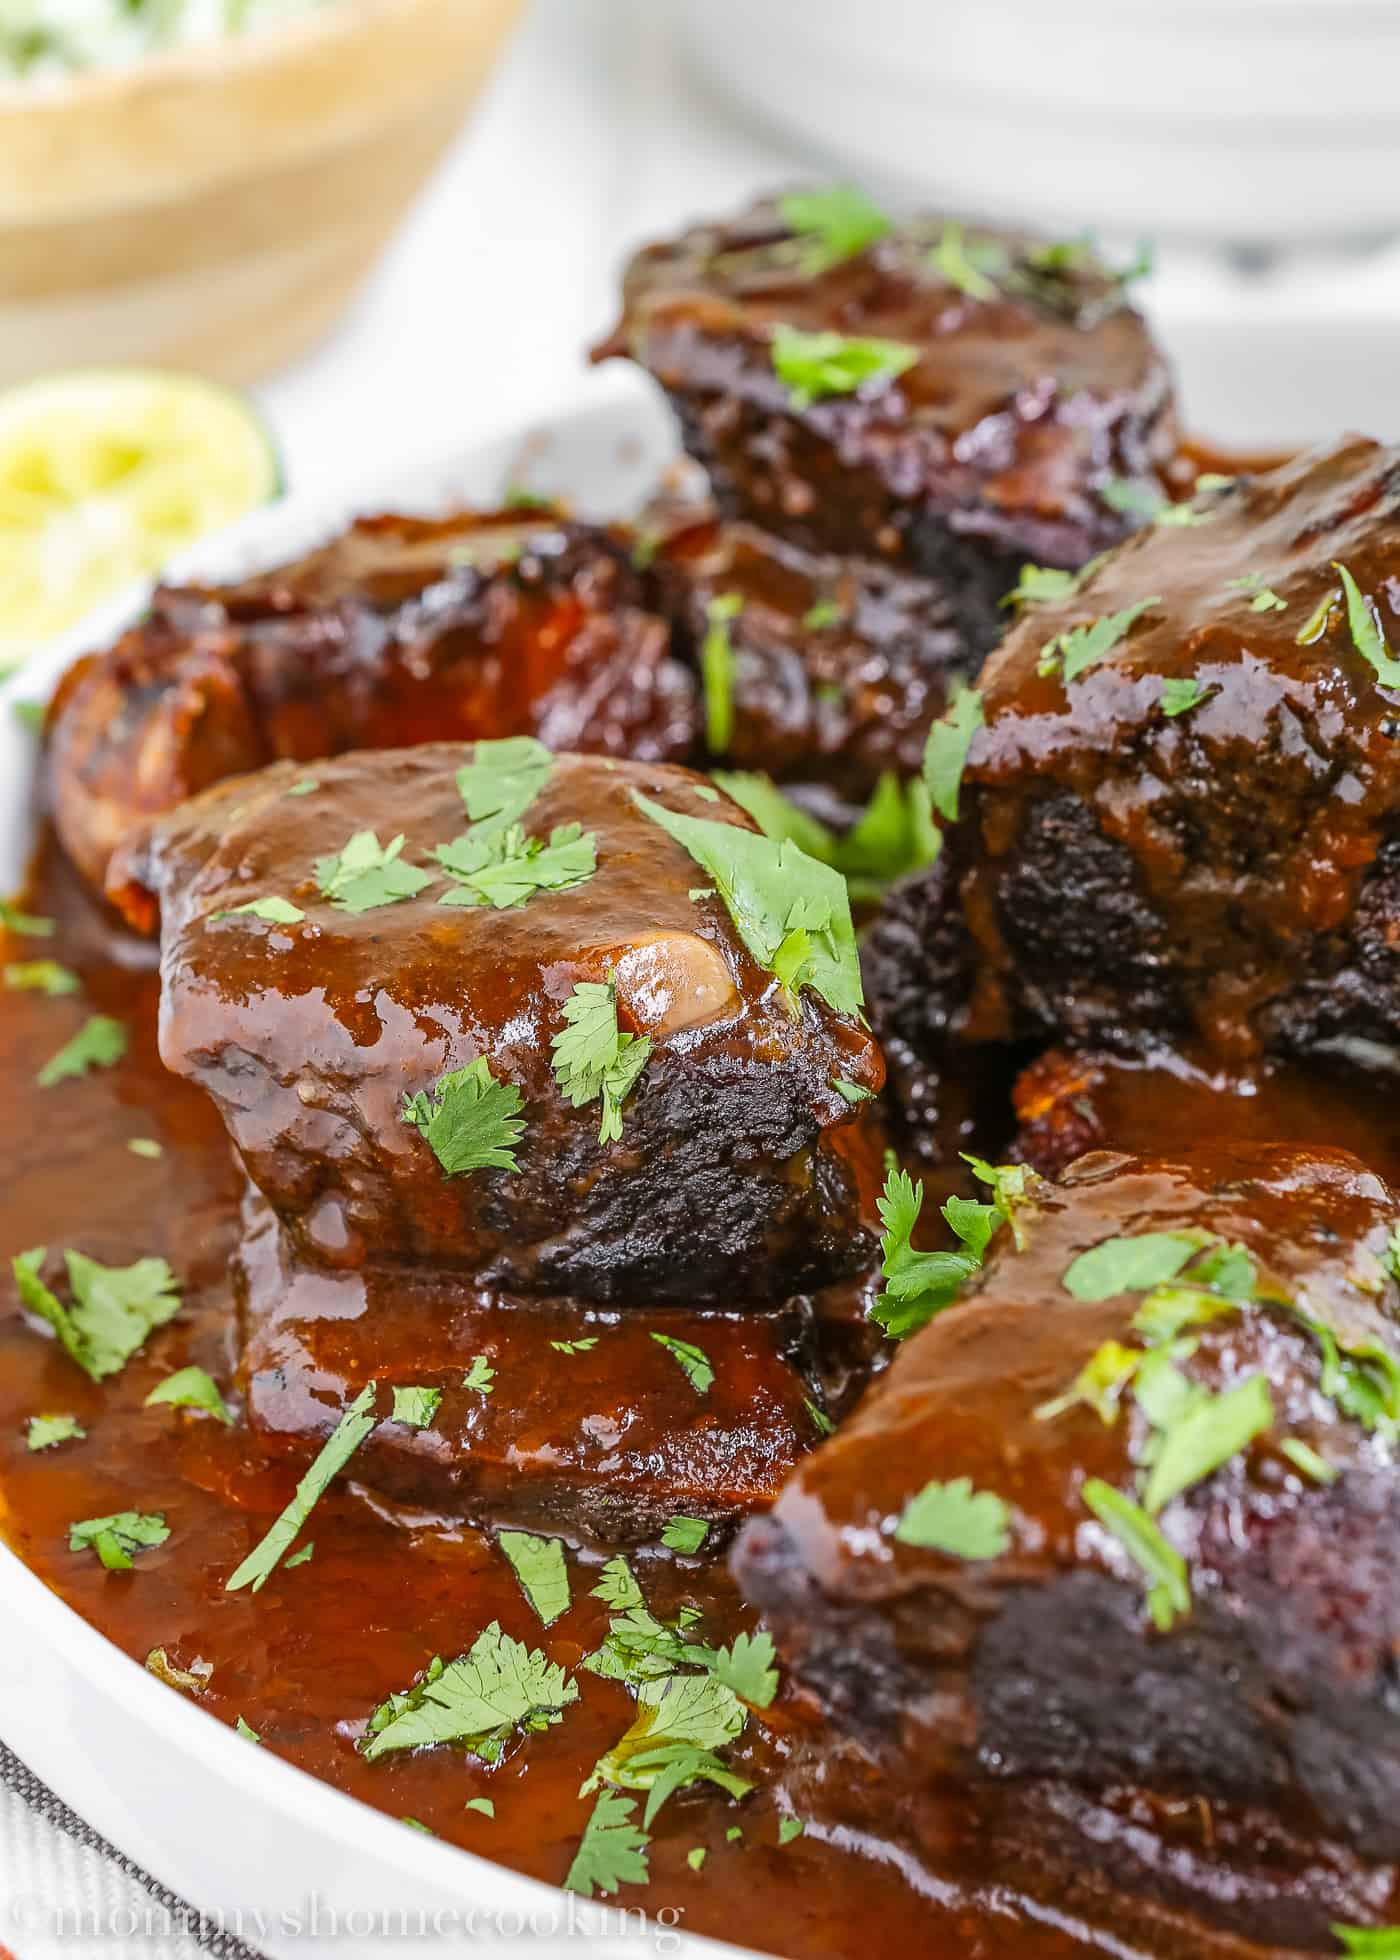
You are not going to believe how easy it is to make these Mexican short ribs! They are SO flavorful and tender that they practically fall off the bone and melt in your mouth.
Cooking short ribs can be a little bit intimidating; at least, I know it was for me. It’s a tough cut of meat, but you won’t believe how tender, buttery, and delicious it turns out after a few hours of braising. Yes, I said a few hours, but they are 100% worth it.
Don’t let the long cooking time scare you off. After searing the short ribs, they go in the oven, where they slowly braise…that’s where the magic happens! You only have to baste them occasionally, but other than that, it is a pretty hands-off recipe. Use that time to prep some Easy Cilantro Lime Cauliflower Rice or my Easy Instant Pot Mexican Green Rice to go with the ribs!
Let’s get started!

Ingredients You’ll Need
Amounts are included in the printable recipe below (scroll down). You’ll need:
- Taco seasoning — try my homemade taco seasoning for this ribs recipe.
- Brown sugar
- Tomato sauce
- Chilies chipotle in adobo sauce
- Beef short ribs
- Oil
- Garlic
- Red wine – Use a red wine of your choice, but remember, don’t cook with a wine you’re not willing to drink. If you don’t want to use alcohol, substitute for more beef stock + 1 tablespoon of Worcestershire sauce.
- Beef stock – store-bought or homemade.
- Cilantro leaves to garnish – this is optional.
How To Make Mexican Short Ribs
Detailed instructions are included in the printable recipe below (scroll down). Here’s how to make Mexican Short Ribs.
Step 1 – Prepare The Sauce And Marinade The Ribs
In a large mixing bowl, combine taco seasoning, brown sugar, tomato sauce, pureed chilies, and adobo sauce. Add ribs and toss to coat with sauce. Cover and refrigerate to marinate for at least 2 hours to overnight.
Step 2 – Preheat the Oven
Preheat the oven to 325º F (165 º C) when ready to cook the ribs.
Step 3 – Sear and Sauté
Heat oil in a dutch oven over medium heat. Sear the ribs for 5 – 8 minutes, or until brown on all sides. Transfer browned ribs to a plate.
Pour wine into the pot, scraping up the bits at the bottom with a wooden spoon. Add halved garlic head (cut side down) and the reserved marinade. Bring to a boil and cook for 5 minutes to reduce. Then add beef stock; simmer for 2-3 more minutes.
Step 4 – Cook
Return ribs to the pot. Cover with the lid and bake in the preheated oven for 2 – 3 hours, basting occasionally or until the meat is tender and falling away from the bone. When the meat is tender, uncover and cook for 15 – 30 minutes, basting the juices one more time.
Transfer ribs to a serving plate. Cover with foil to keep warm, If desired.
Spoon off any excess fat from the cooking juices and then strain it through the sieve. Squeeze garlic out of their skins and pass them through a sieve too. Mix cooking juices and purred garlic well. Pour sauce over the ribs.
Step 5 – Serve and Enjoy!
Garnish with chopped cilantro and serve with Mexican rice, green rice, or Cilantro Lime Cauliflower Rice, if desired.
How Do You Know When Short Ribs Are Done?
According to USDA, ribs are “done” when they reach 145° F internal temperature, but they may still be tough as ribs need some extra cooking to get them tender. You can allow them to cook up to 200 – 205°F instead or check for when they’re fork-tender and fall off the bone.
Quick Recipes Notes
If you don’t want to turn your oven on during the hot Summer days, you can also make these in the slow cooker. Just make sure to brown the ribs before transfer to a crockpot to finish cooking (on low for 6-8 hours).
This recipe only calls for 2 to 3 chipotle peppers and 2 tablespoons of the sauce. If you do not have immediate plans to use the rest of the can, you can freeze the leftover peppers and adobo sauce for the next time you plan on making this carnitas recipe.
I highly recommend you cook this in a Dutch oven or a cast iron skillet, as it can go from stovetop to oven.
Make sure you sear the ribs ALL over for the best flavor.
Before you sear the ribs, shake off excessive marinade, so it doesn’t cause your ribs to steam. You want them to get a nice brown sear to them!
Other Cooking Methods
Slow Cooker: Follow the same steps and cook in your slow cooker on low for 6-8 hours until the meat is tender. If your slow cooker does not have a saute function, you can do this step over the stovetop and then transfer it to your slow cooker.
Pressure Cooker: Follow the same directions on the recipe card. Pressure cook for 1 hour on high, depressurize naturally for 10 minutes, and then release the valve.
How To Serve Mexican Short Ribs
There are so many delicious ways to enjoy short ribs! Here are a few of my favorite serving ideas:
- Easy Cilantro Lime Cauliflower Rice
- Easy Instant Pot Mexican Green Rice
- Instant Pot Mashed Potatoes
- Easy Pressure Cooker Mushroom Risotto
- Easy Cheesy Garlic Hasselback Potatoes
- Easy Eggless Cornbread Muffins
Storing & Freezing Instructions
I love making extra so we can have leftovers to enjoy for later. There’s no extra work to double the recipe, so it’s worth making extra Mexican short ribs. Here’s how to store the extra servings of short ribs.
Leftovers
I feel like these Mexican short ribs taste even BETTER the next day. These braised short ribs will stay good in an airtight container in the fridge for 3 to 4 days. You can heat them in the oven or stovetop alongside the cooking juices to reheat them. Storing and reheating it with the juices prevent the short ribs from drying out.
Freeze
How I like to freeze my cooked short ribs is by shredding them once they’ve cooled. Then transfer them to a freezer-safe container with the cooking liquid and freeze for up to 3 months. This way, they stay moist when you thaw and reheat your short ribs! It also takes up less space to remove the meat from the bones. Thaw in the fridge the night before and reheat until heated through.
Frequently Asked Questions
Absolutely! Follow the same steps and cook in your slow cooker on low for 6-8 hours, until the meat is tender.
Whatever you can find will work out just fine in this recipe.
Yes, you can! Follow the same directions on the recipe card. Pressure cook for 1 hour on high, depressurize naturally for 10 minutes, and then release the valve.
According to USDA, ribs are “done” when they reach 145° F internal temperature, but they may still be tough as ribs need some extra cooking to get them tender. You can allow them to cook up to 200 – 205°F instead or check for when they’re fork-tender and fall off the bone.

More Recipes You’ll Love
- Slow Cooker Chipotle Carnitas
- Easy Eggless Salisbury Steak
- Slow Cooker Spicy Pork Carnitas
- Easy Instant Pot Mexican Shredded Chicken
- Mexican Pork Tenderloin Adobo
- Quick and Easy Enchiladas Suizas
- Easy Ground Beef for Tacos Recipe
❤️ Love what you see? JOIN my Private Baking Club. Also, SUBSCRIBE to Mommy’s Home Cooking, so you’ll never miss a recipe! And FOLLOW along on Instagram, Pinterest, and Facebook for more fun!
Recipe Card 📖

Mexican Short Ribs
Equipment
Ingredients
- 4 tablespoons (28 g) taco seasoning (see notes)
- 1/4 cup (50 g) brown sugar
- 1/2 cup (120 ml) tomato sauce
- 2 chilies chipotle in adobo sauce + 2 tablespoons of the sauce, pureed
- 6 beef short ribs (about 400 g)
- 2 tablespoons (15 ml) vegetable oil, for searing
- 1 large head of garlic, cut in half horizontally
- 3/4 cup (180 ml) red wine
- 1 1/2 cups (360 ml) beef stock
- Cilantro leaves to garnish (optional)
Instructions
- In a large mixing bowl, combine taco seasoning, brown sugar, tomato sauce, pureed chilies, and adobo sauce . Add ribs and toss to coat with sauce. Cover and refrigerate to marinate for at least 2 hours to overnight.
- When ready to cook the ribs, preheat the oven to 325º F (165 º C).
- Remove the ribs from the marinade, shaking off the excess. Reserve the marinade.
- Heat oil in a dutch oven over medium heat. Sear the ribs for 5 – 8 minutes, or until brown on all sides. Transfer browned ribs to a plate.
- Pour wine into the pot, scraping up the bits at the bottom with a wooden spoon. Add halved garlic head (cut side down) and the reserved marinade. Bring to a boil and cook for 5 minutes to reduce. Then add beef stock; simmer for 2-3 more minutes.
- Return ribs to the pot. Cover with the lid and bake in the preheated oven for 2 – 3 hours, basting occasionally, or until the meat is tender and falling away from the bone. When the meat is tender, uncover and cook for 15 – 30 minutes, basting the juices one more time.
- Transfer ribs to a serving plate. Cover with foil to keep warm, If desire.
- Spoon off any excess fat from the cooking juices and then strain it through the sieve. Squeeze garlic out of their skins and pass through a sieve too. Mix cooking juices and purred garlic well. Pour sauce over the ribs.
- Garnish with chopped cilantro and serve with Mexican rice, green rice, or Cilantro Lime Cauliflower Rice, if desired.
- If you don’t want to turn your oven on during the hot summer days, you can also make these in the slow cooker. Just make sure to brown the ribs before transfer to a crockpot to finish cooking on low for 8 hours.
- This recipe only calls for 2 to 3 chipotle peppers and 2 tablespoons of the sauce. If you do not have immediate plans to use the rest of the can, you can freeze the leftover peppers and adobo sauce for the next time you need it.
- I highly recommend you cook this recipe in a Dutch oven or a cast-iron skillet as it can go from stovetop to oven.
- Make sure you sear the ribs ALL over for the best flavor.
- Before you sear the ribs, shake off excessive marinade, so it doesn’t cause your ribs to steam. You want them to get a nice brown sear to it!
Nutrition
This recipe was originally published in June 2016. The recipe remains the same, but more notes, tips, photos, and information were added to the post in March 2023 to make it as helpful as possible!
