
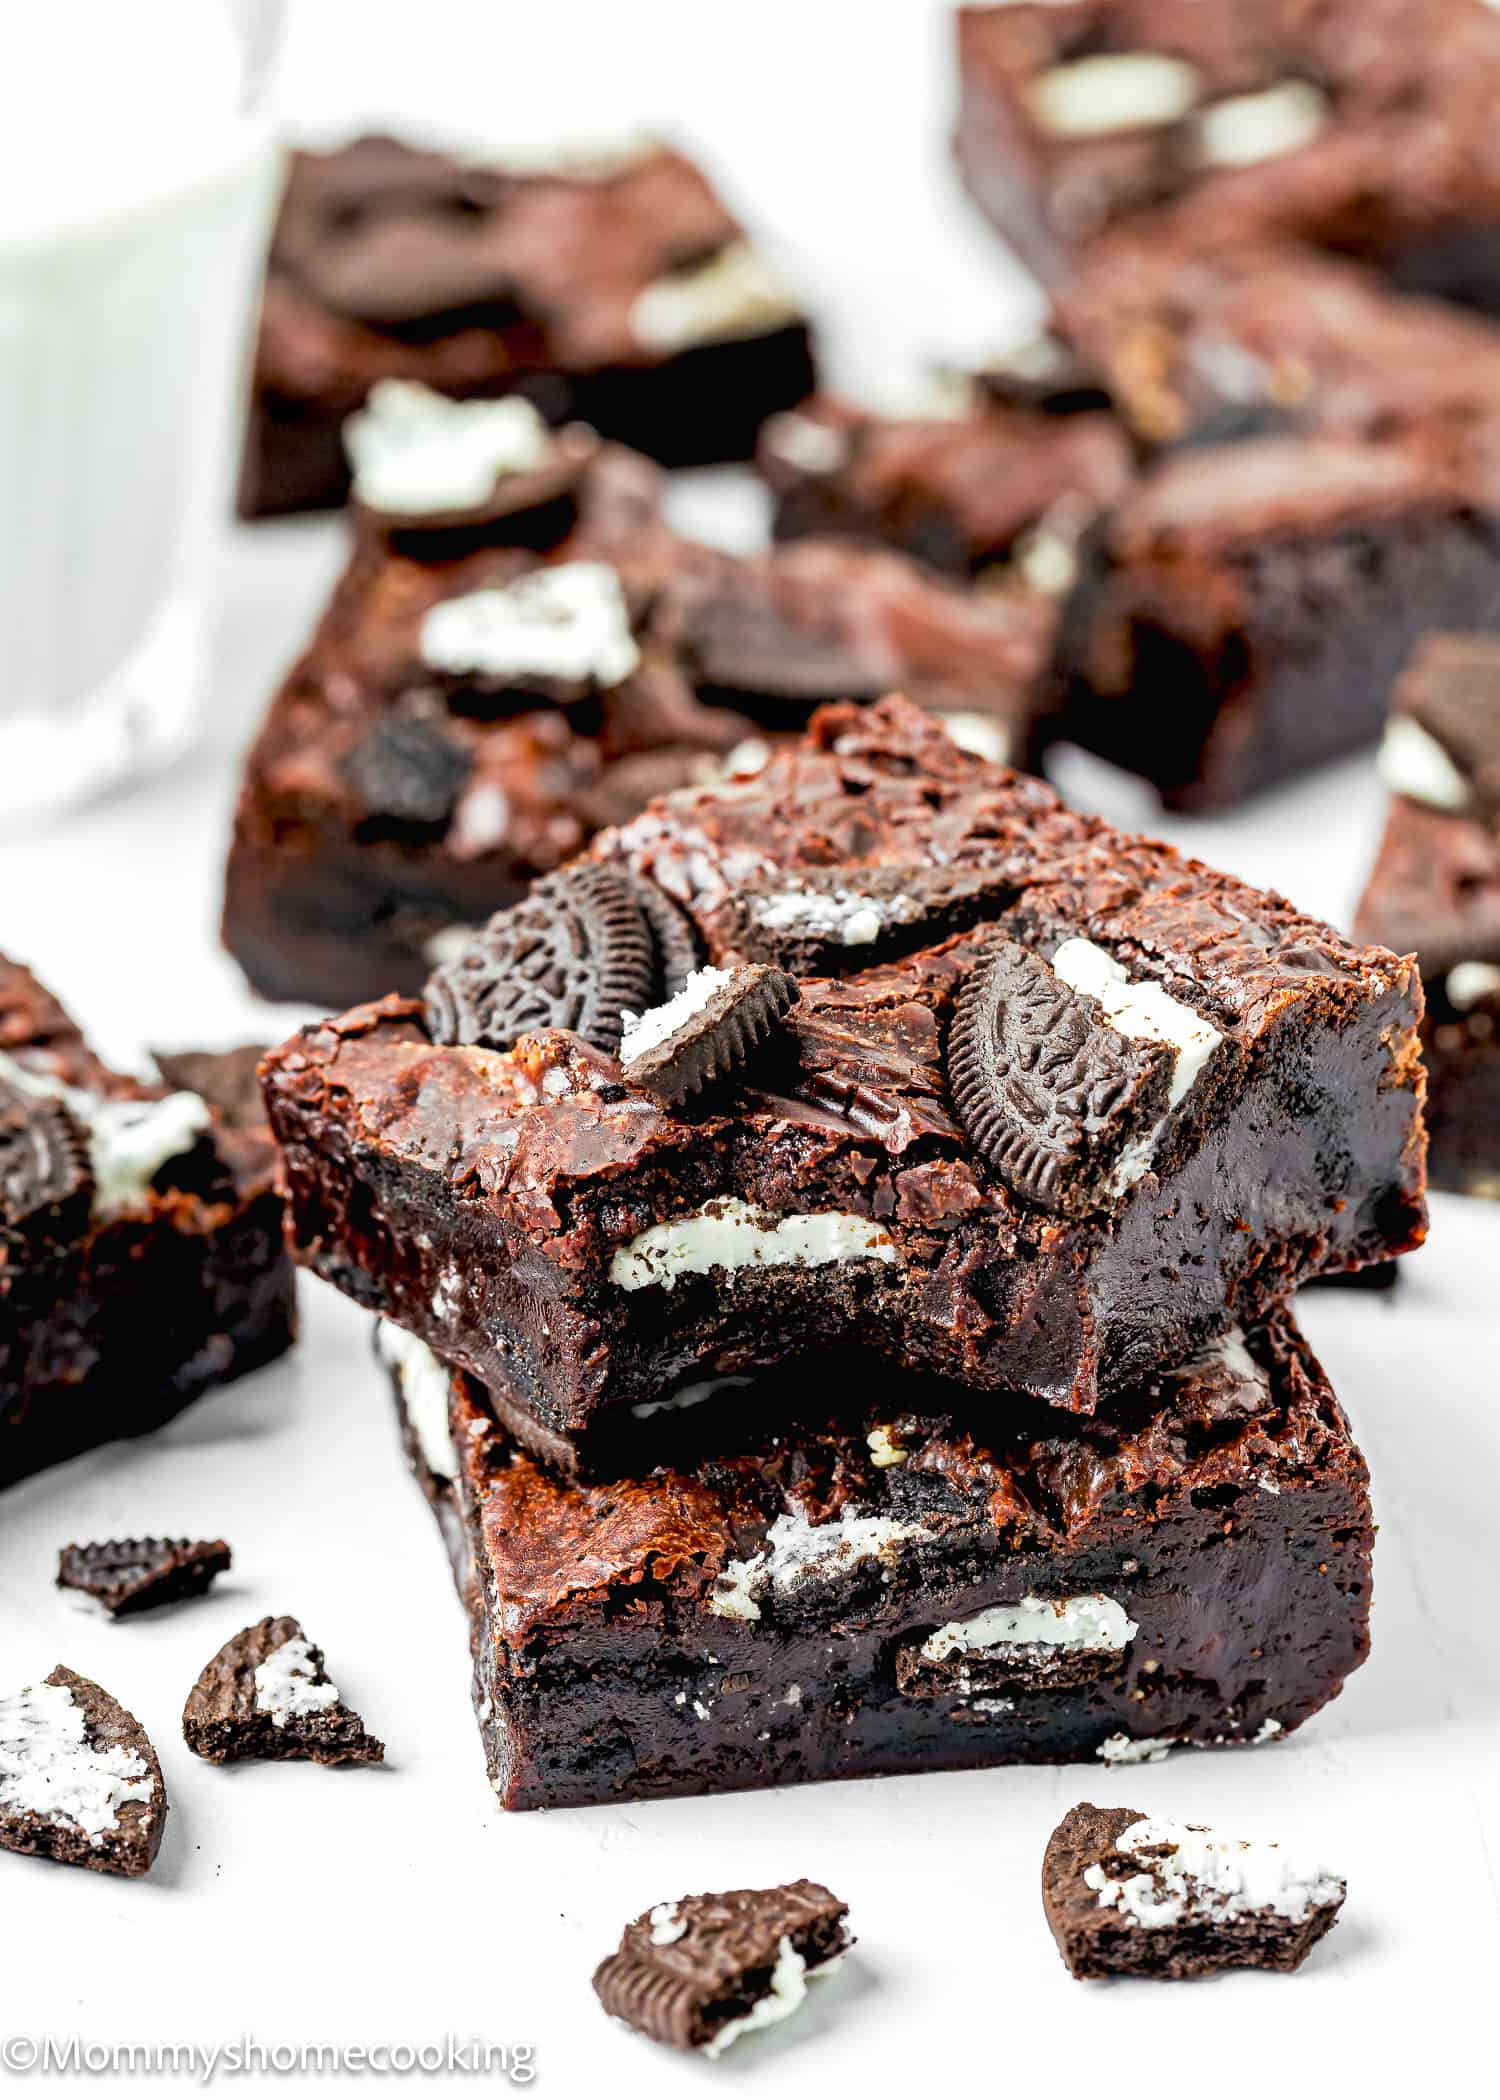
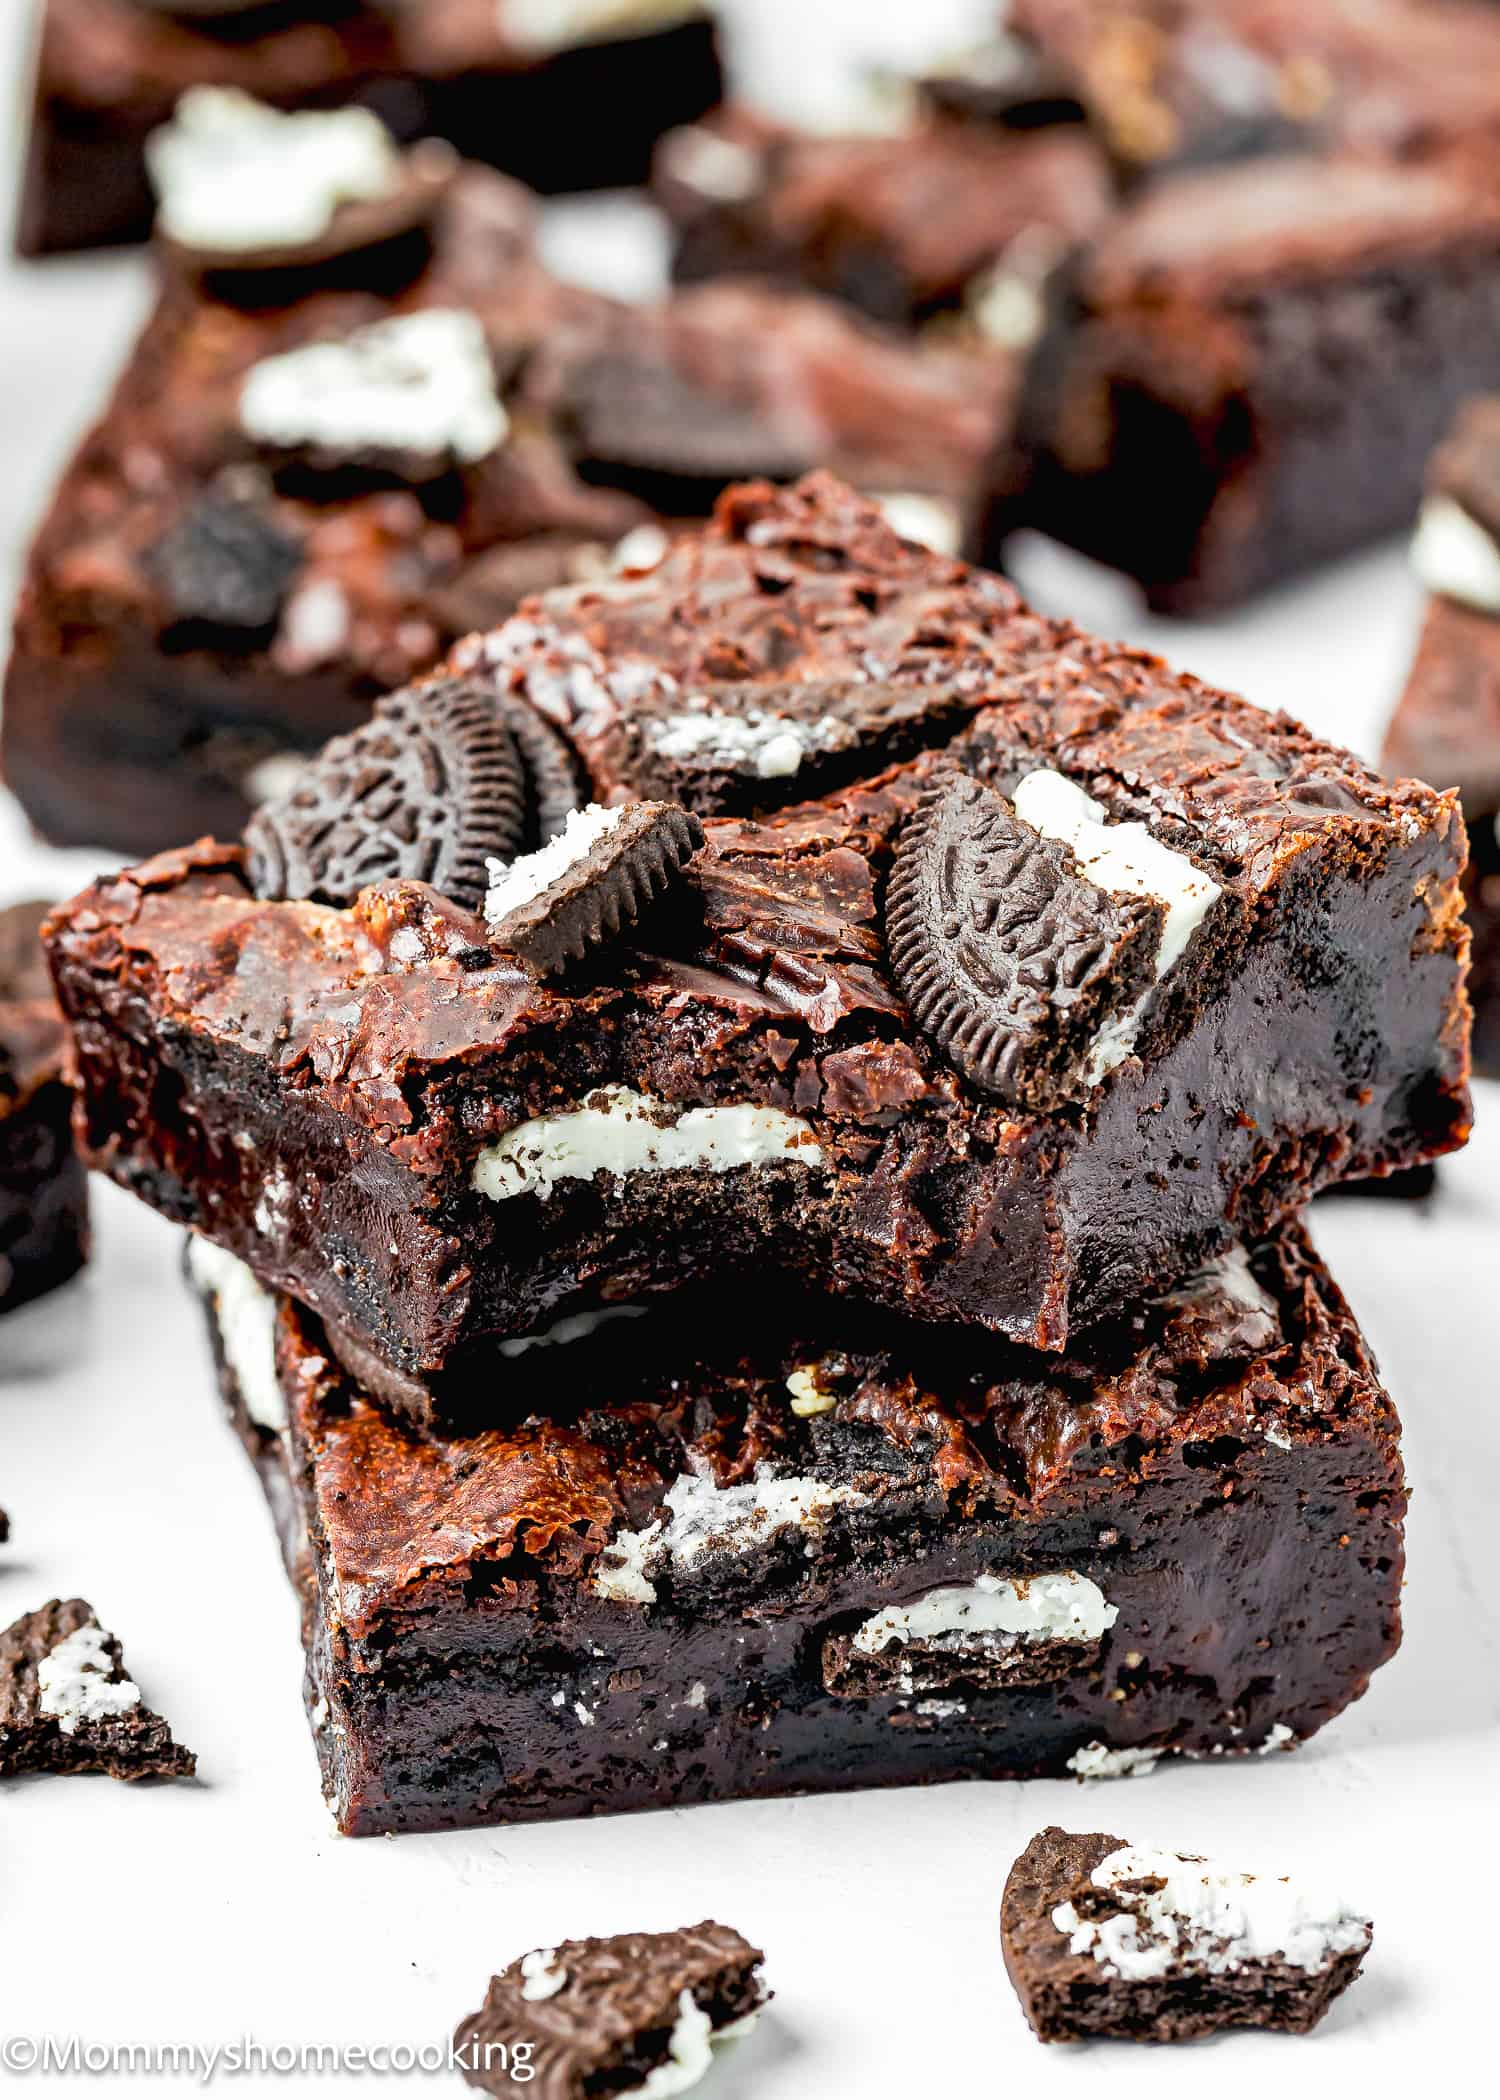
This Easy Eggless Oreo Brownies recipe is rich, dense, and fudgy. Packed with everyone’s favorite cookie—Oreos—these brownies are a surefire hit for any occasion.
Decadent Oreo Brownies Without Eggs
Today, I’m excited to share a recipe for Easy Eggless Oreo Brownies that will satisfy even the most discerning sweet tooth. Packed with everyone’s favorite cookie—Oreos—these brownies are a surefire hit for any occasion.
Let’s dive into what makes this recipe so irresistible!
What To Love About This Recipe
- Easy to make: One of the best things about this recipe is how effortlessly it comes together. With simple steps and readily available ingredients, you’ll be indulging in delicious brownies in no time.
- Simple ingredients: Speaking of ingredients, you won’t need any fancy or hard-to-find items for this recipe. Everything you need is likely already in your pantry, making it a convenient choice for impromptu baking sessions.
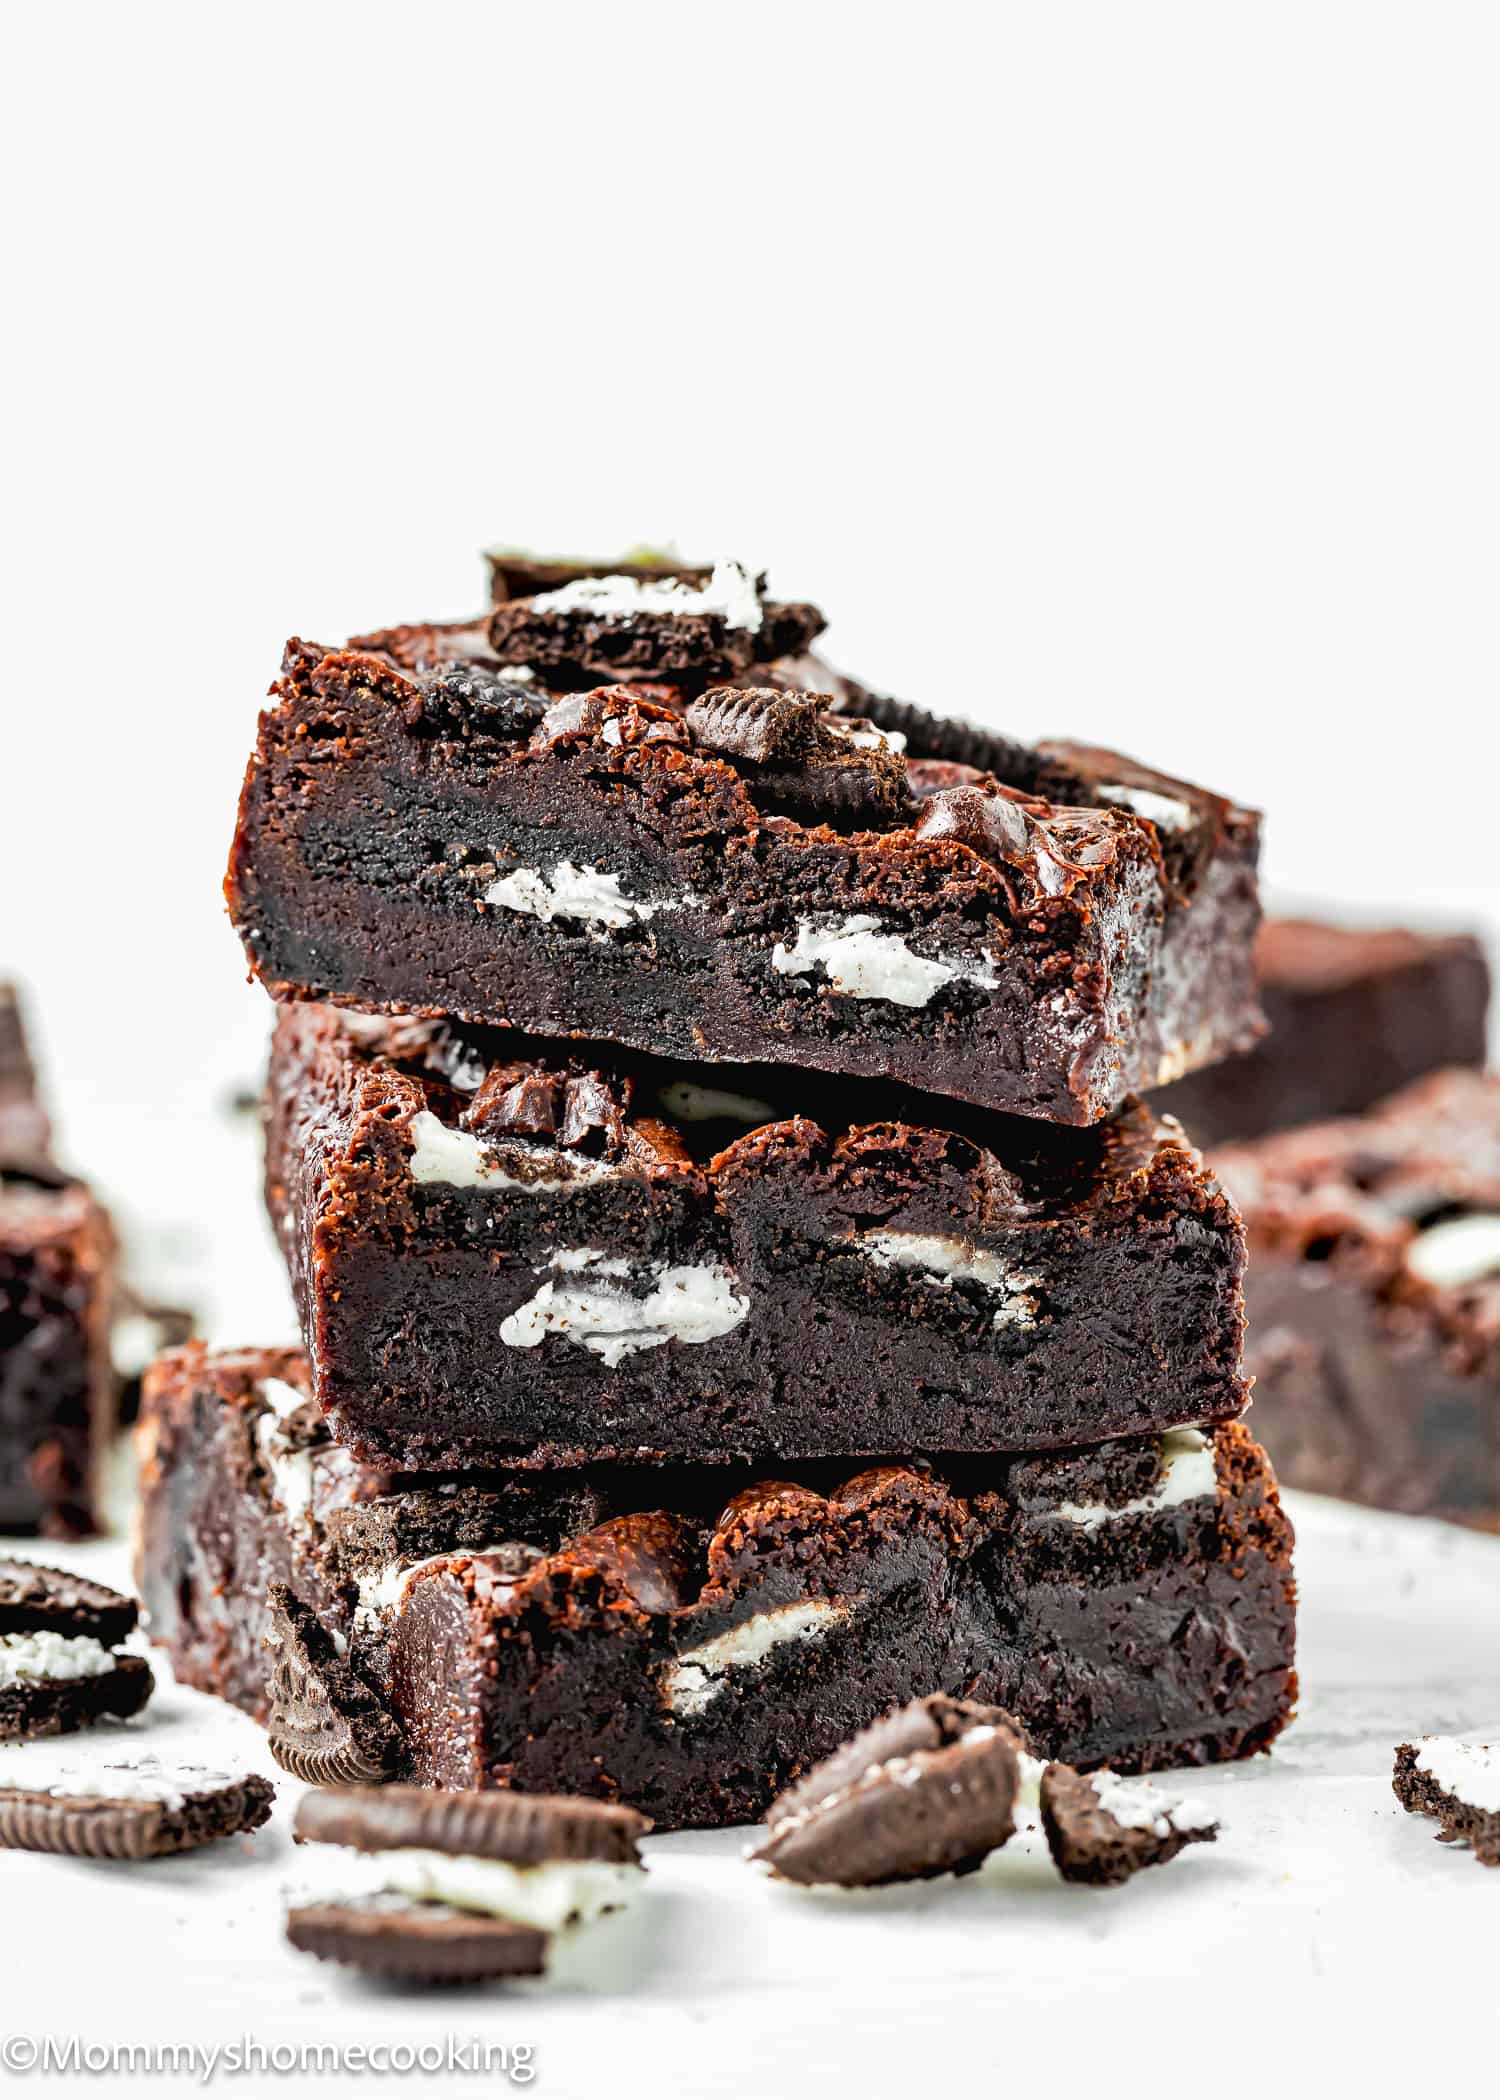
- Texture: These brownies boast a wonderfully dense and fudgy texture that melts in your mouth with each bite
- Taste: Prepare your taste buds for a chocolate explosion! Thanks to the addition of unsweetened cocoa powder and Cookies ‘n’ Creme chocolate, these brownies are packed with intense chocolate flavor that’s sure to delight chocolate lovers.
- Crowd pleaser: Whether you’re baking for a family gathering, a potluck with friends, or just treating yourself to a cozy night in, these Eggless Oreo Brownies are guaranteed to be a hit. Get ready to receive rave reviews and requests for the recipe!
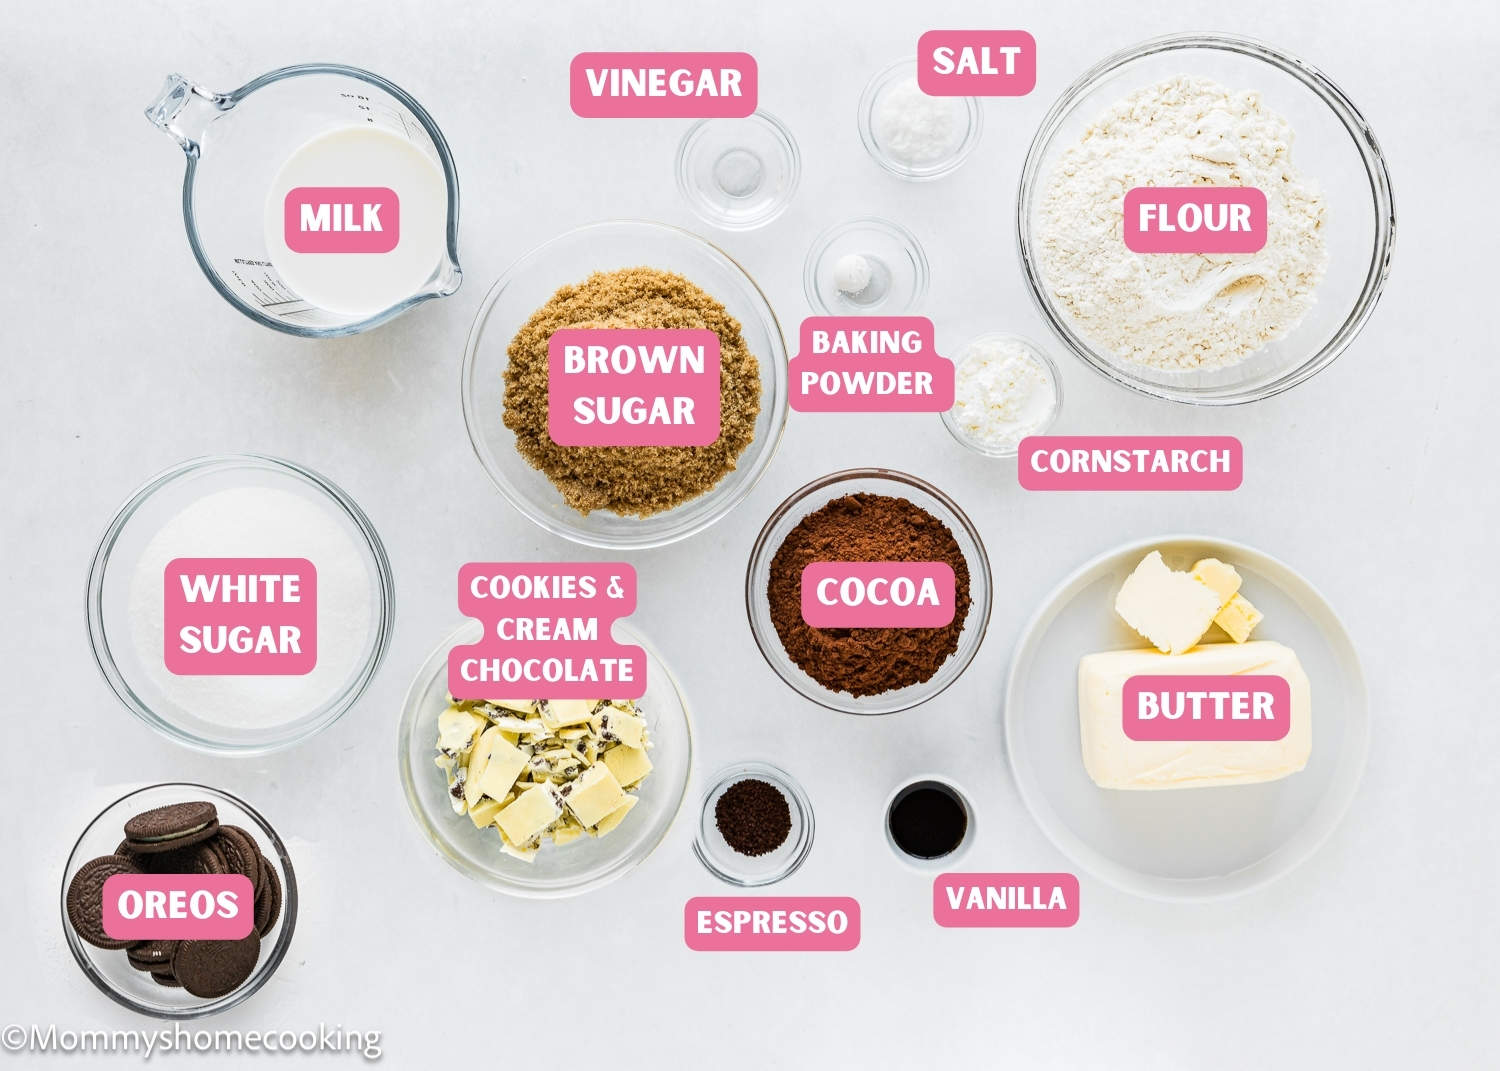
Ingredients You’ll Need, Substitutions & Notes
Please check the recipe card at the bottom of the post for exact quantities and detailed instructions (scroll down).
- All-purpose flour: Provides structure to the brownies without making them too dense. Make sure to measure accurately. In my opinion, a kitchen scale is the best way to measure your ingredients.
- Cornstarch: Helps to tenderize the brownies and contributes to their fudgy texture.
- Baking powder: Acts as a leavening agent to lift the brownies slightly. Make sure it’s not expired or too old. To avoid a chemical aftertaste, use baking powder that is labeled aluminum-free. I usually use the Clabber Girl brand, and though the ingredients state aluminum, I’ve never noticed an aluminum aftertaste.
- Salt: Balances the sweetness and enhances the chocolate flavor. I prefer kosher or sea salt. If you only have table salt handy, I recommend reducing the amount to half.
- Milk: Adds moisture to the brownie batter. You can use any milk you prefer, including dairy-free options like soy or oat milk.
- Vinegar: Combines with the milk to create a DIY buttermilk substitute, which helps to tenderize the brownies. You can use apple cider vinegar or white vinegar.
- Butter: Provides richness and flavor to the brownies. You can use either salted or unsalted butter, depending on your preference. I prefer to use unsalted butter, but if you only have salted butter handy, you can use it. In this case, skip the salt called in the recipe.
- Brown sugar: Adds moisture and a hint of caramel flavor to the brownies. I use and recommend light brown sugar.
- White granulated sugar: Sweetens the brownies and contributes to their tender texture.
- Unsweetened cocoa powder: Infuses the brownies with deep chocolate flavor. I like to use unsweetened natural cocoa powder instead of Dutch-processed because it’s more acidic and reacts with baking soda, allowing your baked goods to rise; this is especially important in egg-free baking.
- Pure vanilla extract: Enhances the overall flavor of the brownies. Reach for pure vanilla instead of imitation for optimal flavor. Even better, try homemade vanilla extract! If you are looking for non-alcoholic vanilla flavoring, I recommend Simply Organic Vanilla Flavoring.
- Instant espresso powder: Optional but highly recommended for intensifying the chocolate flavor. It adds a subtle depth without making the brownies taste like coffee.
- Cookies ‘n’ Creme chocolate: I used Hershey’s cookies ‘n’ creme candy bars for an extra indulgent twist. You can substitute regular chocolate chips if you prefer, but the cookies ‘n’ creme chocolate adds a delightful crunch and flavor contrast.
- Oreo cookies: The star of the show! Crushed Oreos are folded into the brownie batter and sprinkled on top for a deliciously decadent finish. Alternatively, you can pour half of the brownie batter into the pan, top it with Oreos, and then top it with the remaining batter. That also works. For a fun twist, try using seasonal flavors like strawberry Oreos for Valentine’s Day or mint Oreos for St. Patrick’s Day. Not only will it add a festive touch to your brownies, but it’ll also infuse them with delicious seasonal flavors. So, grab those themed Oreos next time a holiday rolls around, and let your imagination run wild!
Process Overview: How To Make Oreo Brownies Without Eggs Step-by-Step
Please check the recipe card at the bottom of the post for exact quantities and detailed instructions (scroll down).
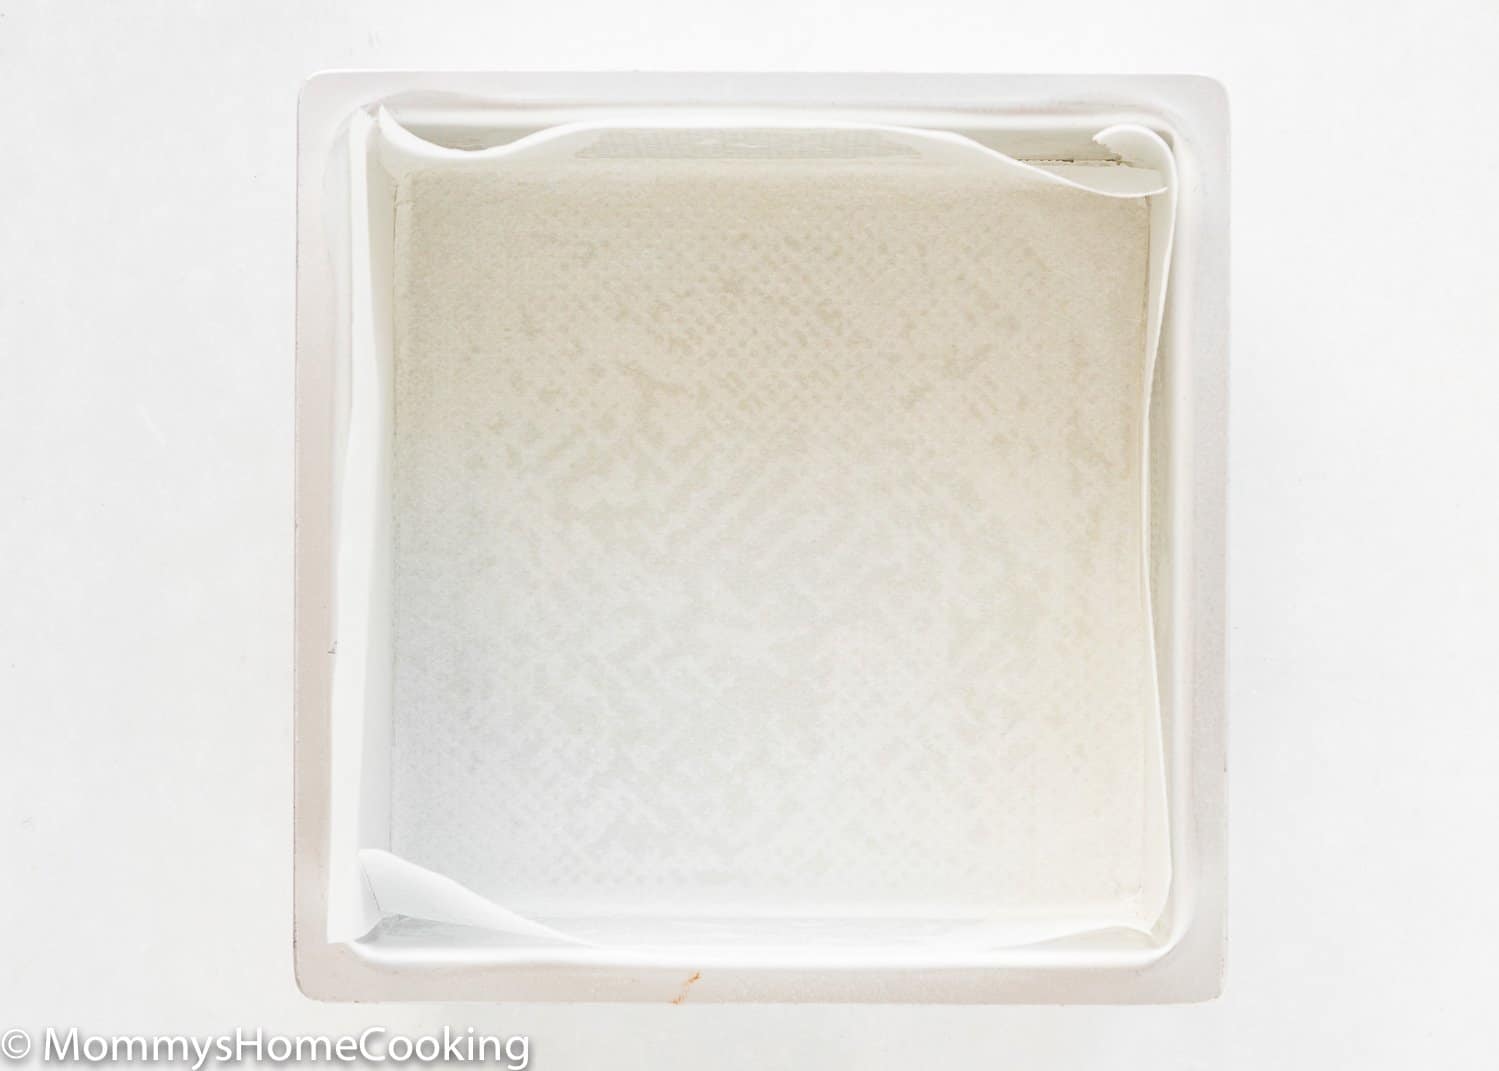
Step 1 – Preheat the Oven and Prepare the Baking Pan
Preheat the oven to 325º F (165º C). Line an 8×8-inch baking pan with parchment paper.
Step 2 – Make the Brownie Batter
- First, mix all the dry ingredients together and set them aside. Next, in a bowl or a liquid measuring cup, mix the milk and vinegar and let it sit for about 5 to 8 minutes until it gets thicker and kind of curdled.
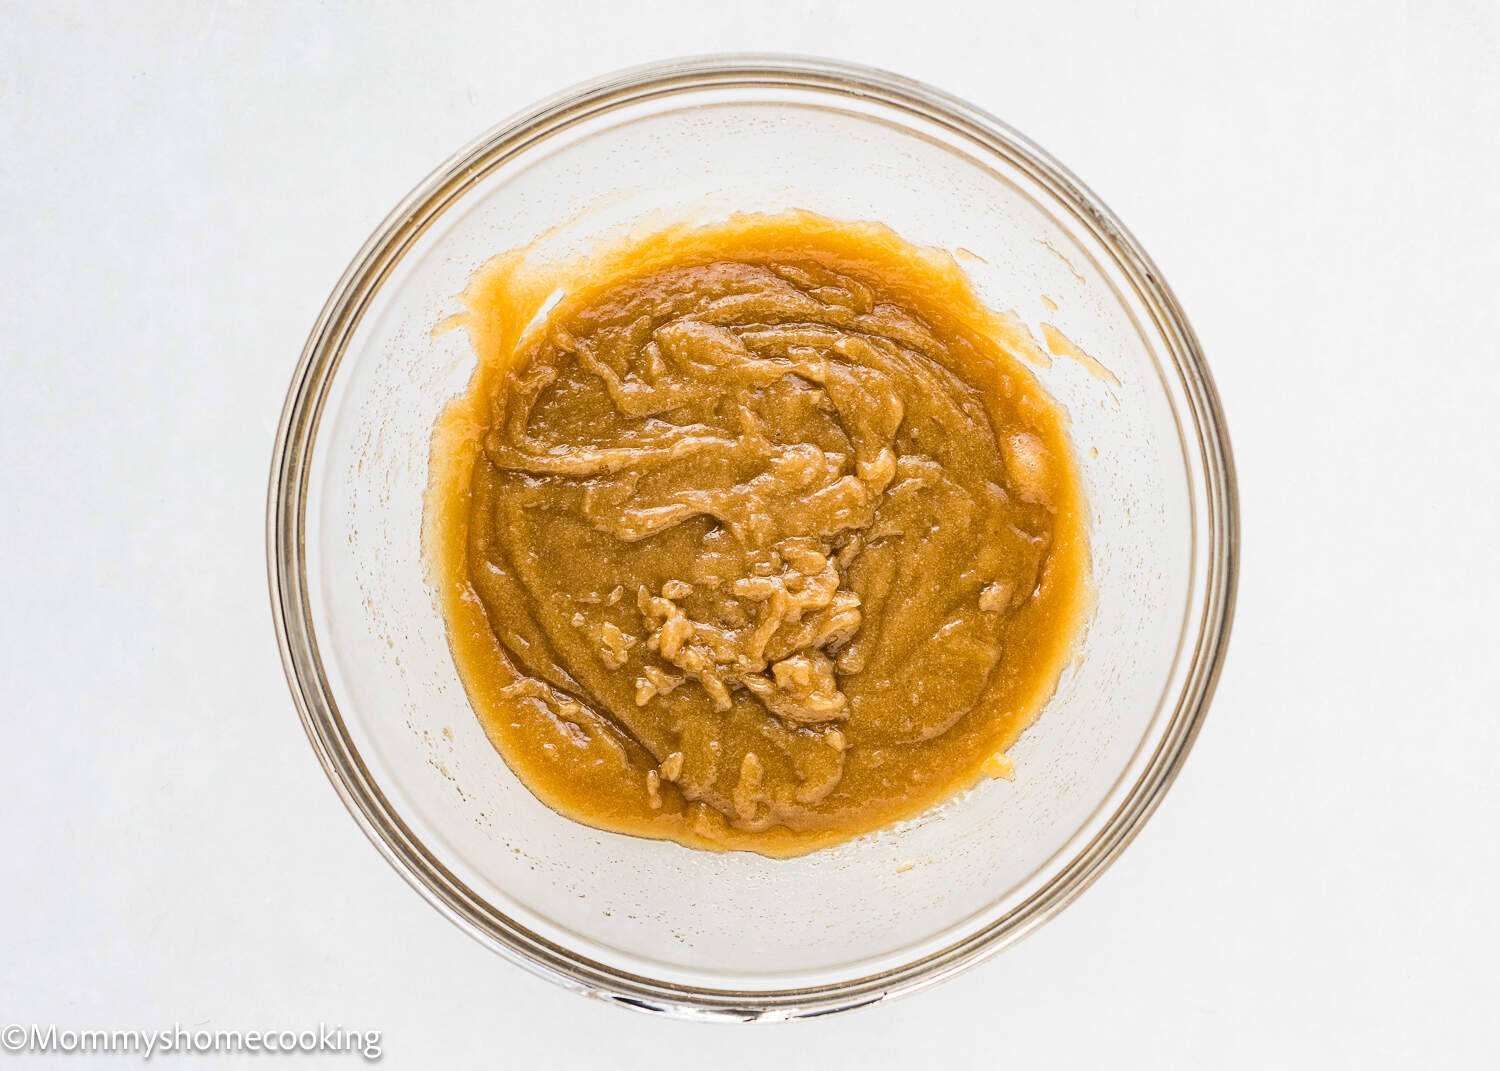
- While that’s resting, melt the butter. You can do this quickly in the microwave or on the stove in a saucepan. Once melted, add the sugars and stir until everything is mixed well and looks shiny.
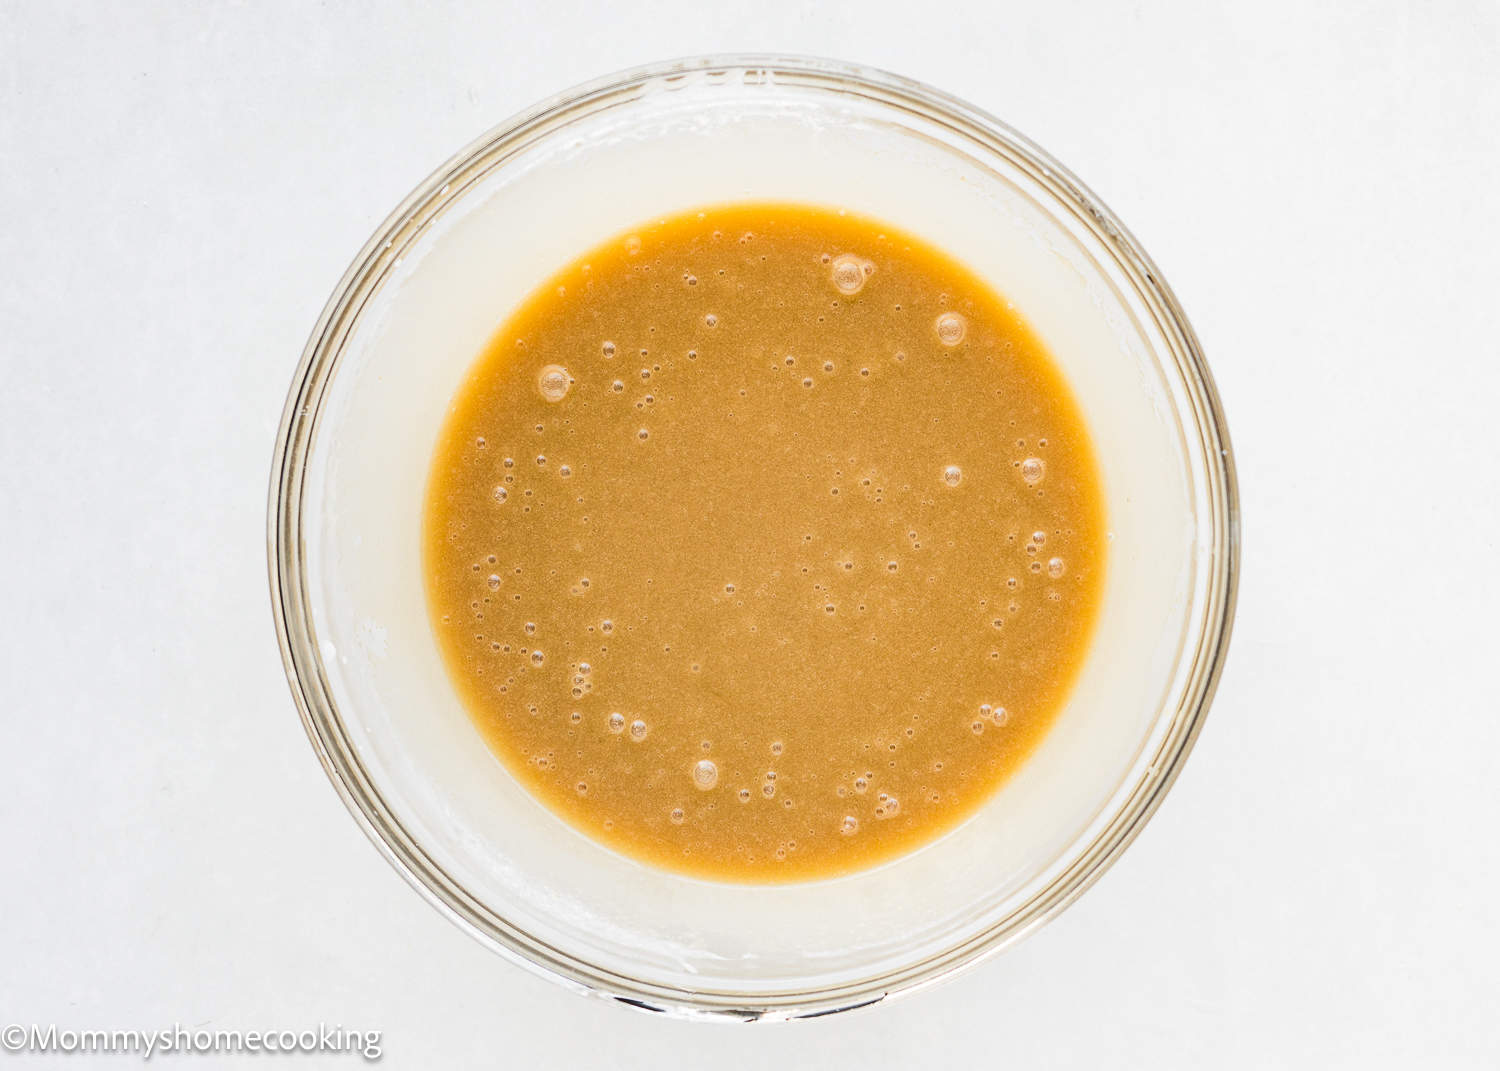
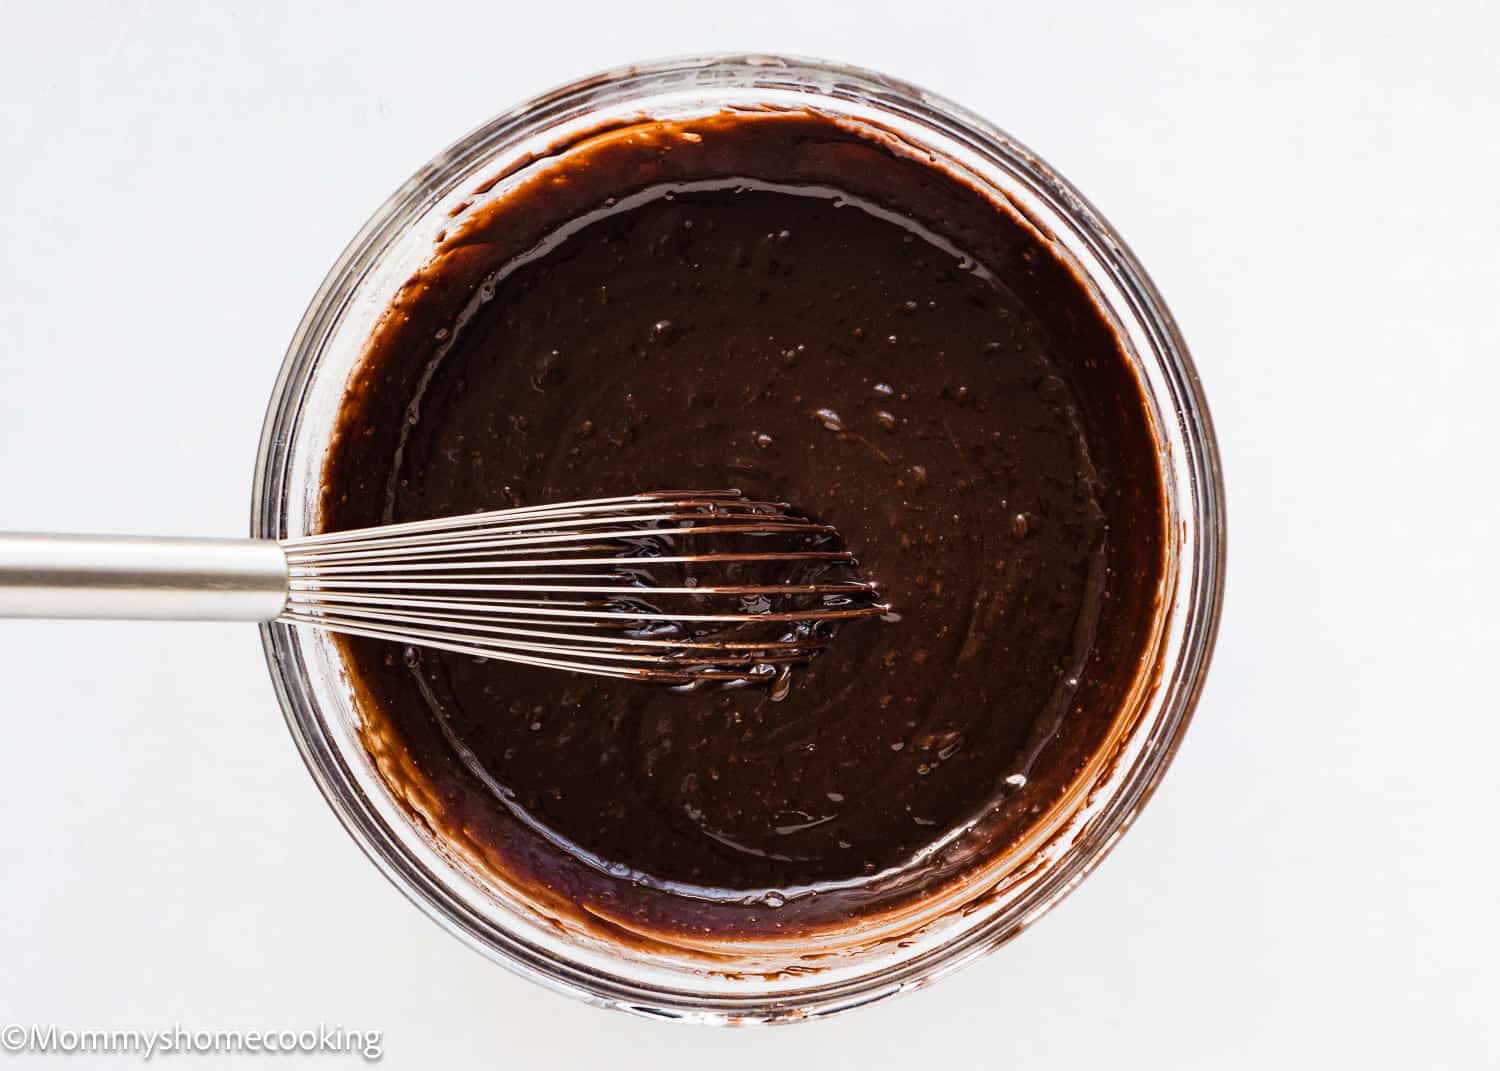
- Now, pour in the milk mixture and whisk it all together until it’s nicely combined. Check to make sure all the sugar is dissolved. If not, microwave the mixture for 2 minutes until it feels smooth with no sugar grains. If you still feel some grains, pop it back in for 1 more minute, then whisk it for another 1 to 2 minutes. Keep doing this until all the sugar grains are gone.
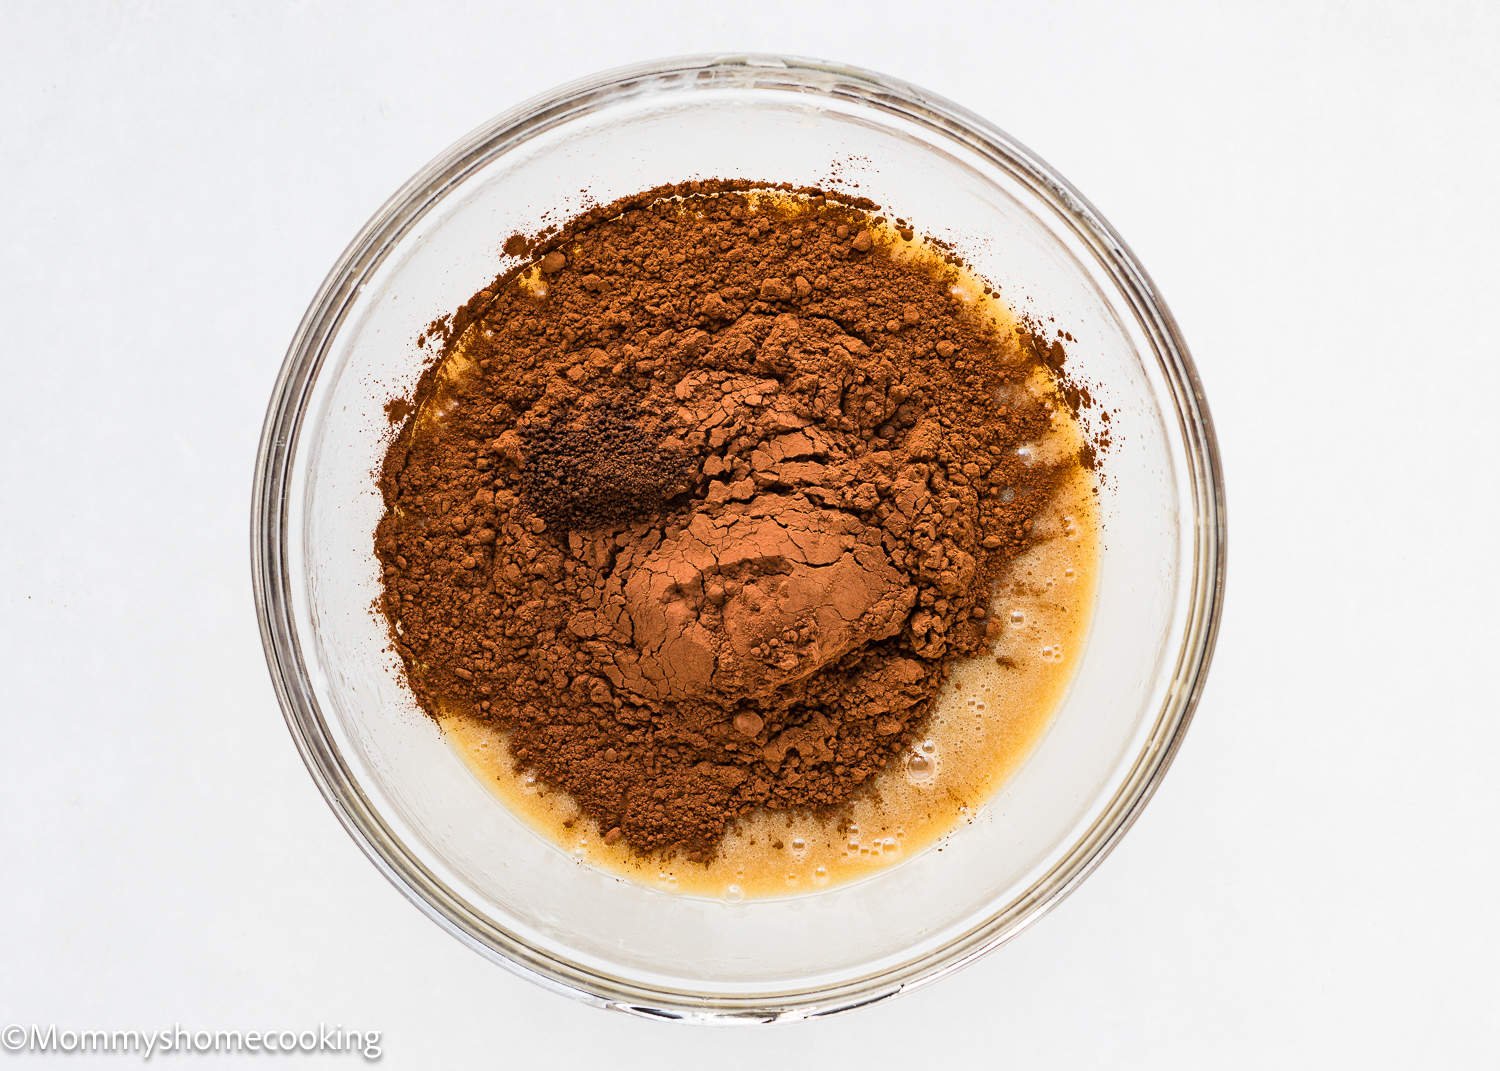
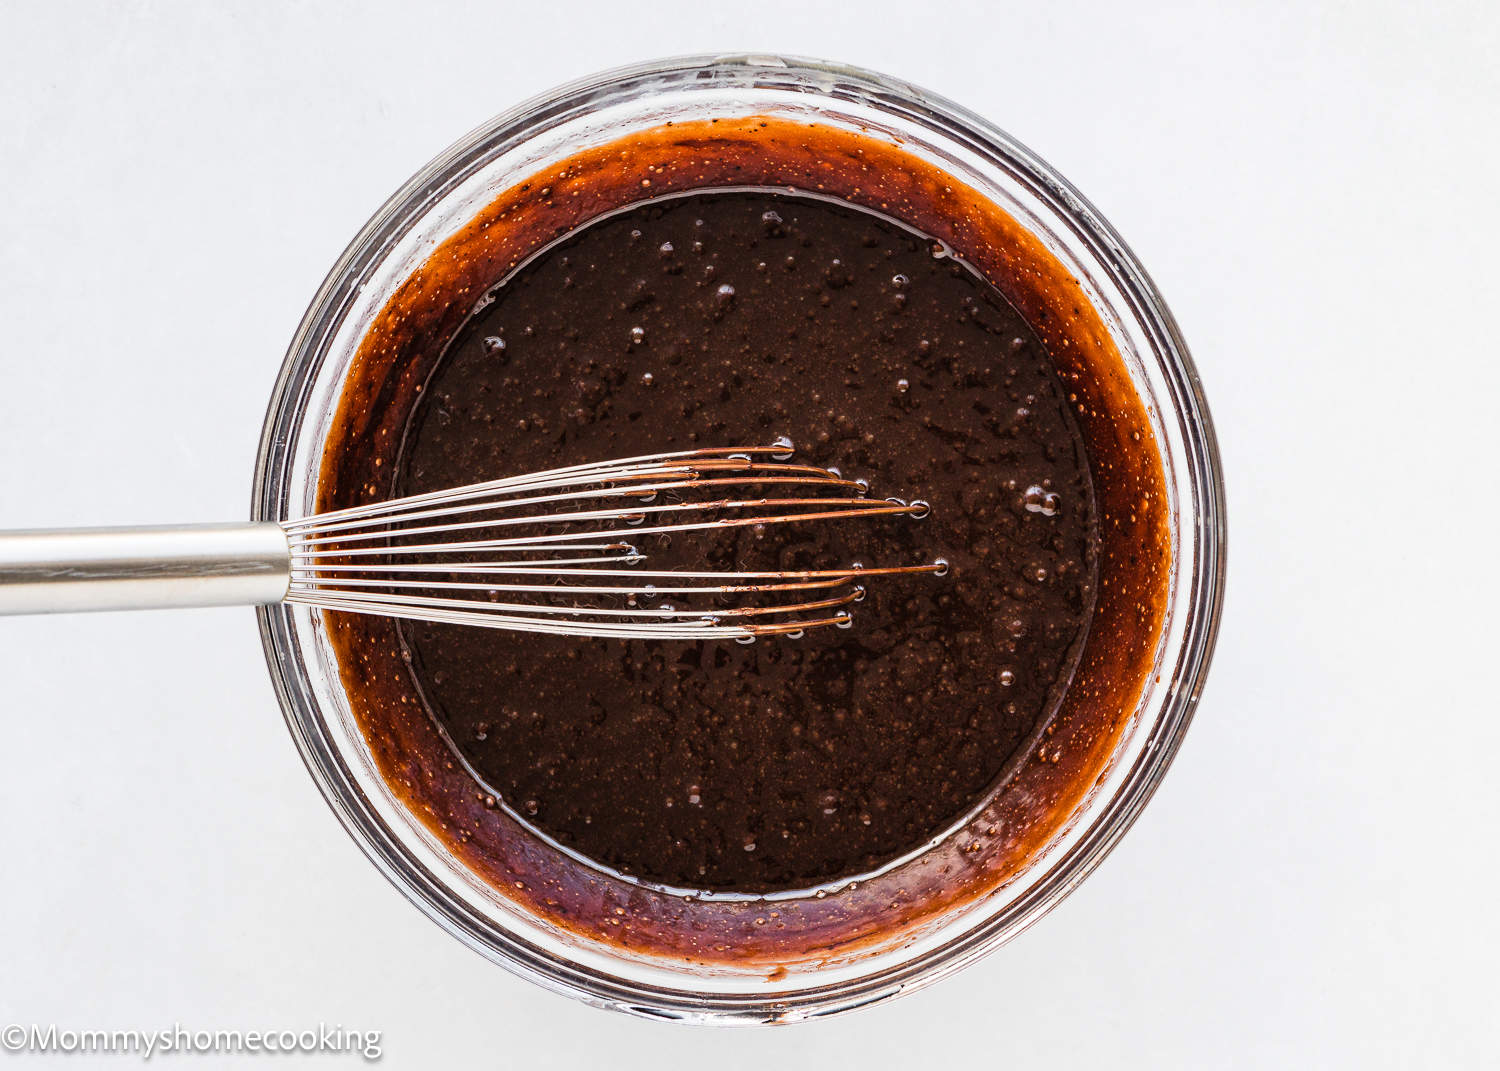
- After that, add the cocoa powder and mix it in well. Keep stirring for about 2 minutes. Then, add the vanilla and instant espresso powder if you’re using it, and mix again.
- Finally, add the flour mixture and stir until it’s mostly combined. Easy, right?

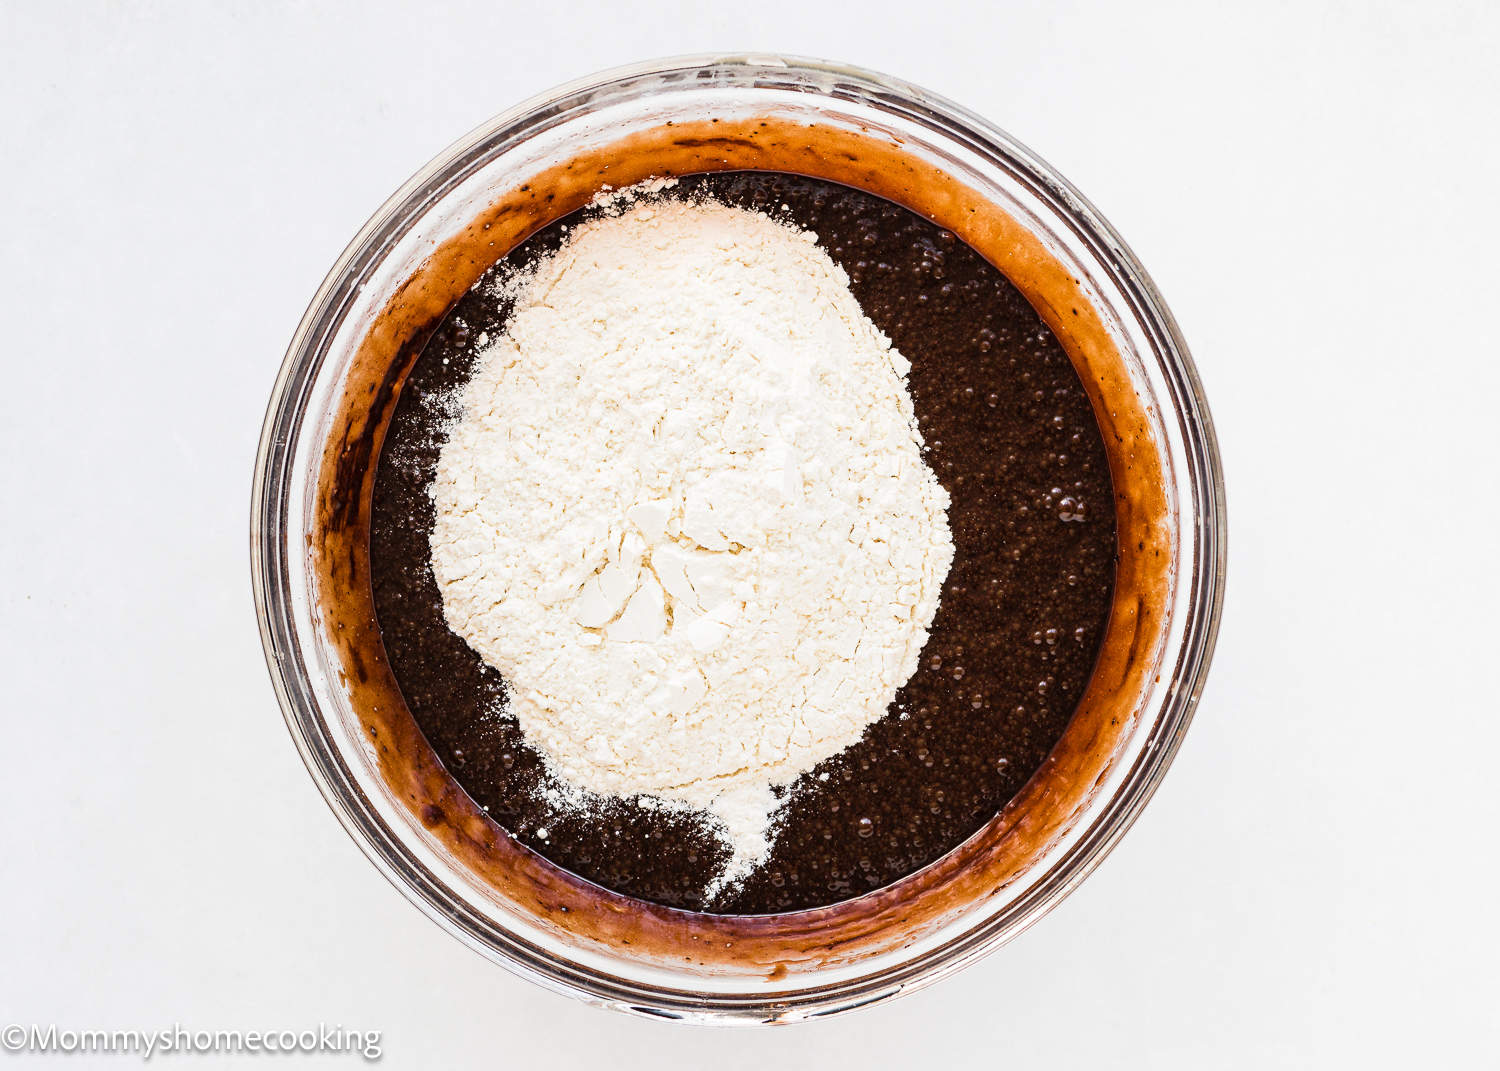
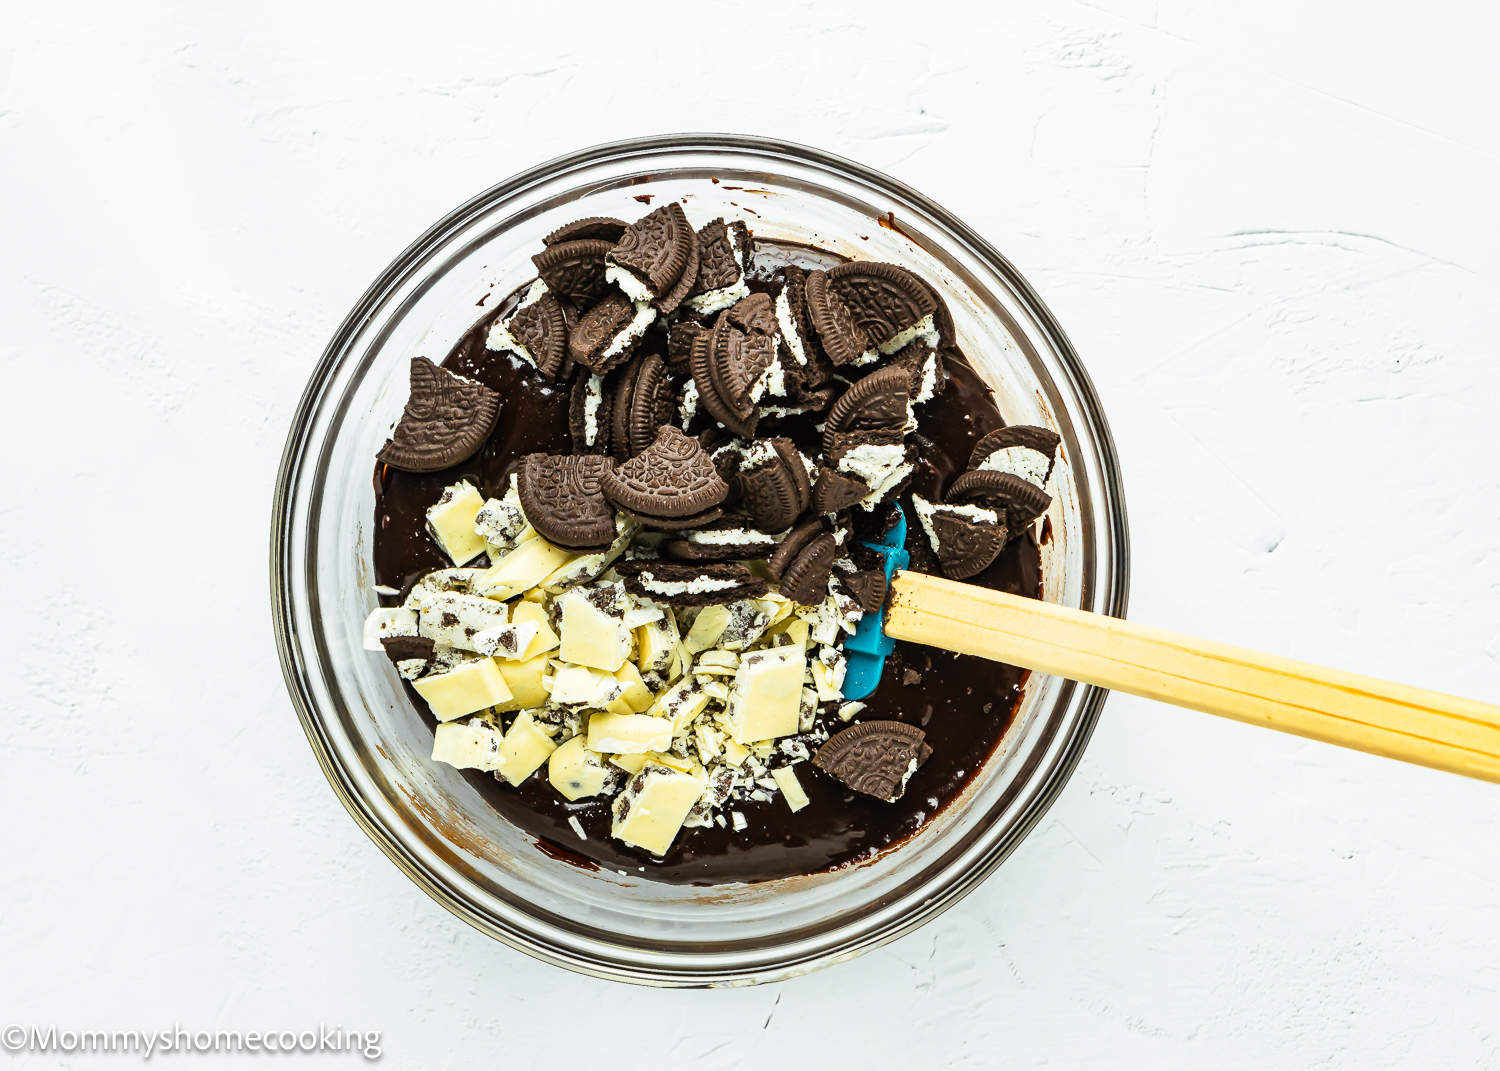
Step 3 – Add Oreos and Chocolate
Then, add the chopped Oreos and chocolate. I use a chocolate bar of cookies and cream.
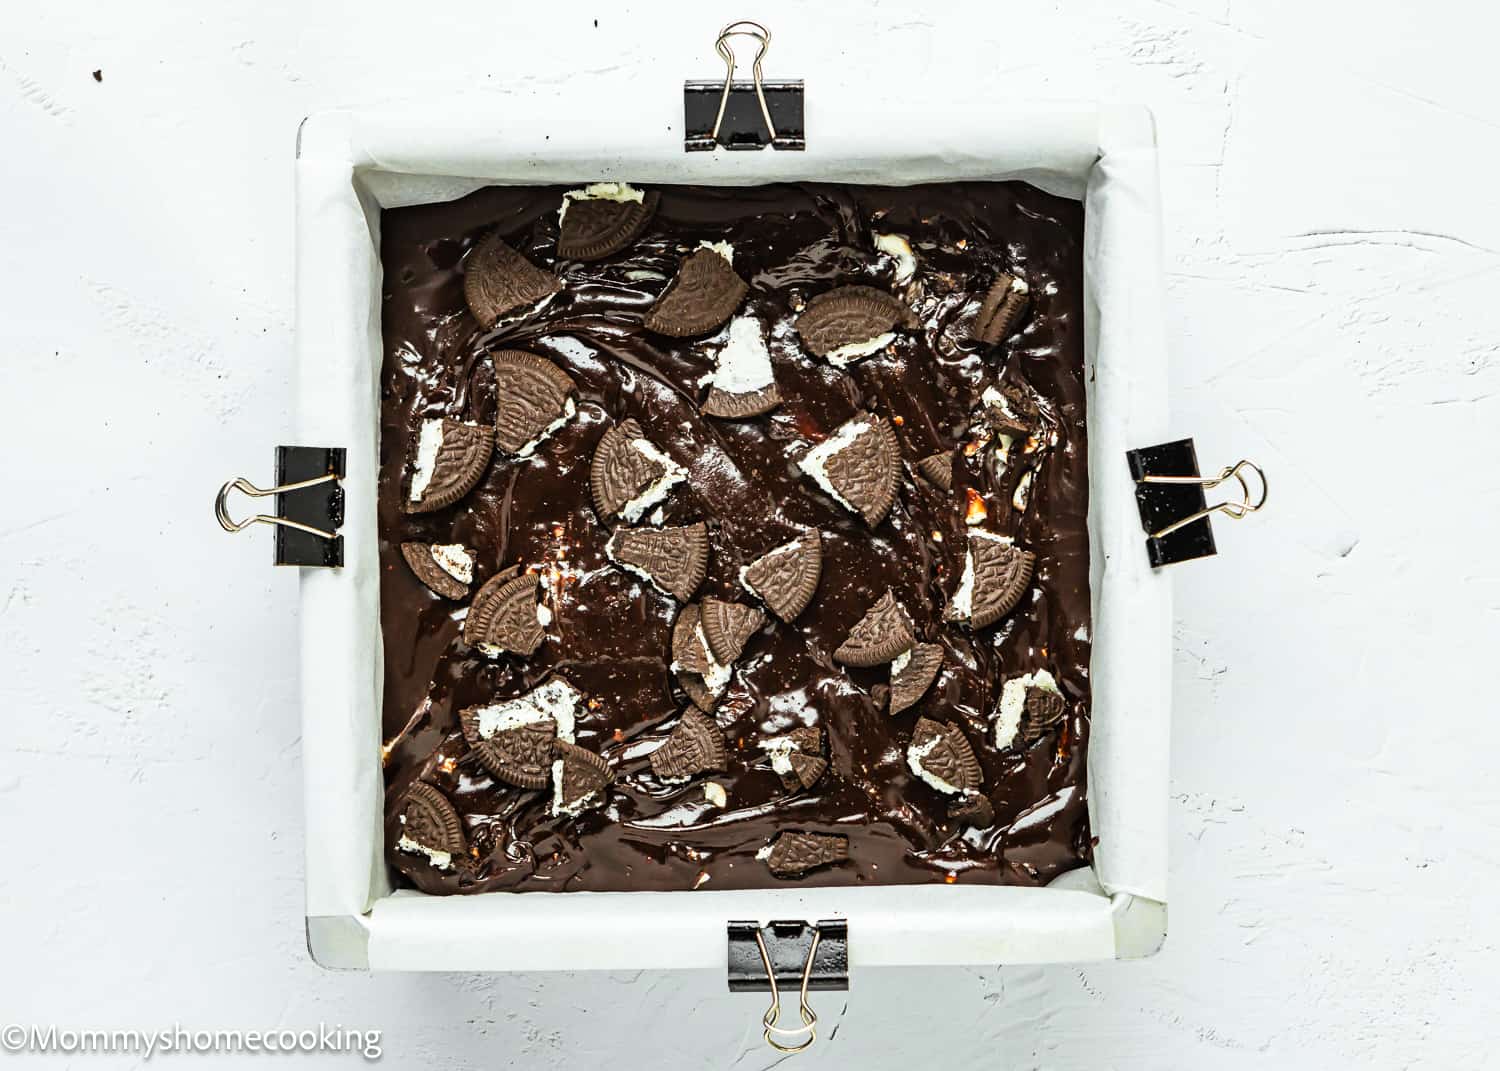
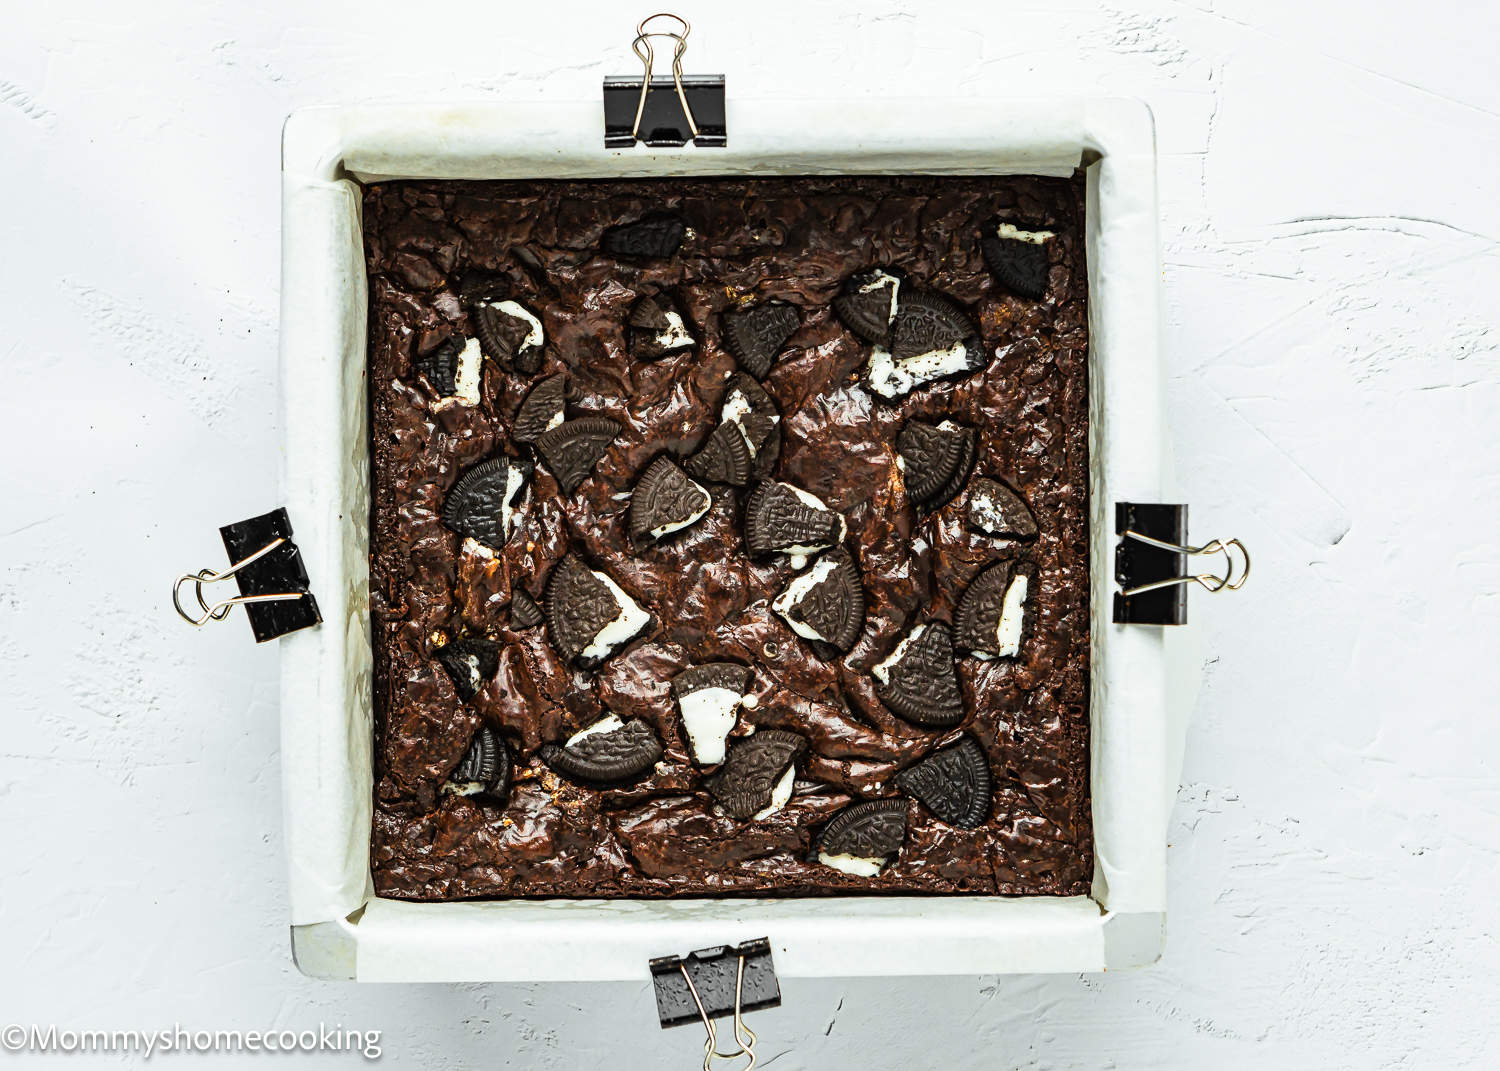
Step 4 – Pour Batter Into The Pan
Pour the batter into the pan. Use a spatula to spread it to the edges of the pan and smooth the top. Tap the pan once or twice on the counter to settle any air pockets; you can also poke the air pockets with the tip of a knife or toothpick. Top with more chopped Oreos.
Step 5 – Bake
Bake for 45 – 50 minutes or until the brownies are set and the tops or cracked and shiny. You’ll notice the center does not wiggle when the pan is moved. It’s better to underbake these brownies a bit rather than overbake. Unfortunately, the toothpick test doesn’t work well for these brownies because the chocolate chips get melty!
Step 6 – Cool and Cut
Set the pan on a wire rack until completely cooled. When completely cooked, run a thin knife around the pan’s edge to ensure the block of brownies is loose, then lift from the pan using the parchment paper sling. Slice the brownies into 9 or 12 squares.

Recipe Tips
- I suggest using a kitchen scale to measure the ingredients—it’s a game-changer! Trust me, using metric measurements gives you the most precise and easy-to-repeat results. I didn’t just run these measurements through some online converter; I hand-weighed and tested them myself. So, you can bake with confidence, knowing you’re getting the real deal!
- Preheat the oven for at least 15 minutes before getting started to give it plenty of time to reach the ideal recipe temperature.
- Use high-quality chocolate chips. I like to use Ghirardelli Chocolate Premium Baking Chips 60% Cacao Bittersweet Chocolate or Callebaut Belgian Dark Couverture Chocolate Semisweet Callets, 54.5%.
- Make sure your sugar is fully dissolved to achieve that perfect crackly top on your brownies! Here’s a simple trick: after adding the milk and heating it in the microwave, rub a bit of the mixture between your fingers. You’re good to go if it feels smooth without any sugar grains! But if you still feel some grains, pop it back in the microwave for another minute, then give it a good whisk for 1 to 2 minutes. Keep repeating until you don’t feel any sugar grains at all. Easy peasy!
- Add extra Oreos! If you’re a die-hard Oreo fan, feel free to add extra crushed Oreos to the batter for even more cookie goodness.
- Bake the batter as soon as it is ready.
- Don’t open the oven door until your baked goods have set. Leave the oven closed until the minimum time is stated in the recipe.
- Every oven is different, so baking times always have to be taken with a grain of salt. Oven thermostats can be wildly off, affecting baking time, so keep an eye on yours.
Variations & Additions
- Nutty twist: Stir in chopped nuts such as walnuts or pecans for added texture and flavor.
- Minty fresh: Add a dash of peppermint extract to the batter for a refreshing twist on classic brownies.
- Gluten-Free: Use a gluten-free, all-purpose flour blend. Look for a gluten-free flour blend specifically formulated for baking, as it will have the right combination of flours and starches to mimic the texture of wheat flour. My favorite is Better Batter Original Blend.
- Dairy-Free: To make this recipe dairy-free, you can easily swap out the dairy ingredients for non-dairy alternatives. Instead of milk, use non-dairy milk like almond, soy, or oat milk. And use vegan butter instead of dairy butter. There are many brands available in stores. I usually use Earth Balance Vegan Buttery Sticks.
- Different chocolate: Experiment with different types of chocolate bars or chips to customize the flavor of your brownies.
- For a fun twist, try using seasonal flavors like strawberry Oreos for Valentine’s Day or mint Oreos for St. Patrick’s Day. Not only will it add a festive touch to your brownies, but it’ll also infuse them with delicious seasonal flavors. So, grab those themed Oreos next time a holiday rolls around, and let your imagination run wild!
Storing and Freezing Instructions
Store: Cover and store leftover brownies at room temperature for up to 7 days.
Freeze: Brownies freeze well for up to 3 months. Wrap cooled brownies in plastic wrap, then in foil, and then place them in an airtight freezer bag. Thaw overnight in the refrigerator, then bring to room temperature before serving.
Frequently Asked Questions
The best way to cut brownies is to let the brownies cool off completely and use a plastic knife. Alternatively, you can also use a hot knife or regular knife covered in cooking spray to cut.
For baking sweets, metal is better! Metal pans distribute the heat more efficiently, resulting in evenly baked and brown sweets. Glass pans bake more quickly. If you need to substitute a glass pan for a metal one, you will need to decrease the oven temperature by about 20 – 25 degrees to ensure that your baked good does not overbake or burn.
In most of my egg-free recipes, I use unsweetened natural cocoa powder, which is more acidic and reacts with leavaners allowing your baked goods to rise. If you live in the US, the cocoa powder you most often see in the baking aisle, like Hershey’s or Ghirardelli, is natural. Flavors vary by brand, but you can always find me using either of these two.
Yes! Finely chopped nuts like pecans or walnuts can easily be added to this recipe. I recommend 1/2 to 3/4 cup of chopped nuts.
I used Hershey’s Cookies ‘n’ Creme Candy Bars. However, you can use dark or semi-sweet chocolate chips or chunks if you want your brownies to be super chocolatey.
For more cakey brownies, use my Best Eggless Brownies recipe.
Absolutely! While the espresso powder enhances the chocolate flavor, it’s not essential to the recipe. Feel free to leave it out if you prefer.
Yes, you can easily double the ingredients to make a larger batch of brownies. Simply use a larger baking pan (16 x9 in) and adjust the baking time accordingly.
More Recipes You’ll Love!
- Ultimate Fudgy Brownies without Eggs
- How to Make a Brownie Mix Without Eggs
- Eggless Red Velvet Brownies
- Best Eggless Brownies (more cakey)
- Eggless Fudgy Zucchini Brownies
- Eggless Cheesecake Brownies
- 15 Amazing Desserts You Can Make Without Eggs
❤️ Love what you see? JOIN my Private Baking Club. Also, SUBSCRIBE to Mommy’s Home Cooking, so you’ll never miss a recipe! And FOLLOW along on Instagram, Pinterest, and Facebook for more fun!
Recipe Card 📖
Easy Eggless Oreo Brownies
Ingredients
- 1 cup + 1 tablespoon (150 g) all-purpose flour
- 1 tablespoon (10 g) cornstarch
- 1/8 teaspoon (1 g) baking powder
- 1 teaspoon (4 g) kosher or sea salt
- 1/2 cup + 1 tablespoon (130 ml) milk
- 1 1/2 teaspoon (7.5 g) apple cider vinegar
- 3/4 cup (173 g – 1 1/2 sticks) unsalted butter
- 3/4 cup (150 g) brown sugar
- 3/4 cup (150 g) white granulated sugar
- 1/2 cup + 1 tablespoon (57 g) unsweetened cocoa powder
- 2 teaspoons (10 g) pure vanilla extract
- 1 teaspoon (3 g) instant espresso powder
- 1/2 cup (about 100 g) Cookies 'n'Creme chocolate ( I used 2 Hershey's Cookies 'n' Creme Candy Bars)
- 14 Oreo Cookies, roughly chopped (about 154 g)
Instructions
- Preheat the oven to 325º F (165 º C). Line an 8×8-inch baking pan with parchment paper. Lightly spray with baking spray.
- Combine flour, cornstarch, baking powder, and salt in a bowl. Set aside.
- In a mixing bowl or liquid measuring cup, combine the milk and vinegar. Let the mixture rest for 5 to 8 minutes, until thickened and curdled.
- Melt butter in the microwave. Alternately, you can do it over the stovetop in a medium saucepan.
- Stir in the sugars and mix until well combined, for about 2 – 3 minutes. The mixture must be homogeneous and glossy, not oily.
- Add milk mixture to the butter mixture; mix with a whisk to incorporate. Microwave the mixture for 2 minutes. Carefully remove the bowl from the microwave and continue mixing with the whisk for 1 – 2 minutes. Undissolved sugar will prevent you from getting the crackly top on the brownies, so rub a little of the mixture between your first finger and thumb to test. If it feels smooth with no grains of sugar, it's ready. If you can feel some grains, place the mixture in the microwave and heat for 1 more minute, and then mix with the whisk for 1 -2 minutes. Repeat until you don’t feel any grain of sugar at all.
- Add cocoa powder, and mix to incorporate; continue constantly stirring, for 2 more minutes. Add vanilla and instant espresso powder (if used), and mix to incorporate.
- Add the flour mixture; stir until mostly combined. Then add the cookies and cream chocolate and Oreos (reserve about 1/4 cup for the top) and stir until no flour remains.
- Pour the batter into the pan. Use a spatula to spread it to the edges of the pan and smooth the top. Tap the pan once or twice on the counter to settle any air pockets; you can also poke the air pockets with the tip of a knife or toothpick. Top with more chopped Oreos.
- Bake for 40 – 50 minutes or until the brownies are set and the tops or cracked and shiny. You'll notice the center does not wiggle when the pan is moved. If in doubt, it's better to underbake these brownies rather than. Unfortunately, the toothpick test doesn't work well for these brownies because the chocolate chips get melty! IMPORTANT: Every oven is different, so baking times always have to be taken with a grain of salt. Oven thermostats can be wildly off, and that will all affect baking time.
- When the brownies are ready, remove them from the oven and set the pan on a wire rack until completely cooled.
- When completely cool, run a thin knife around the edge of the pan to make sure the block of brownies is loose, then lift from the pan using the parchment paper sling. Cut the brownies into 9 or 12 squares.
- I suggest using a kitchen scale to measure the ingredients—it’s a game-changer! Trust me, using metric measurements gives you the most precise and easy-to-repeat results. I didn’t just run these measurements through some online converter; I hand-weighed and tested them myself. So, you can bake with confidence, knowing you’re getting the real deal!
- Preheat the oven for at least 15 minutes before getting started to give it plenty of time to reach the ideal recipe temperature.
- Use high-quality chocolate chips. I like to use Ghirardelli Chocolate Premium Baking Chips 60% Cacao Bittersweet Chocolate or Callebaut Belgian Dark Couverture Chocolate Semisweet Callets, 54.5%.
- Make sure your sugar is fully dissolved to achieve that perfect crackly top on your brownies! Here’s a simple trick: after adding the milk and heating it in the microwave, rub a bit of the mixture between your fingers. You’re good to go if it feels smooth without any sugar grains! But if you still feel some grains, pop it back in the microwave for another minute, then give it a good whisk for 1 to 2 minutes. Keep repeating until you don’t feel any sugar grains at all. Easy peasy!
- Add extra Oreos! If you’re a die-hard Oreo fan, feel free to add extra crushed Oreos to the batter for even more cookie goodness.
- Bake the batter as soon as it is ready.
- Don’t open the oven door until your baked goods have set. Leave the oven closed until the minimum time is stated in the recipe.
- Every oven is different, so baking times always have to be taken with a grain of salt. Oven thermostats can be wildly off, affecting baking time, so keep an eye on yours.
- Nutty twist: Stir in chopped nuts such as walnuts or pecans for added texture and flavor.
- Minty fresh: Add a dash of peppermint extract to the batter for a refreshing twist on classic brownies.
- Gluten-Free: Use a gluten-free, all-purpose flour blend. Look for a gluten-free flour blend specifically formulated for baking, as it will have the right combination of flours and starches to mimic the texture of wheat flour. My favorite is Better Batter Original Blend.
- Dairy-Free: To make this recipe dairy-free, you can easily swap out the dairy ingredients for non-dairy alternatives. Instead of milk, use non-dairy milk like almond, soy, or oat milk. And use vegan butter instead of dairy butter. There are many brands available in stores. I usually use Earth Balance Vegan Buttery Sticks.
- Different chocolate: Experiment with different types of chocolate bars or chips to customize the flavor of your brownies.
- For a fun twist, try using seasonal flavors like strawberry Oreos for Valentine’s Day or mint Oreos for St. Patrick’s Day. Not only will it add a festive touch to your brownies, but it’ll also infuse them with delicious seasonal flavors. So, grab those themed Oreos next time a holiday rolls around, and let your imagination run wild!
Nutrition
Eggless Baking Frequently Asked Questions
You’ve asked, and I’ve answered! Read on for a handful of answers to the most frequently asked questions about eggless baking.
My 4-year old is allergic to eggs and has been asking for brownies. I have tried other recipes that didn’t turn out as well, but I made these over the weekend and he declared these the best brownies in the world, so I would say it’s a winning recipe! I also thought they were delicious, as did the people we shared them with, will definitely make again!
Hi Liz! What a heartwarming story! 🥰 It’s so wonderful to hear that the brownies were a hit, especially with your little one who has allergies.Thank you for sharing your experience!