
This No-Bake Eggless Chocolate Cream Pie is silky, rich, indulgent, and yet so light and dreamy! Quick and easy to put together. A perfect eggless chocolate dessert for any occasion. The recipe includes step-by-step photos and lots of tips.
No-Bake Eggless Chocolate Cream Pie Recipe Highlights
For all chocolate addicts, like me, this No-Bake Eggless Chocolate Cream Pie Recipe is what dreams are made of.
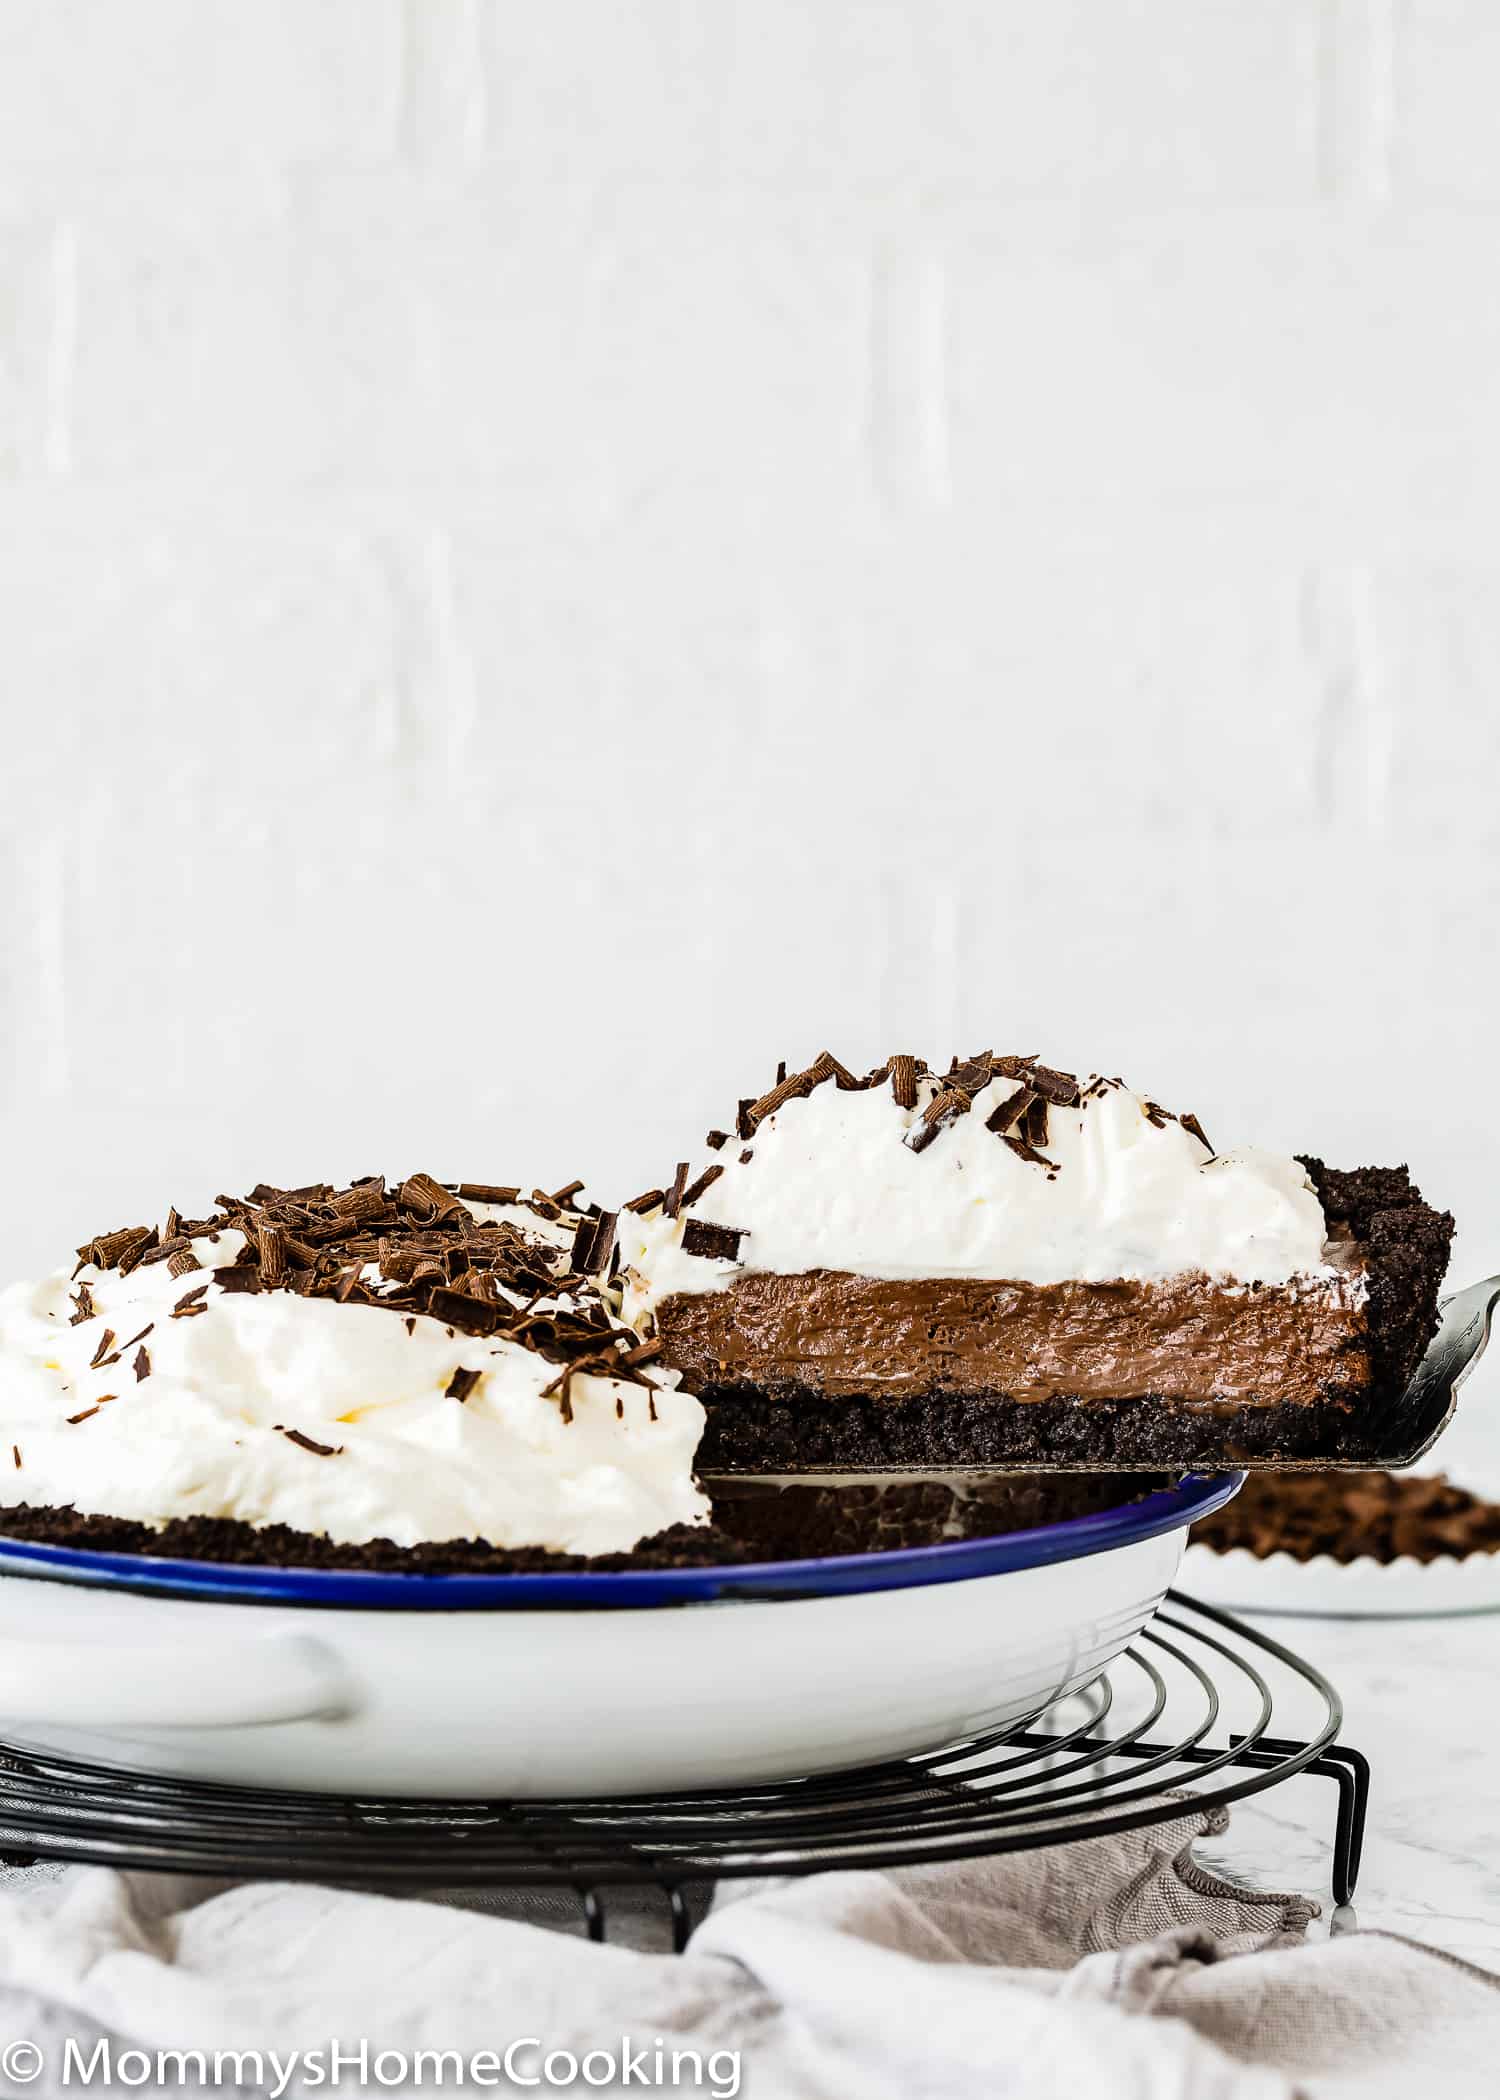
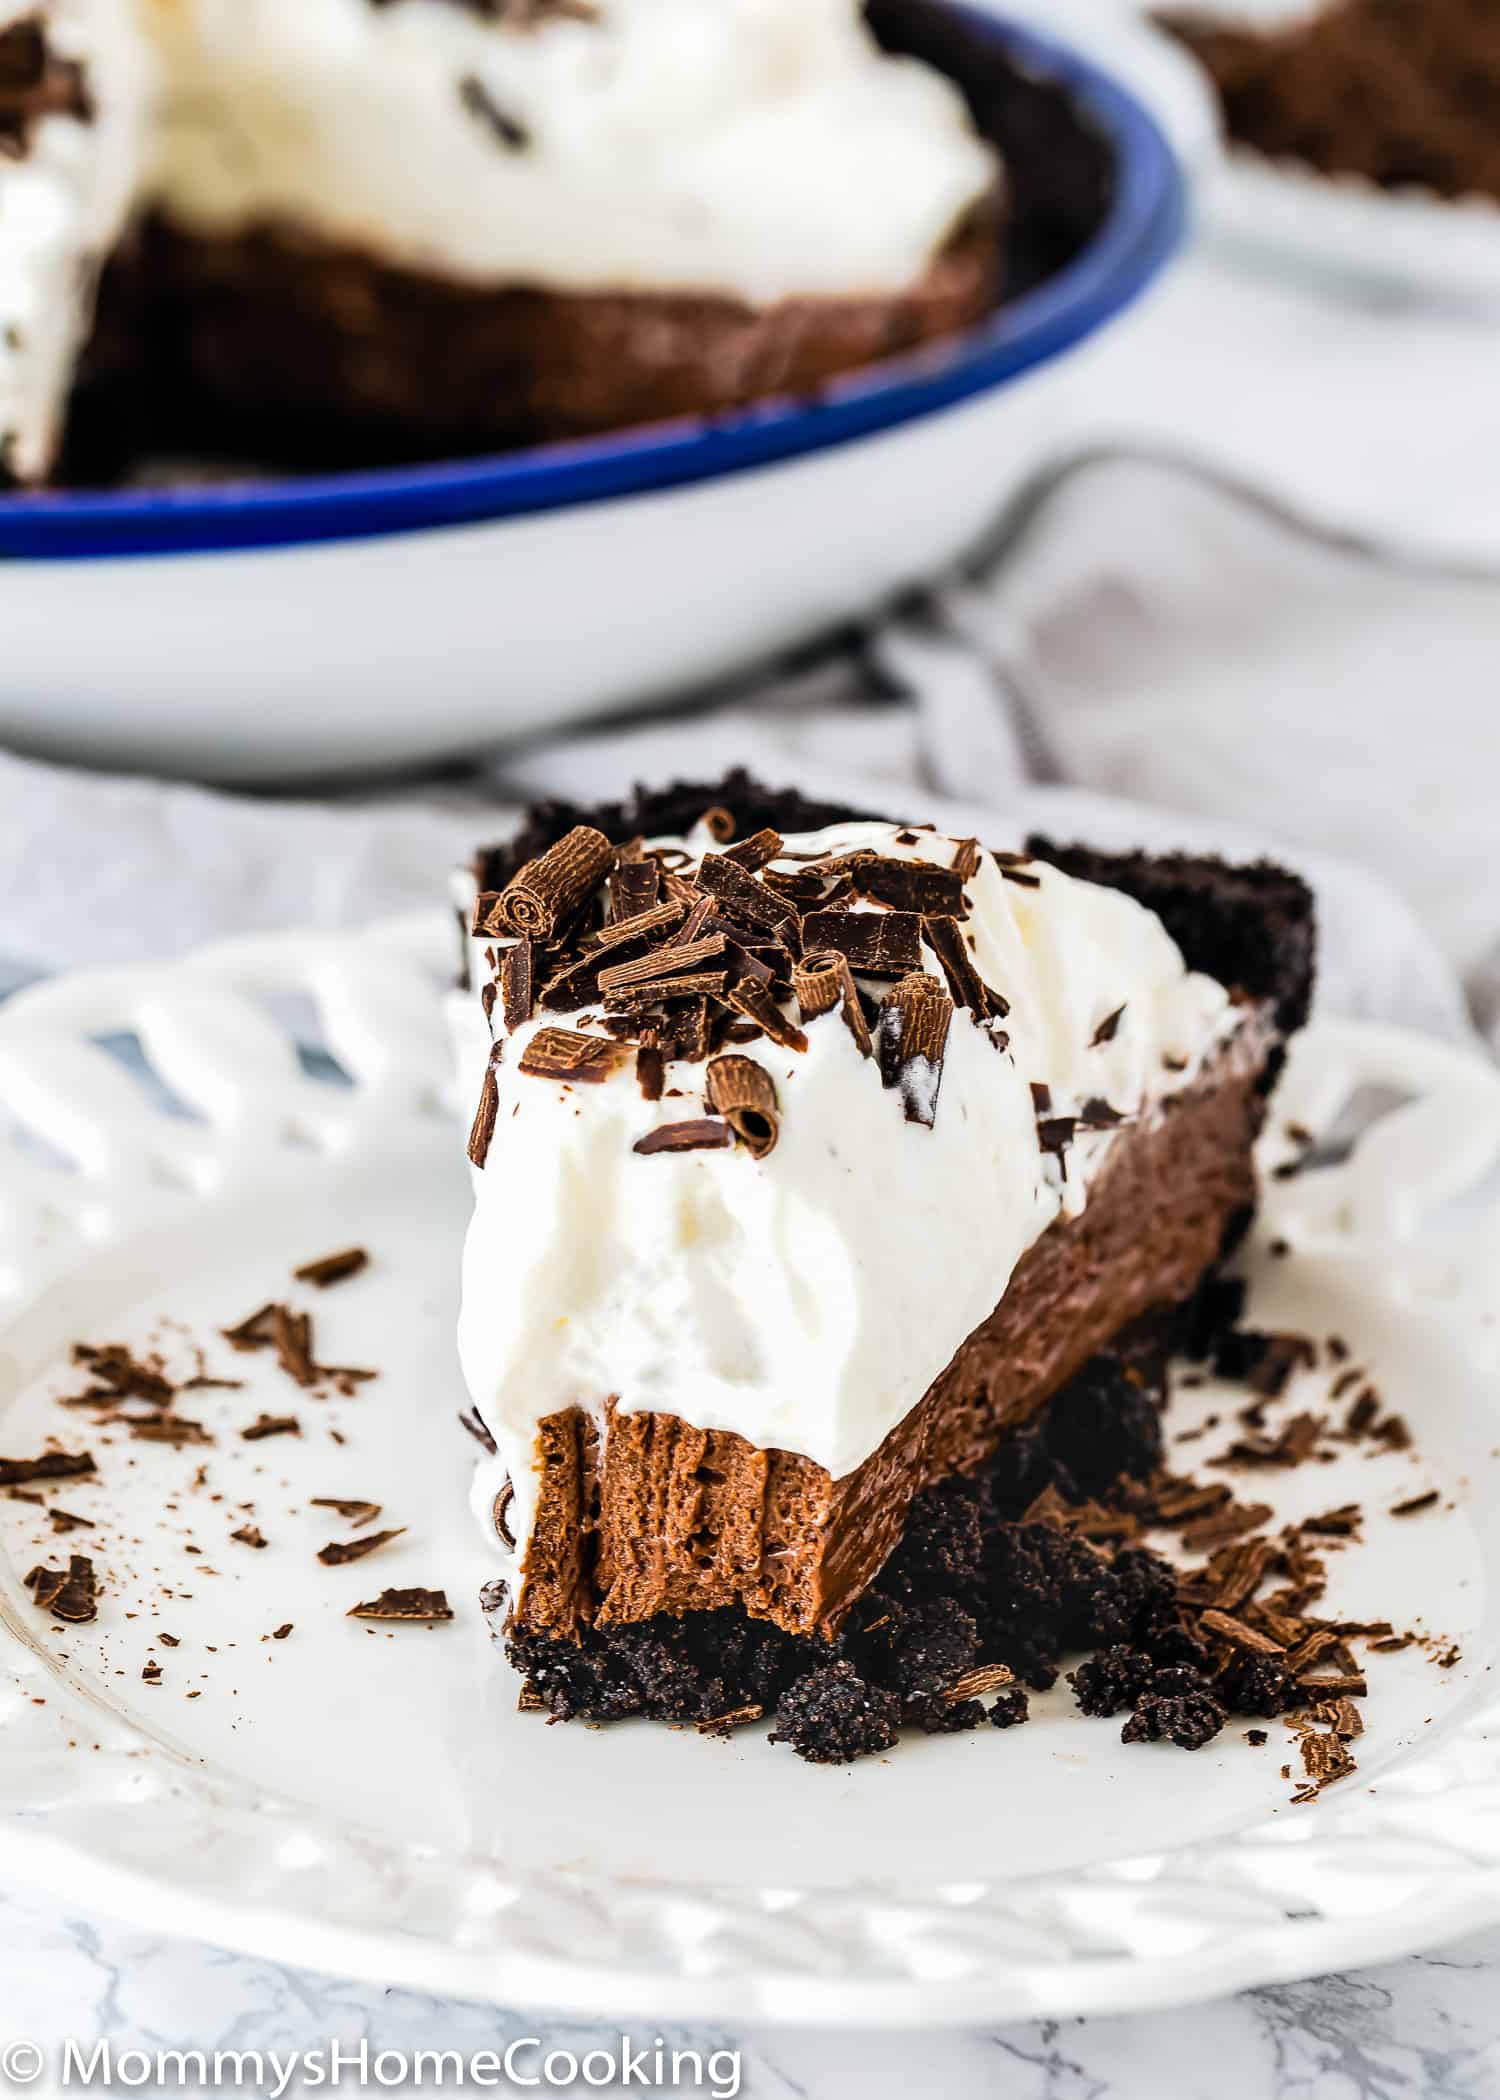
The eggless chocolate filling is silky, smooth, rich, and chocolaty. All this lusciousness sits on top of a buttery chocolate cookie crumb crust. A definite crowd-pleaser.
Super easy to make with simple ingredients. The hardest part of this No-Bake Eggless Chocolate Cream Pie Recipe is waiting until it’s chilled and firm.
We all loved this No-Bake Eggless Chocolate Cream Pie recipe!!!
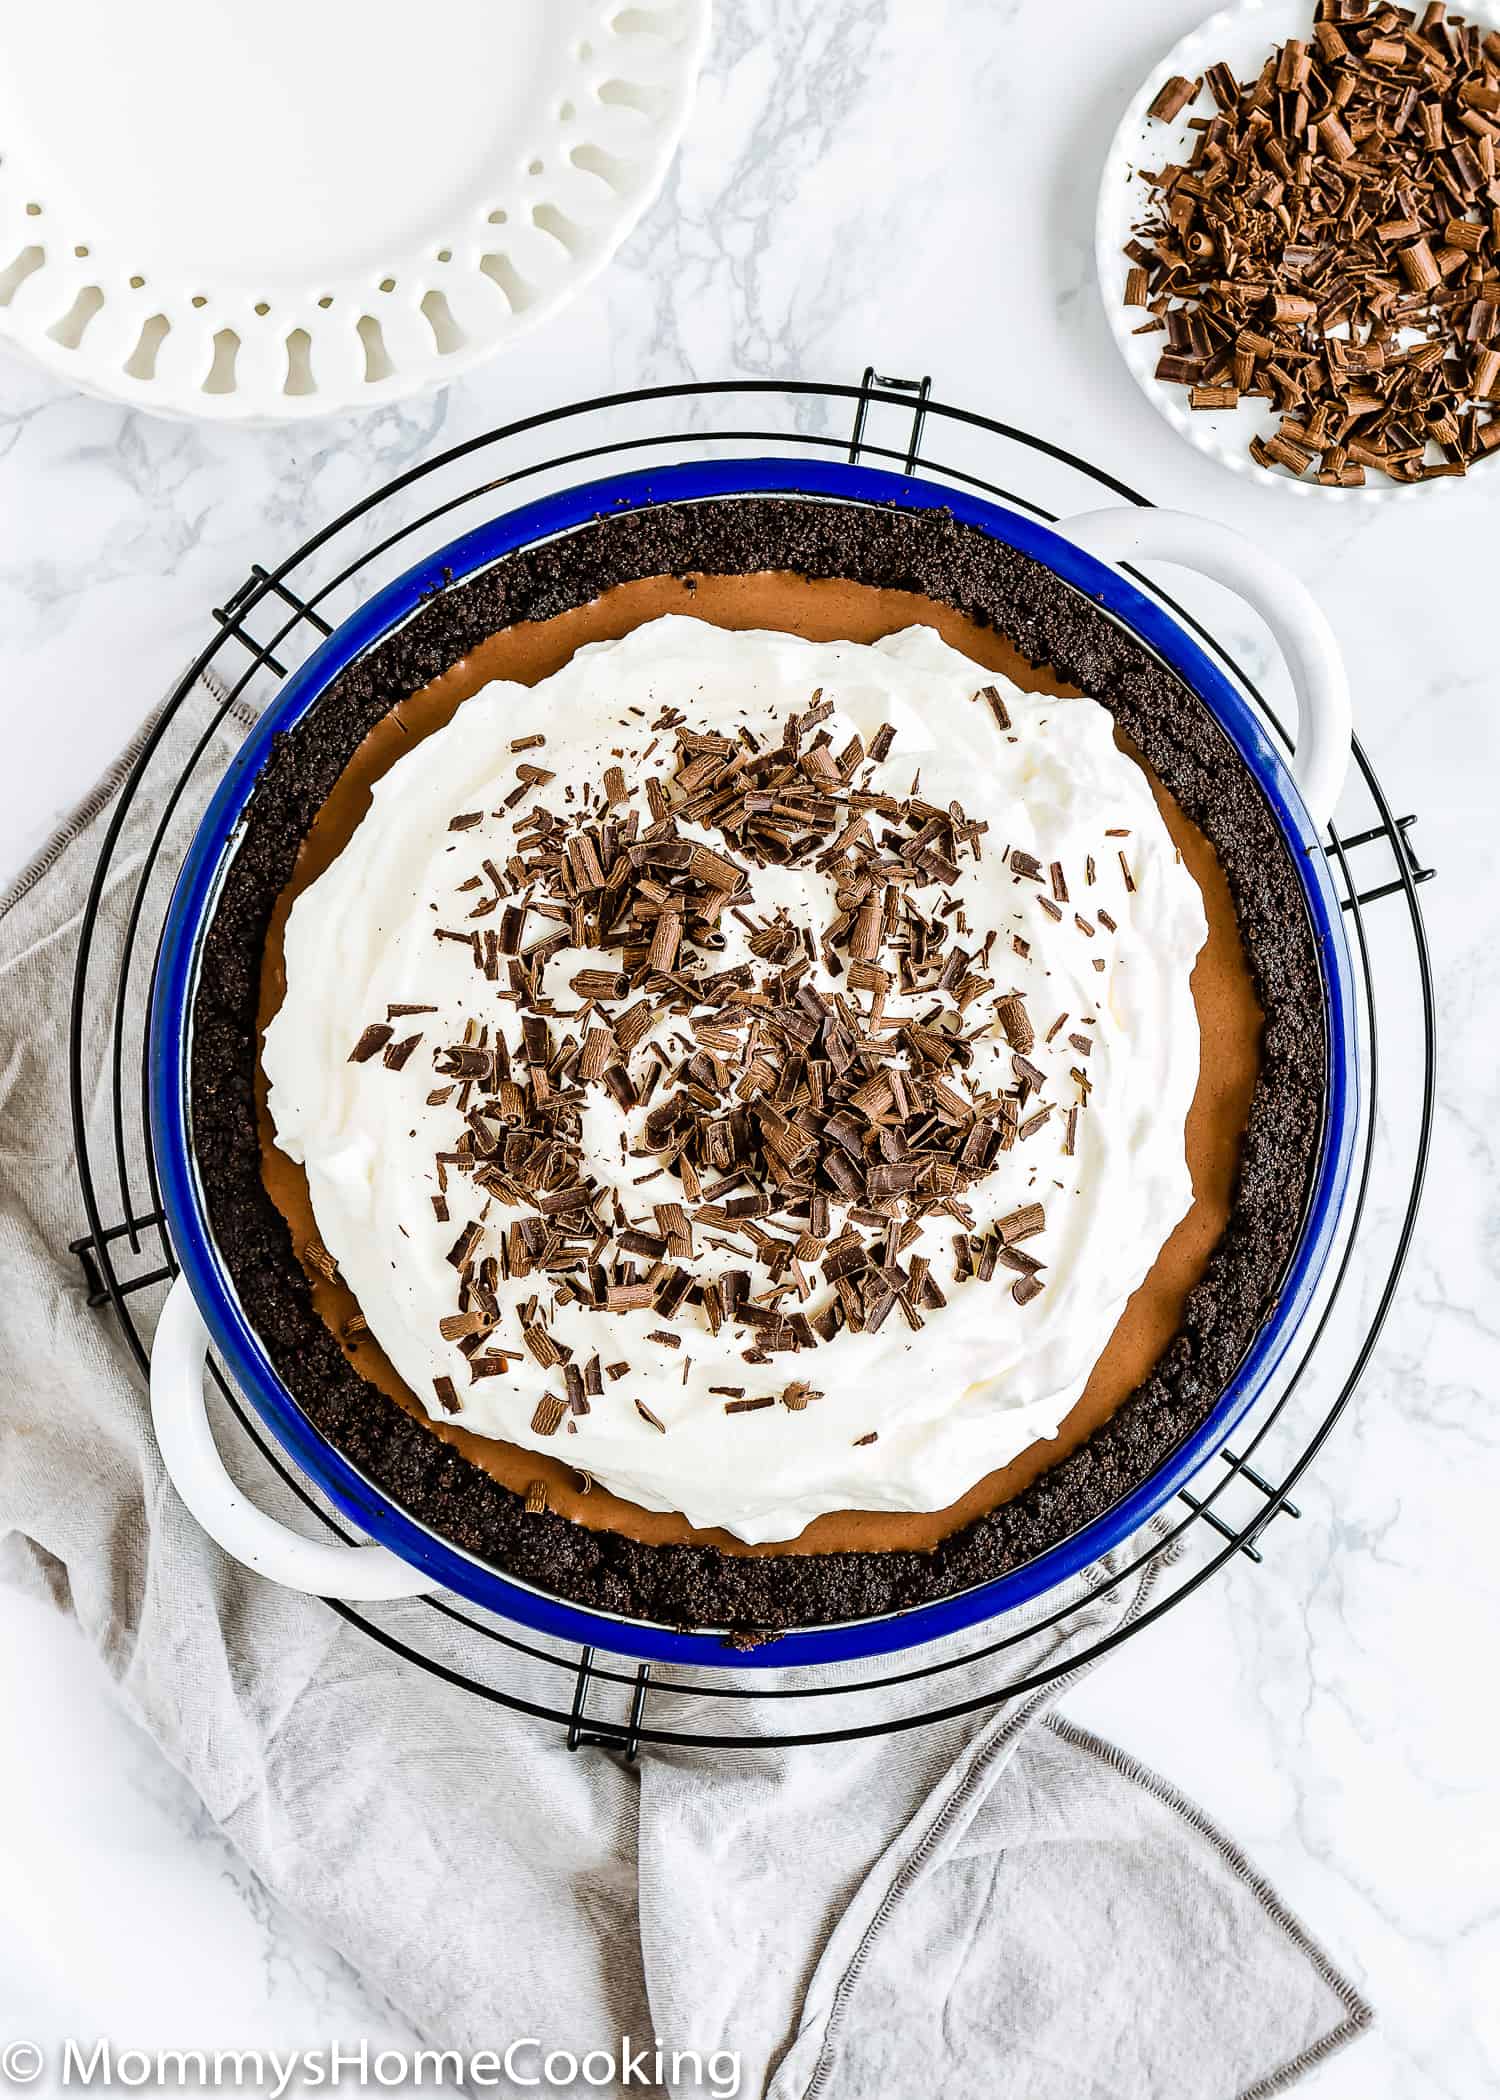
I mean, really – buttery chocolate crust, creamy chocolate filling, a thick layer of whipped cream, and lots of chocolate shavings — what’s not to love?
Ingredients You’ll Need
Please check the recipe card at the bottom of the post for exact quantities and detailed instructions (scroll down).
For the Crust: You can make your own crust with Oreo crumbs and butter, or use a store-bought crust. Feel free to use any other chocolate cracker/biscuit of your preference.
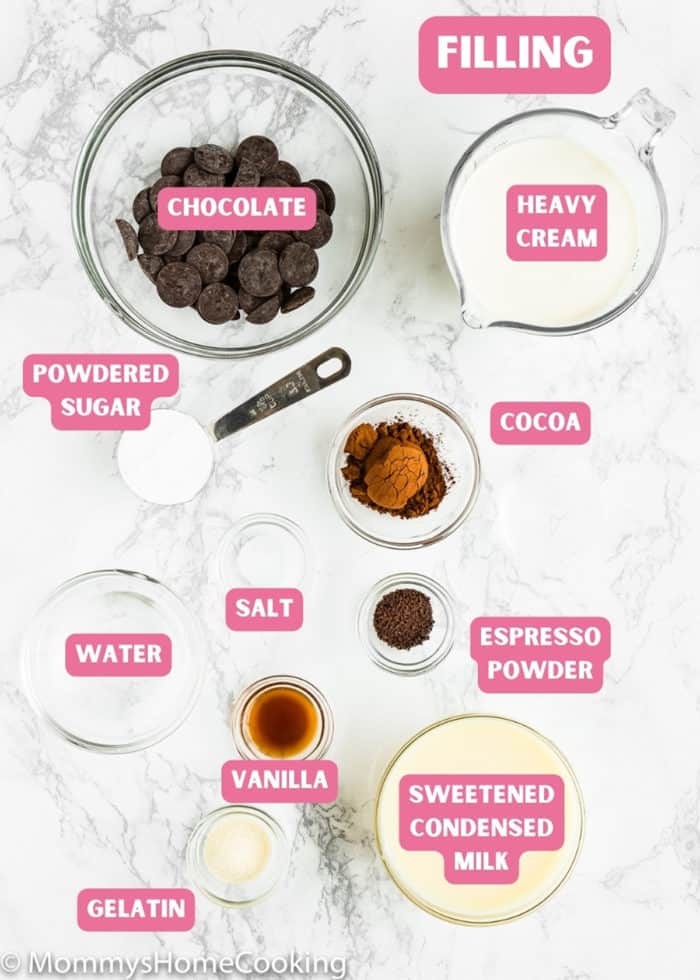
For the Eggless Chocolate Filling:
- Unsweetened chocolate: I like to use dark chocolate for a depth of chocolate flavor. Semisweet chocolate will also work, but the pie could be too sweet.
- Coffee: COFFEE is optional, but I recommend its addition because it enhances the chocolate flavor. Adding a little bit will make things taste more “chocolatey” without giving a coffee flavor.
- Sweetened condensed milk: Be sure to use REGULAR Sweetened Condensed Milk, NOT low-fat or fat-free. We need the fat and the sugar of the regular sweetened condensed milk for the filling to set properly.
- Vanilla extract: For optimal flavor, reach for pure vanilla instead of imitation. Even better, try homemade vanilla extract!
- Cocoa powder: I use unsweetened natural cocoa powder, but Dutch-processed cocoa will work too.
- Salt: I prefer kosher or sea salt. If you only have table salt handy, I recommend reducing the amount to half.
- Unflavored powdered gelatin + water (optional): The use of gelatin in this recipe is optional. If you don’t add it the pie will set nicely but with a less stiff texture. I like to add gelatin when I am serving this dessert to guests and/or I need to transport it somewhere, this way the filling will last more without melting.
- Heavy whipping cream: Make sure it has at least 35% of fat content.
- Powdered sugar: Regular powdered sugar, also known as confectioner’s sugar.
For Topping: I used Whipping cream and shaved chocolate.
Step By Step Recipe Photo Tutorial
Please check the recipe card at the bottom of the post for exact quantities and instructions (scroll down).
There are 3 parts to no-bake eggless chocolate cream pie:
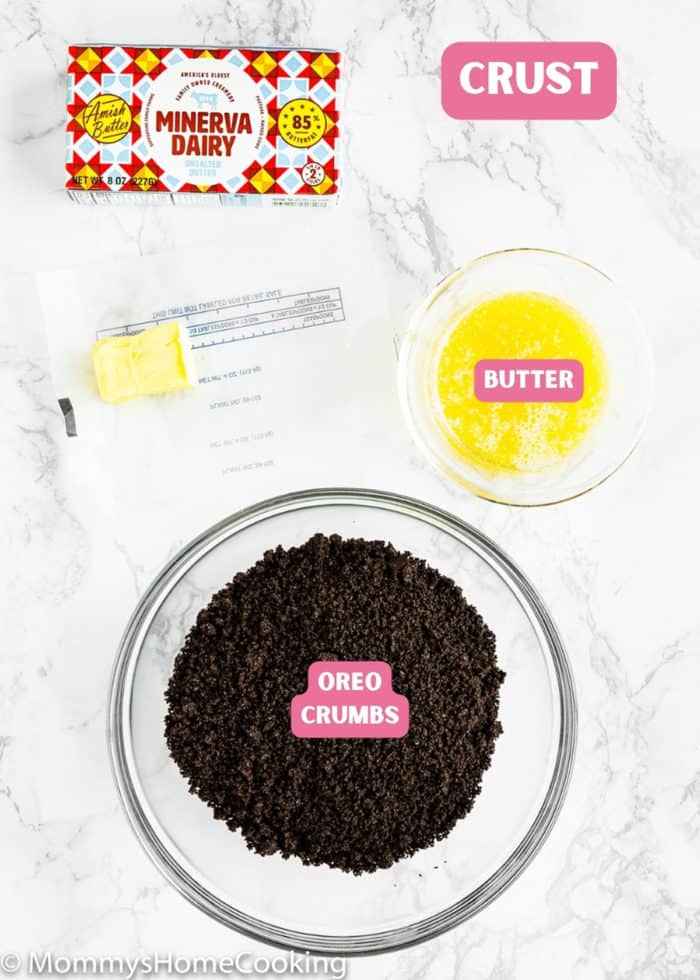
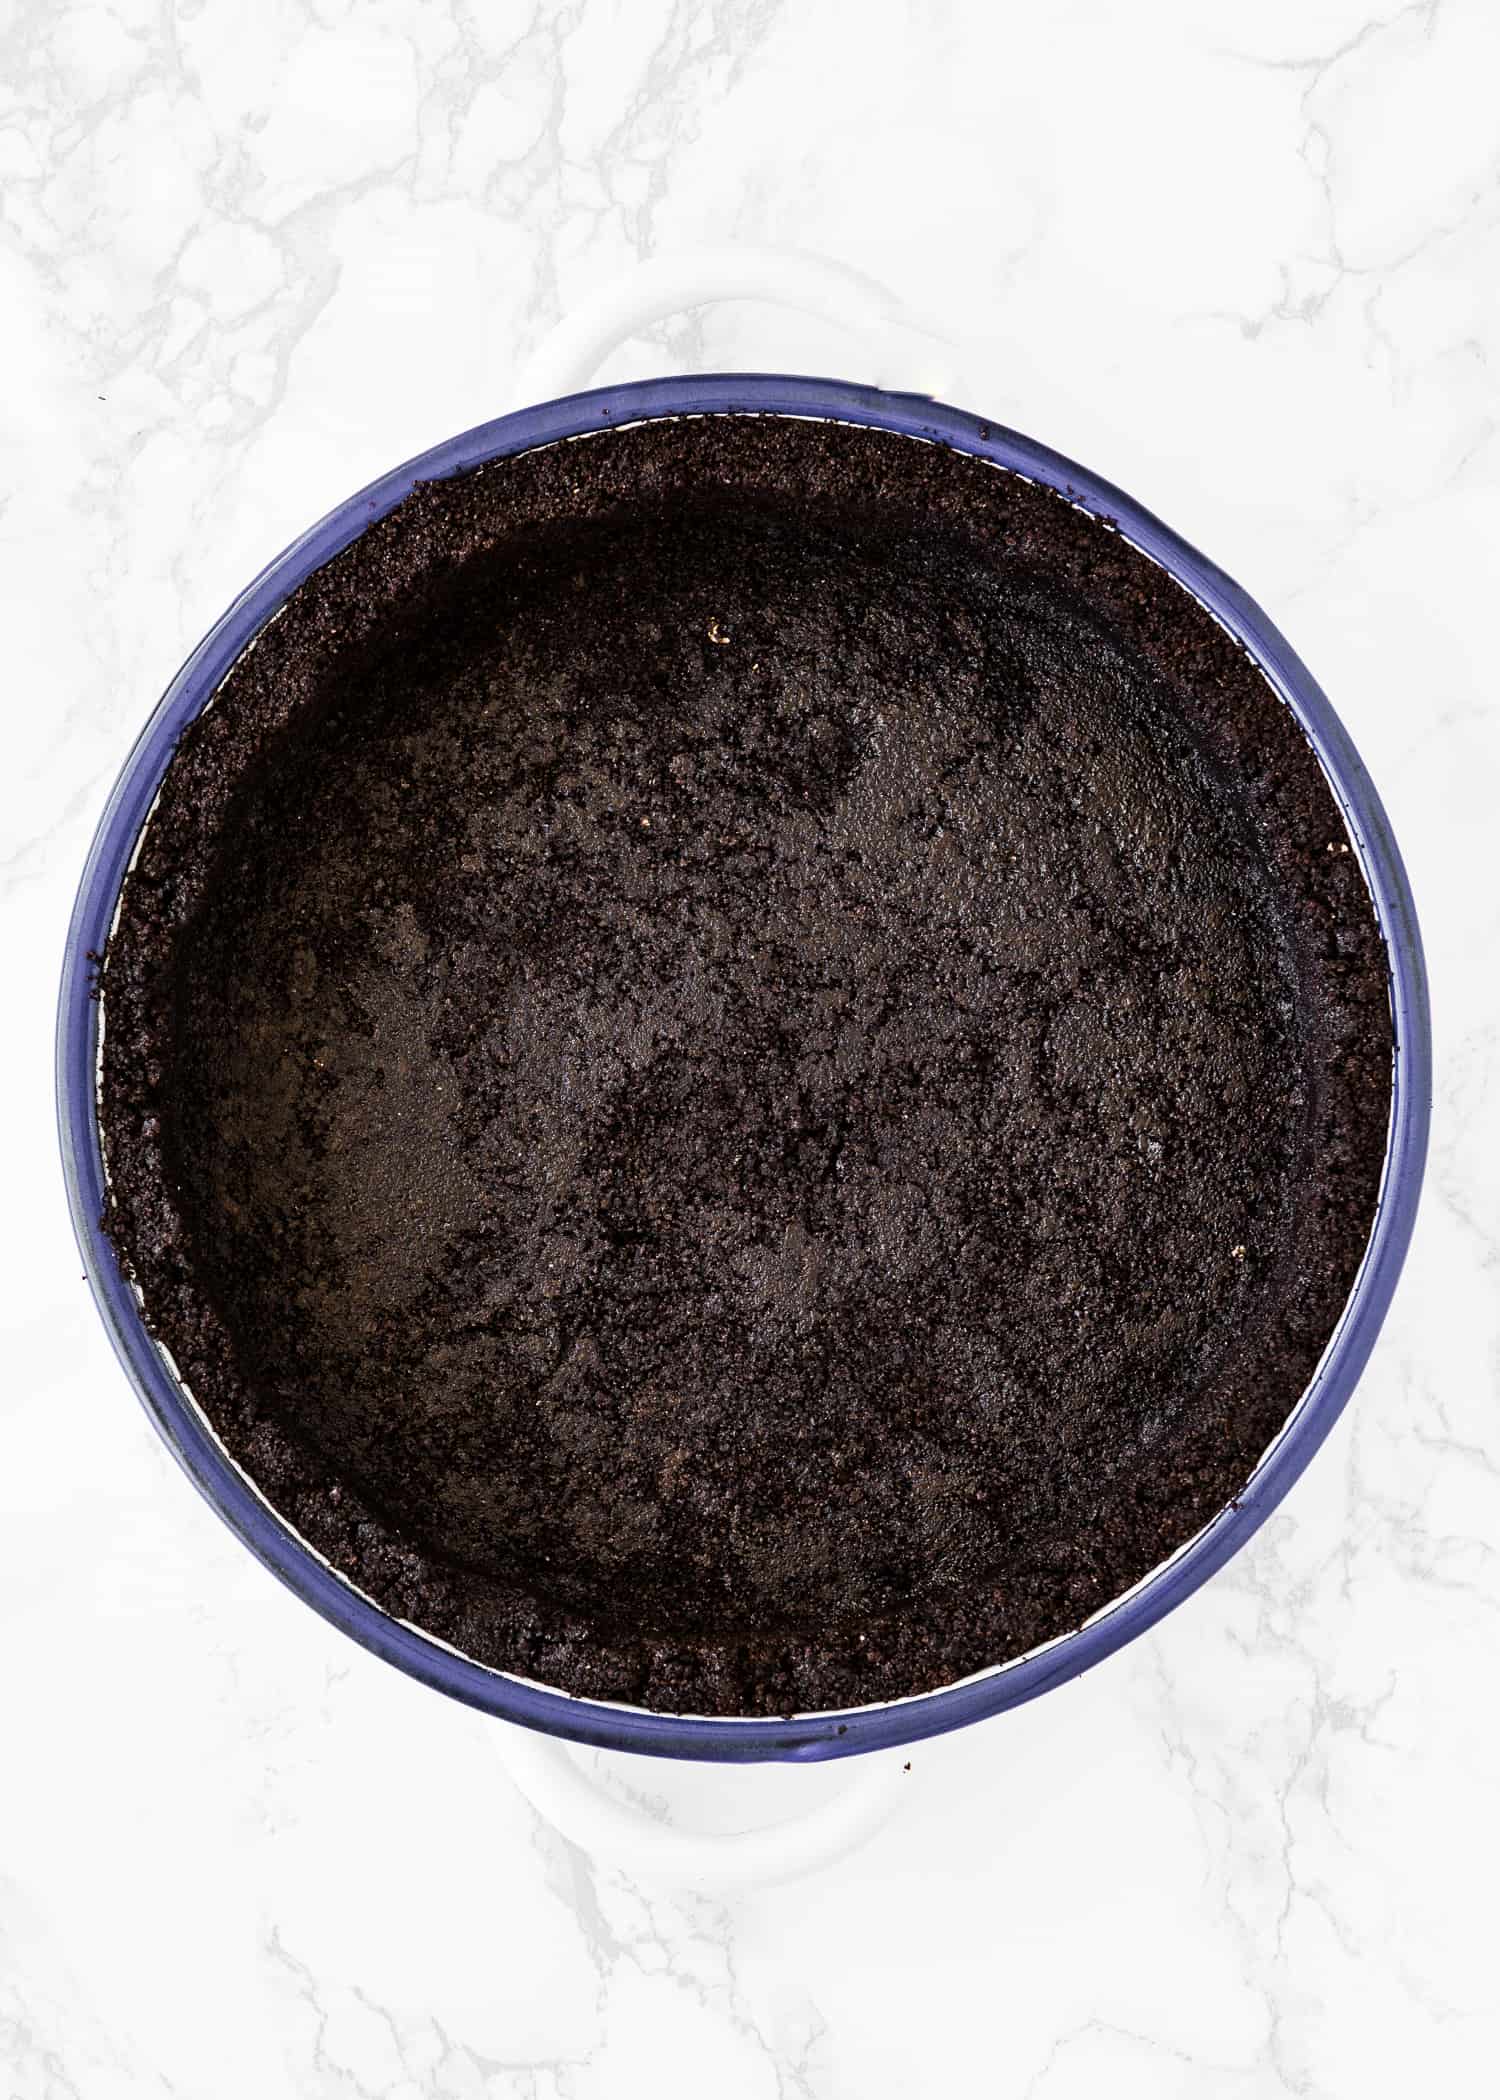
1 – Crust
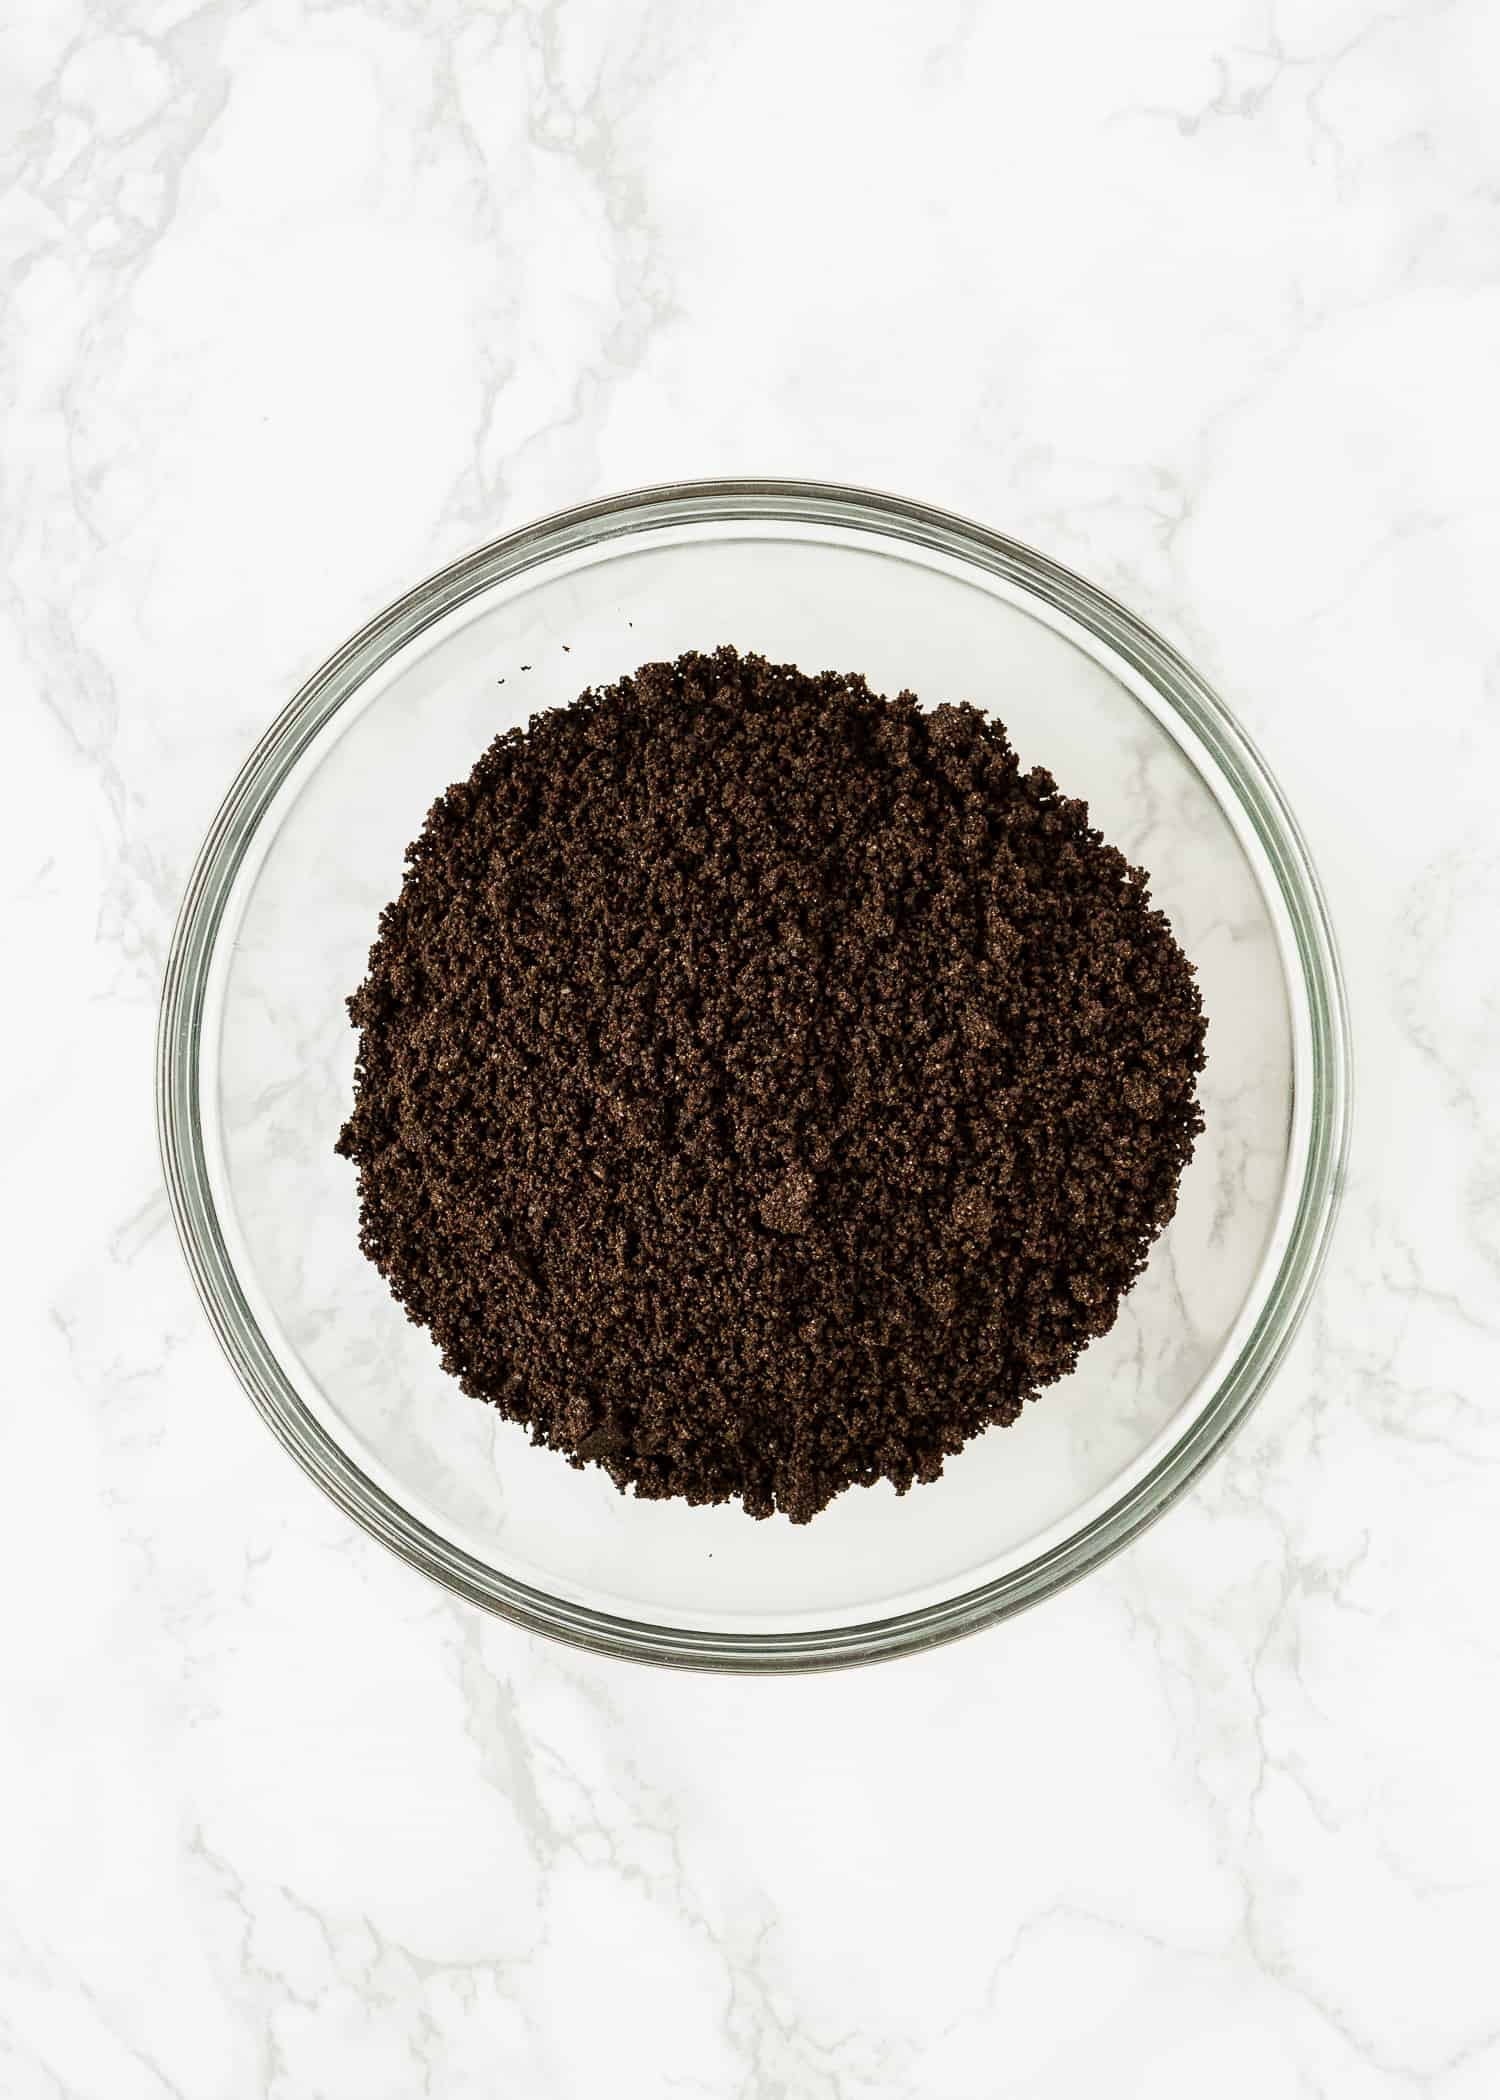
An Oreo cookie crust is the perfect chocolatey base for this eggless chocolate cream pie. Made from Oreos crushed into crumbs and Minerva melted butter, this crust comes together easily.
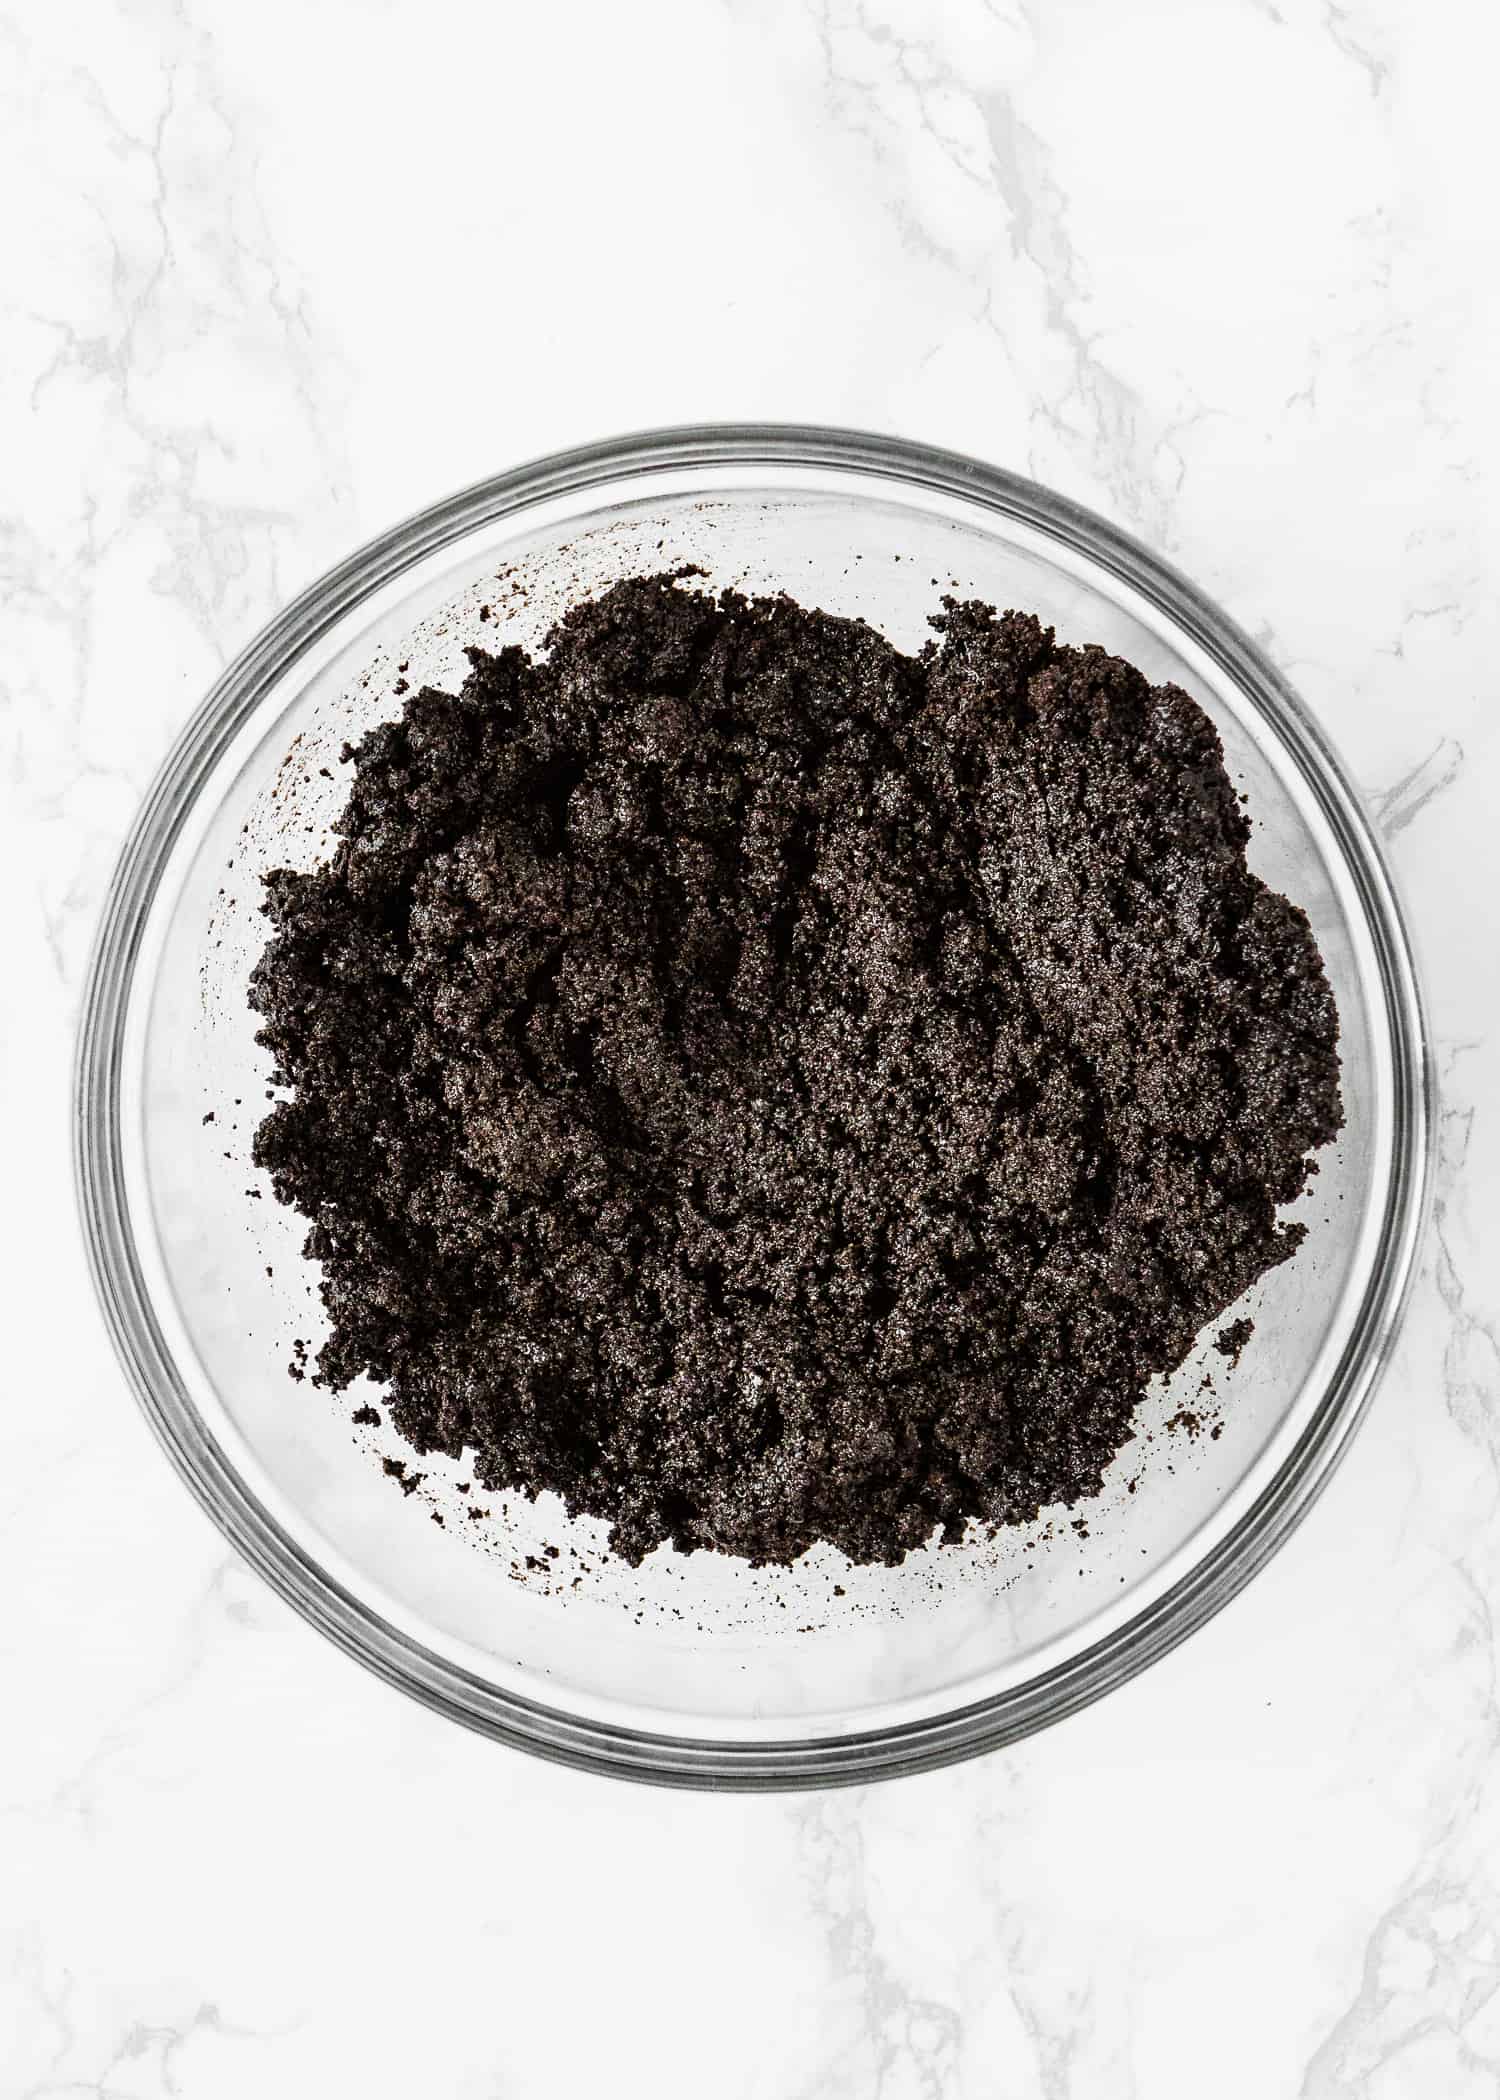
- Add the Oreo crumbs to a bowl and combine with the melted butter.
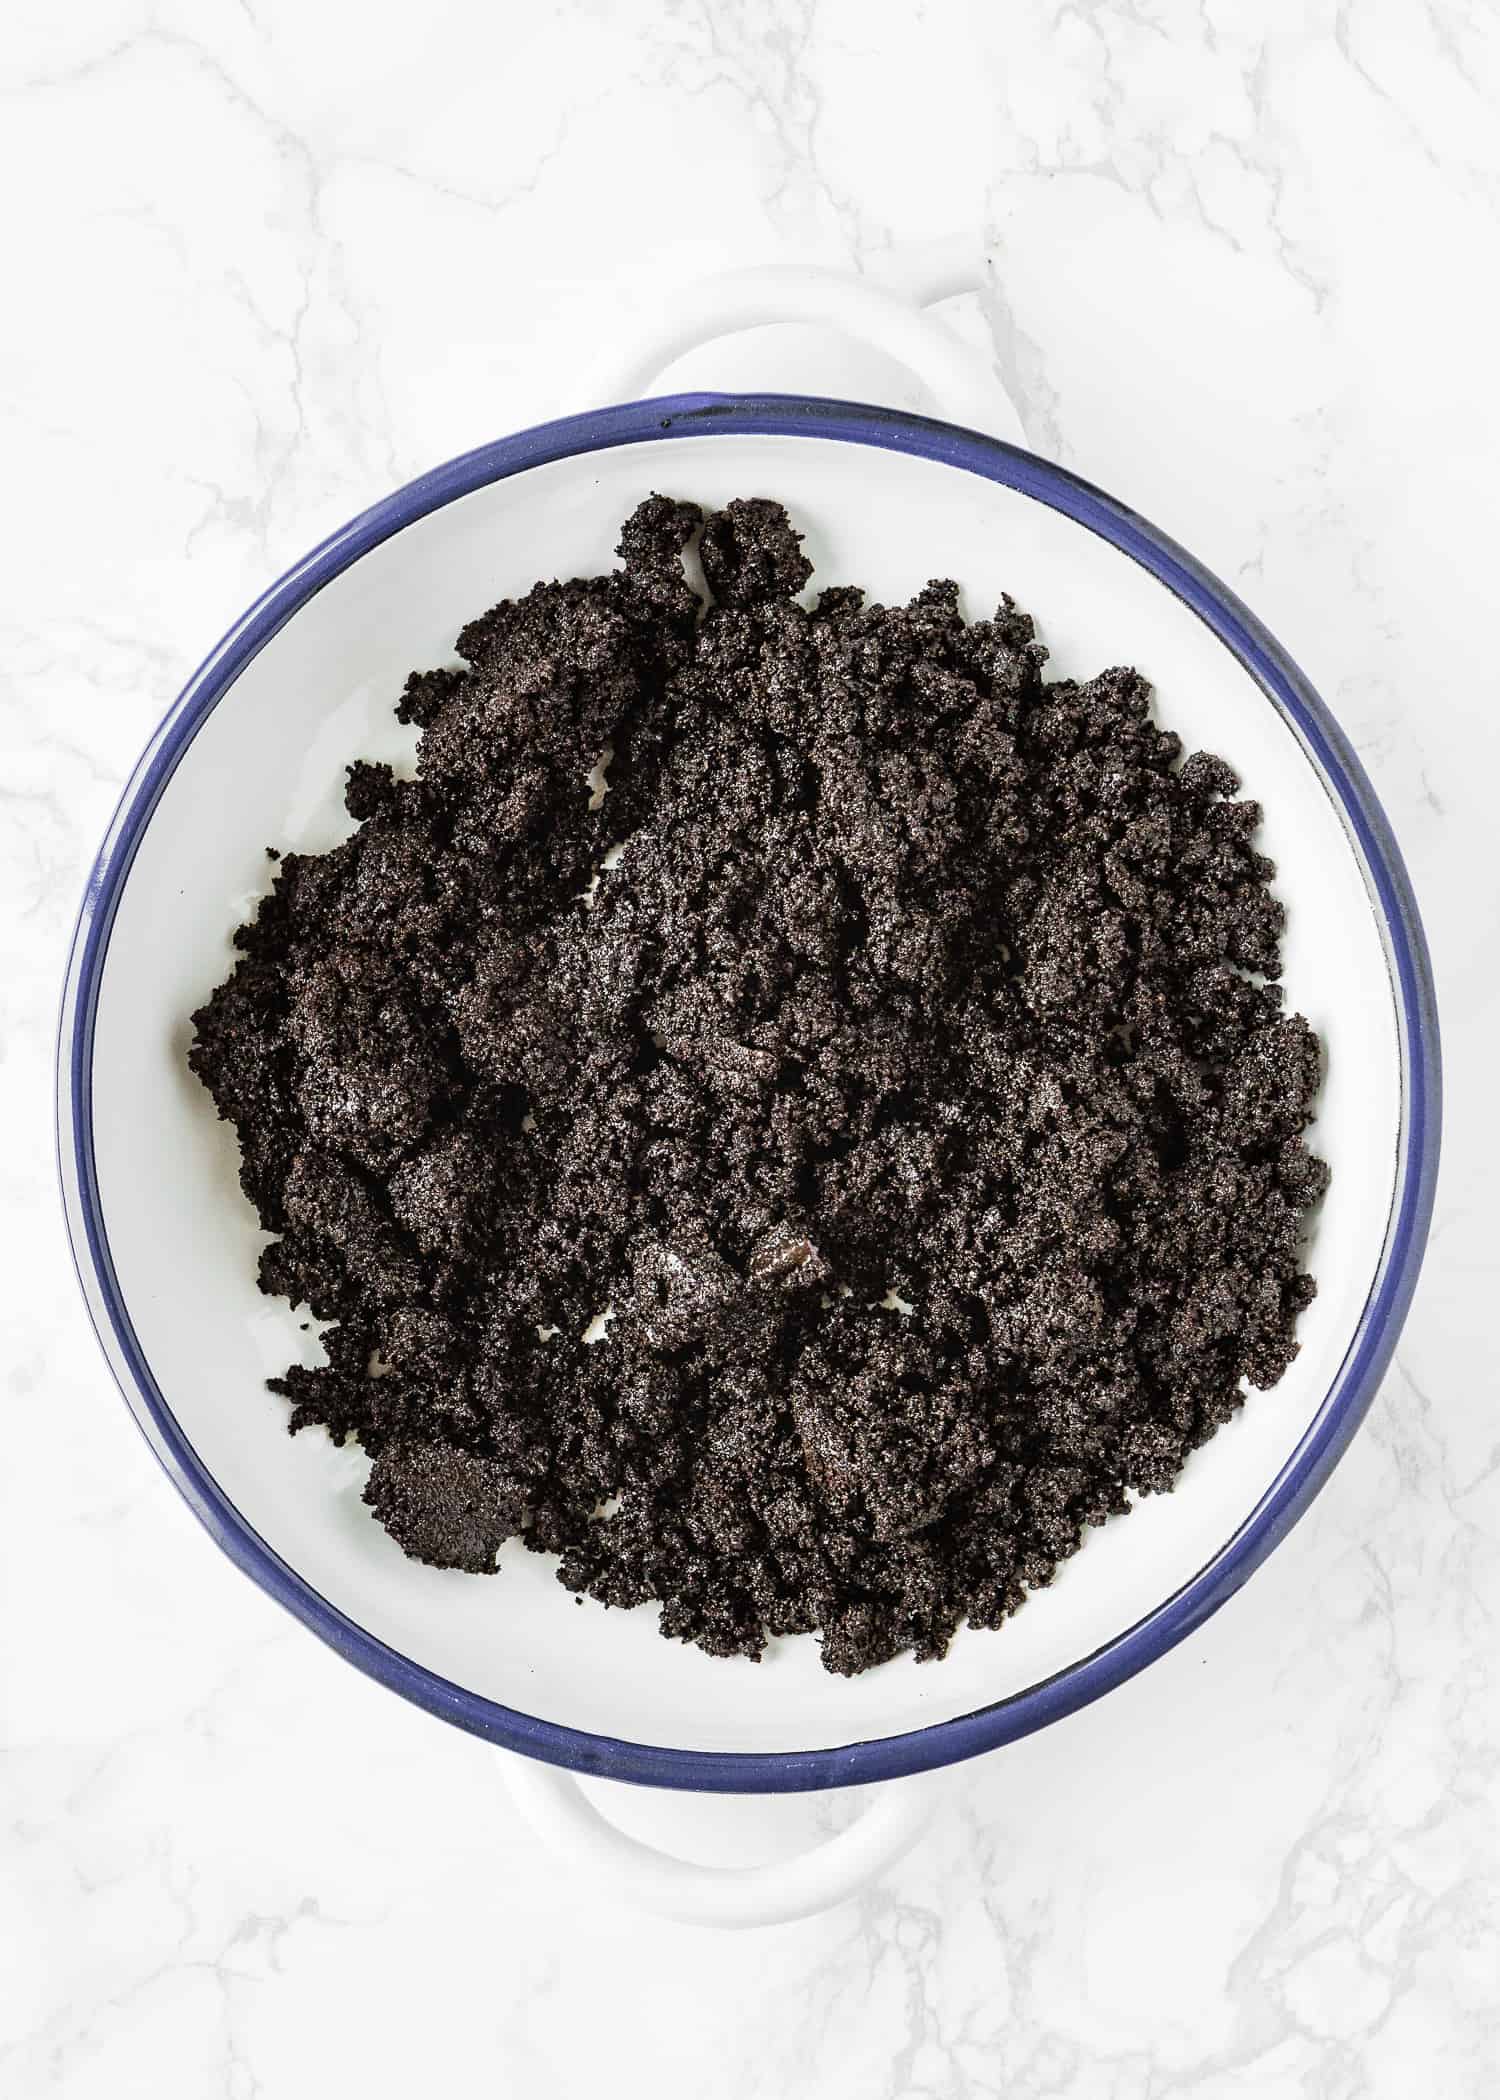
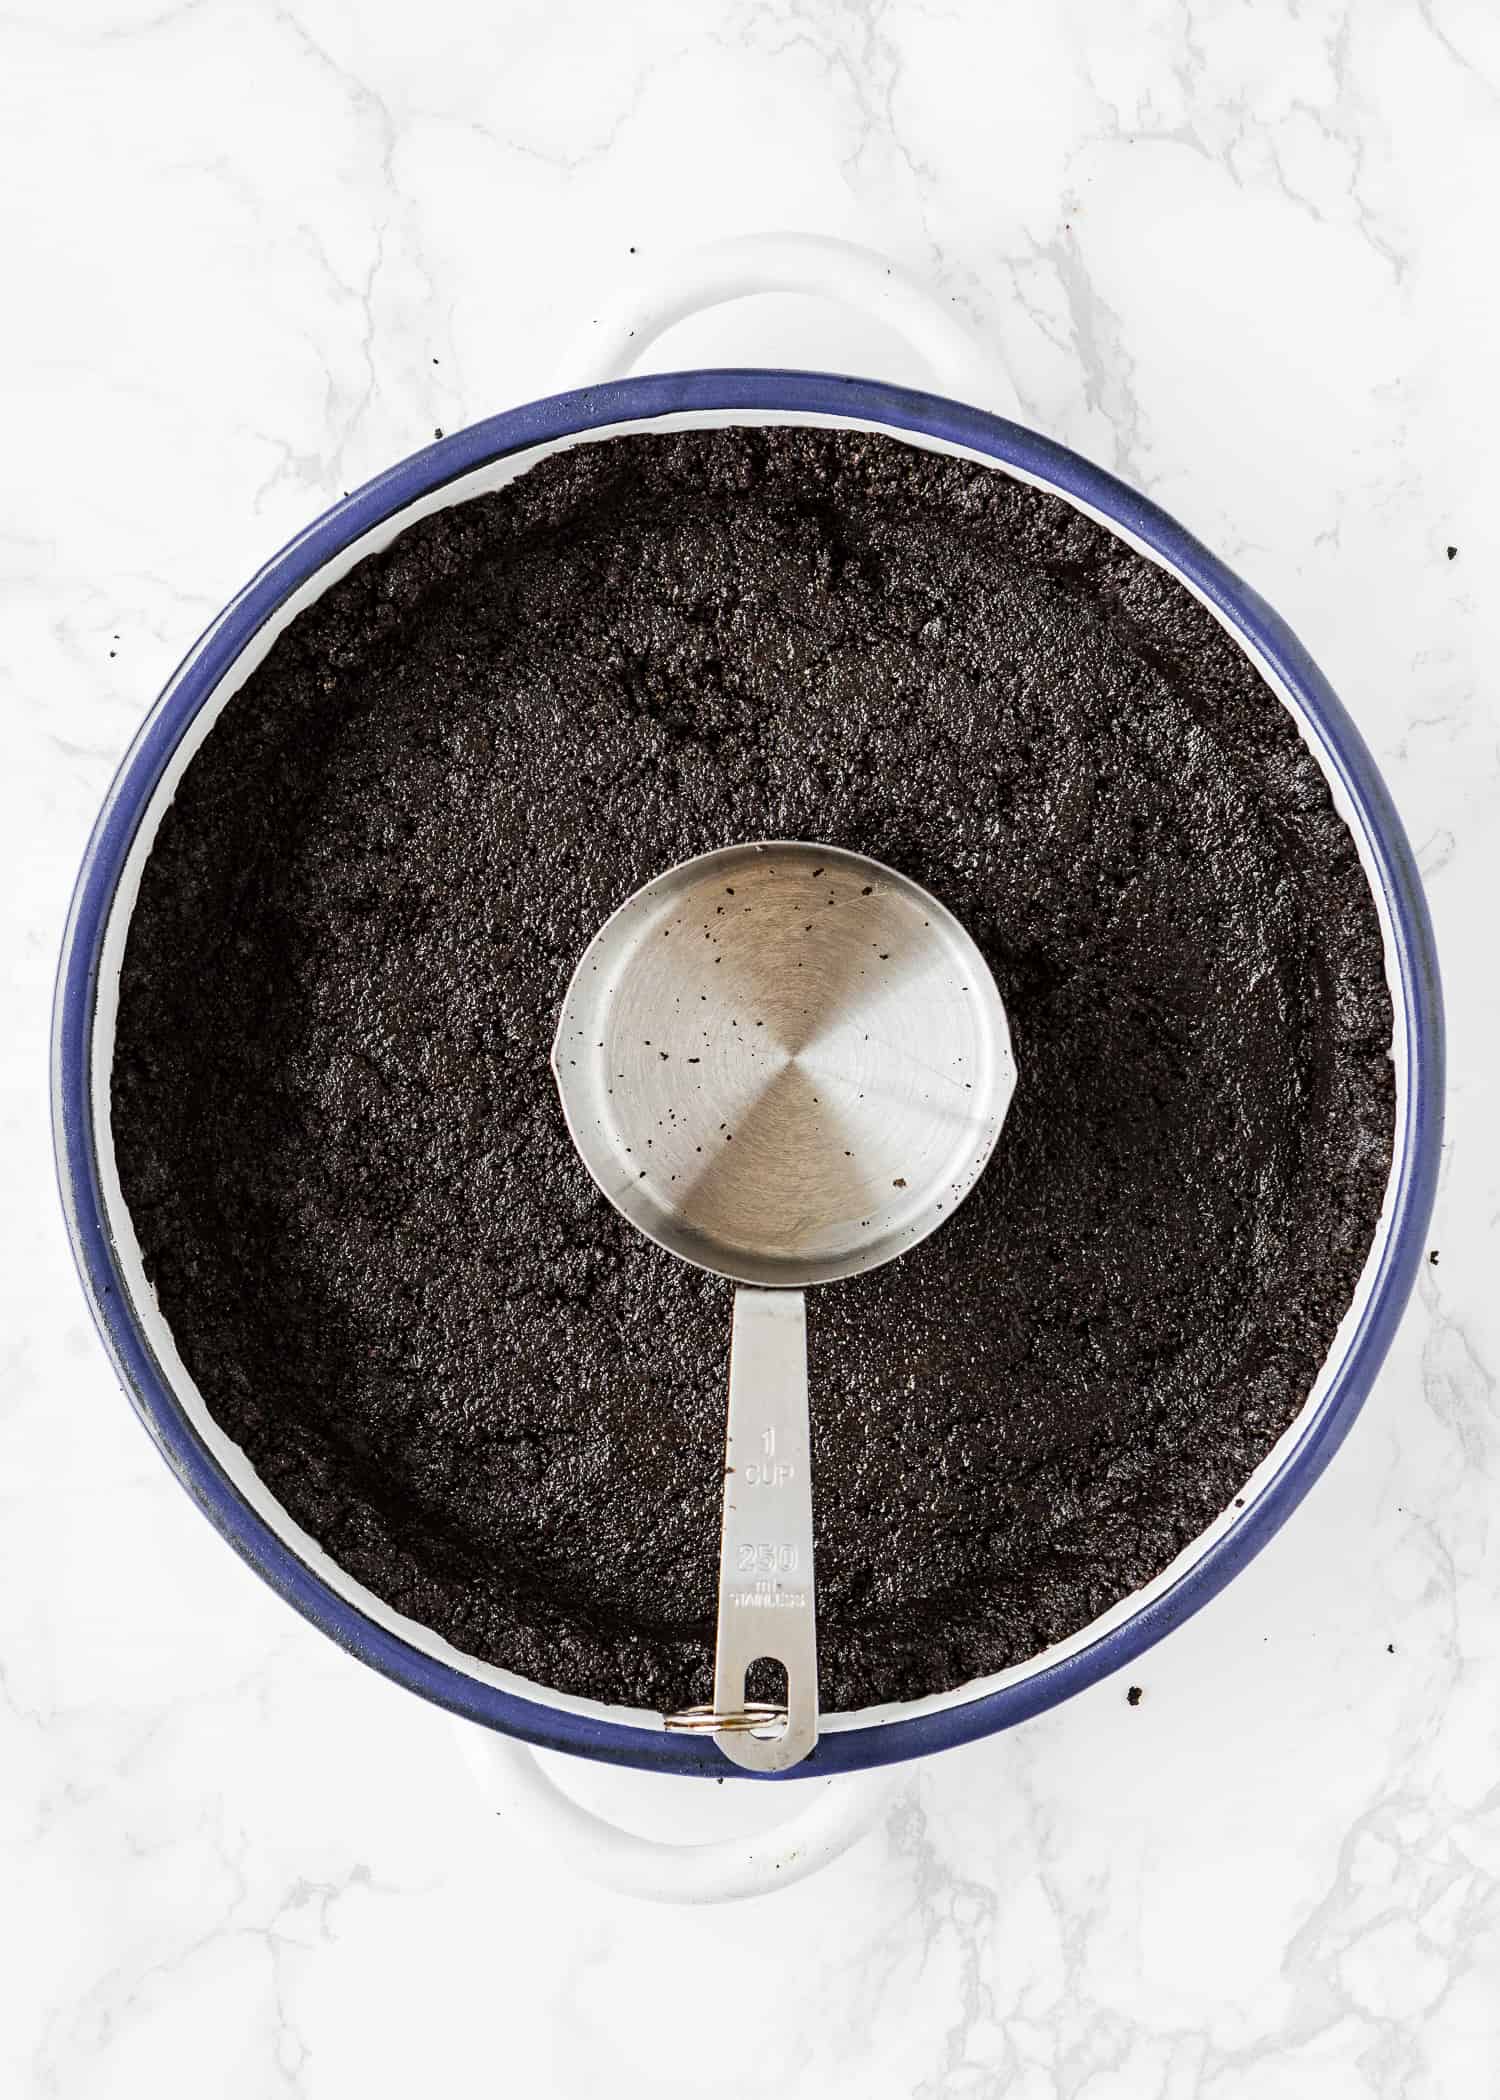
- Add the mixture into your 9-inch pie pan or springform pan and press into an even layer on the bottom and up the sides.
- Refrigerate it for 30 minutes before adding the filling.
2 – Eggless Chocolate Cream Pie Filling
- This eggless chocolate cream filling is to-die-for! It’s silky, smooth, uber chocolatey, and totally irresistible.
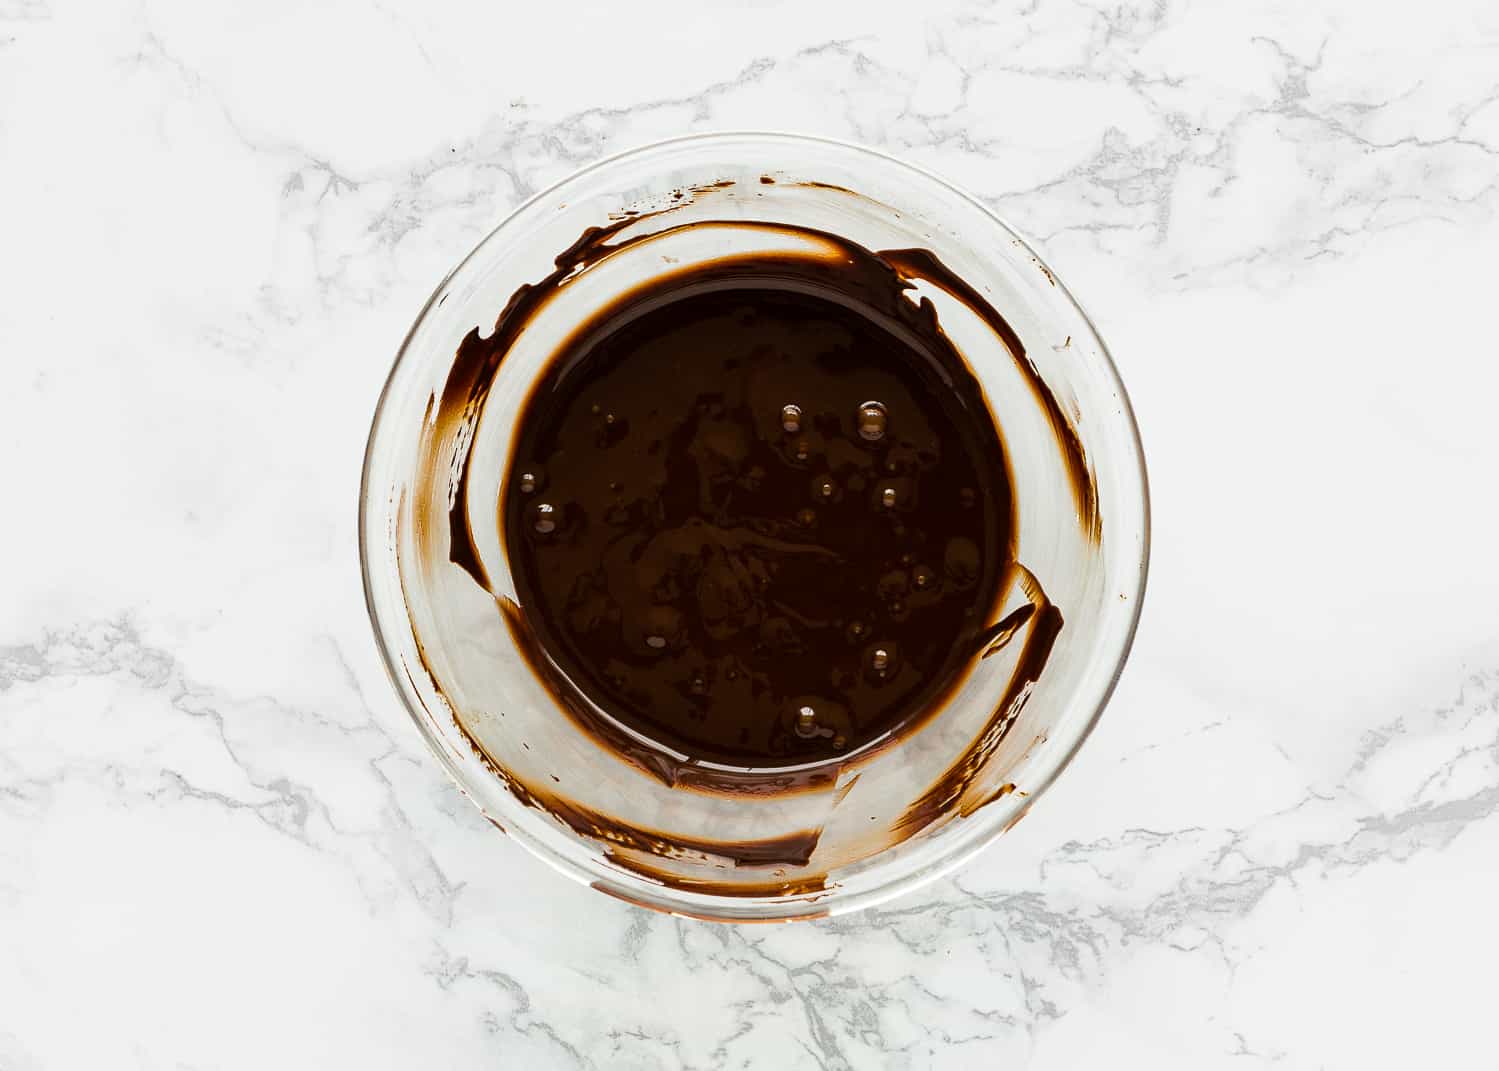
- Place the chocolate in a large mixing bowl, and microwave until the chocolate is melted and smooth.
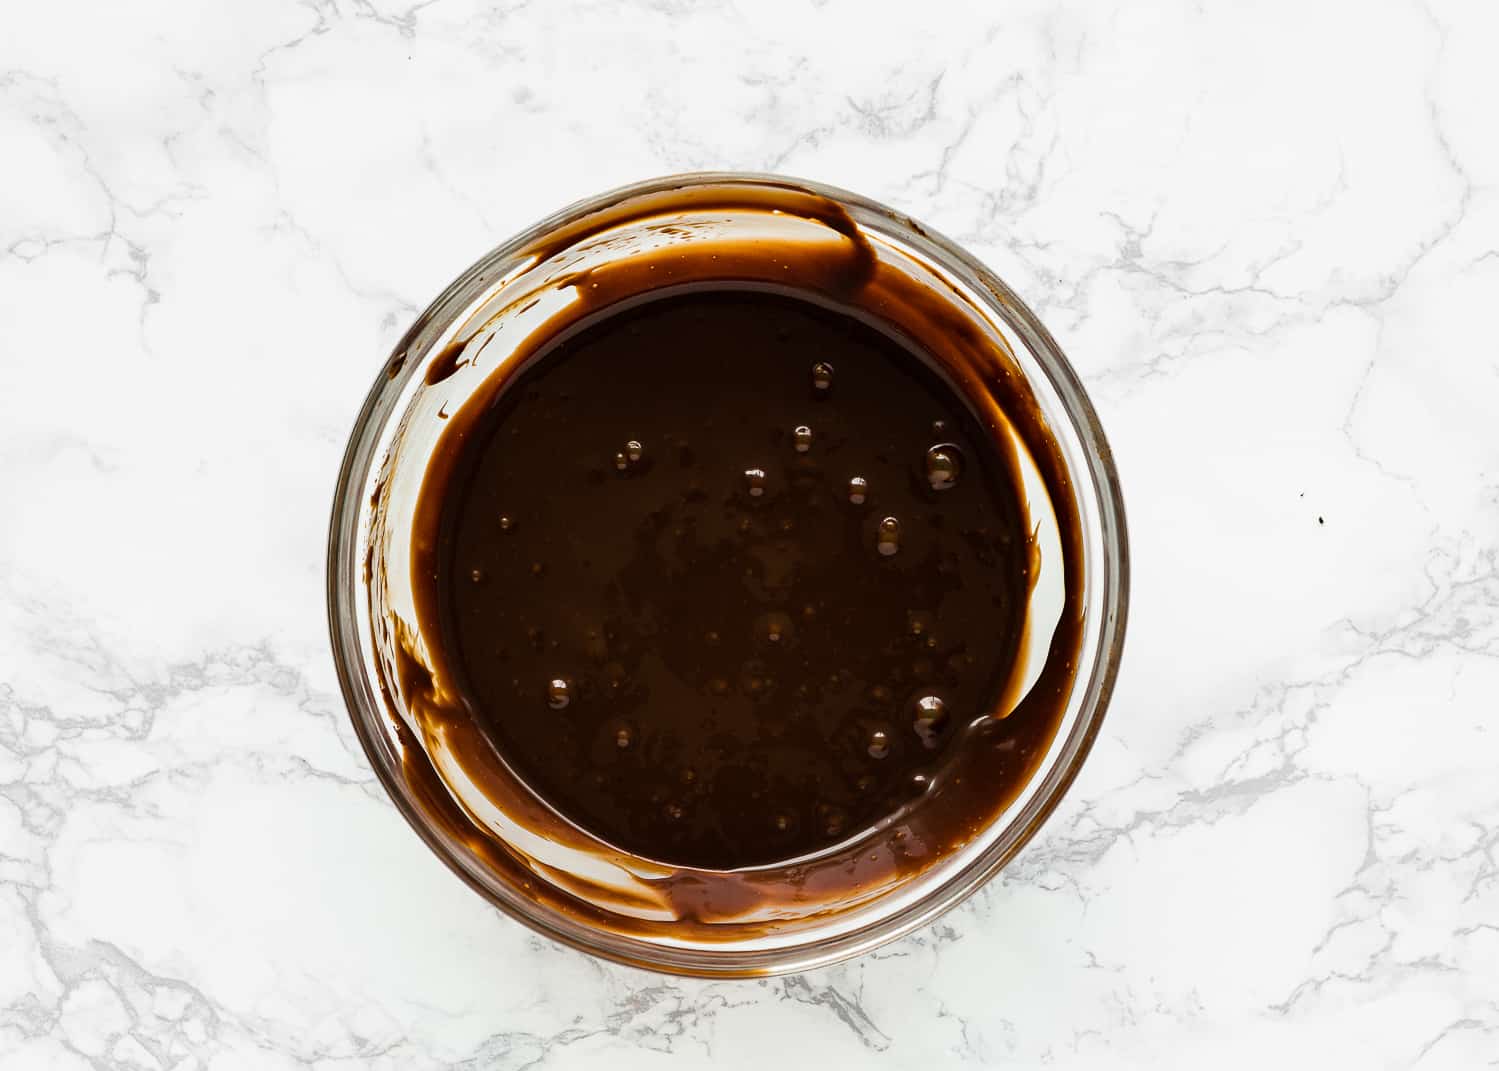
- Add the coffee (if using), sweetened condensed milk, vanilla extract, cocoa powder, salt, and gelatin (if using); mix until well incorporated and smooth.
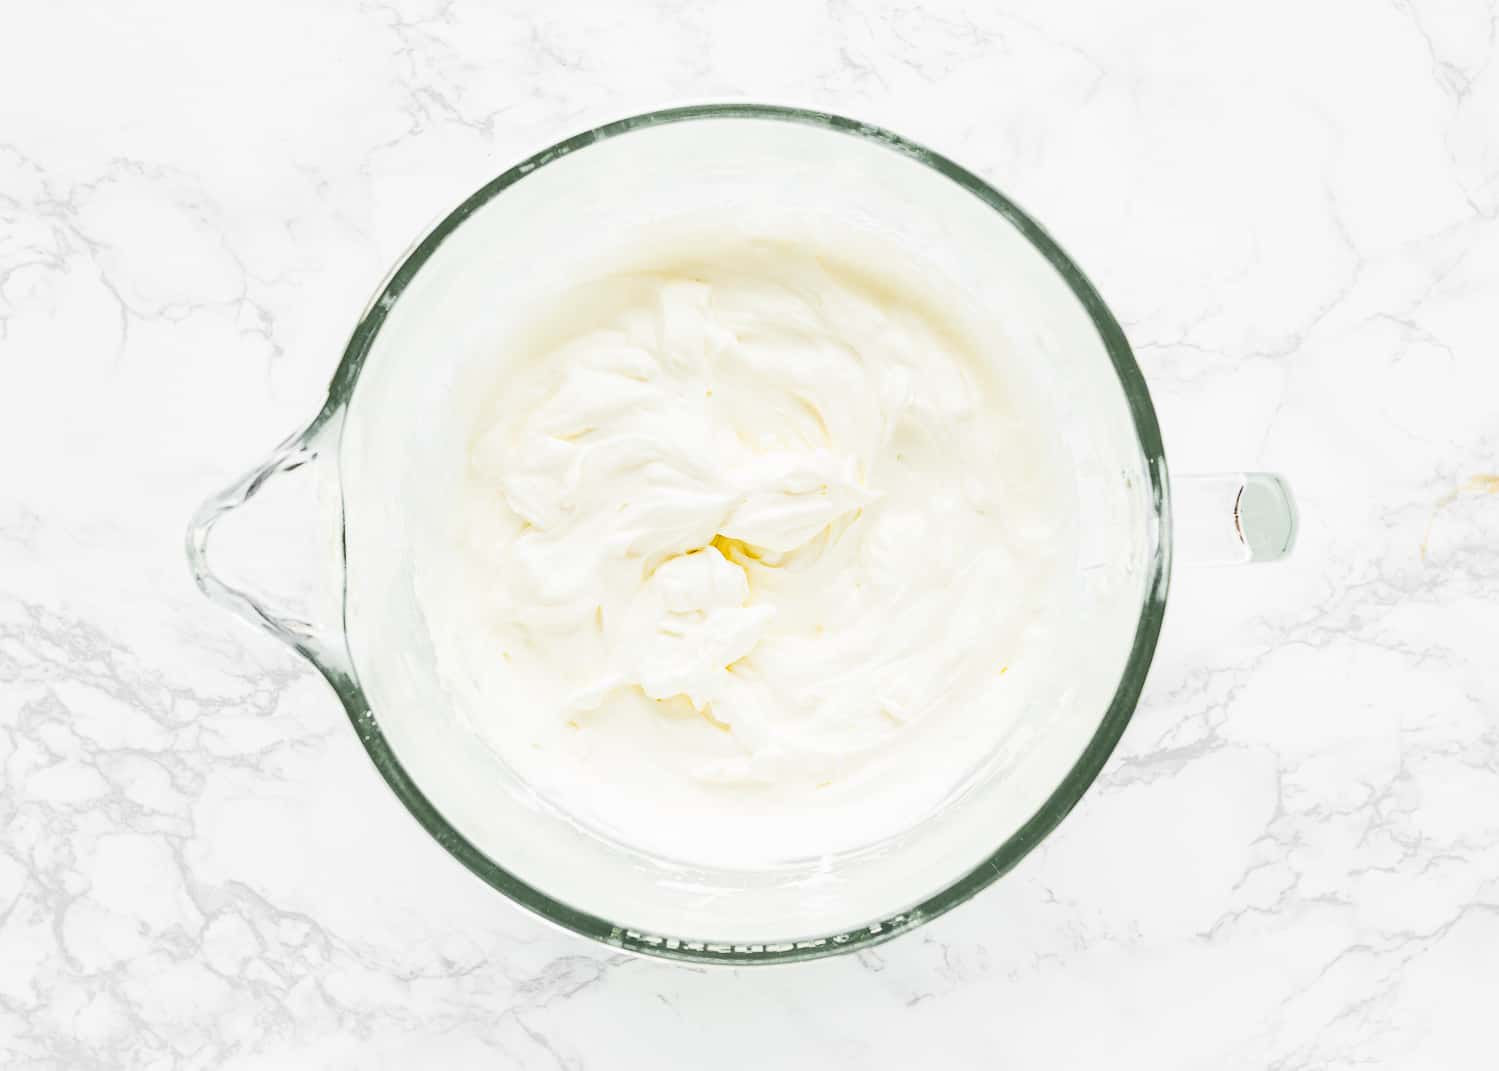
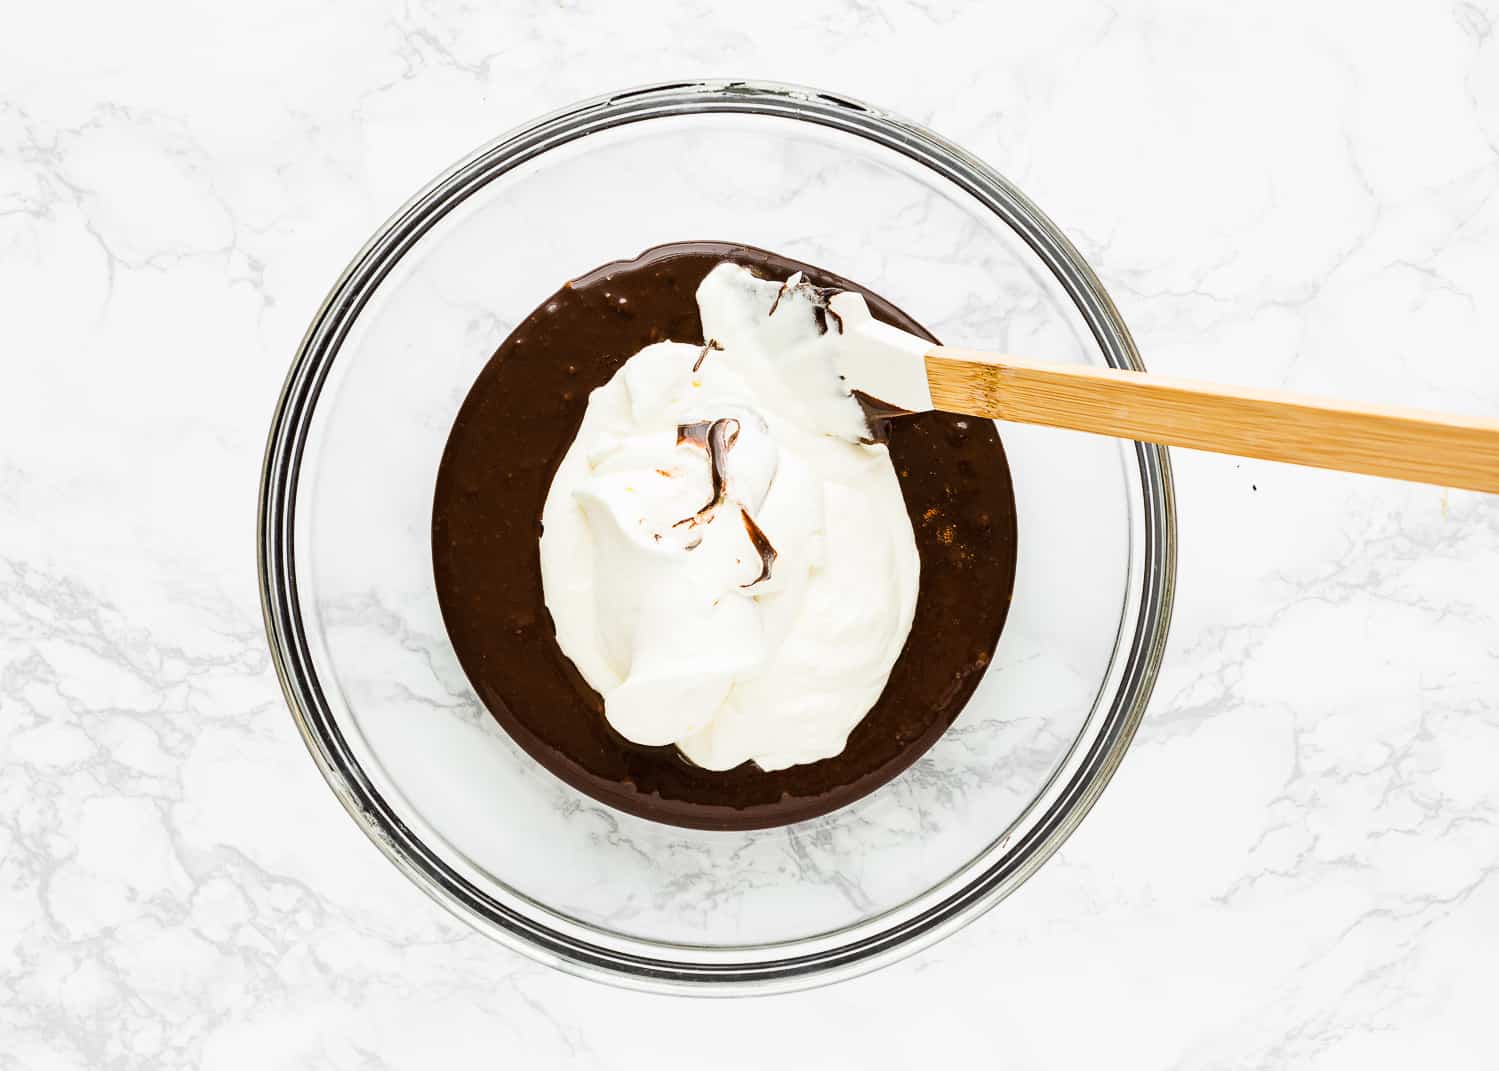
- Whip the whipping cream and powdered sugar, until stiff peaks form.
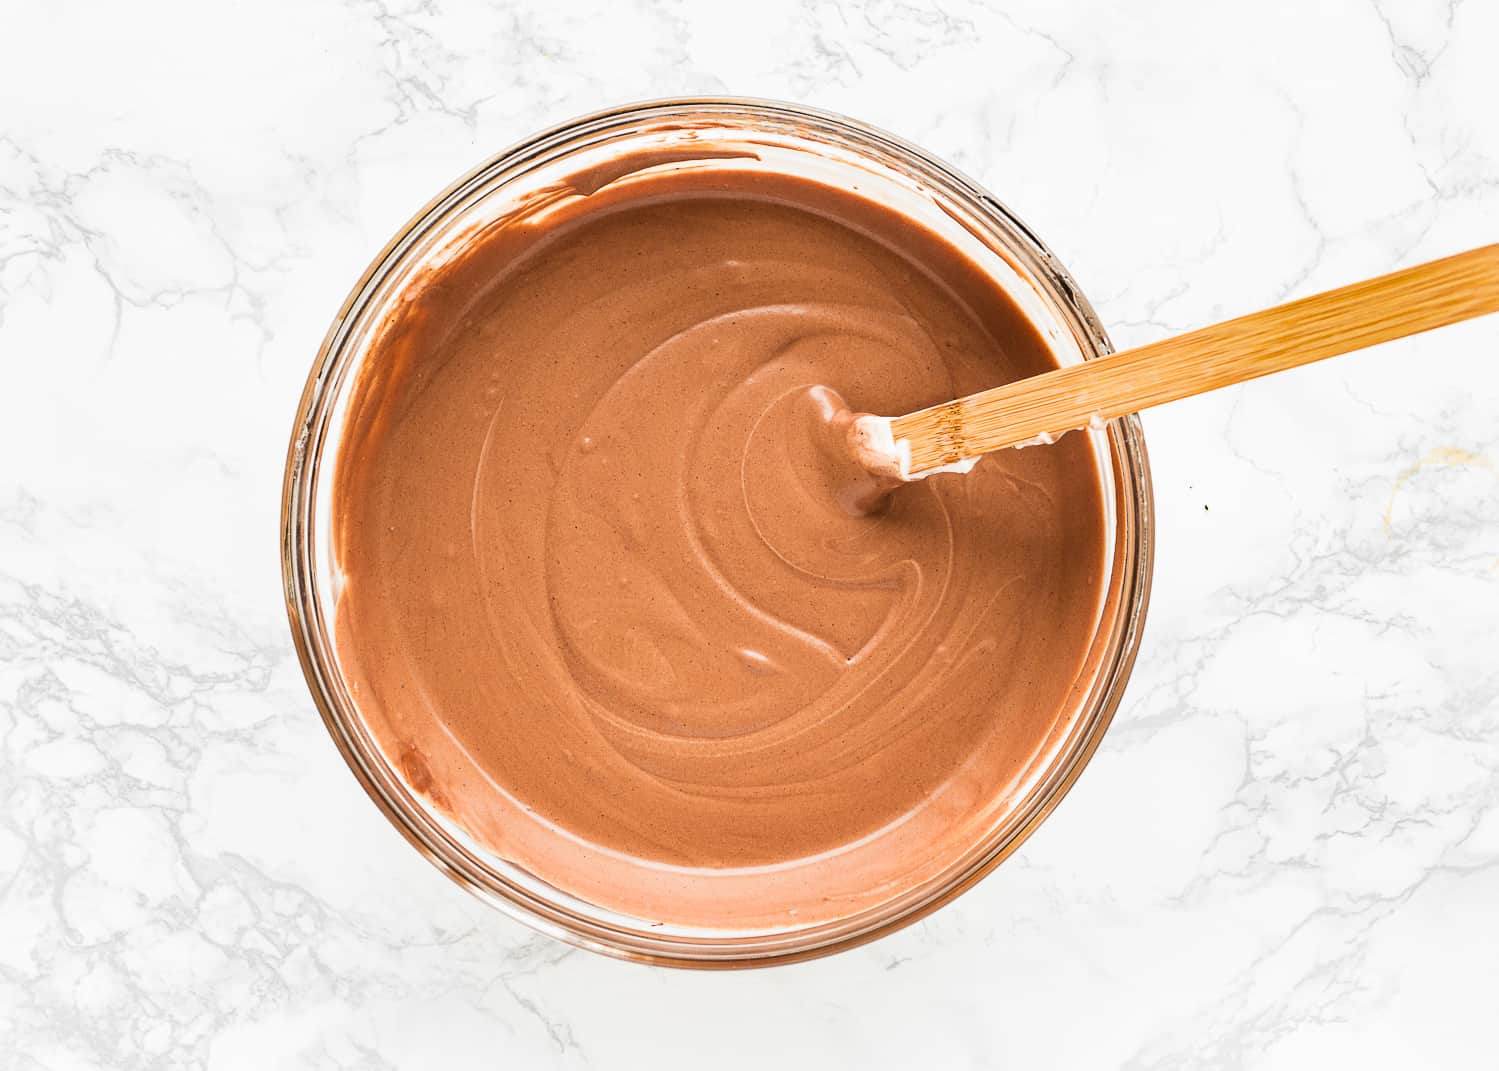
- Fold in the whipped cream into the chocolate mixture.
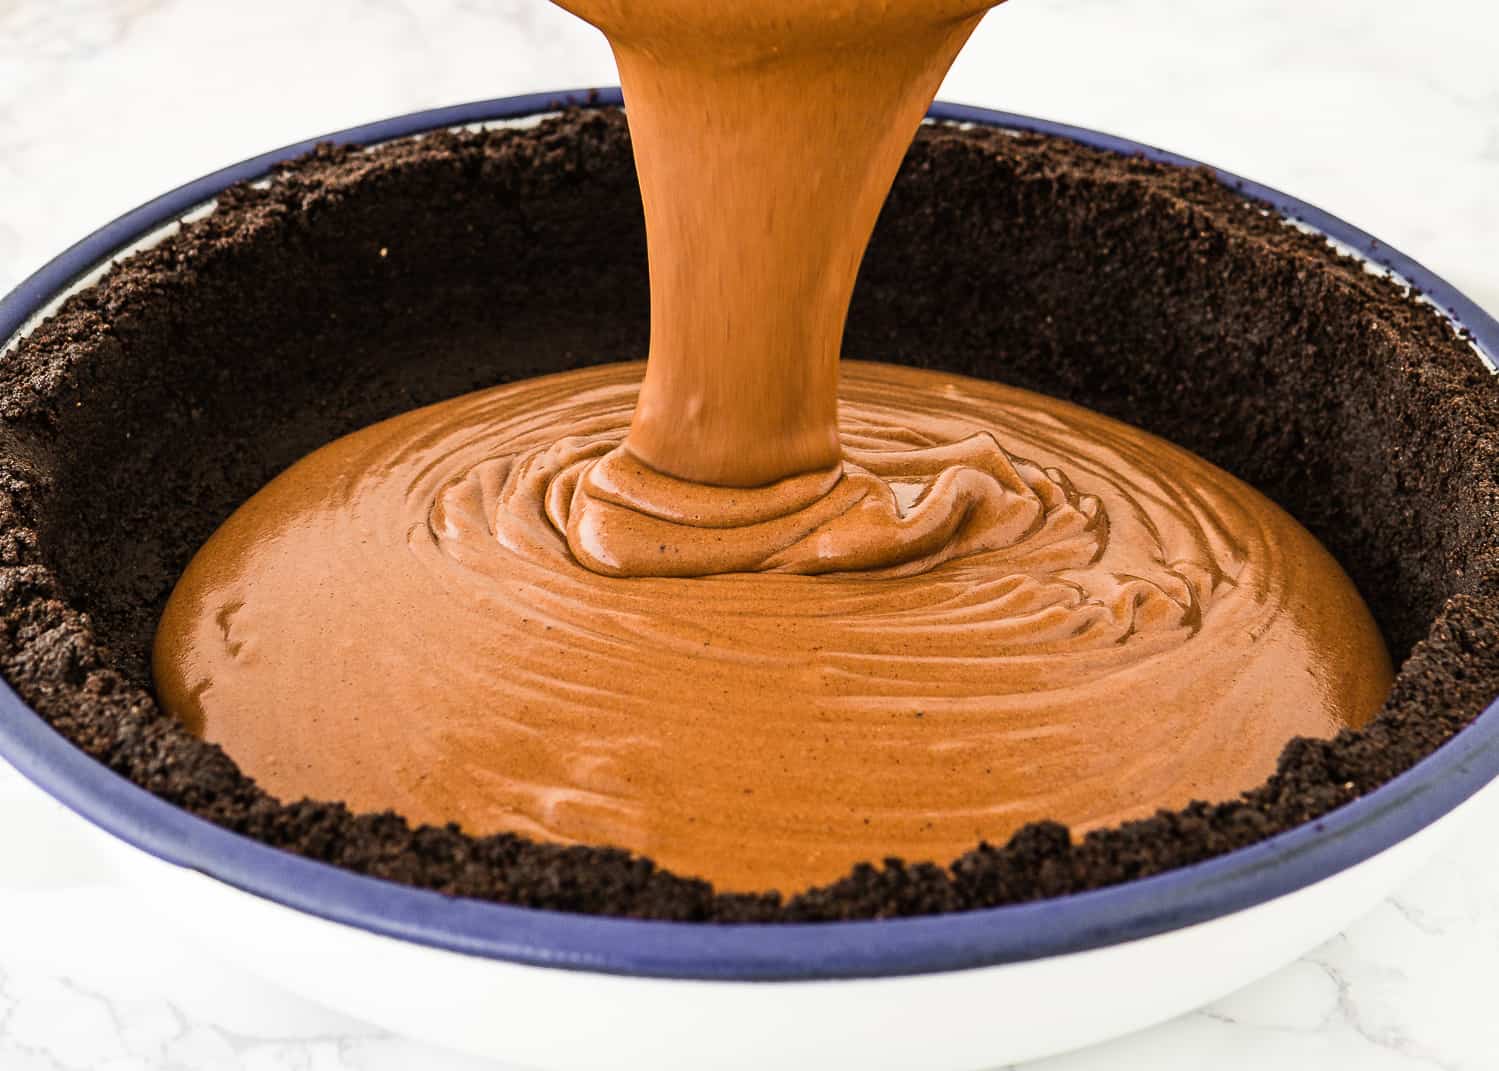
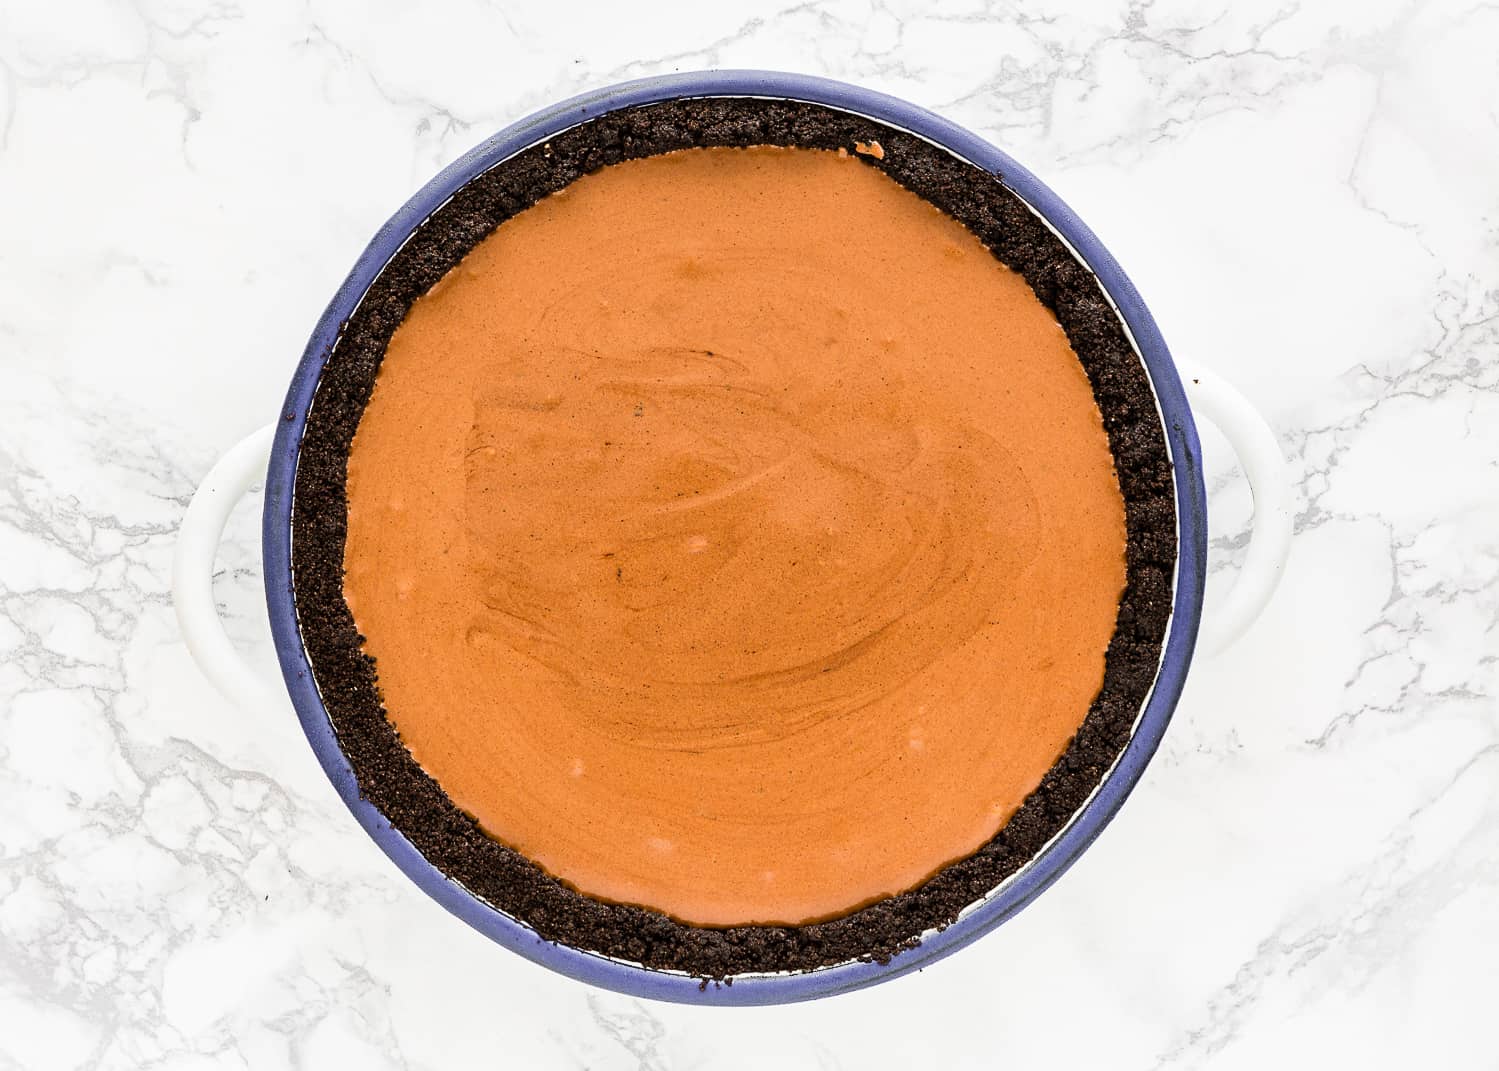
- Spread the filling evenly over the crust and refrigerate the pie until firm, at least 4 – 6 hours or overnight.
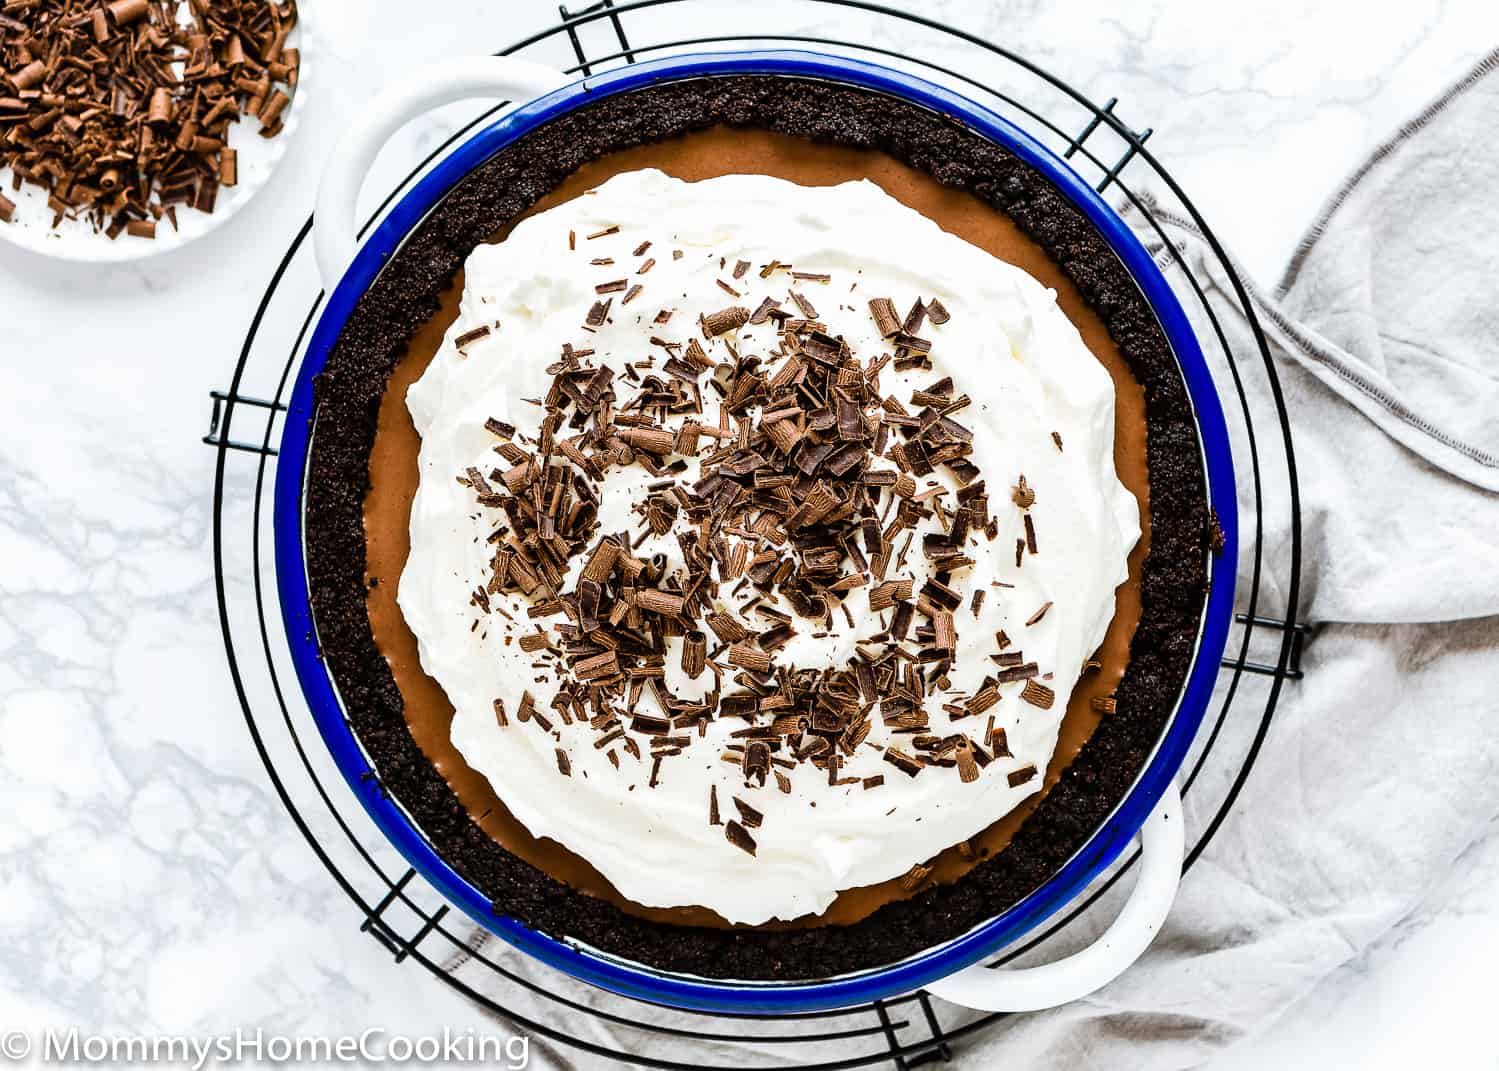
3 – Decorate
This decoration is easy and requires zero skill or special tools! You just need a rubber spatula or a spoon to spread whipped cream on top. Then add some chocolate shaves or curls. Sometimes I like to add raspberries too.
Recipe Tips & Tricks
Be sure to use REGULAR Sweetened Condensed Milk, NOT low-fat or fat-free. We need the fat and the sugar of the regular sweetened condensed milk for the filling to set properly.
Whip the whipped cream to stiff peaks. This is very important since it helps to add volume and a delightful texture.
Foil in the whipped cream gently. Use a spatula to lift the two mixtures together, then fold the mixture over on top of itself to combine. Folding is not difficult to do, but it does take patience and a light hand.
If making your own crust, use the whole Oreo when crushing them– both the chocolate cookies and the cream center. The cream center adds a delicious sweetness and also helps keep the crust together.
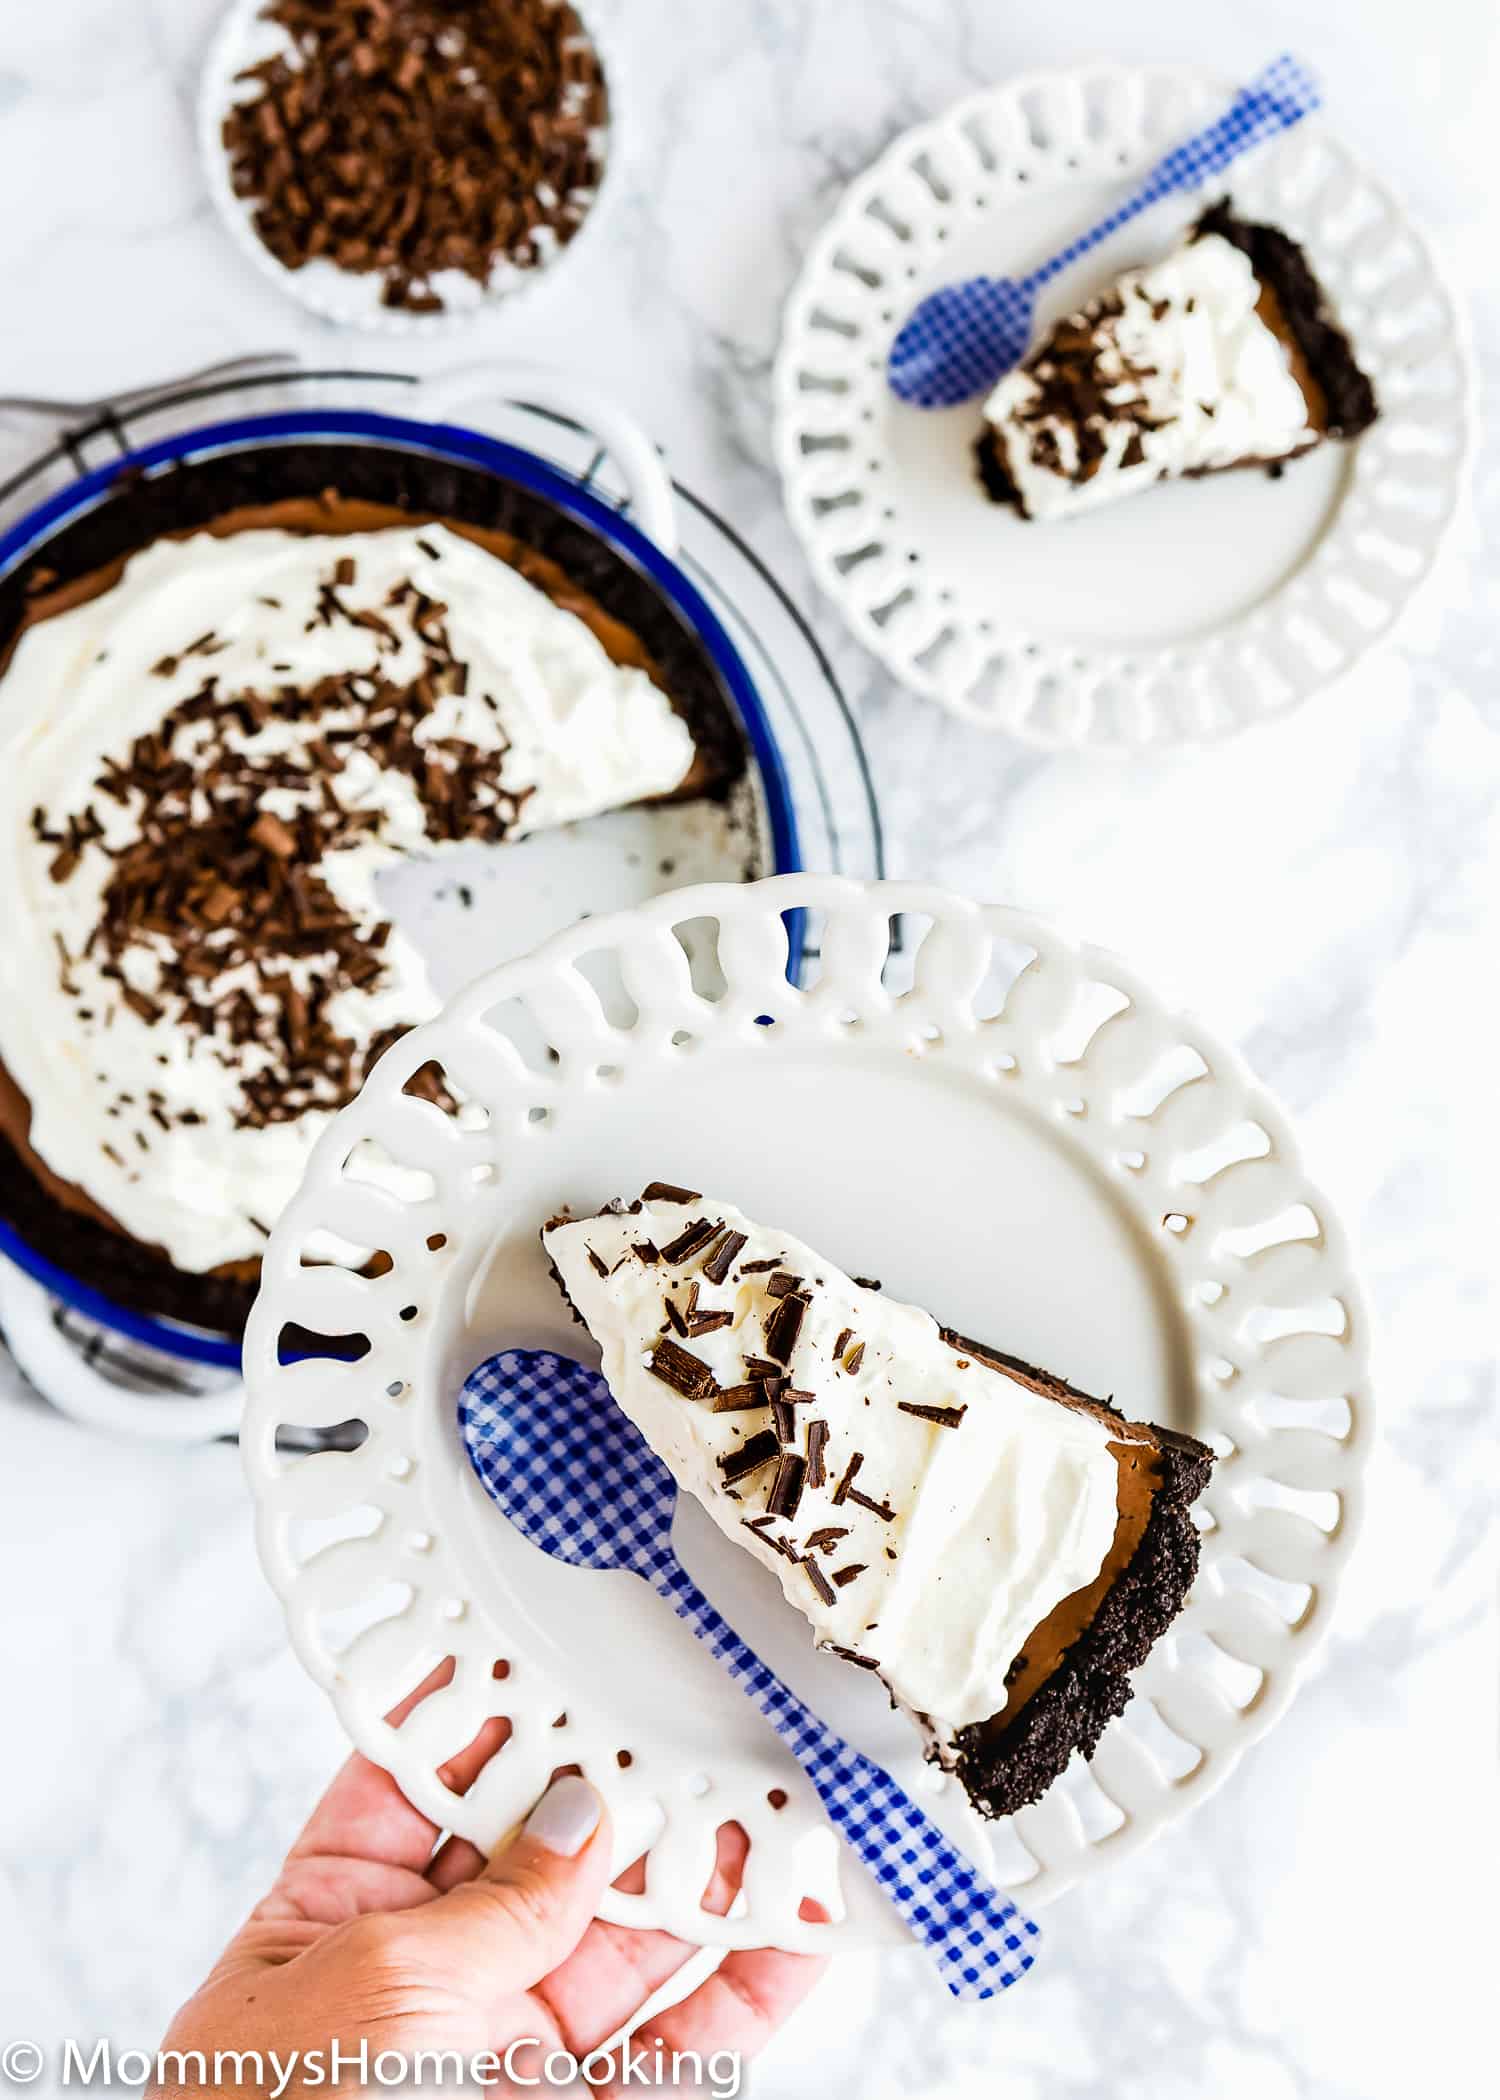
Usually, the 1st slice isn’t as beautiful as the 2nd! It’s easier to cut after you have 1 slice out.
Frequently Asked Questions
The addition of coffee is totally optional (but highly recommended). I love adding coffee to make chocolate desserts because it brings out and amplifies the chocolate flavor.
I like to use fresh, strongly brewed coffee. If fresh coffee is not available, you can mix 2 tablespoons (30 ml) of hot water with 1 teaspoon of espresso powder.
The use of gelatin in this recipe is optional. If you don’t add it the pie will set nicely but with a less stiff texture. I like to add gelatin when I am serving this dessert to guests and/or I need to transport it somewhere, this way, the filling will last more without melting.
Yes, you can! Just omit the extra salt called in the recipe.
There are 4 keys for this pie to set properly: 1- Use regular sweetened condensed milk. The fat-free version won’t work. 2- Whip the cream to stiff peaks. The chocolate mixture must be cool before you fold in the whipped cream. 3- Fold the whipped cream gently to not deflate the mixture. 4- Refrigerate for at least 6 hours.
Storing Instructions
Gently cover the chocolate cream pie and refrigerate for up to 3-4 days
More No-Bake Eggless Dessert Recipes You’ll Love!
- No-Bake Strawberry Cheesecake
- Mini Greek Yogurt Strawberry Cheesecake
- Easy Eggless Crème Brûlée
- Eggless Fruit Tart
- Easy Mango Panna Cotta
- The Best Eggless Banana Pudding Recipe
❤️ Love what you see? JOIN my Private Baking Club. Also, SUBSCRIBE to Mommy’s Home Cooking, so you’ll never miss a recipe! And FOLLOW along on Instagram, Pinterest, and Facebook for more fun!
Recipe Card 📖
No-Bake Eggless Chocolate Cream Pie
Equipment
Ingredients
Crust:
- 2 cups (270 g) Oreo crumbs (about 25 Oreos)
- 5 tablespoons (75 g) unsalted butter, melted
Chocolate Filling:
- 4 oz (114 g) unsweetened chocolate, plus more for topping
- 2 tablespoons (30 ml) fresh strongly brewed coffee (optional) (see notes)
- 14 oz (396 g) sweetened condensed milk
- 1 teaspoon (5 ml) pure vanilla extract
- 2 tablespoons (17 g) natural unsweetened cocoa powder
- ¼ teaspoon salt
- 2 tablespoons (30 ml) cold water (optional) (see notes)
- 2 teaspoons (5 g) unflavored powdered gelatin (optional) (see notes)
- 1 cup (240 ml | 8 oz) heavy whipping cream
- 2 tablespoons (20 g) powdered sugar
Topping:
- Whipping cream
- Shaved chocolate
Instructions
Crust:
- Add the Oreo crumbs to a bowl and combine with the melted butter.
- Add the mixture into your 9-inch pie pan or springform pan and press into an even layer on the bottom and up the sides.
- Place in the freezer while you make the filling.
Filling:
- Place the chocolate in a large mixing bowl, and microwave in short 20-second bursts, stirring after each interval until the chocolate is melted and smooth.
- Add the coffee (if using), sweetened condensed milk, vanilla extract, cocoa powder, and salt and mix until well incorporated and smooth.
- If using gelatin: Mix the water and gelatin in a small bowl. Let the mixture rest for 4-5 minutes. Set aside to cool. Microwave gelatin on high until melted, about 10 seconds; stir into chocolate mixture.
- Whip with an electric mixer the whipping cream and powdered sugar, until stiff peaks form, about 3 – 4 minutes.
- Add about half of the whipped cream to the chocolate mixture and gently fold together until combined. Add the remaining whipped cream and gently fold together until well combined, gently but thoroughly.
- Spread the filling evenly over the crust and refrigerate the pie until firm, at least 4 – 6 hours or overnight.
Decorate:
- Spread whipped cream over the top of the chilled and set pie, then sprinkle with chocolate shavings and serve. Tip: if you want your pie to look fancy, you can pipe swirls of sweetened whipped cream over the chocolate filling.
- Be sure to use REGULAR Sweetened Condensed Milk NOT low-fat or fat-free. We need the fat and the sugar of the regular sweetened condensed milk for the filling to set properly.
- Whip the whipped cream to stiff peaks. This is very important since it helps to add volume and a delightful texture.
- Foil in the whipped cream gently. Use a spatula to lift the two mixtures together, then fold the mixture over on top of itself to combine. Folding is not difficult to do, but it does take patience and a light hand.
- If making your own crust, use the whole Oreo when crushing them– both the chocolate cookies and the cream center. The cream center adds a delicious sweetness and also helps keep the crust together.
- Usually, the 1st slice isn’t as beautiful as the 2nd! It’s easier to cut after you have 1 slice out.
Nutrition
Eggless Baking Frequently Asked Questions
You’ve asked, and I’ve answered! Read on for a handful of answers to the most frequently asked questions about eggless baking.
This recipe was sponsored by Minerva Dairy. About Minerva Dairy Butter: Minerva Dairy Butter is made with the freshest cream from pasture-raised cows on American family farms, 85% butterfat, and slow-churned.
Originally posted in June 2020, the post content was edited to add more helpful information, no change to the recipe in July 2021.
