
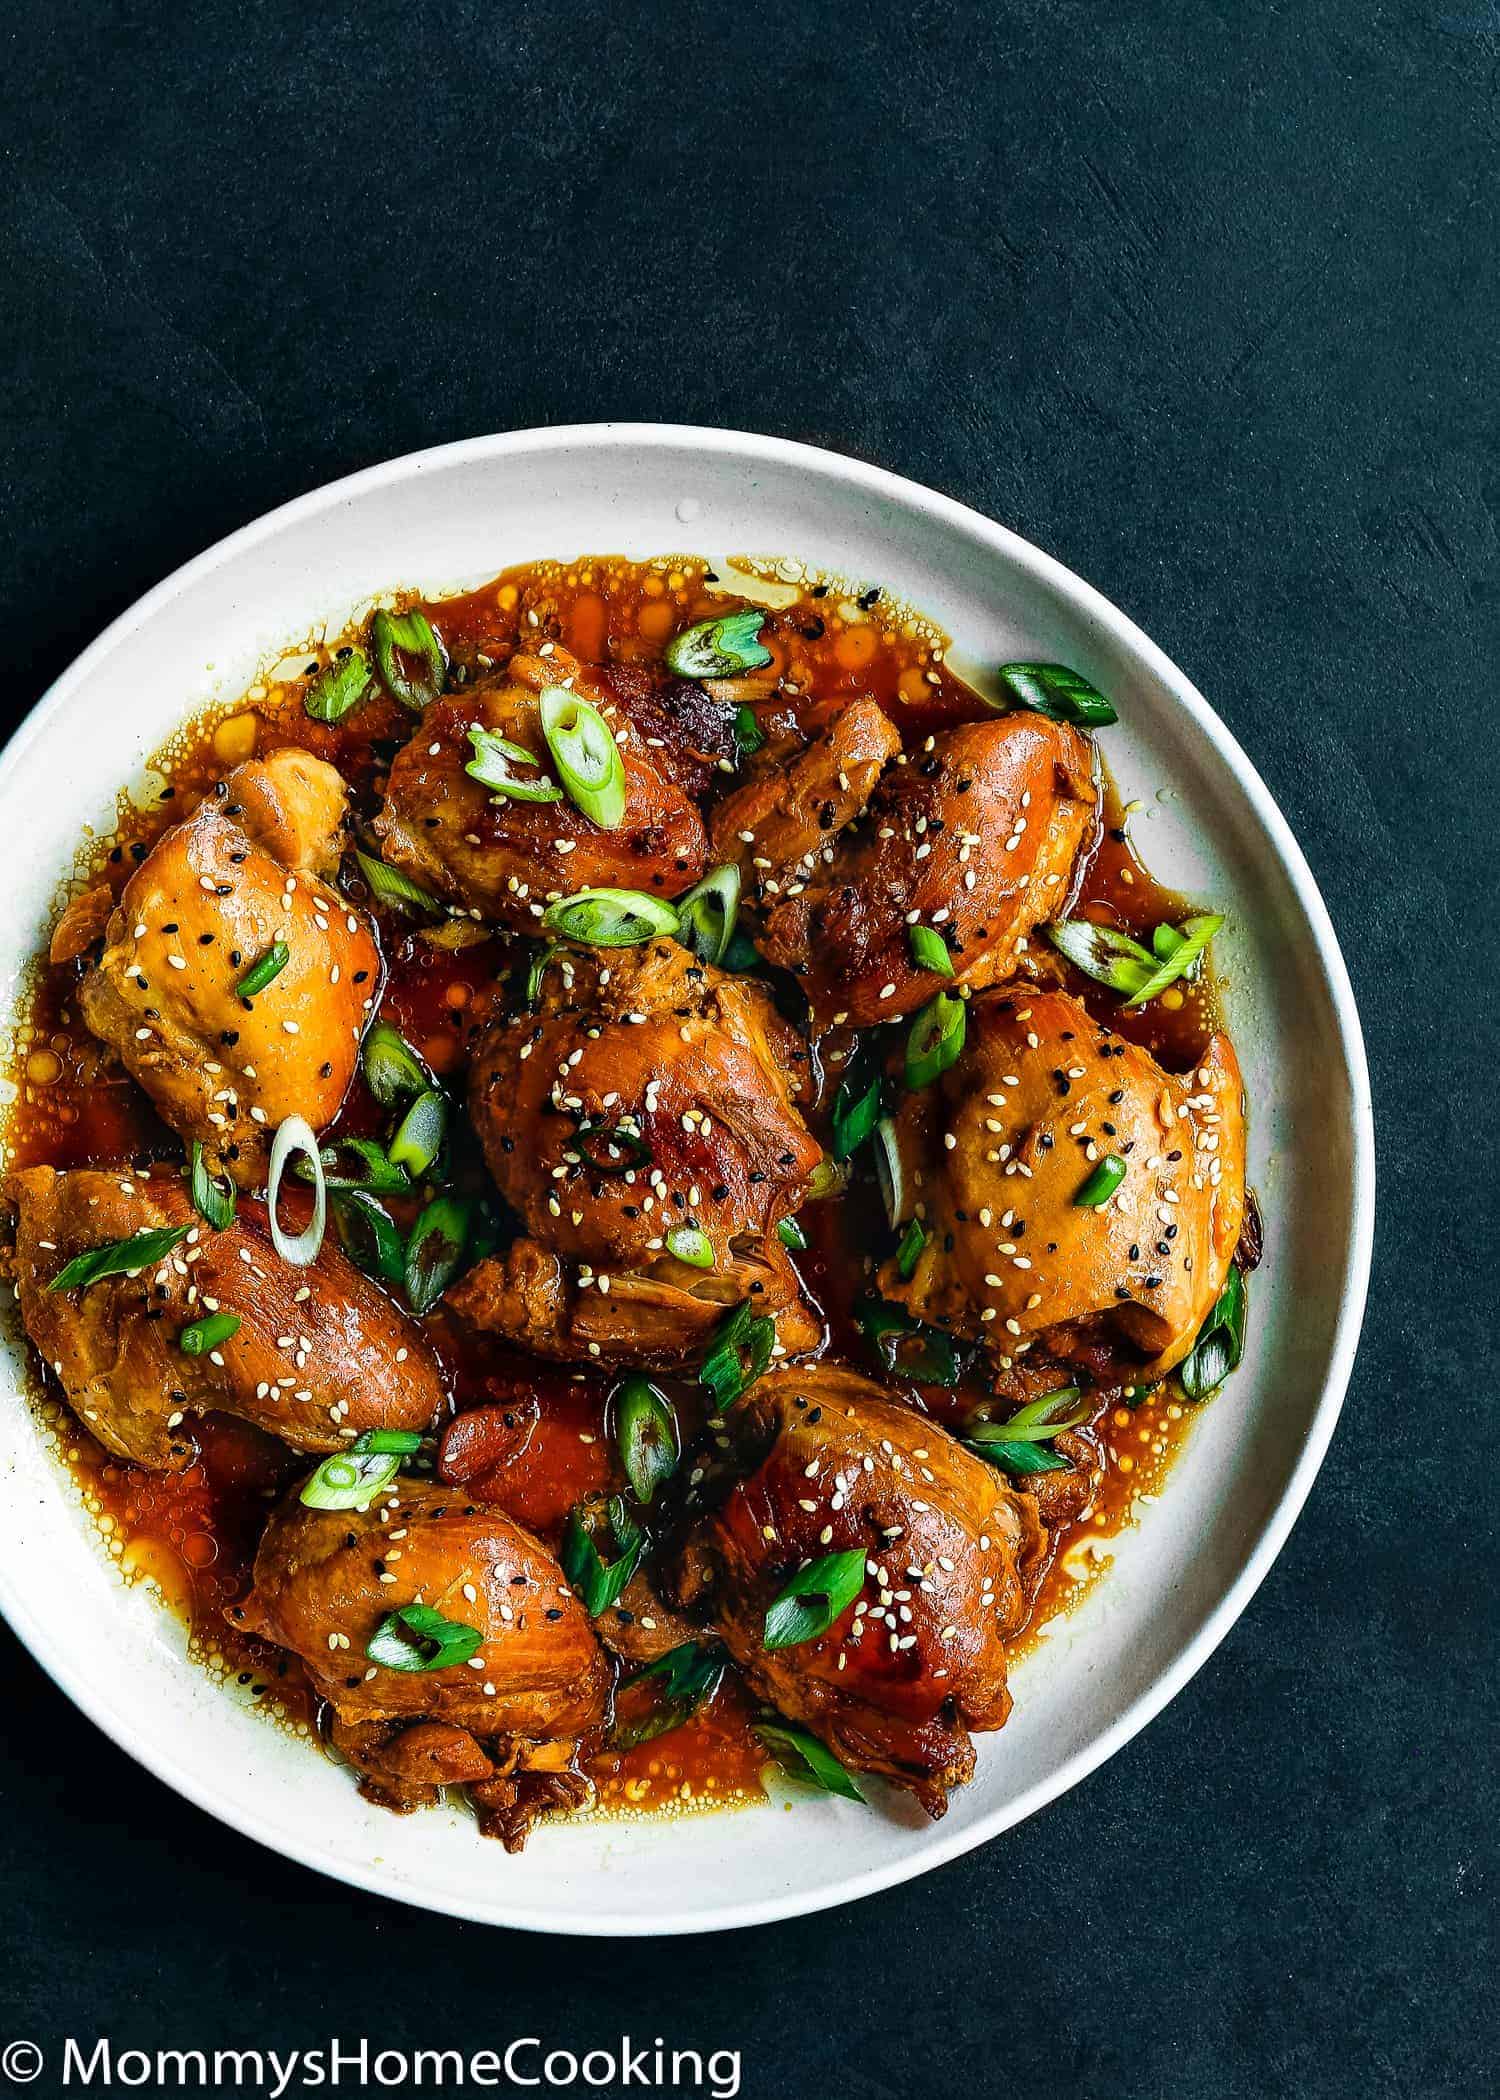
This Easy Instant Pot Teriyaki Chicken recipe is perfect for your weeknight’s dinner repertoire! Easy to make with just a few ingredients, this flavorful chicken will quickly become a family favorite.
Why I Love This Recipe
There is not such a thing as having too much easy dinner recipes! So, I am sure you’re going to add this Easy Instant Pot Teriyaki Chicken recipe to your weekly rotation, not just because is delicious, but also because it will make dinner a breeze on a busy weeknight.
Plus, is guaranteed to satisfy even the pickiest of eaters!
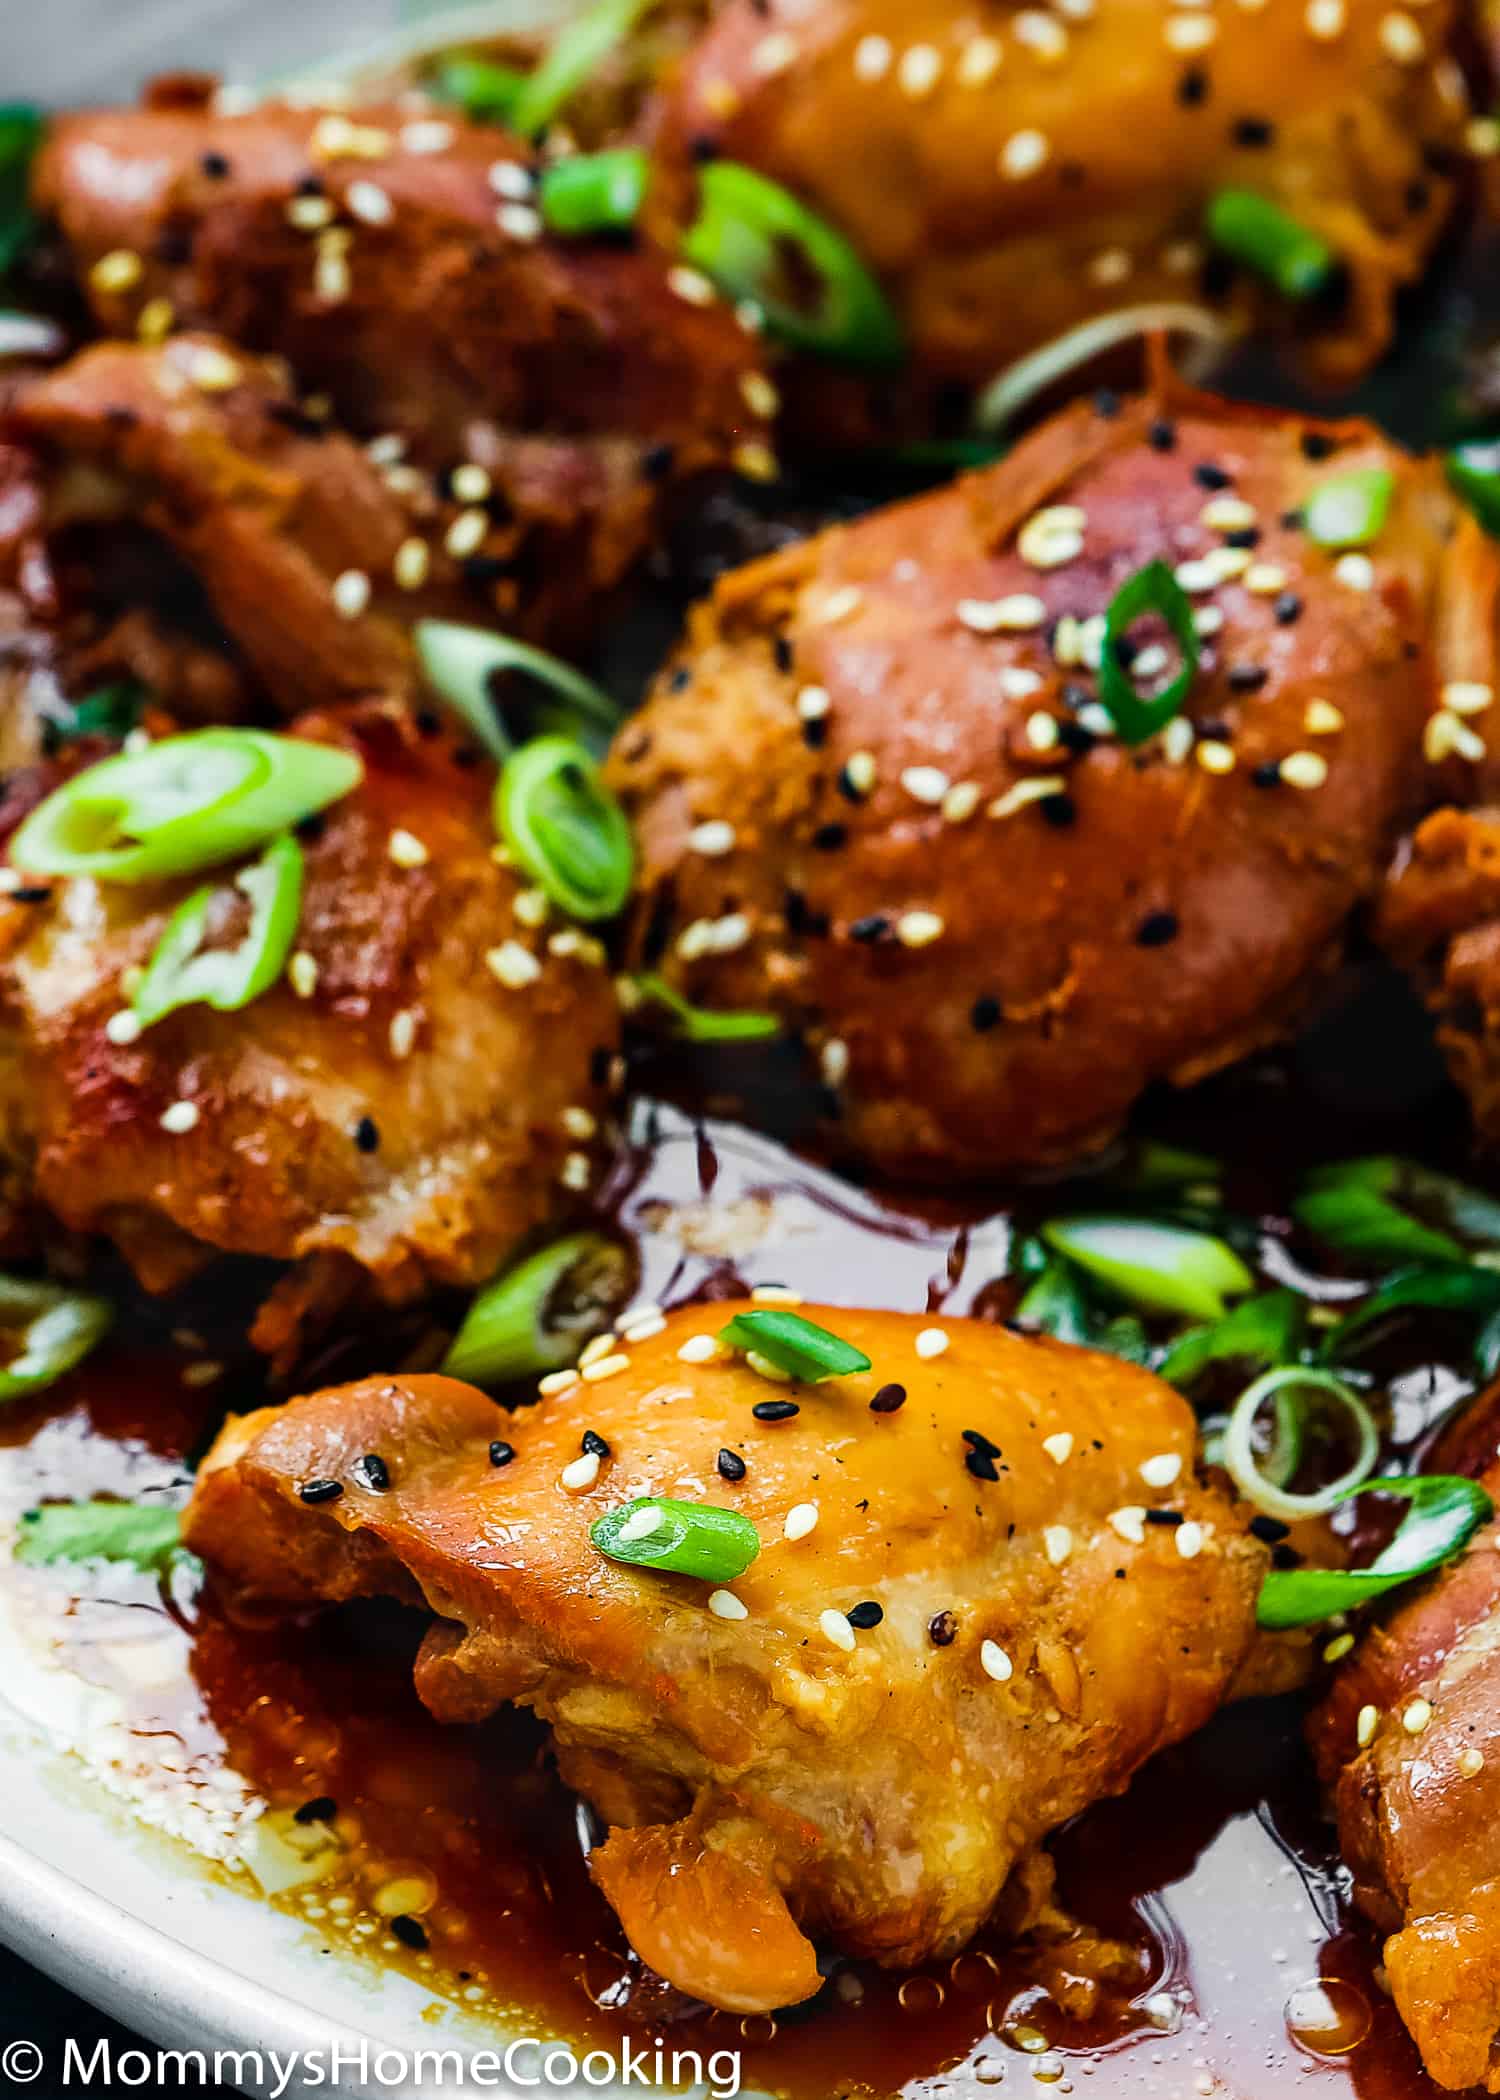
This Easy Instant Pot Teriyaki Chicken is tender, flavorful, and totally irresistible! You can’t go wrong with chicken bathed in a tasty sauce, right? Perfect over a bed of white rice or quinoa.
Ingredients Notes & Substitutions
Please check the recipe card at the bottom of the post for exact quantities and detailed instructions (scroll down).
- Oil: I like to use vegetal or canola oil.
- Chicken: Boneless, skinless chicken thighs works great for this recipe. However, you can use chicken breasts if that you prefer.
- For garnish: Green onion and sesame seeds, this is totally optional
For Teriyaki sauce:
- Low sodium soy sauce: You can subtitute for coconut aminos for a healthy-ish vertion.
- Rice vinegar
- Garlic
- Freshly grated ginger
- Canola oil: Or any light tasting oil if your preference.
- Honey: You can substitute honey for brown sugar.
- Corn starch
Step By Step Recipe Tutorial
Please check the recipe card at the bottom of the post for exact quantities and detailed instructions (scroll down).
1 – Make The Teriyaki Sauce
Combine low sodium soy sauce, rice vinegar, garlic, freshly grated ginger, canola oil, honey, black pepper, and corn starch in a mixing bowl. Set aside.
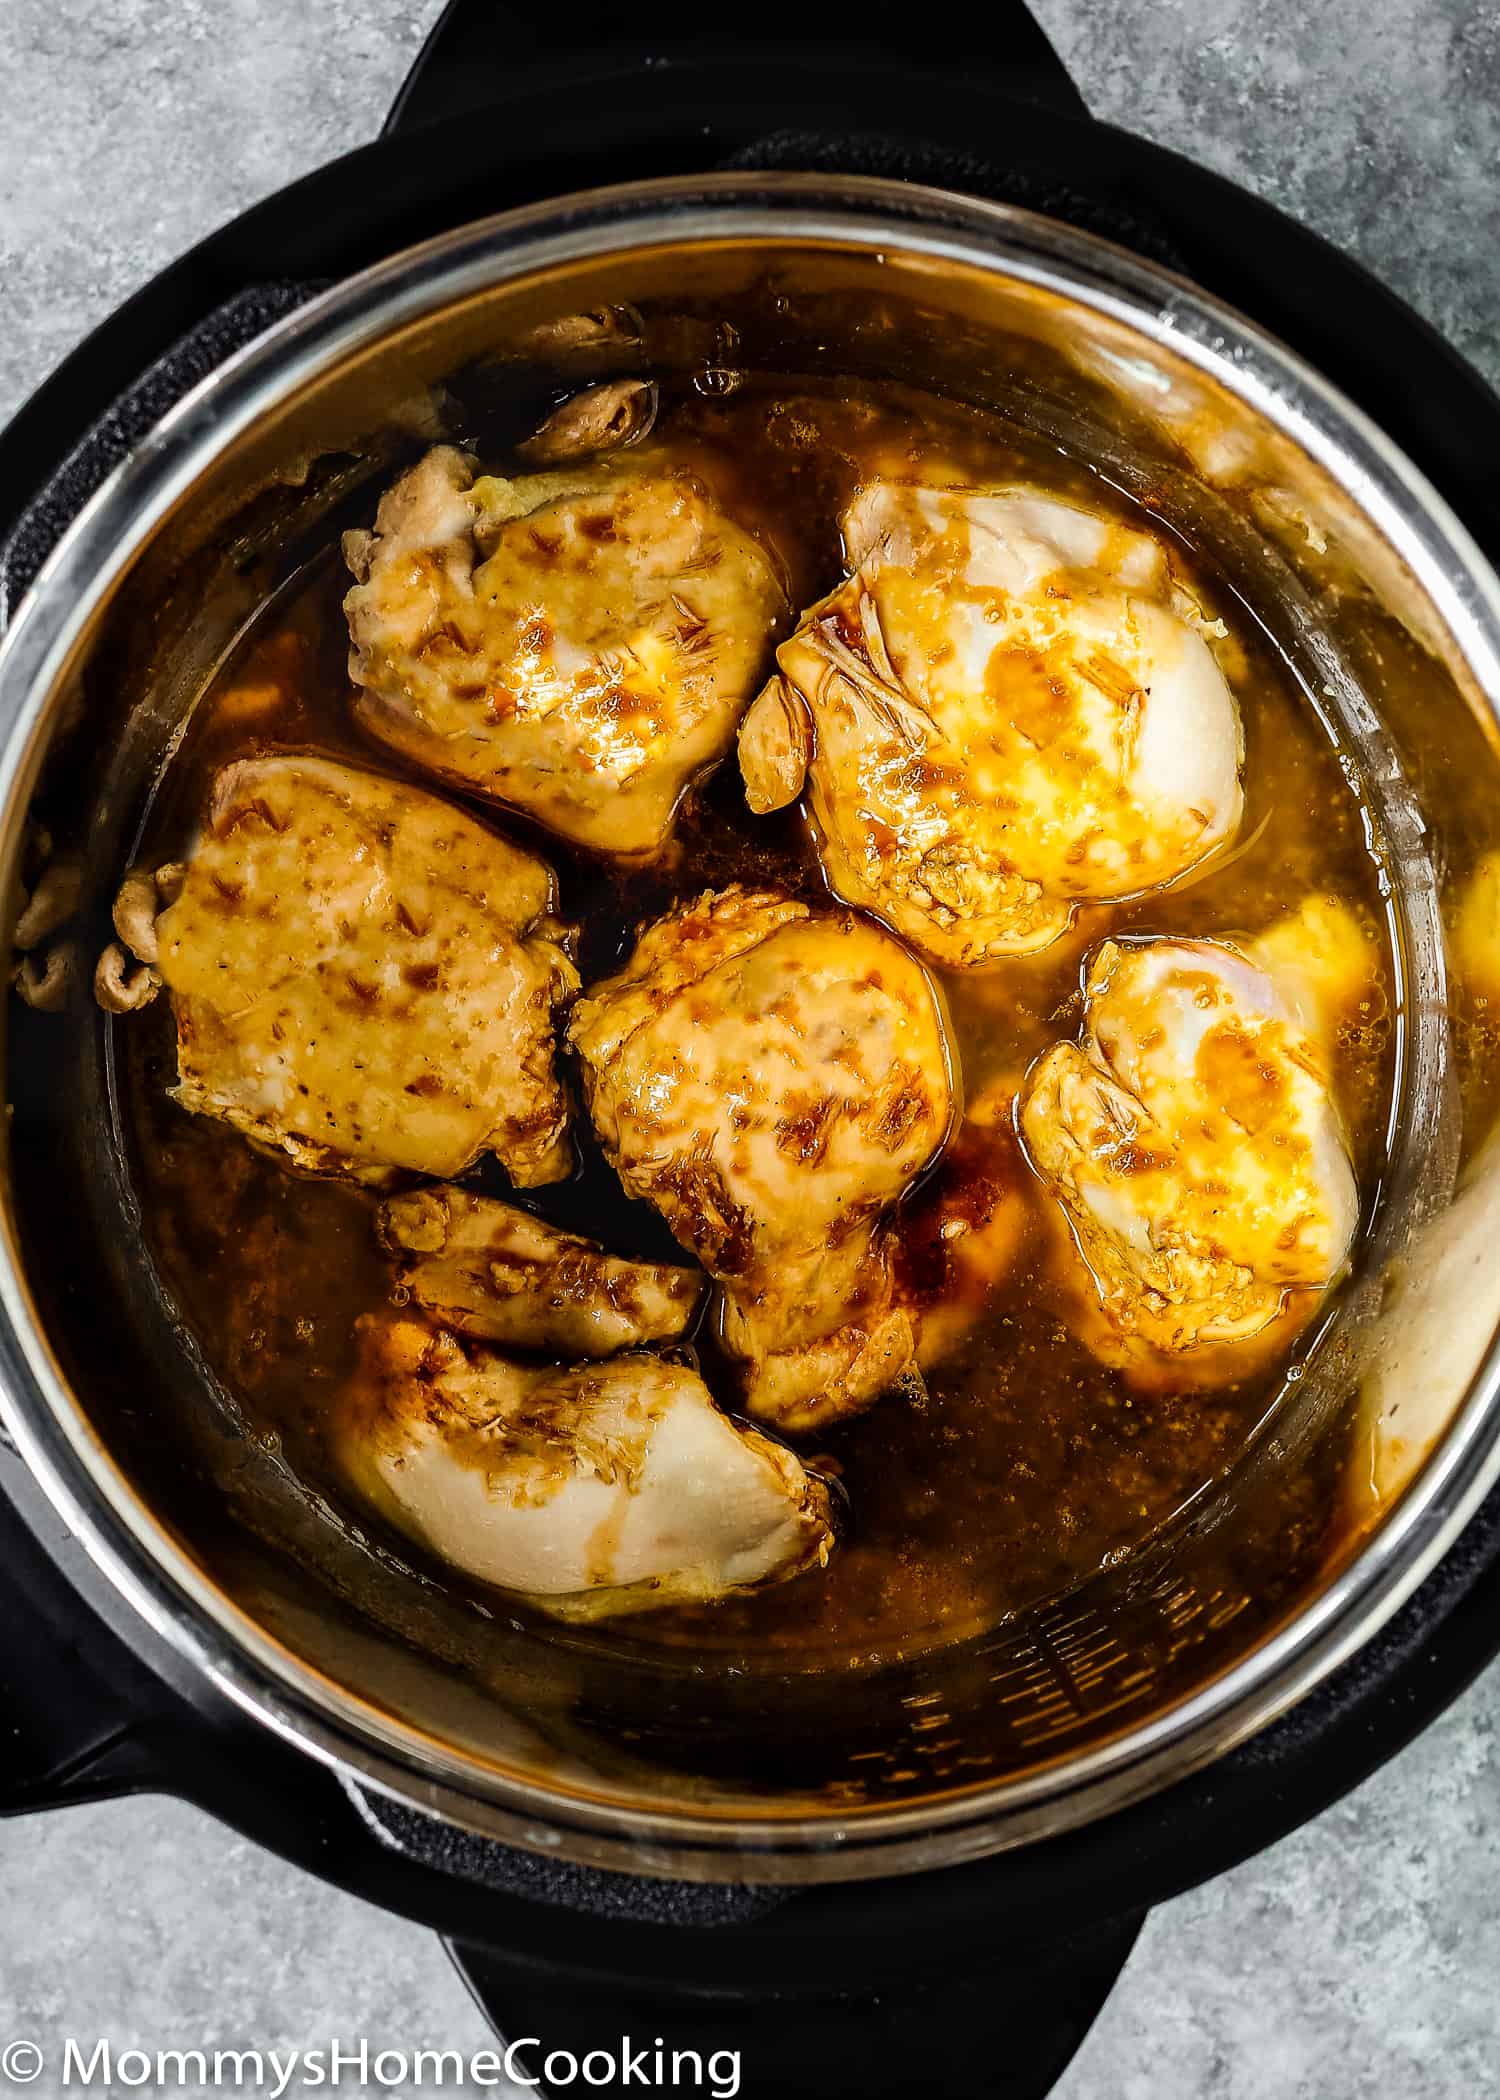
2 – Brown The Chicken
Heat the Instant Pot in sauté mode, adjust to “more”. Add oil and brown the chicken, about 2 -3 minutes per side. When the chicken is browned press “cancel”.
3 – Add The Sauce
Add the teriyaki sauce to the pot; mix to combine.
4 – Pressure Cook
Cover and lock the lid. Select “Manual” or “Pressure Cook” and adjust the time to 10 minutes. When the time is over, let the pressure release on its own for 5 minutes. Then, carefully turn the valve to “Venting,” to release any extra pressure that might still be in there.
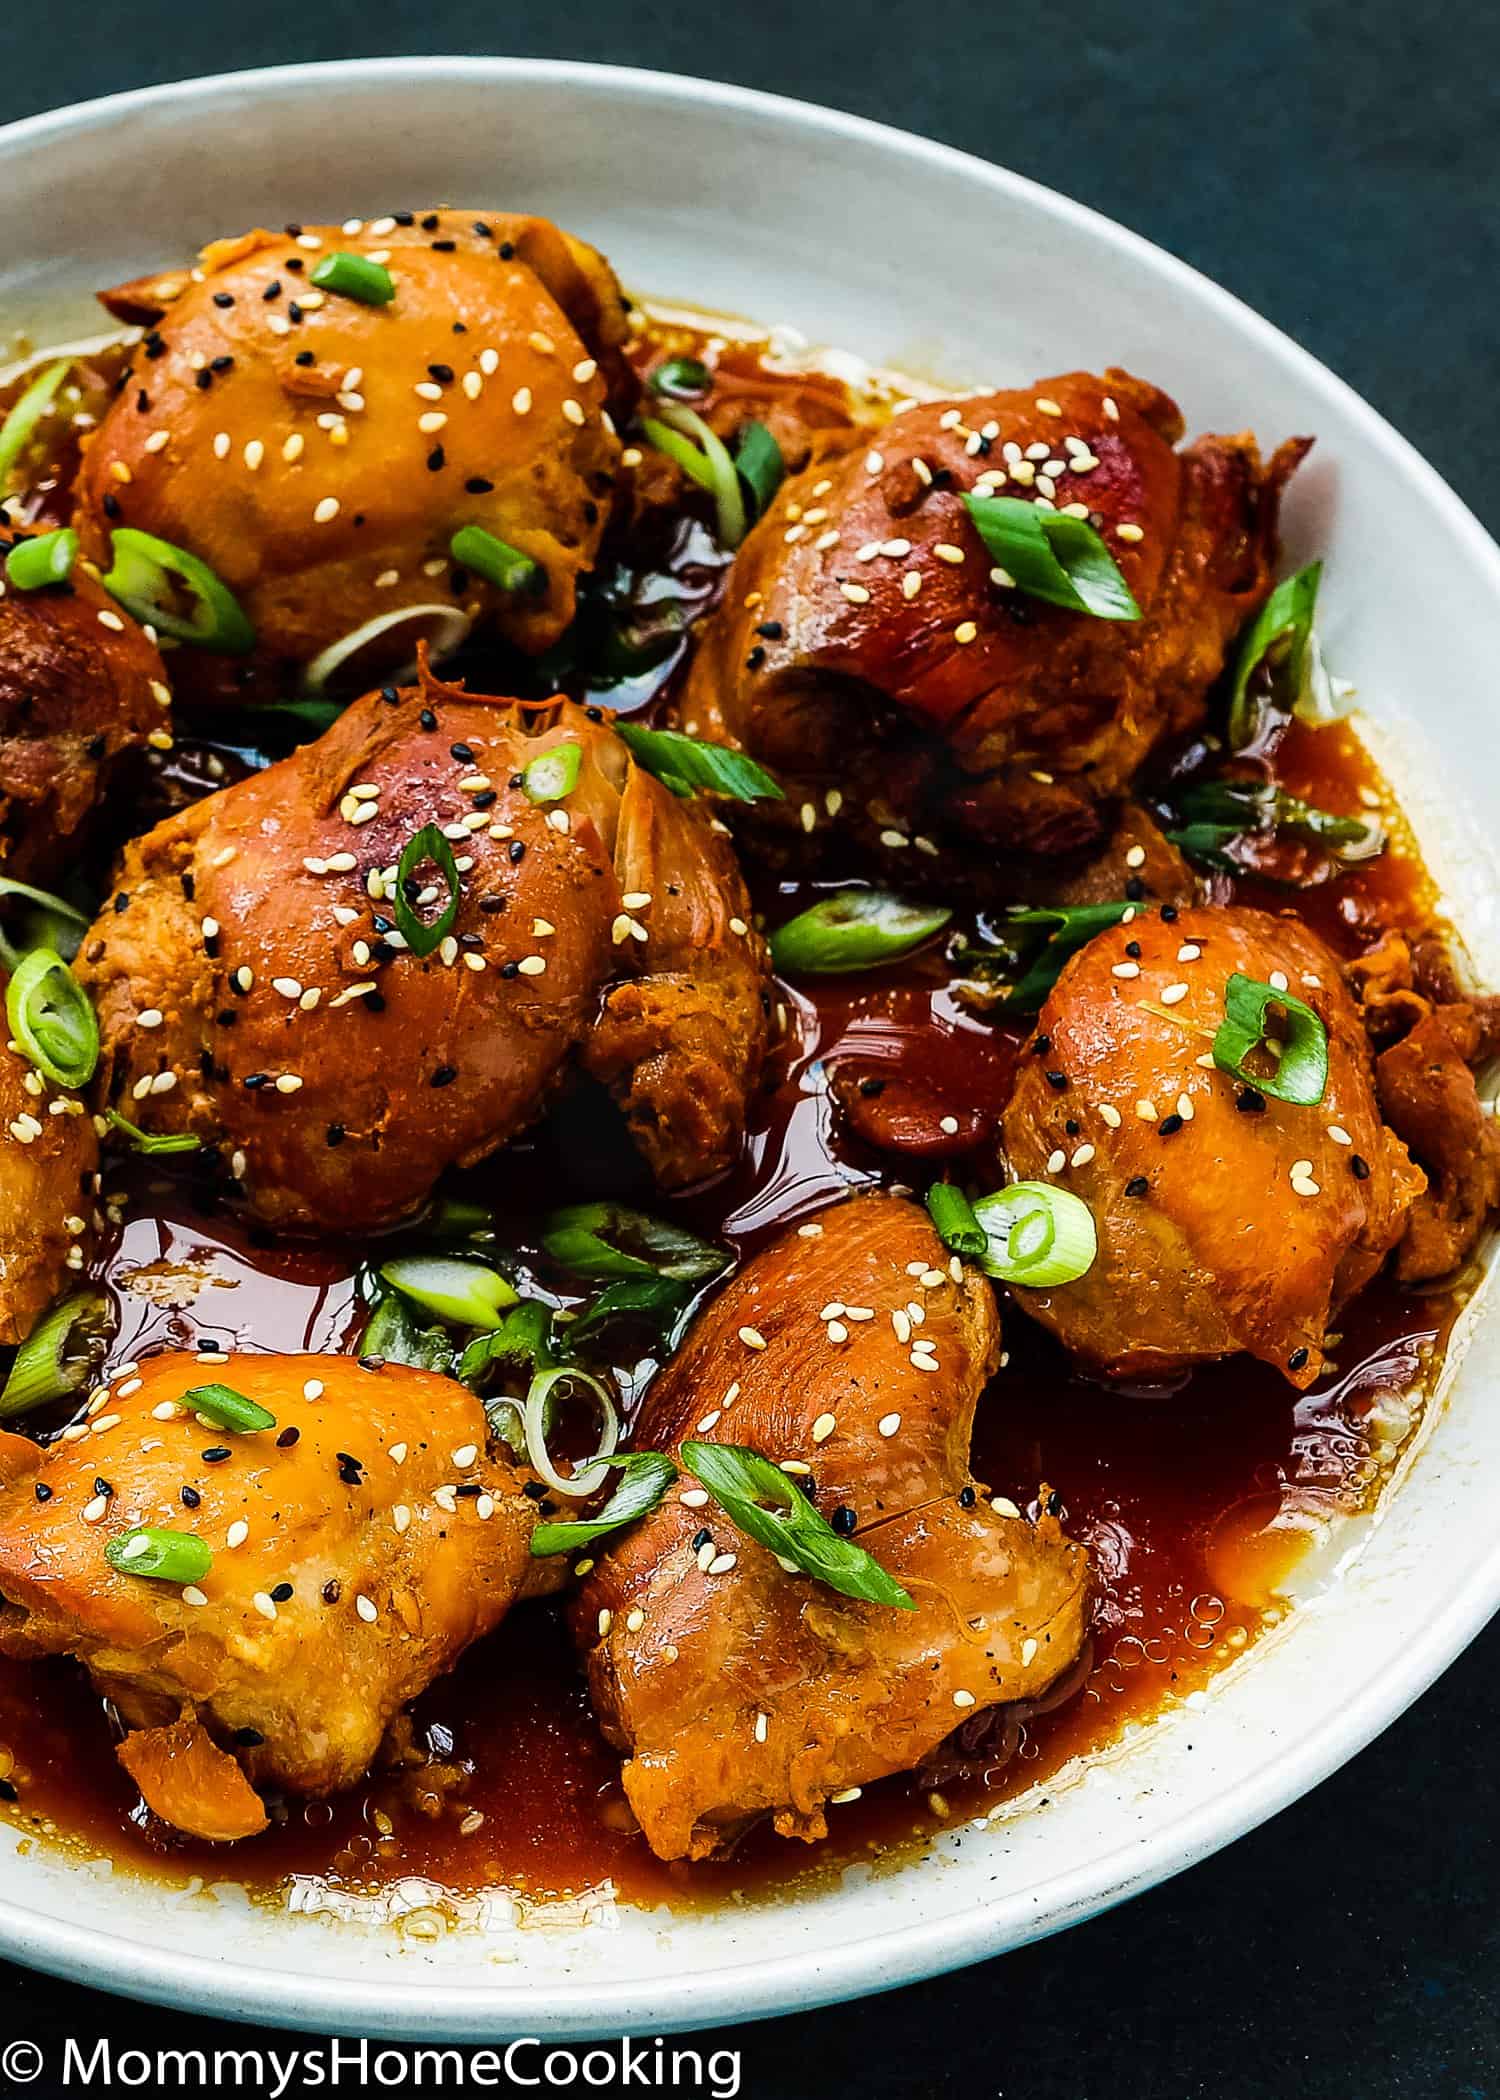
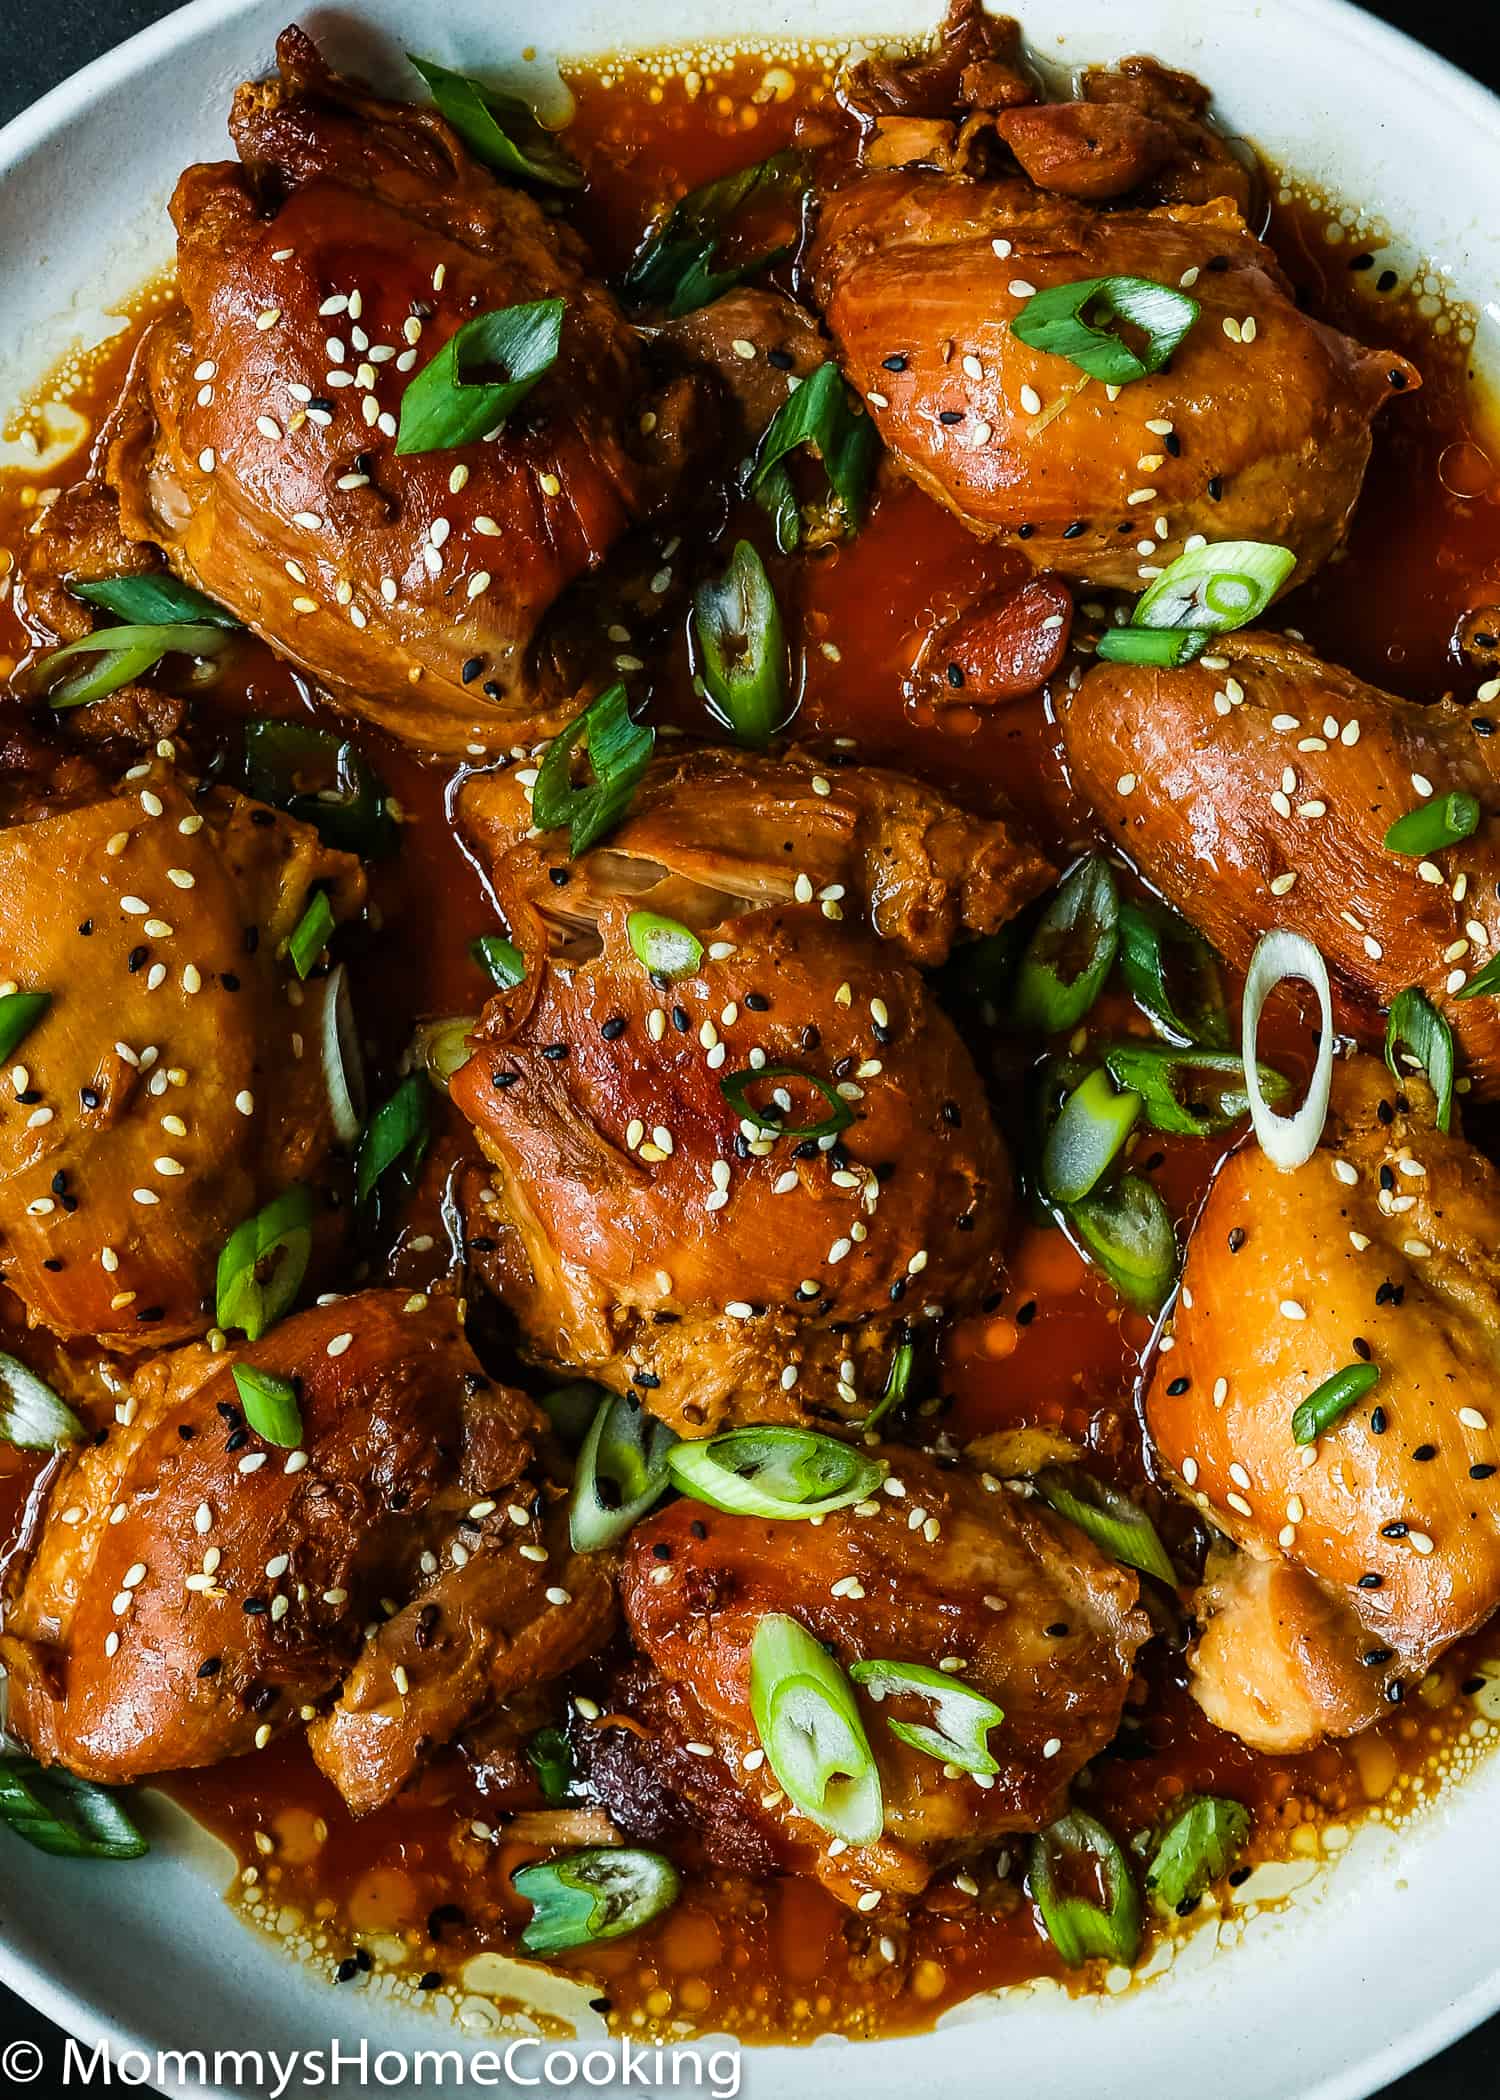
Sprinkle with sliced green onions and sesame seeds, if desired. Serve with rice or quinoa.
Frequently Asked Questions
Combine ½ cup low sodium soy sauce, ¼ cup rice vinegar, 2 minced garlic cloves, 2 teaspoons fresh grated ginger, 2 tablespoons canola oil, 2 tablespoons honey, ¼ teaspoon black pepper, and 1 tablespoon corn starch in a mixing bowl. Use as instructed in the recipe.
Once your Instant Pot’s cooking time is over, it will beep, and then it will start counting up on the keep warm mode. If the recipe requests a quick-release press “Cancel” immediately after the pot beeps. Then CAREFULLY turn the vent valve to “Venting” to release the pressure. Then remove the lid.
Once your Instant Pot’s cooking time is over, it will beep, and then it will start counting up on the keep warm mode. The natural release time will vary depending on what are you cooking. In most recipes, 10 – 15 minutes of natural release is enough. Check the recipe direction to get an idea of how long the natural release will take. After the natural release time is over carefully turn the valve to “Venting,” just to release any extra pressure that might still be in there. Then remove the lid.
Yes! The cook time under pressure doesn’t change, but the time the pot takes to come up to pressure will be longer — about 5- 10 minutes extra depending on the quantity of chicken. The same rule applies to cooking other frozen meats, such as beef, pork, lamb, etc. Please keep in mind that if you going to cook from frozen meats you must skip the browning step.
Storing & Freezing Instructions
To Store: Once completely cooled, store in an airtight container in the refrigerator for up to 3 days.
To Freeze: Transfer the cooled chicken to a freezer-friendly bag and keep frozen for up to 3 months. Thaw in the fridge overnight.
To Reheat: If you’ve got a big batch, you can reheat it on the stovetop on low heat. If you’re just reheating a single portion, the microwave is a great option. You may find you need to splash a bit of water just to add some liquid back into it if it’s gotten too thick.
More Instant Pot Recipes You’ll Love!
- Instant Pot Cuban Pulled Pork
- Instant Pot Mashed Potatoes
- Easy Instant Pot Stroganoff Meatballs
- Instant Pot Barbecue Ribs
- Instant Pot Mexican Pulled Pork
- Easy Instant Pot Beef and Broccoli
- Instant Pot Teriyaki Turkey Meatballs
- Instant Pot Hawaiian Pineapple Pork
- More Recipes
❤️ Love what you see? JOIN my Private Baking Club. Also, SUBSCRIBE to Mommy’s Home Cooking, so you’ll never miss a recipe! And FOLLOW along on Instagram, Pinterest, and Facebook for more fun!

Easy Instant Pot Teriyaki Chicken
Ingredients
- 2 tablespoons vegetal or canola oil
- 6-8 boneless, skinless chicken thighs
- 1 green onion , sliced
- Sesame seeds , for garnish (optional)
Teriyaki Sauce:
- ½ cup (120 ml) low sodium soy sauce
- ¼ cup (60 ml) rice vinegar
- 2 cloves garlic , minced
- 2 teaspoons fresh grated ginger
- 2 tablespoons canola oil
- 2 tablespoons honey (see notes)
- ¼ teaspoon black pepper
- 1 tablespoon corn starch
Instructions
- Combine teriyaki sauce ingredients in a mixing bowl. Set aside.
- Heat the Instant Pot in sauté mode, adjust to “more”. Add oil and brown the chicken, about 2 -3 minutes per side. When the chicken is browned press “cancel”.
- Add the teriyaki sauce to the pot; mix to combine.
- Cover and lock the lid. Select “Manual” or “Pressure Cook” and adjust the time to 10 minutes. When the time is over, let the pressure release on its own for 5 minutes. Then, carefully turn the valve to "Venting," to release any extra pressure that might still be in there.
- Sprinkle with sliced green onions and sesame seeds, if desired. Serve with rice or quinoa.
Leave a Reply