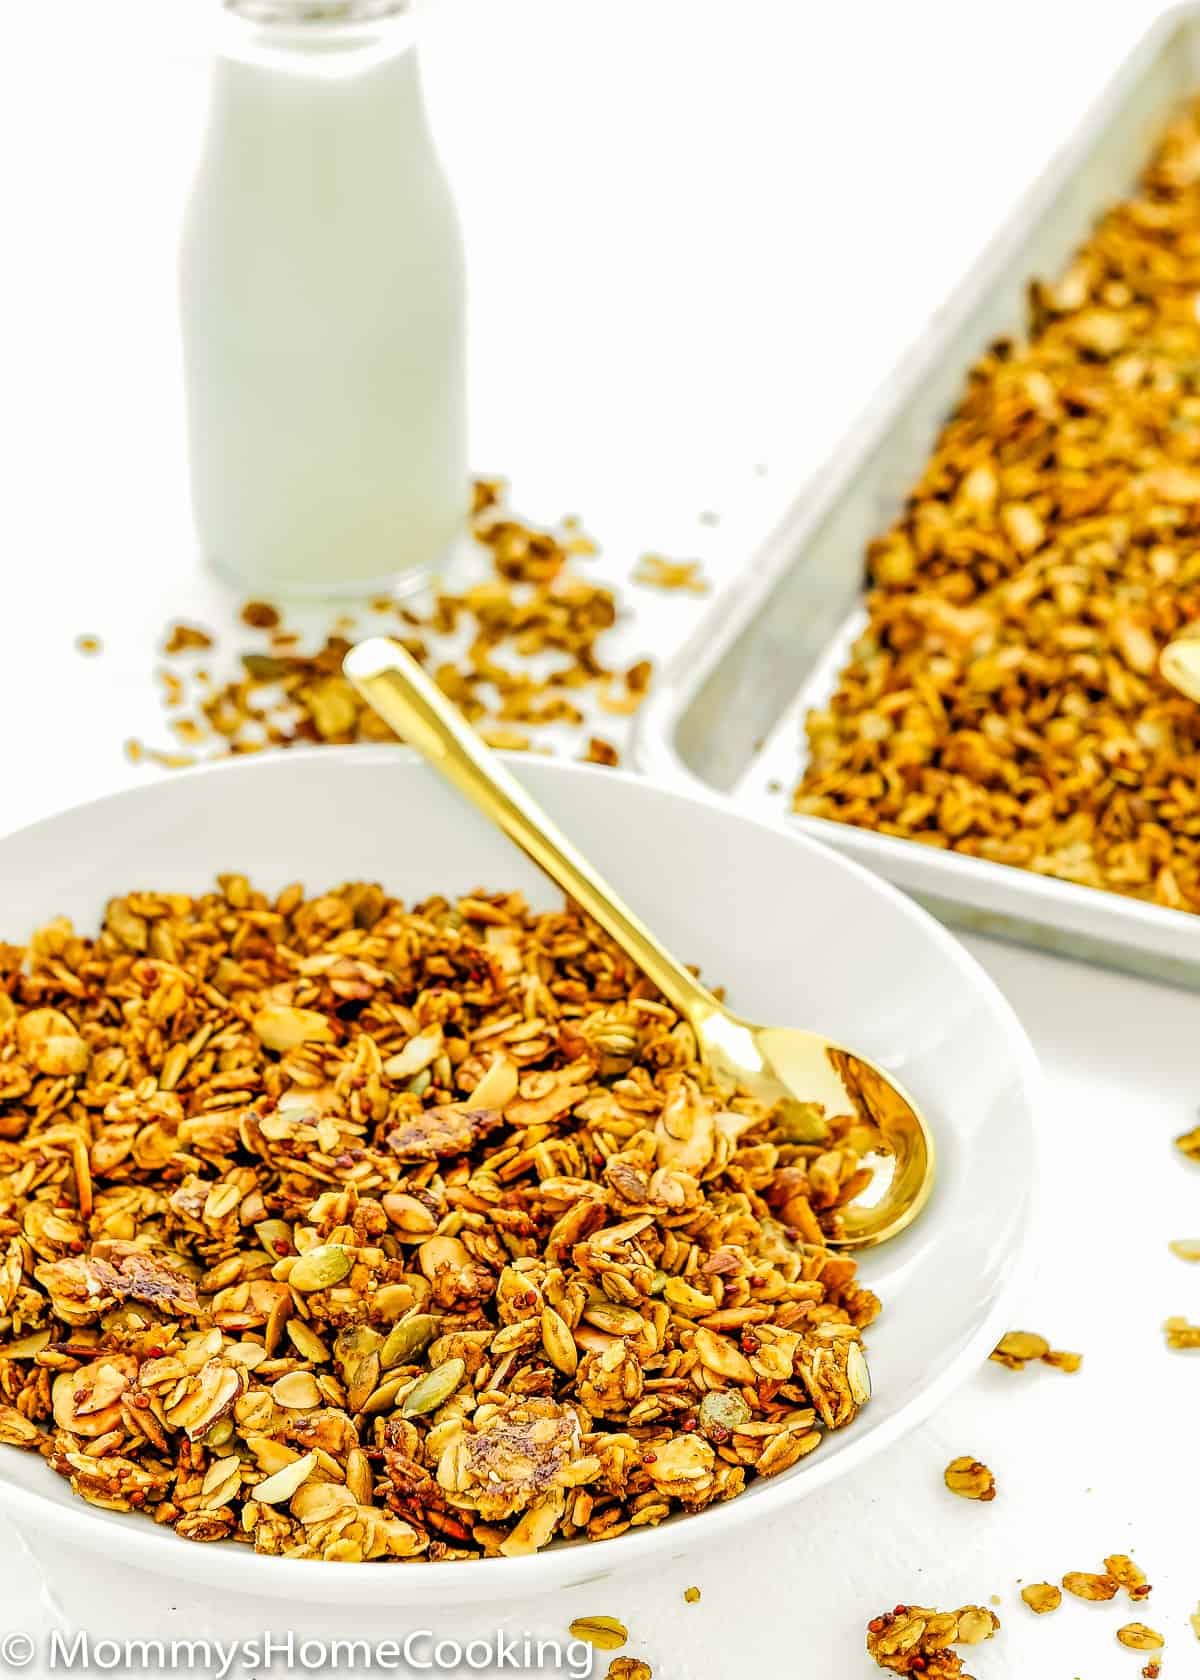
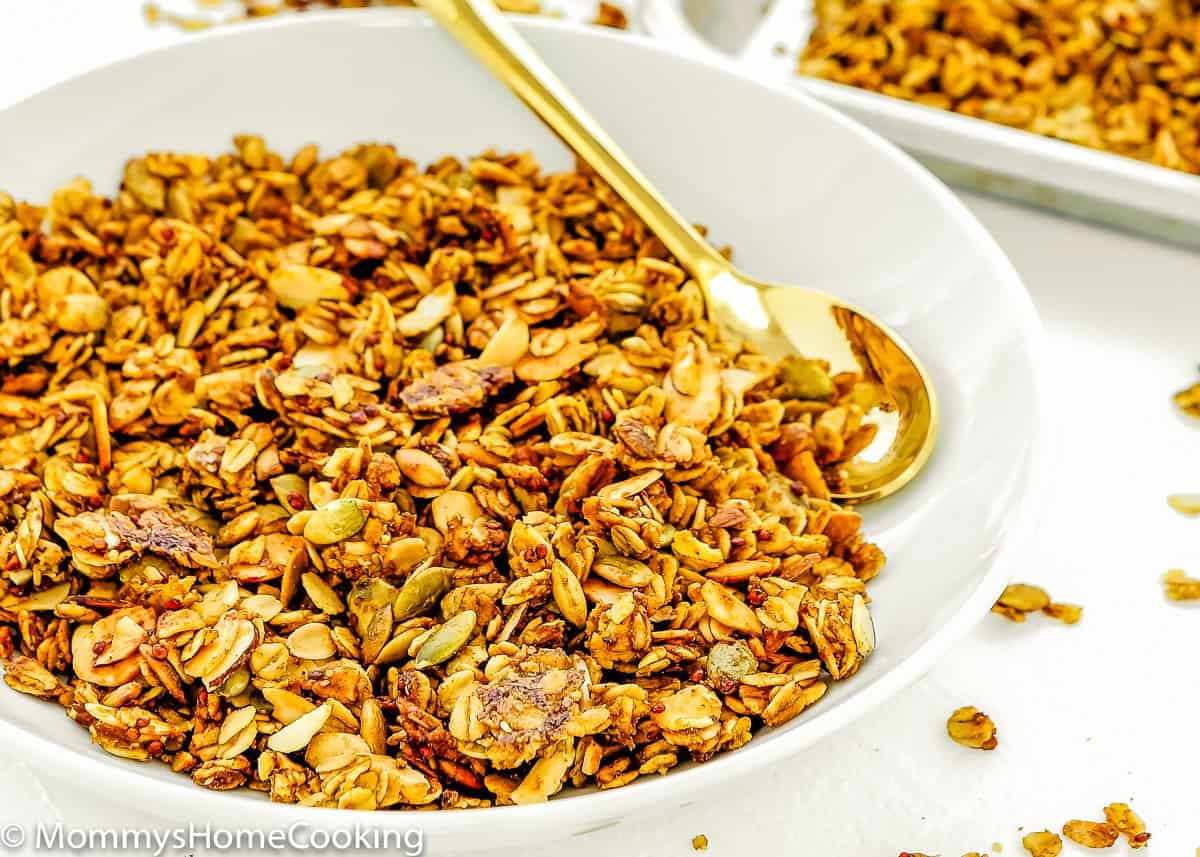
Start your morning with a fall-inspired breakfast bowl topped with this Easy Homemade Pumpkin Pie Granola! It’s super easy to make, and way more delicious than the stuff you buy at the store. The recipe includes step-by-step photos and lots of tips.
Why I Love This Pumpkin Pie Granola Recipe
I don’t know about you guys, but I love to munch on homemade granola. I the fact that I can control what is in it and customizable to my family’s taste. I also LOVE that granola can be kept in a sealed container for up to 3 weeks or so, making it a fantastic pantry staple to have on hand.
This Pumpkin Quinoa Granola recipe is D.E.L.I.C.I.O.U.S, super easy to make, and budget-friendly. So, save yourself money and make it.
Sprinkle it over yogurt or your favorite smoothie, pour milk over it, or eat it straight as it is. This Pumpkin Spice Granola is perfect for breakfast, snacks, or even dessert. I always make two batches, so I have plenty!
So, cheers to all things pumpkin!
Ingredients You’ll Need, Substitutions & Notes
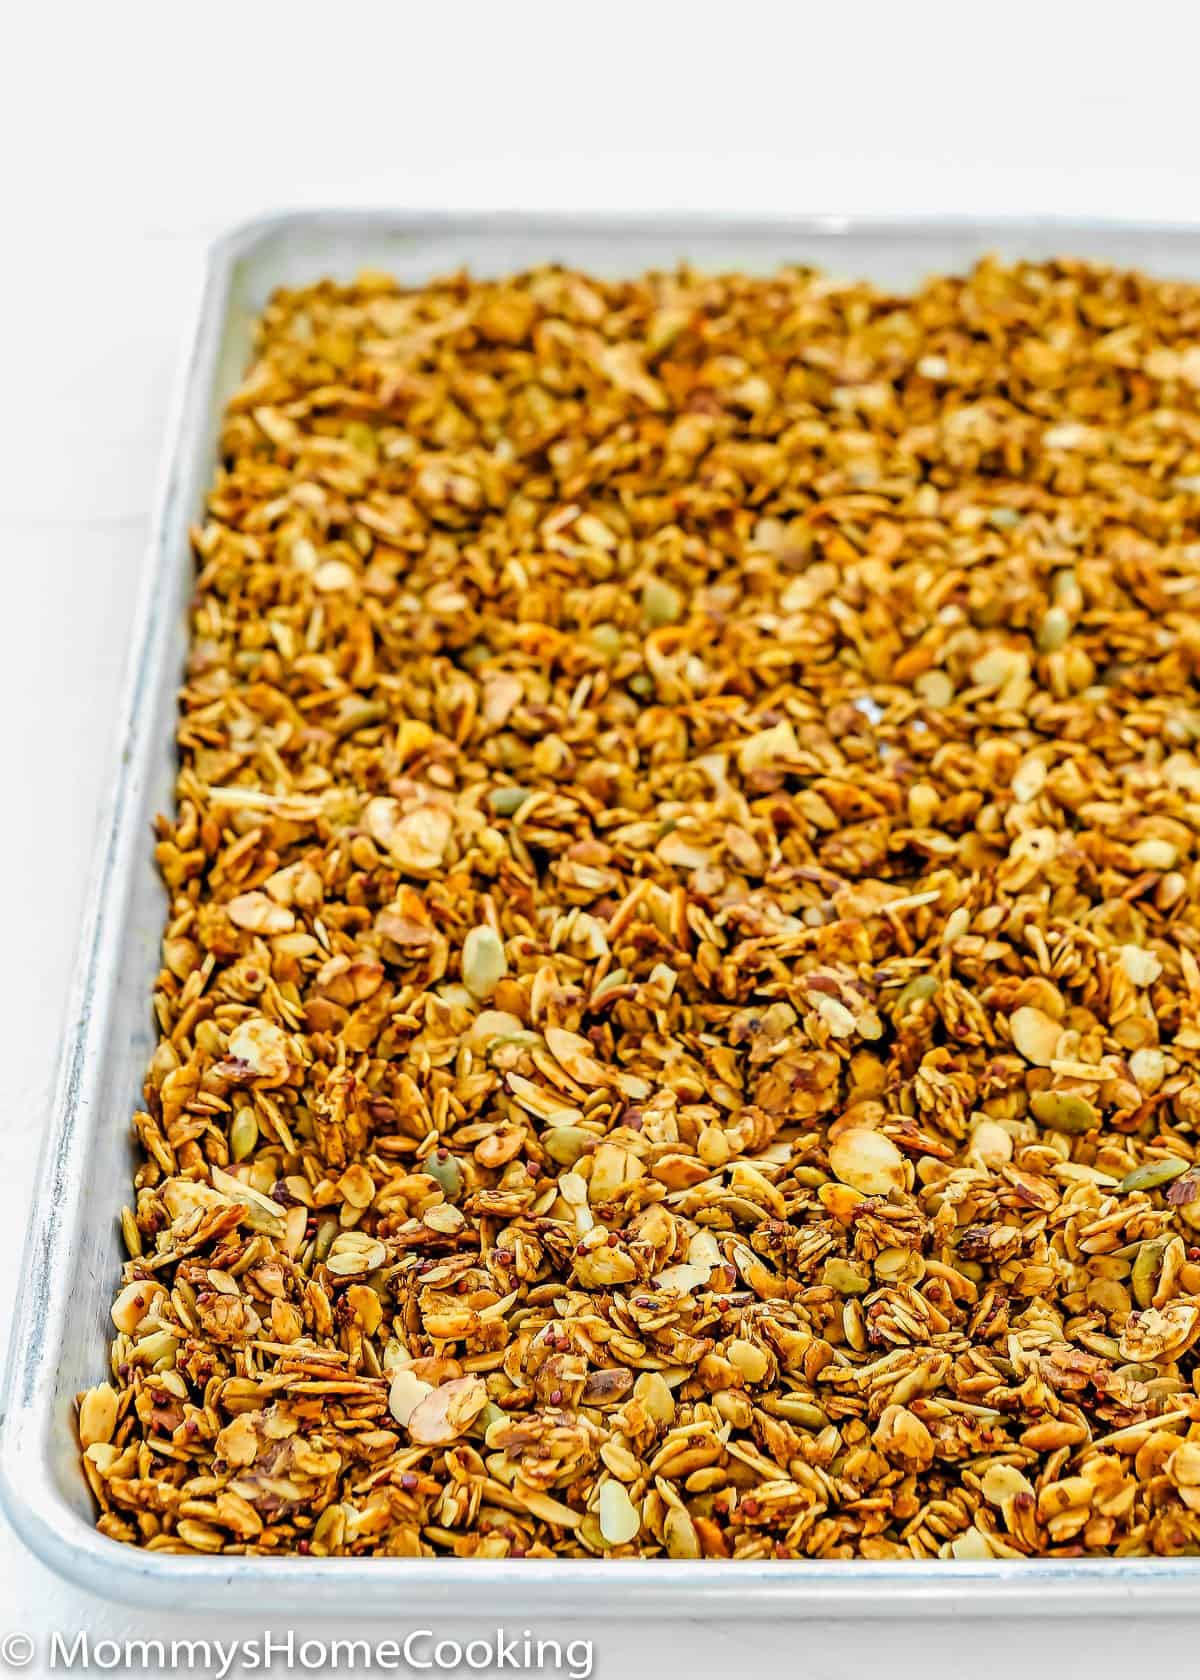
Please check the recipe card at the bottom of the post for exact quantities and detailed instructions (scroll down).
- Oats: I use whole oats, also known as Old-fashioned Rolled oats. I don’t recommend quick or instant oats – the texture of the whole rolled oats helps the granola stick together. For gluten-free, use certified GF oats.
- Quinoa (uncooked): For an extra crunchy texture and added protein.
- Nuts: I used almonds this time, but you can use any nut of your choice, such as pecans, walnuts, hazelnuts, pistachios, etc. Note that pecans and walnuts both burn easily, so I would suggest adding them toward the end of the baking time.
- Seed: I used Pumpkin seeds, but you can add other seeds, like pepitas or sunflower seeds, etc.
- Salt: I prefer kosher or sea salt. If you only have table salt handy, I recommend reducing the amount to half.
- Pure pumpkin puree: It must be pure pumpkin puree, not pumpkin pie filling. I use and recommend Libby’s 100% Pure Pumpkin.
- Oil: Light olive oil, coconut oil, or any oil of your preference.
- Maple syrup: You can substitute for agave nectar, golden syrup, or honey.
- Brown sugar: Dark or light brown sugar will work for this recipe.
- Pumpkin pie spice: This is a blend of ground cinnamon, nutmeg, ginger, cloves, and allspice and is easily found in most American grocery stores. If this blend is not available in your country, you can use 2 tsp cinnamon, 1/4 tsp nutmeg, ¼ tsp ginger, ¼ tsp cloves, and ¼ tsp allspice.
Step By Step Recipe Photo Tutorial
Please check the recipe card at the bottom of the post for exact quantities and detailed instructions (scroll down).
Step 1 – Preheat the Oven and Prepare the Baking Sheet
Preheat the oven to 350º F (180º C). Line a baking sheet with parchment paper or a silicone baking mat.
Step 2 – Combine Dry Ingredients
In a large bowl, combine oats, quinoa, almonds, pumpkin seeds, and salt. Mix well.
Step 3 – Combine Wet Ingredients
Whisk pumpkin puree, olive oil, maple syrup, brown sugar, and pumpkin pie spice together in a small bowl.
Step 4 – Mix
Pour wet ingredients over the dry ingredients and stir to combine. Transfer the oat mixture to the prepared baking sheet and spread it out to form a single uniform layer.
Step 5 – Bake
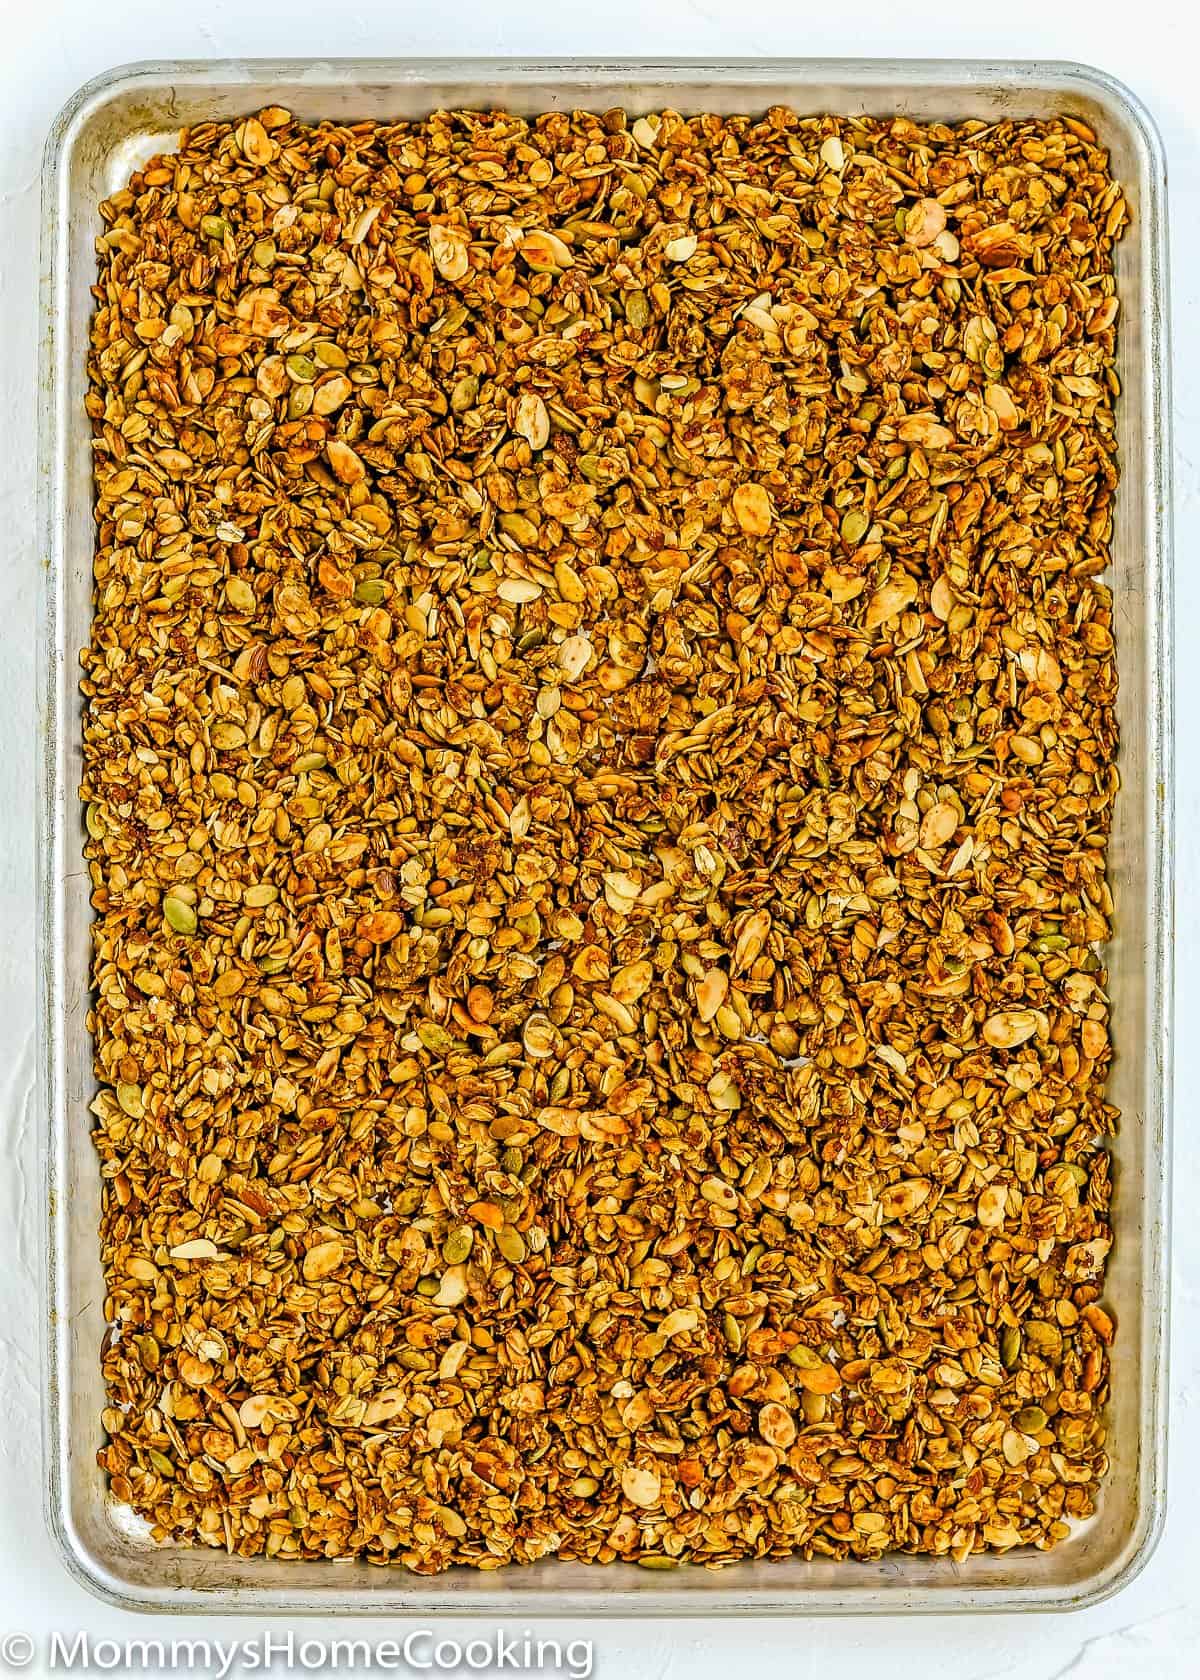
Bake for 30 – 40 minutes, stirring every 10 minutes until evenly browned. Remove from oven and allow to cool completely. It will continue to crisp up as it cools.
Pro Tip: If you prefer chunkier granola, don’t stir while baking, as it breaks up the clusters. Instead, just rotate the baking sheet to ensure even cooking.
Substitutions & Additions
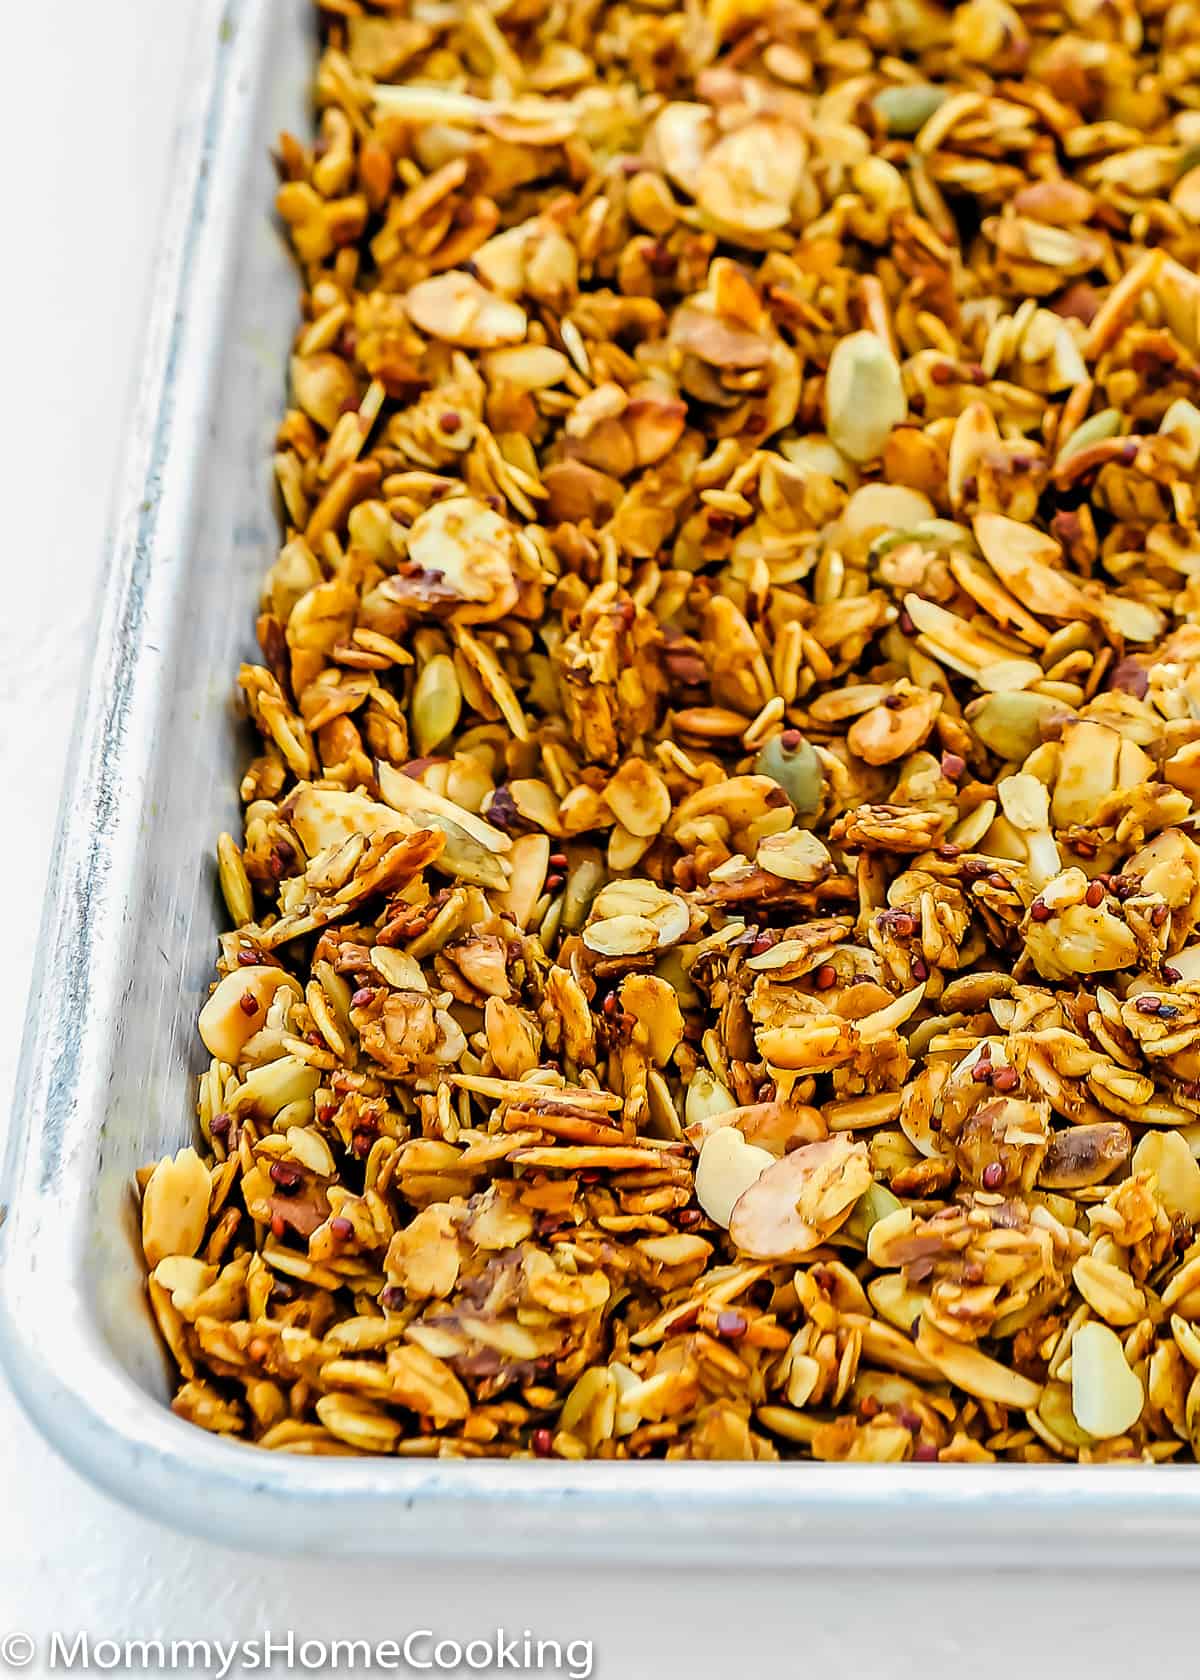
- Add your favorite dried fruit, such as cranberries, apricots, or raisins.
- Substitute almonds for your choice of nuts (pecans, walnuts, hazelnuts, pistachios, etc.) Note that pecans and walnuts both burn easily, so I would suggest adding them toward the end of the baking time.
- Avoid nuts and use seeds instead to make this granola a nut-free treat for allergic peeps.
- Add an extra teaspoon of salt for a more intense salty-sweet bite.
- Add a teaspoon of vanilla extract for extra flavor!
Quick Recipe Tips
Be sure to line the pan with parchment paper, so the sweetener doesn’t stick to the pan.
Let the granola cool completely before breaking it up. You can leave it in the baking tray overnight if you want.
If you prefer chunkier granola, don’t stir while baking, as it breaks up the clusters. Instead, just rotate the baking sheet to ensure even cooking.
GLUTEN-FREE: Be sure to use certified gluten-free oats.
NUT FREE: Use seeds, like pepitas or sunflower seeds, instead of nuts.
Storing & Freezing Instructions
STORE the homemade granola in an airtight container at room temperature for up to 2 weeks, or in a sealed freezer bag in the freezer for up to 3 months.
Frequently Asked Questions
If you prefer chunkier granola, don’t stir while baking, as it breaks up the clusters. Instead, just rotate the baking sheet to ensure even cooking.
I don’t recommend quick or instant oats – the texture of the whole rolled oats helps the granola stick together.
Keep the granola in an airtight container at room temperature for up to 2 weeks, or in a sealed freezer bag in the freezer for up to 3 months.
Yes, you can, but make sure you bake it on two baking sheets.
More Eggless Breakfast Recipes You’ll Love
- Coconut Apricot Granola
- Pumpkin Cranberry Baked Oatmeal
- Eggless Oatmeal Breakfast Cookies
- Eggless Baked Apple Oatmeal Muffins
- Easy Apple Crumble with Oats
- Eggless Oatmeal Cookies
- Browse more recipes…
❤️ Love what you see? JOIN my Private Baking Club. Also, SUBSCRIBE to Mommy’s Home Cooking, so you’ll never miss a recipe! And FOLLOW along on Instagram, Pinterest, and Facebook for more fun!
Recipe Card 📖
Easy Homemade Pumpkin Pie Granola
Equipment
Ingredients
- 3 cups (336 g) old-fashioned rolled oats
- 1 cup quinoa (uncooked)
- 1 cup sliced almonds (or any nut of your preference)
- 1 cup pumpkin seed (or any seed of your preference)
- 2 teaspoons kosher salt
- 1/2 cup (120 g) pure pumpkin puree
- 1/2 cup (120 ml) light olive oil
- 1/2 cup (120 ml) maple syrup
- ¼ cup (50 g) brown sugar
- 1 tablespoon pumpkin pie spice
Instructions
- Preheat the oven to 350º F (180º C). Line a baking sheet parchment paper or a silicone baking mat. Set aside.
- In a large bowl, combine rolled oats, quinoa, almonds, pumpkin seeds, and salt. Mix well.
- Whisk pumpkin puree, olive oil, maple syrup, brown sugar, and pumpkin pie spice together in a small bowl.
- Pour wet ingredients over the dry ingredients and stir to combine.
- Transfer the mixture to the prepared baking sheet and spread out to form a uniform single layer.
- Bake for 30 – 40 minutes, stirring every 10 minutes until evenly browned. Note: If you prefer chunkier granola, don’t stir while baking, as it breaks up the clusters. Instead, just rotate the baking sheet to ensure even cooking.
- Remove from oven and allow to cool completely. It will continue to crisp up as it cools.
- Store in an airtight container.
- Add your favorite dried fruit, such as cranberries, apricots, or raisins.
- Substitute almonds for your choice of nuts (pecans, walnuts, hazelnuts, pistachios, etc.) Note that pecans and walnuts both burn easily, so I would suggest adding them toward the end of the baking time.
- Avoid nuts and use seeds instead to make this granola a nut-free treat for allergic peeps.
- Add an extra teaspoon of salt for a more intense salty-sweet bite.
- Be sure to line the pan with parchment paper, so the sweetener doesn’t stick to the pan.
- Let the granola cool completely before breaking it up. You can leave it in the baking tray overnight if you want.
- If you prefer chunkier granola, don’t stir as it breaks up the clusters. Instead, just rotate the baking sheet to ensure even cooking.
Nutrition
Eggless Baking Frequently Asked Questions
You’ve asked, and I’ve answered! Read on for a handful of answers to the most frequently asked questions about eggless baking.
This recipe was originally published on September 2021. The recipe remains the same, but more notes, tips, photos, and information have been added to the post in October 2022 to make it as helpful as possible!
