Peri Peri Chicken Breasts (Bold & Juicy Every Time!)

This post may contain affiliate links. Read our disclosure policy.

These Easy Peri Peri Chicken Breasts are the cure for every boring, dry chicken breast dinner you’ve ever sat through. Made from scratch in one skillet with a smoky, tangy homemade peri peri sauce, they come together in about 30 minutes with barely any cleanup. My secret to keeping the chicken perfectly juicy? A simple dry-poaching technique — covering the skillet with parchment paper while it bakes — that my whole family swears by. You can make it as mild or as spicy as you like, and it works beautifully whether you grill it indoors on a grill pan or fire it up outside. Once you try it, boring chicken breast will never be an option again.

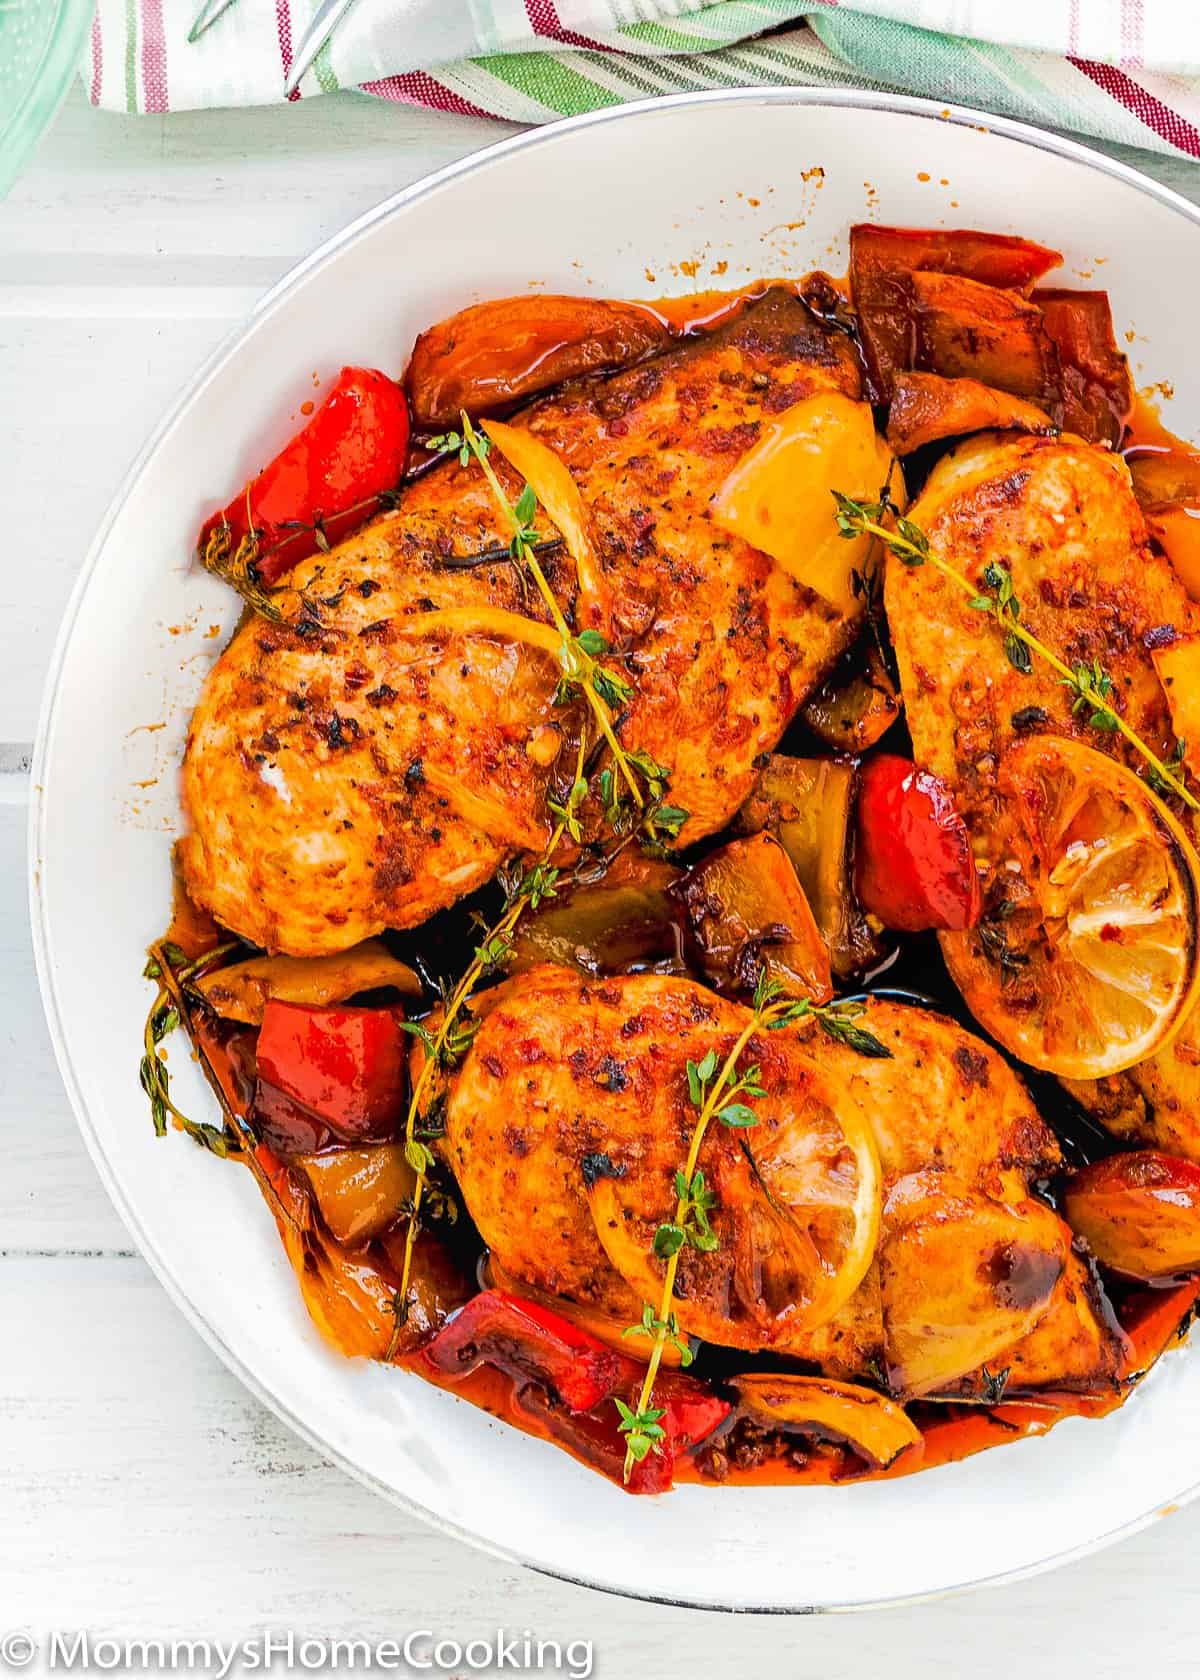
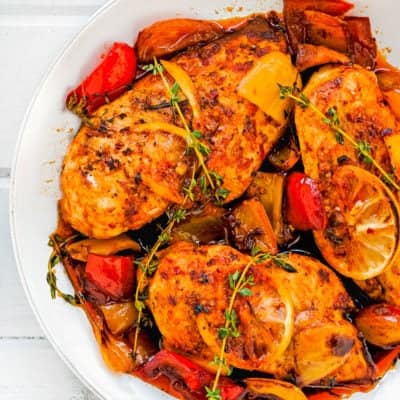
A skillet with The Juiciest Peri Peri Chicken Breasts (One Skillet), cooked with bell peppers, lemon slices, and herbs, sits next to a bowl of white rice and a small bowl of sauce on a white wooden surface.

Oriana’s Thoughts On The Recipe

Oriana Romero, creator of Mommy's Home Cooking and egg-free baking queen.

My whole family goes crazy for this chicken — even my husband, who has never been a big chicken breast fan, always comes back for seconds. I love it because you can dial the spice up or down just by adjusting the red pepper flakes, so it works for everyone at the table: the heat-seekers AND the kids. That homemade peri peri sauce takes about two minutes in the food processor and makes the chicken taste like something you ordered at a restaurant, not pulled from your fridge on a Wednesday night. I’ve been making this one for years, and it never gets old.

Why You’ll Want to Try My Recipe

  • Bold, smoky peri peri flavor from a simple homemade sauce — no store-bought needed
  • Juicy every single time, thanks to the dry-poaching parchment paper technique
  • Adjustable heat — add more or less red pepper flakes to suit your whole family
  • One pan, one skillet, easy cleanup
  • Works indoors on a grill pan OR outdoors on the grill
  • Ready in about 30 minutes start to finish
  • Leftovers reheat beautifully — still tender the next day
Handwritten text reading "xo, Oriana" on a light pink background, reminiscent of the soft hues in strawberry puree.

What Is Peri Peri?

Around the world, Peri-Peri is best known as a chili-based sauce used as a seasoning or marinade for meat, especially chicken. It originated in South Africa and was imported to Portugal from two Portuguese colonies, Angola and Mozambique. That is why many of us know this dish as “Portuguese Chicken”.

The sauce is just delish. It’s not too hot, thick enough to stick, and undeniably tasty. Even my husband, who doesn’t like chicken, likes it. It’s so easy to make… so I double love it!

How spicy is peri peri chicken?

You’re in complete control of the heat. The red pepper flakes are the main source of spice in this recipe, so you can make it totally mild by reducing or skipping them, or crank up the heat by adding more. Smoked paprika adds warmth and depth without real heat. I usually make it medium, enough for a little kick without overwhelming the kids.

What does peri peri sauce taste like?

Peri peri sauce is smoky, tangy, garlicky, and slightly spicy — with a bright citrus note from the lime. It’s not one-dimensional like a hot sauce. The combination of smoked paprika, bell peppers, garlic, lime, and red wine vinegar creates a sauce that’s bold and layered without being overwhelming. Even people who don’t think they like spicy food tend to love it.

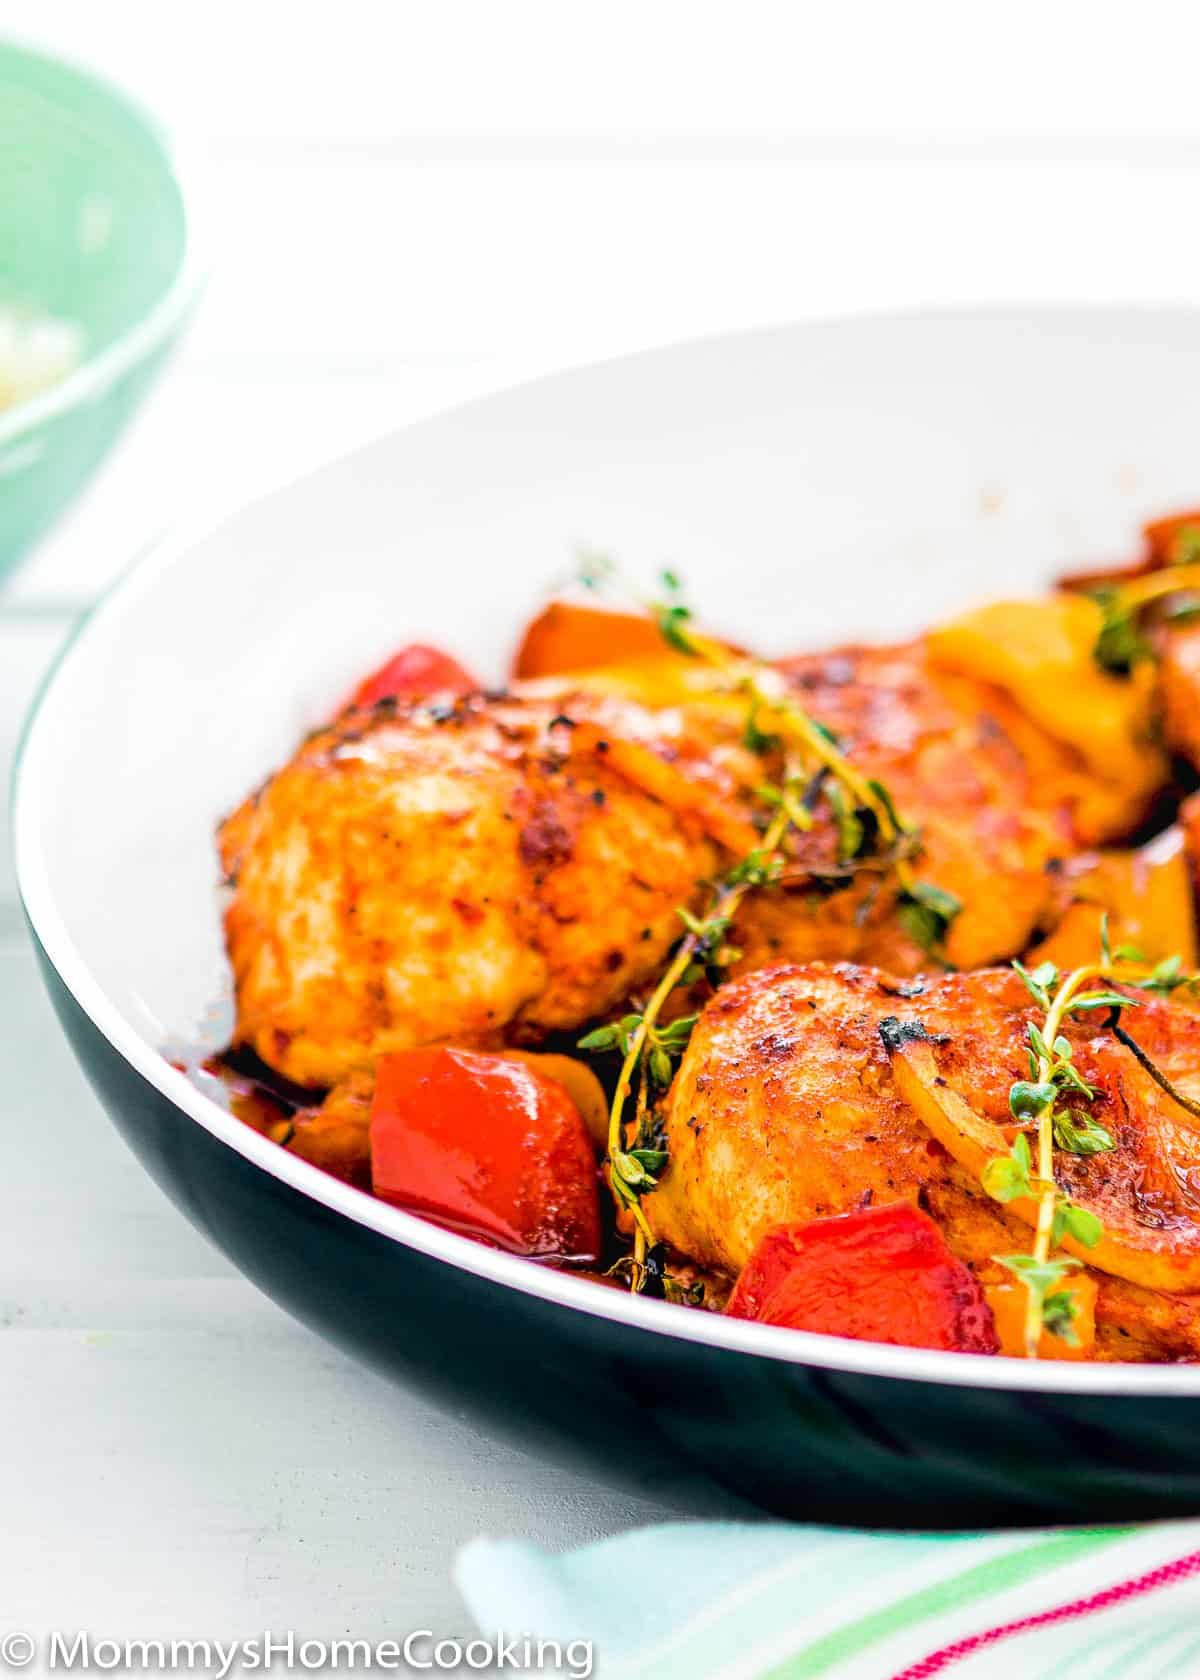
Baked Peri Peri Chicken Breasts with lemon slices, fresh thyme, and roasted red and yellow bell peppers on a white plate.

Ingredients Breakdown

Amounts are included in the printable recipe below (scroll down).

Here’s what you’ll need and why each ingredient matters:

  • Chicken breasts — Skinless and boneless cook evenly in the skillet and soak up the marinade beautifully. You can swap for thighs, drumsticks, or skin-on pieces — see the substitutions section below.
  • Bell peppers — I use a mix of red, yellow, and orange for color and natural sweetness. They roast right alongside the chicken and add body and flavor to the pan juices.
  • Smoked paprika — This is the backbone of the peri peri flavor. Use smoked, not sweet or hot. It gives that characteristic deep, slightly earthy warmth that makes this dish taste as if it came from a restaurant.
  • Fresh thyme and rosemary — Fresh herbs make a real difference here. They perfume the whole skillet while the chicken bakes. If you only have dried, use 1 teaspoon for every 1 tablespoon of fresh.
  • Crushed red pepper flakes — This is your heat dial. Start small, taste the marinade, and add more if you want extra spice. The recipe is totally customizable.
  • Lime juice — The acid that brightens everything and slightly tenderizes the chicken. Please use freshly squeezed — bottled lime juice tastes flat and won’t give you the same result.
  • Red wine vinegar — Adds tang and depth to the marinade and helps the flavors cling to the chicken.
  • Garlic — Use fresh cloves. It blends into the marinade and gives that punchy, savory backbone the whole dish needs.

Substitutions

  • Chicken cuts: Swap chicken breasts for thighs, drumsticks, or skin-on pieces. Thighs may need 5–10 extra minutes in the oven. Adjust until the internal temperature reaches 165°F (74°C).
  • Fresh herbs → dried: Use 1 teaspoon of dried herbs for every 1 tablespoon of fresh. The flavor won’t be quite as vibrant, but it still works.
  • Lime → lemon: Works great! One reader tried it with lemon when she didn’t have lime and loved it. Use the same amount.
  • Red wine vinegar: Swap for apple cider vinegar or white wine vinegar. Similar acidity, slightly different flavor — still delicious.
  • Spice level: Reduce or skip the red pepper flakes entirely for a mild version. Add extra flakes or a pinch of cayenne pepper to turn up the heat.
  • Bell peppers: Any color works. Red is sweetest; green is more savory. Use whatever you have on hand.

How To Make Peri Peri Chicken Step-by-Step

Detailed instructions are included in the printable recipe below (scroll down). Here’s how to make Peri Peri Chicken.

Step 1 – Make The Marinade

Place all the garlic, red peppers, smoked paprika, lime juice, olive oil, and red wine vinegar in the bowl of a small food processor and process until puréed. Season chicken with salt and pepper to taste. Add the peri-peri marinade and seal. Rub the bag to coat the chicken in the marinade, then refrigerate for at least 30 minutes up to overnight.

Step 2 – Prepare To Bake

Preheat the oven to 400° F.

Remove the chicken from the bag and drain off the excess marinade. Reserve marinade.

Heat oil in a skillet over medium-high heat. Place chicken in the skillet and brown each side until a nice golden color. Turn off the heat. Add reserved marinade, peppers, lemon slices, thyme, and rosemary over the chicken. Cover the skillet with parchment paper.

Step 3 – Bake The Peri Peri Chicken

Bake for 20 – 30 minutes, or until the chicken reaches an internal temperature of 165°F (74°C) in the thickness part. Serve with lime wedges and pan juices.

NOTE: Cooking time will depend on the size of the chicken breasts. Remove from oven and allow to rest, covered, for 10 minutes.

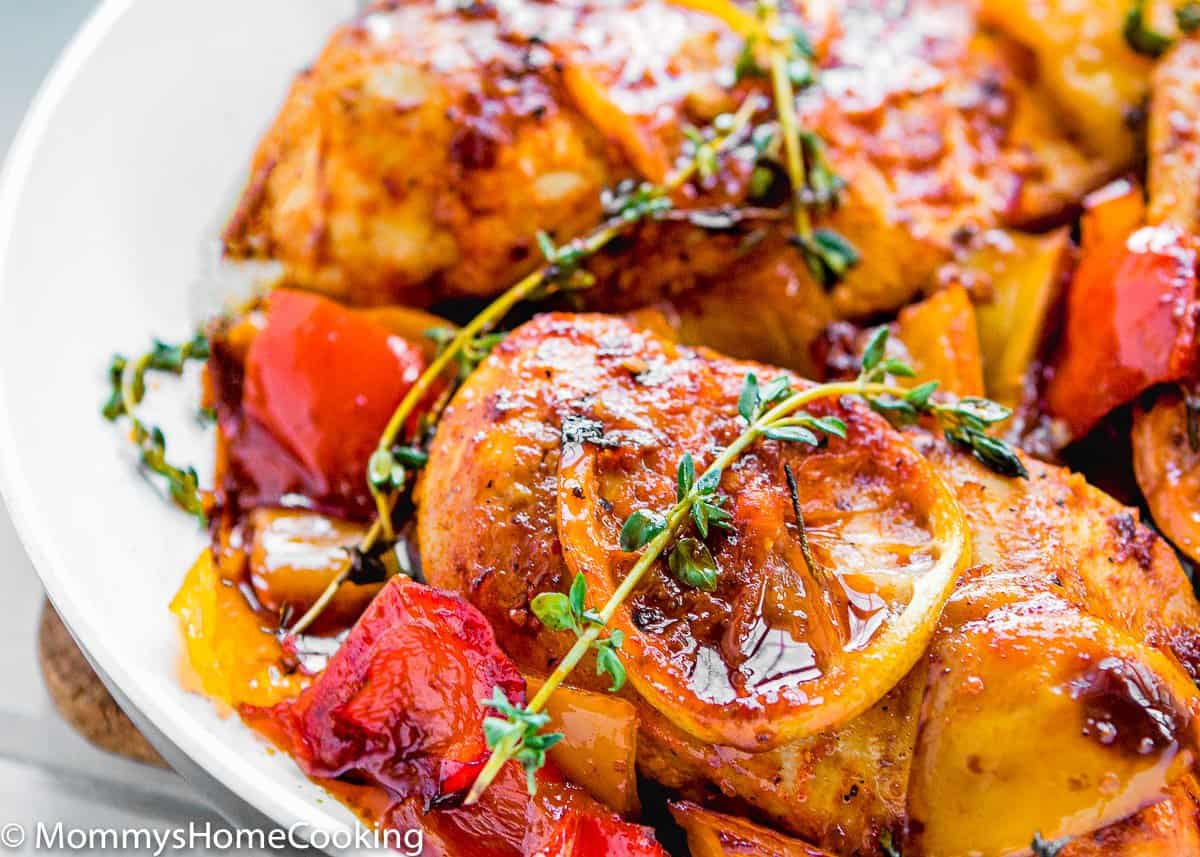
Close-up of The Juiciest Peri Peri Chicken Breasts (One Skillet), baked to perfection and garnished with lemon slices, fresh thyme, and surrounded by roasted red and yellow bell peppers.

Recipe Tips

  • No fresh herbs? No problem. Dried herbs work just fine — just use 1 teaspoon of dried for every 1 tablespoon of fresh called for.
  • Please use freshly squeezed lime juice — not the bottled stuff. The difference in flavor is real, and this sauce deserves the fresh version.
  • Use an instant-read meat thermometer to check doneness. You’re looking for 165°F (74°C) at the thickest part of the breast. No thermometer? Cut into the thickest piece — if it’s no longer pink, you’re good.
  • Chicken breasts are my go-to, but you can absolutely use thighs, drumsticks, or any bone-in pieces. Just adjust the baking time and always check that internal temp.
  • Not browned enough for your taste? Pop it under the broiler for 2 minutes at the end. It gives the chicken that gorgeous, slightly charred finish.
  • This chicken is seriously saucy, so serve it over rice — it soaks up every drop of that peri peri goodness and makes the whole thing even better.
  • Going low-carb? Cauliflower rice or lettuce wraps are both great options and still soak up the sauce beautifully.

Can I make peri peri chicken in an air fryer?

Yes! Marinate the chicken as directed, then air fry at 400°F (200°C) for about 18–22 minutes, flipping halfway through, until the internal temperature reaches 165°F. Check earlier if your chicken breasts are on the thinner side. Note that you’ll miss some of the pan sauce magic, but the chicken will still be flavorful and juicy.

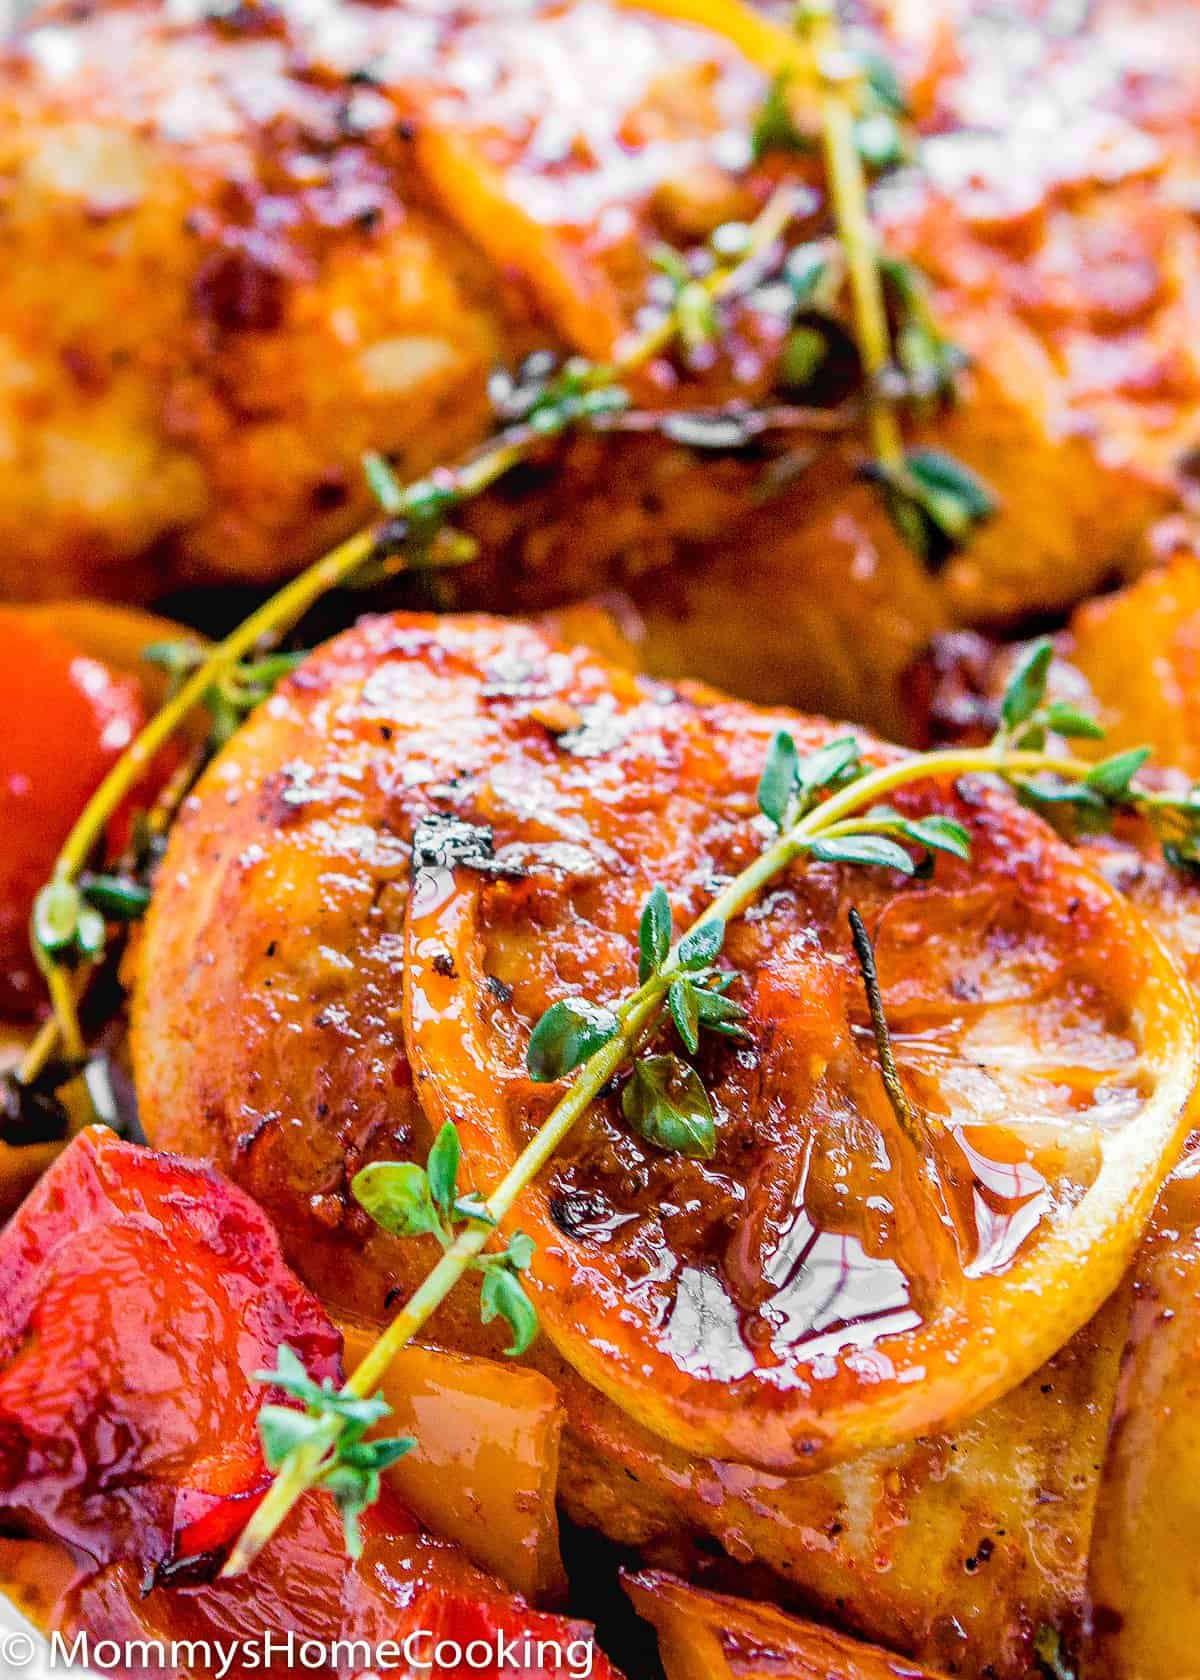
Close-up of The Juiciest Peri Peri Chicken Breasts (One Skillet), garnished with lemon slices, fresh thyme, and cooked red bell peppers.

What To Serve With Peri Peri Chicken Breasts

  • This chicken is so saucy that it needs something to soak up all that flavor. Here are my favorite pairings:
  • Warm crusty bread — For mopping up every last drop of that peri peri sauce. No shame.
  • White rice — The classic. Those pan juices soaking into a bowl of fluffy rice is weeknight magic. → How to Cook Fluffy Rice on the Stove
  • Cauliflower rice — A great lower-carb option that still drinks up all the sauce. → How to Make Cauliflower Rice
  • A simple green salad — The bold, smoky chicken pairs beautifully with something light and fresh on the side.
  • Roasted vegetables — Toss some zucchini, asparagus, or broccoli in the oven while the chicken bakes. One less pan to think about.

Storing and Freezing Instructions

If you like to meal prep or you like to make extra, so you’ll have a meal for the next day, here’s how to store your peri peri chicken.

Store: This baked chicken breast recipe keeps great in the fridge for up to 4 to 5 days, in an airtight container. When you’re ready to enjoy, heat it in the microwave until heated through. Be sure to keep the pan juices, as they’ll help keep it moist when you reheat it.

Freeze: You can freeze this after it has been cooked for another day! Simply transfer it to a freezer bag along with its pan juices once it has cooled. Freeze for up to 2 months. Thaw in the fridge overnight and reheat when you’re ready to eat.
Frequently Asked Questions

Similar! Nando’s made peri peri chicken famous, and this homemade version captures that same smoky, tangy, slightly spicy flavor — made completely from scratch with pantry ingredients. My version uses a dry-poaching technique that keeps the chicken juicy in a way that’s hard to replicate at a restaurant.

Yes! The marinade keeps well in the fridge in an airtight container for up to 2 days. You can also marinate the chicken overnight — the longer it sits, the more the flavor develops. I often prep in the morning so dinner is ready to cook the moment I get home.

Absolutely — thighs are actually very forgiving and hard to overcook, which makes them a great swap. Use boneless skinless thighs and add about 5–10 minutes to the oven time. Always check for an internal temperature of 165°F. Bone-in pieces will take longer still — closer to 35–45 minutes total.

The secret is a simple technique called dry-poaching: after browning the chicken in a skillet, cover the pan tightly with a piece of parchment paper before it goes into the oven. The parchment traps just enough steam to keep the chicken perfectly moist without making it soggy. It sounds fancy, but it’s just one piece of parchment paper — and it works every single time. Also make sure not to skip the resting time: letting the chicken rest for 10 minutes after baking makes a big difference.

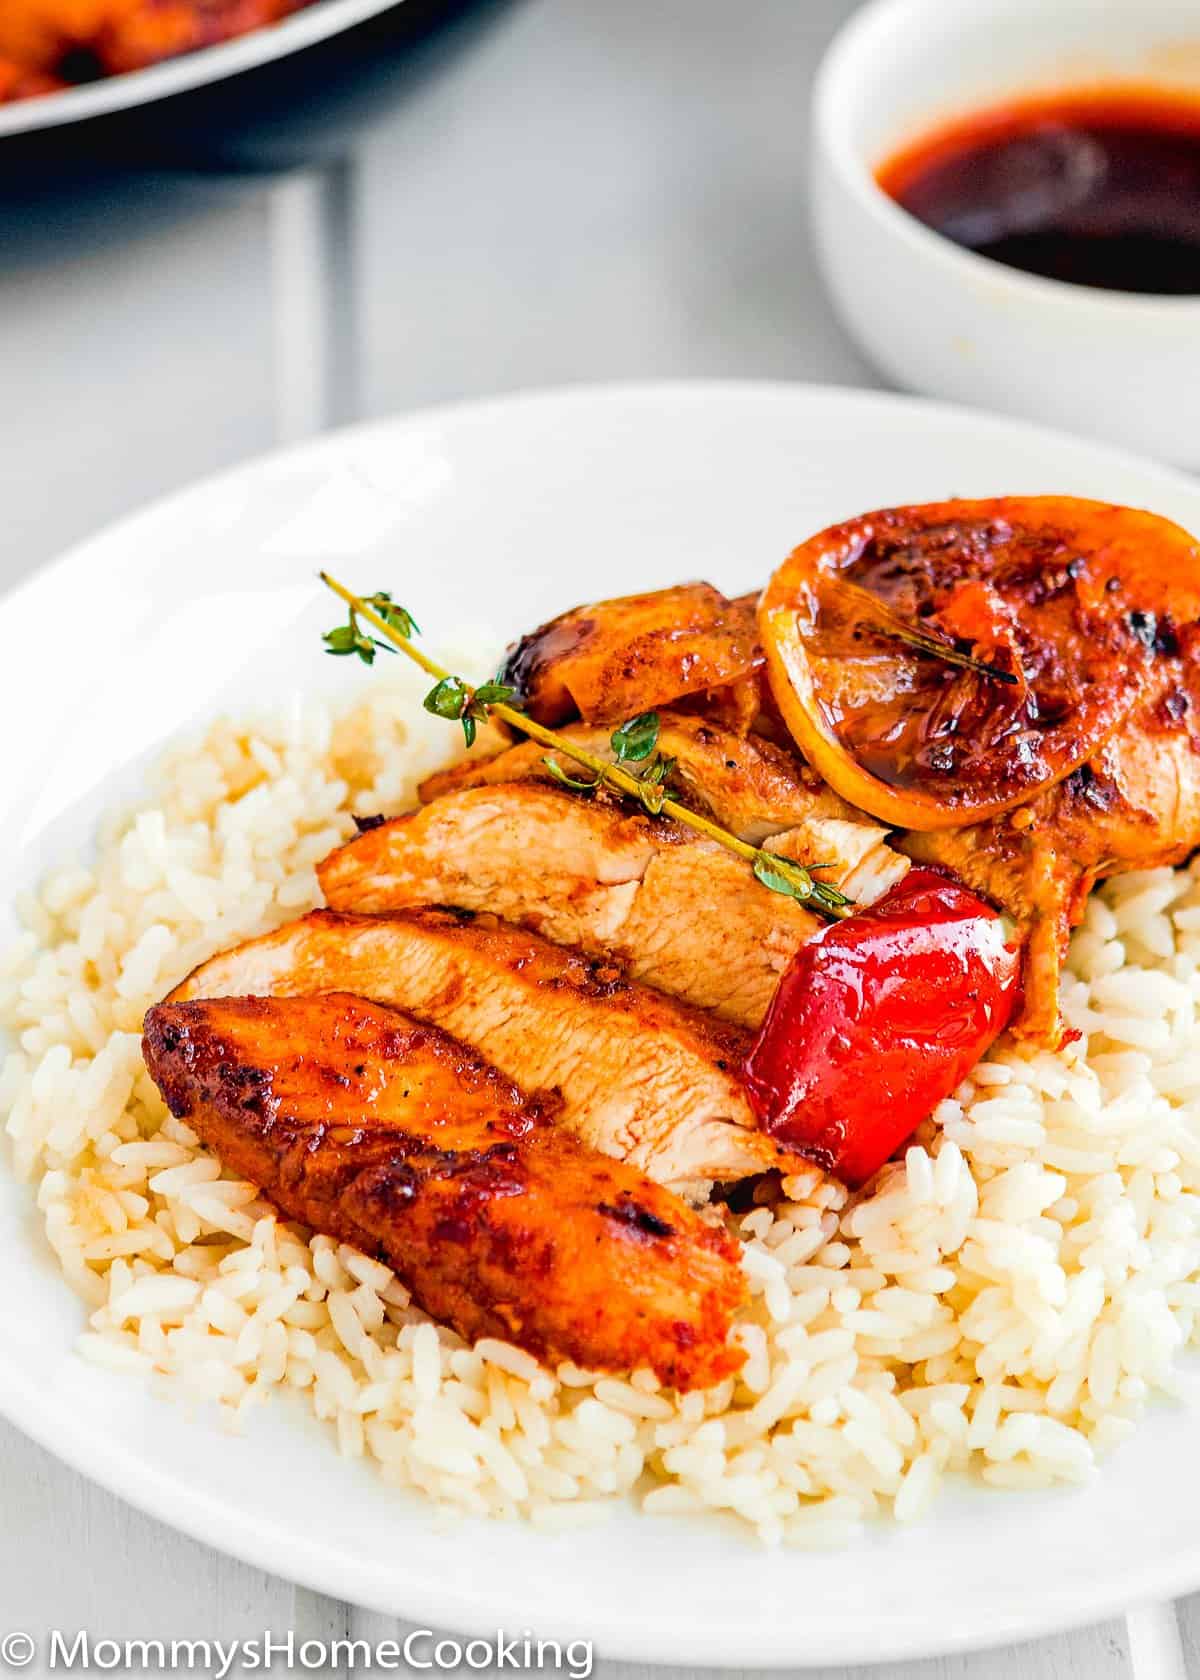
Sliced grilled chicken breast with herbs, lemon, and red pepper served over a bed of white rice—featuring the juiciest peri peri chicken breasts (one skillet) for an extra kick of flavor.

❤️ Love what you see? Subscribe to Mommy’s Home Cooking email list, so you’ll never miss a recipe! Follow along on Instagram, Pinterest, and Facebook for more fun! 

Recipe Card

A skillet with The Juiciest Peri Peri Chicken Breasts (One Skillet), cooked with bell peppers, lemon slices, and herbs, sits next to a bowl of white rice and a small bowl of sauce on a white wooden surface.

Easy Peri Peri Chicken Breasts

Oriana Romero
These Easy Peri Peri Chicken Breasts are smoky, saucy, and incredibly juicy — made in one skillet with a bold homemade peri peri marinade you'll want to put on everything. The whole recipe comes together with simple pantry ingredients, a food processor, and one pan — which means barely any cleanup on a weeknight. My whole family asks for this one on repeat, and once you taste that sauce, you'll completely understand why.
3.72 from 124 votes
Prep Time 10 minutes
Cook Time 35 minutes
Total Time 45 minutes
Servings 4 servings

Important

• For best results, I highly recommend using a kitchen scale to measure the ingredients.

Ingredients
 

  • 4 chicken breasts skinless and boneless
  • Salt and pepper to taste
  • 2 tablespoons (30 ml) olive oil, for searing
  • 2 cups (300 g) bell peppers, chopped (I used red, yellow, and orange)
  • 4 – 6 thin slices of lemon
  • 2 sprigs fresh thyme
  • 2 sprigs fresh rosemary

Peri Peri Marinade:

  • 3 cloves garlic, peeled and roughly chopped
  • 1/2 teaspoon crushed red pepper flakes (or more or less to taste)
  • 1 tablespoon smoked paprika
  • 1/4 cup (60 ml) freshly squeezed lemon or lime juice
  • 1/4 cup (60 ml) olive oil
  • 1 tablespoon (15 ml) red wine vinegar

Instructions
 

Make the Peri-Peri Marinade/Sauce:

  • Place all the marinade ingredients (garlic, red pepper flakes, smoked paprika, lime juice, olive oil, and red wine vinegar) in a small food processor and process until smooth and puréed. It should look like a deep red, slightly thick sauce.

Marinate the Chicken:

  • Season the chicken breasts all over with salt and pepper. Place them in a large sealable plastic bag, pour in the peri peri marinade, and seal. Massage the bag to coat every piece evenly, then refrigerate for at least 30 minutes — or overnight for the best flavor.

Cook the Chicken:

  • Preheat the oven to 400º F (200º C).
  • Remove the chicken from the bag and let the excess marinade drip off. Reserve the marinade — don't throw it away.
  • Heat 2 tablespoons of olive oil in a large oven-safe skillet over medium-high heat. Add the chicken and sear each side until deep golden brown, about 2–3 minutes per side. Turn off the heat. Pour the reserved marinade over the chicken, then add the bell peppers, lemon slices, thyme, and rosemary around and on top. Cover the skillet tightly with a piece of parchment paper.
  • Transfer to the oven and bake for 20–30 minutes, or until the chicken reaches an internal temperature of 165°F (74°C) in the thickest part. Cooking time will vary depending on the size of your chicken breasts — start checking at 20 minutes. If you don't have a thermometer, cut into the thickest piece: the juices should run clear, and there should be no pink.
    NOTE: Cooking time will depend on the size of the chicken breasts.
  • Remove from the oven and allow the chicken to rest, still covered, for 10 minutes. This gives the juices time to redistribute — don't skip it.
  • Garnish with more lemon or lime wedges, if desired, and serve with rice or cauliflower rice, spooning the pan juices over everything.
Oriana’s Notes
 
Allergen Quick-Reference: This recipe contains: No major allergens — egg-free, dairy-free, and gluten-free as written. Watch carefully: Smoked paprika and spice blends — some brands are processed on shared equipment with allergens. Always check labels on: Smoked paprika, red wine vinegar (may contain sulfites) Fish and shellfish: Not an ingredient in this recipe
 
Store: This chicken recipe keeps great in the fridge for up to 4 to 5 days in an airtight container. When you’re ready to enjoy, heat it in the microwave until heated through.
 
Freeze: You can freeze this Peri Peri chicken, along with its pan juices,  for another day! Simply transfer it to a freezer bag once it has cooled. Freeze for up to 2 months. Thaw in the fridge overnight and reheat when you’re ready to eat.
 
Recipe Pro-Tips:
    • No fresh herbs? No problem. Dried herbs work just fine — use 1 teaspoon of dried for every 1 tablespoon of fresh.
    • Please use freshly squeezed lemon or lime juice — not the bottled stuff. The difference in flavor is real, and this sauce deserves the fresh version.
    • Use an instant-read meat thermometer to check doneness. You’re looking for 165°F (74°C) at the thickest part of the breast. No thermometer? Cut into the thickest piece — if it’s no longer pink, you’re good.
    • Chicken breasts are my go-to, but you can absolutely use thighs, drumsticks, or any bone-in pieces. Just adjust the baking time and always check that internal temp.
    • Not browned enough for your taste? Pop it under the broiler for 2 minutes at the end. It gives the chicken that gorgeous, slightly charred finish.
    • This chicken is seriously saucy, so serve it over rice — it soaks up every drop of that peri peri goodness and makes the whole thing even better.
    • Going low-carb? Cauliflower rice or lettuce wraps are both great options and still soak up the sauce beautifully.
     
    Substitutions:
    • Chicken cuts: Swap chicken breasts for thighs, drumsticks, or skin-on pieces. Thighs may need 5–10 extra minutes in the oven. Adjust until the internal temperature reaches 165°F.
    • Fresh herbs → dried: Use 1 teaspoon of dried herbs for every 1 tablespoon of fresh. The flavor won’t be quite as vibrant, but it still works.
    • Lime → lemon: Works great! One reader tried it with lemon when she didn’t have lime and loved it. Use the same amount.
    • Red wine vinegar: Swap for apple cider vinegar or white wine vinegar. Similar acidity, slightly different flavor — still delicious.
    • Spice level: Reduce or skip the red pepper flakes entirely for a mild version. Add extra flakes or a pinch of cayenne pepper to turn up the heat.
    • Bell peppers: Any color works. Red is sweetest; green is more savory. Use whatever you have on hand.
     
    I appreciate your feedback, and it helps others, too! Recipe reviews on the website are extremely valuable to other readers online. So, please don’t forget to give it a 5-star rating below.

    Nutrition

    Calories: 370kcalCarbohydrates: 16gProtein: 26gFat: 24gSaturated Fat: 3gCholesterol: 72mgSodium: 142mgPotassium: 764mgFiber: 5gSugar: 4gVitamin A: 1295IUVitamin C: 124.5mgCalcium: 49mgIron: 1.9mg

    Nutrition information provided is an estimate and will vary based on cooking methods and brands of ingredients used.

    Share your Creations!Tag @mommyshomecooking on Instagram and hashtag it #mommyshomecooking or Join my Private Facebook Group
    Course Main Course
    Cuisine European
    Calories 370
    Keyword chicken dinner easy recipe

    More Recipes You’ll Love!

    Eggless Baking Frequently Asked Questions

    You’ve asked, and I’ve answered! Read on for a handful of answers to the most frequently asked questions about eggless baking.

    The recipe was originally posted in January 2015, post content edited to add more helpful information, no change to the recipe in April 2021.

    More Recipes To Explore!

    3.72 from 124 votes (118 ratings without comment)

    Leave a Reply

    Your email address will not be published. Required fields are marked *

    Recipe Rating


    This site uses Akismet to reduce spam. Learn how your comment data is processed.

    35 Comments

    1. 5 stars
      I followed the recipe completely as stated. I thought I was going to bite into another dry chicken breast, to my surprise, it was nice and tender! Even the next day after I reheated it! The flavour is also delicious. Awesome recipe, thank you so much ORIANA! I will definitely be making it again.

      1. Hi JC! This made my day — thank you so much! I know the “dry chicken breast” struggle is real, so I’m really glad this one surprised you in the best way. I appreciate you taking the time to share your experience — it truly means a lot. Can’t wait for you to make it again! 🧡